DIY Floating Frame: Build a Stunning & Budget-Friendly Frame for Your Canvas Art
Transforming your home with beautiful art is a joy, but the cost of custom framing can quickly add up. If you’ve ever admired the sleek, modern look of a floating frame but cringed at the price tag, you’re in the right place! Creating your own DIY floating frame is a fantastic solution. It’s a simple, cost-effective way to elevate any canvas, giving it a gallery-worthy finish that truly makes the artwork pop. Plus, you get the satisfaction of customizing every detail, from the size and color to the material, to perfectly match your unique space and aesthetic.
In this comprehensive guide, we’ll walk you through the entire process of building a floating frame using basic tools. You don’t need to be a seasoned woodworker; with a bit of time, patience, and our easy-to-follow steps, you’ll be able to craft a beautiful frame that looks incredibly professional. The best part? The total cost will be significantly less than purchasing a pre-made frame, allowing you to invest more in your art itself.
Whether you have a cherished painting, a vibrant print, or a personal masterpiece that deserves a stylish upgrade, this project is tailor-made for you. Let’s turn that plain canvas into a breathtaking piece of wall art with a custom DIY floating frame!
What Exactly Is a Floating Frame?
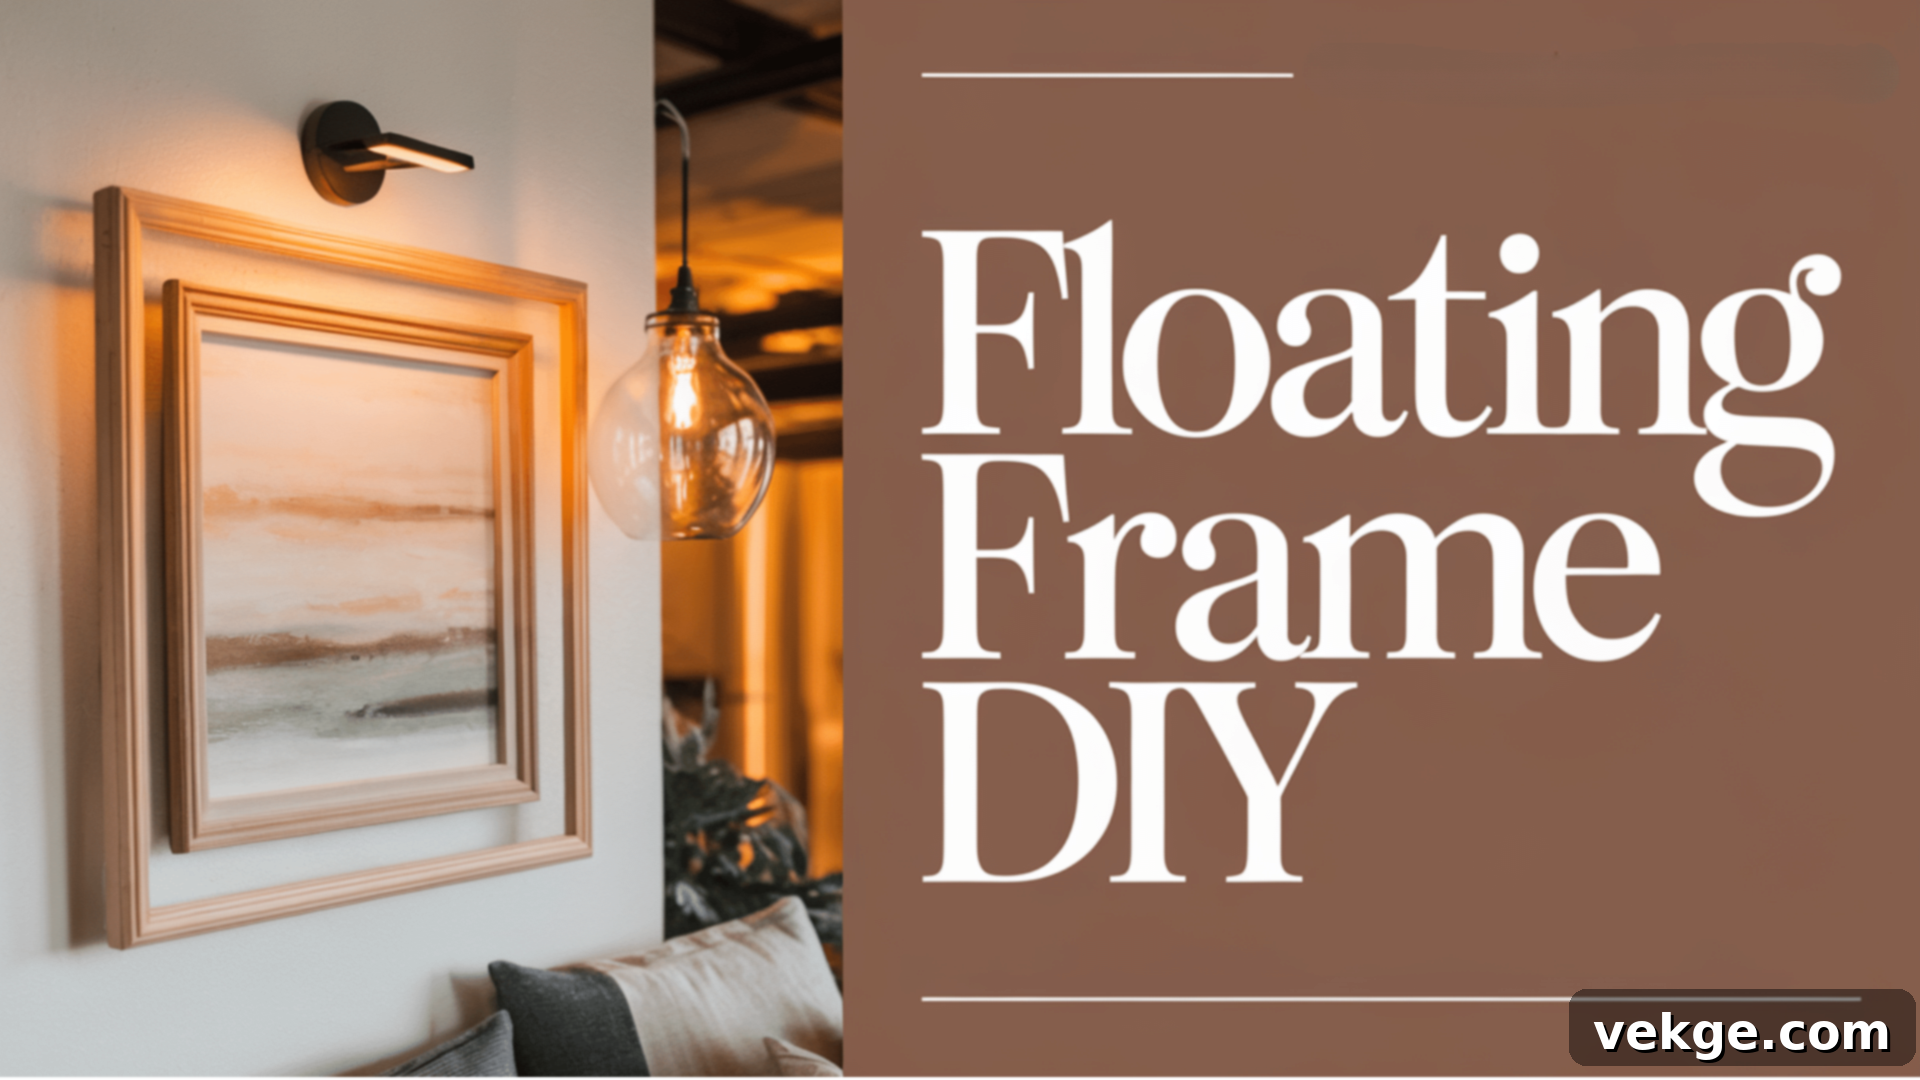
A floating frame, sometimes called a “canvas float frame,” is a distinctive type of frame designed to give the illusion that your artwork is “floating” within its borders. Unlike traditional frames that often cover a portion of the canvas’s edges (the stretcher bars), a floating frame leaves a small, deliberate gap—typically between 1/8 to 1/4 inch—between the canvas and the inner edge of the frame. This subtle space creates a shadow line, adding depth and a sophisticated, contemporary aesthetic to your artwork.
The beauty of a floating frame lies in its ability to highlight the entire canvas, including its finished edges, which are often integral to the artwork itself. This design ensures that every detail of your masterpiece is visible and celebrated, making the artwork stand out more prominently and drawing the viewer’s eye directly to the art, rather than distracting with a bulky frame.
Why Embrace the DIY Floating Frame Project?

There are numerous compelling reasons to take on the DIY floating frame challenge:
- Significant Cost Savings: Pre-made floating frames, especially for custom sizes, can be remarkably expensive. Building your own allows you to achieve the same high-end look at a fraction of the cost, making it a budget-friendly alternative for art lovers.
- Complete Customization: Say goodbye to limitations! When you DIY, you have full control over every aspect of the frame. You can choose the exact dimensions to perfectly fit your canvas, select the ideal wood type, and pick any paint or stain color to complement your artwork and home decor.
- Personal Touch & Rewarding Experience: There’s immense satisfaction in creating something beautiful with your own hands. This project is not just about saving money; it’s about adding a unique, personal touch to your decor and developing valuable woodworking skills along the way.
- Professional & Modern Aesthetic: A floating frame instantly elevates the appearance of any canvas, giving it a polished, gallery-quality look. It enhances the visual impact of your artwork, making it appear more substantial and valuable.
- Perfect Fit, Every Time: No more struggling to find a frame that perfectly matches your canvas. With DIY, you measure and build to precise specifications, ensuring a snug and appealing fit that off-the-shelf options simply can’t guarantee.
This project offers a perfect blend of practicality, creativity, and personal achievement, making it an ideal endeavor for anyone looking to showcase their art beautifully and affordably.
Essential Materials and Tools You’ll Need

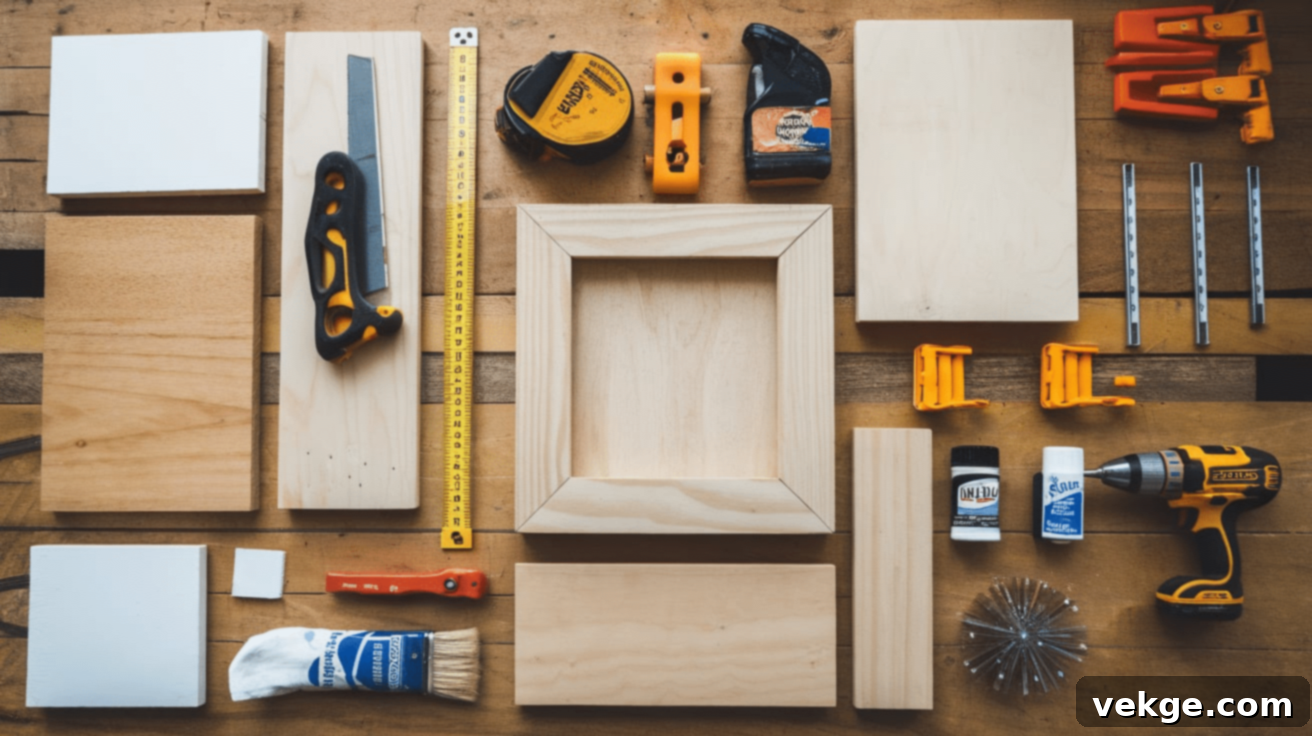
Before you begin, gather all your materials and tools to ensure a smooth and efficient building process. Having everything organized will save you time and frustration.
Materials:
- Wooden Boards: Choose solid wood (e.g., pine, oak, maple) or medium-density fiberboard (MDF) for the frame. The width and thickness will depend on the desired look and the depth of your canvas. Consider reclaimed wood for a unique touch.
- Wood Glue: A strong, reliable wood glue is crucial for securing the frame joints.
- Nails or Screws (Optional but Recommended): For added strength and durability at the joints.
- Wood Stain or Paint: To finish your frame. Consider your home’s color palette and the artwork itself.
- Clear Sealant (Optional): Polyurethane or varnish for added protection and a professional finish, especially if using stain.
- Small Wooden Blocks or L-Brackets: To secure the canvas within the frame.
- Hanging Hardware: Sawtooth hanger, D-rings with picture-hanging wire, or a French cleat system.
- Sandpaper: Various grits (e.g., 100-grit for initial smoothing, 180-grit for finer finish).
- Clean Cloths or Rags: For applying stain or wiping excess glue.
Tools:
- Measuring Tape: For precise measurements of your canvas and wood.
- Pencil: For marking cutting lines.
- Saw: A miter saw or miter box with a hand saw is ideal for accurate 45-degree angle cuts. A circular saw or table saw can also be used for straight cuts. If you don’t own a saw, many hardware stores offer wood cutting services.
- Clamps: Corner clamps or bar clamps are essential for holding glued joints together while they dry.
- Drill (if using screws): With appropriate drill bits for pilot holes and driving screws.
- Hammer (if using nails) or Nail Gun: For reinforcing joints.
- Paintbrush or Foam Brush: For applying paint or stain.
- Safety Glasses & Gloves: Always prioritize safety when working with tools and finishes.
- Level: For precise alignment during assembly and hanging.
Your Step-by-Step Guide to Building a Floating Frame

Let’s get started on bringing your custom floating frame to life!
1. Precise Canvas Measurement
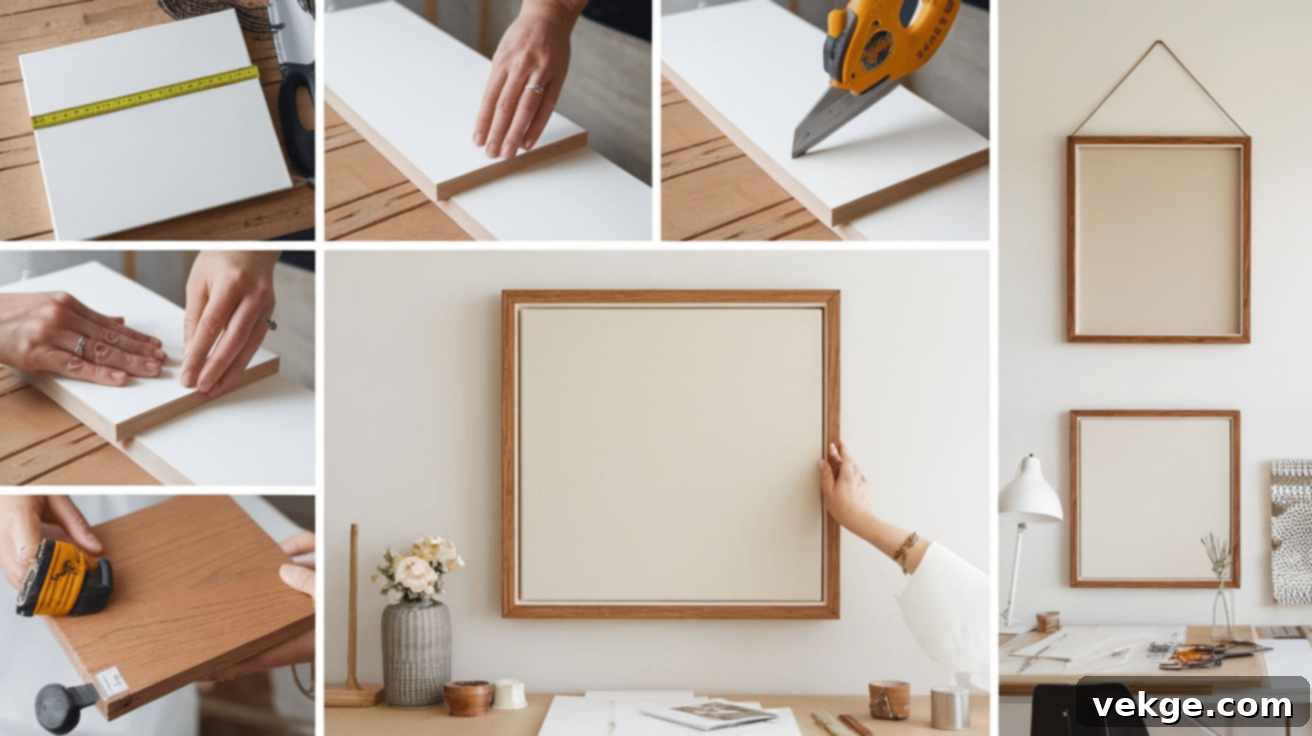
Accuracy is key for a perfect floating effect. Begin by carefully measuring the length, width, and depth of your canvas. Note these measurements down. To create the “floating” illusion, your frame needs to be slightly larger than the canvas. We recommend adding a small gap of about 1/8 to 1/4 inch (3-6mm) around all four sides. This means your frame’s internal dimensions will be:
- Length: Canvas Length + (2 x Desired Gap)
- Width: Canvas Width + (2 x Desired Gap)
Remember, the frame’s depth should also be slightly greater than your canvas’s depth to ensure the canvas sits recessed within the frame, allowing it to “float.”
2. Cutting Your Wood Pieces
Using your chosen saw, carefully cut four pieces of wood for your frame. You will need two longer pieces for the top and bottom, and two shorter pieces for the sides. For a clean, professional look, mitered corners (cut at a 45-degree angle where they meet) are traditional for picture frames. If you opt for mitered corners, ensure your cuts are precise so the joints align perfectly. Alternatively, you can create a simpler butt joint (straight 90-degree cuts), though these may require extra reinforcement for strength and can be harder to hide.
Safety Tip: Always wear safety glasses when operating a saw. Ensure your work piece is securely clamped before making any cuts.
3. Sanding for a Flawless Finish
Once your wood pieces are cut, it’s crucial to sand them thoroughly. Start with a medium-grit sandpaper (around 100-120 grit) to smooth out any rough edges or imperfections from cutting. Then, move to a finer grit (180-220 grit) for a silky-smooth finish. This step not only prevents splinters but also ensures that paint or stain will be absorbed evenly, giving your frame a much more polished and professional appearance. Pay extra attention to the edges and corners.
4. Staining or Painting Your Frame
Now for the creative part! Decide whether you want a natural wood look with a stain or a painted finish.
- For Staining: Apply an even coat of wood stain using a brush or a clean cloth, following the wood grain. Allow it to penetrate for the recommended time (check product instructions), then wipe off any excess. Let it dry completely before applying a second coat if desired for deeper color.
- For Painting: Apply thin, even layers of paint. Multiple thin coats are always better than one thick coat to prevent drips and ensure a smooth finish. Allow each coat to dry completely before applying the next.
Once your chosen finish is dry, consider applying a clear sealant (like polyurethane or varnish) for added protection against moisture and wear. This step is especially recommended for stained frames to enhance their durability and luster.
5. Assembling the Frame
Lay your finished wooden pieces on a flat, clean surface. Arrange them into the rectangular shape of your frame. Apply a generous, but not excessive, amount of wood glue along the edges where the pieces will join. Carefully bring the pieces together, ensuring the corners are perfectly aligned. Use corner clamps or bar clamps to hold the frame tightly together while the glue dries. Wipe away any excess glue that squeezes out immediately with a damp cloth, as dried glue can prevent stain or paint from adhering later.
Reinforcement: For maximum strength and longevity, we highly recommend reinforcing the glued joints with small finishing nails or screws. Predrill pilot holes if using screws to prevent the wood from splitting. This step adds significant durability to your frame.
6. Allowing Adequate Drying Time
Patience is a virtue in woodworking! Once your frame is assembled and clamped, allow it to dry completely. Wood glue typically takes a few hours to set, but leaving it clamped overnight (12-24 hours) will ensure maximum bond strength. Resist the urge to rush this step, as insufficient drying time can lead to weak joints and a fragile frame. If you used nails or screws, double-check that everything feels secure before proceeding.
7. Securing Your Canvas Inside the Frame
With the frame fully dry and strong, it’s time to mount your canvas. Carefully place your canvas inside the frame. Ensure the canvas is perfectly centered, allowing for that consistent “floating” gap on all four sides. The canvas should sit slightly recessed, not flush with the top edge of the frame.
To secure the canvas, you have a few options:
- Small Wooden Blocks: Cut small blocks of wood (e.g., 1×1 inch pieces) that are slightly thinner than the frame’s depth. Glue and/or screw these blocks to the inner back edge of the frame, positioned behind the stretcher bars of your canvas. This method subtly holds the canvas in place.
- L-Brackets or Z-Clips: These small metal brackets can be screwed into the back of the frame and then rotated to overlap the canvas stretcher bars, holding it securely.
Whichever method you choose, ensure the canvas is stable and won’t shift once hung.
8. Attaching Hanging Hardware
The final step before display is to add your hanging hardware.
- Sawtooth Hanger: Simple to install and ideal for smaller, lighter frames. Center it at the top back of the frame.
- D-Rings and Wire: For larger or heavier frames, attach two D-rings to the upper third of the vertical frame sides. Thread sturdy picture-hanging wire through the rings, leaving a slight slack for hanging.
- French Cleat: A very secure option for heavy frames, involving two interlocking pieces of wood.
Always ensure your chosen hardware is appropriate for the weight of your framed artwork and is securely attached to the sturdy parts of the frame, not just the canvas stretcher bars.
9. Displaying Your Masterpiece
Congratulations! Your DIY floating frame is complete. Find the perfect spot on your wall to hang your beautifully framed canvas. Step back and admire your handiwork and the professional, polished look it brings to your art and your space. This custom frame not only enhances your artwork but also serves as a testament to your creativity and effort.
Maximizing Success: Tips and Troubleshooting
To ensure your floating frame project goes smoothly and yields the best results, consider these common pitfalls and expert advice.
Common Mistakes to Avoid:
- Uneven Measurements: The most common mistake. Always double-check your canvas dimensions and your calculated frame cuts. “Measure twice, cut once” is a golden rule in woodworking. Even a slight inaccuracy can lead to noticeable gaps or a misaligned canvas.
- Not Allowing Enough Drying Time: Rushing the drying process for glue or paint can compromise the frame’s structural integrity and finish quality. Always adhere to manufacturer recommendations for drying and curing times.
- Misalignment During Assembly: If your corners aren’t perfectly square or your glue-up is off-center, the entire frame will be skewed. Use a carpenter’s square and clamps to ensure perfect 90-degree (or 45-degree for mitered) angles during assembly.
- Weak Joints: Relying solely on glue for strength, especially for larger frames, can lead to sagging or separation over time. Always reinforce joints with nails, screws, or dowels for added durability.
- Ignoring Wood Grain: When staining, applying against the grain or not wiping off excess stain can lead to blotchy results. Always follow the grain and remove excess product.
- Over-tightening Clamps: While clamps are essential, over-tightening can squeeze too much glue out of the joint, weakening it, or even denting the wood. Apply firm, even pressure.
Expert Tips for a Professional Finish:
- Choose the Right Wood: Select wood that matches your home decor and the style of your artwork. Pine is affordable and easy to work with; oak offers a prominent grain; maple provides a smooth, fine grain.
- Invest in Good Clamps: Quality clamps are invaluable for achieving tight, square joints. Consider corner clamps for mitered corners.
- Test Finishes: If you’re unsure about a stain or paint color, test it on a scrap piece of the same wood before applying it to your frame.
- Use Wood Filler: For any small gaps or imperfections in your joints, wood filler can be your best friend. Apply, sand smooth, and then apply your finish.
- Work in a Well-Ventilated Area: When using paints, stains, or glues, ensure you have adequate ventilation to protect your health.
- Consider a Router: For advanced users, a router can be used to create decorative edges or more precise rabbets for the canvas, enhancing the professional look.
- Clean Your Canvas: Before mounting, give your canvas a gentle wipe to remove any dust or debris that might get trapped inside the frame.
Conclusion
Creating a DIY floating frame is a remarkably rewarding project that offers a perfect blend of artistic expression, practical savings, and the satisfaction of craftsmanship. It’s an excellent way to elevate your canvas art, giving it a sophisticated, gallery-quality presentation without the prohibitive cost of custom framing.
By following this step-by-step guide, you’ve learned how to measure, cut, finish, and assemble a beautiful frame that not only protects your artwork but also highlights its unique beauty. This project allows for complete customization, empowering you to choose materials, colors, and finishes that perfectly complement your art and your home decor. Beyond the aesthetic appeal, you’ve also honed valuable woodworking skills and experienced the joy of creating something substantial with your own hands.
Don’t let expensive frames deter you from beautifully displaying your art. Embrace the DIY spirit, experiment with different stains, paints, and frame sizes, and give your cherished canvases the perfect finishing touch they deserve. Your artwork (and your wallet!) will thank you. Get ready to impress your guests and enjoy your stunning, custom-framed masterpieces!
Frequently Asked Questions
What is a floating frame?
A floating frame is a style of frame designed to make the artwork appear as if it’s “floating” within its border. It achieves this by leaving a small, consistent gap between the canvas and the inner edge of the frame, creating a shadow line that adds depth and a modern aesthetic.
How do I measure my canvas for a floating frame?
Measure the exact length, width, and depth of your canvas. To determine your frame’s internal dimensions, add your desired “float” gap (typically 1/8 to 1/4 inch or 3-6mm) to each side of your canvas’s length and width. For example, a 10×10 inch canvas with a 1/4 inch gap will require an internal frame opening of 10.5×10.5 inches.
What kind of wood is best for a DIY floating frame?
Pine is a popular choice due to its affordability, availability, and ease of working. Hardwoods like oak or maple can offer a more premium look and durability but are generally more expensive and harder to cut. MDF (Medium-Density Fiberboard) is another cost-effective option, offering a very smooth finish for painting.
How do I attach my canvas to the floating frame?
The most common methods involve using small wooden blocks or L-brackets. Wooden blocks are glued and/or screwed to the inside back edge of the frame, positioned to sit behind the canvas stretcher bars. L-brackets are screwed to the frame and then pivot to secure the canvas in place. Ensure the canvas is centered and secure before final attachment.
Can I paint or stain my floating frame?
Absolutely! Finishing the frame with paint or stain is highly recommended to protect the wood and customize its appearance. You can choose a finish that complements your artwork or matches your existing home decor, giving you endless design possibilities.
How long does it take to make a floating frame?
The actual construction time can be a few hours, depending on your experience and tools. However, you must factor in significant drying times for wood glue, stain, and paint, which can extend the overall project to 1-2 days. Rushing the drying process can compromise the frame’s quality.
Can I use a floating frame for art that isn’t on canvas?
Floating frames are primarily designed for stretched canvases or wood panels, as they need a solid edge to “float” within the frame. While it’s possible to adapt them for other types of art by mounting the art onto a rigid board first, it requires additional steps and careful consideration.
Do I need advanced woodworking skills to build a floating frame?
No, not at all! This project is very beginner-friendly. While basic familiarity with a saw and drill is helpful, the steps are straightforward. With patience and attention to detail, anyone can build a beautiful floating frame.
