The Ultimate Room-by-Room Deep Cleaning Guide: Transform Your Home into a Sparkling Sanctuary
Last month, I embarked on what felt like a monumental task: a full house deep clean. What I discovered wasn’t just dirt and dust, but a profound sense of satisfaction and a newfound appreciation for every corner of my home. It was truly eye-opening to see how many areas I’d been overlooking in my regular cleaning routine. There’s an incredible reward in getting into those forgotten nooks and crannies, making your entire living space not just clean, but truly sparkle.
If the thought of a whole-house deep clean feels daunting, you’re not alone. It can be overwhelming to know where to begin. But don’t worry, I’ve distilled my experience into a comprehensive, room-by-room guide designed to help you tackle this project efficiently and effectively, without feeling like you’re losing your mind. Get ready to give your home the fresh start it deserves!
What Makes Deep Cleaning Different?
We all have our regular cleaning rituals: the dishes, the laundry, a quick vacuum. These are essential for daily upkeep and maintaining a baseline level of tidiness. However, deep cleaning elevates this to an entirely different level. It’s about going beyond the visible, addressing accumulated grime, dust, and forgotten areas that regular cleaning simply doesn’t touch.
Think of it as a thorough reset for your home. While regular cleaning is about maintenance, deep cleaning is about restoration and revitalization. It involves meticulously cleaning baseboards, scrubbing light fixtures, disinfecting inside appliances, and tackling all those often-ignored spots where dirt and allergens love to hide. This process not only makes your home look pristine but also significantly improves air quality and hygiene, creating a healthier and more inviting environment for everyone.
Before You Start: The Game Plan for Success
Diving headfirst into a deep clean without a plan is a recipe for frustration and burnout. Trust me, I’ve learned this the hard way! A little preparation goes a long way in making the process smoother and more efficient. Here’s the strategic approach I’ve found to be most effective:
1. Gather Your Supplies First
Before you even think about scrubbing, ensure you have all your tools within reach. This prevents endless trips back and forth, saving you time and energy. Essential supplies include: all-purpose cleaner, microfiber cloths (these are excellent for trapping dust and buffing surfaces without streaks), a reliable vacuum cleaner with various attachments (for corners, upholstery, and crevices), scrub brushes (for tough grime), rubber gloves (to protect your hands), a bucket, and perhaps some specialized cleaners like glass cleaner, oven cleaner, and tile/grout cleaner. Consider eco-friendly or homemade solutions like white vinegar and baking soda for a natural approach.
2. Declutter Before You Clean
Attempting to clean around clutter is inefficient and often means just moving dirt from one spot to another. Before you start the actual scrubbing, take a moment to declutter each area. Put away misplaced items, sort through mail, and remove anything that doesn’t belong. This creates a clear workspace and allows you to focus solely on cleaning.
3. Work Top to Bottom
Gravity is your friend here. Start by dusting ceiling fans, light fixtures, and the tops of shelves. As dust and debris fall, they’ll land on surfaces below, which you’ll clean next. This ensures you’re not re-dusting areas you’ve already meticulously cleaned.
4. One Room at a Time
Resist the urge to bounce between rooms. This can make the entire house feel perpetually unfinished and overwhelming. Instead, pick one room, finish it completely, and only then move on to the next. This focused approach provides a greater sense of accomplishment and keeps you motivated.
5. Set a Realistic Schedule
Deep cleaning an entire house in a single day is an ambitious goal for most people. Consider breaking the project down into manageable chunks. You might dedicate a full day to one large room, or spread the cleaning of several smaller rooms over a weekend. Establishing a schedule helps prevent burnout and makes the process more enjoyable.
Kitchen: The Heart of the Home’s Deep Clean
The kitchen often demands the most attention during a deep clean, and for good reason—it’s where food is prepared, meals are shared, and spills are inevitable. While it might take the longest, the payoff of a sparkling, sanitized kitchen is immensely satisfying.
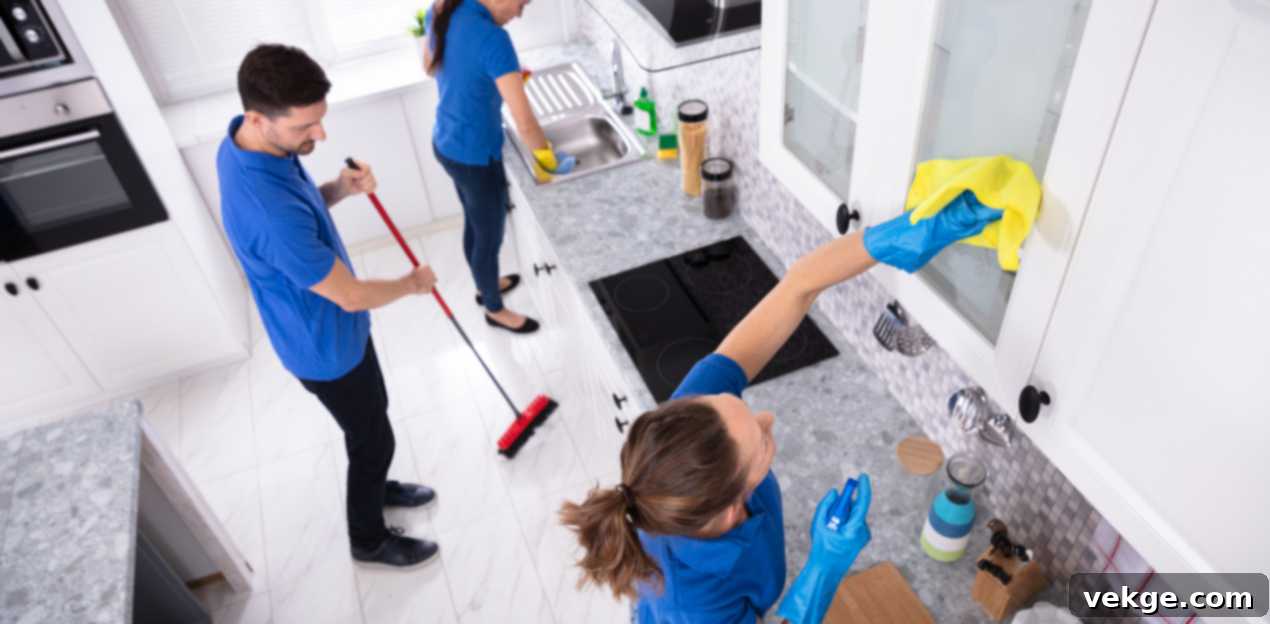
- Tackle the Big Appliances First: This is a major step. Carefully pull out your refrigerator and stove to clean the accumulated dust, grime, and food particles from behind and underneath them. You’ll be amazed (and perhaps a little horrified) by what you find. Remove oven drip pans and soak them in hot, soapy water while you work on other areas. Don’t forget to wipe down the exterior of all appliances, including the dishwasher and microwave.
- Inside the Fridge and Freezer: Completely empty both compartments. Toss any expired items, questionable leftovers, or forgotten produce. Remove all shelves and drawers for a thorough scrub in the sink with warm water and dish soap, or a baking soda and water paste. This gentle mixture effectively cuts through sticky spills and eliminates odors without harsh chemicals. Wipe down the interior walls, door seals, and drawers before returning everything. This is also a great time to organize your fridge for better visibility and access.
- Cabinets and Drawers: Empty them section by section. Wipe down the insides with an all-purpose cleaner, ensuring no crumbs or residue remain. Clean the cabinet fronts, paying special attention to handles and knobs, which can accumulate grime quickly from daily use. For greasy buildup, a mix of dish soap and warm water works wonders.
- The Oven: This can be one of the most dreaded tasks. If your oven has a self-clean function, now is the time to use it (follow manufacturer instructions carefully). For a manual approach, create a thick paste of baking soda and a little water, spread it generously over the interior surfaces (avoiding heating elements), and let it sit overnight. The next day, you’ll find the baked-on grime much easier to scrub away with a damp cloth and a non-abrasive scrubber.
- Small Appliances: Don’t overlook your toaster, coffee maker, blender, and microwave. Clean crumbs from the toaster tray, descale your coffee maker, and thoroughly wipe down the interiors and exteriors of all small appliances.
- Countertops and Sink: Clean and disinfect all countertops. Pay attention to grout lines if you have tiled counters. Scrub and polish your sink and faucet until they gleam. Use an old toothbrush to clean around the faucet base.
- Floors: Finish by thoroughly sweeping or vacuuming, then mopping the floor, paying extra attention to corners and edges where spills often accumulate.

Living Room: Refreshing Your Relaxation Zone
The living room is often the most used space in the house, gathering dust, crumbs, and everyday wear. A deep clean here will make it feel more inviting and comfortable.
- Furniture: Begin by moving all movable furniture pieces to vacuum thoroughly underneath them. Remove all cushions from sofas and chairs, vacuuming every crevice and turning them over if reversible. You’d be surprised what treasures you might unearth (I once found $3.47 and my missing earbuds!). Depending on the fabric, you might also consider spot-cleaning any stains on upholstery.
- Electronics: Carefully dust your television screen (using a dedicated screen cleaner if necessary), gaming consoles, sound systems, and remote controls with a soft microfiber cloth. Don’t forget to gently clean the tangle of cords and cables behind everything – these are notorious dust magnets.
- Windows and Blinds: This task can be tedious but yields dramatic results. For windows, clean both sides of the glass until sparkling. Wipe down window sills and tracks, using an old toothbrush for stubborn dirt. For blinds, whether horizontal or vertical, wipe each slat individually. A quirky but effective trick is to use an old sock over a pair of tongs to clean both sides of horizontal blinds simultaneously.
- Rugs and Carpets: If possible, move area rugs outside for a good shake and then vacuum them thoroughly on both sides. For wall-to-wall carpets, use your vacuum’s strongest setting and attachments to reach edges and under furniture. Consider professional carpet cleaning for deeply embedded dirt and stains.
- Walls and Baseboards: Dust and gently wipe down walls to remove scuffs and handprints. Pay close attention to baseboards, which collect an astonishing amount of dust and grime.
Bedrooms: Creating a Serene Retreat
Your bedroom should be a sanctuary. A deep clean helps ensure it’s not just tidy, but truly clean and conducive to rest.
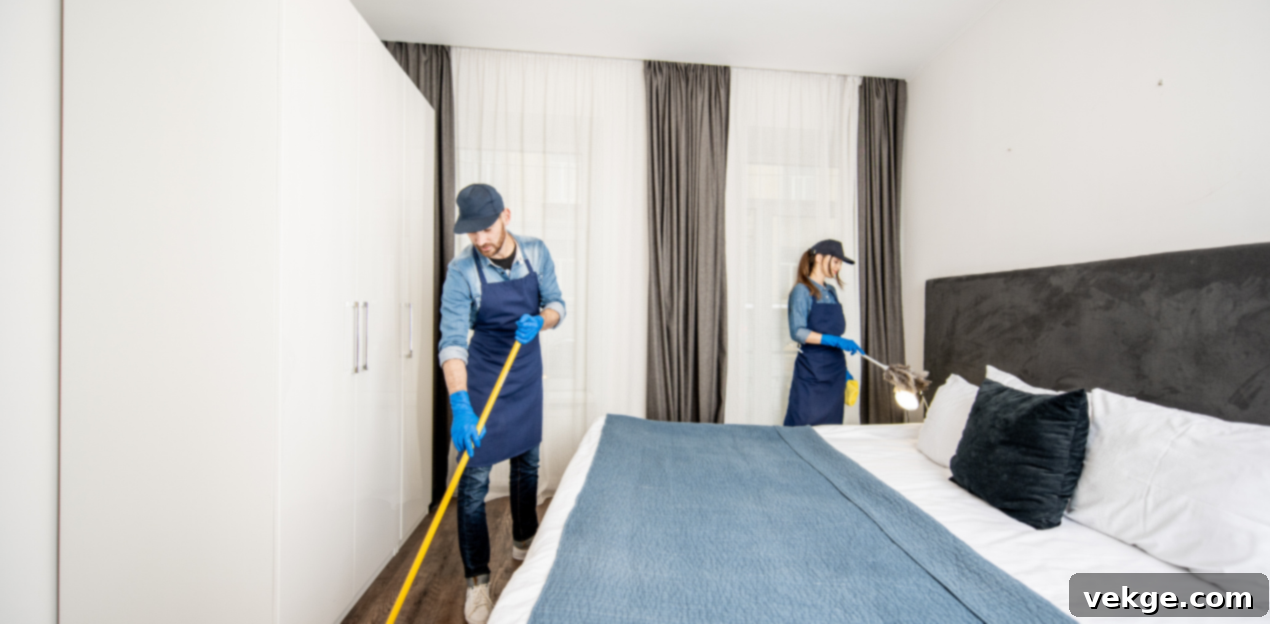
- Under the Bed and Furniture: This is prime real estate for dust bunnies to form entire ecosystems. Move your bed and any other furniture pieces (dressers, nightstands) if possible, and vacuum the entire floor space. Wipe down furniture legs and undersides.
- Closets: This is an excellent opportunity for decluttering and organization. Take everything out of your closet. Vacuum the floor and wipe down all shelves and hanging rods. Sort through your clothes, shoes, and accessories, creating piles for donations, repairs, and items to be returned. Only put back what you love and use, neatly organized.
- Mattress: Strip your bed completely. Vacuum both sides of your mattress thoroughly with the upholstery attachment to remove dust mites and skin cells. If your mattress is flippable, now is the perfect time to do so for even wear. Sprinkle a generous layer of baking soda over the mattress, let it sit for at least an hour (or longer, up to several hours) to absorb odors and moisture, then vacuum it up completely.
- Bedding and Linens: Wash all bedding, including duvet covers, pillowcases, sheets, and mattress protectors. If possible and recommended by the manufacturer, wash your pillows and duvets themselves to remove allergens.
- Lamps and Decor: Dust lampshades, light fixtures, picture frames, and any decorative items. Wipe down ceiling fans.

Bathrooms: A Hygienic Deep Clean
Bathrooms are high-traffic areas prone to moisture, soap scum, and, let’s be honest, germs. They demand extra attention during a deep clean to ensure they are truly sanitized and sparkling.
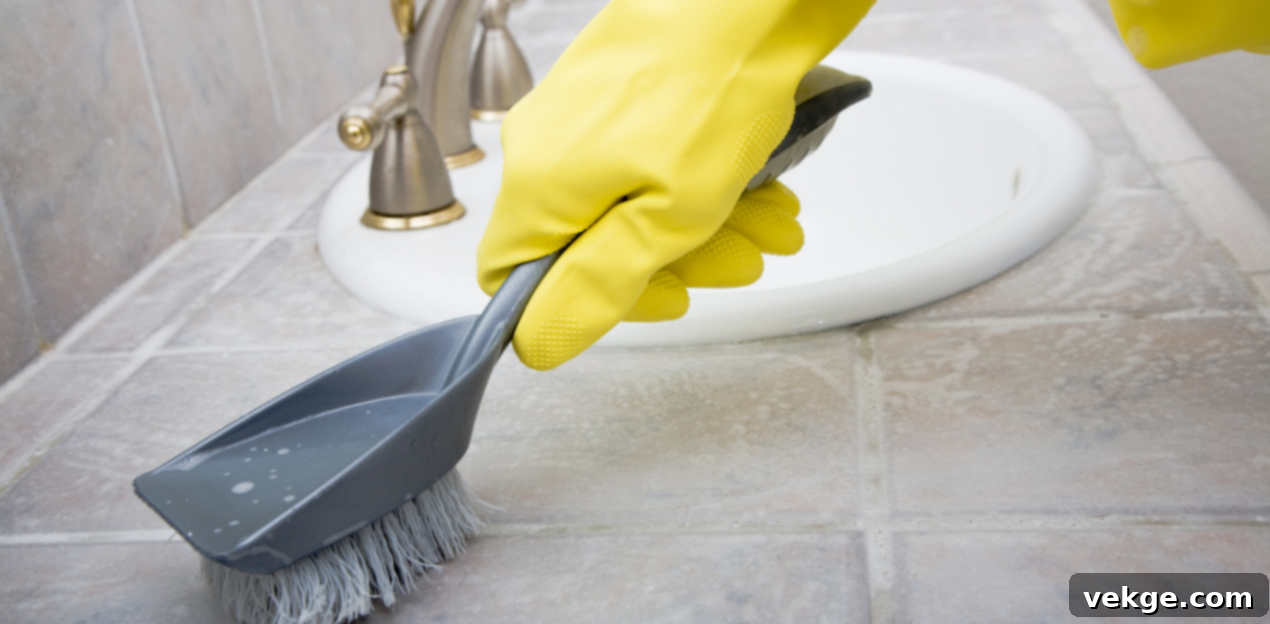
- Shower and Tub: Remove all shampoo bottles, soaps, and accessories from the shower. Spray down the entire area with a dedicated bathroom cleaner or a white vinegar solution to tackle soap scum and mildew. Let it sit for a few minutes before scrubbing walls, floor, and fixtures. Don’t forget to clean shower curtains (many are machine washable) or meticulously clean glass shower doors with a squeegee for a streak-free shine. Use an old toothbrush for grout lines. You can also descale your showerhead by soaking it in a bag of vinegar overnight.
- Toilet: This requires a thorough approach. Clean not just the inside of the bowl, but also the exterior, including the lid (top and bottom), seat, base, and behind the toilet, which often collects dust and hidden grime. Use a disinfectant cleaner and dedicated scrub brushes. Pay attention to the often-forgotten bolts at the base.
- Sink and Vanity: Clean and disinfect the sink basin, faucet, and vanity countertop. Polish chrome fixtures. Wipe down all cabinet doors and drawer fronts.
- Medicine Cabinet: Empty the medicine cabinet and check expiration dates on all medications, cosmetics, and first-aid supplies. Dispose of expired items properly. Wipe down the interior shelves and the mirror.
- Mirrors and Light Fixtures: Clean mirrors with a streak-free glass cleaner. Wipe down light fixtures and vanity lights, as these can accumulate dust and hairspray residue.
- Floors: Finish by thoroughly sweeping/vacuuming and then disinfecting the bathroom floor, paying extra attention to the areas around the toilet and sink.

Laundry Room: Maintaining Efficiency
The laundry room, while functional, can also gather dust, lint, and detergent residue. A deep clean ensures your machines run efficiently and the space remains fresh.
- Washing Machine: Run an empty hot water cycle with two cups of white vinegar (or a washing machine cleaner) to eliminate soap buildup, mildew, and odors. For front-loaders, pay extra attention to cleaning the rubber gasket around the door, where mold and grime often accumulate. Wipe down the exterior of the machine and the detergent dispenser drawer.
- Dryer: Thoroughly clean the lint trap before and after every load, but during a deep clean, remove it and wash it with soap and water if needed. Vacuum around the lint trap housing. If you can safely access the back of the dryer, vacuum behind it to remove trapped lint, which is a fire hazard.
- Surfaces and Sink: Wipe down any shelves, cabinets, and the laundry sink. Clean the floor, removing any stray lint or detergent spills.
Pro Tips I’ve Learned for an Easier Deep Clean
Having tackled this project myself, I’ve gathered a few extra pearls of wisdom that can make your deep cleaning experience more effective and even enjoyable:
- Music Makes Everything Better: Create a power playlist with your favorite upbeat tunes. Music can be a fantastic motivator and makes the time fly by.
- Take Breaks: This is a marathon, not a sprint. Don’t push yourself to exhaustion. Step away for a few minutes, hydrate, and stretch. I often prefer to deep clean one room per day, spreading the effort over a week or weekend.
- Get the Family Involved: Deep cleaning doesn’t have to be a solo mission. Assign age-appropriate tasks to family members. Even young children can help with dusting baseboards, tidying their toys, or organizing their closet shelves. Make it a team effort!
- Ventilation is Key: When using cleaning products, especially those with stronger fumes, ensure windows are open to allow for proper air circulation.
- Wear Comfortable Clothes: You’ll be moving, bending, and reaching. Dress in clothes that allow for full range of motion.
- Reward Yourself: Set small rewards for completing a room or a major task. A warm bath, your favorite show, or a tasty snack can be powerful motivators.
When to Call for Backup: Professional Cleaning Services
Sometimes, despite your best intentions, a deep cleaning project can feel overwhelming, or life simply gets in the way. It’s completely normal to feel this way. As Wes Bobek, owner of House Keep Up, which provides housekeeping services in Chicago, notes, “I see a lot of people start ambitious deep cleaning projects and then get overwhelmed halfway through. That’s totally normal. The key is knowing when to ask for help.”
Professional cleaning services offer a valuable solution. They have the expertise, specialized equipment, and efficient methods to tackle big jobs quickly and thoroughly. If you’re pressed for time, have physical limitations, or simply want to ensure a truly meticulous clean for specific areas (like professional carpet cleaning or window washing), bringing in the pros can be a game-changer. It allows you to focus on maintaining the day-to-day tidiness, knowing that the deep work has been expertly handled.
My Comprehensive Room-by-Room Deep Cleaning Checklist
To help you stay organized and ensure no spot is missed, here’s an expanded checklist based on my own deep cleaning experience:
Every Room (General Tasks):
- Dust ceiling fans, light fixtures, and vents
- Wipe down all hard surfaces (tables, shelves, dressers)
- Clean windows (glass, sills, and tracks)
- Vacuum or mop floors thoroughly, including under furniture
- Wipe down light switches and outlet covers
- Clean door frames, doorknobs, and the tops of doors
- Wipe down baseboards throughout the house
- Clean and polish any mirrors or picture frames
- Empty and clean trash cans
Kitchen Specifics:
- Clean inside and outside of refrigerator and freezer (empty, wipe shelves/drawers)
- Deep clean oven (self-clean or baking soda method)
- Clean microwave (inside and out)
- Wipe down inside and outside of all cabinets and drawers
- Clean backsplash, countertops, and sink (including faucet and drain)
- Wipe down exteriors of all large and small appliances
- Clean range hood and filters
Living Room Specifics:
- Vacuum under and around all furniture
- Vacuum upholstery (remove cushions, clean crevices)
- Dust and wipe down electronics and their cables
- Clean blinds/curtains
- Spot clean rugs/carpets if needed
Bedroom Specifics:
- Vacuum under bed and all furniture
- Deep clean mattress (vacuum, baking soda treatment, flip if possible)
- Wash all bedding, including pillows and duvets (if possible)
- Declutter and clean inside closets (wipe shelves, vacuum floor)
- Dust and wipe down all bedroom furniture
Bathroom Specifics:
- Scrub shower/tub (walls, floor, fixtures) and clean shower curtain/glass doors
- Deep clean toilet (bowl, seat, lid, exterior, base, behind)
- Clean sink, vanity, and faucet
- Clean mirrors and light fixtures
- Organize and clean medicine cabinet (check expiration dates)
- Scrub grout lines
Laundry Room Specifics:
- Run empty washing machine cleaning cycle
- Clean washing machine gasket and dispenser
- Thoroughly clean dryer lint trap and surrounding area (vacuum behind if accessible)
- Wipe down shelves and laundry sink
The Unbeatable Satisfaction Factor
Let’s be honest: deep cleaning is work. It requires effort, time, and dedication. But when you finally stand back and admire your handiwork, the feeling is unparalleled. Your house won’t just look cleaner; it will feel different. The air seems lighter, everything smells genuinely fresh, and you’ll notice details and architectural features of your own space that you might have long forgotten.
Beyond the immediate visual appeal, there’s a deeper sense of accomplishment and calm. A truly clean home contributes to a clearer mind. The best part? Once you’ve invested the time in a thorough deep clean, keeping up with regular maintenance becomes significantly easier. You’re no longer battling layers of built-up grime and dust; instead, you’re simply maintaining a pristine foundation. This comprehensive guide and checklist will empower you to transform your home into the sparkling, healthy, and inviting sanctuary you deserve.
