Ultimate DIY Guide: How to Install Plywood Flooring for a Beautiful and Durable Finish
Are you searching for a flooring solution that perfectly balances affordability, durability, and style? Look no further than plywood flooring. This incredibly versatile and budget-friendly option offers a fantastic opportunity for a DIY project, allowing you to significantly enhance the aesthetic and functionality of your living space without breaking the bank.
Whether you’re embarking on a full home renovation or simply looking to refresh a single room, plywood can be stained, painted, or sealed to achieve a wide array of looks, from modern minimalist to rustic charm. Its inherent strength also makes it an excellent choice for high-traffic areas.
This comprehensive guide will walk you through everything you need to know about how to lay plywood flooring successfully. From selecting the ideal materials and gathering essential tools to following detailed step-by-step instructions and mastering professional finishing techniques, we’ve got you covered. It doesn’t matter if you’re a complete beginner or possess some prior DIY experience; you’ll find all the insights and practical advice required to achieve a stunning and long-lasting plywood floor. Let’s dive in and transform your home!
Choosing the Right Plywood for Your Floor Project
The success and longevity of your plywood flooring project heavily depend on selecting the correct type and grade of plywood. Making an informed choice at this stage will ensure both durability and the desired aesthetic for your new floor.
- Hardwood Plywood: Known for its superior strength and resistance to wear and tear, hardwood plywood (such as birch, oak, or maple veneers) is an excellent choice for flooring, particularly in high-traffic areas. It offers a beautiful natural grain that can be stained or sealed for a premium look.
- Softwood Plywood: While more affordable, softwood plywood (like pine or fir) is generally less durable and more prone to denting. It might be suitable for low-traffic areas or as a subfloor, but for a finished surface, hardwood options are usually preferred.
- Moisture-Resistant Plywood (Marine Plywood): For areas prone to moisture, such as bathrooms, kitchens, or basements, moisture-resistant or marine-grade plywood is highly recommended. This type uses waterproof glue and is engineered to withstand damp conditions, significantly reducing the risk of warping, swelling, or rot.
- Thickness: For flooring, a thickness of ¾-inch (19mm) is typically recommended. This provides ample strength and stability, minimizing bounce and preventing issues like sagging or creaking. Thicker plywood offers greater rigidity and sound dampening.
- Plywood Grade: Plywood is graded from A to D, with ‘A’ being the highest quality (smooth, sanded, free of defects) and ‘D’ having visible knots and imperfections. For a smooth, paintable, or stainable finish, consider cabinet-grade or A/B grade plywood, which has fewer knots and a cleaner surface. If you’re aiming for a rustic look and plan for significant finishing (sanding, filling), a lower grade might suffice, but expect more preparation work.
Always allow your chosen plywood to acclimatize in the room where it will be installed for at least 48-72 hours. This helps the wood adjust to the room’s temperature and humidity levels, preventing warping or expansion issues after installation.
Essential Tools Required to Lay Plywood Flooring
Having the right tools is paramount for a smooth and efficient plywood flooring installation. Here’s a comprehensive list of what you’ll need, along with a brief explanation of their purpose:
- Pneumatic Compressor and Pinning Gun: Absolutely crucial for securely fastening the plywood to the subfloor. The pinning gun drives small pins at an angle, providing a strong, concealed hold that prevents movement and squeaks.
- Circular Saw or Track Saw: For making long, straight, and precise cuts across plywood sheets. A track saw offers superior accuracy for perfectly straight edges.
- Jigsaw: Essential for intricate cuts around doorframes, pipes, and other irregular obstacles, ensuring a custom, snug fit.
- Tape Measure: For accurate measurements of your space and plywood sheets, ensuring pieces fit correctly and the layout is staggered effectively.
- Carpenter’s Pencil or Marker: For clearly marking cut lines and alignment points on your plywood sheets.
- Long Straight Edge or Speed Square: To guide your saw for perfectly straight cuts and to ensure boards are aligned squarely during installation.
- Feather Finish (Self-Leveling Compound): To level out minor unevenness in the subfloor or fill small gaps, creating a perfectly smooth surface for your plywood.
- Vacuum Cleaner or Cleaning Tools: Critical for thoroughly cleaning the subfloor before installation and maintaining a dust-free workspace, preventing debris from getting trapped under the new floor.
- Utility Knife: Handy for trimming underlayment or other materials.
- Pry Bar: Useful for removing old flooring or trim.
- Hammer: For tapping boards into place or adjusting minor inconsistencies.
- Safety Glasses and Ear Protection: Non-negotiable safety gear to protect your eyes from debris and your ears from power tool noise.
- Knee Pads: Your knees will thank you for these during hours of work on the floor.
- Construction Adhesive (Optional but Recommended): A high-quality subfloor adhesive can be applied to the subfloor before laying plywood to create an even stronger bond and further prevent squeaks.
How to Lay Plywood Flooring: A Detailed Step-By-Step Process
Follow this comprehensive guide to ensure a professional and durable plywood floor installation, from meticulous preparation to the final securement.
Step 1: Preparing Your Subfloor and Plywood
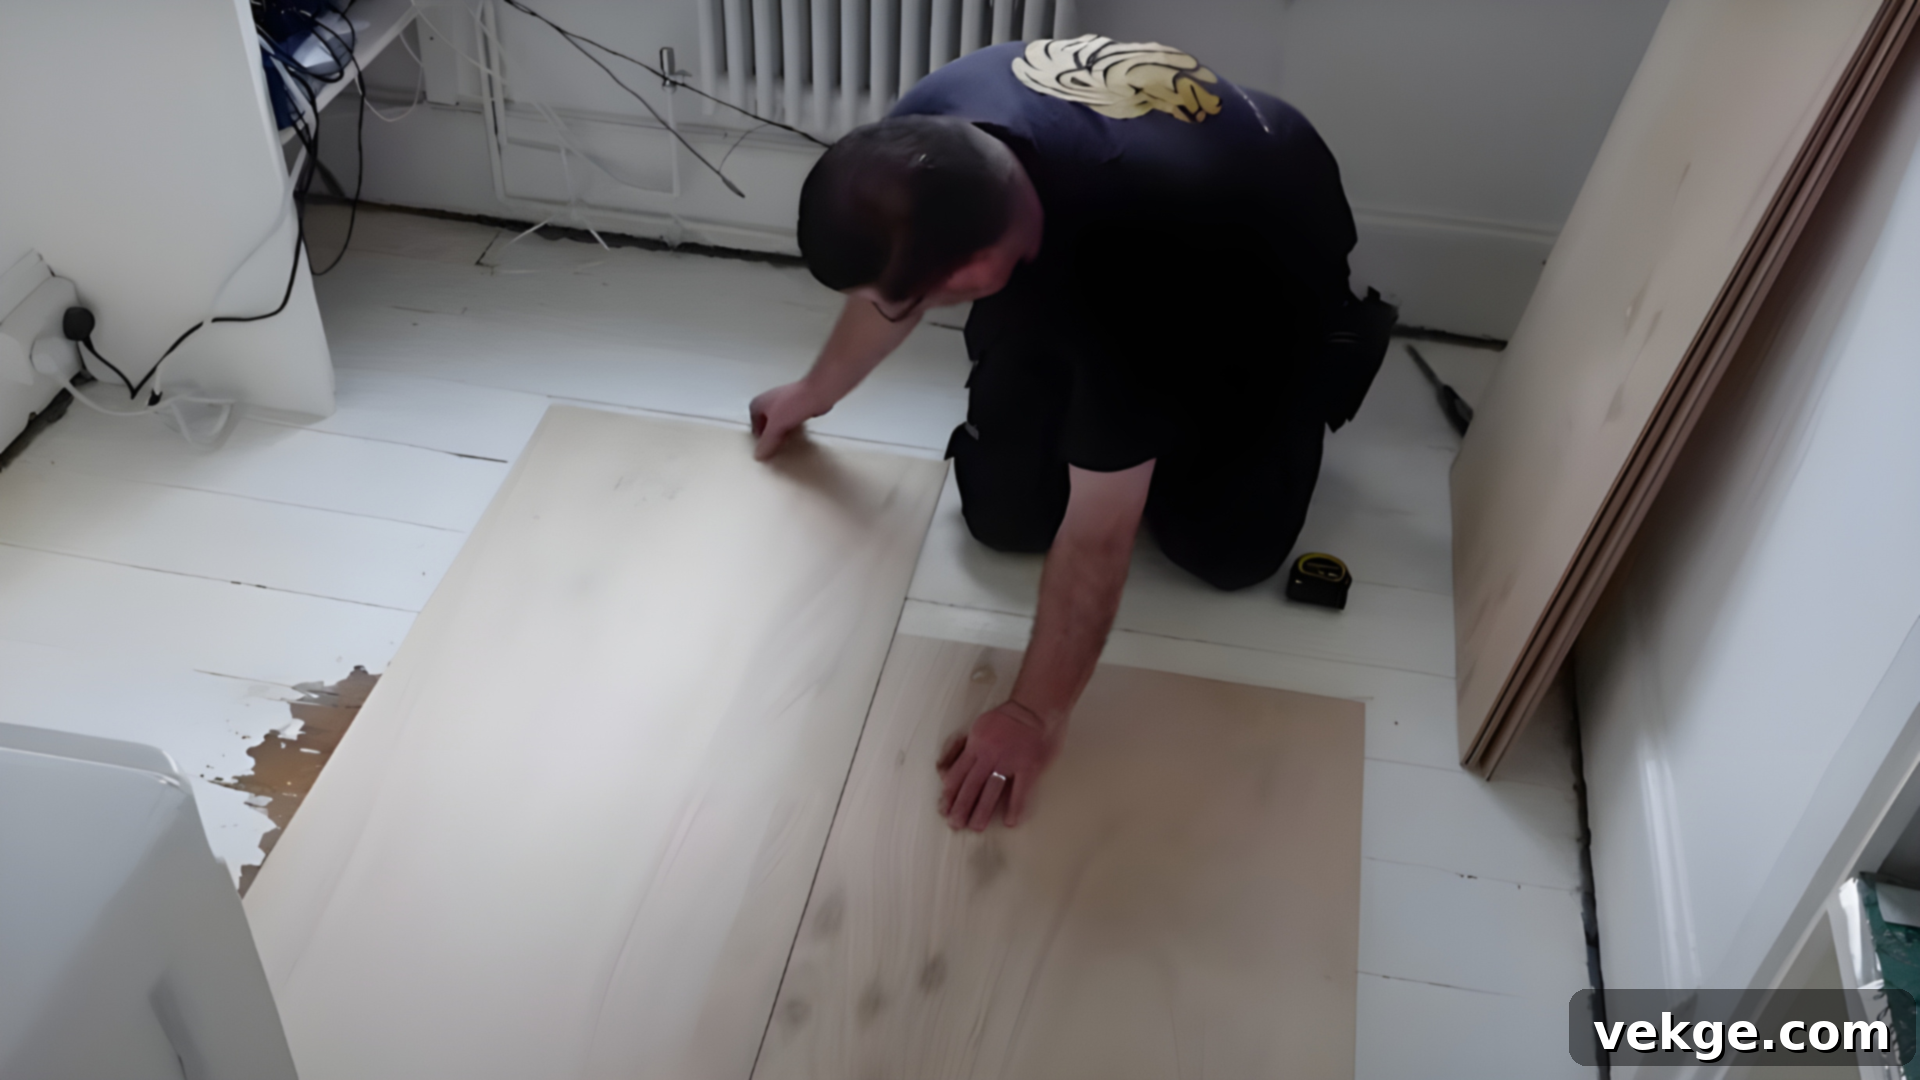
Before any plywood goes down, thoroughly clean the existing subfloor, removing all dust, debris, and any protruding nails or screws. Address any significant unevenness using a self-leveling compound for dips or sanding down high spots. A perfectly flat subfloor is essential for preventing squeaks and ensuring a stable, smooth finish.
Next, it’s crucial to lay the plywood sheets in the opposite direction of the existing subfloor joists or floorboards. This technique creates a cross-grain pattern, significantly strengthening the overall floor structure and preventing future shifting or creaking. Ensure your plywood has had sufficient time to acclimatize to the room’s conditions. For initial alignment, lay out a few boards without securing them to check for squareness and to visualize your layout. This dry run helps you avoid misaligned edges and achieve a uniform, professional appearance from the start.
Step 2: Precisely Cutting the Plywood Sheets
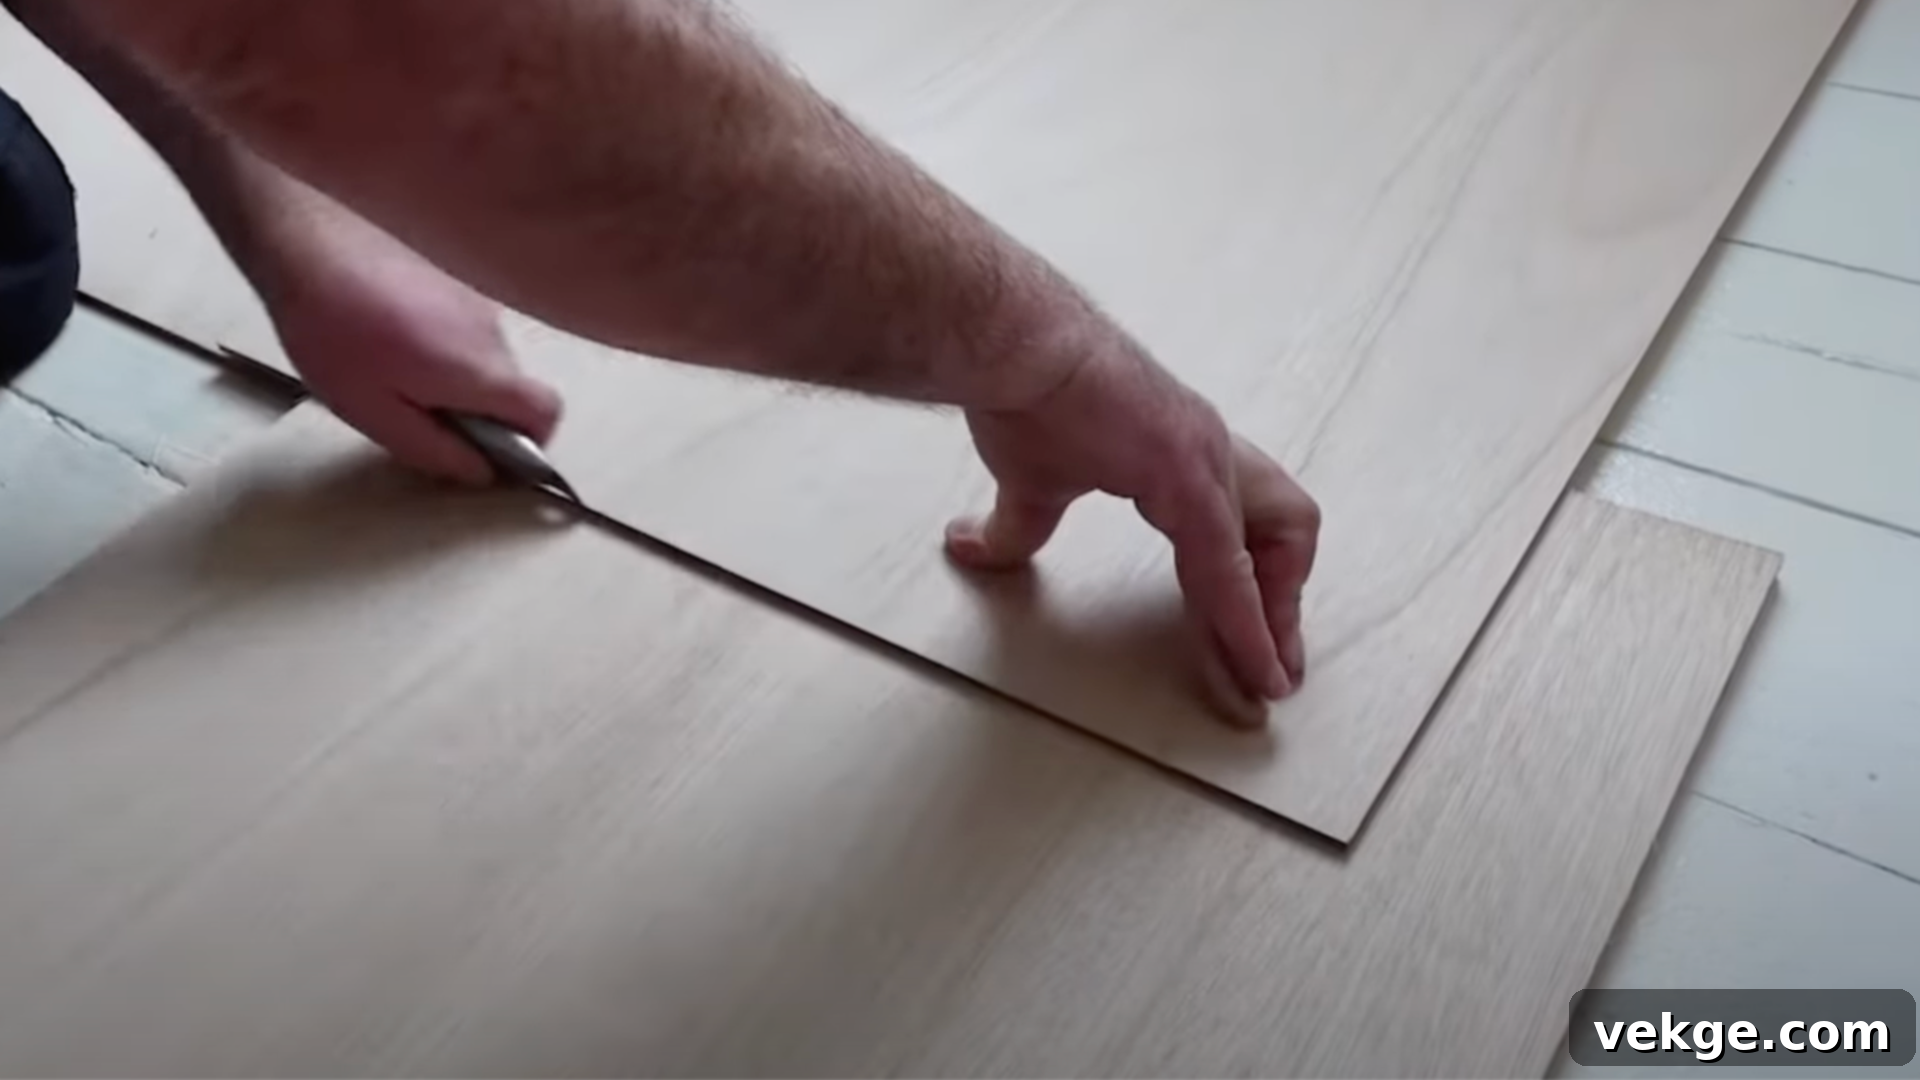
Once your layout is planned, the next step involves cutting the plywood sheets to fit your specific space. When you encounter walls, doorframes, or other obstacles like skirting boards, use a jigsaw for precise and smooth cuts around these irregular shapes. Always wear safety glasses and ear protection when operating power tools.
For uniform cuts and to maintain perfectly straight edges, consider using a straight edge or another plywood board as a guide for your circular saw. This method helps create perfectly square cuts, ensuring that all boards fit together with minimal gaps. Remember to account for an expansion gap of approximately 1/8 to 1/4 inch around the perimeter of the room and between sheets. This small gap allows the wood to expand and contract naturally with changes in humidity, preventing buckling or warping in the future. Measure carefully before making any cuts to guarantee a tight and professional fit against all edges.
Step 3: Strategically Staggering the Seams
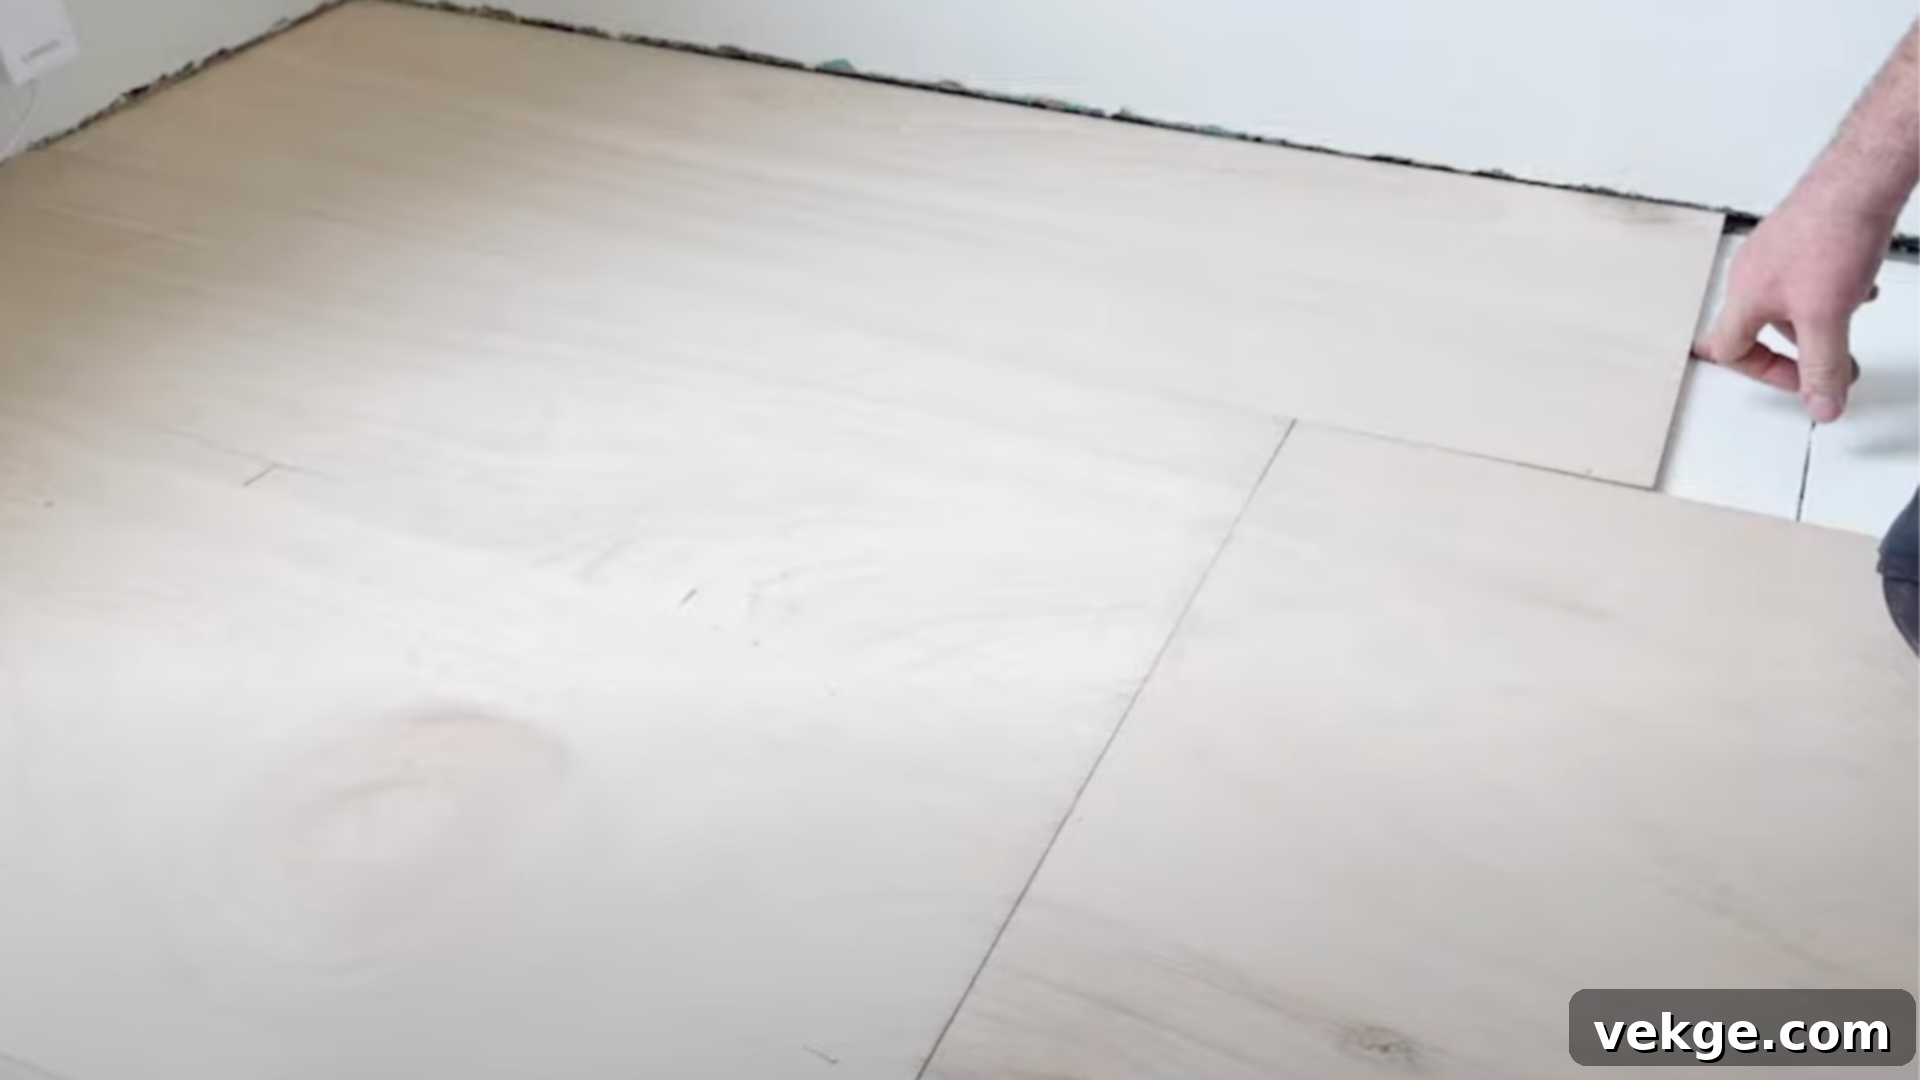
Staggering the seams of your plywood sheets is a critical step for both the structural integrity and aesthetic appeal of your new floor. Much like bricks in a wall, a staggered pattern ensures that no two end seams align across adjacent rows. This technique distributes the weight and stress evenly across the entire floor, dramatically increasing its stability and preventing weak points that could lead to shifting, creaking, or buckling over time.
Ideally, aim for an offset of at least 1/3 to 1/2 of the sheet’s length between seams in consecutive rows. This creates a stronger, more resilient surface. Crucially, avoid placing the new plywood board seams directly over the joints or seams of the existing subfloor beneath. This layered, offset approach provides a robust bond between each piece, significantly reducing the risk of unevenness and future movement. Proper seam staggering is a fundamental practice for constructing a solid, durable, and professional-looking plywood floor.
Step 4: Securely Fastening the Plywood
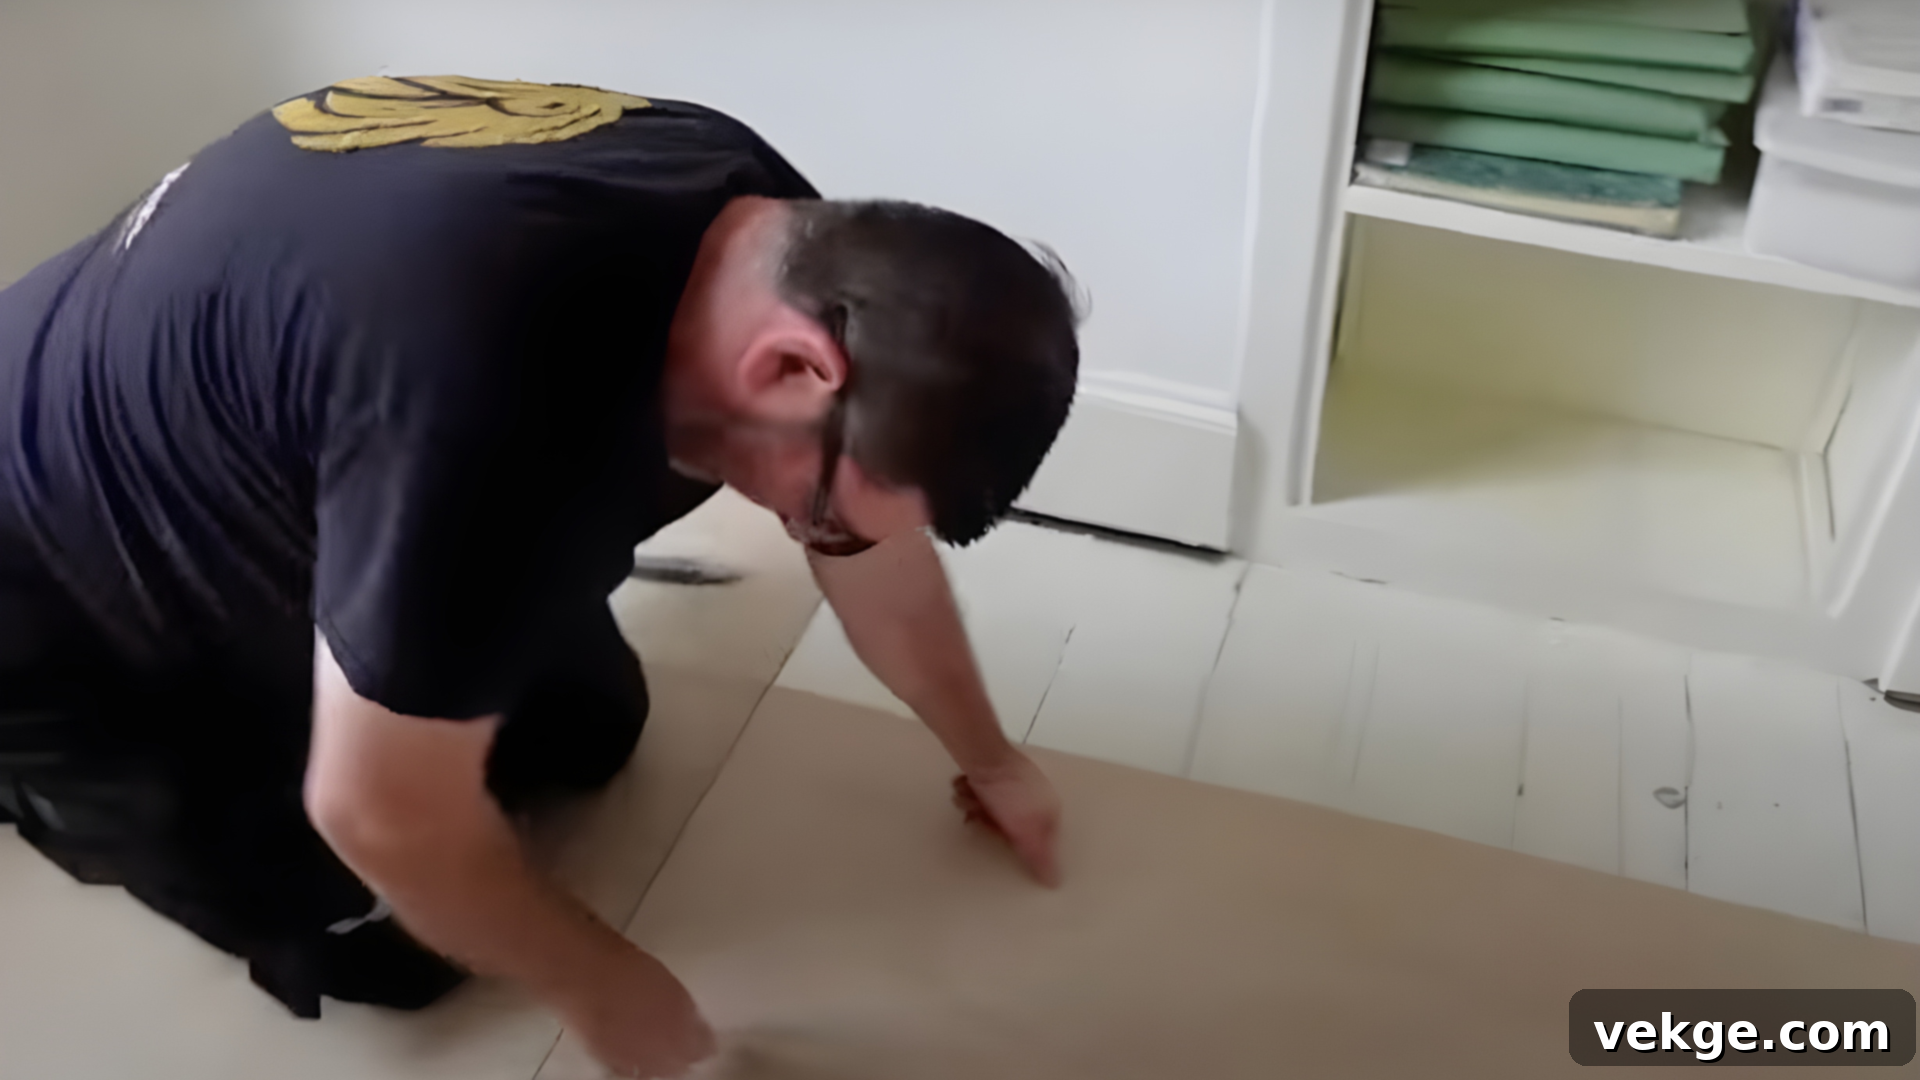
With the plywood properly positioned and aligned, it’s time to secure it firmly to the subfloor. While the original content mentions a pinning gun, you can also use ring-shank nails or specialized subfloor screws. For ultimate security and squeak prevention, many professionals recommend applying a bead of high-quality construction adhesive to the subfloor before laying each sheet. This adhesive creates an incredibly strong bond between the plywood and the subfloor.
If using a pneumatic pinning gun, drive small pins into the plywood at a slight angle. The small coils on these pins (or the threads on screws) provide excellent grip, preventing any future movement. Aim to place fasteners every 6-8 inches along the perimeter edges of each sheet and every 12 inches in a grid pattern across the center of the sheet. This dense fastening pattern ensures a robust connection, significantly reducing the likelihood of creaking or shifting over time.
As you work, consistently keep the subfloor and the underside of the plywood sheets free from any debris. Even tiny particles can cause bumps, irregularities, or weak points, compromising the integrity and flatness of your new floor. Ensure the plywood sits flush and smooth against the subfloor to achieve the best, most stable results.
Step 5: Final Touches, Inspection, and Finishing Preparation
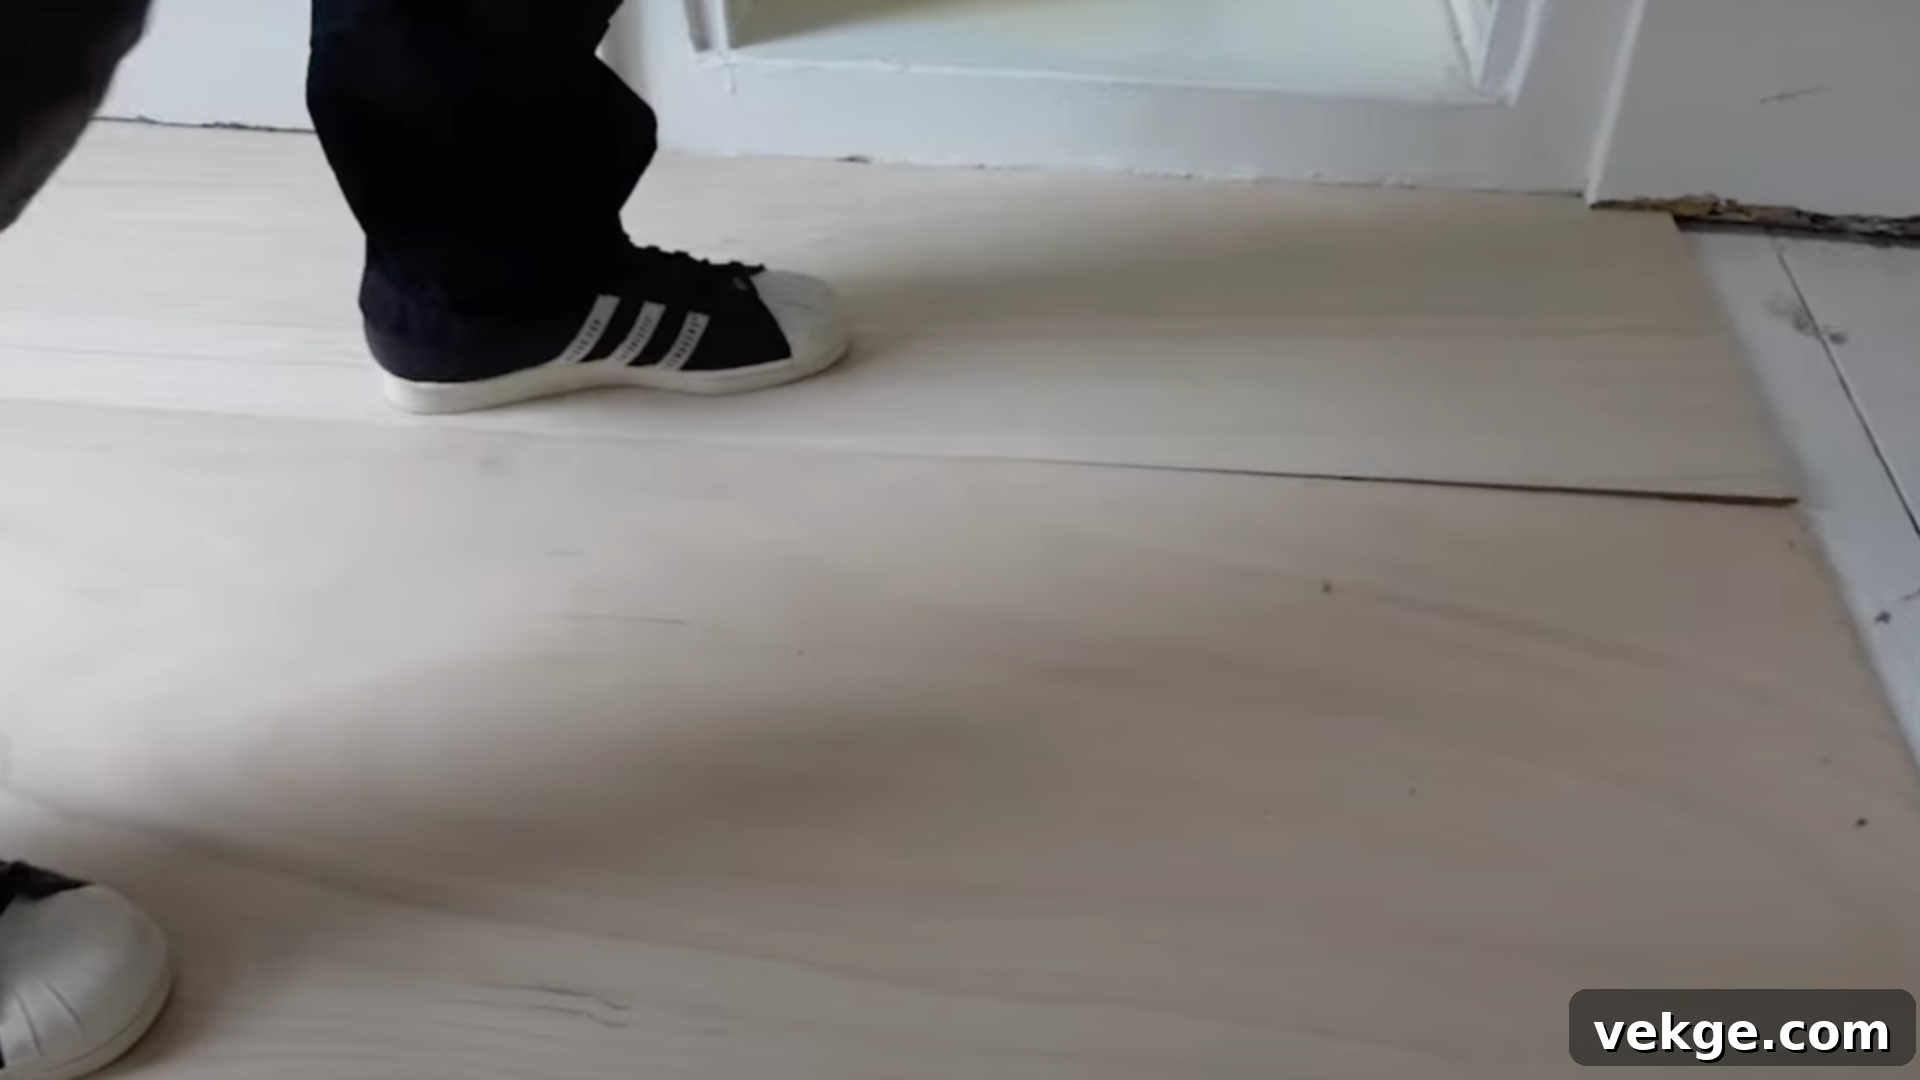
After all the plywood sheets are securely fastened, it’s time for a thorough inspection and final adjustments. Walk around the entire room, carefully checking that all boards fit tightly against the walls and seamlessly with each other. A meticulous fit is crucial not only for a professional appearance but also to prevent unsightly gaps that could collect dirt or cause future issues.
If you find any minor irregularities or areas that don’t quite fit, now is the time to make precise cuts or use wood filler for tiny imperfections. For a truly smooth surface ready for finishing, a light sanding of the entire floor will remove any splinters, rough patches, or minor height differences between sheets. This step is vital if you plan to paint or stain your plywood floor, as it ensures an even absorption of the finish.
Continue cleaning as you go, ensuring no sawdust or debris remains on the surface or is trapped between joints. A clean surface ensures better adhesion for any future finishes and prevents any hidden particles from causing squeaks or humps. With these final checks, your plywood subfloor is now ready for its chosen top coat, whether that’s paint, stain, or a durable sealant.
For a visual walkthrough of the entire plywood flooring process, providing helpful tips and detailed steps, check out the video below:
Advanced Tips and Tricks for a Professional Plywood Finish
To elevate your plywood flooring project from good to exceptional, consider these additional tips and techniques:
- Consider an Underlayment for Enhanced Comfort: While not always mandatory, adding a thin foam or cork underlayment between the subfloor and plywood can offer several benefits. It helps to further smooth out minor imperfections, provides additional sound dampening, and adds a layer of thermal insulation, making the floor more comfortable underfoot.
- Prioritize Precision, Not Speed: Resist the urge to rush. Take your time to measure each piece meticulously and make precise cuts. The accuracy of your cuts directly impacts the overall fit and finished appearance of your floor. A few extra minutes spent measuring can save hours of frustration later.
- Pre-Drill Pilot Holes (Especially for Screws): If you opt to use screws instead of nails (which can offer a stronger hold), always pre-drill pilot holes. This simple step prevents the plywood from splitting, especially near edges, and ensures fasteners sit flush.
- Stagger Fasteners for Maximum Security: Just as you stagger the plywood seams, make sure to stagger your screws or nails as well. This distributes the holding power more evenly across the surface of each sheet and helps prevent stress concentrations that could lead to weak spots or future movement.
- Practice Cuts on Scrap Material: If you’re new to using a particular saw, take a few minutes to practice cuts on scrap plywood. This will help you get a feel for the tool and ensure your final cuts on your flooring material are perfect.
- Plan Your Layout Carefully: Before you even start cutting, dry-lay a few sheets to visualize your pattern and minimize waste. Start laying from the longest wall, working your way across the room.
Maintaining Your Plywood Floor for Long-Term Beauty
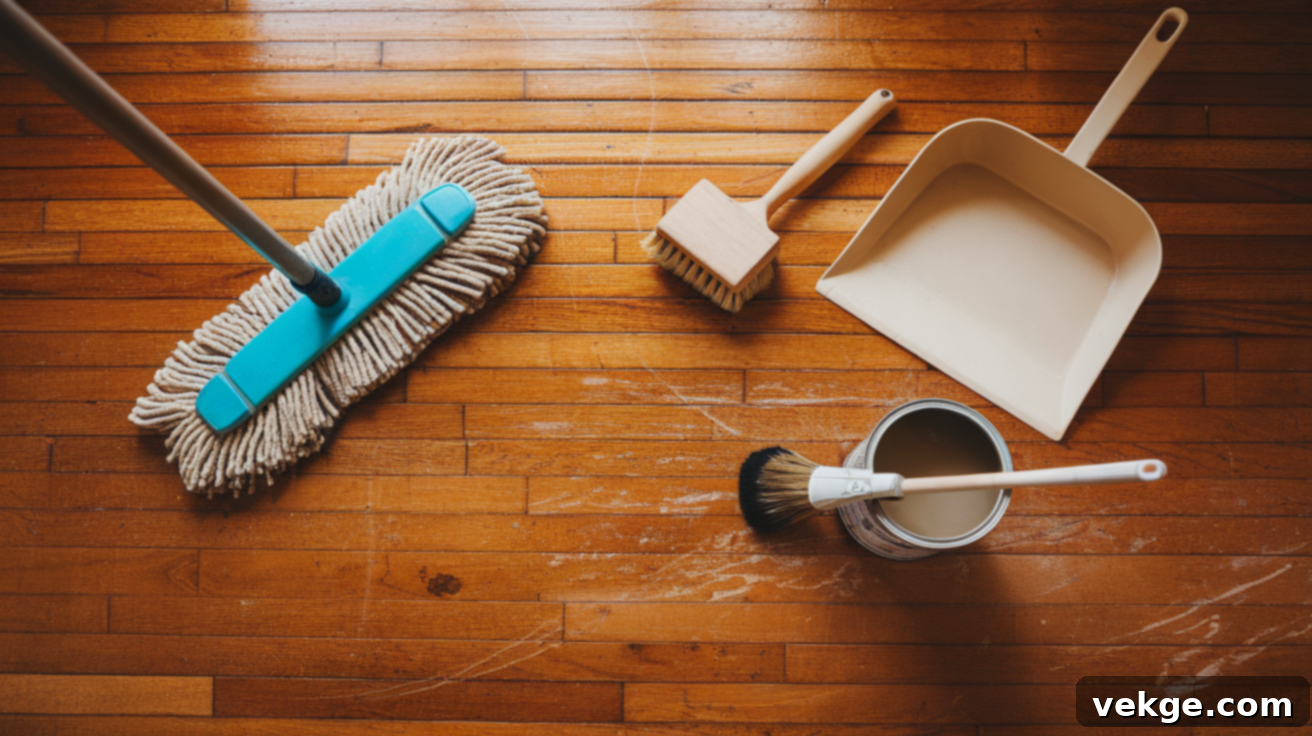
Once your plywood floor is beautifully installed, regular and proper maintenance is essential to ensure its lasting beauty and durability. With the right care, your plywood floor can look fantastic for many years.
- Regular Cleaning: Sweep or vacuum your plywood floor frequently to remove dust, dirt, and grit. These small particles can act like sandpaper, scratching the surface finish over time. For deeper cleaning, use a soft, damp mop with water and a mild, pH-neutral wood cleaner. Avoid excessive water, as plywood is still wood and prolonged exposure to moisture can lead to warping or swelling. Always wipe up spills immediately.
- Re-Finishing and Protection: Over time, the protective finish (paint, stain, or polyurethane) on your plywood floor may show signs of wear, appearing dull or scratched, especially in high-traffic areas. When this occurs, lightly sand the affected areas or the entire floor with fine-grit sandpaper, clean thoroughly, and then apply a fresh coat of your chosen finish. This not only restores the shine but also renews the protective barrier against daily wear and moisture.
- Furniture Protection: Place felt pads or glides under the legs of all furniture, especially heavy items. This simple precaution will prevent scratches, dents, and gouges when furniture is moved. Always lift furniture rather than dragging it across the floor.
- Humidity Control: As a wood product, plywood is susceptible to changes in humidity. Extreme fluctuations can cause the wood to expand, contract, warp, or crack. Maintaining a stable indoor humidity level (ideally between 35-55%) using humidifiers or dehumidifiers can significantly prolong the life of your floor.
- Moisture Sealing: For plywood floors in potentially high-moisture areas (like basements or ground-floor rooms), ensure they are properly sealed with a waterproof or water-resistant finish to provide an extra layer of protection against humidity and spills.
Common Mistakes to Avoid for a Flawless Installation
Even experienced DIYers can make mistakes. Being aware of these common pitfalls will help ensure your plywood flooring project goes smoothly and results in a long-lasting, problem-free floor:
- Ignoring Expansion Gaps: Failing to leave a small expansion gap (1/8 to 1/4 inch) around the perimeter of the room and between sheets is a significant error. Wood naturally expands and contracts with changes in temperature and humidity. Without these gaps, the floor can buckle, warp, or lift, leading to costly repairs.
- Inaccurate Cuts: Rushing cuts or not using a straight edge can lead to unsightly gaps between sheets or along walls. Precision is key. Always measure twice and cut once, and test your cuts on scrap wood if you’re unsure.
- Improper Fastener Placement: Inadequate spacing of screws or nails (too few, or placed too far apart) can result in loose sheets, squeaks, or unevenness. Conversely, placing them too close to the edge can split the plywood. Stick to recommended spacing (6-8 inches along edges, 12 inches in the field).
- Neglecting Subfloor Preparation: Skipping the crucial step of preparing the subfloor (cleaning, leveling, repairing damage) is a recipe for disaster. Any imperfections in the subfloor will eventually telegraph through your new plywood floor, leading to an uneven surface, squeaks, and potential structural issues.
- Not Acclimatizing Plywood: Installing plywood immediately after purchase can lead to significant problems. Plywood needs time to adjust to the room’s humidity and temperature. Failure to acclimatize can cause the wood to expand or contract after installation, resulting in warping, gaps, or buckling.
- Inadequate Ventilation: Especially when using adhesives or sealants, ensure proper ventilation in the work area to disperse fumes and promote proper drying and curing.
Addressing Uneven Floors Before Plywood Installation
A truly successful plywood floor begins with a perfectly level subfloor. Ignoring an uneven surface will inevitably lead to an unstable, squeaky, and aesthetically unpleasing finished floor. Here’s how to tackle various levels of unevenness:
- Minor Bumps and Dips: For slight imperfections, a self-leveling compound is your best friend. These compounds are typically poured onto the subfloor and spread out, creating a perfectly smooth, flat surface as they cure. Ensure the subfloor is clean and primed according to the product’s instructions for optimal adhesion.
- Raised Areas: If you have high spots, a floor sander (which can often be rented from home improvement stores) can be used to grind down the subfloor to an even level. Work slowly and methodically to avoid creating new dips.
- Deeper Low Spots: For more significant depressions, shims can be carefully placed and secured to raise the subfloor to the desired height. Alternatively, patching with plywood strips of varying thicknesses can also build up low areas. In some cases, a second layer of ¼-inch plywood underlayment, meticulously shimmed and leveled, can create a new, flat surface over a severely uneven subfloor.
- Checking for Level: Throughout this process, regularly use a long straight edge or a laser level to consistently check for flatness across the entire subfloor. A level surface is not just for appearance; it’s critical to prevent future issues such as sagging, creaking, or uneven wear on your new plywood flooring.
Conclusion: Empowering Your DIY Plywood Flooring Project
Plywood flooring stands out as an exceptionally cost-effective, remarkably durable, and surprisingly stylish option for any home renovation project. Its versatility, combined with the satisfaction of a successful DIY endeavor, makes it a truly rewarding choice. With the right materials, a clear understanding of the installation process, and a commitment to precision, you can create a beautiful and robust floor that adds significant value and character to your living space.
Remember, the foundation of a great plywood floor lies in meticulous preparation, including thorough subfloor leveling and the careful selection of appropriate plywood. Once installed, maintaining your plywood floor is straightforward, requiring only regular cleaning and periodic reapplication of its protective finish to keep it looking its best for years to come. By following the detailed tools, tips, and step-by-step guidance provided in this guide, you are now fully equipped with the knowledge and confidence on how to lay plywood flooring like a professional.
It’s time to gather your tools, roll up your sleeves, and embark on this fulfilling DIY journey! Your stunning new plywood floor awaits. Don’t forget to explore our other blogs for more inspiring DIY tips and comprehensive guides on a wide array of home improvement projects.
