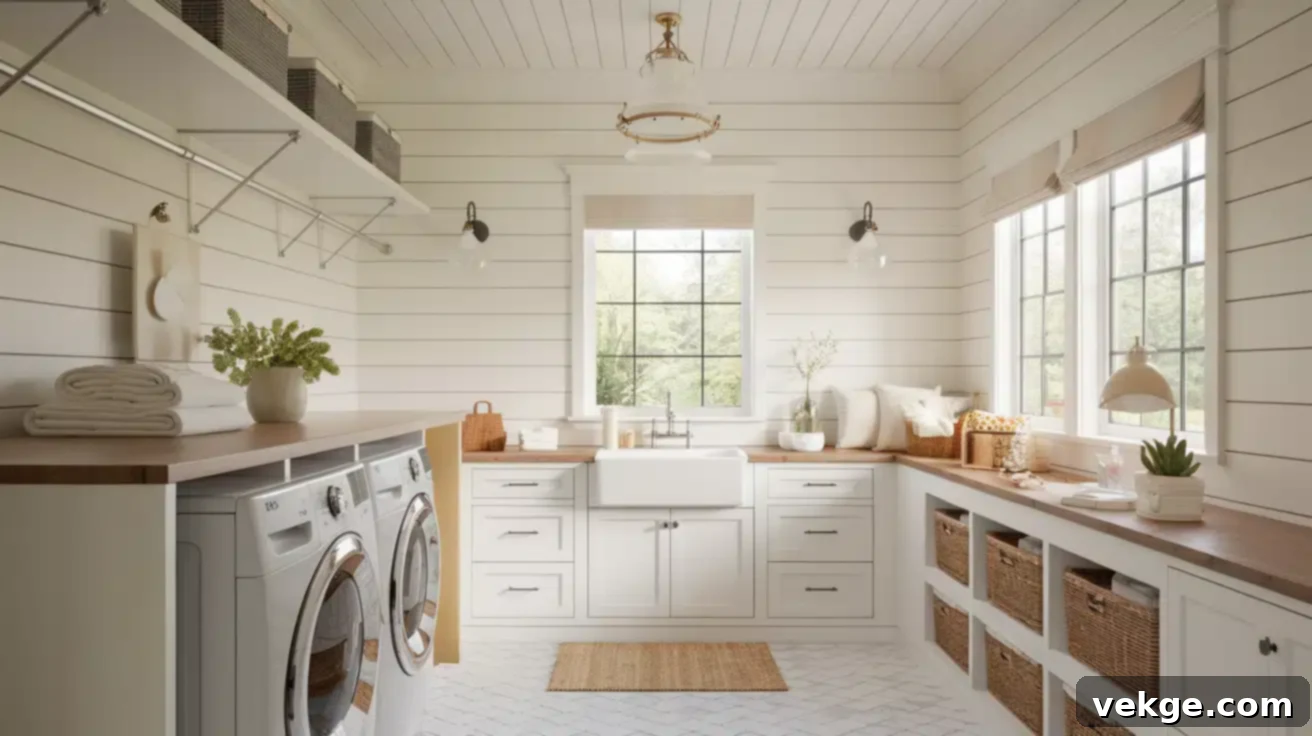
Transform Your Laundry Room with Shiplap: Design Ideas, DIY Guide, & Expert Tips
Are you tired of walking into a mundane laundry room that makes household chores feel like an even greater burden? Imagine a space that’s not just functional, but also aesthetically pleasing and truly inviting. Adding shiplap walls might be the perfect solution to revitalize this often-overlooked area of your home.
These classic wooden panels, characterized by their distinctive overlapping or interlocking edges, can effortlessly transform a plain laundry space into a spot that feels both cozy and highly functional. Shiplap brings a clean, structured look and a host of practical benefits to a room typically forgotten in home design. Beyond mere aesthetics, these simple yet impactful wooden panels upgrade laundry rooms from just a place for dirty clothes into areas that feel bigger, help streamline storage, and add significant style and value to your home.
Whether you’re aiming for a rustic farmhouse charm, a sleek modern aesthetic, or something uniquely yours, shiplap provides a versatile backdrop. In this comprehensive guide, we’ll dive deep into everything from creative design ideas and essential planning tips to a step-by-step DIY installation process and crucial considerations. Our goal is to empower you to create a laundry room you’ll actually enjoy spending time in, making laundry day less of a chore and more of a pleasure.
Inspiring Shiplap Laundry Room Design Ideas
Shiplap’s versatility allows it to blend seamlessly with various design aesthetics. Here are some inspiring ideas to help you envision the perfect shiplap-enhanced laundry room:
1. Rustic Farmhouse Vibes
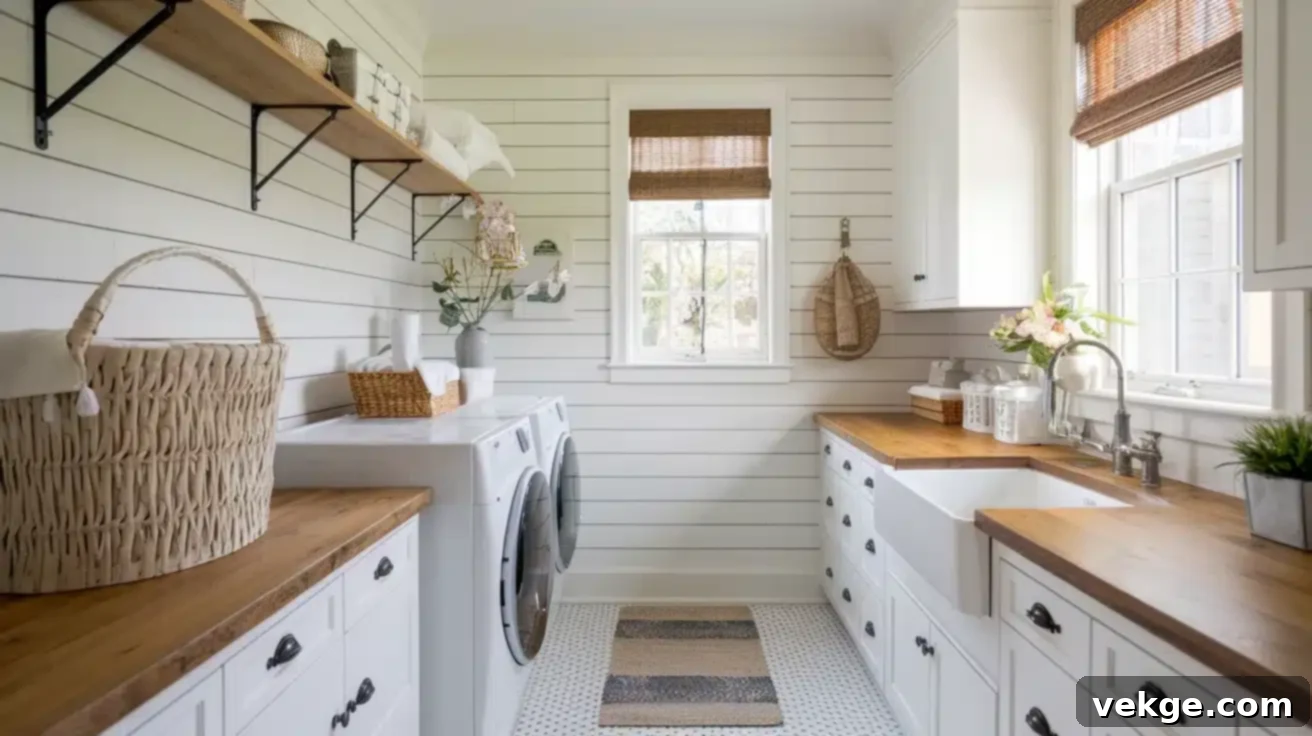
Embrace the timeless appeal of a rustic farmhouse. White or light-colored shiplap walls serve as the perfect foundation, creating a bright and airy atmosphere. Pair these with warm, distressed wood countertops, open shelving displaying vintage-inspired accessories like antique washboards or metal baskets, and a deep apron-front sink. This combination evokes a sense of nostalgia and comfort, making your laundry room an inviting and comfortable retreat.
2. Modern Farmhouse Chic
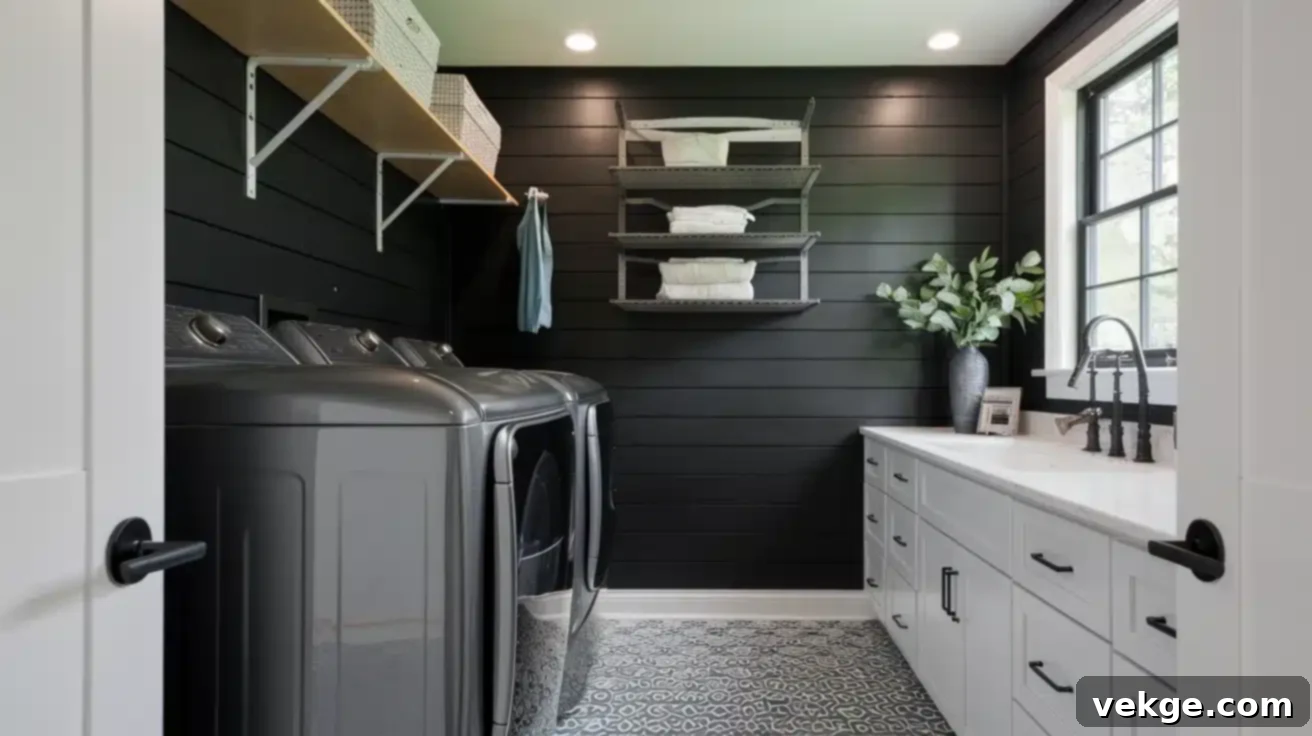
For a stylish, contemporary take on the farmhouse look, combine the warmth of shiplap with sleek, modern elements. Think matte black fixtures, state-of-the-art appliances, and minimalist metal storage racks. Introduce industrial-style lighting or geometric patterns to your decor. This blend of rustic texture and modern finishes creates a chic, sophisticated, and highly functional space that’s both on-trend and enduring.
3. Accent Shiplap Wall
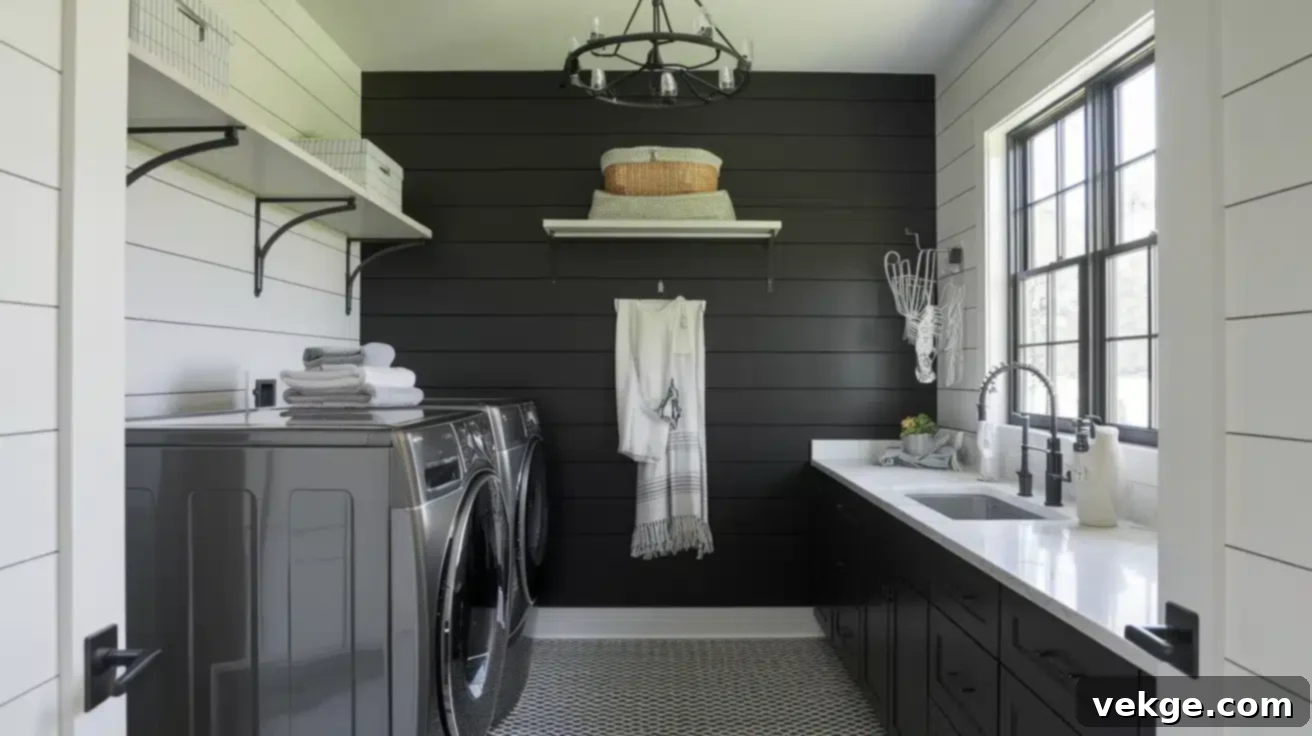
If full shiplap coverage feels too overwhelming or you prefer a subtle touch, consider highlighting just one wall. An accent shiplap wall adds significant visual interest and texture without dominating the entire room. Leave the other walls smooth or painted in a complementary color to achieve a balanced and refined design. This approach works wonderfully in smaller laundry rooms or as a backdrop for a specific feature, like a folding counter or a stylish shelving unit.
4. Bold Colored Shiplap
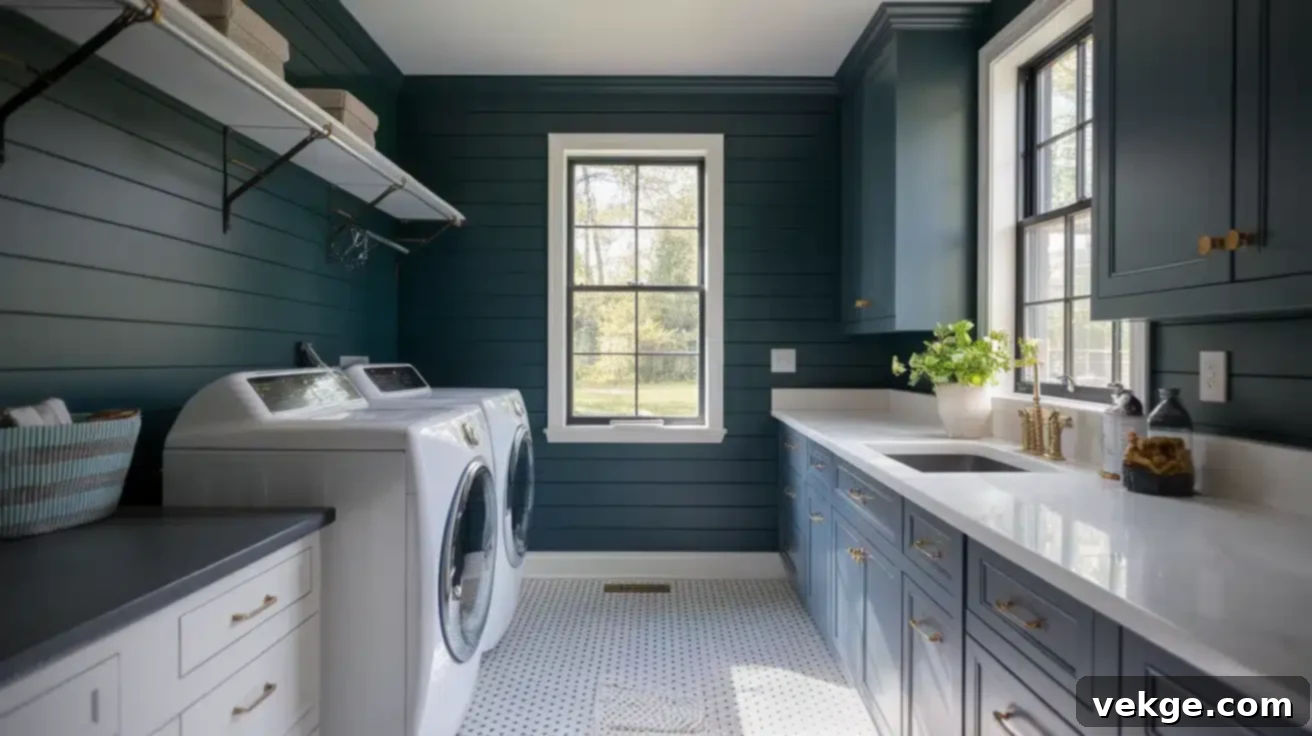
Break away from the classic white! Choose darker, bolder hues like deep blues, charcoal grays, or muted greens for your shiplap. These unexpected colors transform the shiplap into a dramatic focal point, injecting personality and depth into your laundry room. Darker shades can also create a more intimate and sophisticated atmosphere, contrasting beautifully with lighter cabinets or metallic hardware.
5. Shiplap and Open Shelving
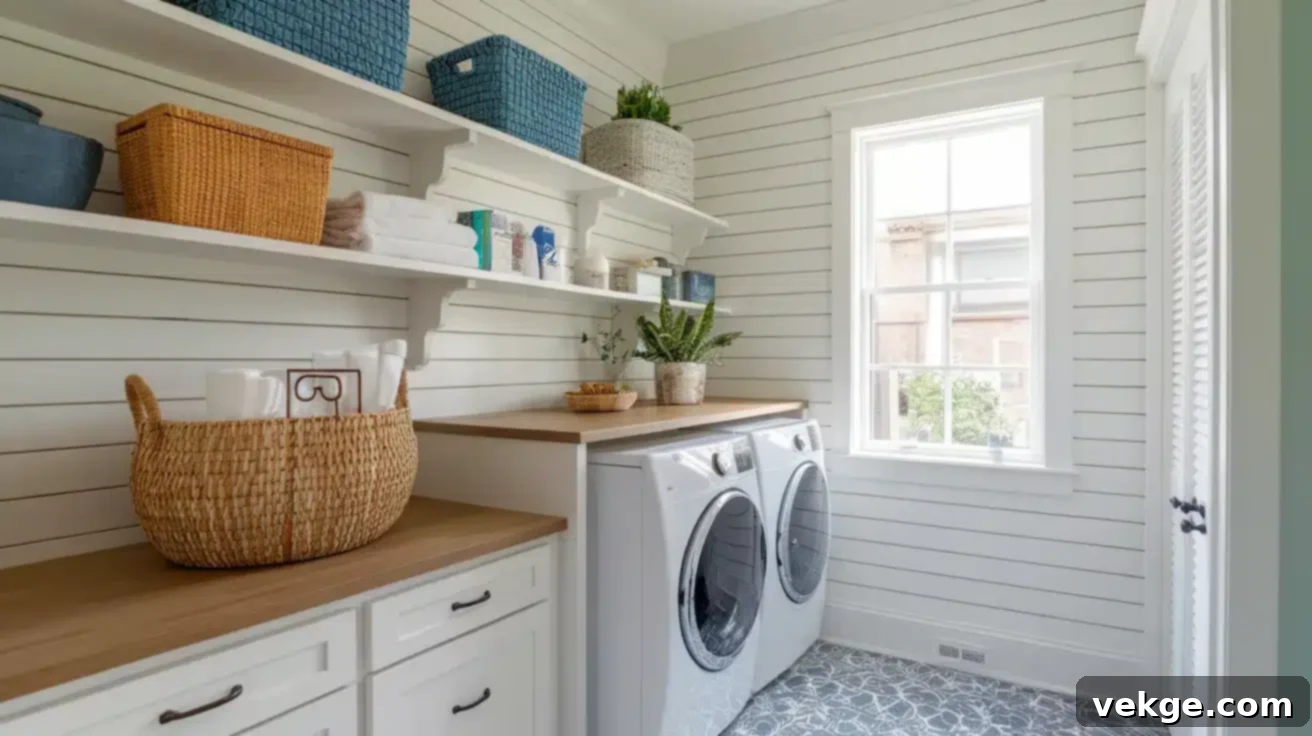
Maximize both style and functionality by pairing shiplap walls with open shelving. This combination allows you to display decorative baskets for organizing supplies, potted plants to add a touch of greenery, or neatly folded towels and laundry essentials. Open shelving keeps frequently used items within reach while the shiplap background adds texture, making your laundry room stylish, organized, and inviting. Opt for rustic wood shelves for a cohesive look or sleek metal for a modern edge.
6. Shiplap and Marble Combo
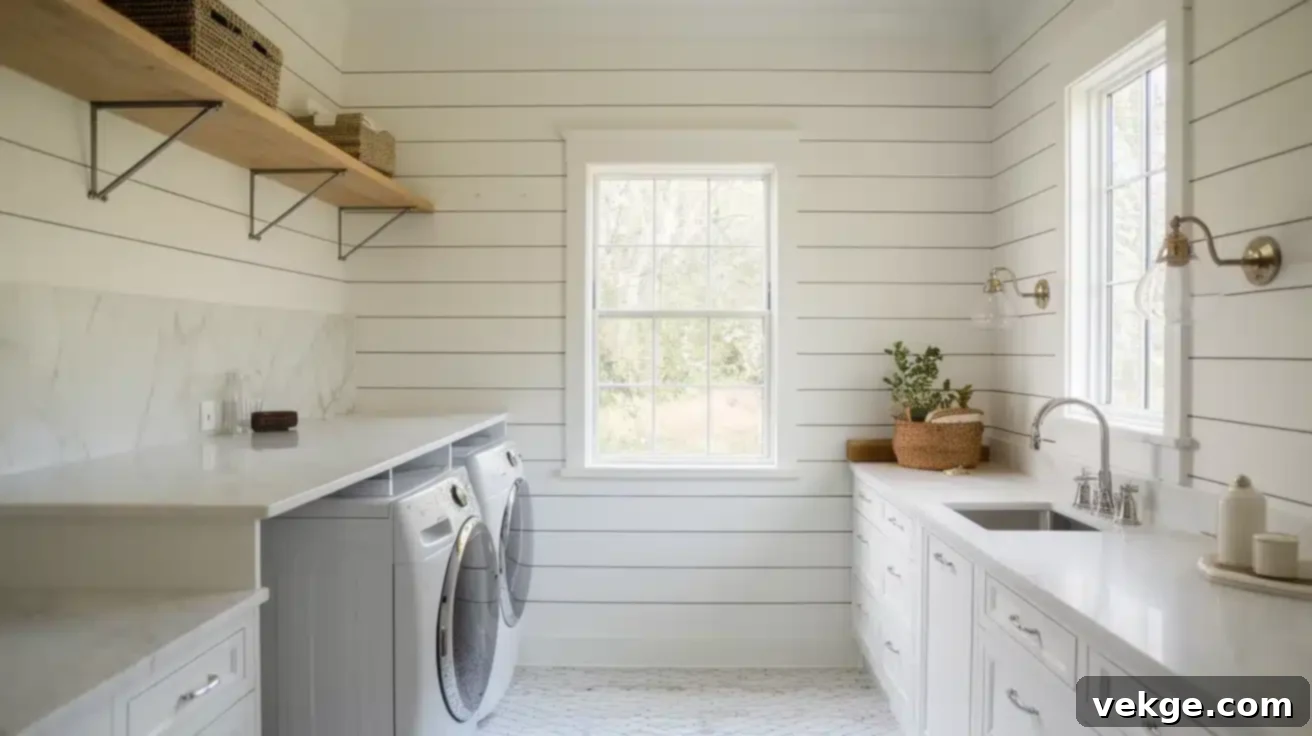
Elevate your laundry room’s aesthetic by combining the rustic charm of shiplap with the luxurious elegance of marble. A marble countertop or backsplash against shiplap walls creates a stunning contrast, resulting in a clean, sophisticated, and classy look. This blend of natural wood texture and polished stone introduces a high-end feel, proving that even a utility space can exude beauty and refinement.
7. Shiplap with Vintage Lighting
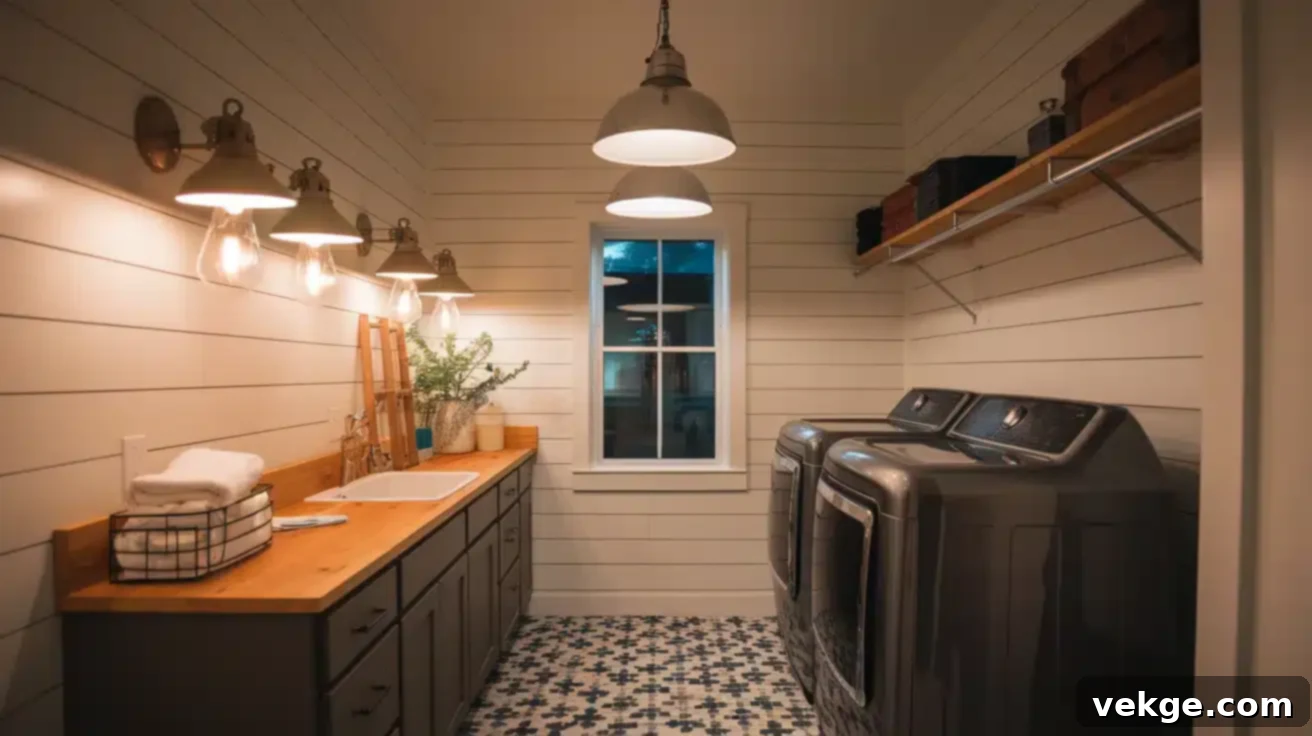
Lighting is a crucial design element. Install industrial-style or vintage light fixtures to create a captivating contrast against the natural warmth and texture of the shiplap. Edison bulb pendants, antique-inspired sconces, or even a repurposed chandelier can add significant character and a unique focal point to your laundry room, enhancing its overall ambiance.
8. Shiplap with Built-In Storage
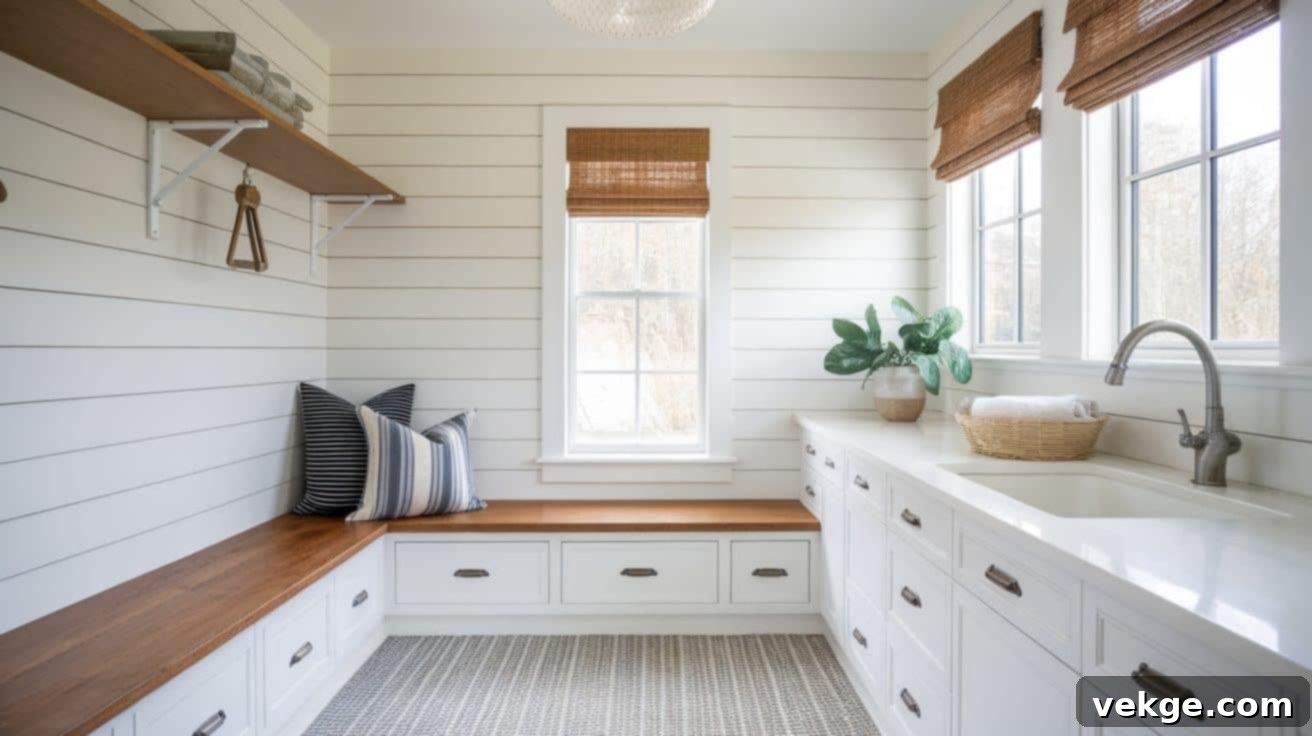
Maximize space and maintain a streamlined look by incorporating custom-built cabinetry, shelving, or benches seamlessly beneath shiplap walls. This integrated storage keeps your laundry room tidy, organized, and clutter-free while maintaining a cohesive and polished design aesthetic. Built-ins can be painted to match the shiplap for a unified look or a contrasting color for added visual interest.
9. Shiplap Ceiling
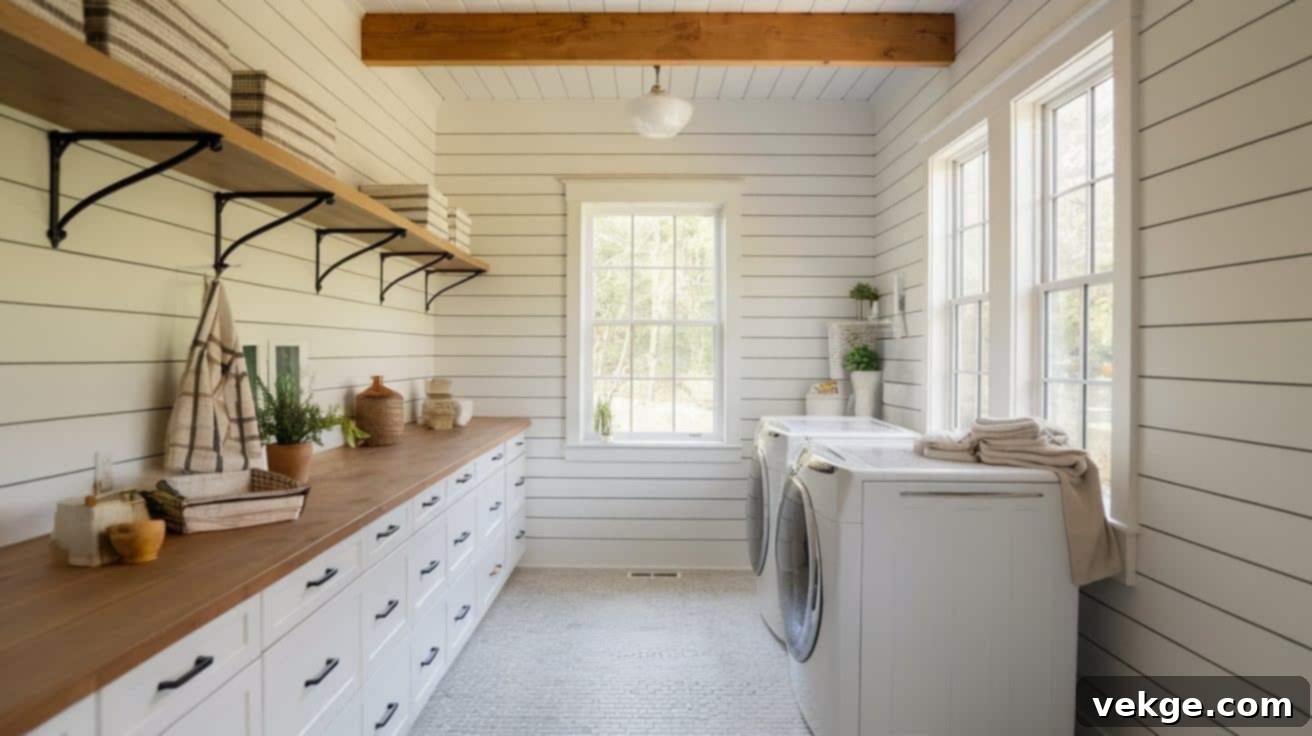
For a truly immersive and fully integrated rustic or coastal look, extend the shiplap treatment to the ceiling. This adds an unexpected layer of dimension and architectural interest, making the room feel incredibly cozy and enclosed. A shiplap ceiling can draw the eye upward, making the space feel taller, especially if painted in a light color, and contributes significantly to the overall design narrative.
10. Farmhouse Sink with Shiplap Backsplash
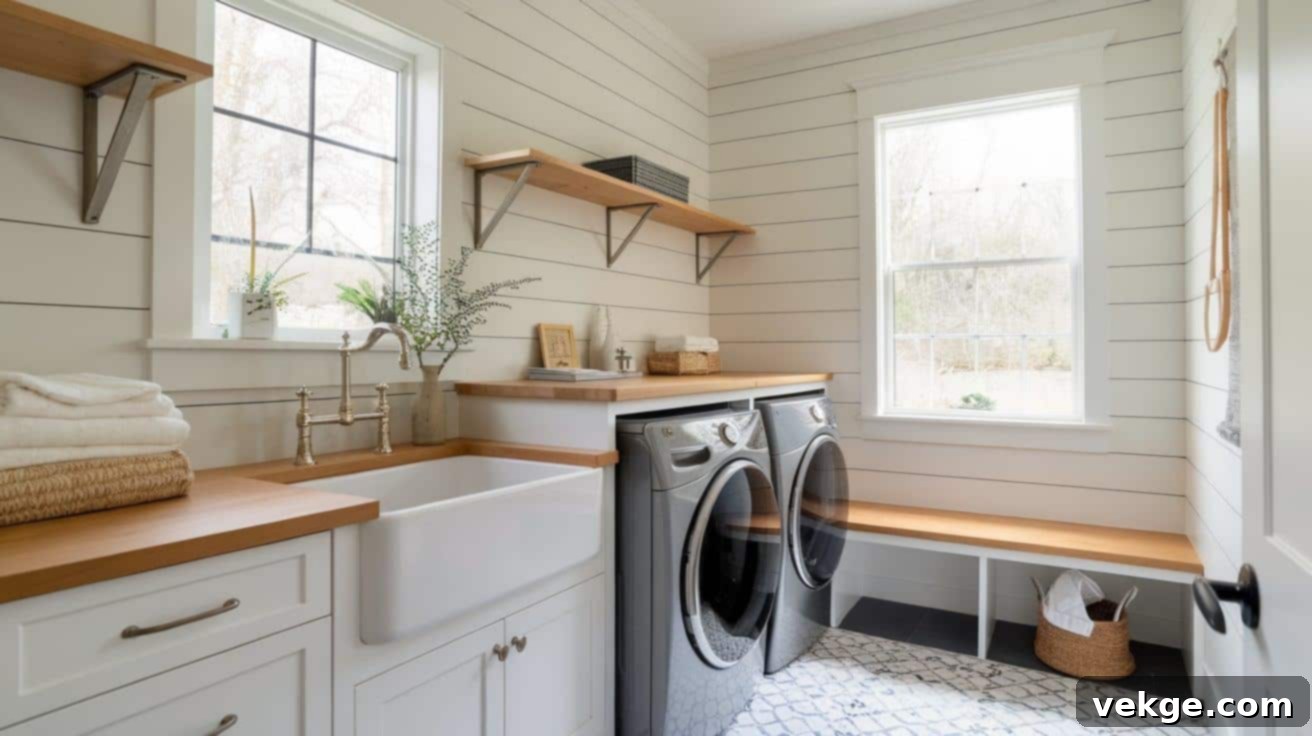
A deep farmhouse sink is not only highly practical for hand-washing delicates or soaking stained items but also a significant style statement. Pair it with a shiplap backsplash for a blend of utility and charm. This combination offers excellent wall protection from splashes and reinforces the classic farmhouse aesthetic. This design choice is especially useful and visually appealing if your laundry room also functions as a mudroom or utility space.
Planning Your Shiplap Laundry Room Makeover
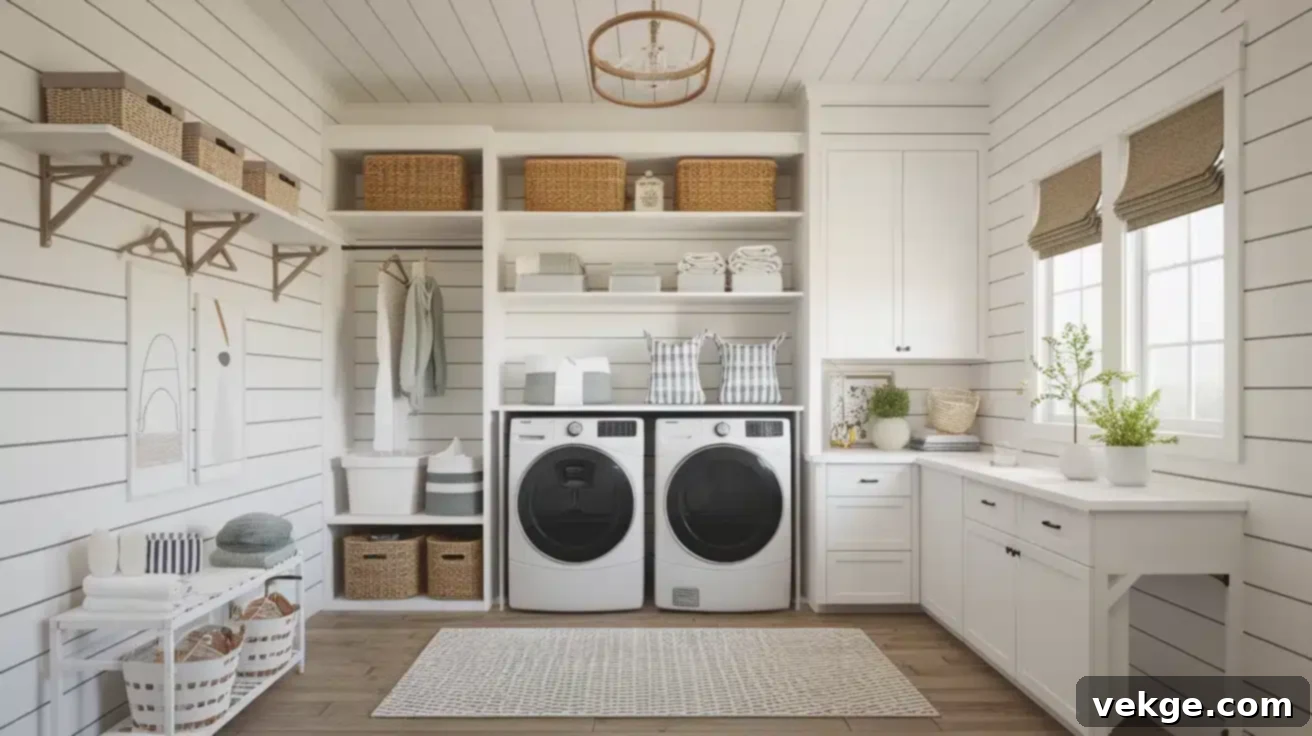
If you’re seriously considering giving your laundry room a shiplap makeover, thoughtful planning is key to a successful and satisfying outcome. This section will walk you through the essential steps, ensuring you create a space that’s both beautiful and incredibly convenient for your daily needs.
Choosing the Right Shiplap Material
When it comes to shiplap, you have several material options, each with its own advantages and considerations, especially for a high-humidity area like a laundry room.
- Classic Wood: Traditional shiplap is made from real wood (pine, cedar, or reclaimed wood). It offers an authentic look and feel, and can be stained or painted. However, wood is susceptible to moisture, warping, and swelling in humid environments. If choosing real wood, ensure it’s properly sealed and consider ventilation.
- Moisture-Resistant MDF (Medium-Density Fiberboard): This engineered wood product is a popular choice for shiplap due to its affordability and smooth finish, which is excellent for painting. Moisture-resistant MDF is specifically designed to perform better in damp areas than standard MDF, making it a good compromise. It’s stable and less prone to warping than solid wood.
- PVC (Polyvinyl Chloride): PVC shiplap is perhaps the most durable and moisture-resistant option, making it ideal for laundry rooms, bathrooms, and basements. It’s completely waterproof, won’t rot, warp, or mold, and is easy to clean. While often pricier than MDF, its longevity and low maintenance in high-humidity areas can justify the investment.
When selecting your material, think carefully about your budget, the desired aesthetic (natural wood grain vs. smooth painted finish), and the specific humidity levels in your laundry room. I highly recommend prioritizing materials that can effectively handle moisture to prevent long-term damage and maintenance headaches.
DIY vs. Professional Shiplap Installation
Deciding whether to tackle the shiplap installation yourself or hire a professional is a significant decision. It hinges on several factors, including your experience level, available time, and budget. Here’s a detailed comparison to help you make an informed choice:
|
Factor |
DIY Installation |
Professional Installation |
|
Cost |
Generally lower, as you only pay for materials and tool rentals. Significant savings on labor costs. |
Higher overall costs due to professional labor fees, but potentially better long-term value from expert finish. |
|
Skills Required |
Basic to intermediate woodworking and carpentry skills are essential. Requires precision in measuring, cutting, and leveling. |
None required on your part. Professionals possess specialized tools, training, and experience for flawless results. |
|
Time Commitment |
Can be very time-consuming, especially for first-timers. Requires dedication over several days or weekends. |
Much faster installation. Professionals can typically complete the project in a few days, minimizing disruption. |
|
Customization |
You have full creative control over design, material choice, and execution. High satisfaction from personalized results. |
May be limited by the contractor’s standard practices or preferred materials. Less direct involvement in the intricate details. |
|
Quality & Finish |
Depends heavily on your skill level, patience, and attention to detail. Potential for minor imperfections. |
Generally higher quality, more polished, and seamless finish. Often comes with a warranty for peace of mind. |
|
Satisfaction |
Immense pride and satisfaction in completing the project yourself and seeing your vision come to life. |
Less personal involvement, but still a beautiful, professionally executed end result without the stress or effort. |
Consider your budget, current skill set, and available time carefully when deciding between DIY and professional installation. If you’re confident with tools and enjoy home improvement projects, DIY can be incredibly rewarding. If time is short or you prefer a guaranteed flawless finish, a professional is worth the investment. Whichever route you choose, you’ll end up with a fantastic shiplap laundry room!
DIY Shiplap Installation: A Step-by-Step Guide
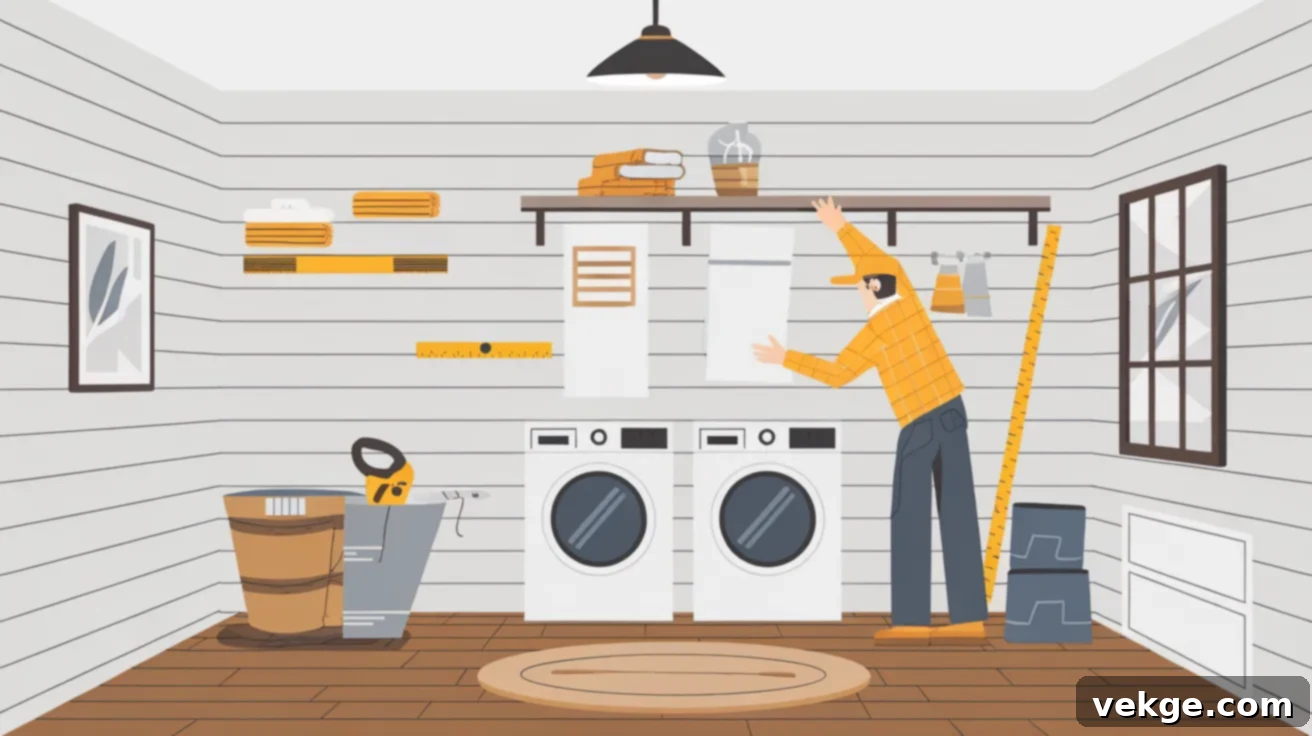
Ready to roll up your sleeves and transform your laundry room with some beautiful shiplap? This easy-to-follow guide will walk you through each step, ensuring a smooth and successful DIY project. Remember, patience and precision are your best tools!
Tools and Supplies Needed
Before you begin, gather all your tools and supplies. Having everything on hand will make the process much more efficient:
- Shiplap Boards: Choose your preferred material (wood, MDF, PVC) and quantity based on your measurements.
- Miter Saw or Circular Saw: Essential for precise, straight cuts to fit your walls.
- Nail Gun or Hammer and Nails: A nail gun (cordless or pneumatic) is highly recommended for speed and ease. If using a hammer, opt for finish nails.
- Level: Crucial for ensuring your shiplap planks are perfectly horizontal or vertical.
- Measuring Tape: For accurate measurements of walls and boards.
- Pencil: For marking cut lines and stud locations.
- Stud Finder: To locate wall studs for secure nailing.
- Sandpaper: Fine-grit for smoothing walls and board edges.
- Primer: Essential for proper paint adhesion and moisture barrier.
- Paint and Paintbrush/Roller (if desired): Choose a durable, moisture-resistant paint suitable for laundry rooms (e.g., semi-gloss).
- Spacers: Pennies, tile spacers, or specialized shiplap spacers work great for creating consistent gaps between boards.
- Caulk Gun and Caulk: For sealing gaps and edges for a professional finish and moisture protection.
- Safety Glasses and Gloves: Always prioritize safety when using power tools.
Step 1: Preparing the Wall
- Clean and Smooth: Start by cleaning your walls thoroughly. Fill any holes or cracks with spackle, then sand the entire surface to create a smooth, even base. Remove any dust.
- Prime for Adhesion and Protection: Apply a high-quality primer to the entire wall surface. Priming is crucial for several reasons: it promotes better paint adhesion, seals the wall, and provides an extra layer of moisture resistance. Let it dry completely.
- Measure and Mark: Measure the width and height of your wall. Use a stud finder to locate all the wall studs and mark their locations with a pencil. These marks are where you’ll nail your shiplap boards for maximum stability.
Step 2: Cutting and Installing Shiplap Panels
- Cut Boards to Size: Measure the length of your first wall section. Using a miter saw or circular saw, cut your shiplap boards to the exact size. For your first row, cut several boards to length.
- Start at the Bottom: Begin installing your shiplap from the bottom of the wall, working your way up. Use a level to ensure your first board is perfectly straight – this is critical, as all subsequent rows will follow its lead.
- Nail into Studs: Place the first board against the wall. Using your nail gun (or hammer and finish nails), secure the board by nailing into the marked stud locations. For shiplap with a rabbet joint, you can often “blind nail” through the tongue for a hidden fastener look.
- Use Spacers for Even Gaps: As you install each subsequent board, use your chosen spacers (pennies or tile spacers work well) between the rows. This creates uniform gaps, which are characteristic of shiplap and allow for natural expansion and contraction of the wood. Remove spacers once the board is nailed.
- Stagger Joints: For a more natural and visually appealing look, stagger the vertical joints of your shiplap planks. Avoid having all the seams line up in a straight line up the wall.
Step 3: Painting and Finishing Touches
Once all the shiplap boards are installed and securely fastened, it’s time for the finishing touches:
- Caulk Gaps: Apply a thin bead of paintable caulk along any interior corners, where the shiplap meets the ceiling, and around door and window trim. This seals any small gaps, prevents moisture intrusion, and gives a clean, professional finish.
- Paint if Desired: If you’re painting your shiplap (which is common for a classic look), choose a durable, moisture-resistant paint. Semi-gloss or satin finishes are excellent for laundry rooms as they are easy to clean and withstand humidity. Apply two thin coats for optimal coverage, allowing proper drying time between coats.
- Add Trim and Decor: Install any desired trim or molding around windows, doors, and baseboards to complete the look. Then, step back and admire your handiwork! You’ve successfully transformed your laundry room with beautiful shiplap.
Shiplap Alternatives: What’s Best for Your Laundry Room?
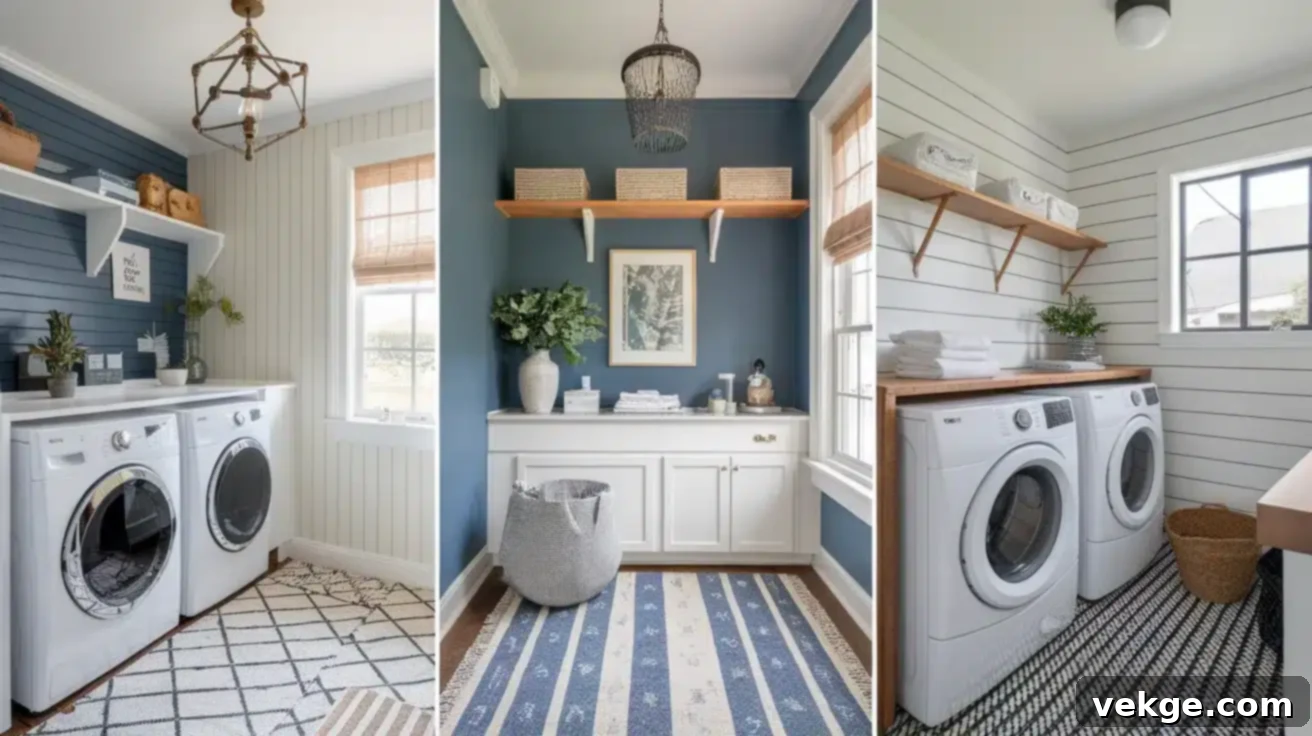
While shiplap is a fantastic choice, it might not be for everyone. If you’re looking for a different aesthetic or alternative benefits, several other wall treatments can give your laundry room a fresh, unique style without spending a fortune. Let’s explore a few popular alternatives:
1. Wallpaper
Wallpaper has made a significant comeback, offering endless patterns, textures, and colors to dramatically transform your laundry room walls. Modern peel-and-stick options have also made installation more accessible.
- Pros:
- Design Versatility: With an incredible array of designs—from subtle textures to bold geometrics, floral prints, or even faux shiplap/tile patterns—you can find one that perfectly matches your desired style and create a true focal point.
- Ease of Change: Peel-and-stick wallpapers are relatively easy to install and remove, allowing for design updates without major renovation.
- Adds Instant Character: Can quickly introduce personality and warmth.
- Cons:
- Installation Complexity: Traditional wallpaper can be tricky to install smoothly, especially for beginners, and requires careful pattern matching.
- Humidity Concerns: While some wallpapers are moisture-resistant, standard types may not hold up well in consistently humid laundry rooms, leading to peeling or bubbling over time.
- Durability: Less durable than solid paneling; can be scratched or torn.
2. Beadboard
Beadboard is a classic choice, characterized by its vertical grooves and raised beads, that adds a touch of traditional charm and texture to your walls, often used as wainscoting.
- Pros:
- Timeless Charm: Offers a classic, cottage, or coastal aesthetic that’s enduring.
- Cost-Effective: Often more inexpensive than shiplap, especially when purchased in large sheets.
- Easy to Paint: Can be painted to match any color scheme, offering versatility.
- Adds Texture: Creates visual interest and depth without overwhelming the space.
- Cons:
- Installation Time: While easier than individual planks, installing beadboard panels can still be time-consuming, especially when cutting around outlets and corners.
- Durability: Often made from thin MDF, it may not be as durable as solid wood shiplap or PVC options, especially if subjected to impact.
- Moisture Risk: Like MDF shiplap, it needs to be properly sealed and painted to withstand laundry room humidity.
3. Board and Batten
Board and batten is a timeless and versatile wall treatment that adds depth and architectural dimension by creating a grid-like pattern with vertical strips (battens) over flat panels (boards).
- Pros:
- Architectural Impact: Creates a sophisticated, custom look that can range from traditional to modern farmhouse.
- Budget-Friendly: Often a very economical option, as you can use MDF boards and strips, which are relatively inexpensive.
- DIY-Friendly: With basic tools and supplies, you can easily DIY board and batten, offering a rewarding project.
- Versatility: Can be customized to various heights and batten widths, fitting different room scales and styles.
- Cons:
- Installation Involvement: The process of precisely measuring, cutting, and installing individual boards and battens can be more involved and require more careful planning than simply installing shiplap panels.
- Dust Collection: The ledges created by the battens can collect dust, requiring more frequent cleaning compared to a smooth wall or seamless shiplap.
- Not Seamless: Unlike shiplap, it doesn’t provide a continuous, planked surface, which might not be the desired look for everyone.
Storage and Functional Upgrades with Shiplap Walls
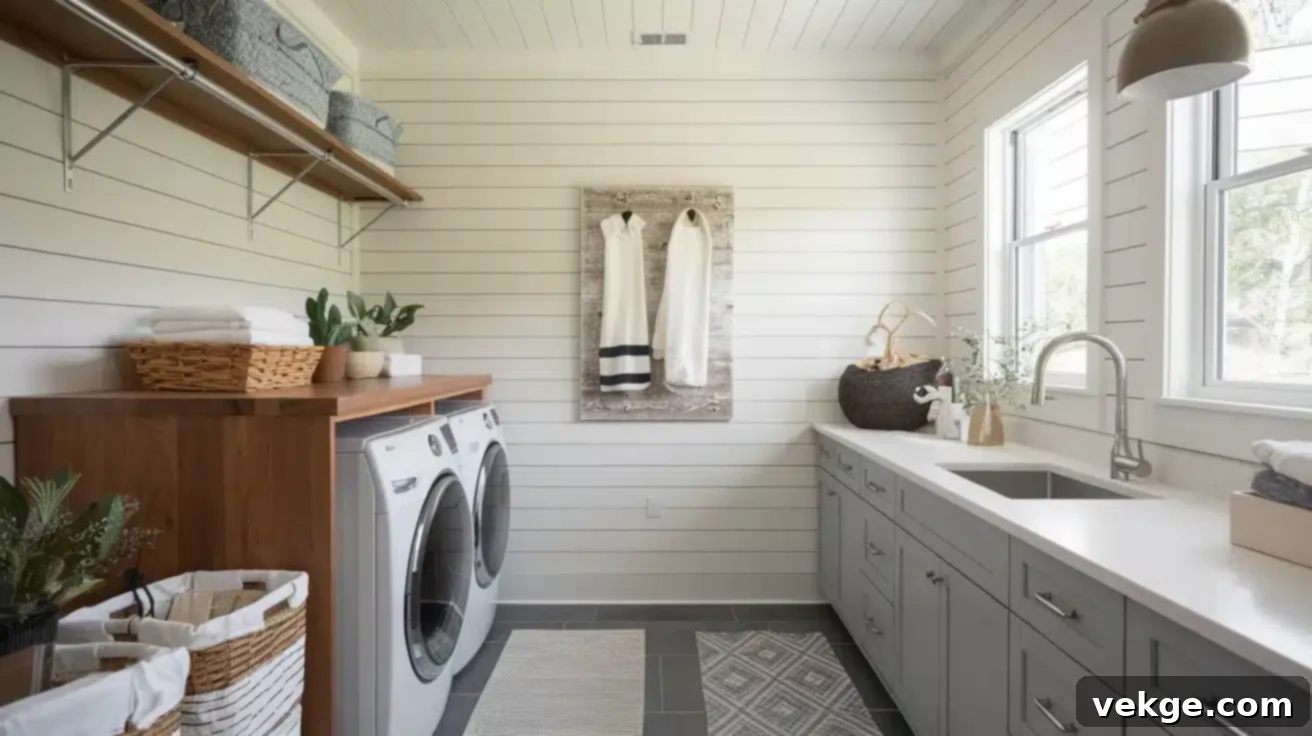
Shiplap walls provide an excellent backdrop for enhancing your laundry room’s functionality and organization. With a few smart upgrades, you can create a space that’s organized, efficient, and genuinely a joy to use. Here are some ideas to integrate storage and functional elements seamlessly with your new shiplap walls:
Built-In Cabinets
Transform your laundry room with stock cabinets from hardware stores. They’re an easy and effective way to add instant, enclosed storage. To achieve a high-end, custom look that complements your shiplap, add crown molding, trim out the gaps, and finish them with stylish hardware (knobs or pulls). Painting the cabinets to match or contrast the shiplap can further enhance the cohesive design.
Laundry Countertops
A durable countertop is a game-changer in a laundry room, providing a handy and essential spot for folding clothes, pre-treating stains, or sorting items. Options range from warm wooden butcher block to sturdy laminate, elegant quartz, or practical solid surface materials. Install supports using sturdy cleats and brackets, firmly anchored into your shiplap and wall studs, to ensure a stable and long-lasting surface. Consider extending the countertop over your washer and dryer for a continuous, seamless look.
Hooks and Hanging Space
Maximize vertical space and keep essentials tidy by installing hooks and dedicated hanging areas. A stylish coat rack can hold jackets, bags, and items needing to air dry. Use strong, heavy-duty hooks screwed directly into wall studs (behind the shiplap) for extra support. Consider adding a retractable drying rack or a simple clothes rod for delicate garments that need to hang dry, integrating seamlessly into your shiplap design.
Utility Sink Upgrade
A deep utility sink is an invaluable addition to any laundry room, perfect for hand-washing delicate items, pre-soaking heavily stained clothes, cleaning up muddy shoes, or even bathing small pets. Position it conveniently close to your washing machine for added efficiency. Choose a sink material that suits your style and needs, such as stainless steel for a modern look, cast iron for durability, or a composite material for a blend of style and function.
Pros and Cons of Using Shiplap in a Laundry Room
While shiplap offers undeniable charm and appeal, it’s important to weigh its advantages and disadvantages before committing to this design choice for your laundry room. Let’s break down the pros and cons to help you make an informed decision.
Pros of Shiplap in a Laundry Room:
- Aesthetic Appeal: Shiplap instantly adds texture, warmth, and character, creating a desirable farmhouse, coastal, or even modern aesthetic. It elevates a utilitarian space into something more inviting.
- Versatility: It can be painted any color to match your decor, allowing for endless customization. It pairs well with various styles, from rustic to contemporary.
- Durability (with proper treatment): When properly sealed, primed, and painted with moisture-resistant products, shiplap (especially PVC or moisture-resistant MDF) can be quite durable and withstand the humidity fluctuations of a laundry room.
- Easy to Clean: Unlike wallpaper, a smooth, painted shiplap surface is generally easy to wipe down and keep clean, which is essential in a room prone to spills and dust.
- Conceals Imperfections: Shiplap boards can effectively hide minor wall imperfections, bumps, or uneven surfaces, providing a fresh, smooth canvas.
- Adds Home Value: A well-designed laundry room with attractive finishes like shiplap can increase your home’s appeal and perceived value.
Cons of Shiplap in a Laundry Room:
- Cost: The initial investment in shiplap materials (especially real wood or PVC) can be higher than traditional drywall or paint, and professional installation adds to that cost.
- Maintenance: To combat moisture and humidity, shiplap in a laundry room requires diligent sealing and priming. Gaps between boards can also accumulate dust, requiring regular cleaning.
- Moisture Sensitivity: While certain types (PVC, treated MDF) are good, untreated real wood shiplap can be susceptible to warping, swelling, or even mold in highly humid environments if not properly protected.
- Installation Complexity: DIY installation requires precision, specialized tools, and a good amount of time and effort. Mistakes can be costly.
- Potential for “Trend Fatigue”: While shiplap has a classic appeal, some worry it might become a passing trend, though its fundamental aesthetic remains popular.
- Dust Accumulation: The horizontal grooves between boards can potentially trap dust, lint, and pet hair, requiring more diligent cleaning than a flat wall.
Ultimately, the decision to use shiplap in your laundry room depends on your personal style, budget, and willingness to invest in proper installation and maintenance. If the pros outweigh the cons for you, and you’re prepared for the specifics, shiplap can be an incredibly rewarding design choice.
Common Mistakes to Avoid When Installing Shiplap in Your Laundry Room
Embarking on a DIY shiplap project can be exciting, but it’s easy to overlook crucial details that can impact the longevity and appearance of your finished walls, especially in a high-moisture area like a laundry room. Let’s look at some common pitfalls so you can avoid repeating them and ensure a successful renovation.
1. Not Sealing or Priming Properly
Skipping or skimping on the sealing and priming steps might seem like a time-saver, but it’s a critical error, especially in a laundry room. Moisture is shiplap’s enemy, potentially leading to warping, swelling, mold growth, or paint peeling. Ensure your walls are clean and dry, apply a high-quality, moisture-resistant primer (and sealant if using real wood), and allow adequate drying time between coats and before painting. This creates a protective barrier that is essential for durability.
2. Choosing the Wrong Type of Shiplap Material
Not all shiplap is created equal! Using regular, untreated wood shiplap in a high-moisture area like a laundry room is a recipe for disaster. It simply won’t stand up to the humidity, steam, and potential splashes. Instead, choose materials specifically designed for damp environments: PVC shiplap is fully waterproof and ideal, while moisture-resistant MDF is a more budget-friendly and still effective alternative. Always verify the material’s suitability for humid conditions before purchasing.
3. Overcrowding the Space with Decor
It’s tempting to get carried away with cute laundry room decor, but too much stuff can quickly make the space feel cluttered, cramped, and less efficient. Shiplap itself adds significant visual interest, so let it be a focal point. Stick to a few carefully chosen, functional pieces that add personality without getting in the way. Think practical storage baskets, a small plant, or a single piece of art. The “less is more” principle often creates a more serene and functional laundry environment.
4. Ignoring Proper Ventilation
While not directly about shiplap installation, neglecting proper ventilation in your laundry room will undermine even the best shiplap choice and treatment. High humidity from washers and dryers needs to be actively removed. Ensure you have a powerful exhaust fan that vents directly outside, and use it consistently during and after laundry cycles. Good airflow is vital for preventing moisture buildup, which can lead to mold, mildew, and damage to all surfaces, including your beautiful new shiplap.
5. Poor Measurement and Planning
Rushing the planning phase is a common mistake. Before buying materials or making a single cut, precisely measure your walls, account for all outlets, switches, windows, and doors. Sketch out your layout, including where board seams will fall. This upfront effort prevents wasted materials, ensures a professional-looking finish, and avoids frustrating mid-project recalculations. Remember the adage: “Measure twice, cut once.”
Final Thoughts
We’ve covered a lot of ground in this guide, from exploring diverse shiplap design ideas and meticulously planning your project to a step-by-step DIY installation guide and essential tips for avoiding common mistakes. I hope you’re now feeling excited, informed, and confident about tackling this rewarding home improvement project!
Ultimately, whether shiplap is the right choice for your laundry room is a personal decision. It’s all about aligning your vision with your personal style, budget, the amount of maintenance you’re willing to take on, and the functional needs of your space. But if you’re drawn to the unique texture, timeless appeal, and cozy character that shiplap brings, I wholeheartedly encourage you to go for it!
Don’t be afraid to mix and match styles, experiment with colors, add some thoughtful decor, and truly make the space yours. A beautifully designed laundry room can transform a mundane chore into a more enjoyable experience, proving that even the most utilitarian spaces deserve a touch of charm and careful consideration. Happy renovating!
