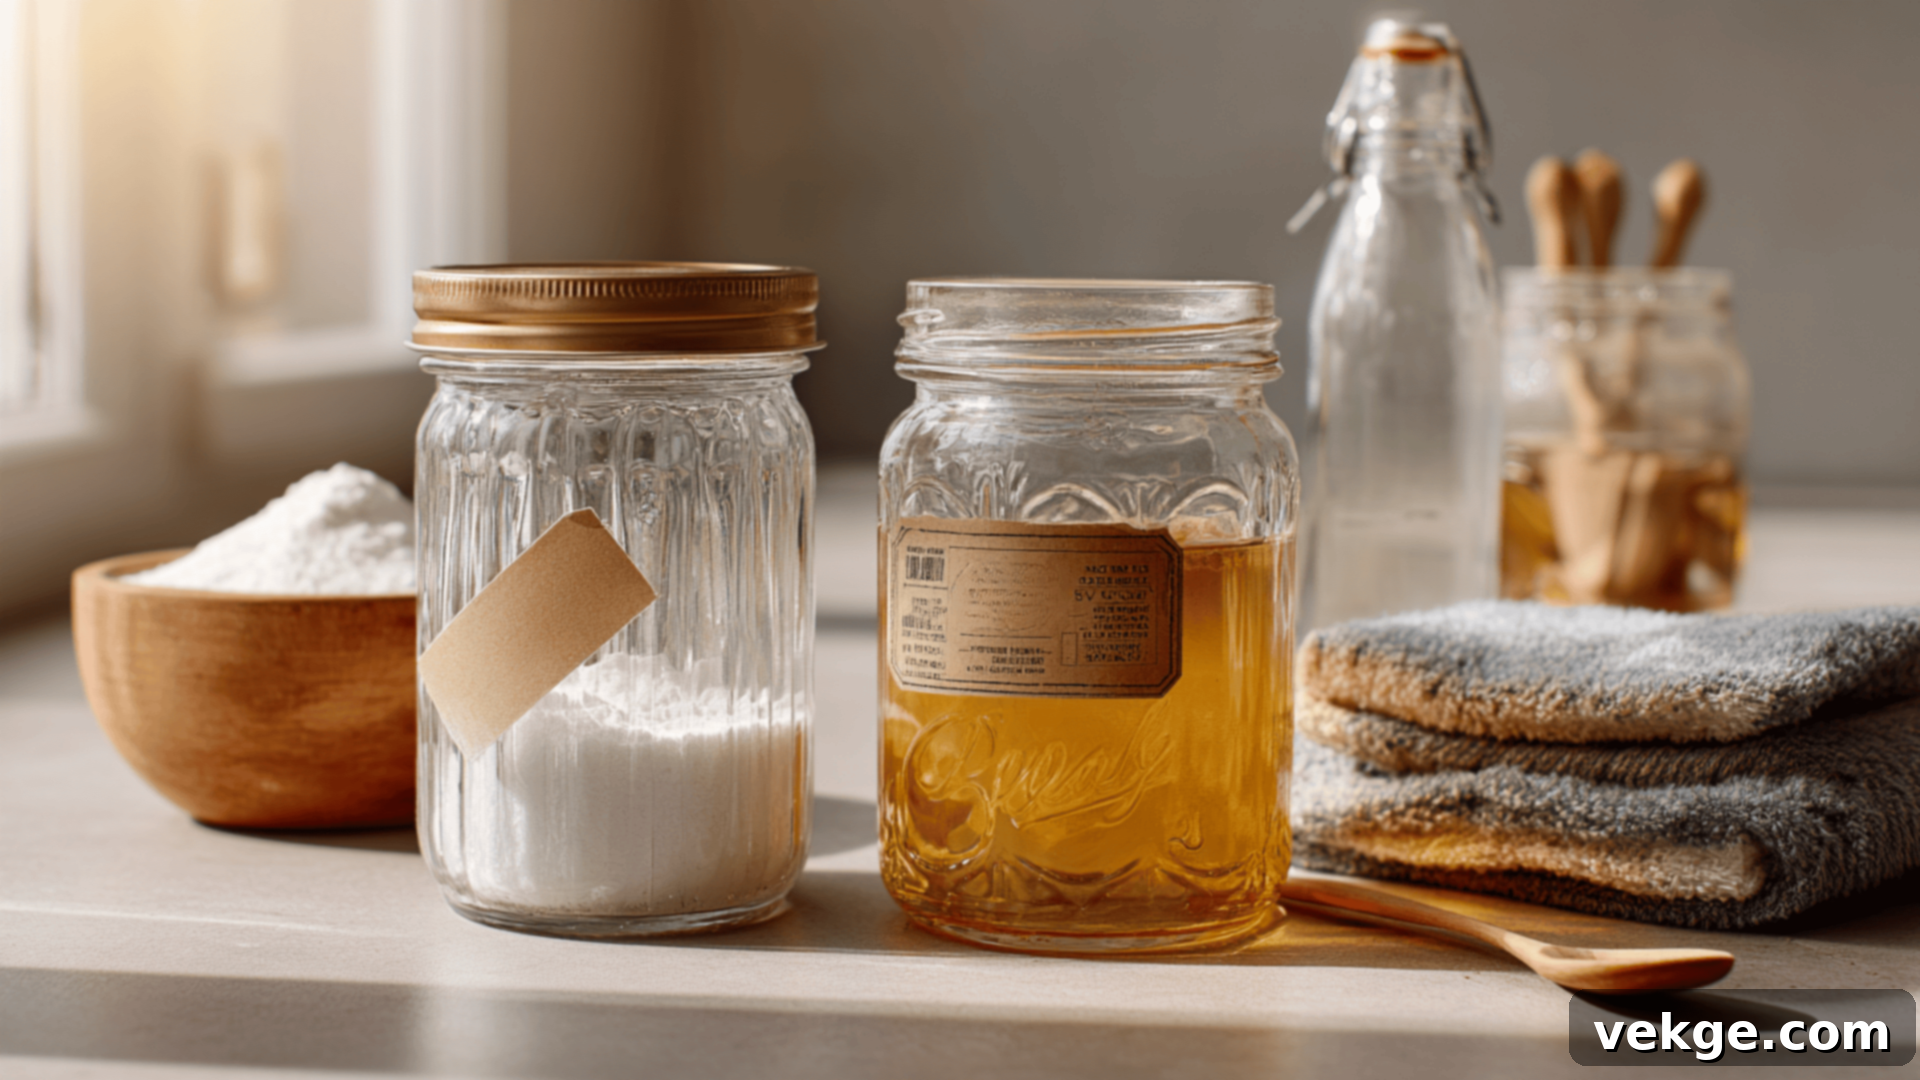
Effortless Label Removal: Your Ultimate Guide to Clean Glass Jars & Bottles
Do you ever find yourself struggling with a stubborn label stuck firmly to a beautiful glass jar, yearning to reuse it but dreading the endless scrubbing? We’ve all been there – peeling for what feels like an eternity, only to be left with a frustratingly sticky, unsightly glue residue. This common household dilemma often turns a simple repurposing task into a test of patience.
If this scenario sounds all too familiar, then consider this your definitive guide. We’ll equip you with a comprehensive array of easy, safe, and genuinely effective methods to remove labels from any glass surface. Whether you’re dealing with delicate antique bottles or sturdy food storage jars, you’ll find a solution here that works.
From simple, cost-effective soaking techniques and natural DIY pastes made from everyday ingredients, to powerful store-bought helpers for the toughest adhesives, we’ll walk you through each option. You’ll learn exactly what works best for different label types and when to apply each method for maximum efficiency. Equally important, we’ll highlight what not to do, helping you avoid wasted effort and potential damage to your precious glass items. Our goal is to empower you to reclaim your jars and bottles, transforming them into clean, reusable treasures without losing your sanity in the process.
Let’s get those labels off, rescue your glass, and save your patience for more enjoyable pursuits!
Why Labels Stick So Stubbornly: Understanding the Adhesive Challenge
The tenacity of a label often stems from its adhesive. Most manufacturers use strong glues specifically designed to withstand various environmental factors like heat, cold, moisture, and repeated handling during shipping and storage. This robust engineering is precisely why simply peeling a label off typically leaves behind those aggravating sticky bits or even a ghostly outline of the label’s former presence.
The type of label material also plays a significant role. Basic paper labels, for instance, tend to soften and disintegrate relatively easily when exposed to warm water. However, more advanced labels – those made from waterproof materials, coated paper, or synthetic films – are far more resistant. They are designed to repel liquids, which means they won’t yield to a simple soak and often leave a thick, challenging layer of glue once the label itself is grudgingly removed.
The key to successful label removal lies in accurately identifying the type of label and adhesive you’re facing. Understanding this distinction allows you to select the most appropriate removal method from the outset, saving you considerable time, effort, and the frustration of trying ineffective techniques. By choosing the right approach, you can efficiently dissolve the glue without resorting to harsh scrubbing that could potentially scratch or dull your glass.
How to Remove Labels from Glass: Beginner-Friendly & Effective Methods
For most common glass jars and bottles, you don’t need specialized equipment or harsh chemicals. These straightforward methods utilize everyday household supplies and are gentle enough for most glass surfaces, making them ideal for anyone starting their label-removal journey.
1. Soaking in Hot, Soapy Water
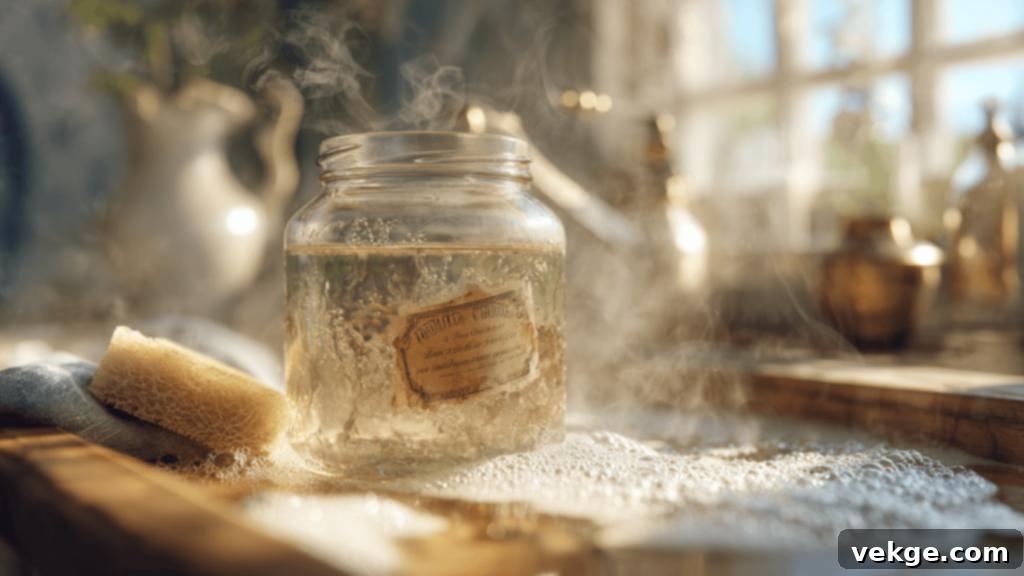
This is undeniably the most frequently recommended method, and for very good reason. It proves remarkably effective on standard paper labels affixed with water-soluble glues. The heat from the water softens the adhesive, while the dish soap helps to break down oils and loosen the bond.
- Prepare the Soak: Fill a sink or a large bowl with very hot tap water. Add a generous squirt of liquid dish soap – enough to create a good amount of suds.
- Submerge the Glass: Carefully place the glass item(s) into the hot, soapy water, ensuring the label is completely submerged. Allow it to soak undisturbed for a minimum of 20 to 30 minutes. For older or particularly stubborn labels, extending the soaking time to an hour or even overnight can significantly improve results.
- Peel and Clean: Once the label appears softened and the glue has loosened, gently attempt to peel it off using your fingers or the edge of a soft cloth. If any sticky residue remains, lightly scrub the area with the cloth or a non-abrasive sponge while still submerged in the warm water.
Should the label begin to tear or leave behind significant pieces of paper or glue, simply re-submerge the item and continue soaking for another 10–15 minutes. This method is particularly effective when the adhesive is not water-resistant, making it a great first step for most basic labels.
2. Baking Soda and Oil Paste
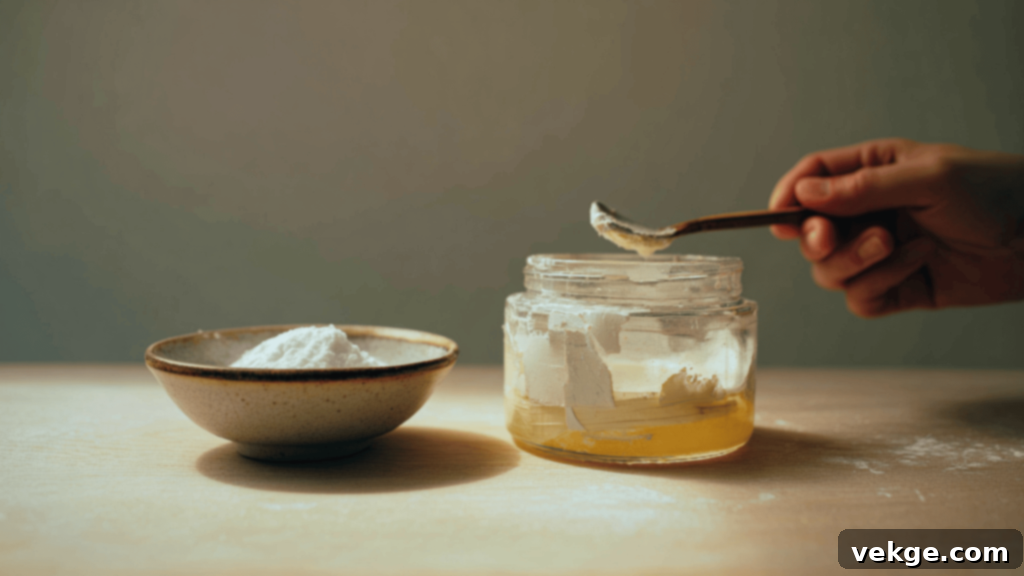
For those times when a label is partially removed but leaves a persistent, sticky adhesive layer, a natural paste made from baking soda and oil can work wonders. The oil penetrates and dissolves the adhesive, while the baking soda acts as a gentle abrasive to scrub away the softened glue without scratching the glass.
- Mix the Paste: Combine equal parts baking soda and any type of cooking oil (such as vegetable, olive, or canola oil). A good starting point is one tablespoon of each, adjusting as needed for the size of the sticky area. Mix thoroughly until a thick, spreadable paste is formed.
- Apply to Adhesive: Generously spread the paste directly over the leftover adhesive or any remaining label fragments. Ensure the entire sticky area is covered.
- Allow to Penetrate: Let the paste sit for at least 10–15 minutes. This allows the oil sufficient time to penetrate and begin breaking down the glue’s bond. For very stubborn residue, you can leave it on for up to 30 minutes.
- Scrub and Rinse: Using a soft sponge, old toothbrush, or cloth, gently scrub the area in circular motions. You should feel the glue starting to lift and clump. Once the adhesive is gone, rinse the glass thoroughly with warm, soapy water to remove any oil residue and ensure a sparkling clean finish.
This method is not only non-toxic and environmentally friendly but also surprisingly effective on stubborn stickiness, making it an excellent choice if you prefer to avoid chemical cleaners.
3. Rubbing Alcohol or White Vinegar
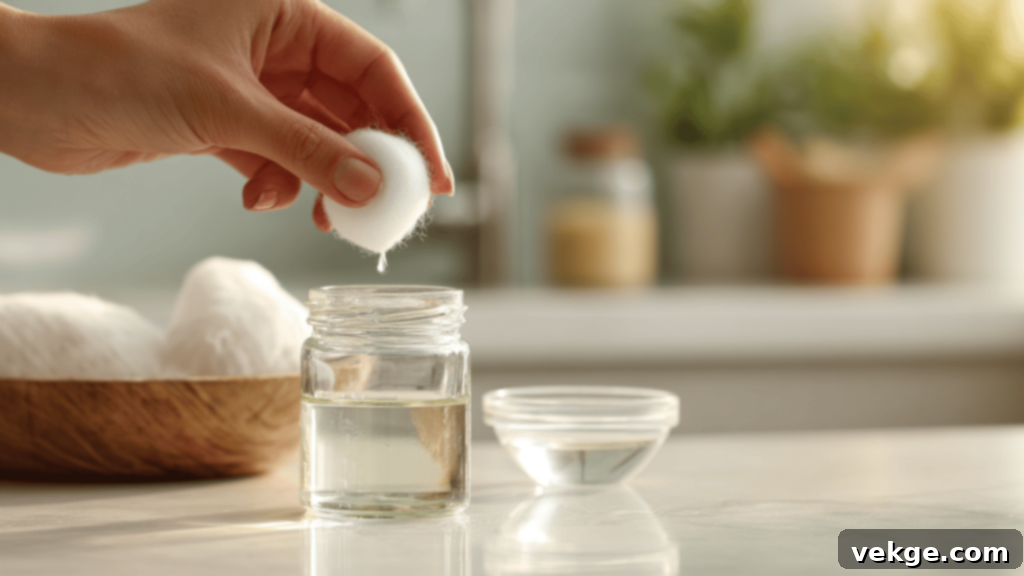
When water and soap aren’t quite enough, household solvents like rubbing alcohol (isopropyl alcohol) or white vinegar can step in. These liquids are excellent at dissolving many types of glues, making them particularly effective on plastic, vinyl, or waterproof labels that resist water-based removal methods.
- Saturate and Apply: Soak a cotton ball, an old cloth, or a paper towel generously with either rubbing alcohol or white vinegar.
- Press and Wait: Press the saturated material firmly onto the label or the glue spot you wish to remove. Ensure full contact. Let it sit for 5–10 minutes, allowing the solvent to penetrate and weaken the adhesive bond. For very persistent glue, you might need to re-saturate and leave it longer.
- Wipe Away: After the waiting period, gently peel off the label or wipe away the softened glue using the same cloth or a fresh one. You might need to rub a bit to completely remove all residue.
This method is an excellent follow-up if initial soaking proved insufficient, especially for labels with a plastic or glossy coating. Always remember to thoroughly rinse the glass with warm, soapy water after using either alcohol or vinegar to remove any lingering scent or residue.
Alternative Methods for Tough Labels and Persistent Glue
If the more common soaking and scrubbing techniques haven’t quite done the trick, don’t despair! Some labels, especially those with industrial-strength adhesives or durable coatings, demand a bit more persuasion. These alternative methods are tailored for stubborn labels, thick glue layers, or waterproof stickers that require a more robust approach.
4. Peanut Butter or Coconut Oil
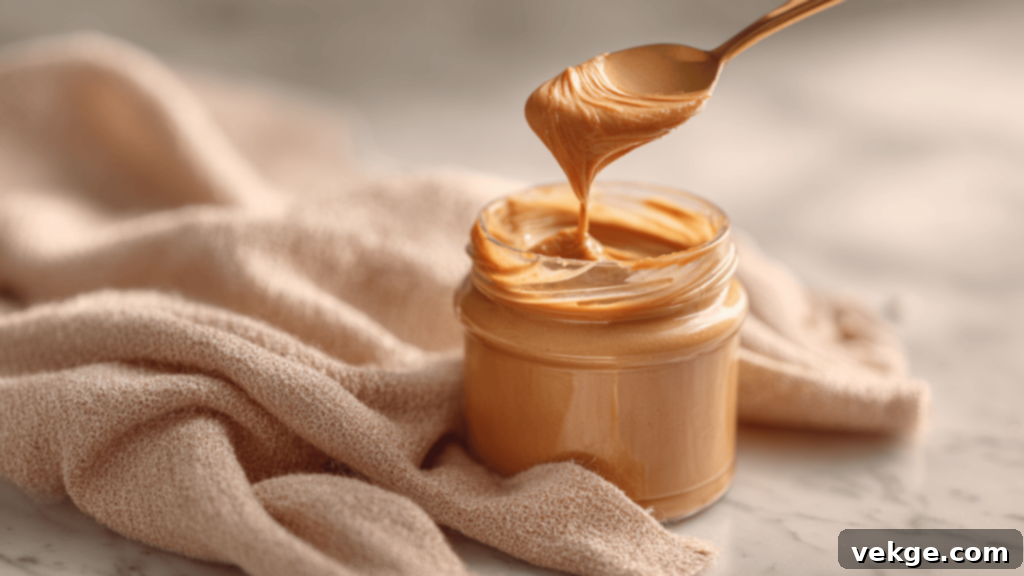
It might sound unconventional, but household food-based oils, particularly peanut butter or coconut oil, can be remarkably effective. Their high fat content acts as a solvent, penetrating and dissolving the sticky polymers in many adhesives. They also have a thicker consistency than liquid cooking oils, allowing them to cling better to the vertical surfaces of glass, maximizing contact time with the glue.
This method is especially useful when dealing with labels that are glossy, laminated, or those that simply refuse to soften after a water soak. The oil works to break down the adhesive from beneath the label’s protective layer.
- Apply the Oil: Spread a thin but comprehensive layer of peanut butter (smooth works best) or softened coconut oil directly over the entire label or glue residue.
- Allow to Sit: Let it sit for a good 15–20 minutes, or even longer for very old or resilient adhesives. The longer the oil has to work its magic, the more effectively it will break down the glue.
- Wipe and Wash: After the waiting period, use a paper towel or a soft cloth to vigorously wipe away the oil. As you wipe, the label and softened glue should come right off. Finish by washing the glass thoroughly with warm, soapy water to eliminate any greasy residue and achieve a pristine finish.
This safe, edible-product-based method works surprisingly well and is an excellent choice for a non-chemical approach to waterproof labels.
5. Commercial Removers like Goo Gone
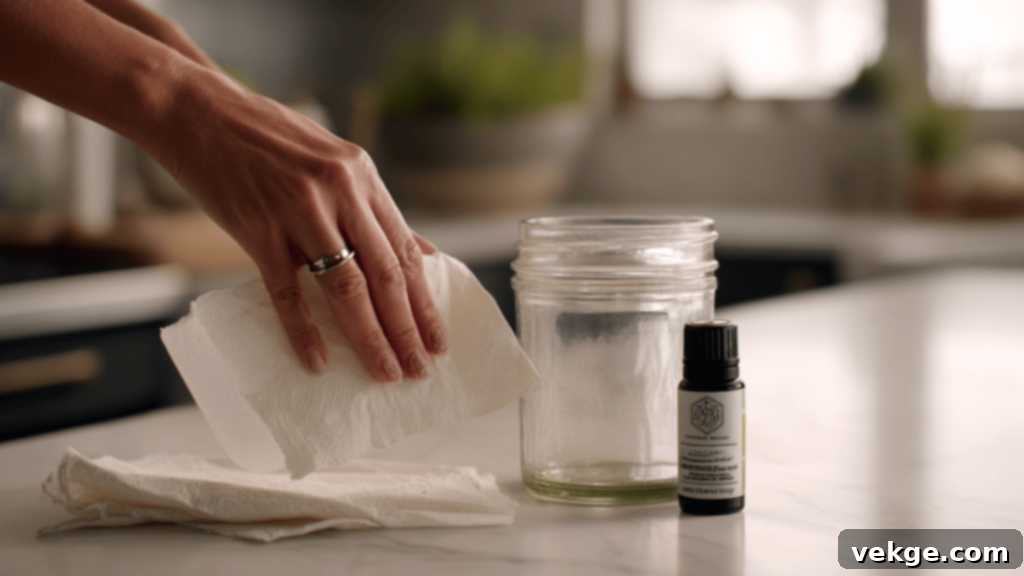
When all other methods fail to conquer a particularly defiant label or a thick layer of glue, it’s time to bring in the heavy artillery: a specialized commercial adhesive remover like Goo Gone, Goof Off, or similar products. These solutions are formulated specifically to break down and lift stubborn sticky messes quickly and efficiently.
Pros: Highly effective on strong, often synthetic, glues and plastic-based labels. They typically require minimal scrubbing and work very quickly, saving you considerable time and effort.
Cons: Many commercial removers have a strong, distinct chemical odor, necessitating good ventilation. They also require careful handling and thorough washing afterward to ensure no chemical residue remains, especially if the glass will be used for food.
To use commercial removers safely and effectively:
- Apply Sparingly: Apply a small amount of the product directly to a paper towel or a clean cloth, rather than directly onto the glass.
- Rub and Wait: Rub the product-soaked cloth over the sticky area, ensuring good coverage. Allow it to sit for just a few minutes, as these products work quickly. Always follow the manufacturer’s specific instructions for dwell time.
- Wipe Clean and Wash: Use a clean part of the cloth to wipe away the dissolved glue. Once the residue is gone, immediately and thoroughly wash the glass with hot, soapy water. This step is crucial to remove any chemical traces.
Always use commercial removers in a well-ventilated area, and wear gloves if you have sensitive skin. Avoid contact with food surfaces unless the product is explicitly labeled as food-safe. Read all safety warnings and instructions on the product packaging before use.
6. Freezing or Boiling Techniques
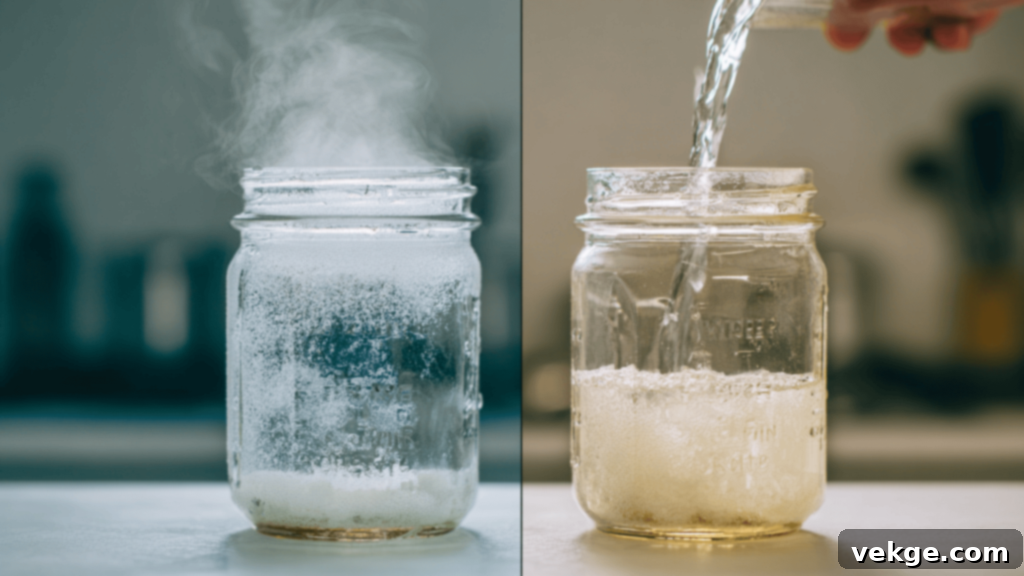
When adhesives resist chemical or oil-based solutions, extreme temperature changes can sometimes be the answer. Both freezing and boiling can alter the physical properties of the glue, making it easier to remove. These techniques are particularly useful for labels that seem to be “baked on” or heavily bonded to the glass.
Boiling Method (for jars/bottles that can withstand heat):
- Heat from Within: Carefully pour freshly boiled water directly into the glass jar or bottle. The internal heat will transfer through the glass to the adhesive on the exterior, softening it from the inside out.
- Let it Sit: Allow the boiling water to remain in the container for a few minutes. The exact time depends on the label’s stubbornness.
- Peel and Clean: Once the glass has cooled enough to handle safely (but is still very warm), attempt to peel off the label. The softened glue should come away more easily. Proceed with caution to avoid burns.
Freezing Method (for brittle glue):
- Chill Thoroughly: Place the glass item into the freezer for 1–2 hours. The extreme cold will cause the adhesive to become brittle and lose its stickiness.
- Scrape Gently: Once the label and glue are frozen solid, quickly remove the item from the freezer. Use a plastic scraper, an old credit card, or even your fingernail to gently scrape off the hardened label and glue. They should chip away rather than smear.
These thermal shock tricks are especially helpful for thick, laminated labels or when glue remains stubbornly stuck after more conventional methods. Always be mindful of rapid temperature changes with delicate glass, as it can cause cracking. Start with tempered glass if you are unsure.
Expert Tips for Removing Stubborn Label Glue and Sticky Residue
Even after the primary label has been successfully removed, that frustrating, tacky glue often lingers. Clearing this sticky residue is crucial for a perfectly clean, reusable glass surface. These additional tips will help you eliminate any remaining stickiness without causing damage to your glass.
- Soften and Lift: Start by applying a small amount of an oil (cooking oil, mineral oil), rubbing alcohol, or white vinegar directly to the sticky spot. Let it sit for several minutes – this allows the liquid to penetrate and soften the adhesive. Then, use a soft cloth or paper towel to wipe the residue away. If it’s still sticky, repeat the process or consider making a fresh baking soda and oil paste for a more abrasive approach.
- Safe Scraping Tools: For thicker glue deposits, a gentle scraping action can be very effective. Always use non-abrasive tools to avoid scratching the glass. Excellent options include a plastic scraper, an old gift card, a plastic putty knife, or even your fingernail. Absolutely avoid metal razor blades or steel wool, as they are highly likely to scratch, etch, or dull the glass surface, especially on clear jars or delicate items.
- Gentle Scrubbing Technique: If scrubbing is necessary, use a soft sponge (the soft, non-abrasive side), a microfiber cloth, or a gentle scrub brush. Apply light to medium pressure and rub in small, circular motions. This technique helps to lift and roll the softened glue without damaging the underlying glass. Avoid vigorous or aggressive scrubbing, which can spread the glue or harm the finish.
- Rubber Eraser Trick: For faint or thin layers of sticky residue, an ordinary pencil eraser can sometimes work wonders. Gently rub the eraser over the sticky area; the friction and material of the eraser can pick up the glue. Just be sure to wipe away any eraser shavings afterward.
- Final Wash: After successfully removing all glue and residue, always give the glass item a thorough wash with warm water and dish soap. This ensures that all traces of the adhesive remover, oil, or cleaning agents are gone, leaving your glass sparkling clean and ready for its next life.
Special Cases: Dealing with Printed or Painted Labels
Not all labels are adhesive stickers; some designs are printed, painted, or even baked directly onto the glass. These types of “labels” do not peel off in the traditional sense and require a distinct approach, often involving gentler methods or, in some cases, accepting that complete removal might not be feasible without altering the glass itself.
If the print is relatively light, perhaps faded with age, or appears to be a basic screen-printed design, soaking the glass in white vinegar for an hour or two might help. The acidic nature of vinegar can sometimes weaken the bond of certain paints or inks. After soaking, gently scrub the design with a soft cloth or non-abrasive sponge. Patience and a light touch are key here to avoid any scratching or clouding of the glass.
For more robust prints, such as those that are ceramic-fired onto the glass (common on older milk bottles or soda bottles), complete removal without specialized equipment is often impossible for the average person. Attempting to scratch these off with abrasive tools will invariably damage the glass. In such cases, you might consider embracing the existing design or looking for specialty glass etching or abrasive compounds at hardware stores, but always proceed with extreme caution and test in an inconspicuous area first. These can permanently alter the glass surface.
Crucially, always avoid using metal scrapers, abrasive scrubbing pads, or harsh chemical strippers on printed or painted glass. These tools and chemicals are highly likely to scratch, etch, or permanently cloud the glass, especially on clear jars or decorative bottles where transparency is desired. If the print is deeply ingrained, it might be best to appreciate the item as is or repurpose it in a way that incorporates the design.
Do’s and Don’ts for Safe and Effective Label Removal
To protect your glass items and ensure a smooth, successful label removal process, keep these practical guidelines in mind. A few simple steps can prevent damage, minimize mess, and maximize your results.
Do’s
- Do Test First: Before committing to a method on your entire glass item, always perform a small spot test on an inconspicuous area. This helps ensure the chosen cleaner or technique won’t damage, etch, or discolor the glass.
- Do Use Gentle Tools: Stick to non-abrasive tools for scraping or scrubbing. Preferred options include plastic scrapers, old plastic gift cards, your fingernail, or soft cloths and sponges.
- Do Wash Thoroughly Afterward: Regardless of the method used, always clean the glass with warm, soapy water after label removal. This eliminates any leftover adhesive, oil, vinegar, or chemical cleaner residue, leaving the glass pristine.
- Do Work in a Well-Ventilated Area: Especially when using rubbing alcohol or commercial adhesive removers, ensure good airflow to disperse fumes and protect your respiratory health.
- Do Wear Gloves: Protect your hands from harsh chemicals or prolonged exposure to water and cleaning agents by wearing rubber gloves.
Don’ts
- Don’t Use Metal Razor Blades on Delicate Glass: While effective on some robust surfaces, metal blades can easily scratch and damage thin or decorative glass, leaving permanent marks.
- Don’t Mix Harsh Cleaners Indiscriminately: Combining chemicals like vinegar, alcohol, bleach, and commercial products can not only be ineffective but also dangerous, potentially damaging the glass or releasing toxic fumes. Stick to one method at a time.
- Don’t Rush the Process: Patience is a virtue in label removal. Allow your chosen method sufficient time to penetrate and loosen the glue. Scrubbing too soon or too aggressively can spread the adhesive, make the mess worse, or damage the glass.
- Don’t Over-Scrub: Excessive force can lead to scratches or a cloudy appearance on the glass. Let the cleaning agent do the heavy lifting, and use a gentle touch for removal.
Adhering to these simple do’s and don’ts will make your label removal tasks safer, more effective, and far less frustrating, ensuring your glass items remain in excellent condition.
Best Method for Your Needs: A Quick Reference Chart
With several effective label removal techniques available, deciding which one to choose can be daunting. This quick reference chart is designed to help you easily select the best method based on the type of label you’re tackling and the resources you have at hand.
| Method | Best For | Ingredients Needed | Time Required | Effort Level |
|---|---|---|---|---|
| Soapy Water Soak | Standard paper labels, water-soluble glue | Hot water, dish soap | 30–60 minutes | Low |
| Baking Soda + Oil Paste | Stubborn sticky glue residue, gentle abrasion needed | Baking soda, cooking oil | 15–30 minutes | Medium |
| Rubbing Alcohol or Vinegar | Glossy, plastic, or waterproof labels, solvent-based glues | Rubbing alcohol or white vinegar, cotton balls/cloth | 10–20 minutes | Medium |
| Peanut Butter/Coconut Oil | Laminated, coated, or oil-soluble glues | Peanut butter or coconut oil | 20–40 minutes | Low to Medium |
| Goo Gone or Commercial Remover | Extra tough, industrial-strength, or old sticky glue | Commercial adhesive remover | 5–10 minutes | Low |
| Boiling/Freezing | Labels with heat- or cold-sensitive adhesives, thick glues | Boiling water or freezer access | 1–2 hours (freeze) / 10-15 mins (boil) | Medium to High |
Review the characteristics of your label and the glue type, then consult this table to make an informed choice. You might find that a combination of methods, such as an initial soak followed by a paste for residue, yields the best results.
Final Tips for Reusing Glass Jars and Bottles
Once those pesky labels are a distant memory, your clean glass containers are ready for their second life! Reusing glass is not only economical but also a fantastic way to contribute to a more sustainable lifestyle. To ensure your jars and bottles are perfectly prepared for their new purpose, consider these final steps and creative ideas.
Firstly, it’s essential to perform a thorough washing and sanitizing ritual. After label removal, wash the jars meticulously with hot, soapy water, paying close attention to any residual oil or cleaner. For an extra layer of cleanliness, particularly if the jars will hold food, rinse them with a diluted white vinegar solution (1 part vinegar to 4 parts water), which acts as a natural disinfectant. Alternatively, if your jars are heat-safe, running them through a dishwasher on a hot cycle is an excellent way to sterilize them and remove any lingering odors or faint glue residue. Ensure they are completely dry before storage or use to prevent mold.
Here are some fantastic ideas for giving your now-pristine glass a new lease on life:
- Efficient Storage Solutions: Transform jars into stylish and practical storage for pantry staples like spices, dried herbs, grains, pasta, or coffee beans. They’re also perfect for organizing craft supplies (buttons, beads, glitter), office supplies (pens, paperclips), or small hardware (screws, nails).
- Food Prep & Meal Planning: Use clean jars for convenient food prep. They’re ideal for overnight oats, layered salads, healthy smoothies, homemade dressings, or even freezing individual portions of soup or broth (ensure jars are freezer-safe and leave headspace).
- Creative Crafts & Home Décor: Unleash your creativity! Decorate jars with paint, twine, ribbon, or fabric for DIY gifts. Turn them into charming flower vases, candle holders, terrariums, or even unique light fixtures. They can also serve as elegant dispensers for liquid soap or mouthwash with the right pump attachment.
- Organize Your Bathroom & Vanity: Use smaller jars to store cotton balls, Q-tips, hair ties, or makeup brushes, bringing a touch of order and style to your bathroom counter.
To tackle any persistent smells or cloudiness that might remain from previous contents (e.g., pickles, sauces), fill the jar with a mixture of warm water, a quarter cup of white vinegar, and a tablespoon of baking soda. Let this fizzing solution sit for 15 minutes to several hours, then scrub with a bottle brush and rinse thoroughly. Repeat if necessary until the jar is crystal clear and odor-free.
With these simple final touches, your cleaned glass jars and bottles will not only be useful and aesthetically pleasing but will also stand as a testament to your commitment to an eco-friendly lifestyle. You’ll be amazed at how many ways you can repurpose these versatile items!
Wrapping Up: Your Path to Perfectly Clean Glass
You’ve now mastered the art of label removal from glass, armed with a toolkit of effective, safe, and stress-free methods. Gone are the days of endless scrubbing and sticky frustrations. With a little patience and the right approach, you can effortlessly clean up glass jars and bottles, making them ready for a multitude of uses, whether for smart storage, creative crafts, or efficient cooking.
Remember to identify your label type and adhesive, then choose the most suitable method – be it a simple hot, soapy soak, a natural oil-based paste, or a powerful commercial remover for those extra-stubborn cases. Always ensure you thoroughly wipe away any leftover glue and give your glass a final wash before repurposing. A quick soak, a gentle scrub, or even a bit of household oil usually does the trick. By taking it slow and staying gentle, you’re guaranteed to achieve beautifully clean, reusable glass items every time.
Empower yourself with these practical skills and elevate your home organization and crafting projects. Looking for more simple, helpful tips to tackle everyday tasks around your home? Be sure to explore other insightful blogs and guides on our website for easy solutions that make life a little smoother and more sustainable.
