DIY Outdoor Dining Table: A Complete Guide to Building Your Own
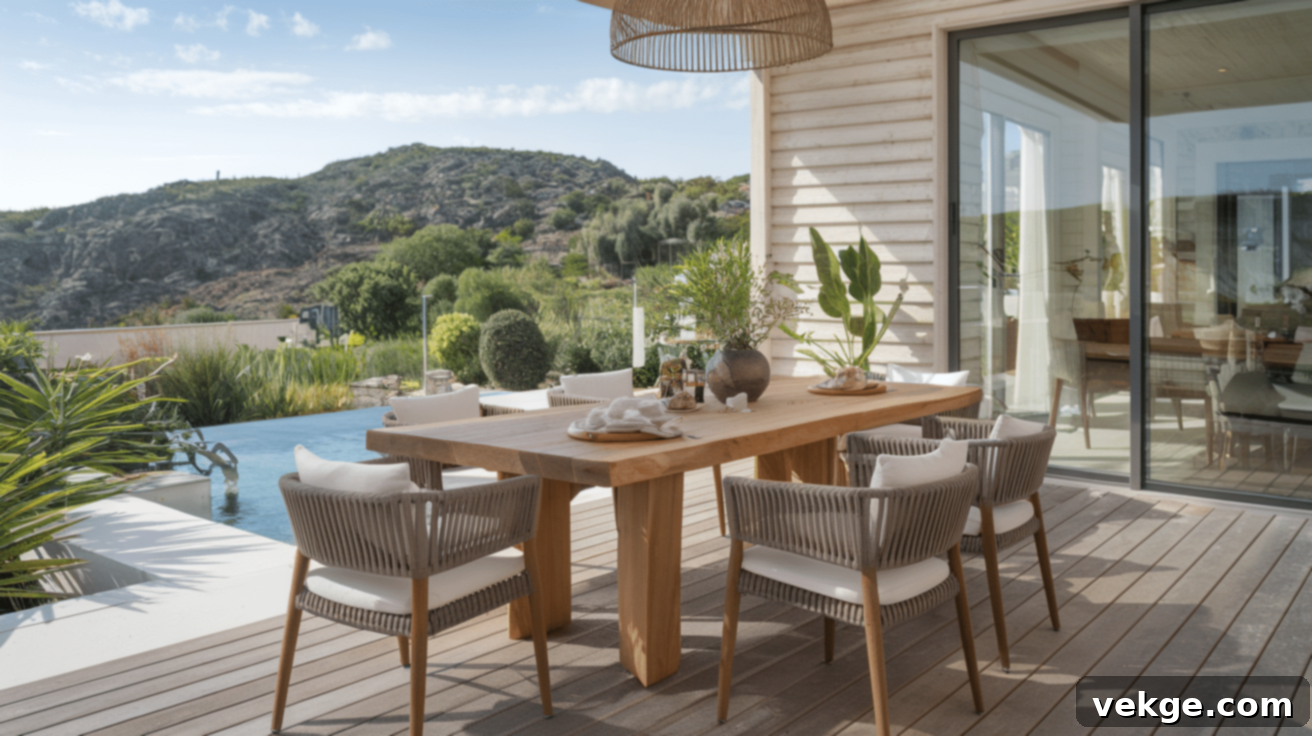
Creating your own outdoor dining table can be an enjoyable weekend project that not only saves money but also adds a personal touch to your backyard. While many store-bought options come with high price tags, building one yourself is significantly more affordable and allows you to choose the exact size, style, and finish that fits your outdoor space. The satisfaction of crafting something with your own hands enhances family gatherings and meals shared around your table. Additionally, using quality materials ensures that your table can withstand local weather conditions.
With some basic tools and straightforward instructions, you can have a stunning new table ready for summer entertaining.
Choosing the Right Materials for Your DIY Outdoor Dining Table
When building an outdoor dining table, selecting the right materials is crucial for ensuring durability and longevity. This guide will assist you in choosing the best materials for your project.
1. Best Woods for Outdoor Tables
- Cedar: Naturally rot-resistant, lightweight, and weathers to a beautiful silvery gray.
- Merbau: A dense hardwood known for its excellent weather and decay resistance.
- Treated Pine: A budget-friendly option that can withstand outdoor conditions with proper maintenance.
2. Sustainable and Budget-Friendly Options
- Utilize reclaimed wood from salvage yards or local sources.
- Select FSC-certified timber to support sustainable forestry.
- Choose low-VOC finishes and natural oil sealants for a healthier environment.
3. Outdoor vs. Indoor Materials
Materials intended for outdoor use must withstand moisture, UV rays, temperature fluctuations, and insect damage. Never use indoor materials for outdoor furniture, as they will deteriorate quickly. Invest in wood and finishes designed specifically for outdoor use to ensure your table remains functional and attractive for years to come.
Tools and Equipment You’ll Need
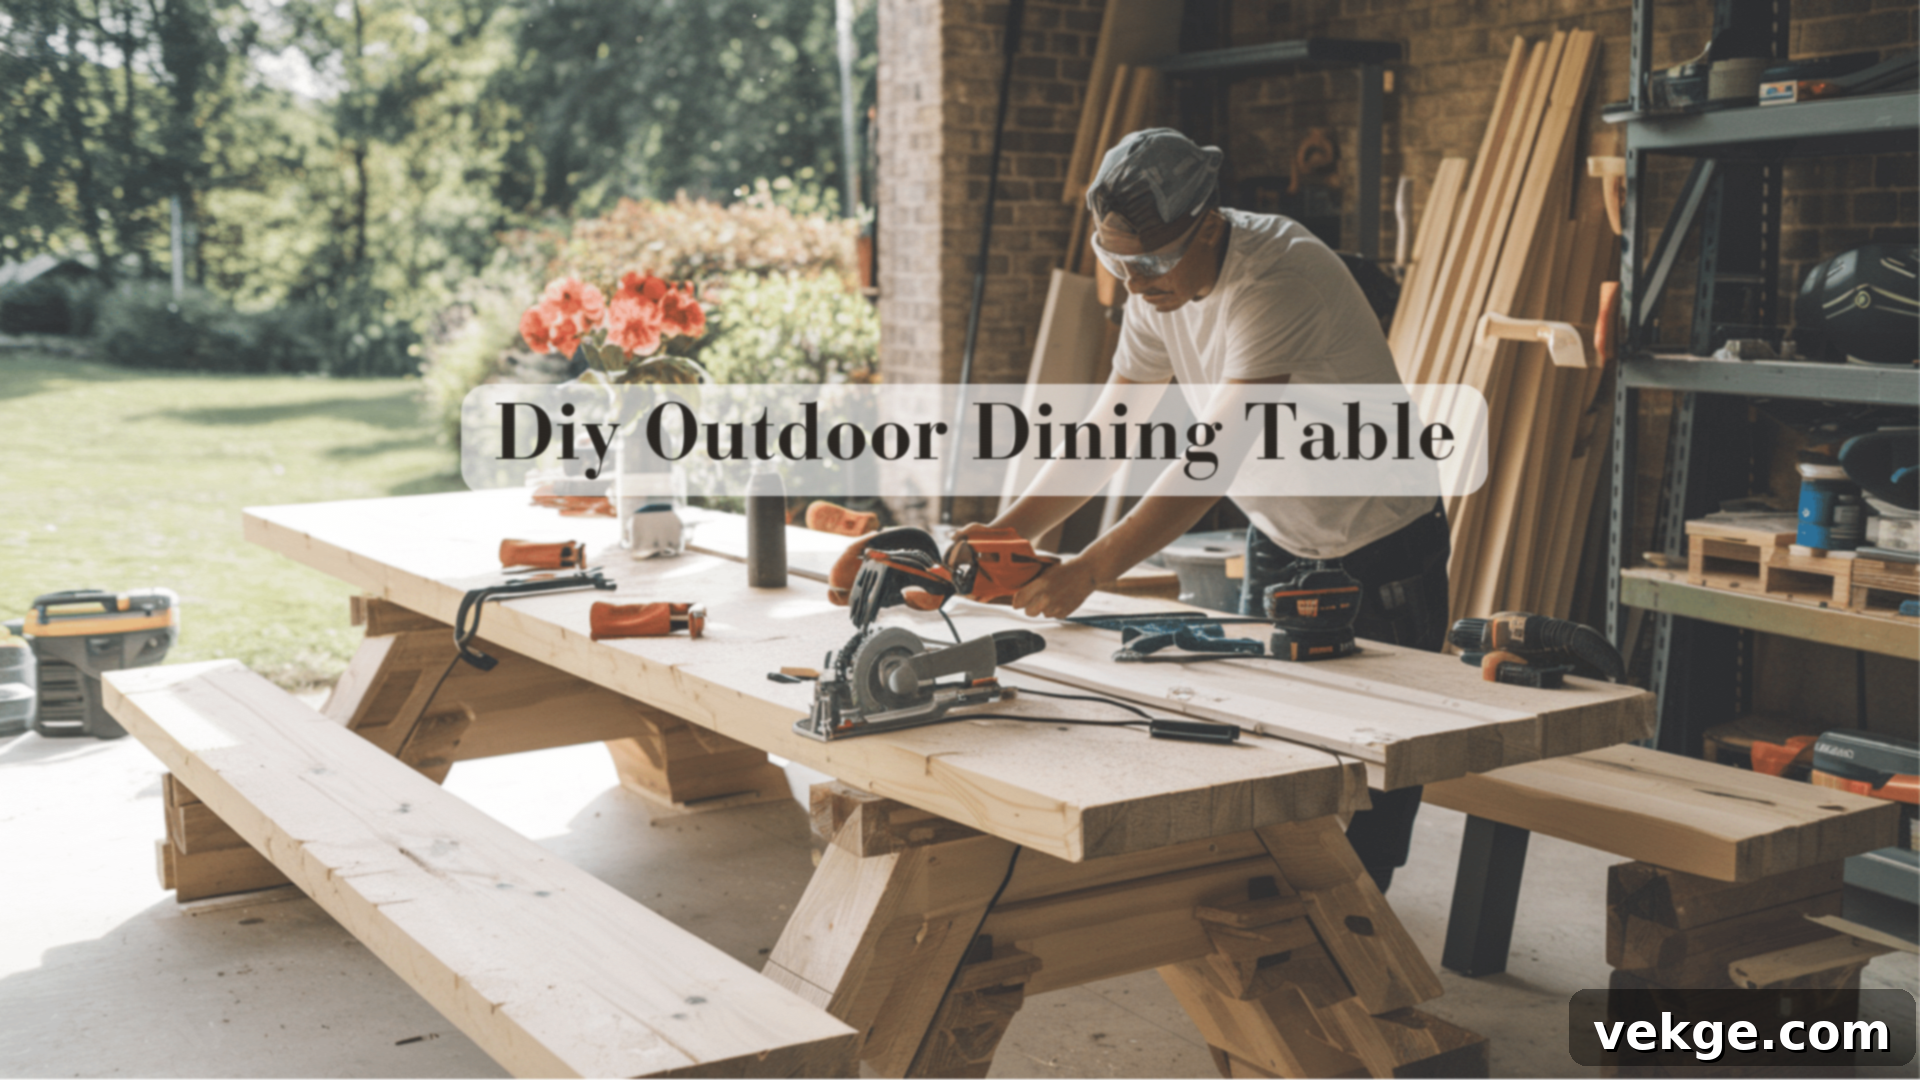
Building a dining table is an exciting woodworking project that requires careful preparation and the right tools. Your success hinges on your skills and the appropriate equipment to bring your vision to life.
Essential Tools for Building a Dining Table
Core tools are the foundation of your woodworking project, enabling precise cutting, drilling, measuring, and joining of wood components.
- Circular Saw or Table Saw: The primary cutting tool for lumber and sheet materials.
- Power Drill: Essential for creating holes and driving screws.
- Pocket Hole Jig: Creates strong, hidden joints for seamless assembly.
- Tape Measure and Square: Ensures accurate measurements and precise angles.
- Random Orbital Sander: Smooths surfaces for a professional finish.
- Clamps: Holds pieces securely during cutting and assembly.
- Wood Glue: Provides additional strength to wood joints.
- Drill Bit Set: Allows for various hole sizes and types.
- Screwdriver Set: Assists in manual and detailed fastening work.
Optional Tools to Enhance the Process
Advanced woodworking tools can improve precision, efficiency, and allow for more complex design techniques.
- Track Saw: Provides ultra-precise, straight cuts.
- Router: Enables decorative edge work and detailed joinery.
- Planer: Helps level and smooth rough lumber.
- Jointer: Creates perfectly straight board edges.
- Kreg Jig: An advanced pocket hole system for complex joints.
Safety Gear
It is essential to use protective equipment to prevent injuries and ensure personal safety during woodworking projects.
- Safety Glasses: Protect your eyes from wood chips and debris.
- Hearing Protection: Guard against loud power tool noise.
- Dust Mask: Prevent inhalation of wood particles.
- Work Gloves: Protect your hands from splinters and cuts.
- Long-Sleeved Clothing: Minimize skin exposure to potential hazards.
- Closed-Toe Shoes: Protect your feet in the workshop.
- First Aid Kit: Provides immediate treatment for potential minor injuries.
Step-by-Step Guide to Building Your DIY Dining Table

Creating a dining table is a challenging but rewarding woodworking project that requires patience and precision. Follow these key steps to bring your table to life.
1. Preparing the Wood
Select straight, high-quality lumber free from significant defects. Cut the boards to the desired length using a saw, ensuring clean, square cuts. Sand thoroughly, starting with coarse-grit sandpaper and progressing to finer grits for a smooth surface. Carefully remove all rough spots and splinters.
2. Assembling the Tabletop
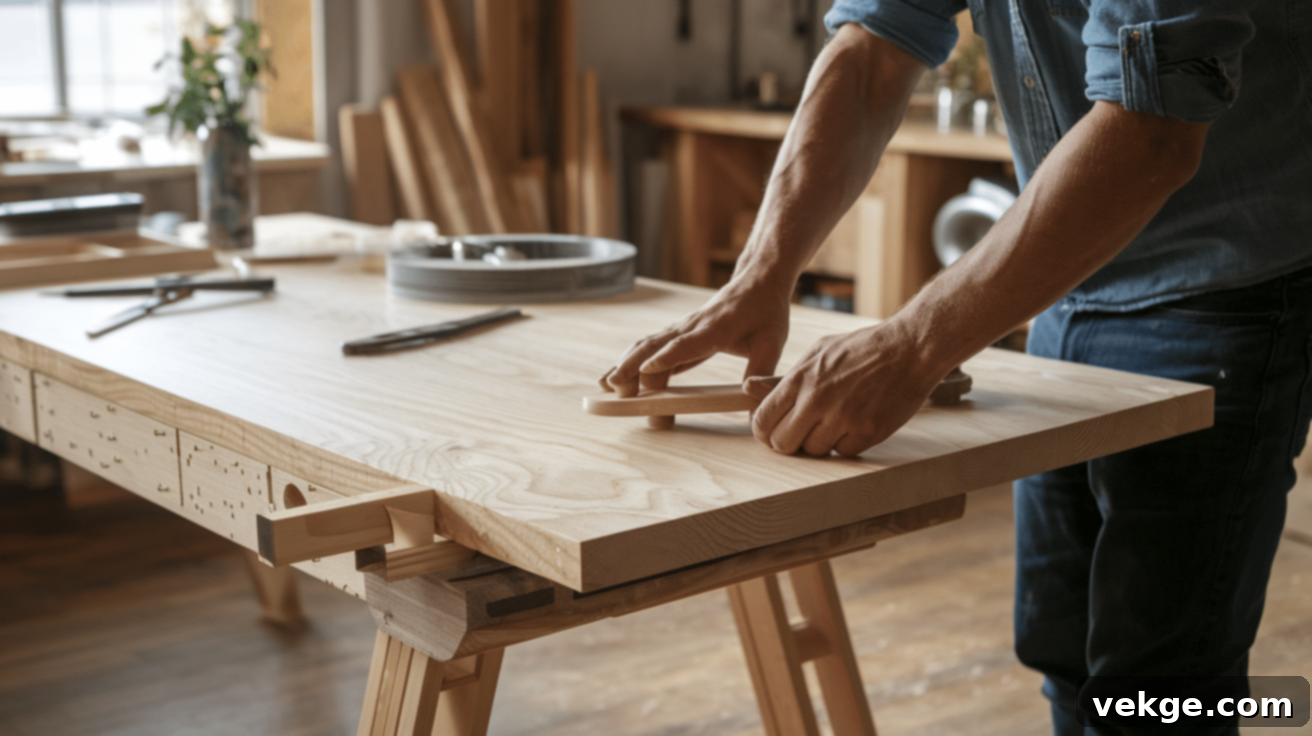
Arrange the boards to create an appealing grain pattern. Apply wood glue to the edges and use a pocket hole jig to create hidden joints. Clamp the boards tightly and secure them with pocket hole screws. Sand the entire surface to create a smooth, flat tabletop.
3. Building and Attaching the Legs
Cut the leg pieces to identical lengths, ensuring they are perfectly square. Shape the legs if desired using a table saw or hand plane. Attach the legs to the tabletop using wood glue and strong fastening methods, such as pocket holes. Verify that the legs are perpendicular and level.
4. Attaching the Aprons and Stretcher
Cut apron pieces to fit precisely between the legs. Attach the aprons using pocket holes or mortise and tenon joints. Install a centered stretcher near the bottom of the legs to provide additional stability. Ensure all connections are tight and secure.
5. Ensuring Proper Alignment
Use a long level to check the tabletop for twists or warping. Verify that all legs touch the ground evenly, using shims if necessary. Apply gentle pressure to test stability and make final adjustments. The goal is to create a solid, wobble-free table that will last for years.
Finishing Your DIY Dining Table

The right finish protects your handcrafted table from the elements and enhances its natural beauty. Follow these key steps to achieve a professional, long-lasting result.
Sanding and Prepping for Finish
Sand the entire surface progressively from 120-grit to 220-grit sandpaper. Always sand with the wood grain to create a smooth surface. Remove all dust with a tack cloth and wipe with mineral spirits to ensure a clean base for finishing.
Choosing the Right Finish for Outdoors
Select a finish that provides maximum protection against weather and UV rays. Top options include:
- Marine varnish: Excellent water and UV resistance.
- Spar urethane: A flexible coating that adapts to temperature changes.
- Epoxy: An extremely durable, glossy finish.
- Exterior polyurethane: Reliable all-around protection.
Applying the Finish
Work in a clean, dust-free environment. Apply 3-4 thin, even coats using a high-quality brush or foam applicator. Allow each coat to dry completely, lightly sanding between layers with 320-grit sandpaper. Ensure proper ventilation and follow the manufacturer’s instructions carefully.
Tips for Long-Lasting Durability
Protect your table from extreme conditions:
- Use a cover when not in use.
- Clean regularly with mild soap.
- Reapply finish annually.
- Store indoors during harsh weather.
- Address scratches or wear immediately.
Proper care will keep your DIY dining table looking beautiful and functioning well for years.
Troubleshooting and Common Challenges
Woodworking comes with challenges, but understanding how to address them can help you create a professional-quality dining table.
Dealing with Wood Movement
Wood naturally expands and contracts with temperature and humidity. Prevent issues by:
- Using stable lumber.
- Allowing wood to acclimate before working.
- Using joints that accommodate wood movement.
- Applying finish evenly to all surfaces.
Ensuring Stability
Create a rock-solid table by:
- Cutting legs to the same length.
- Using sturdy aprons and diagonal braces.
- Checking surface levelness.
- Using shims to correct minor irregularities.
Fixing Mistakes During Assembly
Common problems have simple solutions:
- Misaligned joints: Use clamps and check squareness.
- Uneven surfaces: Sand carefully.
- Glue joint gaps: Disassemble and reapply carefully.
- Tearout: Use backing boards when cutting.
- Stripped holes: Reinforce with wood plugs.
Maintenance and Care for Your Outdoor Dining Table
Regular maintenance helps keep your outdoor dining table looking great and extends its lifespan. Clean the table with a soft brush and mild soap, removing debris and wiping with the wood grain. Always dry thoroughly after cleaning to prevent water damage.
Inspect the table annually for wear, fading, or damage. Sand lightly and reapply marine varnish or exterior finish as needed. Fill small cracks with wood filler, sand smooth, and touch up with a matching finish. Tighten any loose joints promptly.
Protect the table from prolonged exposure to harsh weather. Cover it when not in use and store it indoors during extreme conditions. With consistent care, your handcrafted dining table will remain a beautiful outdoor centerpiece for years.
Conclusion
From wood selection to final finishing, you’ve learned the essential steps to creating a beautiful, functional piece of furniture. The process allows for endless personalization—experiment with wood types, leg designs, and finishes that reflect your unique style and complement your outdoor space. Your handcrafted table is more than just furniture; it’s a personal achievement.
We invite you to share your completed projects and woodworking tips in the comments below!
