The Ultimate Guide to Wood Filler Drying Times: How Long Does Wood Filler Take to Dry?
Waiting for wood filler to dry can feel like an eternity, especially when you’re eager to finish your woodworking project. That small patch of filler often seems to be the only thing holding up your progress. But rushing the drying process can lead to costly mistakes, ruining hours of hard work.
So, how long do you really need to wait for wood filler to dry completely? This comprehensive guide cuts through the confusion, offering clear, actionable answers about typical drying times, the factors that influence them, and practical tips to ensure a successful repair every time.
You’ll learn what affects drying speed, how to accurately check if your filler is ready for the next step, and simple, safe tricks to speed things up without compromising quality. Whether you’re fixing tiny nail holes or large cracks, understanding the science behind wood filler drying will save you time, effort, and frustration.
Let’s get your wood repairs done right, ensuring a smooth, durable finish that stands the test of time.
Understanding Wood Filler: What It Is and Why It’s Used
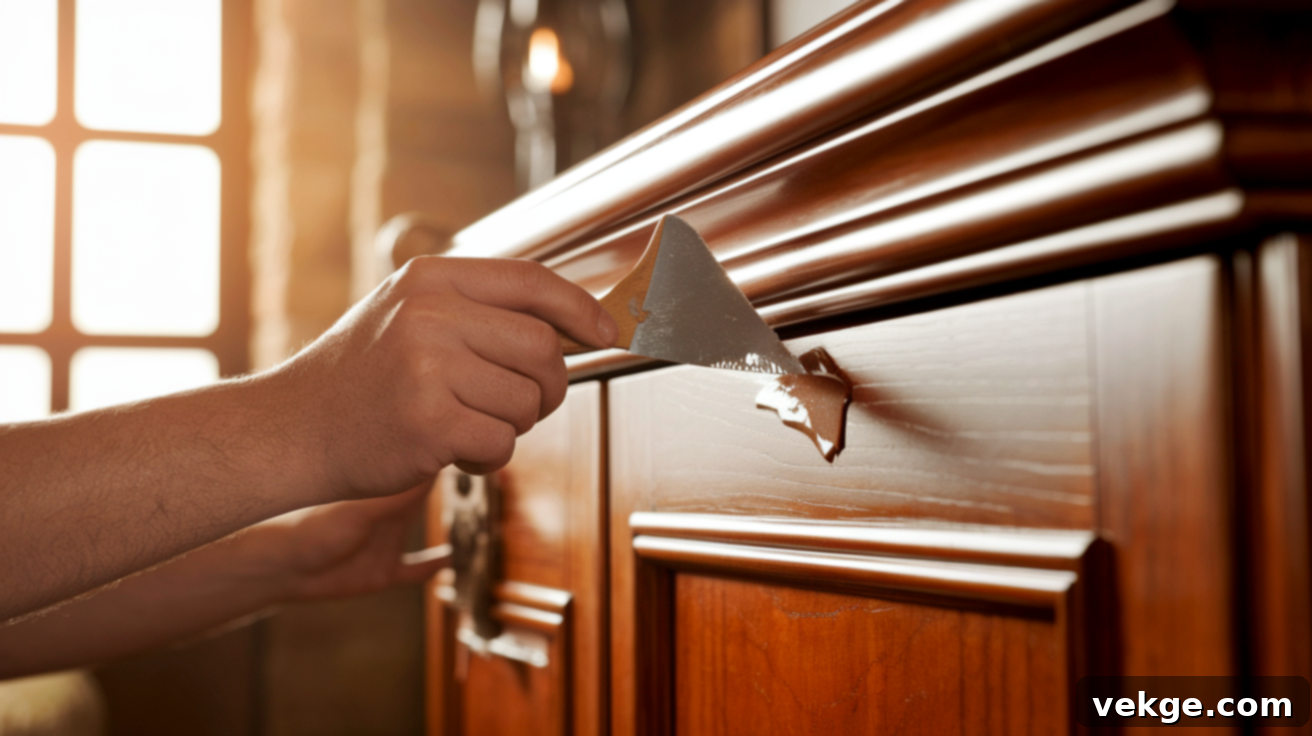
Wood filler is an indispensable material in woodworking and DIY repairs, designed to mend holes, cracks, gouges, and other surface imperfections in wood. Once dried and cured, it transforms into a hard, solid surface that can be sanded, painted, stained, or varnished to seamlessly blend with the surrounding wood.
From restoring antique furniture and repairing damaged floors to patching up wood trim, wood filler helps revive the aesthetic and structural integrity of wooden items. It’s available in various formulations, primarily categorized into water-based and solvent-based types, each suited for different repair needs and offering unique characteristics in terms of drying time and durability.
Choosing the correct type of wood filler is crucial for achieving a strong, long-lasting repair and a flawless finish. This initial choice sets the stage for how quickly and effectively your project will progress, making your wood look as good as new.
Types of Wood Filler: Water-Based vs. Solvent-Based
Wood fillers are broadly categorized into two main types: water-based and solvent-based. Understanding the differences between these formulations is key to selecting the right product for your specific repair and anticipating its drying time. Each type offers distinct advantages regarding ease of use, strength, and environmental impact.
Water-Based Wood Filler

Water-based wood filler is a popular choice for indoor repairs and quick touch-ups due to its user-friendly nature and relatively fast drying time. Its primary advantage is that the water component evaporates quickly, allowing small applications, such as nail holes or surface scratches, to dry in as little as 15 to 30 minutes.
This type of filler is incredibly easy to work with and clean up; a simple wipe with soap and water is usually sufficient for tools and spills. It produces minimal odor, making it ideal for use in enclosed spaces like kitchens, living rooms, and bedrooms without requiring extensive ventilation.
Water-based fillers are also highly receptive to paint and can be sanded down to an incredibly smooth finish, providing an excellent base for subsequent coatings. However, they are generally less suitable for high-traffic areas, heavily used furniture, or outdoor applications. Their water solubility means they can shrink over time, especially in high-moisture environments, and may not withstand heavy impact or harsh weather conditions as effectively as solvent-based alternatives.
Solvent-Based Wood Filler

Solvent-based wood filler is engineered for repairs that demand superior durability, strength, and resistance to environmental factors. While it requires a significantly longer drying time—typically ranging from several hours to a full 24 hours or more—it forms an exceptionally hard, robust finish capable of withstanding moisture, extreme weather, and heavy impacts.
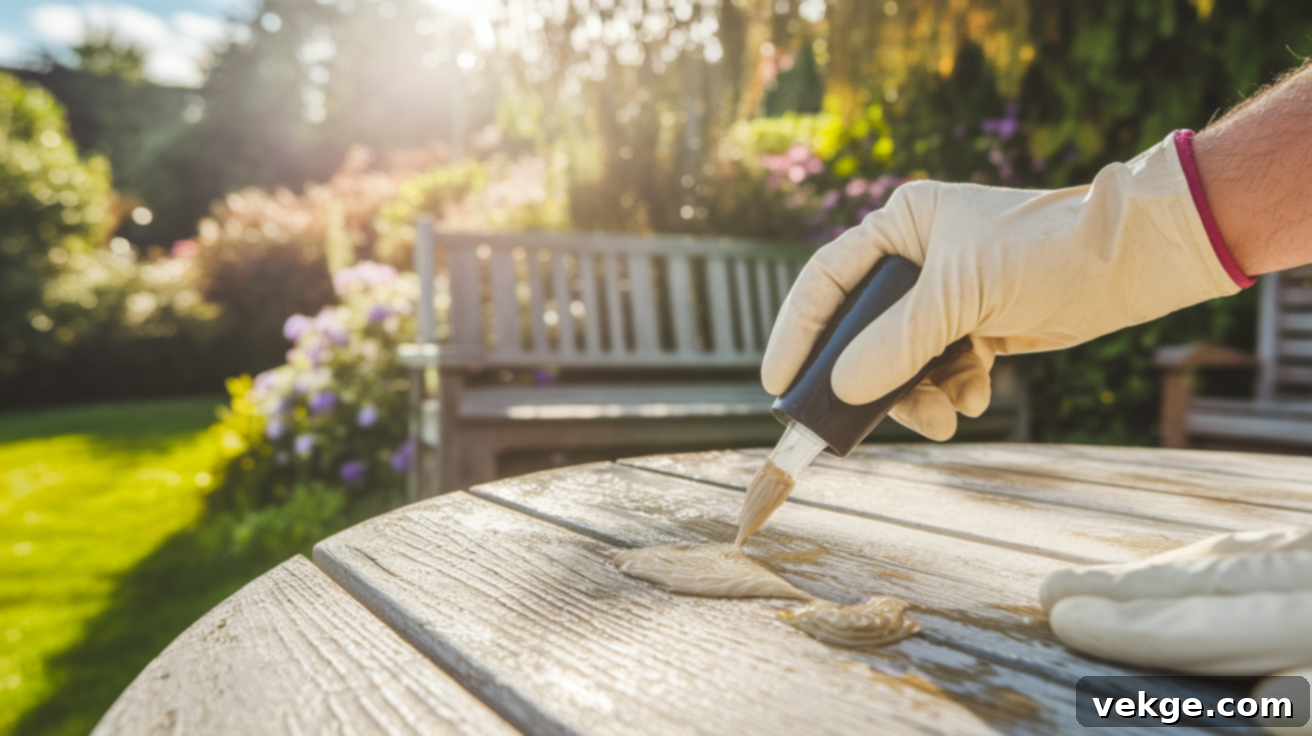
This makes solvent-based filler the preferred choice for outdoor wood projects, structural repairs, or high-wear areas such as floors, stair treads, and doors. Its strong adhesion properties ensure it bonds securely to the wood, exhibiting minimal shrinkage and maintaining its integrity even under heavy sanding and subsequent finishing processes.
A notable consideration for solvent-based fillers is the cleanup process, which typically requires mineral spirits or acetone rather than just water. Additionally, these fillers emit strong fumes during drying, necessitating excellent ventilation during application and curing to ensure safety and comfort.
Average Wood Filler Drying Time: What to Expect
The average drying time for wood filler isn’t a single, fixed number; it varies significantly based on the type of filler used and the depth of the repair. Understanding these general guidelines will help you plan your project effectively and avoid premature sanding or finishing.
For small, thin applications with water-based wood filler, such as filling nail holes or hairline cracks, you can typically expect it to be dry to the touch and ready for light sanding within 15 to 30 minutes. This makes them ideal for quick touch-ups and projects with tight deadlines.
When dealing with deeper repairs (e.g., 1/8 inch to 1/4 inch) using water-based products, the full curing time will extend. Expect these applications to be ready in approximately 2 to 8 hours. For even deeper voids, it’s often recommended to apply multiple thin layers, allowing each to dry before adding the next, which can extend the overall project time.
Solvent-based wood fillers, known for their superior strength and durability, demand considerably more patience. These fillers usually require anywhere from 6 to 12 hours for surface dryness, with a full cure often taking 12 to 24 hours, or even longer in certain conditions. Always allow the maximum recommended time for solvent-based fillers, especially for structural or exterior repairs.
Pro Tip: Always consult the manufacturer’s instructions on the product label. Drying times can vary significantly between brands due to differences in formulation. Environmental factors like temperature and humidity also play a crucial role in how fast or slow the filler sets and cures.
Key Factors That Affect Wood Filler Drying Time
Understanding the variables that influence wood filler drying time is essential for successful project planning and execution. By controlling or accounting for these factors, you can better predict when your filler will be ready, ensuring optimal results and avoiding delays.
1. Filler Type Matters Most
As discussed, the most significant factor determining drying speed is the type of wood filler. Water-based fillers inherently dry faster because water evaporates more quickly than the chemical solvents found in solvent-based products. For minor repairs, a water-based filler can be dry to the touch in under an hour.
In contrast, solvent-based fillers rely on chemical reactions and the evaporation of heavier solvents, which take significantly longer to cure properly. While demanding more waiting time, they offer superior durability and resistance, making the extended drying period a worthwhile trade-off for demanding applications.
2. Thickness of Application
The amount of wood filler applied directly correlates with its drying time. A very thin layer, perhaps used to fill a surface scratch, will dry much faster than a deep patch. For repairs measuring 1/4 inch or more in depth, applying a single, thick layer can trap moisture or solvents, leading to excessively long drying times, potential cracking, or incomplete curing.
For deep holes or voids, the best practice is to apply multiple thin layers, allowing each layer to dry thoroughly before adding the next. This layered approach, though seemingly longer upfront, actually speeds up the overall drying process by promoting even evaporation and results in a stronger, more stable repair.
3. Temperature and Humidity
Environmental conditions profoundly impact how quickly wood filler dries. Warm, dry conditions are ideal as they accelerate the evaporation of water or solvents from the filler. Most wood fillers perform best and dry fastest when the ambient temperature is between 65-75°F (18-24°C).
Conversely, cold temperatures (below 50°F / 10°C) can drastically slow down the drying process, often doubling or even tripling the estimated times. High humidity is equally detrimental, as it introduces more moisture into the air, inhibiting the filler’s ability to release its own moisture or solvents, thus extending drying times considerably. Working in a damp environment like a basement or during rainy weather will inevitably prolong the wait.
4. Airflow and Ventilation
Good air circulation is vital for efficient drying. Moving air helps carry away evaporated moisture or solvents from the filler’s surface, allowing the deeper layers to dry more quickly. A stagnant, poorly ventilated space will trap these evaporants, creating a localized high-humidity environment around the repair and slowing down the process.
5. Indoor vs. Outdoor Use
The environment for indoor projects typically offers stable temperatures and lower humidity, providing consistent drying conditions. Most indoor repairs can be completed within a day or two, depending on the filler type and thickness.
Outdoor projects are subject to the whims of nature. Factors like morning dew, sudden rain showers, fluctuating temperatures, and direct sunlight can all impact drying times. For exterior work, it’s crucial to check the weather forecast and plan for a minimum of 24-48 hours of consistently dry and mild conditions after application to ensure proper curing and durability.
How to Tell If Your Wood Filler Is Dry: Essential Tests
Knowing precisely when your wood filler is completely dry is paramount before you proceed with sanding, painting, or staining. Rushing this step is a common mistake that can lead to a ruined finish, requiring you to strip back your work and start over. Here are several reliable tests to ensure your filler is ready.
1. The Visual and Touch Test
Your eyes and fingers are your first and often most effective tools for assessing dryness. Most wood fillers undergo a noticeable color change as they dry, typically becoming lighter, duller, or less glossy than when they were initially applied. This visual shift is a strong indicator of progress.
Next, gently run your finger across the surface of the filler. A fully dry filler will feel hard and smooth, with no tackiness or stickiness. If it feels even slightly gummy or leaves a residue on your finger, it needs more time. You can also try tapping the filler lightly with your fingernail; a dry patch will produce a solid, crisp sound, whereas damp filler will sound dull or muffled. Crucially, if you can press into the filler and leave an indent, it is definitely not dry enough for the next step.
2. The Sandability Test
The most definitive method for checking if wood filler is truly dry and cured is the sandability test. Select a small, inconspicuous corner or edge of the filled area and lightly sand it with fine-grit sandpaper (e.g., 180-220 grit). If the sandpaper glides smoothly across the surface and generates a fine, powdery dust, your wood filler is fully dry and ready for the next stages of finishing.
However, if the sandpaper clogs rapidly, feels “gummy,” or if the filler begins to peel, tear, or come away in clumps, immediately stop sanding. This indicates that the filler is still wet or not fully cured internally. Continuing to sand prematurely will not only be ineffective but can also tear out the repair completely, forcing you to reapply the filler and extend your project timeline significantly.
Can You Speed Up Wood Filler Drying? Safe Methods and What to Avoid

While patience is key, there are indeed safe and effective ways to gently accelerate the drying process of wood filler, helping you move your project forward without compromising the integrity of the repair. However, it’s equally important to know what methods to avoid, as aggressive drying can lead to significant problems.
Safe Ways to Help It Along
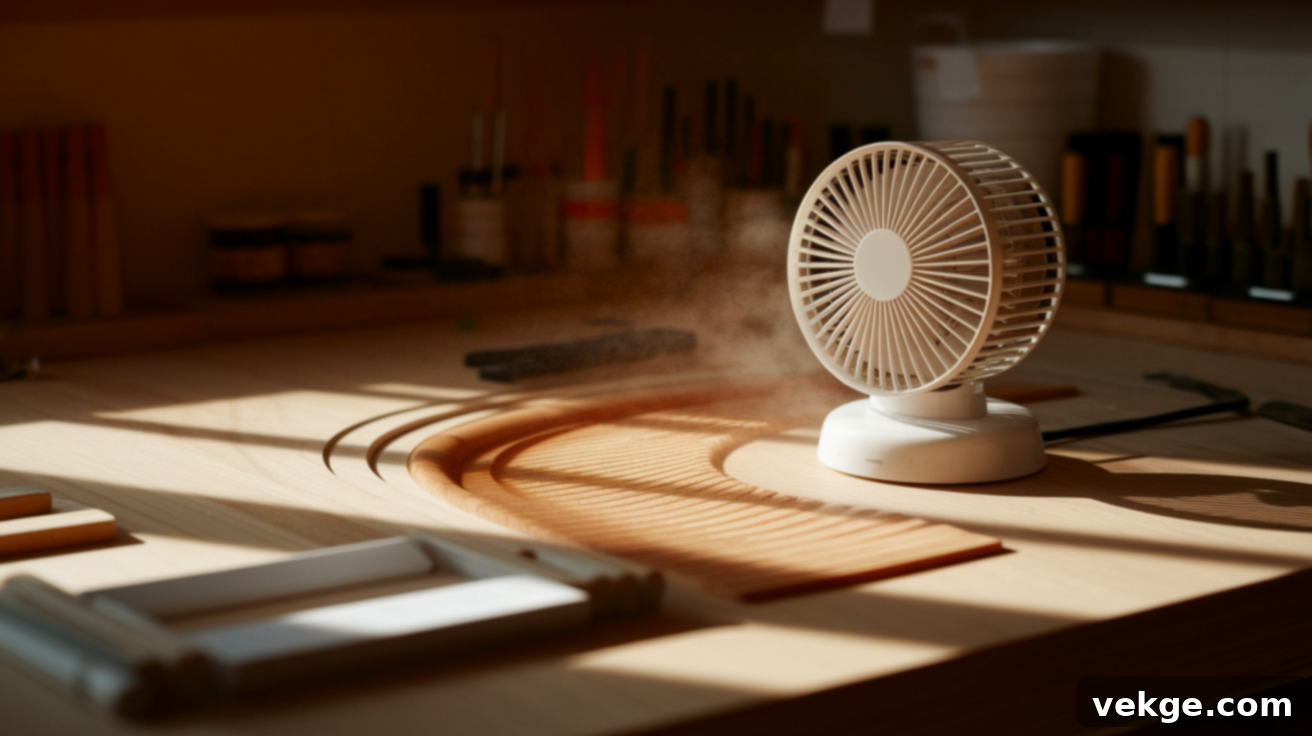
- Improve Air Circulation: The simplest and safest method is to use a fan. Position a box fan or oscillating fan near your project, set to a low or medium speed, to create gentle air movement over the filled area. This helps to carry away evaporated moisture or solvents, promoting faster and more even drying. Ensure the fan isn’t blowing directly at the filler at high speed, which could cause surface drying while the core remains wet.
- Optimize Room Temperature: Wood filler dries best in warm, stable conditions. If your workspace is cool, slightly raising the room temperature to between 70-75°F (21-24°C) can significantly speed up the drying process. Avoid extreme heat, as explained below.
- Reduce Humidity: In humid environments, a dehumidifier can be a game-changer. By actively removing moisture from the air, a dehumidifier creates a drier atmosphere that allows the filler to release its moisture or solvents more efficiently, drastically cutting down drying times.
- Apply Thinner Layers: This is arguably the most effective technique. Instead of attempting to fill a deep void with one thick application, build up the repair using multiple thin layers. Each thin layer will dry much faster (e.g., 30 minutes) than a single thick layer (e.g., several hours). While it requires more applications, the overall time to achieve a fully cured, strong repair is often shorter and the result is superior. Ensure each layer is dry to the touch before applying the next.
What to Avoid at All Costs
While tempting, certain methods of accelerating drying can do more harm than good:
- Direct, Intense Heat: Never use a hairdryer, heat gun, or powerful space heater aimed directly at the wood filler. Intense, localized heat causes the surface of the filler to dry and harden rapidly, forming a “skin” while the underlying layers remain wet. This uneven drying leads to cracking, shrinking, poor adhesion, and a weak, compromised repair that will likely fail prematurely.
- Over-Application: As mentioned, applying too much filler at once, especially in deep voids, will dramatically extend drying times and can lead to internal uncured sections. This also increases the risk of cracking or deep shrinkage as it dries.
- Ignoring Product Instructions: Manufacturers’ guidelines are there for a reason. Ignoring specific recommendations for application thickness, temperature ranges, or drying times based on the filler’s unique chemical composition can lead to disastrous results.
- Insufficient Ventilation: While applying, and especially when drying solvent-based fillers, poor ventilation traps harmful fumes and slows evaporation. Always work in a well-ventilated area.
Patience now saves significant time and effort later. By employing safe acceleration methods and avoiding common pitfalls, you can ensure your wood filler dries correctly and your repair lasts for years to come.
Wood Filler Drying Time by Project Type
To help you better estimate your project timeline, here’s a table showing typical drying times you can expect for common wood repair tasks, assuming favorable environmental conditions and appropriate filler type.
| Project Type / Application Thickness | Estimated Dry Time (Water-Based Filler) | Estimated Dry Time (Solvent-Based Filler) |
|---|---|---|
| Small nail holes (very thin) | 15–30 minutes | 2–4 hours (surface dry) |
| Surface scratches & shallow imperfections (thin) | 30–60 minutes | 4–8 hours (surface dry) |
| Medium gouges & repairs (up to 1/8 inch) | 1–2 hours | 8–12 hours |
| Deep repairs (1/4 inch or more, multiple thin layers recommended) | 2–8 hours (per layer) | 12–24 hours (per layer/total) |
| Exterior woodwork (thick application for weather resistance) | N/A (not recommended) | 24 hours or more |
Common Mistakes to Avoid When Drying Wood Filler
Many DIY and professional woodworking projects hit a snag during the wood filler drying phase. Avoiding these common errors can save you from frustration, wasted materials, and the need to redo your work. Pay close attention to these pitfalls:
- Sanding Too Soon: This is perhaps the most frequent mistake. Attempting to sand filler before it has fully hardened will cause it to gum up sandpaper, tear out of the repair, or create an uneven, compromised surface. Always perform a sandability test.
- Applying Overly Thick Layers: As discussed, a single, thick application, especially for deep repairs, significantly prolongs drying time and increases the risk of cracking, incomplete curing, or bubbling as solvents/water become trapped.
- Ignoring Environmental Conditions: Working in high humidity or cold temperatures without mitigation (fans, dehumidifiers, heaters) will dramatically extend drying times and can prevent the filler from curing properly.
- Neglecting Manufacturer’s Instructions: Each wood filler product has specific guidelines. Failing to read and follow these instructions for drying times, application methods, and temperature ranges can lead to poor results or project failure.
- Using the Wrong Filler for the Job: Using water-based filler for outdoor projects or structural repairs that require the durability of a solvent-based product will result in a short-lived repair that quickly deteriorates.
- Applying to Dirty or Unprepped Surfaces: Filler needs a clean, dry, and sometimes slightly sanded surface to adhere properly. Applying it to dusty, greasy, or wet wood will compromise adhesion and lead to the filler peeling or falling out.
- Mixing Incompatible Fillers: Do not mix different types of fillers (e.g., water-based with solvent-based) unless explicitly stated by the manufacturer. This can prevent proper curing, leading to an unstable or weak repair.
- Poor Ventilation: Especially with solvent-based fillers, inadequate ventilation can slow down drying, trap harmful fumes, and lead to an uneven cure.
Conclusion: Patience is Key for Perfect Wood Filler Results
Ultimately, waiting for wood filler to dry is not merely a delay but a critical step in achieving a successful and durable wood repair. The ideal drying time is a dynamic factor, influenced by your specific project, the type of filler you choose, and the environmental conditions of your workspace.
Remember, rushing the process is the most common cause of poor results, leading to cracking, shrinking, or complete failure of the repair. Instead, embrace patience. Small surface repairs might genuinely be ready in a quick 15-30 minutes, while deeper voids or applications of robust solvent-based fillers will demand several hours, or even a full overnight cure.
Always rely on visual and touch tests, and the definitive sandability test, to confirm your filler is truly dry. When in doubt, err on the side of caution and grant it a little more time. Good airflow, controlled temperatures, and the strategic application of thin layers are your best allies in ensuring efficient and effective drying.
By understanding these principles and avoiding common mistakes, your next wood repair project will undoubtedly result in a smooth, strong, and lasting finish, ready to withstand years of use.
Eager for more expert woodworking advice? Explore our other blogs for simple, practical guides to enhance every aspect of your wood projects, making them easier, more enjoyable, and consistently successful.
