Mastering Homemade Plum Jelly: A Sweet & Tangy Guide to Preserving Summer’s Bounty
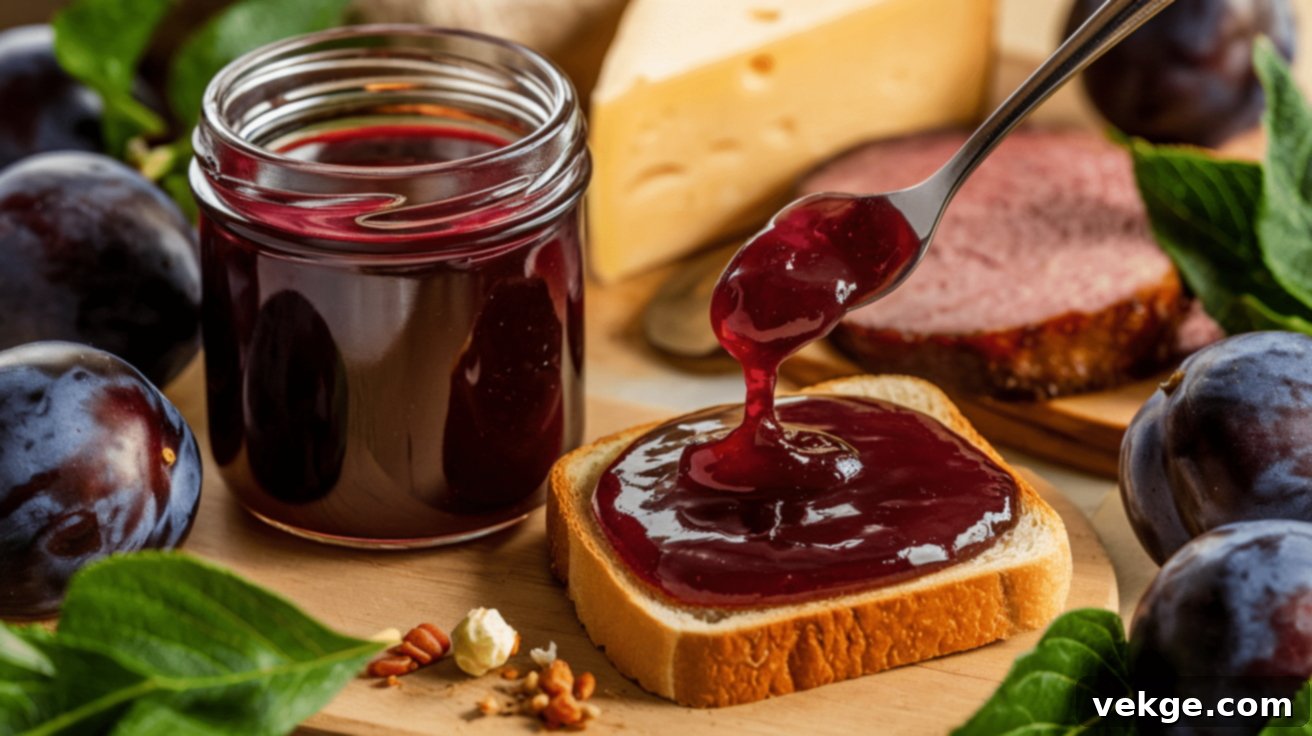
There’s a special kind of satisfaction that comes from creating something delicious from scratch, and homemade plum jelly is no exception. This delightful culinary endeavor transforms ripe, juicy plums into a vibrant, ruby-colored spread, bursting with the sweet, slightly tart essence of fresh fruit. Perfect for slathering on morning toast, elevating a classic peanut butter and jelly sandwich, or adding a sophisticated touch to desserts like ice cream or cheesecake, plum jelly is a versatile pantry staple that brings the taste of summer into your home year-round.
Beyond the undeniable flavor, making your own plum jelly offers a distinct advantage: complete control over the ingredients. You can confidently avoid the artificial colors, preservatives, and excessive sugars often found in store-bought alternatives. With just a few basic ingredients and a straightforward process, you can craft a natural, wholesome, and incredibly flavorful jelly that will impress both your family and friends. Let’s embark on this rewarding journey to create your very own batch of exquisite plum jelly!
Why Plums Are the Ideal Fruit for Crafting Exceptional Jelly

While many fruits can be turned into jelly, plums hold a unique advantage that makes them particularly well-suited for the task. Their natural composition, specifically their balance of sugars, acids, and a high concentration of pectin, creates the perfect foundation for a beautifully set jelly without much fuss. When plums are cooked down, these elements interact harmoniously, ensuring a clear, shimmering, and firm jelly every time.
The visual appeal of plum jelly is undeniable. It boasts a deep red-purple hue that glows in the jar, a testament to the fruit’s rich pigments. This vibrant color not only looks appetizing but also signals the intense flavor within. Taste-wise, plum jelly hits all the right notes – it’s delightfully sweet but never cloying, balanced by a subtle tanginess that awakens the palate. Unlike some single-note fruit jellies, plum jelly offers a complex flavor profile that unfolds with each bite, revealing layers of fruity goodness.
Furthermore, the versatility of plum jelly is outstanding. It’s not just for breakfast; its nuanced flavor pairs wonderfully with a wide array of foods. Imagine it alongside a sharp cheddar cheese on a cracker, as a glaze for roasted meats like pork or duck, or swirled into yogurt for a gourmet touch. The smooth, spreadable texture ensures it glides effortlessly onto bread or toast, making every application a joy. Plums inherently contain enough natural pectin to achieve a good set, reducing the need for excessive added pectin, especially if you choose slightly under-ripe fruits, which are typically richer in this gelling agent.
Essential Ingredients for Crafting Your Perfect Plum Jelly
Creating delicious homemade plum jelly requires only a handful of simple ingredients. The quality of these components directly influences the final taste and texture of your jelly, so choose them wisely.
- Fresh, Ripe Plums: This is the star of your jelly. Opt for firm, unblemished plums that yield slightly to gentle pressure and offer a fragrant aroma. Varieties like Santa Rosa, Stanley, or Italian plums are excellent choices due to their high pectin content and rich flavor. Approximately 5 pounds of plums will yield a good batch of jelly.
- Granulated Sugar: Beyond sweetness, sugar plays a crucial role in the gelling process, working in tandem with pectin and acid to create the desired consistency. It also acts as a preservative. The standard ratio is often high, but you can adjust it with low-sugar pectin.
- Pectin (Commercial): While plums contain natural pectin, adding commercial pectin ensures a reliable set, especially if your plums are very ripe or you prefer a lower sugar recipe. There are different types, including powdered and liquid pectin, as well as low-sugar varieties. Always follow the package instructions for the specific type you are using.
- Water: Used to extract the plum juice, ensuring that the fruit breaks down evenly and releases its flavorful essence.
- Butter (Optional): A small amount of unsalted butter added during cooking can help reduce foaming, resulting in a clearer, more aesthetically pleasing jelly.
- Lemon Juice: Although not explicitly listed as a separate item in the original list, lemon juice is often added to fruit jellies to boost acidity, which is vital for activating pectin and achieving a proper set, particularly with fruits that might be lower in natural acidity. It also brightens the flavor.
- Low-Sugar Pectin (Optional alternative): If you prefer a less sweet jelly, low-sugar or no-sugar-added pectin is an excellent choice. This type of pectin requires less sugar to set, allowing the natural fruit flavor to shine through more prominently.
Ensure all your ingredients are measured accurately. Jelly making is often described as a science, and precise measurements are key to success.
A Comprehensive Step-by-Step Guide to Making Plum Jelly

Step 1: Selecting and Preparing Your Plums
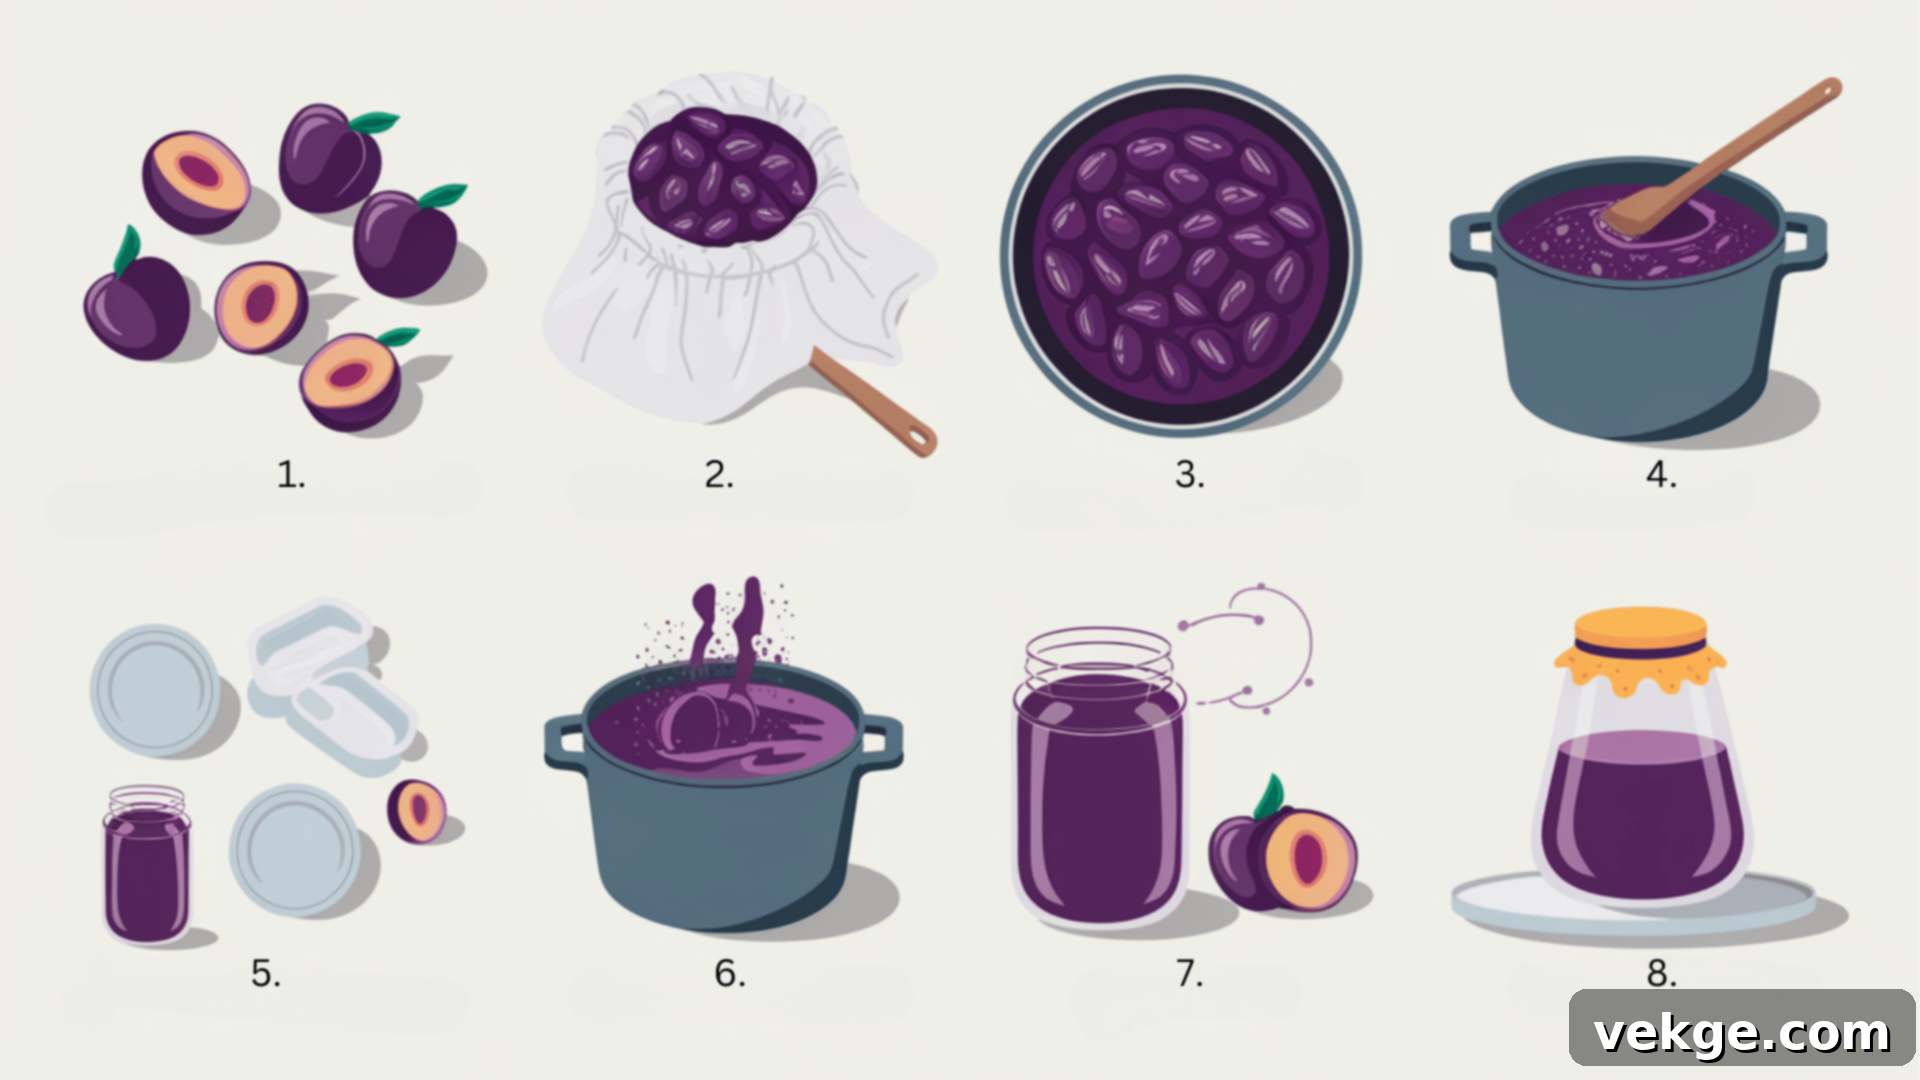
Begin by selecting approximately 5 pounds of fresh, ripe plums. Wash them thoroughly under cool running water to remove any dirt, residue, or pesticide traces. Once clean, cut each plum in half and carefully remove the pits. There’s no need to peel the plums; their skins contain valuable natural pectin, which contributes significantly to the jelly’s setting ability and also adds to its beautiful color. You can roughly chop the halves if you wish, to help them break down more easily during cooking, but it’s not strictly necessary.
Step 2: Extracting the Pure Plum Juice
Place the pitted plum halves into a large, heavy-bottomed stockpot. Add 1½ cups of water to the pot. Bring the mixture to a rolling boil over medium-high heat. Once boiling, reduce the heat to low, cover the pot, and let it simmer gently for about 10-15 minutes. The plums should become very soft and begin to release their juices, turning the cooking liquid into a rich, fragrant plum broth. Stir occasionally to prevent sticking.
Next, it’s time to extract the juice. Drape a large piece of cheesecloth (at least two layers thick) or a clean jelly bag over a large bowl or a second stockpot, securing it in place. Carefully pour the cooked plums and their liquid into the cheesecloth-lined colander. Allow the juice to drip naturally for at least 30 minutes, or even longer, up to several hours, for the clearest possible jelly. Resist the urge to squeeze the cheesecloth, as this can force pulp through, resulting in a cloudy jelly. However, if you’re not concerned about crystal clarity and want to maximize your yield, a gentle squeeze at the end is acceptable. This process should yield approximately 5½ cups of intensely flavored, ruby-red plum juice.
Step 3: Preparing Your Canning Jars and Equipment
If you plan to preserve your plum jelly for long-term storage through canning, this step is crucial and should be done while the plum juice is draining. Begin by sterilizing your canning jars. You can do this by washing them thoroughly in hot, soapy water and rinsing well, then placing them in a boiling water bath canner, ensuring they are fully submerged, and boiling for 10 minutes. Alternatively, run them through a hot cycle in your dishwasher. Keep the sterilized jars hot until you are ready to fill them. Wash the canning lids and screw bands in warm, soapy water; the lids do not need to be boiled but should be kept warm according to manufacturer instructions (often a simmering pot of water for a few minutes). Set up your water bath canner on the stove, filling it about halfway with water and bringing it to a simmer.
Step 4: The Art of Cooking Your Plum Jelly
Once you have your measured plum juice, pour it into a clean, large, heavy-bottomed pot or Dutch oven. If desired, add one tablespoon of unsalted butter; this helps to minimize foaming during the boiling process, leading to a clearer jelly. Stir in one box (1.75 oz, or approximately 6 tablespoons) of powdered pectin until it is completely dissolved. Ensure there are no lumps.
Place the pot over high heat and bring the mixture to a full, rolling boil that cannot be stirred down. This means even when you stir vigorously, the mixture continues to boil furiously. Stir constantly to prevent scorching the bottom of the pot. Once this full rolling boil is achieved, immediately add all 6½ cups of granulated sugar at once. Stir continuously until the sugar is fully dissolved. Return the mixture to a full, rolling boil and boil hard for exactly one minute, stirring constantly. Precision is key here; overcooking can break down pectin, leading to a runny jelly, while undercooking means it might not set properly.
After precisely one minute, remove the pot from the heat. Carefully skim off any foam that has formed on the surface using a metal spoon. This step also contributes to a clearer jelly.
Step 5: Testing for the Perfect Jelly Set (Optional but Recommended)
To ensure your jelly will set perfectly, perform a simple freezer plate test. Before you even start cooking, place a small ceramic plate in your freezer. When you believe your jelly is ready (after the one-minute boil), spoon a small amount (about a teaspoon) of the hot jelly onto the cold plate. Let it sit for about one minute in the freezer or refrigerator. Then, gently push the jelly with your fingertip. If the surface wrinkles and doesn’t flow back together, your jelly has reached its setting point and is ready. If it’s still runny, return the pot to high heat, bring it back to a full rolling boil for another minute, and test again. Repeat if necessary, though usually, one extra minute is sufficient.
Step 6: Filling and Processing Your Jars for Storage
With the hot jelly ready and your sterilized jars warm, it’s time to fill. Ladle the hot plum jelly into the warm canning jars, leaving ¼-inch of headspace at the top of each jar. This headspace is crucial for proper sealing during the canning process. Use a damp paper towel to wipe the jar rims clean of any sticky jelly residue; a clean rim is essential for a good seal. Place the prepared lids on the jars, followed by the screw bands. Screw the bands on until they are fingertip tight – not too loose (to allow air to escape), but not too tight (to prevent the lid from sealing properly).
Carefully transfer the filled jars into your prepared water bath canner, ensuring they are submerged under at least 1-2 inches of water. Bring the water to a full, rolling boil. Once boiling, process the jars for 10 minutes. If you live at a high altitude (above 1,000 feet), you will need to adjust the processing time accordingly (e.g., add 1 minute for every 1,000 feet increase in altitude). After processing, turn off the heat, remove the canner lid, and let the jars sit in the hot water for another 5 minutes before carefully removing them with a jar lifter. Place the hot jars on a wire rack or a folded towel to cool undisturbed for 24 hours. You’ll hear the satisfying “pop” as the lids seal. After 24 hours, check for seals by pressing the center of each lid; it should not flex. If a jar hasn’t sealed, refrigerate it and consume within a few weeks.
Expert Tips for Achieving Perfect Plum Jelly Consistency
Making plum jelly is a rewarding experience, and with these expert tips, you can ensure a flawless batch every time:
- Precision in Cooking Time: Do not overcook your jelly. Boiling it for too long can degrade the pectin, leading to a runny or syrup-like consistency. Conversely, undercooking means it won’t set properly. Stick strictly to the recommended boiling time (usually one minute after adding sugar).
- Trust the Freezer Plate Test: This simple test is incredibly reliable for checking the doneness of your jelly. It mimics the cooling process and gives you an accurate preview of the final set. Don’t skip it, especially if you’re new to jelly making.
- Addressing Soft Set Jelly: If, after cooling for 24 hours, your jelly is too soft or runny, don’t despair! You can often remake it. Return the jelly to a clean pot, add a small amount of additional pectin (mixed with a bit of sugar or lemon juice, depending on the pectin type), and re-boil for a minute before retesting and reprocessing.
- For Unrivaled Clarity: To achieve a sparkling, crystal-clear jelly, resist the temptation to squeeze the cheesecloth or jelly bag during the juice extraction phase. Let gravity do its work slowly. Any pressure will push fine pulp particles through, resulting in a cloudy appearance.
- Accuracy is Paramount: Jelly-making is more of a science than an art, especially when it comes to ratios. Always measure your ingredients precisely, particularly the fruit juice, sugar, and pectin. Slight variations can significantly impact the final set.
- Adjust for Altitude: If you live at a high altitude, remember to increase the processing time in the water bath canner. Water boils at a lower temperature at higher altitudes, so more time is needed to ensure proper sterilization and sealing. Consult a reliable canning guide for specific adjustments.
- Use Fresh Ingredients: The quality of your plums will directly influence the flavor of your jelly. Use ripe, fresh, and unblemished fruit for the best results.
Common Pitfalls to Avoid While Making Homemade Plum Jelly
While making plum jelly seems straightforward, certain common mistakes can hinder your success. Being aware of these pitfalls can save you from frustration and ensure a perfect batch every time.
First, **paying insufficient attention to cooking temperature and timing** is a frequent error. Overheating the jelly mixture can break down the natural pectin, preventing it from gelling properly, and can also impart a slightly burned or caramelized taste to your delicate plum flavor. Conversely, undercooking means the pectin won’t activate sufficiently, resulting in a runny, syrup-like consistency that never truly sets. The correct approach is to achieve a vigorous, full rolling boil – one that cannot be stirred down – for the exact duration specified in your recipe, typically one minute after adding the sugar. Watch the clock and maintain consistent heat.
Second, **incorrect use of pectin** is another major culprit for jelly failures. Pectin is a powerful gelling agent, but it requires precise handling. Measure it carefully and incorporate it at the correct stage of the cooking process – typically stirred into the fruit juice before the sugar is added, to ensure it dissolves completely. Furthermore, be aware that different types of pectin (e.g., liquid, powdered, low-sugar) have varying requirements and instructions. Always read the package directions thoroughly, as substituting one type for another without adjustment will likely lead to an improper set.
Third, **neglecting proper jar sterilization and sealing techniques** poses a significant food safety risk and can lead to spoilage. Jars containing bacteria can cause mold growth, fermentation, and other undesirable issues. It’s crucial to wash jars and lids in hot, soapy water, rinse them, and then sterilize the jars by boiling them for 10 minutes before filling them with hot jelly. Always wipe jar rims clean after filling to ensure a proper seal, and apply bands fingertip tight. Failing to follow these steps can result in unsealed jars, making your efforts futile and rendering the jelly unsafe for long-term storage.
By taking care of these seemingly small but critical details, you can confidently produce delicious, perfectly set plum jelly batch after batch, ensuring both great taste and safe preservation.
Preserving and Storing Your Delicious Plum Jelly

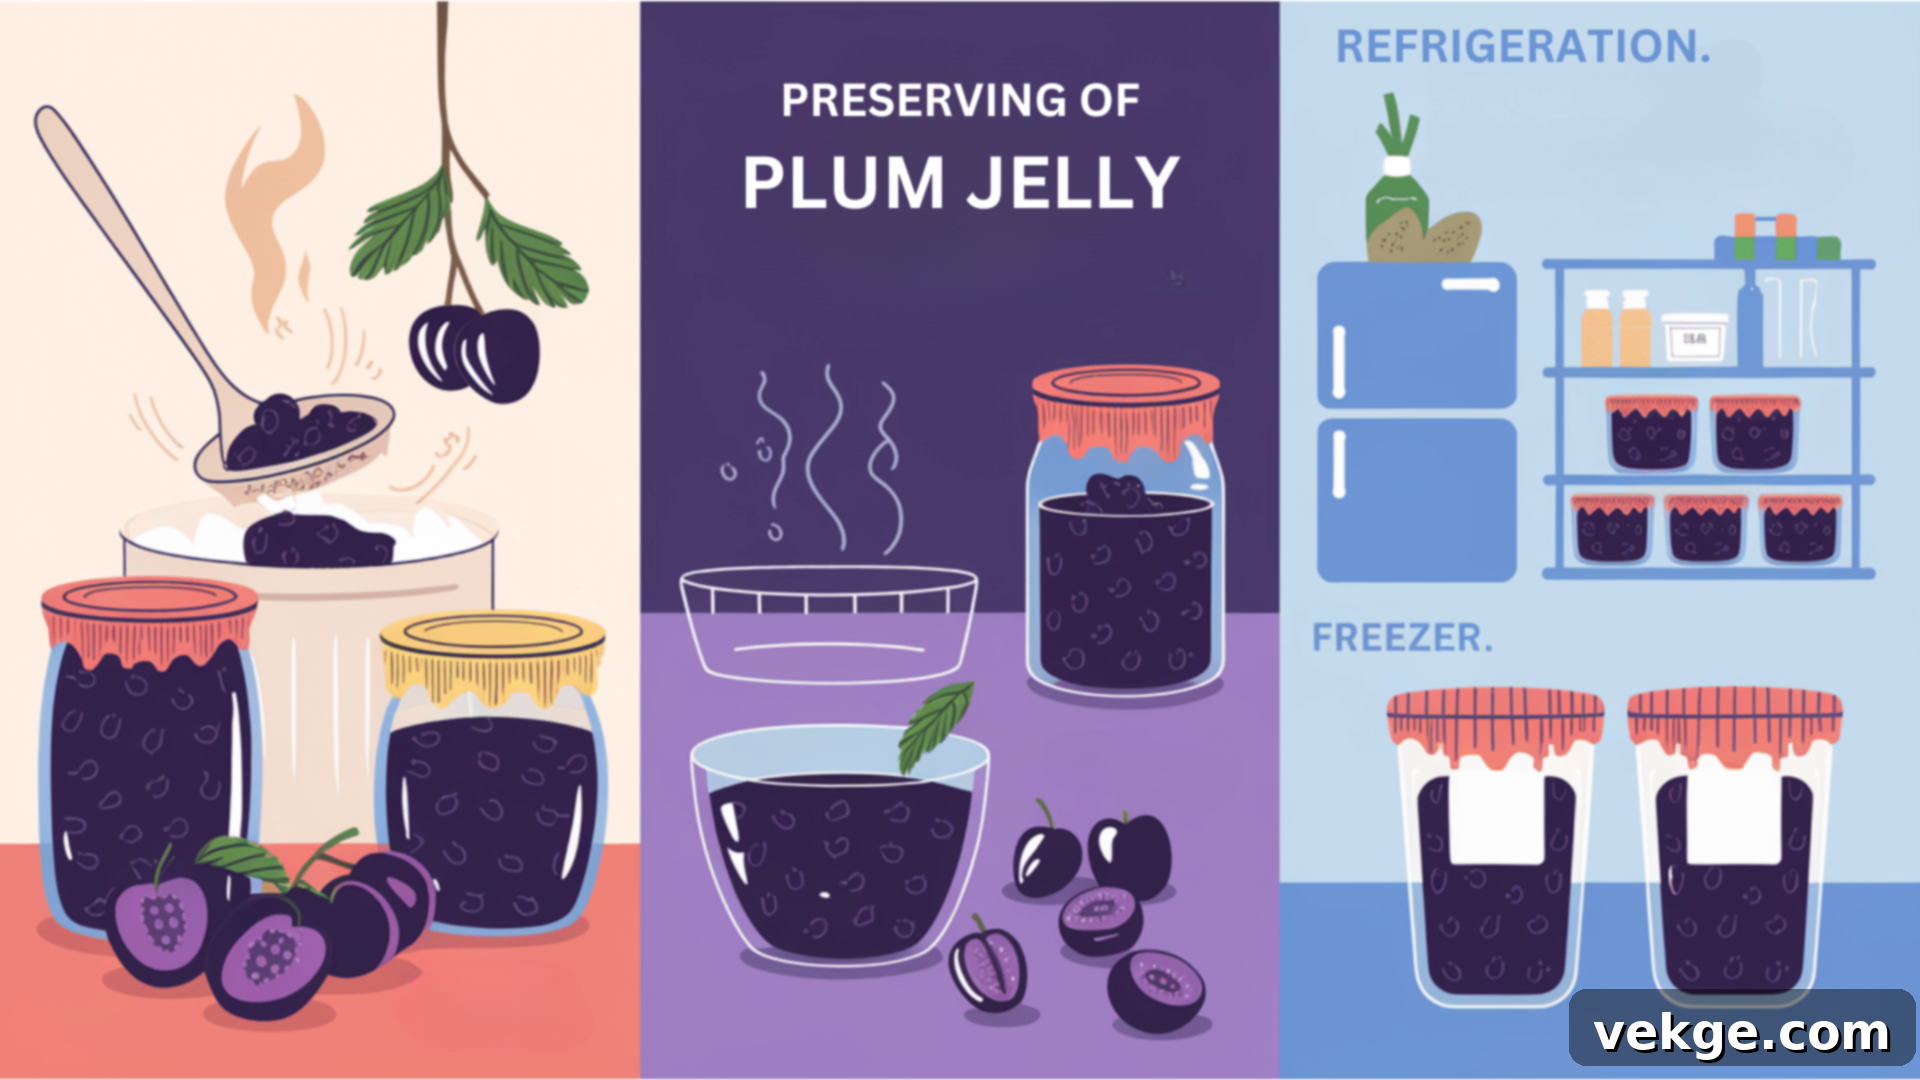
Once you’ve poured your heart and effort into making homemade plum jelly, preserving it correctly is key to enjoying its delightful flavor for months to come. You have three primary options for keeping your plum jelly fresh, each with its own benefits regarding shelf life and convenience.
1. **Canning (Water Bath Processing):** This is the gold standard for long-term, shelf-stable storage. After filling your sterilized jars with hot jelly, leaving the recommended ¼-inch headspace, wiping the rims clean, and securing the lids and bands fingertip-tight, process the jars in a boiling water bath canner for 10 minutes (adjust for altitude). The heat creates a vacuum seal, preventing spoilage. Once properly sealed, these jars can be stored in a cool, dark pantry or cupboard for up to 12-18 months. Always check for a proper seal before storage (the lid should be concave and not flex when pressed). Unsealed jars should be refrigerated and consumed quickly.
2. **Refrigeration:** For immediate consumption or short-term storage, refrigeration is the simplest method. Simply pour your hot jelly into clean, non-sterilized jars or containers, allow it to cool completely on the countertop, and then transfer it to the refrigerator. Jelly stored in the refrigerator will remain fresh and delicious for approximately 2-3 weeks. Always use clean utensils when scooping out jelly to prevent introducing bacteria, which can hasten spoilage.
3. **Freezing:** Freezing offers a good middle-ground option for longer storage than refrigeration, but without the effort of canning. Pour the cooled plum jelly into freezer-safe containers or plastic canning jars, making sure to leave adequate headspace (typically ½-inch) to allow for expansion as the jelly freezes. Label the containers with the date. Frozen plum jelly will maintain its quality for up to 12 months. When you’re ready to enjoy it, simply thaw it in the refrigerator overnight. While the texture might be slightly softer after thawing, the flavor will remain excellent.
Regardless of your chosen storage method, it’s crucial to **always check for signs of spoilage** before consuming any stored jelly. Look for mold growth (even small specks), an odd or off-putting smell, unusual color changes, or bulging lids (which indicate gas production from spoilage). If you notice any of these signs, it’s best to discard the jelly to ensure food safety.
Conclusion: Savoring the Sweet Rewards of Homemade Plum Jelly
Making homemade plum jelly is a delightful and deeply satisfying culinary adventure that brings the exquisite, sweet-tangy taste of fresh plums directly to your table. It’s more than just a recipe; it’s an opportunity to create a wholesome, natural product, free from the artificial additives and excessive sugars often found in commercial versions.
By carefully following the detailed steps outlined in this guide – from selecting the perfect plums and extracting their rich juice, to mastering the boiling process and ensuring proper preservation – you can confidently craft a beautiful, ruby-colored spread that will be the envy of all. Whether you spread it on a warm piece of toast, use it as a flavorful filling for pastries, or pair it with savory dishes, the versatility of homemade plum jelly is boundless.
With a little care and attention to detail, especially regarding accurate measurements and proper canning techniques, you’ll be able to enjoy the vibrant flavor of plum season throughout the entire year. Embrace the joy of preserving nature’s bounty and delight in the sweet rewards of your very own artisanal plum jelly!
