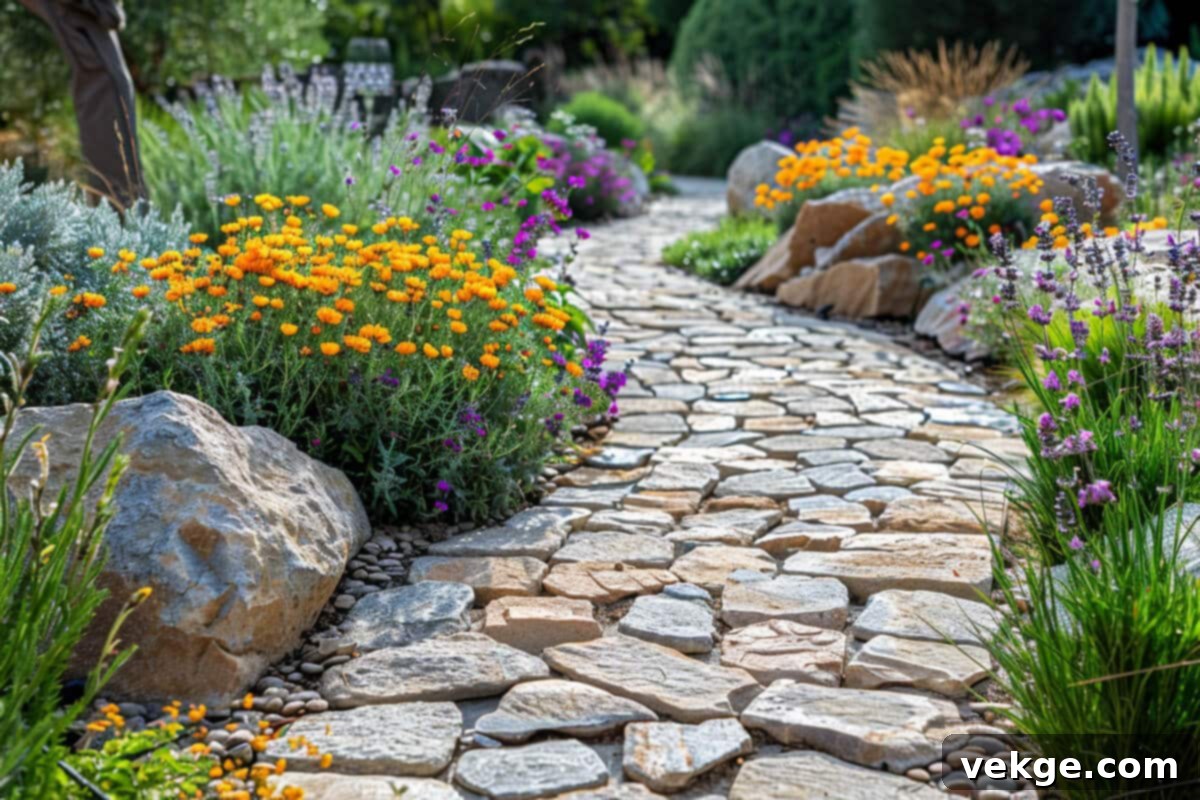
Transform Your Outdoor Space: The Ultimate Guide to Building a Beautiful Patio on a Budget
Many homeowners dream of a beautiful, inviting patio—a perfect extension of their living space where they can relax, entertain, and enjoy the outdoors. However, the vision of a luxurious outdoor haven often clashes with the reality of a tight budget. The frustration of seeing your dreams seem out of reach because of potential high costs is a common hurdle. But here’s the good news: you don’t have to abandon your aspirations. It is absolutely possible to create an amazing, functional, and aesthetically pleasing outdoor space without spending a fortune.
To help you navigate the world of budget-friendly patio creation, we’ve consulted with the seasoned experts at Natural Stone and Timber, a renowned landscape supplier. They’ve generously shared invaluable insights and practical advice for achieving stunning paving results on a limited budget. This comprehensive guide will walk you through every step, showing you how to save money effectively while still achieving a patio you’ll absolutely adore. You’ll delve into the most affordable materials, uncover smart design tricks that enhance perceived value, and learn easy DIY methods that can significantly reduce labor costs.
Exploring Your Affordable Paving Options
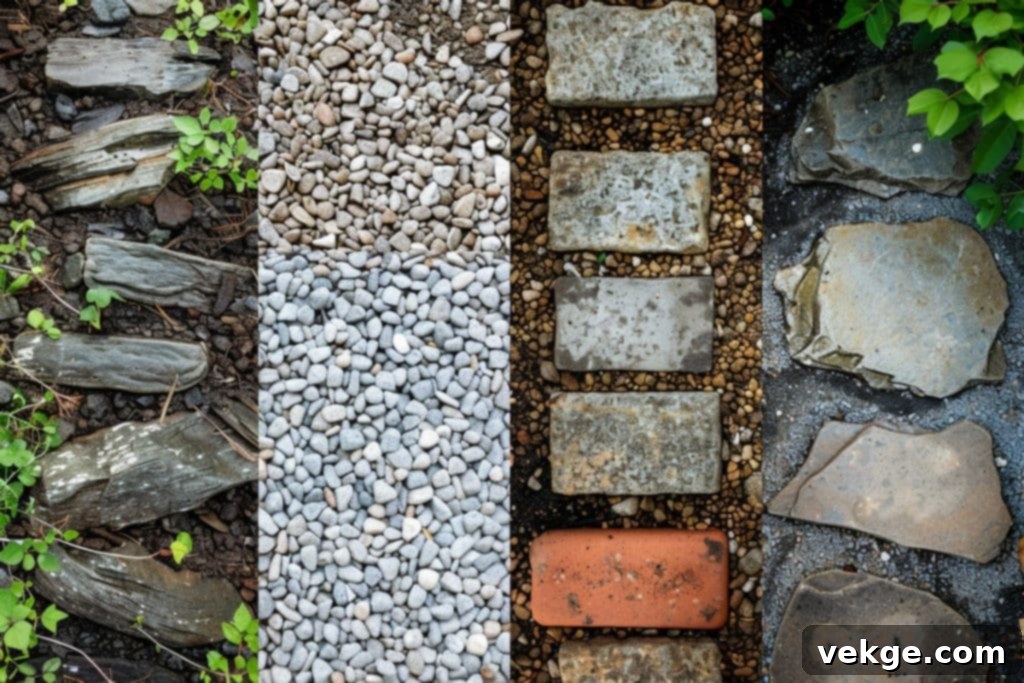
When embarking on your budget-friendly patio project, selecting the right paving material is crucial. The market offers a variety of options, each with its own set of characteristics, benefits, and costs. Let’s explore the most affordable and popular materials that can help you achieve your desired look without overspending:
- Concrete: The Versatile and Durable Choice
- Pros: Concrete is incredibly durable, highly versatile, and relatively easy to maintain. It can be poured into various shapes and sizes, offering design flexibility. With modern techniques, it can also be stamped, stained, or textured to mimic more expensive materials like natural stone or brick, significantly enhancing its aesthetic appeal at a fraction of the cost. Its robust nature means it can withstand heavy use and various weather conditions, providing long-lasting value.
- Cons: While durable, concrete can develop cracks over time, especially in climates with significant temperature fluctuations if not properly installed with expansion joints. Without added color or texture, a plain concrete slab might appear utilitarian and less visually appealing.
- Cost: Typically ranges from $4 to $15 per square foot, depending on the finish and complexity.
- Gravel: The Economical and Permeable Solution
- Pros: Gravel is perhaps the most affordable paving material available, making it an excellent choice for budget-conscious homeowners. It offers superb drainage, preventing water pooling and run-off issues. Installation is straightforward and often manageable as a DIY project, saving on labor costs. It comes in various sizes, colors, and types (e.g., pea gravel, crushed stone), offering aesthetic diversity.
- Cons: Gravel can scatter easily, especially in high-traffic areas or on sloped surfaces, requiring regular raking and replenishment. It can also be challenging to walk on with certain types of footwear and is generally not ideal for placing heavy patio furniture, as legs can sink into it. Effective edging is essential to keep it contained.
- Cost: Extremely budget-friendly, ranging from $1 to $3 per square foot, or $15 – $75 per cubic yard for bulk purchases.
- Reclaimed Bricks or Pavers: The Eco-Friendly and Characterful Option
- Pros: Using reclaimed bricks or pavers is an environmentally friendly choice, giving new life to old materials. They offer a unique, aged, and rustic aesthetic that adds character and charm to any patio. Often, these materials can be significantly cheaper than new pavers, especially if sourced locally from demolition sites or salvage yards. Their inherent variations in color and texture create a rich, authentic look.
- Cons: Finding a consistent supply of matching pieces, particularly for larger projects, can be challenging. Reclaimed materials may require cleaning to remove old mortar or dirt, which can be time-consuming. Installation can also be more intricate due to variations in size and shape.
- Cost: Varies widely based on availability and condition, but often a budget-friendly $2 to $6 per square foot.
- Stepping Stones: The Artistic and Flexible Approach
- Pros: Stepping stones are excellent for creating interesting visual patterns and pathways within a larger landscape. They offer immense design flexibility and can be effectively mixed with other materials like gravel, grass, or mulch to create varied textures and zones. They provide a natural, informal look and are simple to install yourself.
- Cons: Stepping stone patios are generally not suitable for large, heavy patio furniture due to uneven surfaces. If placed in grass, the areas between the stones will require regular maintenance (mowing, weeding) to keep the space tidy and aesthetically pleasing. They may not provide the continuous, flat surface required for all patio activities.
- Cost: Very affordable, typically $1 to $4 per square foot, depending on material and size.
Each of these options presents distinct advantages and disadvantages. To make the best choice for your project, carefully consider how you envision using your patio, the typical climate in your region, and the amount of time you’re willing to dedicate to upkeep. Thoughtful consideration of these factors will guide you toward the most suitable material that aligns with both your needs and your budget, ensuring long-term satisfaction.
The Power of Planning and Clever Design in Saving You Money
In any home improvement project, but especially with patio construction, meticulous planning is not just a recommendation—it’s the cornerstone of saving money and preventing costly headaches down the road. A well-thought-out plan allows you to visualize your space, optimize material usage, and avoid expensive mistakes.
Accurate Measurements and Material Calculations
The first critical step is to accurately measure your patio area. Grab a reliable tape measure and meticulously determine the exact dimensions of the space you intend to pave. Don’t hesitate to double-check these numbers; accuracy is paramount. Inaccurate measurements are a leading cause of material waste, forcing you to purchase more than needed or, worse, having to stop work to acquire additional supplies, which can delay the project and incur extra delivery fees. Knowing the precise size helps you order just what you need, minimizing waste and maximizing your budget efficiency.
Once you have your accurate patio size, it’s time for some quick, but crucial, math. Calculate the total square footage, and then, as a rule of thumb, add an extra 10% for cuts, minor errors, and future repairs. This small buffer is invaluable; it’s always better to have a bit of extra material on hand than to run short mid-project, which can be far more costly and frustrating.
Intriguing Designs with Mixed Materials
If you aim to create a patio area that is not only affordable but also visually captivating and attractive, then embrace the art of mixing materials! Different paving materials can look incredibly harmonious together and significantly reduce overall costs. For instance, you could use more expensive, durable concrete pavers for your main seating or dining area, and then switch to more budget-friendly gravel or stepping stones for pathways or the surrounding edges. This approach creates distinct zones within your patio while adding depth and visual interest. Imagine a cozy fire pit area paved with reclaimed bricks, bordered by a path of pea gravel, or a series of stepping stones leading through a lush, grassy expanse to a larger patio—it looks intentional, sophisticated, and saves a considerable amount of money.
The Magic of Patterns and Borders
Another fantastic way to build a beautiful patio on a budget is to leverage the power of patterns. A simple herringbone or basketweave layout for regular, inexpensive pavers can instantly elevate the look of your patio, making it appear far more expensive and custom-designed than it actually is. These patterns add texture, visual movement, and a sense of craftsmanship. Don’t underestimate the impact of borders either—a simple edge crafted from a different colored paver or a contrasting material (like wood or metal strips with gravel) can define the space, add a polished finish, and make everything look more cohesive and professionally installed.
Thinking Long-Term: Phased Projects and Future Additions
Consider your long-term goals. Can your patio be built in phases? Perhaps you start with a smaller, functional area this year and expand it next year when funds allow. This modular approach makes large projects manageable and budget-friendly. Also, plan for future additions like planting beds, pergolas, or permanent seating during the initial design phase. It’s much easier (and cheaper) to integrate these elements into your initial design on paper than to retroactively adapt your actual patio.
Take your time with the planning phase. It’s exponentially easier (and cheaper) to adjust elements and layouts on paper or in a digital design program than to move physical materials once construction has begun. With some smart thinking, detailed planning, and a little creativity, you’ll undoubtedly end up with a patio that not only looks fantastic but also respects your financial limits, leaving your wallet happy.
Significant Savings Through Self-Installation (DIY)
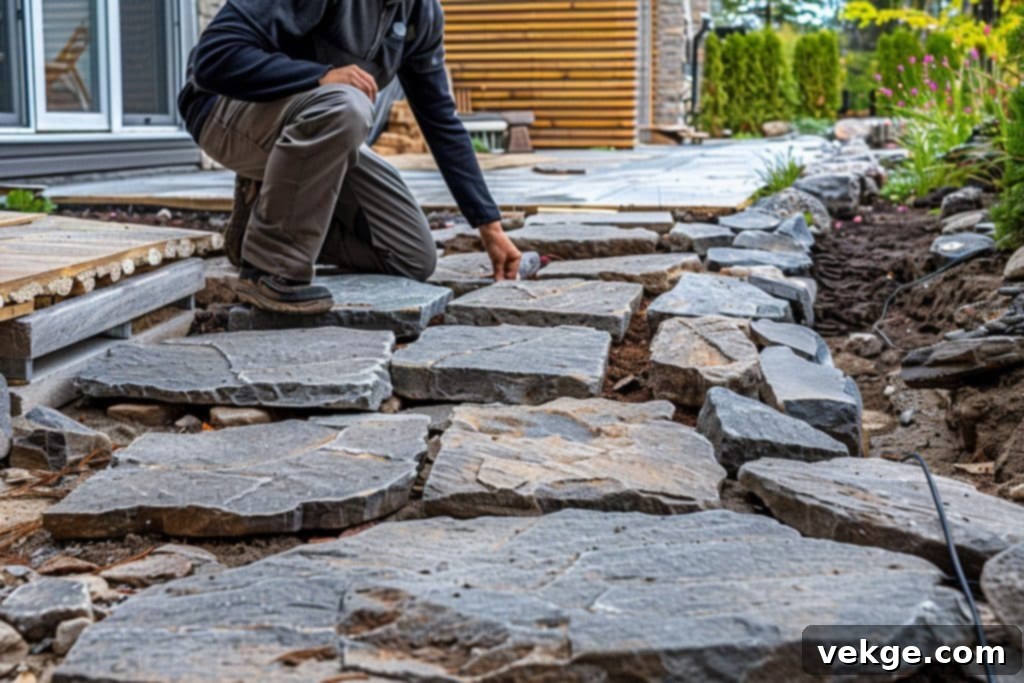
One of the most impactful ways to save a substantial amount of money on your patio project is by tackling the installation yourself. Labor costs can often account for a significant portion of the total project expense, so taking on the DIY route can drastically reduce your outlay. However, it’s crucial to understand that not all paving projects are equally suitable for self-installation. Natural Stone and Timber (NST) has prepared a helpful guide, outlining which projects are typically within the realm of a confident DIYer and which truly warrant the expertise of a professional.
Patio Projects Perfectly Suited for DIY Enthusiasts:
Many common patio types are surprisingly manageable for homeowners with a moderate level of physical fitness, patience, and a willingness to learn:
- Gravel Patios: These are among the easiest to install, making them ideal for beginners. The process generally involves excavating a shallow area, laying down a robust weed barrier fabric, and then spreading your chosen gravel type evenly. Good edging material is key to keeping the gravel contained.
- Stepping Stone Paths: Placing stepping stones is very straightforward. You simply need to prepare a relatively level ground, perhaps with a thin layer of sand for stability, and then embed the stones to your desired pattern. This project is highly customizable and requires minimal specialized tools.
- Concrete Pavers: While more labor-intensive than gravel, installing individual concrete pavers is certainly doable for a patient and physically capable individual. It involves preparing a stable base (often compacted gravel and sand), laying the pavers, ensuring they are level, and then sweeping in jointing sand. Numerous online tutorials can guide you through each step.
- Loose Materials like Bark or Wood Chips: These are exceptionally simple. Minimal ground preparation is required, usually just clearing the area, and then the material is spread evenly to your desired depth. These are great for informal paths or as a soft, natural base for seating areas.
- Brick Patios on Sand: Although more challenging than simple gravel, installing bricks set in a sand bed is a traditional and achievable DIY project. It requires careful base preparation, ensuring a level and compact foundation, and meticulous placement of the bricks with sand-filled joints.
A huge advantage for DIYers today is the wealth of free information available online. Platforms like YouTube host countless video instructions and step-by-step guides for all the aforementioned patio types. Watching these videos can provide invaluable visual learning and boost your confidence before you begin.
When to Call in the Professionals: Projects Requiring Expert Hands:
While DIY can save money, there are certain projects where the cost of a professional is an investment in safety, durability, and a quality finish. Attempting these complex tasks without the necessary skills or equipment can lead to costly mistakes, structural failures, or even injury:
- Large, Poured Concrete Slabs: Pouring large concrete slabs requires precise leveling, proper reinforcement, and specialized tools for mixing, spreading, and finishing the concrete. Getting a perfectly smooth, level, and crack-resistant surface is very difficult without professional experience.
- Natural Stone Patios (Especially Irregular Pieces): Working with heavy, often irregularly shaped natural stones like flagstone requires significant skill in fitting them together, cutting them precisely, and ensuring a stable, even surface. These stones are heavy, difficult to handle, and require specific masonry expertise.
- Complex Patterns or Intricate Designs: If your vision includes intricate patterns, multi-level designs, or complex curves, a professional will have the expertise to translate your ideas into a flawless reality. Achieving precise cuts and perfect alignment for elaborate designs is highly challenging for amateurs.
- Sloped Areas or Extensive Drainage Solutions: Patios built on sloped terrain require careful planning for proper water runoff and drainage. Professionals are equipped to design and implement effective drainage solutions, preventing future issues like erosion, water pooling, or damage to your home’s foundation.
It’s vital to be honest about your skills, available time, and access to the necessary tools. Even if a project appears somewhat DIY-friendly, consider hiring a professional for specific, more challenging parts of the job, such as initial ground preparation, excavation, or laying a complex base. This “partial DIY” approach can be an excellent compromise, saving you money on overall labor while ensuring the critical foundational elements are perfectly executed. Remember, safety should always be your top priority during any home improvement project.
Enhancing Your Paved Area on a Budget
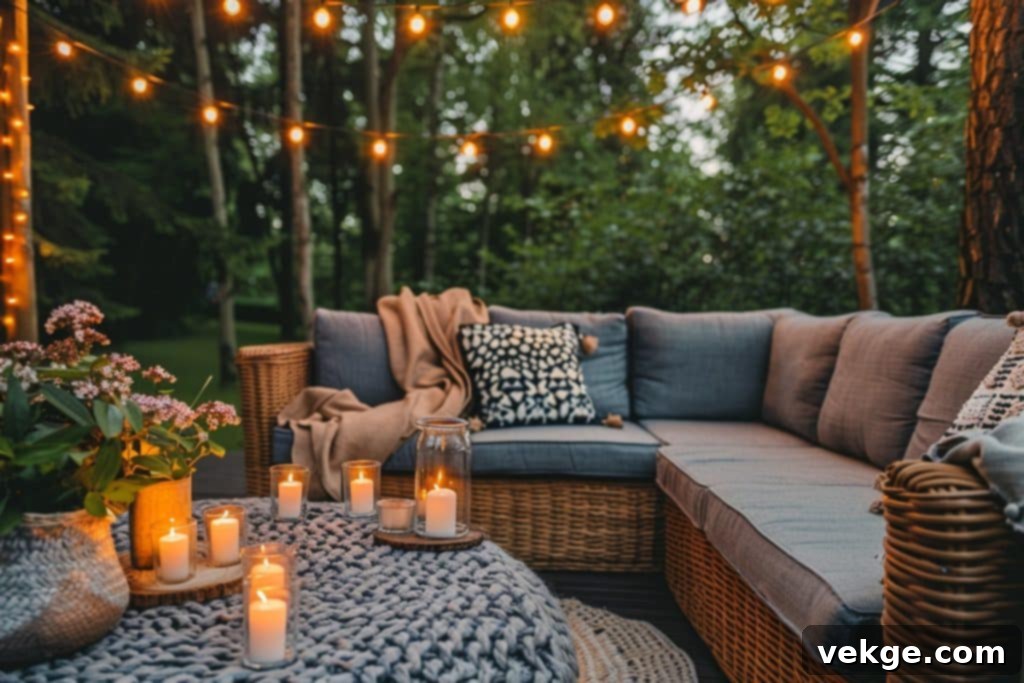
Once your patio is installed, or if you’re looking to refresh an existing one, there are countless ways to make it look fantastic without emptying your pockets. Small, thoughtful additions and creative DIY projects can significantly elevate the ambiance and style of your outdoor space. Here are some affordable ideas to spruce up your paved area and make it truly shine:
Creative Surface Treatments: Paint and Stencils
- Painted Patterns: Give your patio a fresh, custom look with exterior concrete paint. Simple geometric shapes, stripes, or a bold border can dramatically transform the appearance of plain concrete or pavers. Ensure you clean the surface thoroughly and use appropriate primers for adhesion and durability. A good sealant after painting will protect your design from wear and weather.
- Stencils: For a more intricate or professional finish, invest in or create your own stencils. Repeating patterns, such as Moroccan tiles or classic brick designs, can be achieved with relative ease using stencils. This method is often simpler and yields more consistent results than freehand painting, allowing you to create high-impact designs that mimic much more expensive tiling.
Defining Spaces with Outdoor Rugs
A weather-resistant outdoor rug is an instant game-changer for any patio. It adds a splash of color, introduces texture, and significantly boosts comfort underfoot. More importantly, rugs help to define specific zones within your patio, such as a dining area or a cozy lounge space, making the area feel more like an outdoor “room.” Look for durable materials like polypropylene, which are easy to clean and resist fading. Keep an eye out for end-of-season sales or clearance racks at home improvement stores for excellent deals.
Bringing Life with Potted Plants and Greenery
Introduce vibrant life and natural beauty with potted plants. Plants instantly soften hardscaping, add color, and create a welcoming atmosphere. Choose low-maintenance plants that thrive in your climate and sun exposure. Consider using herbs (like rosemary, basil, or mint) for both fragrance and utility. You can often find affordable pots at thrift stores, yard sales, or even upcycle containers like old tires or wooden crates. Grouping different sizes and types of plants can create a lush, dynamic display. Think about vertical gardening solutions, such as wall-mounted planters or tiered shelves, to maximize greenery in smaller spaces.
Ambiance-Enhancing Affordable Lighting Solutions
Effective lighting can profoundly transform your patio, extending its usability into the evening and creating a magical, inviting atmosphere. You don’t need expensive fixtures to achieve this; many budget-friendly options offer great impact:
- Solar Lights: These are incredibly cheap to buy and cost nothing to run, as they charge during the day and automatically illuminate at night. Stick them along pathways, around the perimeter of your patio, or in plant pots for gentle accent lighting.
- String Lights (Fairy Lights/Edison Bulbs): Hanging string lights overhead creates a wonderfully cozy and festive feel. Opt for LED versions, which are energy-efficient and last longer. Drape them across a pergola, along a fence, or zig-zag them over your seating area.
- Candles or Lanterns: For intimate table lighting or accent points, candles in hurricane lanterns or decorative holders are perfect. Citronella candles offer the added benefit of helping to deter bugs, making your evening more pleasant.
- Path Lights: Small, low-level lights can illuminate pathways leading to and from your patio, enhancing safety and guiding guests. Solar-powered path lights are a simple, wire-free installation.
- Uplighting: Use small, inexpensive spotlights (often solar) to highlight a beautiful plant, a textured wall, or a water feature, adding depth and drama to your evening landscape.
Remember, when it comes to lighting, a little goes a long way. Start with a few key areas and observe the effect; you can always add more if needed. Layering different types of light (overhead, accent, task) creates a more dynamic and welcoming environment.
DIY Furniture and Upcycled Decor
Crafting your own furniture from repurposed materials can add unique character and save a fortune. Pallets can be transformed into stylish lounge seating, coffee tables, or vertical planters. Old wooden crates can become storage units or side tables. With a bit of paint and creativity, almost anything can be given a new lease on life. Scour flea markets, garage sales, and online marketplaces for hidden gems that can be upcycled into charming patio decor.
Regular Maintenance: The Best Budget Saver
Finally, one of the most cost-effective ways to keep your patio looking its best is consistent maintenance. Regular sweeping, occasional power washing, and promptly addressing any small repairs (like loose pavers or weeds growing between cracks) will prevent minor issues from becoming major, expensive problems. A well-maintained patio not only looks better but also lasts longer, saving you money on replacements and extensive repairs down the line.
By mixing and matching these simple, affordable additions and embracing a creative mindset, you can transform your patio into a stylish, inviting, and highly functional outdoor retreat that perfectly fits your personal style and, crucially, your budget.
