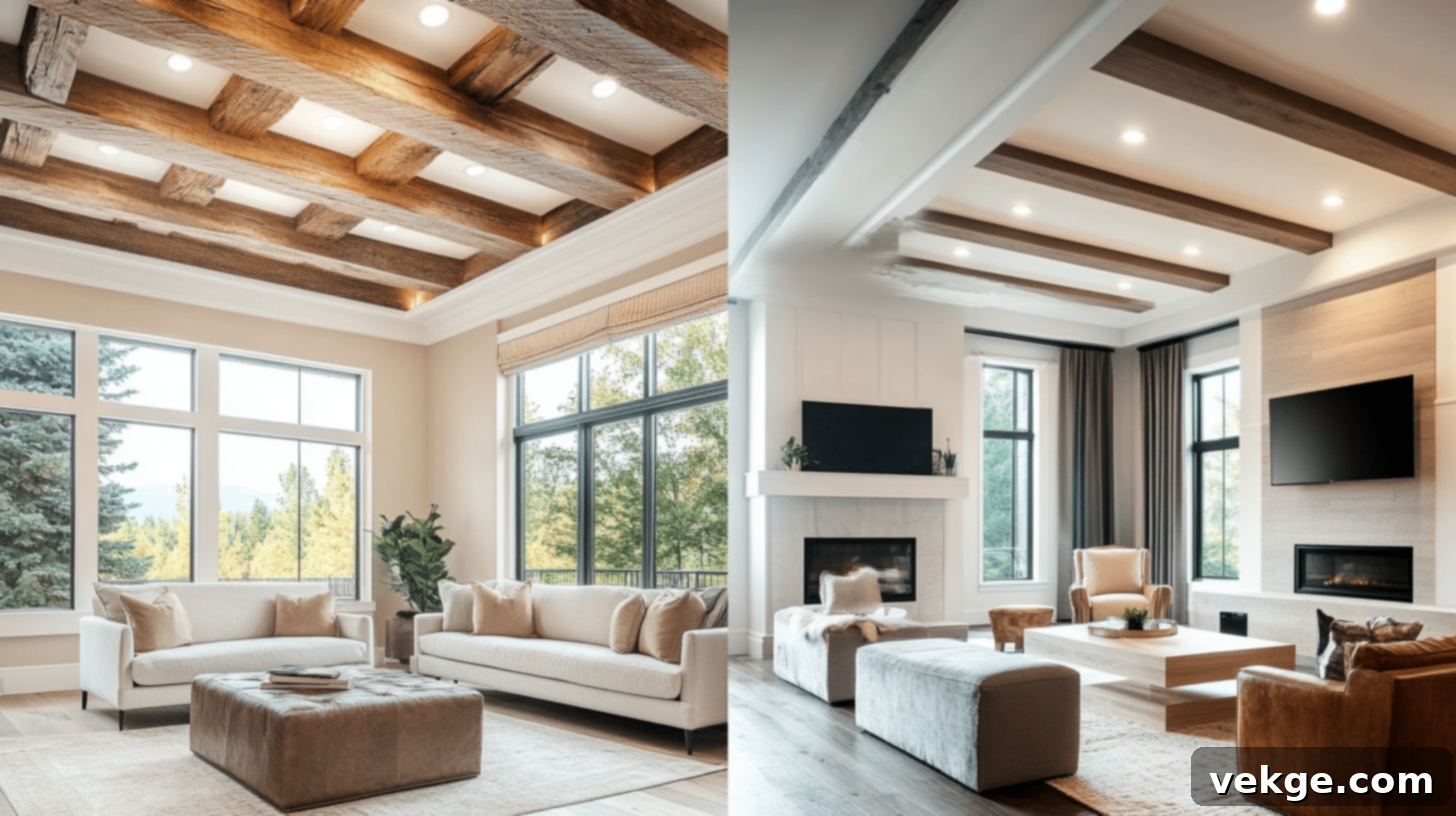
Transform Your Home with Ceiling Beams: The Ultimate Design & Installation Guide
Are you looking for that one transformative change that can elevate your ordinary ceiling into an architectural masterpiece? Ceiling beams are rapidly becoming the preferred choice for homeowners aiming to inject unique character and a standout style into their living spaces. These versatile additions go far beyond mere aesthetics; they introduce depth, texture, and a sense of history or modern sophistication, instantly enhancing the ambiance of any room.
Whether you’re considering adding majestic beams to a soaring vaulted ceiling or introducing subtle accents to a flat one, these structural or decorative elements can turn a basic overhead space into a captivating focal point. They don’t just add personality; they create an illusion of grandeur and openness, making rooms feel more expansive and inviting. Ceiling beams expertly blend style with function, not only enhancing the visual appeal but also offering practical benefits like cleverly concealing unsightly wiring, pipes, or ductwork, contributing to a cleaner, more organized aesthetic.
The beauty of ceiling beams lies in their incredible adaptability. From the warm, inviting charm of cozy farmhouse aesthetics to the sleek, clean lines of modern minimalist designs, there’s a beam style to complement virtually any home décor, architectural period, or personal taste. This comprehensive guide is designed to cover every facet of ceiling beams. You’ll delve into a world of diverse design options, understand the financial investment involved, learn detailed installation steps for both DIY enthusiasts and those hiring professionals, and grasp essential safety considerations.
By the end of this guide, you will be equipped with all the necessary knowledge to make confident and informed decisions for your ceiling beam project, ensuring your vision comes to life beautifully and safely. Whether your plan involves a hands-on DIY approach or entrusting the work to skilled professionals, we’re here to guide you every step of the way.
Exploring Captivating Ceiling Beam Design Ideas
When you make the decision to integrate beams into your ceiling, you’re not just adding a fixture; you’re crafting a significant architectural statement that defines the character of your home. These thoughtfully placed additions generate remarkable depth and naturally draw the eye upwards, creating an immediate sense of grandeur and making rooms feel considerably larger, more open, and aesthetically balanced.
Beyond their undeniable visual appeal, many discerning homeowners choose to install ceiling beams for their potential to significantly boost home value and market appeal. Moreover, beams serve a highly practical purpose, discreetly housing and hiding unsightly wires, plumbing pipes, or HVAC ductwork, thus maintaining a clean and polished look without sacrificing utility. This dual benefit of combining practical concealment with exquisite beauty makes them an intelligent and highly sought-after home enhancement.
Popular Ceiling Beam Styles to Inspire Your Home
The world of ceiling beams offers an impressive array of styles, each capable of transforming your space with a distinct personality. Here are some of the most popular choices:
1. Rustic Exposed Wooden Beams
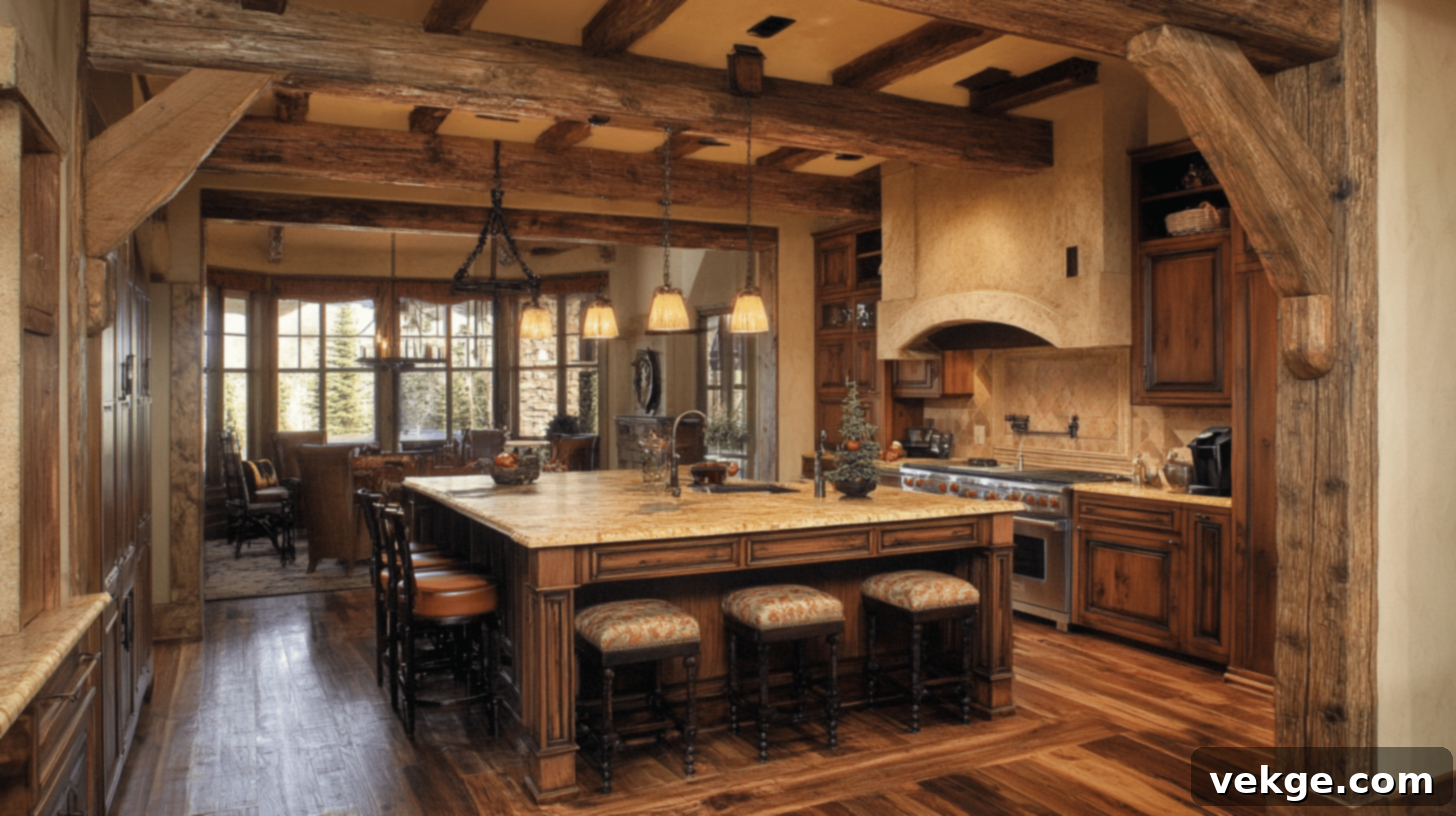
There’s an timeless appeal to genuine wooden beams that injects unparalleled warmth, character, and an organic touch into any space. In bustling kitchens and cozy living rooms, these rustic elements are particularly effective at fostering a welcoming, lodge-like ambiance that makes both residents and guests feel instantly at ease and at home. The natural, intricate patterns of the wood grain, often featuring knots, splits, and varied tones, serve as captivating visual anchors, adding rich texture and an authentic historical feel to otherwise plain ceilings. This robust style is exceptionally well-suited for homes embracing traditional, farmhouse, Craftsman, or even Mediterranean design schemes, where natural materials and craftsmanship are celebrated.
2. Modern Minimalist Designs
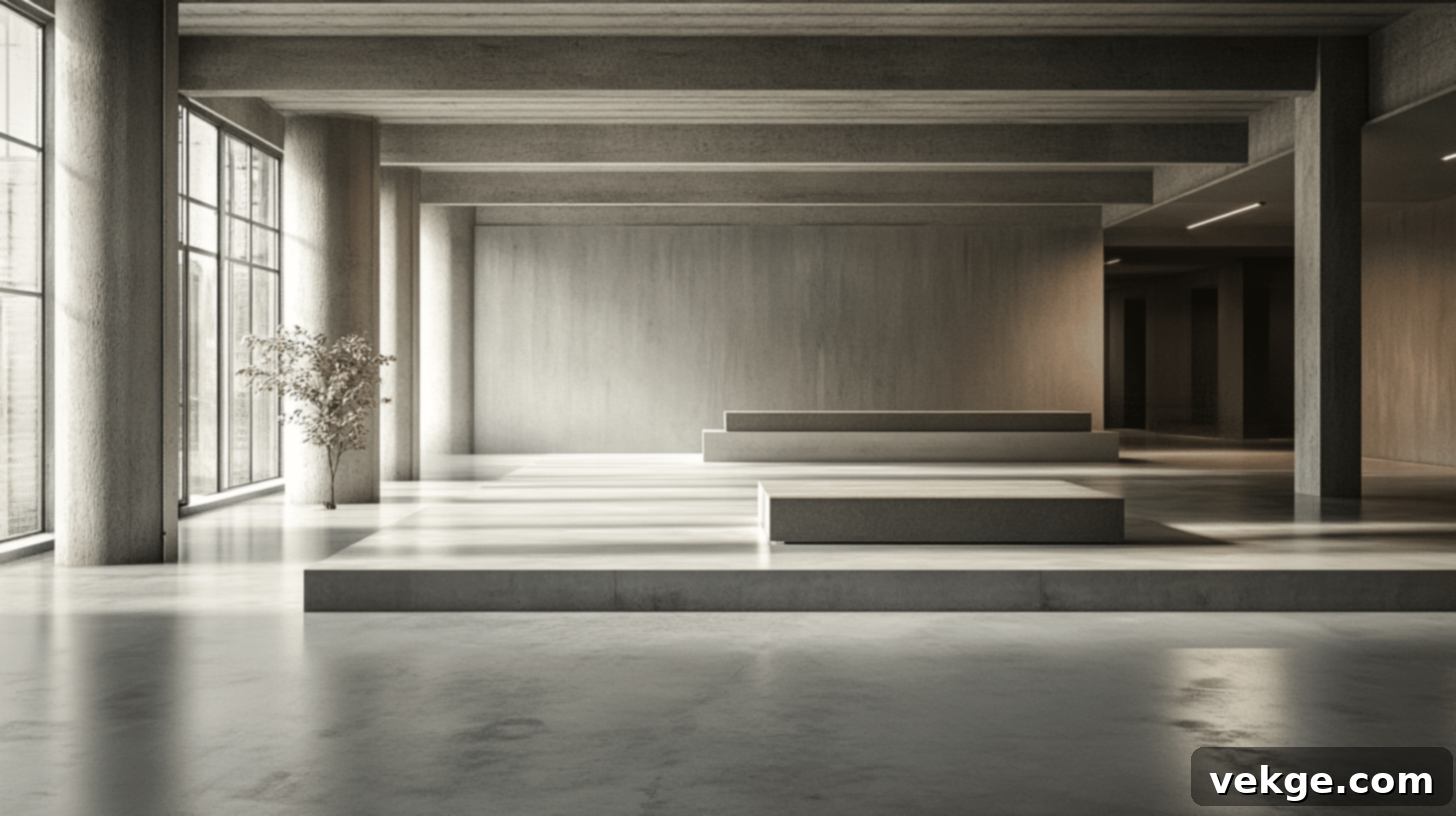
In stark contrast to rustic charm, the modern beam style is characterized by its clean lines, simple geometric shapes, and a strong emphasis on understated elegance. These beams typically feature sleek, unadorned surfaces, often finished in light, neutral colors like white, light gray, or natural blonde wood tones that perfectly align with contemporary design trends. They are designed to add structural interest and definition to rooms without introducing visual clutter or making the space feel heavy or dated. This sophisticated style integrates seamlessly into updated homes, lofts, and minimalist interiors where the philosophy of “less is more” dictates the aesthetic, creating a sense of spaciousness and refined simplicity.
3. Faux Beams vs. Real Wood Beams: A Detailed Comparison
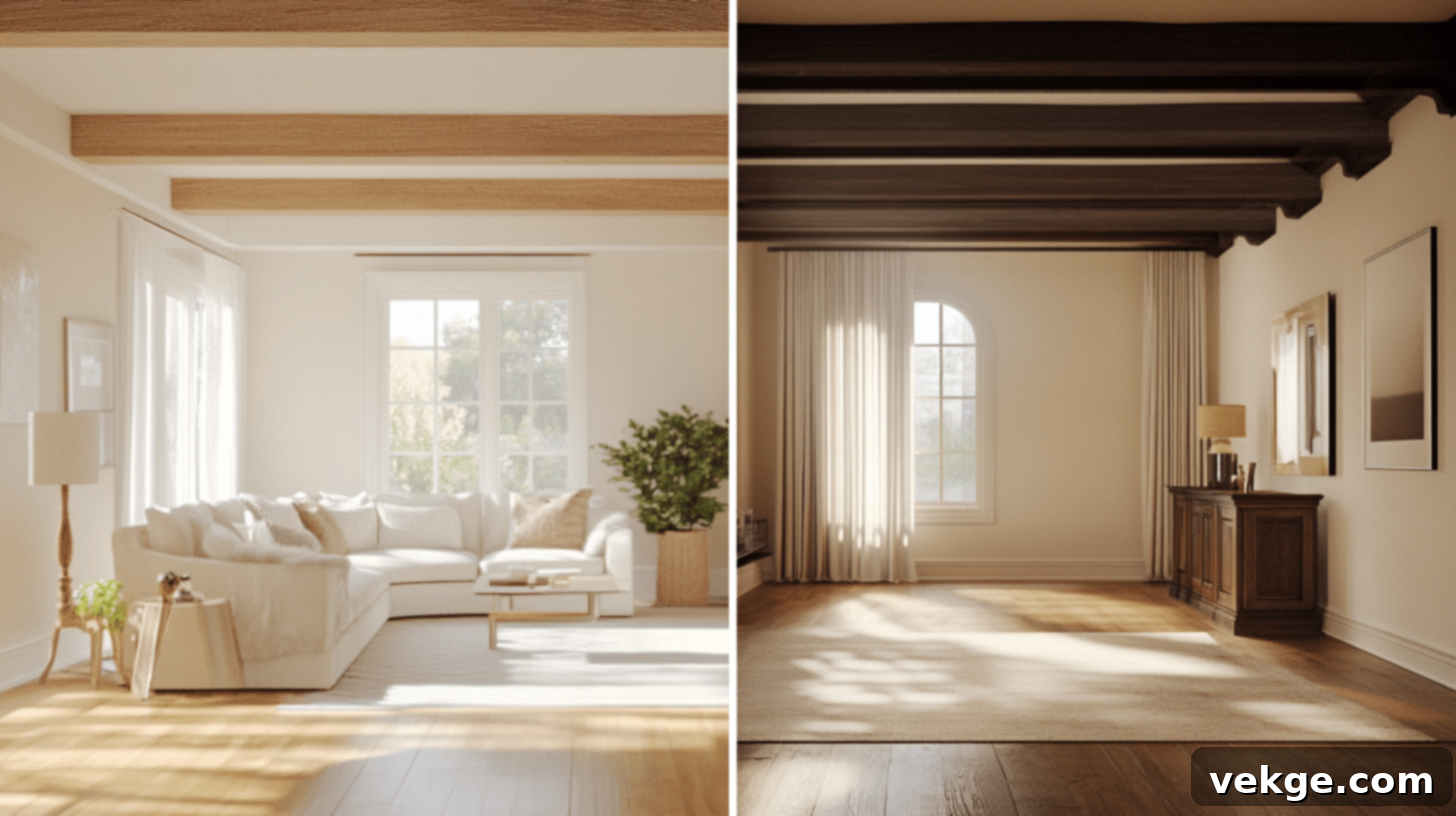
When choosing between faux and real wood beams, homeowners consider various factors ranging from cost and installation to maintenance and authentic appearance. Faux beams offer a multitude of compelling benefits, making them an increasingly popular choice. Primarily, they are significantly lighter than solid real wood, which translates to a safer, easier, and often faster installation process, sometimes even allowing for DIY projects without extensive structural reinforcement. Maintenance is also simplified, typically requiring just basic soap and water for cleaning. Unlike natural wood, faux beams are impervious to pests, rot, or warping and do not demand specialized treatments, sealing, or frequent upkeep, making them a low-maintenance, long-lasting option. Modern faux beams, often crafted from high-density polyurethane, PVC, or engineered composites, are remarkably realistic, boasting textures and finishes that meticulously mimic genuine wood grain, making them virtually indistinguishable from real timber to the untrained eye.
On the other hand, some homeowners are deeply drawn to the unparalleled authenticity and inherent beauty of real wood beams. They showcase genuine wood grain patterns, unique natural imperfections, and a tactile richness that brings an undeniable organic beauty and historical gravitas to any space. However, this authenticity comes with certain considerations. Real wood beams typically involve a higher material cost and demand regular care, including occasional staining, sealing, or pest treatments, to preserve their condition and prevent damage over time. Their substantial weight also necessitates thorough structural assessments and professional installation to ensure adequate support and safety, especially in older homes or for larger beam sizes.
Planning Your Dream Beam Project with Precision

A successful ceiling beam installation begins long before any material is purchased or tools are picked up. Meticulous planning is key to achieving both aesthetic appeal and structural integrity. This phase involves a careful evaluation of your space, a thoughtful selection of materials, and a clear understanding of the project’s scope.
Evaluating Your Space: Ceiling Height, Structure, and Layout
Before committing to a beam project, a thorough evaluation of your ceiling’s dimensions, existing structure, and overall room layout is paramount. Pay close attention to your ceiling’s height; while beams can add depth, they can also visually lower a ceiling. Rooms with ceiling heights below 8 feet might feel too confined with large, dark beams. The appropriate spacing between beams is crucial for a balanced look – a general rule of thumb suggests that beams placed 4 to 6 feet apart tend to look best in most standard-sized rooms, creating a harmonious pattern without overcrowding. However, depending on the scale and style of your space, some designs might benefit from spacing ranging from 2 to 8 feet. The specific shape of your ceiling also plays a significant role in beam placement. Vaulted, cathedral, or sloped ceilings require special planning for beam alignment, angle cuts, and secure mounting points to ensure a striking and stable installation.
Beyond the ceiling itself, consider your room’s overall layout and size. Open floor plans, for instance, work beautifully with beams that extend continuously across multiple zones, visually connecting the spaces. In kitchens, you might strategically align beams with prominent features like a range hood or an island to create a cohesive design. It’s also vital to identify and note the exact locations of any existing light fixtures, recessed lighting, ceiling fans, HVAC vents, smoke detectors, or other ceiling-mounted items. These elements will directly influence beam placement and may require modifications or careful integration into your beam design plan.
Choosing the Right Materials: Aesthetics, Weight, and Durability
Your choice of beam material is a critical decision that impacts both the visual outcome and the practical aspects of installation and long-term maintenance. Each material type offers distinct advantages:
- Box Beams: These are an exceptionally smart option, offering the majestic appearance of solid wood while being hollow inside. This construction significantly reduces weight, making installation considerably simpler and often less demanding on your ceiling’s structural capacity compared to solid timber. Box beams can be custom-built on-site by a skilled carpenter or purchased as ready-made, pre-fabricated units, often from engineered wood or real wood veneers.
- Faux Wood Beams (Polyurethane, PVC, MDF): Made from high-density materials like polyurethane, PVC, or medium-density fiberboard (MDF), these beams provide the authentic look and texture of wood without the substantial weight and structural concerns of real timber. Faux beams are highly resistant to moisture, pests, and rot, making them ideal for areas with fluctuating humidity. They are also remarkably versatile, available in a vast array of finishes and designs that can mimic various wood species, from distressed oak to smooth walnut. Their lightweight nature also makes them easier to cut, maneuver, and install, often reducing labor costs.
- Real Wood Beams (Solid Timber): For those who prioritize unparalleled authenticity and the tactile feel of natural timber, real wood beams are the ultimate choice. They showcase true, unique wood grain patterns and bring an organic, timeless beauty to your space. However, real wood beams are considerably heavier, requiring rigorous structural assessments and potentially additional reinforcement to ensure safe installation. They also typically come with a higher price tag and demand ongoing maintenance such such as sealing or re-staining to protect against moisture, pests, and environmental wear. If you desire the look of real wood but need a lighter option, premade box styles crafted from real wood veneers offer a compromise, providing the authentic appearance with easier handling than solid pieces.
Cost Considerations for Your Ceiling Beam Project
Understanding the potential costs associated with ceiling beam installation is crucial for effective budget planning. The overall expense can vary significantly based on the materials selected, the complexity of the design, whether you opt for DIY or professional installation, and the specific characteristics of your home.
On average, the cost for ceiling beams typically ranges from $15 to $50 per linear foot for materials alone. For a standard room measuring approximately 16×20 feet, which might require 3 to 5 beams, the material costs could range from $720 to $4,000. Let’s break down these costs by material type for a clearer understanding:
The Costs Associated with Installing Faux Beams:
| CATEGORY | COST |
|---|---|
| Materials (Polyurethane, PVC, MDF) | $15-25 per linear foot |
| Estimated Material Cost for a 16×20 ft Room (3-5 beams) | $900-1,500 |
| Basic Installation Tools (if not already owned) | $100-200 |
| Total Estimated DIY Project Cost | $1,000-1,700 |
The Costs Associated with Installing Box Beams:
| CATEGORY | COST |
|---|---|
| Materials (Engineered wood, real wood veneer) | $20-35 per linear foot |
| Estimated Material Cost for a 16×20 ft Room (3-5 beams) | $1,200-2,100 |
| Standard Installation Tools & Supplies | $150-300 |
| Total Estimated DIY Project Cost | $1,350-2,400 |
The Costs Associated with Installing Real Wood Beams:
| CATEGORY | COST |
|---|---|
| Materials (Solid timber, various wood species) | $35-50 per linear foot |
| Estimated Material Cost for a 16×20 ft Room (3-5 beams) | $2,100-4,000 |
| Specialized Installation Tools (for heavy lifting, structural work) | $300-500 |
| Total Estimated DIY Project Cost (if feasible) | $2,400-4,500 |
Additional Costs to Consider When Installing Beams:
Beyond the core material and tool expenses, several other factors can contribute to your project’s total cost:
| EXTRA COST ITEM | COST |
|---|---|
| Mounting Hardware (heavy-duty screws, lag bolts, brackets) | $50-100 |
| Stain, Paint, or Finish (per beam) | $30-60 |
| Rental Equipment (scaffolding, lifting jacks, specialized saws) | $100-200 per day |
| Professional Installation Labor (if hiring out) | $500-1,500+ per beam or per project (highly variable) |
| Structural Engineer Consultation (for heavy beams or older homes) | $200-$800 |
| Disposal of Old Materials or Debris | $50-$200 |
Smart Strategies to Save on Your Beam Project Expenses:
- Utilize Lightweight Materials: Opt for faux beams or hollow box beams, which are easier to handle and often require fewer specialized tools and less labor.
- Rent Specialized Tools: Instead of purchasing expensive, infrequently used tools like a miter saw or scaffolding, consider renting them for the duration of your project.
- Opt for Straightforward Designs: Simple, parallel beam patterns minimize complex cuts and intricate installations, reducing both material waste and labor time.
- Purchase Unfinished Beams: Buying unfinished faux or real wood beams and applying the stain or paint yourself can save significantly on finishing costs.
- Install Concurrently with Other Ceiling Projects: If you’re already doing other ceiling work, such as painting or installing new lighting, coordinating beam installation at the same time can optimize labor and equipment costs.
Structural and Safety Considerations for Beam Installation
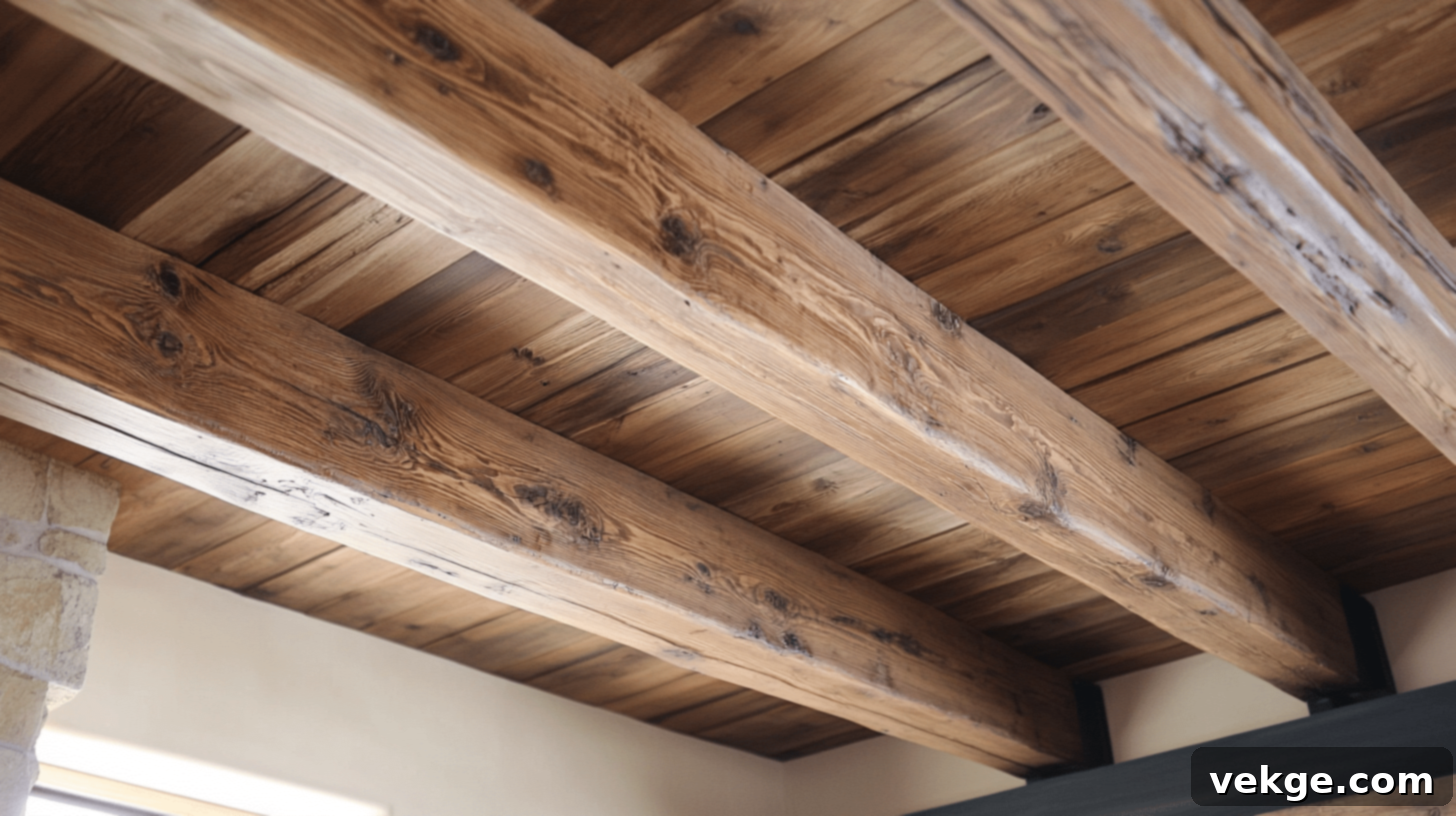
Safety and structural integrity must always be the top priorities when embarking on a ceiling beam project. While decorative faux or hollow box beams are relatively lightweight and often require minimal structural modification, installing heavy, solid wood beams demands a meticulous assessment of your home’s existing structure. Neglecting these crucial steps can lead to severe safety hazards and costly damage in the future.
1. Building Assessment by an Expert
Before any installation work begins, especially for heavier beams or in older homes, it is imperative to have a qualified professional conduct a thorough building assessment. Most modern homes are generally capable of supporting the modest weight of faux or box beams without requiring significant structural changes. However, you absolutely need to verify your ceiling’s current strength and load-bearing capacity before proceeding. A licensed structural engineer or an experienced general contractor should examine your home’s framework to confirm it can safely bear the additional load. This step is critical for compliance with local building codes and ensuring the long-term safety of your installation.
2. Essential Support Requirements
Professional inspectors will focus on several key areas: evaluating the strength and condition of your roof frame, assessing the integrity of ceiling joists, and determining the load-bearing capacity of your walls. They will also meticulously check for any hidden structural problems, such as water damage, rot, or past modifications, that could compromise your project’s safety or stability. This comprehensive check becomes even more vital if you are planning to use heavy, solid real wood beams, if your house is over 30 years old, or if there is any existing ceiling damage. Identifying and addressing these issues beforehand can prevent future catastrophic failures.
3. Strategic Mounting Points
For a secure and lasting installation, the planned placement of your ceiling beams must perfectly align with the underlying ceiling joists or framing members. Each beam requires proper blocking or robust attachment points directly above it, ensuring that its weight is distributed safely and effectively into the building’s structure. Your ceiling should provide flat, strong, and adequately reinforced areas where the beams will be securely attached. These attachment points are not merely for holding the beam in place; they are designed to transfer the beam’s weight, preventing localized stress and potential ceiling sagging or cracking over time.
4. Thorough Preparation Steps
To create these vital strong mounting points, you must meticulously add wood blocks or furring strips between existing ceiling joists. These blocks serve as solid anchor points for the beam. In a typical 16-foot room, mounting blocks should ideally be installed every three feet along the intended length of the beam, ensuring consistent support. Additionally, extra support blocks are absolutely necessary at both ends of each beam and at any points where beams intersect or join. This careful and comprehensive preparation ensures that your new beams are securely fastened and remain stable for many years, enduring daily wear and tear.
5. Inspection Costs: What to Expect
Investing in professional structural checks is a small price to pay for peace of mind and safety. Here’s a summary of potential costs:
| SERVICE | COST RANGE |
|---|---|
| Basic Visual Inspection (for lighter beams) | $200-$400 |
| Detailed Written Report (with structural recommendations) | $300-$500 |
| Complete Building Structural Check (for heavy beams/older homes) | $500-$800 |
Step-by-Step DIY Ceiling Beam Installation Guide
Installing decorative ceiling beams can be a rewarding DIY project, adding significant character to your home. With careful planning, the right tools, and adherence to safety guidelines, you can achieve professional-looking results. This guide focuses on the installation of lightweight faux or box beams, which are generally suitable for DIY enthusiasts.
Tools and Materials Needed for a Smooth Installation

A successful beam installation begins with having all the necessary tools and materials at hand. Ensure you have the following:
- Measuring Tools: Tape measure, ruler, pencil, chalk line (for long, straight lines).
- Cutting Tools: Miter saw (essential for precise angle cuts), utility knife (for faux beams), jigsaw (for intricate cuts if needed).
- Drilling & Fastening: Cordless drill/driver with various bits, 3-inch wood screws (for mounting blocks), finish nailer with 2-inch finish nails, construction adhesive (heavy-duty, suitable for ceiling applications), caulk gun.
- Leveling & Marking: Long level (at least 4-foot), stud finder (absolutely crucial for locating ceiling joists).
- Finishing Supplies: Stainable wood filler (matching your beam color), fine-grit sandpaper, tack cloth, wood stain or paint, brushes/rollers (if finishing beams).
- Safety Equipment: Safety glasses, dust mask, sturdy ladder or scaffolding (ensure it’s stable and tall enough for your ceiling height), gloves.
- Beams: Your chosen faux or box beams.
- Mounting Blocks: Wood furring strips or 2x4s (if your beams don’t come with integrated mounting systems).
Preparing for Installation: Marking and Measuring
Preparation is key to a perfectly aligned installation. Start by clearing the room of furniture to allow easy access and movement. Then, meticulously mark where each beam will be positioned on your ceiling. Measure carefully from the walls to ensure equal spacing and symmetrical placement, which is vital for a professional appearance. As a general guideline, beams placed approximately four feet apart create a visually appealing balance in most standard-sized rooms. For vaulted or sloped ceilings, mark both the highest and lowest points where the beams will meet the ceiling. Use a chalk line to snap perfectly straight lines between these points, which will serve as your installation guides. Also, use your stud finder to mark the location of all ceiling joists along these chalk lines where beams will be installed.
The Installation Process: A Step-by-Step Guide
Step 1 – Set Up Mounting Plates or Marks
Carefully mark the precise centerline on the ceiling where each beam will be positioned. Use a chalk line to create clear, straight lines. If using painter’s tape for visibility, apply it along these lines. For vaulted ceilings, begin by marking the highest point for your first beam’s mounting plate or block. Using your stud finder, accurately locate and mark the underlying ceiling joists along your chalk lines where the mounting blocks will be attached. This ensures you screw into solid wood, not just drywall.
Step 2 – Install Support Blocks (if not integrated with beams)
Once joists are located, install solid wood mounting blocks (e.g., 2x4s or similar lumber) perpendicular to the joists. These blocks should be spaced approximately every three feet along the length of each beam, extending beyond the width of your beam. Secure each block firmly to the ceiling joists using two 3-inch wood screws per joist, ensuring they are flush against the ceiling surface. Double-check that the spacing between your installed blocks aligns perfectly with the interior dimensions or mounting requirements of your chosen beams. Proper blocking is paramount for a secure installation.
Step 3 – Measure and Cut Your First Beam
Precisely measure the exact distance between the walls or designated connection points where your first beam will span. Use your miter saw to cut the beam to this precise length. For vaulted ceilings, carefully measure and cut the beam ends at the correct corresponding angles to ensure a flush fit against the sloped ceiling or intersecting beams. Always test-fit the cut beam in its intended position before making final adjustments to ensure a perfect fit.
Step 4 – Apply Construction Adhesive
Before attaching the beam, ensure all mounting blocks and the interior surfaces of your beam are clean and dust-free using a tack cloth. Apply a generous, continuous bead of high-quality construction adhesive to the edges of each mounting block that will contact the beam. Spread the adhesive evenly, but avoid excessive application, as too much will squeeze out when the beam is pressed into place, creating a messy cleanup.
Step 5 – Place and Secure the Beam
With the adhesive applied, carefully lift the first beam into position, aligning it precisely over the mounting blocks and your marked chalk line. Press the beam firmly and evenly against the ceiling and blocks to ensure good adhesive contact. While holding it in place, use your finish nailer to drive 2-inch finish nails through the sides of the beam and into each mounting block. Space these nails approximately every 16 inches along the beam’s length for optimal security. If working with heavier beams, temporary supports or a second person may be needed to hold the beam until it’s fully secured.
Step 6 – Verify Alignment and Level
Immediately after securing the beam, use your long level to check that it is perfectly straight and level. If minor adjustments are needed, they are easier to make before the adhesive fully cures. Also, visually check the spacing on both sides of the beam relative to the walls or adjacent ceiling features. Ensure the ends of the beam meet the walls or other intersecting beams correctly and without gaps. Any small gaps can be addressed later with caulk.
Step 7 – Continue Installation for Remaining Beams
Proceed to the next beam position, maintaining the same consistent spacing between each beam as planned. Double-check the alignment with previously installed beams to ensure a harmonious overall pattern. Repeat steps 3 through 6 for each subsequent beam until all are securely installed. Consistency in measurement and placement is crucial for a professional finish.
Finishing Touches for a Polished Look
Once all beams are securely in place, the final details make all the difference. Fill any visible nail holes or minor gaps between the beams and the ceiling with stainable wood filler that closely matches the color or finish of your beams. Allow the filler to dry completely according to manufacturer instructions, then gently sand these areas smooth until they are flush and seamless with the beam surface. If you’ve used unfinished beams, now is the ideal time to apply your chosen stain or paint. For the best results and easiest application, especially for faux beams, opt for water-based products. Apply thin, even coats, allowing each coat to dry fully before adding the next to achieve a rich, consistent finish.
Essential Safety Tips for DIY Beam Installation
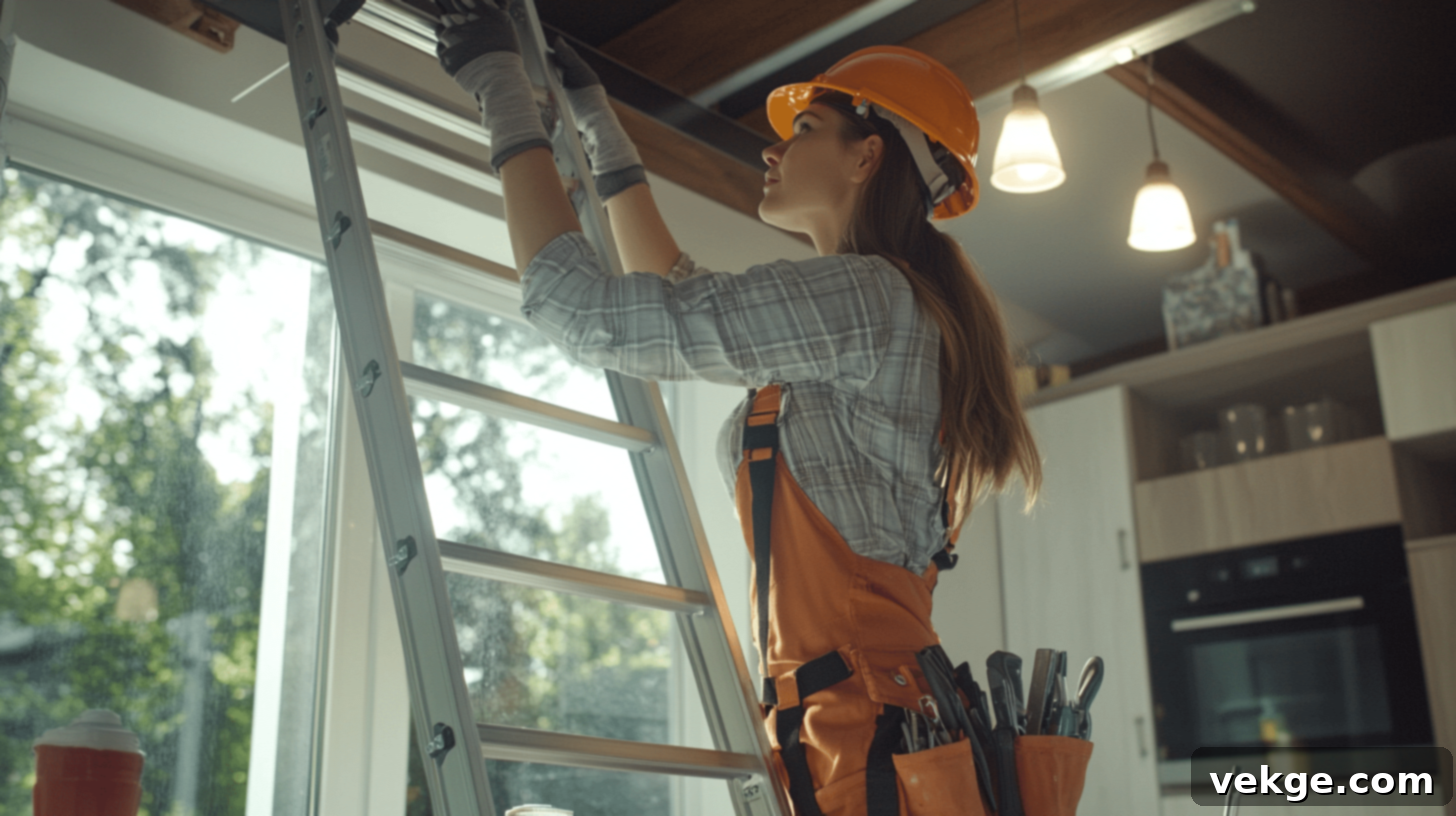
Safety should always be your paramount concern during any home improvement project, especially when working overhead. Here are critical safety tips:
- Ladder Safety: Always ensure your ladder or scaffolding is stable, placed on a level, non-slip surface, and properly extended. Never overreach or lean too far while on the ladder; instead, descend and reposition it frequently. Consider having a spotter to stabilize the ladder.
- Personal Protective Equipment (PPE): Always wear safety glasses to protect your eyes from falling debris, dust, or errant nails. A dust mask is recommended when cutting or sanding. Gloves can prevent splinters and protect hands from adhesives.
- Work Smart, Not Hard: Take frequent breaks to prevent fatigue, which can significantly increase the risk of mistakes and accidents. Know your physical limits and don’t attempt to lift excessively heavy beams alone.
- Electrical Awareness: Before drilling or nailing into ceilings, always use a stud finder with electrical detection capabilities. Be acutely aware of the location of electrical wires and plumbing pipes. If uncertain, consult an electrician or plumber.
- Ventilation: When using construction adhesives, stains, or paints, ensure the work area is well-ventilated to avoid inhaling fumes. Open windows and use fans if possible.
- Seek Help: If you are working alone, inform someone of your project and expected timeline. More importantly, recognize when a task requires extra hands, specialized expertise, or professional help – don’t hesitate to call in reinforcements.
Professional Installation Insights: When to Call the Experts
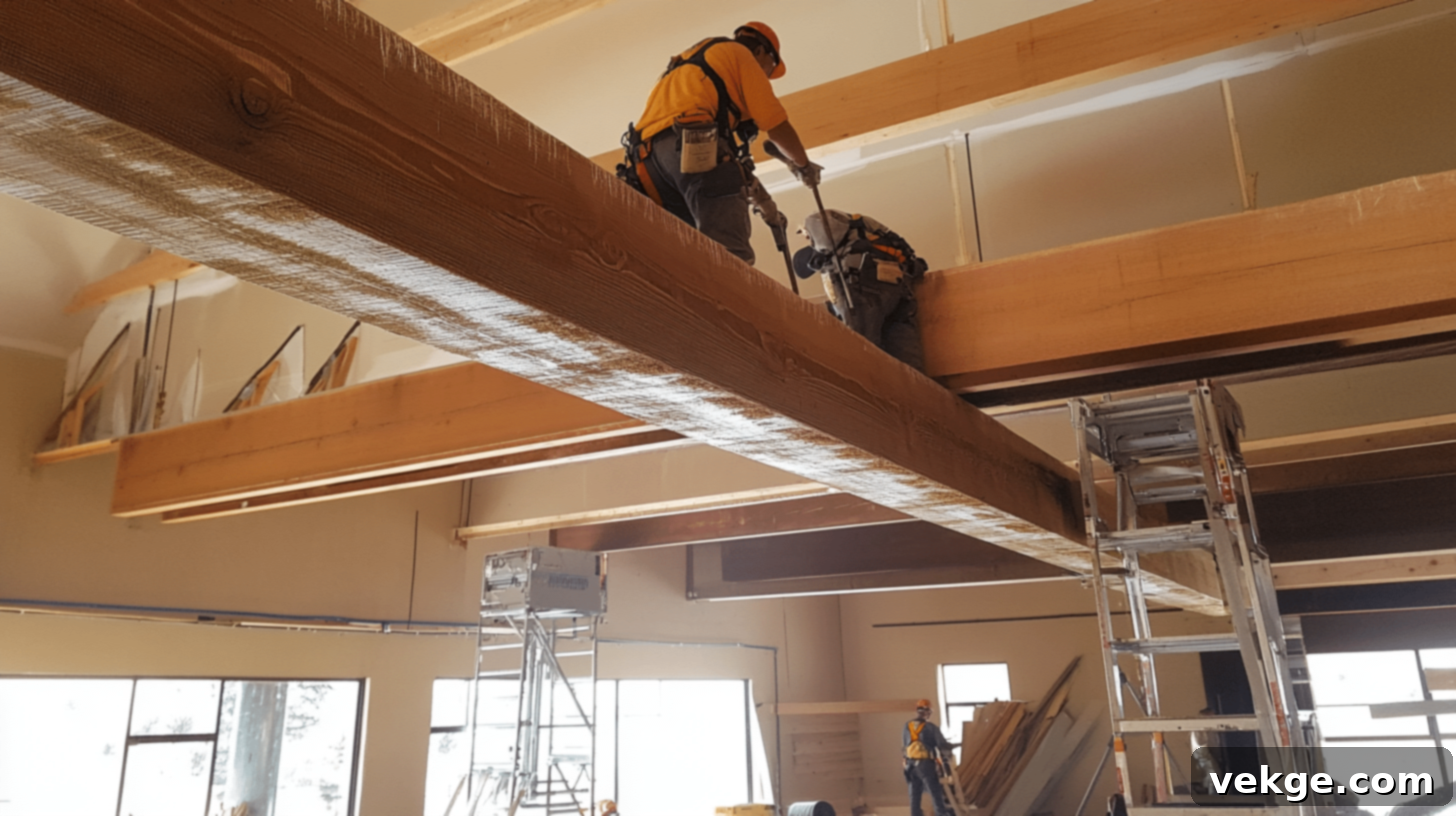
While DIY installation can be a fulfilling endeavor for lighter beams, certain projects or circumstances undeniably call for the expertise and experience of professional installers. Knowing when to hire a pro can save you time, prevent costly mistakes, and ensure a flawless, safe, and durable outcome.
1. When to Hire a Professional for Your Beam Project
Consider engaging expert hands when your ceiling beam project presents specific challenges or demands a higher level of precision. This includes:
- Tricky Angles and Complex Patterns: Intricate beam patterns, intersecting beams, or installations on highly sloped or unusual ceiling geometries require specialized skills in measurement and cutting.
- High Ceilings: Working on ceilings over 10 feet typically necessitates scaffolding or specialized lifting equipment, which professionals are equipped to handle safely.
- Heavy Real Wood Beams: The significant weight of solid timber beams requires a structural engineer’s assessment and professional installation to ensure adequate support and prevent structural damage.
- Integration with Utilities: If your beam design needs to incorporate or conceal electrical wiring, plumbing, or HVAC ducts, a professional can ensure proper routing and code compliance.
- Lack of Time or DIY Confidence: If your schedule is tight or you simply feel unsure about undertaking a complex home improvement task, professional installers offer peace of mind and efficient execution.
- Historical Homes or Structural Concerns: Older homes may have unique structural challenges, and any project involving significant modifications should be handled by experienced contractors who understand historical building methods.
2. Selecting the Right Contractor for Ceiling Beam Installation
Choosing the right professional is as crucial as the project itself. Look for contractors who possess specific, demonstrable experience in ceiling beam installation. Here’s what to look for:
- Portfolio and References: Ask to see photos of their past ceiling beam work and request references from previous clients. A reputable contractor will be proud to showcase their craftsmanship.
- Clear Communication: Good contractors provide clear timelines, detailed price quotes broken down by materials and labor, and readily answer all your questions. Avoid vague estimates.
- Licenses and Insurance: Verify that the contractor holds proper licenses for your area and carries adequate insurance (liability and worker’s compensation). This protects you in case of accidents or damage.
- Experience with Beam Types: Inquire about their experience with your chosen beam material (e.g., faux, box, or solid wood) and preferred style.
- Contract: Ensure you receive a written contract outlining the scope of work, materials, timeline, payment schedule, and warranty.
3. Understanding the Professional Installation Process
Professional installation typically takes anywhere from two to five days for most standard-sized rooms, depending on the complexity of the design and the number of beams. The process usually unfolds as follows:
- Initial Consultation & Design: The contractor will discuss your vision, assess your space, and help finalize design details and material choices.
- Site Preparation & Reinforcement (Day 1): The team begins by protecting your flooring and furniture. They will perform any necessary ceiling reinforcement, installing blocking and structural supports as required.
- Beam Installation & Securing (Days 2-3): This is the core installation phase. The professionals bring their specialized tools and safety gear to accurately cut, lift, and securely fasten each beam into place. They ensure precise alignment and strong attachment.
- Finishing Work & Clean-up (Day 4): After installation, the team will complete all finishing touches, such as filling nail holes, caulking gaps, and applying stains or paints. They will also handle all debris removal and site cleanup.
- Final Inspection & Touch-ups (Day 5 – if needed): A final walkthrough with you to ensure satisfaction, addressing any minor touch-ups or adjustments.
4. Professional Installation Costing Summary
While materials contribute significantly, professional labor and specialized equipment are also major cost drivers. Here’s a general breakdown of additional costs when hiring professionals:
| DESCRIPTION | COST RANGE |
|---|---|
| Material Handling & Delivery | $300-$500 |
| Labor Costs (per project, highly variable by complexity) | $1,000-$2,500+ |
| Equipment Use (scaffolding, lifts, specialized tools) | $200-$400 |
| Finishing Work (staining, painting, sealing) | $500-$1,000 |
| Site Cleanup & Debris Removal | $100-$200 |
These costs are in addition to the material costs for the beams themselves. Always obtain multiple quotes and ensure all aspects of the project are detailed in a written contract.
Remarkable Facts About the Enduring Legacy of Ceiling Beams
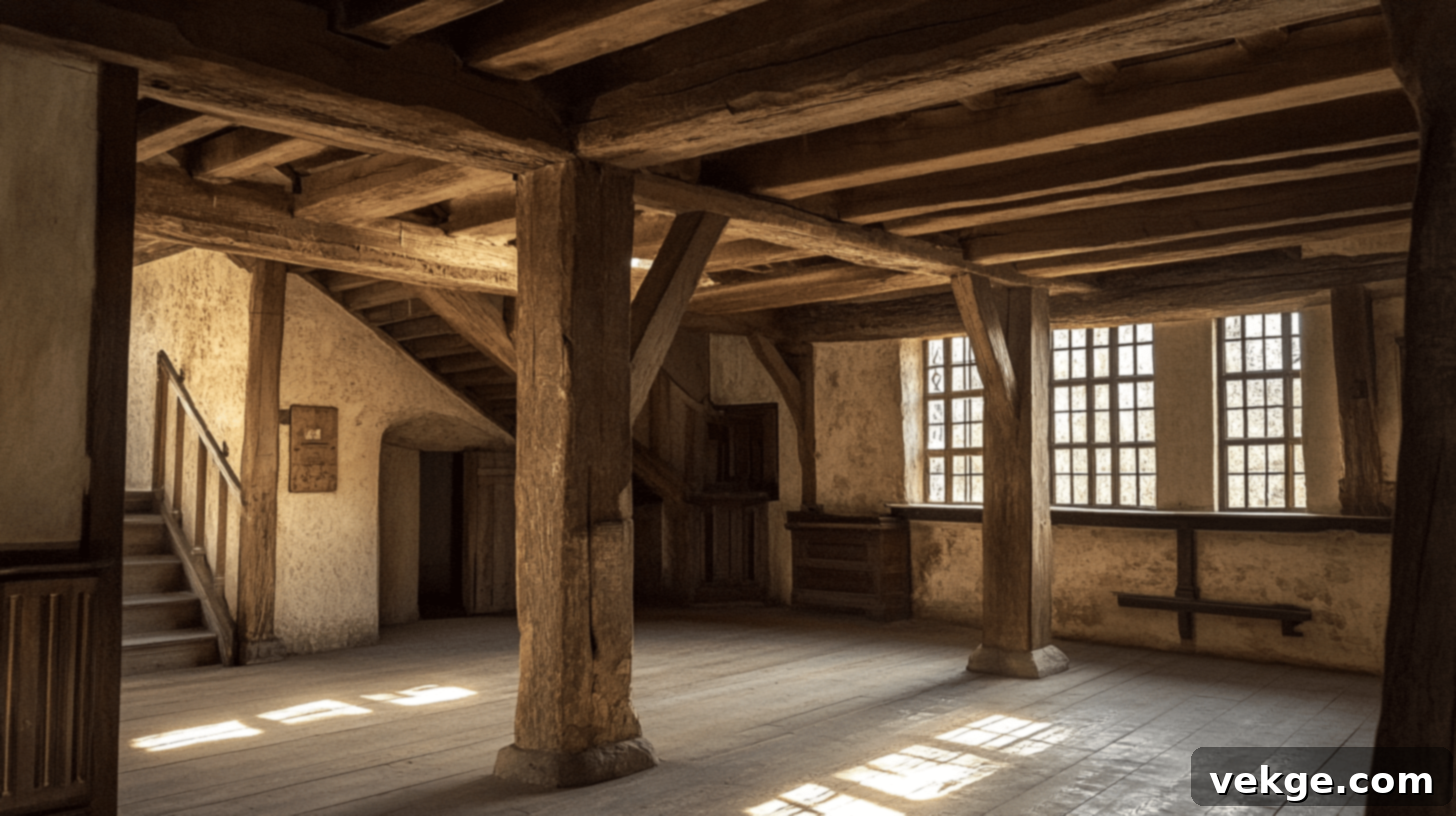
Beyond their aesthetic appeal and functional benefits, ceiling beams carry a rich history and cultural significance that adds another layer of appreciation to their presence in our homes. Their evolution mirrors architectural progress and shifts in design philosophy.
1. Historical Significance: From Necessity to Design Element
Ceiling beams originated as fundamental structural supports in medieval homes and vernacular architecture across the globe. In those ancient times, builders utilized readily available materials, often whole tree trunks or rough-hewn timber, to bear the immense weight of upper floors and roofs. These early beams, often hand-cut with axes, frequently display distinct marks of their laborious crafting, telling a story of craftsmanship from centuries past. It’s remarkable to note that some English homes still boast their original 500-year-old ceiling beams, standing as silent testaments to enduring construction and material quality.
2. Design Evolution: The Craft of Imitation and Innovation
As settlers arrived in early America, they often replicated the beam styles and construction techniques prevalent in their European homelands, adapting them to local materials like abundant oak and pine. Over centuries, as construction methods evolved and timber became more precious, builders sought innovative ways to achieve the aesthetic of solid wood beams without the associated structural challenges and costs. This led to the development of “fake” or faux beams. Today’s sophisticated counterfeit beams are crafted with such precision and detail, mimicking wood grain, texture, and natural imperfections, that they can effortlessly fool even trained eyes, all while offering the substantial advantages of being significantly lighter and easier to install.
3. Cultural Impact: Beams Across the Globe
Different cultures have embraced and integrated beams into their architectural traditions in unique and symbolically rich ways. In traditional Japanese homes, roof beams are often left exposed and meticulously crafted, celebrated as integral elements of the aesthetic, bordering on sculptural art. Spanish colonial homes frequently feature painted beams, sometimes in vibrant colors, adding a lively contrast to plaster walls. Swiss chalets, renowned for their intricate woodworking, often utilize crossed beams to create distinctive, geometric patterns that are both structural and highly decorative. These diverse global styles have transcended their origins, influencing modern home designs worldwide.
4. Modern Uses: Beyond Structural Support
Contemporary builders and designers leverage beams in highly inventive and functional ways that extend far beyond their traditional structural role. Many modern beams are ingeniously designed to conceal unsightly house wiring, complex lighting systems, or plumbing pipes, contributing to a clean and uncluttered ceiling aesthetic. Others are strategically employed to enhance acoustic properties, helping to dampen sound transfer between floors. Visually, beams are often used to manipulate perception, making rooms feel taller or more expansive, or to define open-plan living areas. Furthermore, the integration of LED strip lighting discreetly tucked into beam recesses can provide ambient, indirect illumination, lighting up entire rooms with a soft, inviting glow, a testament to their versatile modern utility.
5. Interesting Numbers: Quantifying the Beam Impact
- A single solid wood beam from one large tree could potentially yield enough material to construct six hollow box beams of the same approximate size, highlighting material efficiency.
- Faux beams typically weigh about 80% less than their real solid wood counterparts, dramatically simplifying handling and installation.
- Most residential ceilings are designed to safely support a live load of up to 40 pounds per square foot, a crucial factor when considering the weight of added decorative elements.
- A typical 16-foot faux or box beam, if well-prepared, can often be installed by two people in approximately four hours, showcasing the efficiency of modern beam installation techniques.
The Bottom Line: Elevating Your Home with Ceiling Beams
Adding ceiling beams to your home is more than just a renovation project; it’s an investment in charm, character, and lasting value. Throughout this comprehensive guide, we’ve explored the diverse world of ceiling beams, from the cozy allure of rustic wood and the sleek elegance of modern designs to the practical advantages of realistic faux beams. You’ve learned how to thoughtfully choose the right style and material that perfectly complements your space and aesthetic vision.
We’ve emphasized that successful beam installation hinges on meticulous planning, starting with essential structural checks that may cost between $200 and $800, especially for heavier beams or older homes. We delved into the varying costs associated with different beam types, ranging from $1,000 for DIY faux beam projects to potentially $4,500 or more for complex real wood installations. Crucially, we’ve outlined the step-by-step process for DIY enthusiasts, detailing the necessary tools, preparation, and installation techniques, while also highlighting critical safety considerations to ensure a secure and accident-free project.
Whether you confidently choose a hands-on DIY installation or opt for the expertise and peace of mind offered by professional contractors, success ultimately stems from following the right steps. Always remember to prioritize safety, thoroughly assess your ceiling’s structural strength, meticulously plan your beam placement, and utilize proper mounting techniques and high-quality materials. By adhering to these principles, your new ceiling beams will not only be beautiful but also safely and securely installed for years to come.
Are you ready to embark on your exciting ceiling beam project? Take the knowledge you’ve gained here and begin planning the transformation of your home. We encourage you to share your beam installation story, challenges, and triumphs in the comments section below, or feel free to ask us any lingering questions about your project. Your next beautiful and inspiring ceiling awaits!
Frequently Asked Questions (FAQs) About Ceiling Beams
Can You Add Beams to an Existing Vaulted Ceiling?
Yes, adding beams to an existing vaulted ceiling is absolutely feasible and often creates a stunning architectural feature. However, it’s crucial to first ensure adequate structural support, especially for heavier real wood beams. Always consult with a structural engineer or a qualified contractor to assess your ceiling’s capacity and plan the most secure and aesthetically pleasing placement before proceeding.
How Much Does Adding Beams to a Vaulted Ceiling Cost?
The cost of adding beams to a vaulted ceiling can vary widely, typically ranging from $2,000 to $7,000 or more. This range is influenced by several key factors: the material choice (faux, box, or real wood), the number and size of beams, the complexity of the design (e.g., parallel, crisscross, or intricate patterns), the height of the vaulted ceiling (affecting labor and equipment costs), and whether you opt for DIY installation or hire professionals.
What Are the Best Materials for Ceiling Beams?
The “best” material for ceiling beams depends largely on your budget, aesthetic preference, and structural limitations. Real wood (solid timber or reclaimed wood) is highly prized for its authentic look, natural beauty, and historical appeal. Faux beams (made from polyurethane, PVC, or high-density foam) are excellent for their realism, lightweight nature, ease of installation, and resistance to pests and moisture. Box beams (hollow constructed from engineered wood or real wood veneers) offer the look of solid wood with reduced weight, making them a versatile and popular choice for both style and practicality. Each material offers unique advantages in terms of style, adaptability, maintenance, and installation ease.
Can You Add Beams to Low Ceilings?
Yes, it is possible to add beams to low ceilings, but careful consideration is required to avoid making the room feel smaller or claustrophobic. The key is to use thinner, lighter-colored, or minimalist beams. Opt for beams with a low profile that sit close to the ceiling, and consider painting them the same color as the ceiling to maintain an open feel. Strategically placed beams can actually enhance depth perception and create visual interest without significantly reducing headroom, making the room feel longer or wider rather than shorter.
Are Faux Beams a Good Option for My Home?
Yes, faux beams are an excellent and increasingly popular option for most homes, especially for decorative purposes. They offer remarkable realism, ease of installation due to their lightweight nature, and significantly lower maintenance compared to real wood. Faux beams are ideal for beautification, adding architectural detail, and enhancing the perceived value of your home without the structural challenges or higher costs associated with solid timber. They are particularly well-suited for DIY projects and can be customized to match virtually any wood tone or finish.
