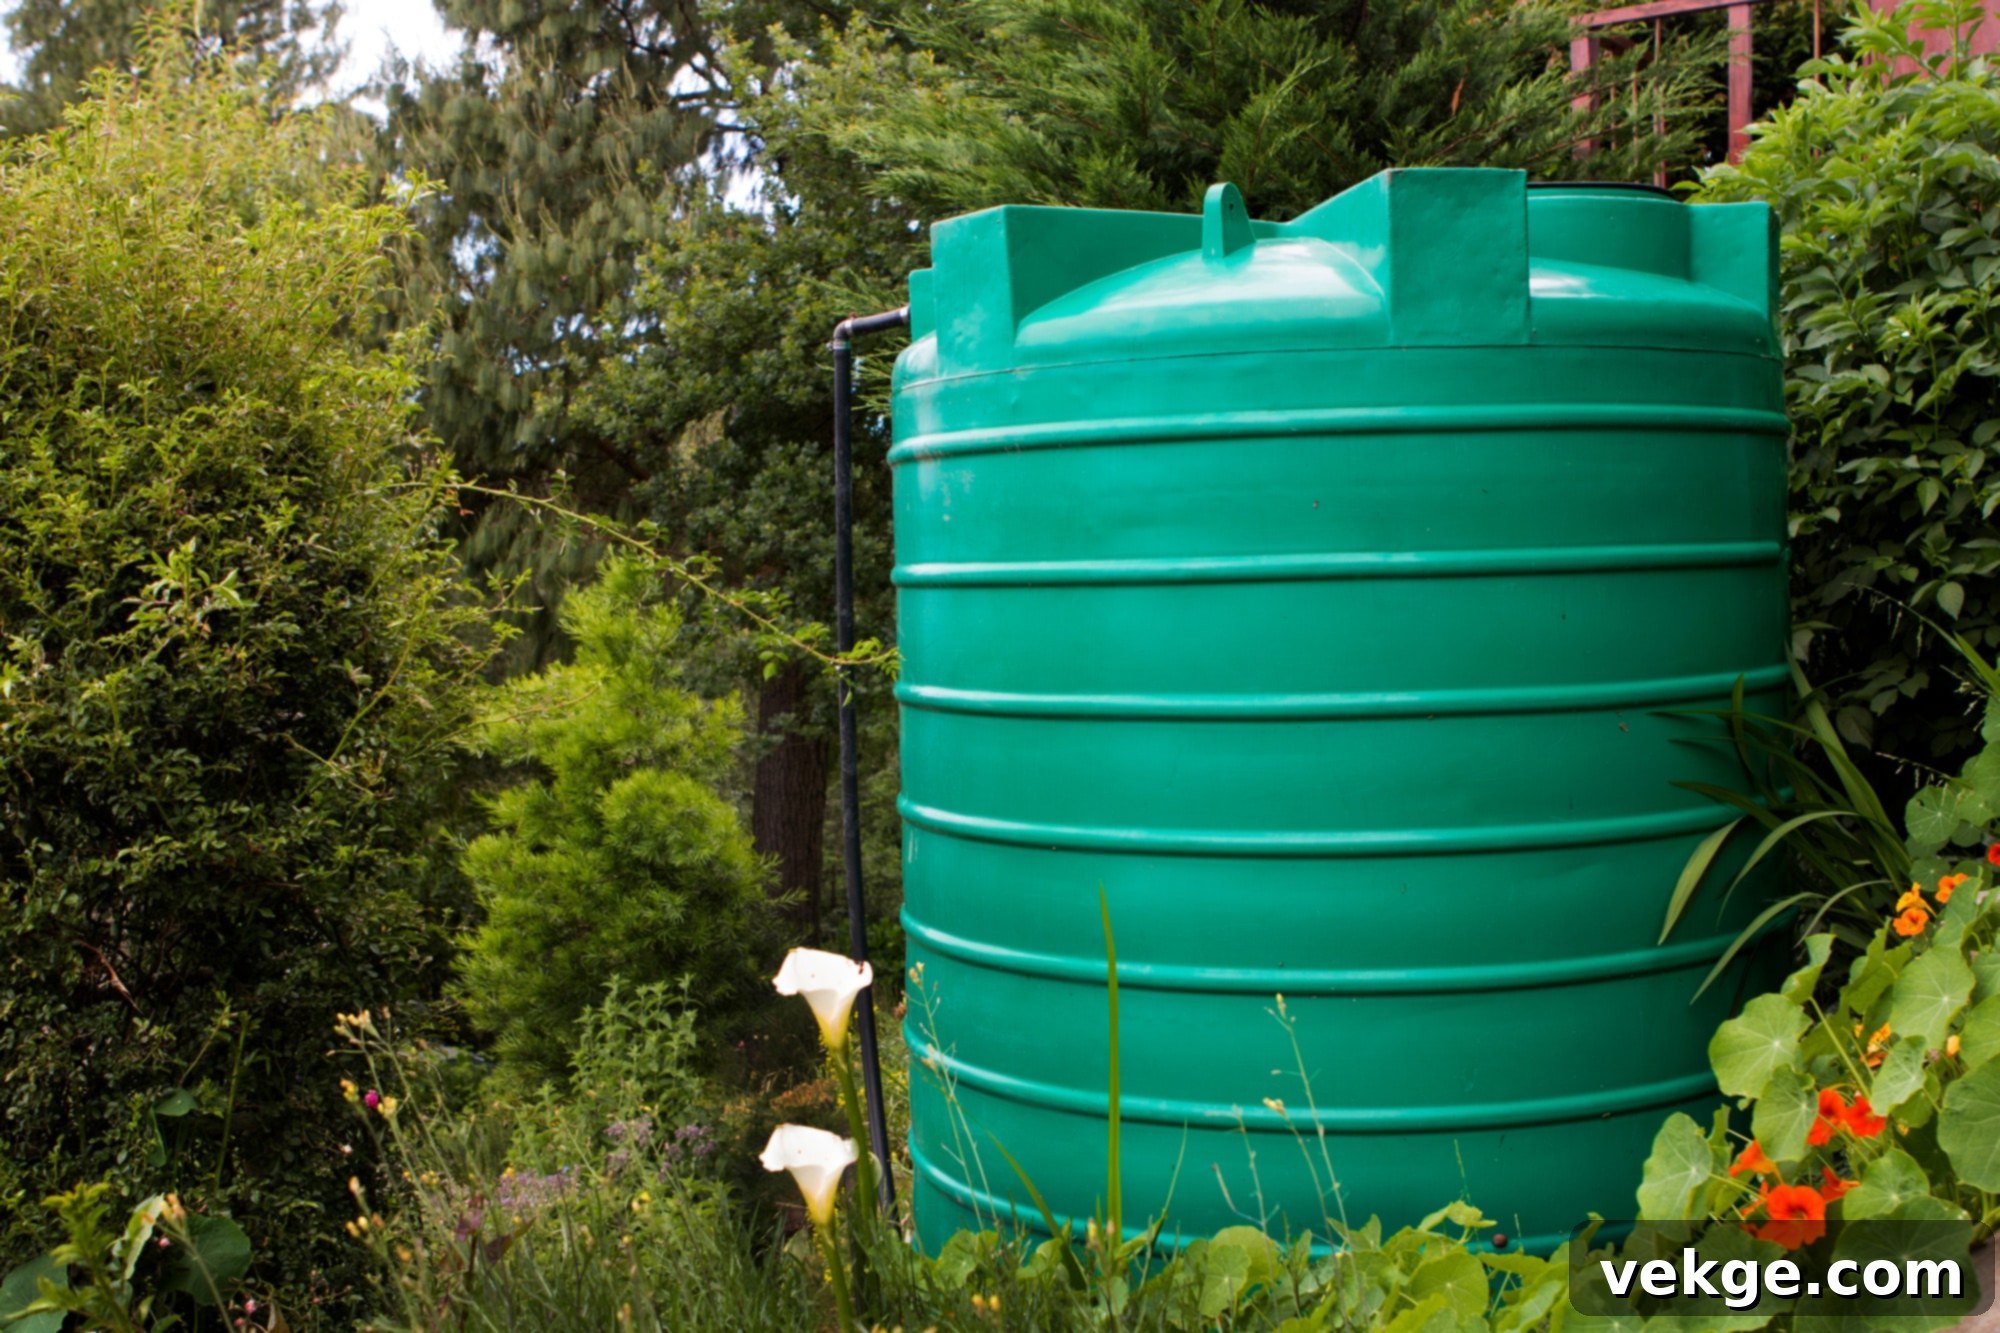
Comprehensive Guide to Installing a Well Water Storage Tank for Optimal Home Water Supply
For homeowners fortunate enough to have a private well, ensuring a consistent and reliable supply of clean water is paramount. While the well itself provides the source, a well water storage tank transforms that source into a dependable home utility, offering peace of mind and protection for your entire water system. Imagine a world where access to clean water is a luxury – unfortunately, that’s the reality for over 703 million people globally. For the rest of us, especially those relying on private wells, taking control of our water supply is not just convenient, but essential. (1)
A properly installed well water storage tank acts as a vital reservoir, storing well water and delivering it seamlessly to your household plumbing system whenever needed. This crucial component does more than just hold water; it guarantees a steady flow rate throughout your home, minimizes unnecessary cycling of your well pump, thereby extending its lifespan, and ultimately saves you money on potential repairs. This comprehensive guide is designed to empower you with the knowledge needed to successfully install a well water storage tank system, covering everything from initial assessment to final connections.
Understanding Your Well & Water Needs: The Foundation of Success
The very first and most critical step in installing a well water storage tank is a thorough assessment of your existing well system and your household’s specific water requirements. Skipping this crucial phase can lead to inefficiencies, premature wear on your well pump, and inconsistent water pressure. By understanding your well’s capacity and your family’s daily water usage, you can pinpoint the ideal tank size, ensuring your system operates efficiently without your tank constantly refilling or running dry.
An accurate assessment also provides a valuable opportunity to identify and address any underlying issues with your well before embarking on the tank installation. For example, if your well’s production capacity is found to be low, you might explore options like optimizing water production with advanced well water harvesting systems from reputable manufacturers such as EPP Well Solutions, ensuring a robust foundation for your new storage solution.
Determining Your Well’s Production Capacity
Understanding how much water your well can produce is fundamental. Several methods can help you gauge its capacity:
Well Recovery Rate: What it Means for Your System
The well recovery rate refers to the speed at which your well naturally replenishes water after it has been pumped out. This rate is often measured in gallons per minute (GPM). If you have existing well documentation, this information might already be available. Recovery rates can vary significantly by geological location. For instance, in New Hampshire, the minimum recommended water supply capacity for residential households is at least 600 gallons within two hours, once per day (2). A higher recovery rate generally means your well can support a larger storage tank or higher demand without overworking the pump.
Static Water Level: A Key Indicator
The static water level is the depth of the water table within your well when the pump is not actively running and the water has settled. A significant or consistent drop in this level could indicate a limited water source or a well that is struggling to keep up with demand. While you can measure the static water level yourself using a weighted rope and tape measure, it’s important to remember that this alone doesn’t provide a complete picture of your well’s total production capacity, but rather a snapshot of its resting state.
Pumping Test: The Most Accurate Method
For the most accurate determination of your well’s true capacity, a professional pumping test is invaluable. This involves pumping water from your well at a constant rate for a specific duration, typically several hours. A qualified well driller or technician will meticulously monitor the water level within the well throughout the test. The data collected allows them to precisely assess your well’s sustained yield, providing the most reliable information for sizing your water storage tank. While optional, a pumping test offers unparalleled insight, especially for wells with unknown history or suspected low yield.
Calculating Your Household’s Daily Water Usage
Equally as important as knowing your well’s capacity is understanding how much water your household consumes on a daily basis. This ensures that your storage tank is adequately sized to meet your family’s needs, even during peak usage times. Here are effective methods for estimating your daily water consumption:
Analyzing Past Water Bills
If your property has been connected to a municipal water supply in the past, or if you have records for previous well water usage (e.g., from a meter), analyzing your past water bills can provide a good baseline. Look for your average daily or monthly consumption over a period of several months to account for seasonal variations. This data offers a real-world insight into your family’s habits.
Leveraging Online Water Use Calculators
Numerous online resources and utility company websites offer water use calculators. These tools typically ask for information such as the number of occupants, frequency of laundry, dishwashing habits, shower duration, and even landscaping irrigation. By inputting this data, you can receive an estimated daily water consumption figure, which can be a helpful starting point for tank sizing.
The Impact of Miscalculating Tank Size
Why is this dual understanding of well capacity and household usage so critical? Because it directly influences the ideal size of your water storage tank. If you choose a storage tank that is too large for your well’s capacity, your well pump might constantly cycle on and off in an attempt to refill a tank that its production rate cannot keep up with. This leads to energy inefficiency, excessive wear and tear on the pump, and a shortened lifespan.
Conversely, a storage tank that is too small for a household with high water demand will struggle to provide enough water between well pump cycles. This can result in noticeable pressure fluctuations, frustratingly long waits for hot water, and in extreme cases, even running completely out of water during peak usage periods like morning showers or evening dishwashing.
The “sweet spot” in tank selection ensures your well can comfortably replenish the storage tank during off-peak hours, such as overnight. This intelligent sizing strategy guarantees a consistent and robust water flow throughout your home, all while minimizing stress on your well system and maximizing the longevity of your well pump. Taking the time for accurate assessment now will save you headaches and expenses later.
Choosing the Perfect Well Water Storage Tank
Once you have a clear understanding of your well’s capabilities and your household’s water demands, the next step is to select the most suitable water storage tank. This decision hinges on two primary aspects: the type of tank material and the specific features that best align with your needs. Let’s explore your options and the key factors to consider:
Exploring Different Types of Water Storage Tanks
Water storage tanks are available in various materials, each offering distinct advantages and disadvantages:
Polyethylene Tanks: Lightweight and Versatile
The global market for plastic water storage tanks is projected to reach an impressive USD$2.4 billion by 2030, with polyethylene tanks being a leading choice (3). Renowned for their affordability, excellent durability, and lightweight nature, polyethylene tanks are a popular option. They are available in a vast array of sizes and are primarily suited for above-ground installations. Their resistance to rust and corrosion makes them a low-maintenance choice, though they can be susceptible to UV degradation if not properly treated or covered, or if made with inadequate UV stabilizers.
Steel Tanks: Robust and Long-Lasting
Engineered for superior strength and exceptional longevity, steel tanks are a robust choice suitable for both above-ground and below-ground installations. Their durability makes them resistant to impact and physical damage. However, steel tanks typically require a specialized protective coating, either internal or external, to prevent corrosion, especially when buried or exposed to the elements. Regular inspection of these coatings is essential for maintaining their integrity.
Concrete Tanks: Durable and Insulating
These incredibly sturdy tanks offer excellent insulation properties, helping to keep water at a more consistent temperature. Concrete tanks are frequently chosen for partial or full burial, blending seamlessly into the landscape. They are, however, the heaviest and most permanent option, demanding meticulous planning and professional guidance for placement and installation due to their significant weight and size. Proper sealing is critical to prevent leaks and maintain water quality.
Fiberglass Tanks: Corrosion-Resistant Alternative
Fiberglass tanks present another viable option for water storage, particularly for above-ground installations. They are relatively lightweight compared to steel or concrete and boast inherent corrosion resistance, eliminating the need for internal coatings. While durable, fiberglass tanks may be more susceptible to cracking or impact damage in comparison to their steel counterparts, especially under extreme conditions or improper handling.
Key Factors When Selecting Your Tank
Beyond the material, several other factors will guide you toward the ideal well water storage tank:
Size: Matching Capacity to Demand
As previously discussed, tank size is paramount. Your chosen water tank must be capacious enough to comfortably meet your daily water needs without requiring your well pump to cycle excessively. A general rule of thumb is to have enough storage for 1-2 days of average household usage, plus a reserve for peak demands or emergencies. Consider future needs as well, such as potential household growth or additional water-consuming appliances.
Material: Durability and Suitability
Evaluate the long-term durability, resistance to corrosion, and tolerance to local weather conditions (e.g., extreme temperatures, UV exposure) of each material. Consider the quality of your well water; some water chemistries can be more aggressive on certain materials. The lifespan and maintenance requirements also differ significantly between materials.
Location: Above-Ground vs. Below-Ground
The chosen location for your tank will heavily influence material selection and installation requirements. Above-ground tanks require a stable, level foundation and consideration for aesthetic integration and potential winterization (frost protection in cold climates). Below-ground tanks, often called cisterns, require professional excavation, proper drainage, and adherence to local regulations regarding burial depth and material for backfill. Accessibility for maintenance and cleaning should also be factored into the location decision.
Budget: Balancing Cost and Quality
Water storage tanks are available across a wide price spectrum. Establish a realistic budget that encompasses not just the tank itself, but also associated installation costs, fittings, and any necessary site preparation. Aim to choose a tank that offers the best value in terms of material quality, expected lifespan, and features for your specific needs, rather than simply opting for the cheapest option.
Essential Features and Accessories
Some tanks come equipped with, or can be outfitted with, beneficial additional features. These may include integrated pressure gauges for system monitoring, water level indicators for easy visual checks, clean-out ports for sediment removal and maintenance, and baffles to reduce water movement within the tank. Consider which of these features would significantly enhance the functionality, convenience, and maintenance of your well system.
Where to Purchase Your Water Storage Tank
You have several reputable avenues for purchasing a water storage tank for your well system:
- Well Drilling and Supply Companies: These specialized companies are often a one-stop shop, offering a range of water storage tanks, well pumps, pressure tanks, and all necessary water system components. They can also provide expert advice and potentially installation services.
- Plumbing Supply Stores: Many large plumbing supply stores carry a diverse selection of water storage tanks in various sizes, materials, and brands. Their staff can often offer guidance on compatible fittings and plumbing connections.
- Online Retailers: E-commerce platforms provide a convenient way to compare prices, read reviews, and explore a vast inventory of water storage tanks from the comfort of your home. Be sure to factor in shipping costs and verify the retailer’s return policy, especially for large items.
- Agricultural or Farm Supply Stores: In rural areas, these stores often stock robust water storage tanks suitable for various applications, including private well systems.
By carefully considering your well’s characteristics, your household’s demands, and the various tank options and purchasing sources, you can confidently select the perfect water storage tank to ensure a smooth-running and reliable well system for your home for years to come.
Preparing for a Seamless Tank Installation
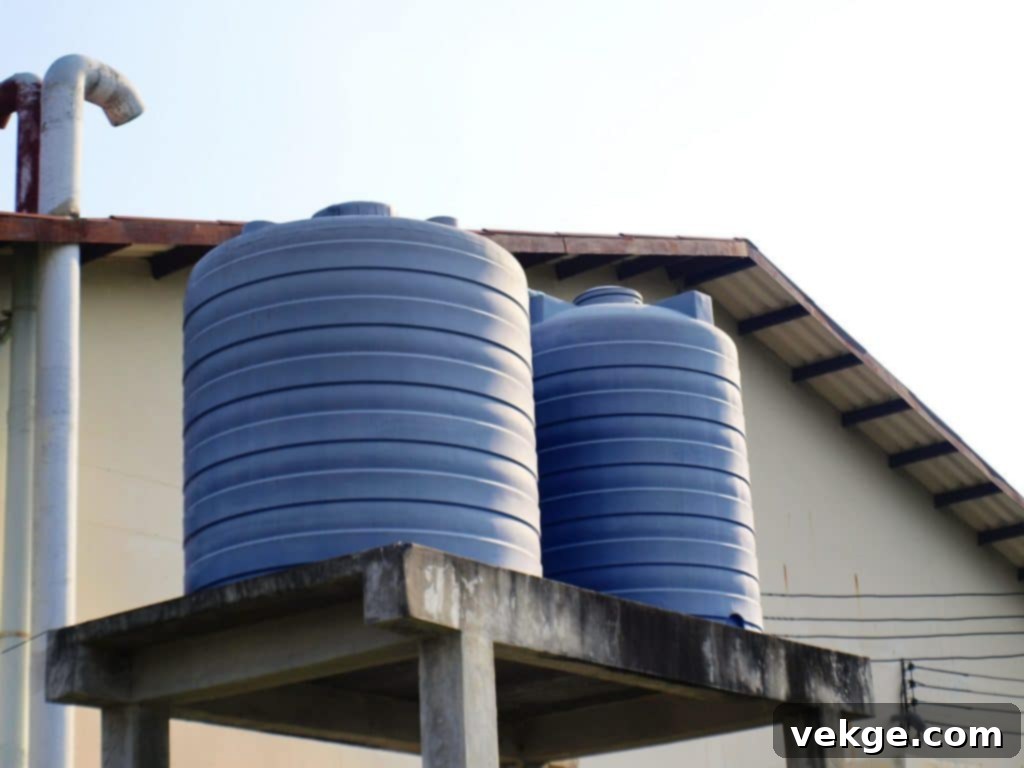
With your ideal water storage tank selected and delivered, the next phase is meticulous preparation for installation. Proper preparation is key to a smooth, safe, and efficient setup. Here are the essential steps to get ready:
Gathering Essential Tools and Materials
The precise tools and materials you’ll require will naturally vary based on your chosen tank material, the complexity of your well system, and whether you’re undertaking an above-ground or below-ground installation. However, a general list of supplies often includes:
- Shovel and other digging tools (especially for below-ground tanks or preparing a level pad for above-ground)
- Wrench set (adjustable and pipe wrenches)
- Pipe cutters or hacksaw
- Measuring tape and level
- Thread sealant tape (Teflon tape) or pipe dope
- Pipes and fittings (e.g., PEX tubing, PVC, or galvanized pipes, depending on your system and local codes)
- Ball valves or gate valves for shut-offs
- Pressure relief valve and pressure gauge
- Electrical tape and wire connectors (if working with pump wiring)
- Safety glasses, work gloves, and appropriate personal protective equipment (PPE)
Always consult the tank’s installation manual for a comprehensive and specific list of required tools and materials. If you’re hiring a professional installer, they will typically handle this, but it’s good to be aware.
Preparing the Installation Site
The chosen location for your water storage tank requires careful preparation to ensure stability, accessibility, and proper function:
Above-Ground Installation Site Prep
For above-ground tanks, select a site that is level, stable, and offers clear, easy access for future maintenance and inspections. The ground should be firm and capable of supporting the immense weight of the tank when full of water. Consider laying a concrete pad, a gravel bed, or durable plastic tank pads to create a perfectly level and stable foundation. Ensure there’s ample clearance around the tank for plumbing connections, electrical work (if applicable), and easy access to all valves and ports. Think about sun exposure – prolonged direct sunlight can degrade some tank materials or encourage algae growth.
Below-Ground Installation Site Prep (Permits, Excavation)
Below-ground tank installations are considerably more complex and often require professional guidance due, in part, to local regulations and safety considerations. Before any excavation, confirm local zoning laws and obtain any necessary permits. It’s critical to “call before you dig” to locate any underground utilities (gas, electric, communication lines). The excavation itself must be appropriately sized, with proper drainage considered to prevent water accumulation around the tank. A stable, level base of gravel or crushed stone is essential to support the tank’s weight and prevent settling. Professionals can advise on proper excavation depth to avoid frost lines in colder climates and ensure the structural integrity of the surrounding soil.
Necessary Adjustments to Your Existing Well System
Integrating a new water storage tank may necessitate minor, or in some cases, significant adjustments to your existing well system:
Electrical Considerations and Safety
Your well pump’s electrical connections and pressure switch will need careful attention. Before any work begins, always ensure the power to the well pump is completely shut off at the main breaker. You may need to adjust the pressure switch settings to accommodate the new storage tank, ensuring it cycles optimally to keep the tank full without over-pressurizing the system. If you are unsure about electrical wiring, it is always best to consult a licensed electrician or well professional.
Pressure Switch and Relief Valve Installation
A pressure relief valve is a critical safety component that should be installed on your tank or in the plumbing system to prevent over-pressurization, which could lead to tank damage or leaks. Additionally, installing a pressure gauge allows you to easily monitor the system’s operating pressure, ensuring everything is functioning within safe and efficient parameters. These small additions are crucial for both system longevity and household safety.
By diligently following these preparation steps, you’ll lay a solid groundwork, ensuring your well system is perfectly poised to welcome and integrate your new water storage tank efficiently and safely.
Step-by-Step Well Water Storage Tank Installation
With all the groundwork meticulously laid, it’s time for the exciting part: the actual installation of your well water storage tank! While specifics can vary based on your tank type and system design, here’s a general, yet comprehensive, overview of the installation process:
Positioning the Water Storage Tank
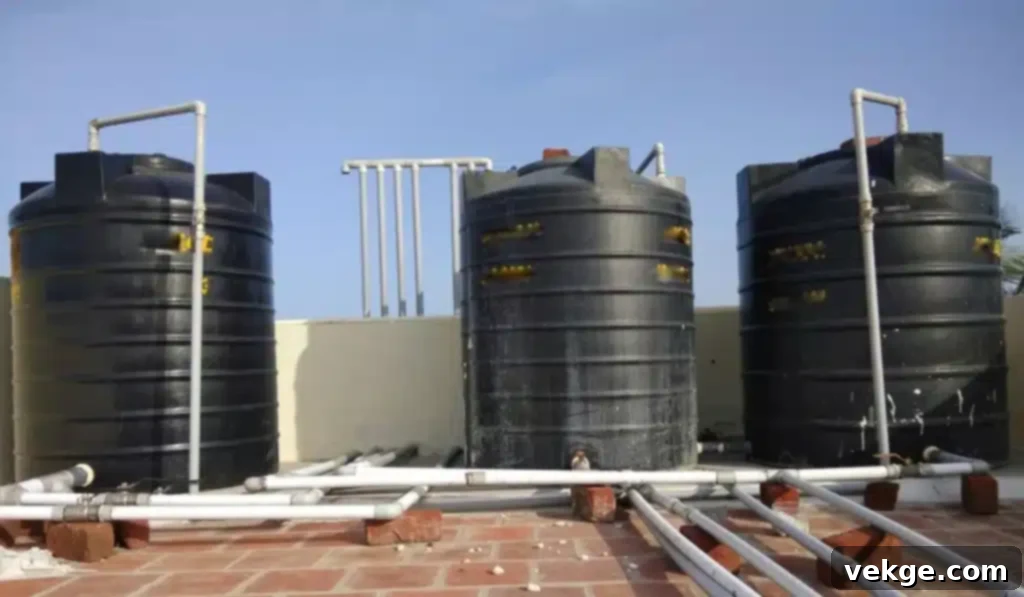
Above-Ground Tank Placement
Carefully maneuver the tank onto the designated, prepared location. Ensure it sits perfectly level and stable on its solid base. For larger tanks, you may need assistance or specialized equipment for safe positioning. Confirm that there’s sufficient access around the tank for all plumbing connections and future maintenance activities.
Below-Ground Tank Placement
With the assistance of qualified professionals, carefully lower the tank into the excavated area. Precision is key to ensure proper alignment and to prevent damage during the process. Once in place, use gravel or crushed stone to create a stable base around and under the tank, carefully backfilling to secure it and provide structural support, following the manufacturer’s guidelines for proper backfill materials and compaction.
Connecting the Tank to Your Well System Plumbing
This is the most critical stage, involving the integration of the tank into your existing well system using pipes and fittings. Adherence to manufacturer instructions and local plumbing codes is paramount. Here’s a simplified breakdown:
Prioritizing Safety: Shutting Off the Pump
Before beginning any plumbing work, safety is paramount. Always, without exception, turn off the well pump at its dedicated circuit breaker to completely de-energize the system. Additionally, open a faucet in your home to release any residual water pressure in the system, making it safe to work on the pipes.
Making the Pipe Connections: Inflow and Outflow
Following the manufacturer’s specific instructions, connect the tank to your well pump’s discharge line (inflow) and to your household plumbing system (outflow). Use appropriate pipes (e.g., PEX, PVC, copper, or galvanized steel) and fittings that comply with local plumbing codes and are suitable for potable water. Ensure all connections are secure and sealed properly with Teflon tape or pipe sealant to prevent leaks. Consider installing a bypass valve assembly, which allows you to isolate the storage tank for servicing or repairs while still directing water directly from the well to your home.
Installing Critical Valves and Gauges
Install a check valve on the inflow line from the well pump to prevent water from flowing back into the well. On the outflow side, a main shut-off valve is essential to control water flow to your home. A pressure relief valve, as discussed earlier, should be installed on the tank or main line to safeguard against excessive system pressure. Finally, incorporate a pressure gauge on the outflow line to continuously monitor system pressure.
Incorporating an Expansion Tank (if applicable)
Depending on your system design and local codes, an expansion tank may be required. This device absorbs pressure fluctuations in the water system, protecting plumbing fixtures and extending the life of your well pump. Consult your tank manufacturer’s guidelines or a plumbing professional to determine if an expansion tank is necessary for your setup and where it should be installed.
Initial System Startup and Leak Checks
Once all connections are made, slowly turn the power back on to your well pump. Monitor the system carefully as the tank begins to fill. Check every connection point meticulously for any signs of leaks. Allow the tank to fill completely and the system pressure to stabilize. Cycle the pump a few times, running water through your household faucets, and observe the pressure gauge to ensure stable operation. Address any leaks or pressure issues immediately before regular use.
Maintaining Your Well Water Storage Tank System
Installing your well water storage tank is a significant investment, and proper maintenance will ensure its longevity and continued efficiency. Regular upkeep prevents issues and prolongs the life of your entire well system.
Regular Inspections
Periodically inspect your tank for any visible signs of damage, corrosion, or leaks, especially around fittings and seams. For above-ground tanks, check for UV damage or cracks. For below-ground tanks, monitor the surrounding area for unusual wet spots, which could indicate a leak. Also, inspect the pressure gauge and relief valve to ensure they are functioning correctly.
Cleaning and Sediment Removal
Over time, sediment can accumulate at the bottom of the storage tank, potentially affecting water quality or clogging pipes. Tanks with clean-out ports make this process easier. Depending on your well water quality, it’s advisable to periodically drain and clean your tank, typically every 1-3 years. This involves flushing out sediment and, if necessary, scrubbing the interior and sanitizing it with a diluted chlorine solution, followed by thorough rinsing.
Winterizing (if applicable)
In colder climates, above-ground tanks require winterization to prevent freezing, which can cause severe damage. This may involve insulating the tank and exposed pipes, using heat tape, or completely draining the tank if it’s not needed during the winter months. For below-ground tanks, ensuring they are buried below the frost line is usually sufficient, but exposed pipes should still be protected.
Final Thoughts: Ensuring a Reliable Water Future
Installing a well water storage tank is a powerful step towards achieving greater water independence and ensuring a resilient, consistent water supply for your home. By diligently following the steps outlined in this guide—from assessing your needs and selecting the right tank to preparing the site and making precise connections—you’re investing in the long-term reliability and efficiency of your private well system.
Remember, while this guide provides a comprehensive overview, well systems can be complex. If you encounter any aspect of the process that makes you uncomfortable, or if you simply prefer professional assurance, do not hesitate to consult a reputable well service or plumbing professional. Their expertise can ensure that your well water storage tank is installed correctly, safely, and in full compliance with all local codes, guaranteeing a dependable water future for your household.
References
- “Global water crisis: Facts, FAQs, and how to help”, Source: https://www.worldvision.org/clean-water-news-stories/global-water-crisis-facts
- “Recommended Minimum Water Supply Capacity for Private Wells”, Source: https://www.des.nh.gov/sites/g/files/ehbemt341/files/documents/2020-01/dwgb-1-8.pdf
- “Plastic Water Storage Tank Market Trends, Opportunities and Competitive Analysis 2024-2030: Increasing Demand for Four Layered Water Storage Tanks for Protection from Bacteria and Fungus”, Source: https://finance.yahoo.com/news/plastic-water-storage-tank-market-171500769.html
