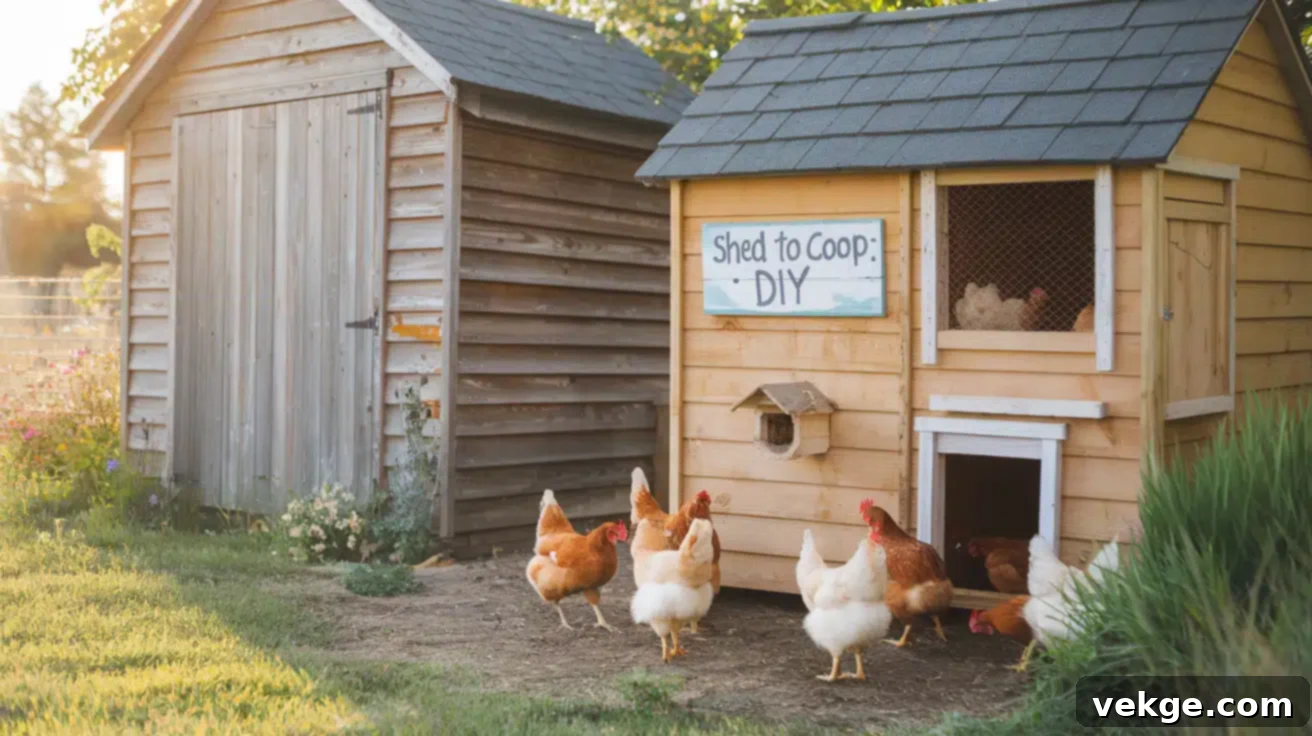
Transform Your Shed: The Ultimate DIY Guide to Building a Secure and Cozy Chicken Coop
Embarking on the journey of raising backyard chickens is a rewarding experience, and repurposing an existing shed into a chicken coop is one of the most practical and cost-effective ways to provide a safe, comfortable home for your feathered friends. This DIY shed conversion project offers a wealth of advantages, benefiting both you and your flock by saving resources and providing a robust, ready-made structure.
With careful planning and a moderate amount of effort, you can transform an ordinary garden shed into an ideal habitat for your chickens. This comprehensive guide will walk you through every critical step, ensuring your shed conversion is successful, resulting in a secure, hygienic, and inviting space where your chickens can thrive. From understanding the core benefits to implementing essential features and following a detailed step-by-step process, we’ll cover everything you need to know. Get ready to turn that neglected shed into a perfect chicken haven, ready to house your happy, healthy, and productive flock.
Choosing to reuse an existing structure like a shed not only significantly reduces material costs and construction time compared to building a new coop from scratch but also provides a sturdy, weather-resistant foundation. A thoughtfully designed coop ensures your birds are well-protected from adverse weather conditions, be it scorching summer heat, freezing winter temperatures, or relentless rain. Crucially, it also offers formidable defense against common predators that pose a threat to backyard poultry. Moreover, a well-appointed coop provides a clean, comfortable, and private environment for your hens to lay their eggs, ensuring higher egg production and quality. With the right setup, your chickens will enjoy a stress-free life, leading to excellent health, vibrant energy, and a consistent supply of fresh, homegrown eggs. Let’s delve into the specifics and explore how to create the ultimate chicken home from your existing shed.
Beyond the Basics: Unveiling the Benefits of Converting a Shed into a Chicken Coop
Converting an existing shed into a chicken coop offers a multitude of advantages, making it a highly appealing option for both new and experienced chicken keepers. This practical solution leverages an existing asset, providing superior housing for your flock. Let’s explore the main benefits in greater detail.
1. Superior Protection from Outdoor Elements
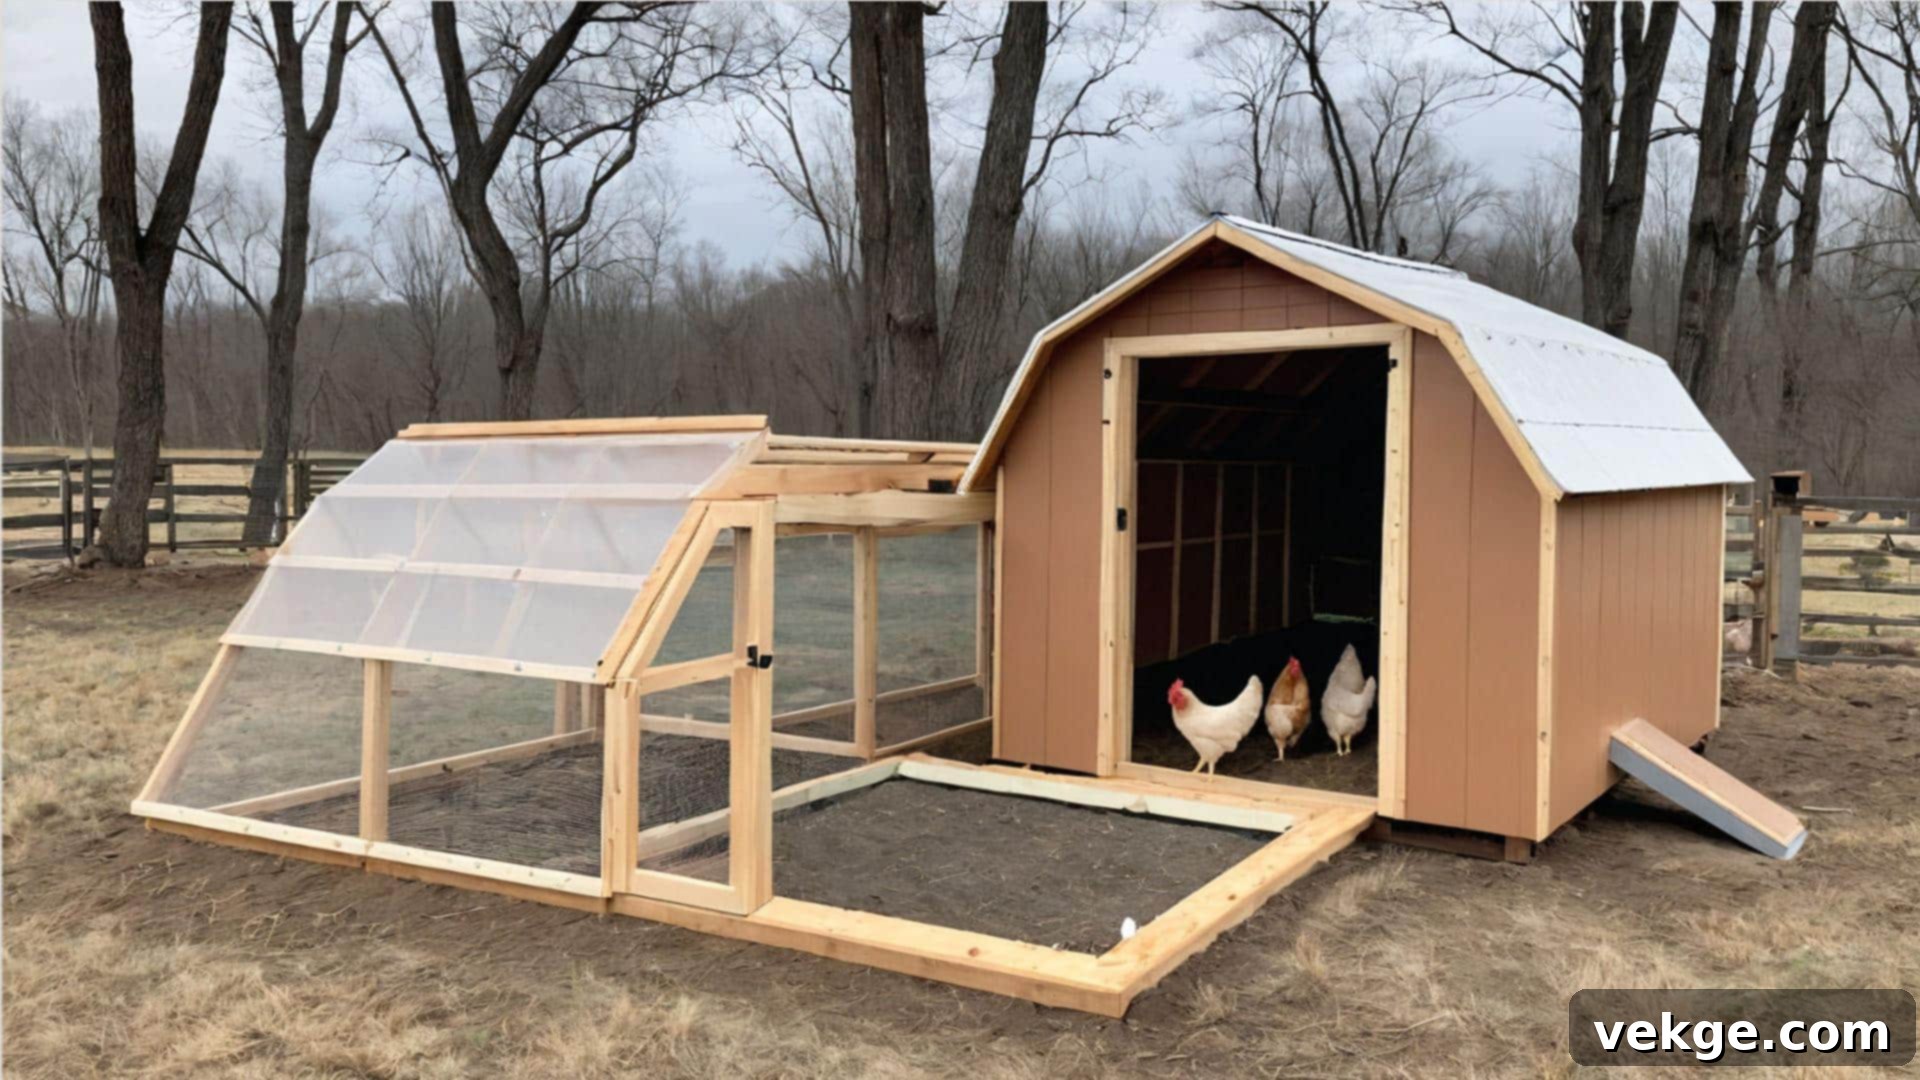
A shed-turned-coop inherently provides excellent protection against unpredictable and harsh weather conditions. Unlike flimsier, purpose-built coops, a shed’s robust construction effectively shields your chickens from heavy rain, strong winds, hail, and extreme temperatures. This substantial shelter is vital for maintaining your flock’s health, comfort, and overall well-being throughout all four seasons. In winter, the enclosed space helps retain warmth, reducing the risk of frostbite and cold-related stress. In summer, proper ventilation and insulation prevent overheating, ensuring your chickens remain comfortable and productive even during heatwaves. This consistent protection is paramount for the longevity and vitality of your birds.
2. Enhanced Security Against Predators
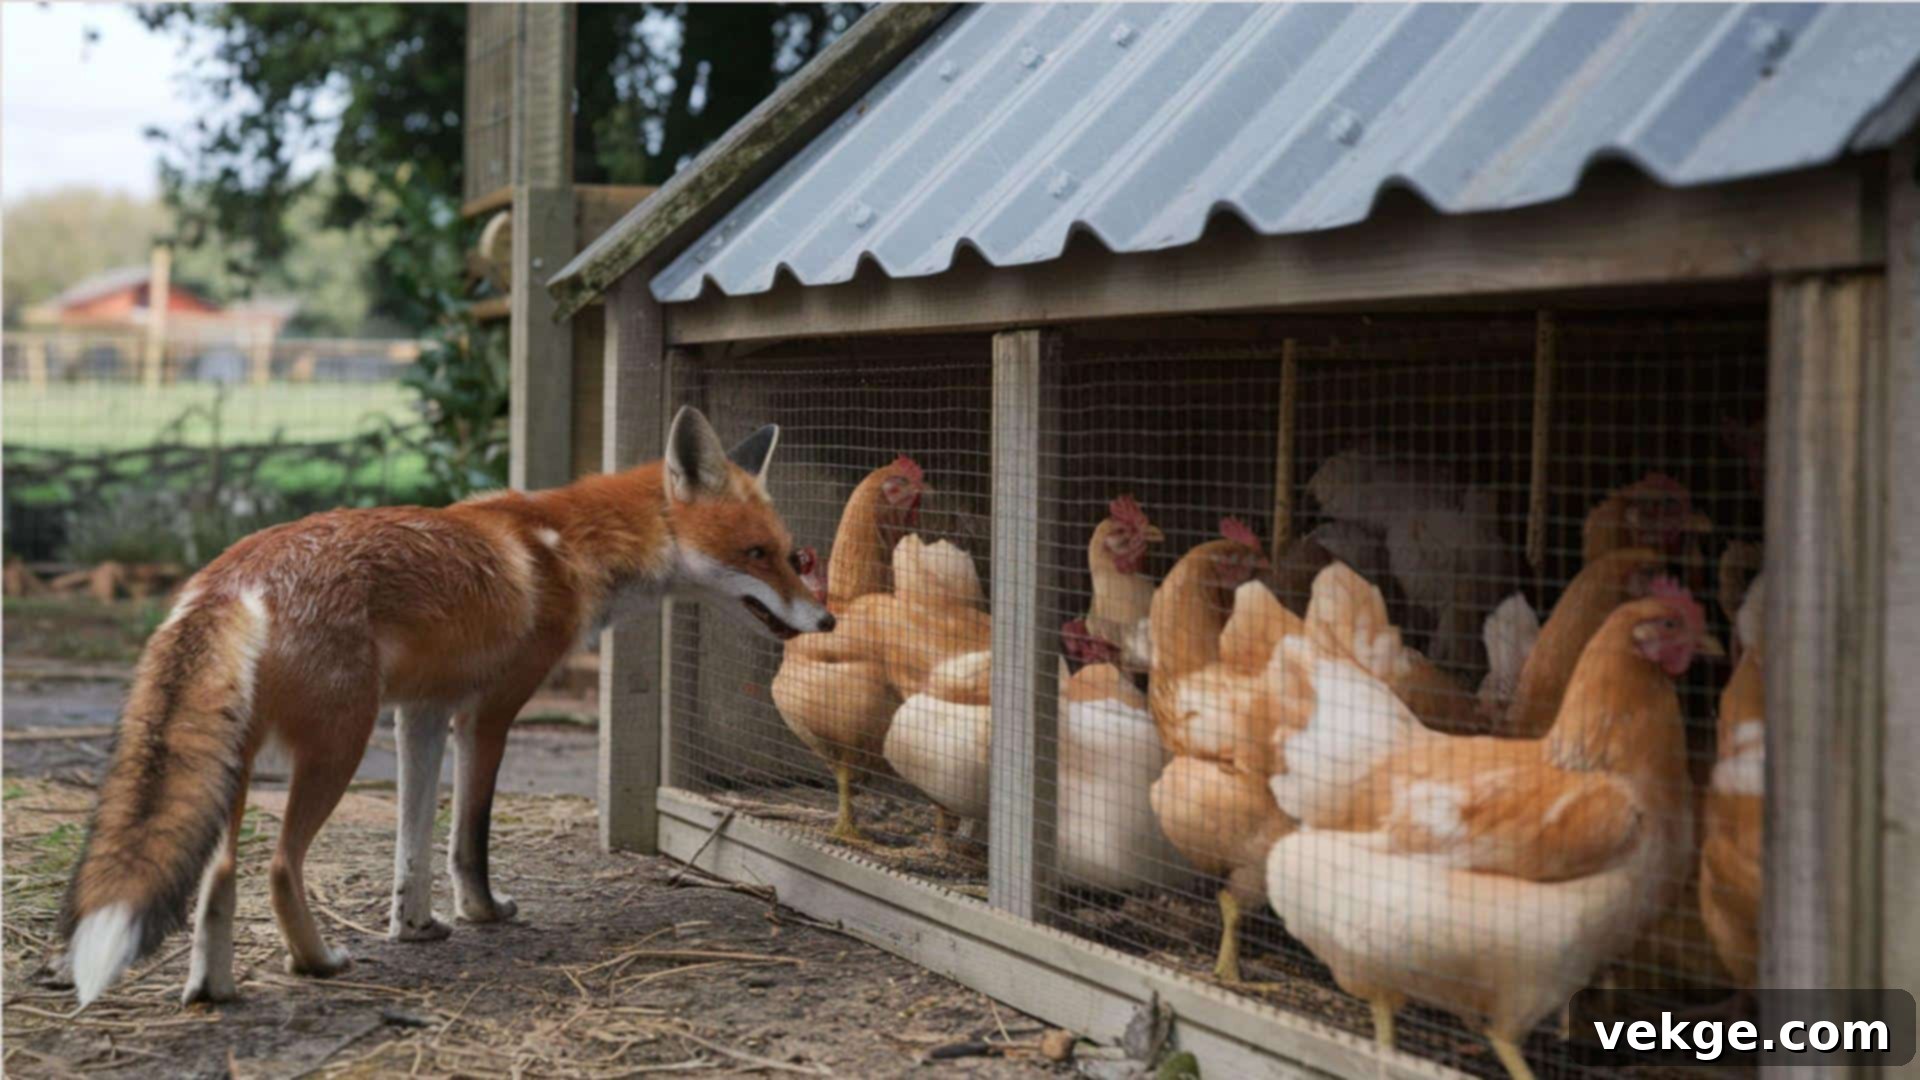
One of the most significant advantages of using a shed is its inherent structural integrity, offering far superior security against predators compared to many open-air or lightweight coops. Common chicken predators such as raccoons, foxes, opossums, coyotes, and even stray dogs can be relentless. A shed’s solid walls, roof, and floor provide a strong barrier. You can easily reinforce existing doors and windows with predator-proof latches, hardware cloth (not chicken wire), and sturdy locks, creating an impenetrable fortress for your flock. This enhanced protection offers invaluable peace of mind, allowing you to rest assured that your chickens are safe and sound, especially overnight.
3. A Comfortable and Private Laying Space
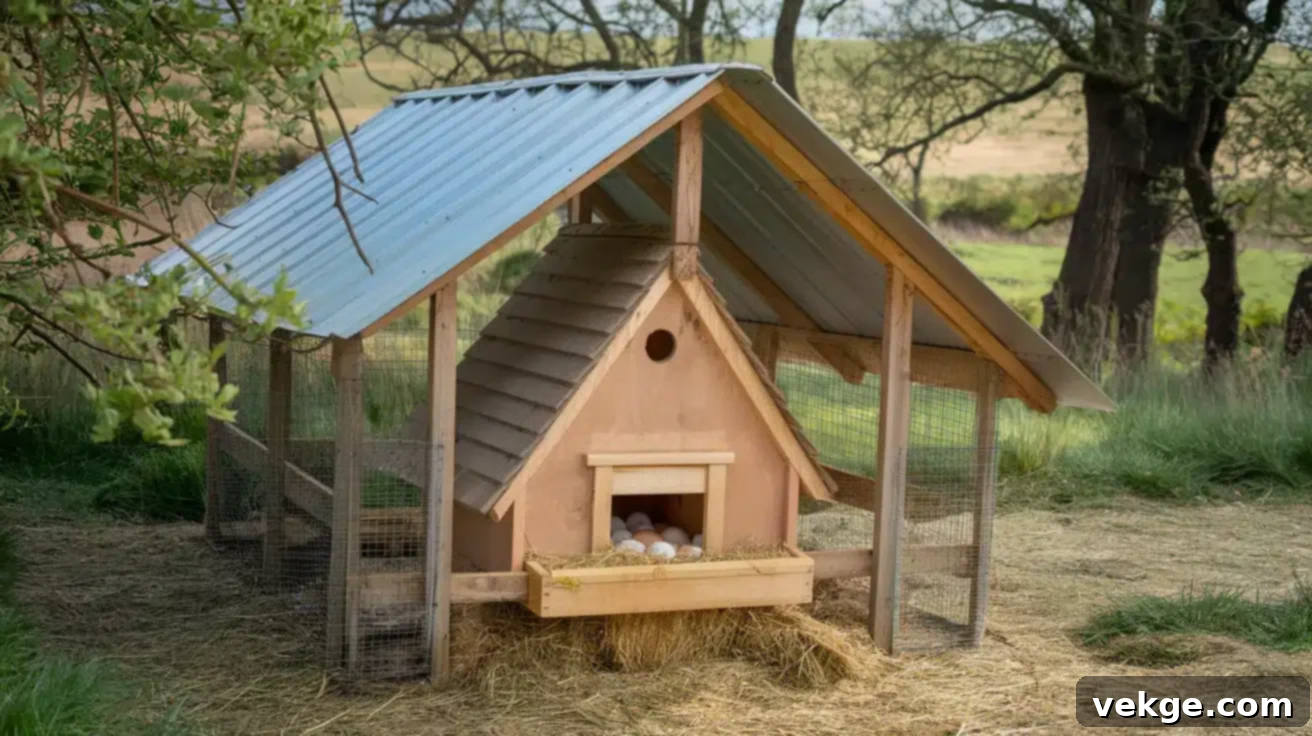
Sheds are typically spacious enough to be easily modified to include dedicated, cozy nesting boxes. These provide hens with a quiet, private, and secure area essential for laying eggs. A comfortable and undisturbed laying environment not only encourages regular egg production but also helps prevent common issues like egg breaking or hens laying eggs in undesirable locations. By offering a clean, soft, and designated space, you contribute significantly to the health and productivity of your laying hens, often leading to an increased yield of high-quality eggs.
4. Promoting Hygienic Living Environments
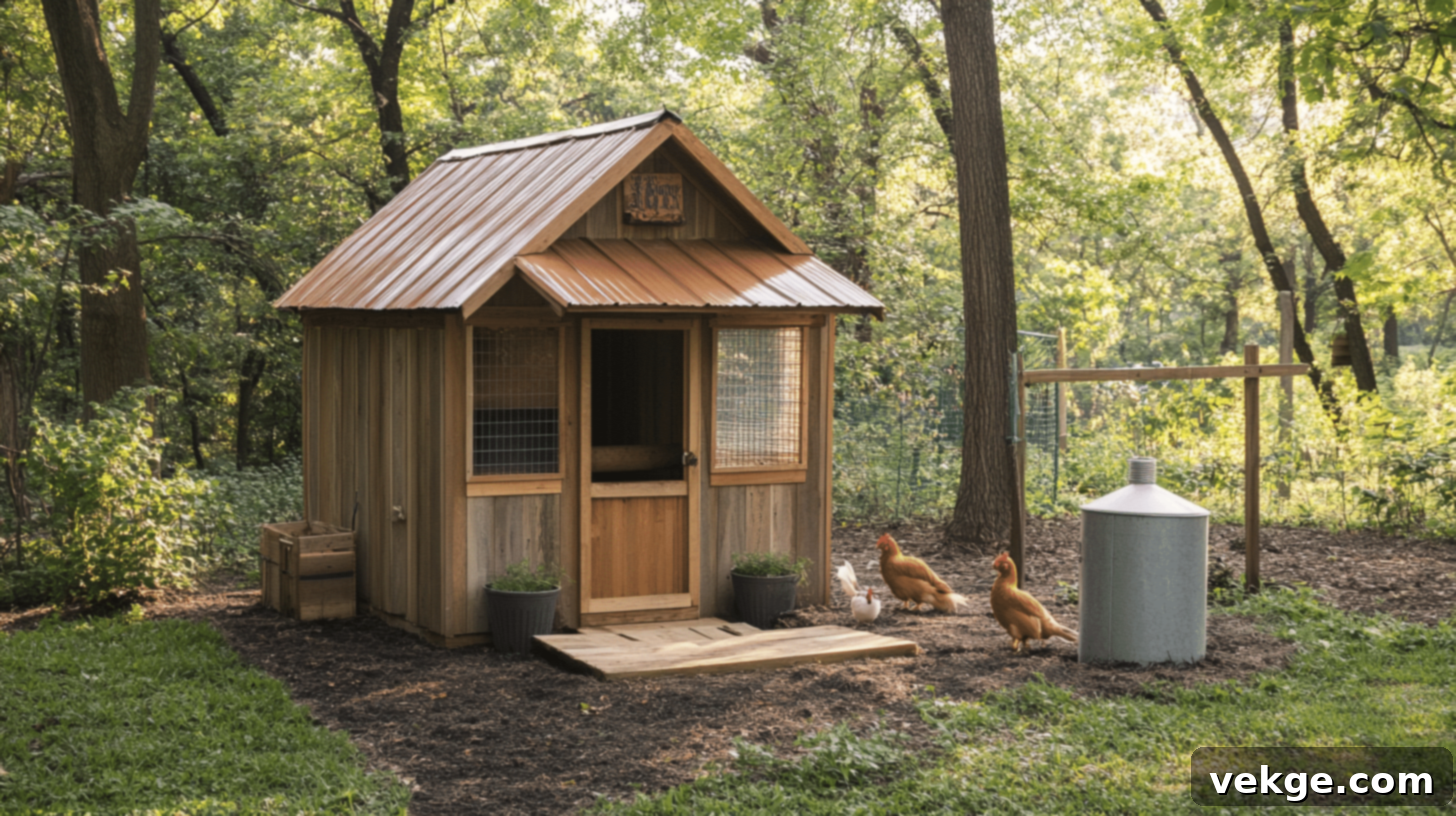
The enclosed nature of a shed makes maintaining cleanliness and hygiene much more manageable. You have greater control over the internal environment, allowing for the installation of proper ventilation and drainage systems. Good ventilation is crucial for expelling ammonia fumes from droppings and reducing humidity, which prevents respiratory issues and the growth of mold or bacteria. With a solid floor and defined walls, regular cleaning routines, such as removing soiled bedding and replacing it with fresh materials, become simpler and more effective. A well-designed shed-coop ensures a dry, fresh, and healthy living space, minimizing the risk of diseases and parasites.
5. Cultivating a Happy and Entertained Flock
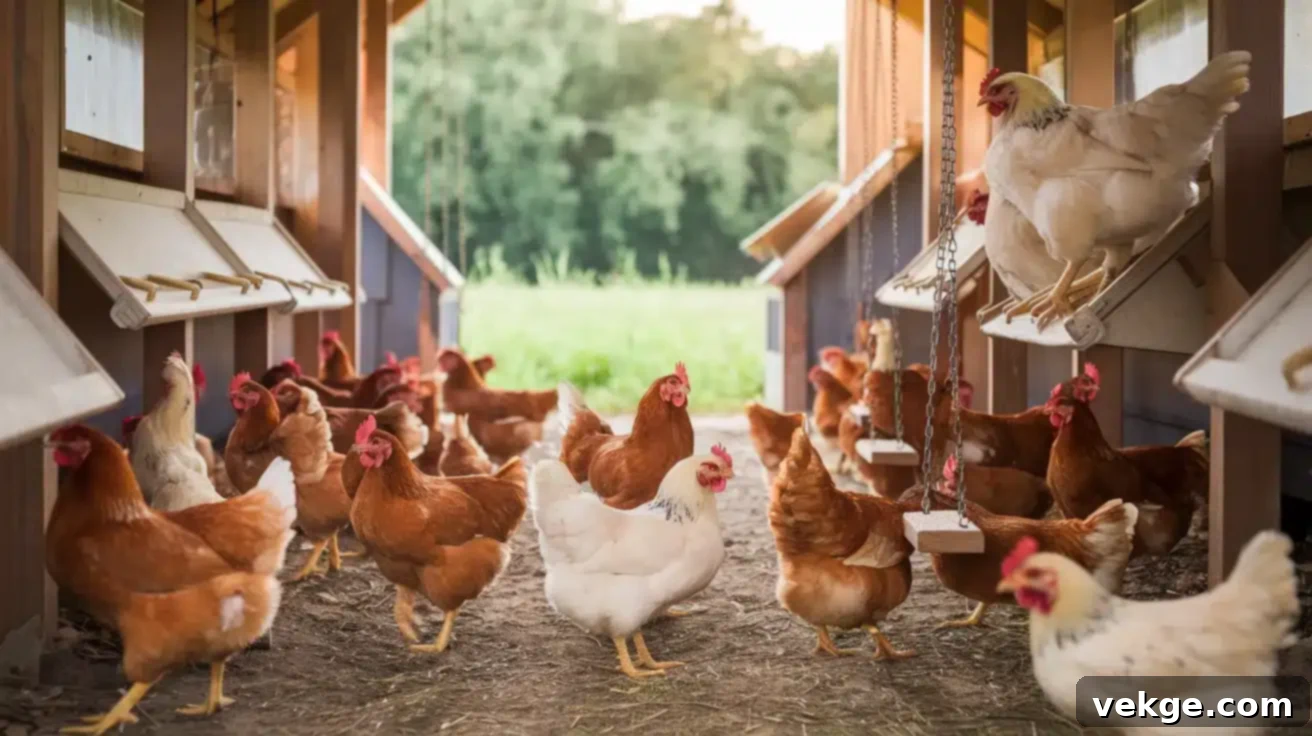
The generous space offered by most sheds allows for considerable creativity in adding enrichment features. You can easily incorporate elements like varying heights of perches, swings, dust bath areas, or even a small, connected outdoor run. These additions provide mental stimulation and physical activity, preventing boredom and potential behavioral issues like feather pecking. A happy, engaged flock is less stressed, more active, and consequently, healthier and more productive. Providing diverse opportunities for natural chicken behaviors like foraging, dust bathing, and roosting contributes immensely to their overall well-being and contentment.
Inside Your Chicken Coop: Essential Features for a Thriving Flock
To successfully convert your shed into a functional and comfortable chicken coop, certain features are absolutely crucial. These elements ensure the health, safety, and productivity of your flock. Let’s take a closer look at the key components you should integrate into your coop design.
1. Roosting Perches
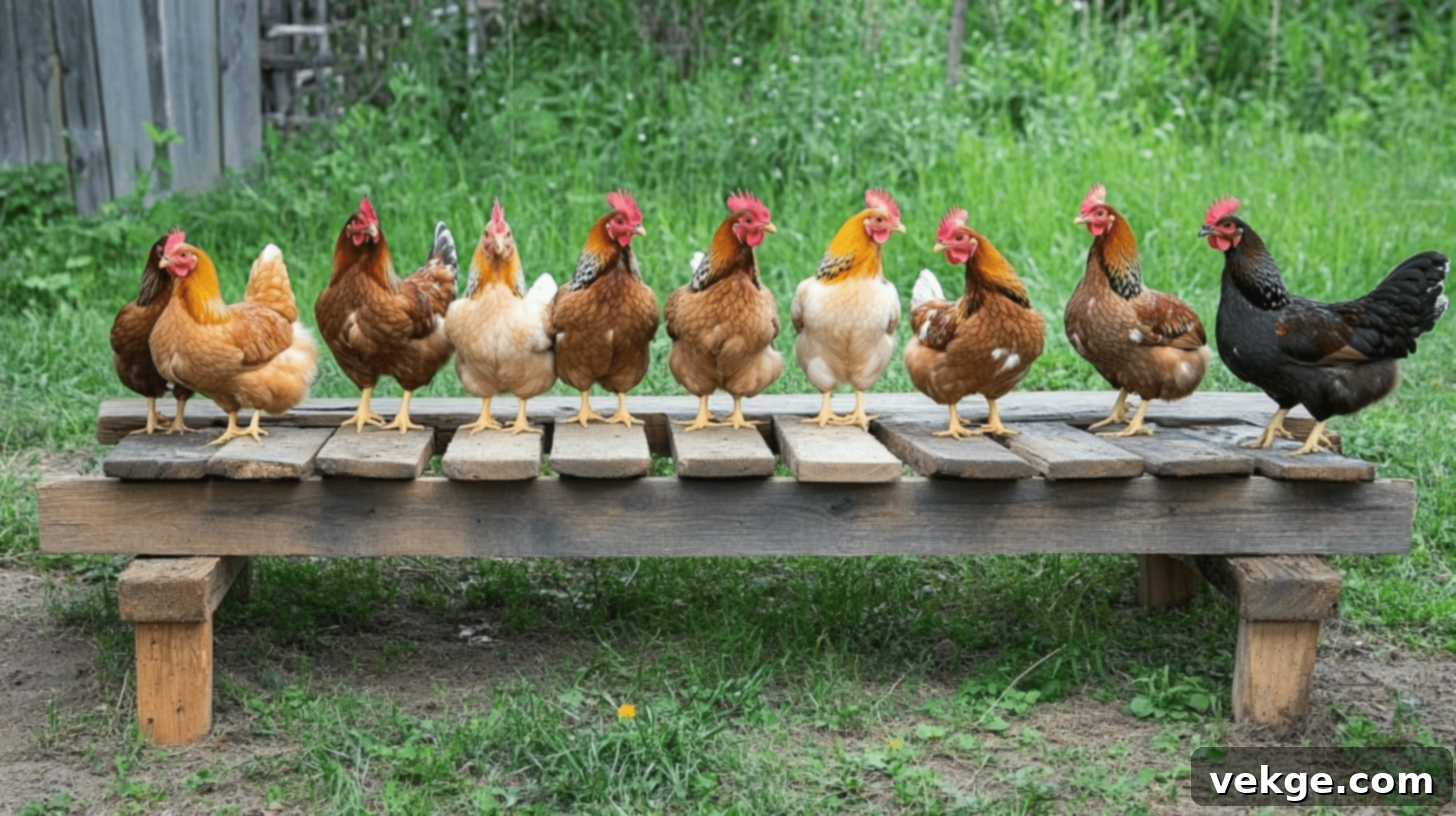
Chickens instinctively seek elevated spots to sleep, as this provides a sense of security from ground-level predators and allows for better air circulation. Install sturdy perches inside your coop, preferably at different heights, to accommodate the natural roosting behavior of your flock. Use materials like 2×4 lumber with the 4-inch side facing up, as this provides a flat surface for their feet, preventing bumblefoot. Ensure perches are smooth to avoid splinters and spaced adequately (at least 8 inches per bird) so all chickens have enough room to roost comfortably without overcrowding. Position them higher than nesting boxes to discourage chickens from sleeping in the nests, which can soil them.
2. Nesting Boxes
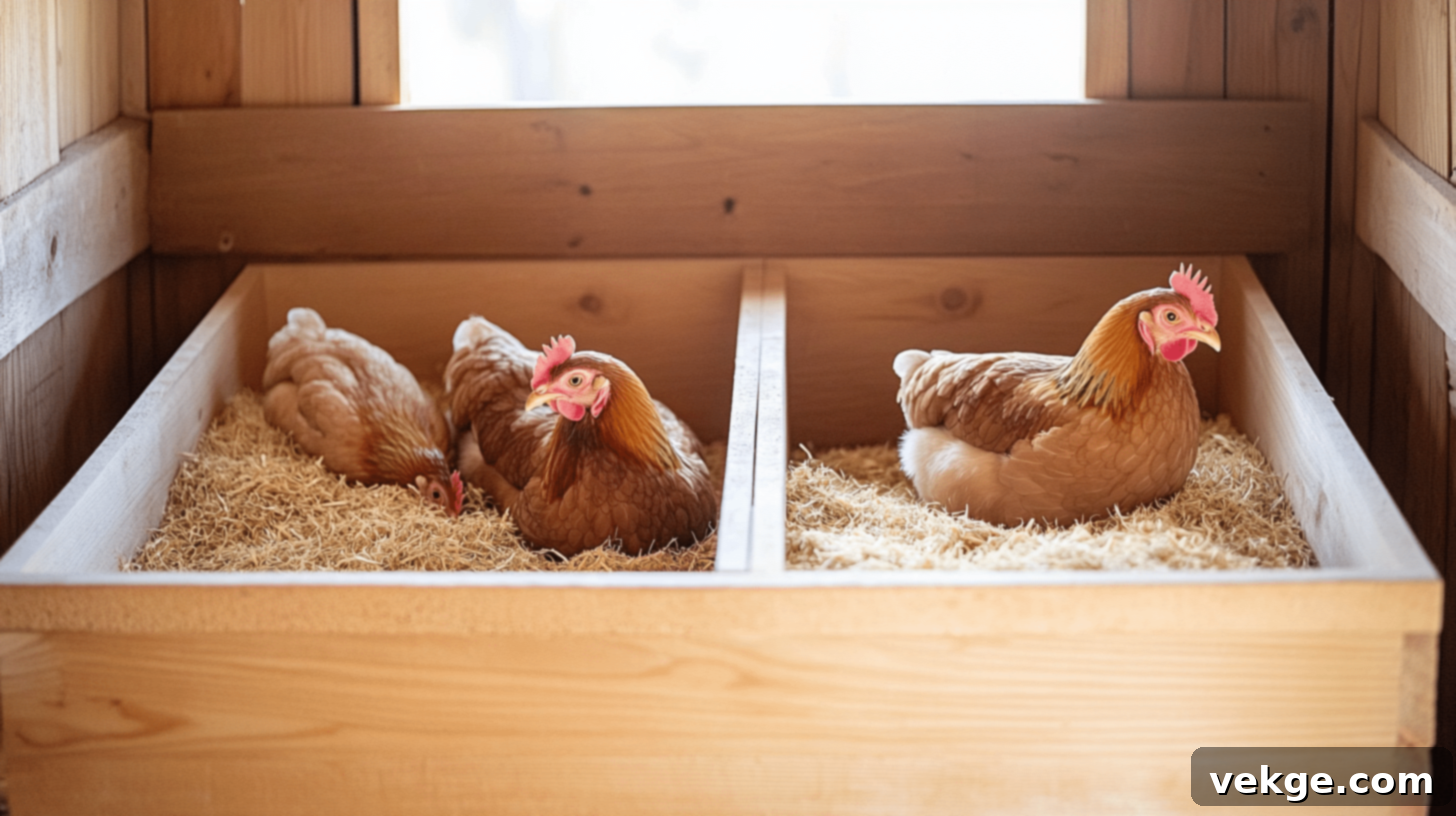
Nesting boxes are vital for providing hens with a private, safe, and comfortable place to lay their eggs. A general rule of thumb is to provide one nesting box for every 3-4 hens in your flock, ensuring there’s no competition or stress. Each box should be approximately 12x12x12 inches. Line the boxes generously with soft, absorbent bedding material such as straw, pine shavings, or shredded paper for comfort and to cushion the eggs. Position the boxes in a quiet, slightly darkened area of the coop, away from direct sunlight and drafts. Ideally, they should be located lower than the roosting bars but off the ground to keep them clean and easily accessible for egg collection.
3. Insulation
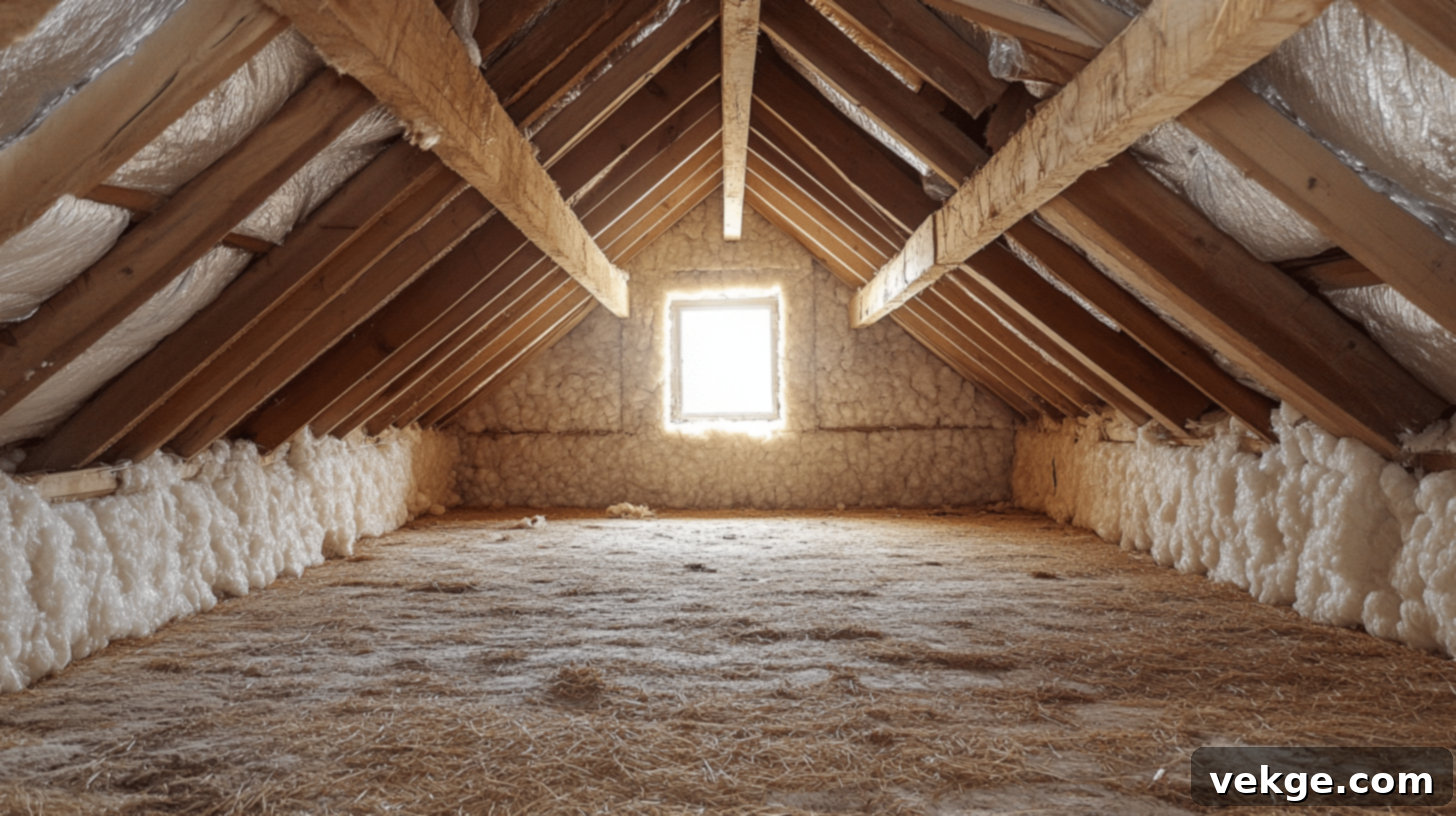
Proper insulation is crucial for maintaining a stable and comfortable temperature inside the coop, regardless of external conditions. This is particularly important in regions experiencing extreme weather, both hot summers and cold winters. Insulation helps keep the coop cool in summer and warm in winter, significantly reducing stress on your chickens and improving their overall health and egg production. Use safe, chicken-friendly insulation materials like rigid foam boards or fiberglass batting covered with plywood to prevent chickens from pecking at it. Focus on insulating walls and the roof as needed, ensuring there are no exposed insulation materials that could be ingested.
4. Lighting

Adequate lighting plays a critical role in a chicken’s life, influencing egg production and overall health. Natural light is always best, so install windows or skylights to allow ample sunlight into the coop. Chickens require about 14-16 hours of light per day for optimal egg laying. During shorter winter days, consider adding artificial lighting, such as a low-wattage LED bulb on a timer, to supplement natural light. Ensure any electrical wiring is safely installed, out of reach of chickens, and protected from moisture. Avoid overly bright lights, as this can cause stress.
5. Litter Trays and Bedding
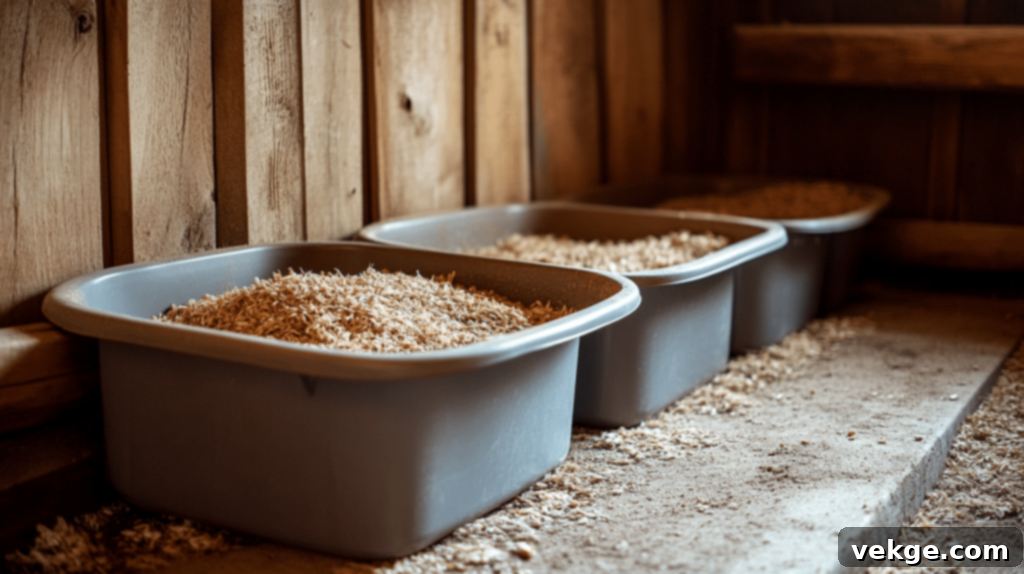
Effective management of chicken waste is essential for a clean and healthy coop environment. While not always “trays,” a deep layer of absorbent bedding material on the floor helps manage droppings, absorb moisture, and insulate the coop. Excellent bedding options include pine shavings, straw, hemp, or chopped leaves. The “deep litter method,” where bedding is allowed to compost in place over several months, can also be used if properly managed with regular turning. Regularly changing soiled bedding, especially under roosting bars, is crucial to prevent ammonia buildup and bacterial growth. Good bedding practices significantly contribute to overall coop hygiene.
6. Food and Water Supply
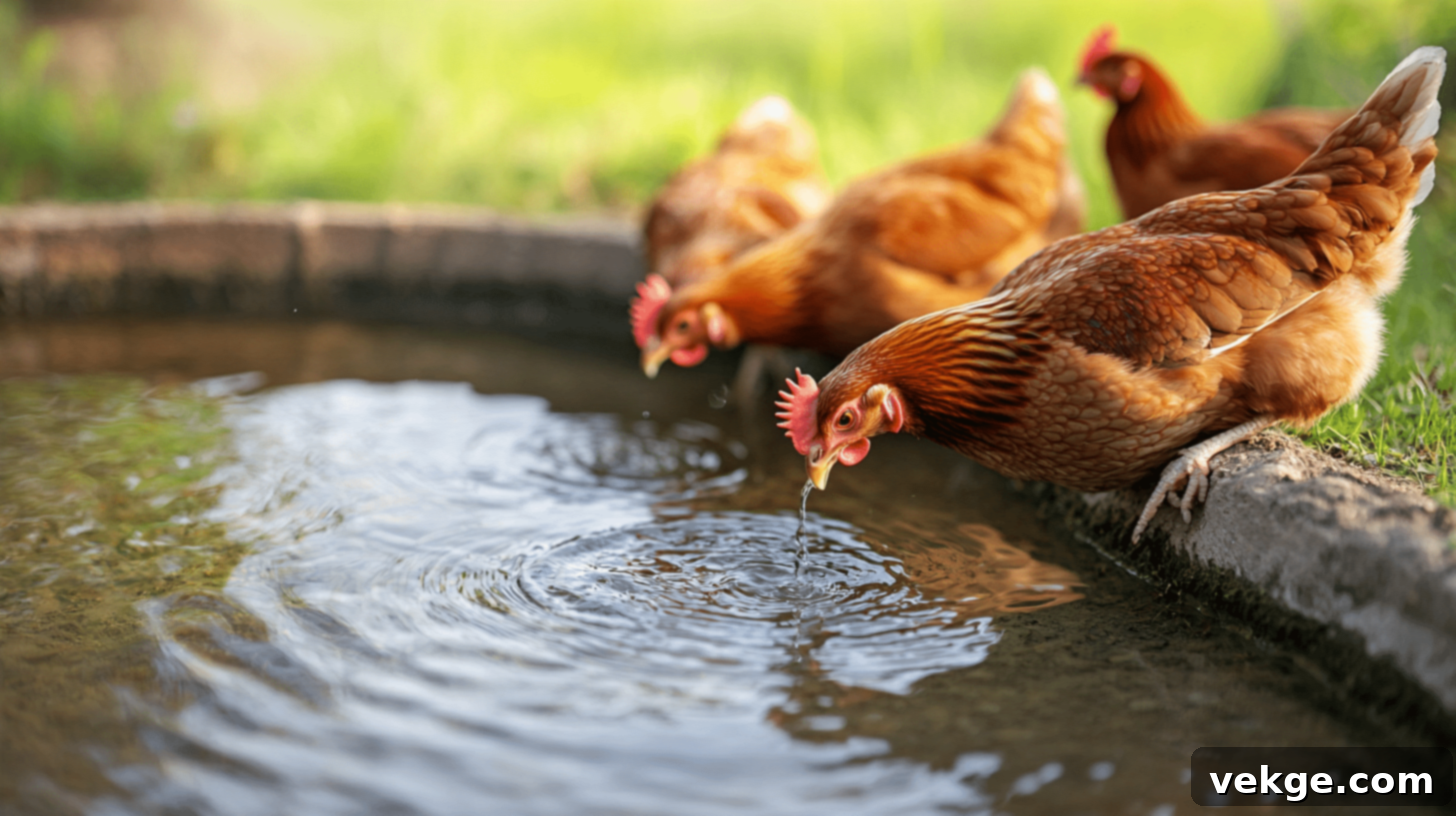
Easy access to fresh food and clean water is non-negotiable for healthy chickens. Invest in sturdy feeders and waterers that are designed for poultry, easy to clean, and simple to refill. Position them strategically within the coop so they are not easily contaminated by droppings, ideally hanging them slightly off the ground. Ensure that all chickens, regardless of their position in the pecking order, have unimpeded access to both food and water at all times. Regularly clean these containers to prevent bacterial growth and ensure a consistent supply of fresh provisions, which is fundamental to your flock’s health and productivity.
DIY Transformation: Step-by-Step Guide to Convert Your Shed into a Chicken Coop
With a clear understanding of the benefits and essential features, it’s time to roll up your sleeves and begin the exciting process of converting your shed into a functional chicken coop. Follow these detailed DIY steps to create a perfect home for your flock.
1. Choose and Assess an Appropriate Structure
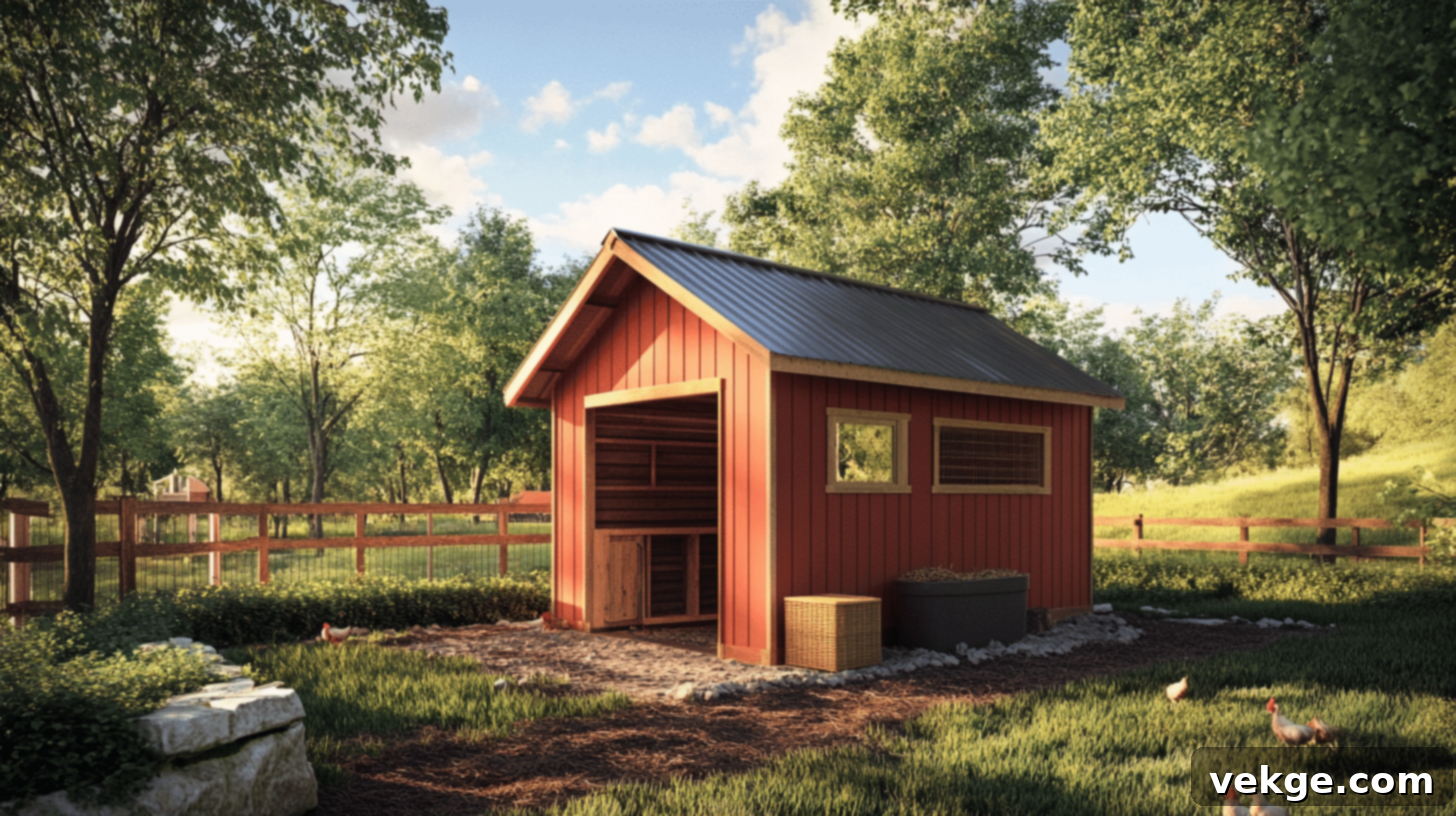
Begin by selecting a shed that is structurally sound and appropriately sized for your anticipated flock. A good rule of thumb is to allow 3-4 square feet of indoor space per standard-sized chicken. Inspect the shed thoroughly for any signs of rot, damage, or significant leaks that would require extensive repairs. Consider its location; it should be easily accessible for daily care and egg collection, offer some shade during hot parts of the day, and ideally be situated on level ground with good drainage. Check local zoning laws and homeowner association rules regarding keeping chickens and shed modifications before proceeding.
2. Thoroughly Prepare the Structure
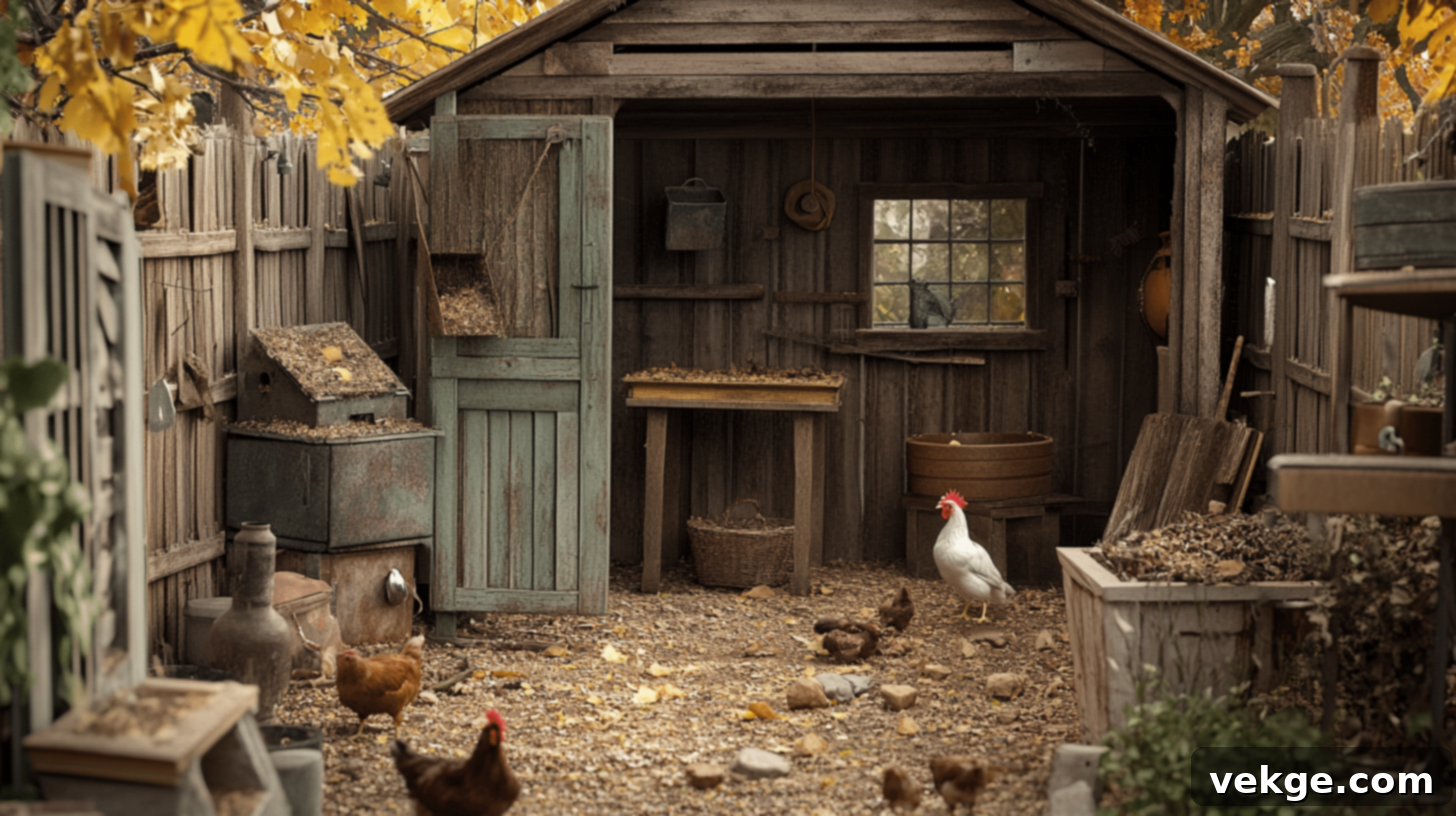
Once you’ve chosen your shed, the first practical step is to clear out its interior completely. Remove all unnecessary items, tools, and debris that were previously stored inside. Sweep the floor thoroughly, ensuring no nails, sharp objects, or chemical residues remain. Clean the walls and ceiling, removing any cobwebs, dust, or old paint flakes. This preparation phase is crucial for creating a clean slate and a safe environment for your chickens. If necessary, power wash the interior and allow it to dry completely before proceeding.
3. Secure and Prepare the Floor
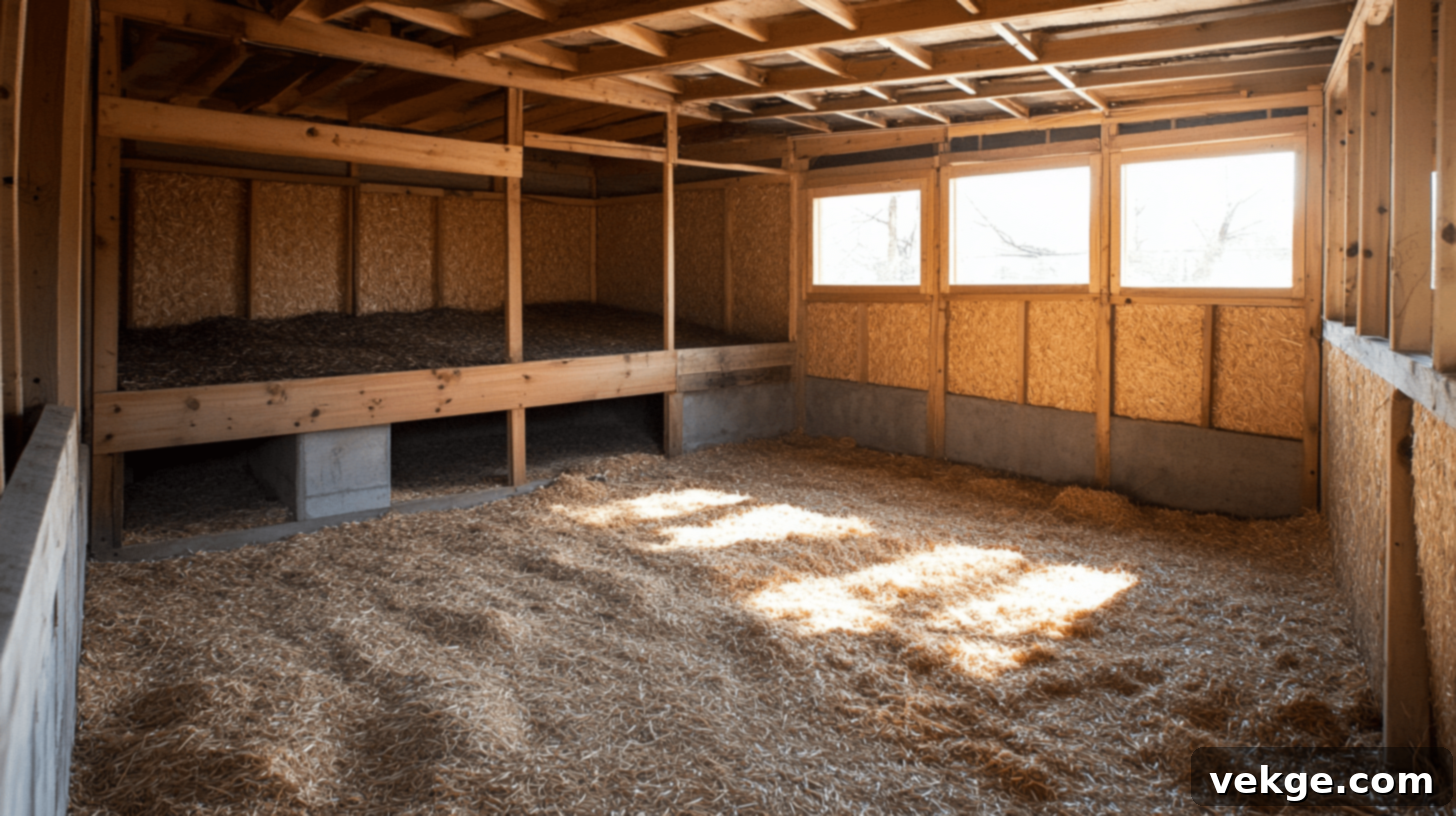
A solid, level, and predator-proof floor is fundamental for your coop. If your shed has a dirt floor, consider laying a concrete slab or creating a wooden subfloor reinforced with hardware cloth underneath to deter digging predators. For existing wooden floors, ensure they are sturdy and free of gaps. Installing wooden pallets as a base, followed by plywood sheets, can add stability and raise the floor off the ground, preventing dampness. For ultimate cleanliness and easy maintenance, consider adding a layer of vinyl flooring or linoleum over the plywood. Finally, add a generous layer of absorbent bedding material, such as pine shavings or straw, to provide comfort and absorb waste.
4. Create a Dedicated Chicken Entrance
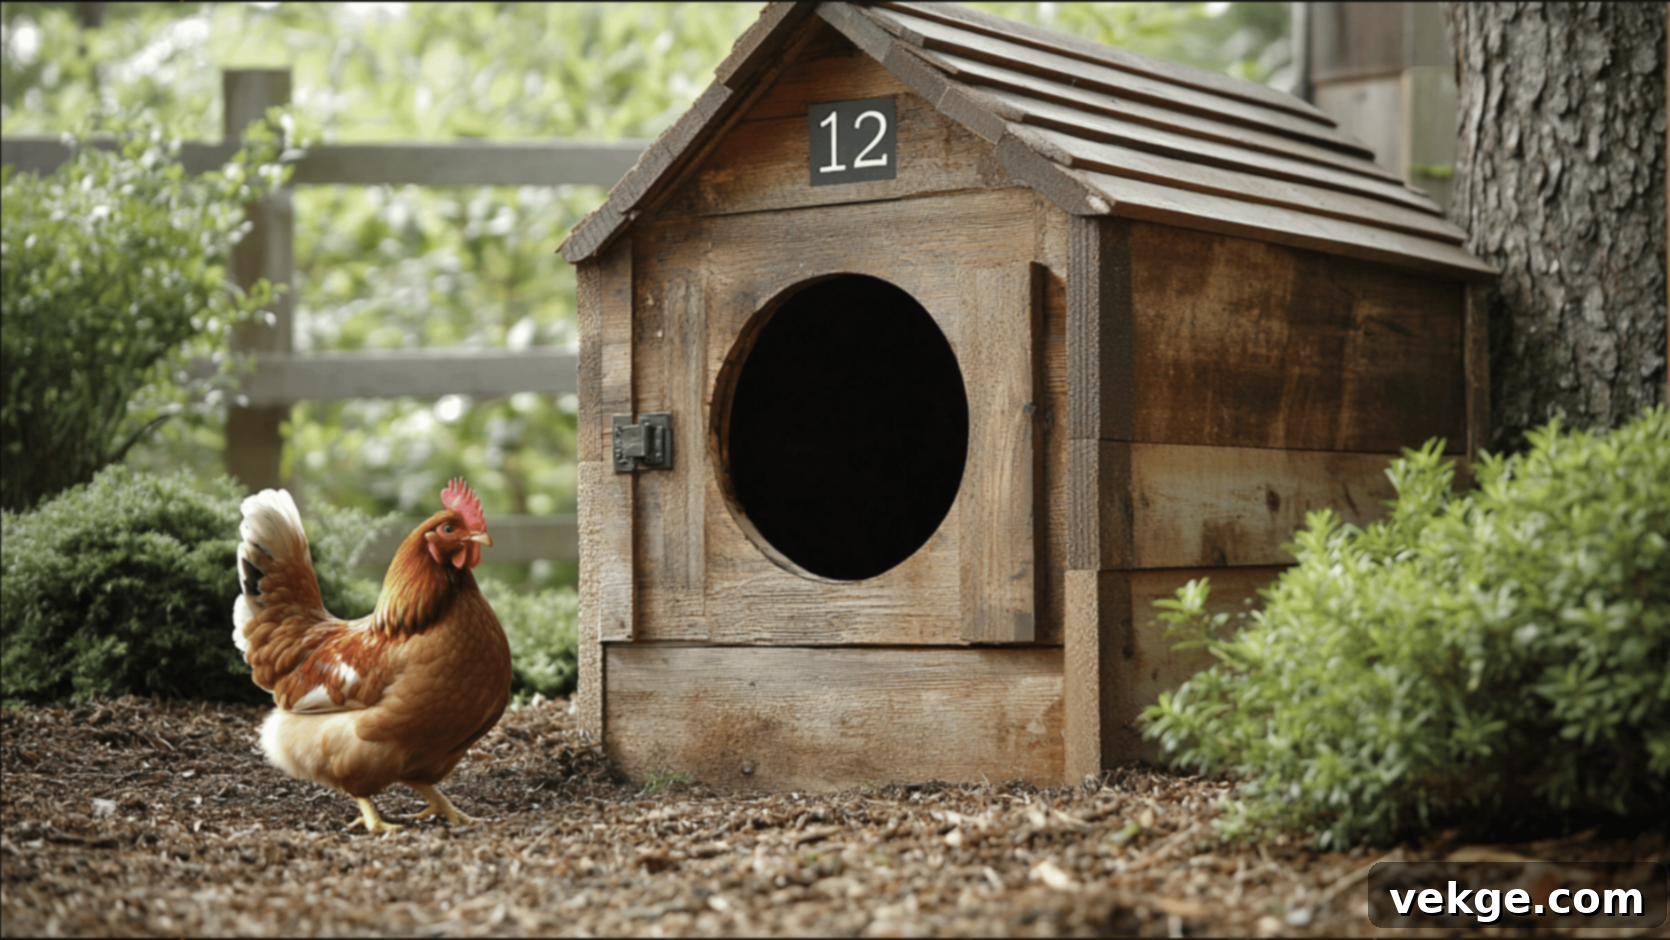
Cut a roughly 10-12 inch by 12-14 inch opening in a side wall of the shed, positioning it at an appropriate height (a few inches off the ground) for your chickens to easily access. This will serve as their primary entry and exit point to their outdoor run. Attach hinges to the cut-out piece to create a small, swing-out or sliding door for the chickens. Crucially, install a robust, predator-proof latch or bolt mechanism that can be securely closed at night to protect your flock. You may also consider adding a small ramp for easier access, especially for younger or older birds.
5. Secure All Access Points
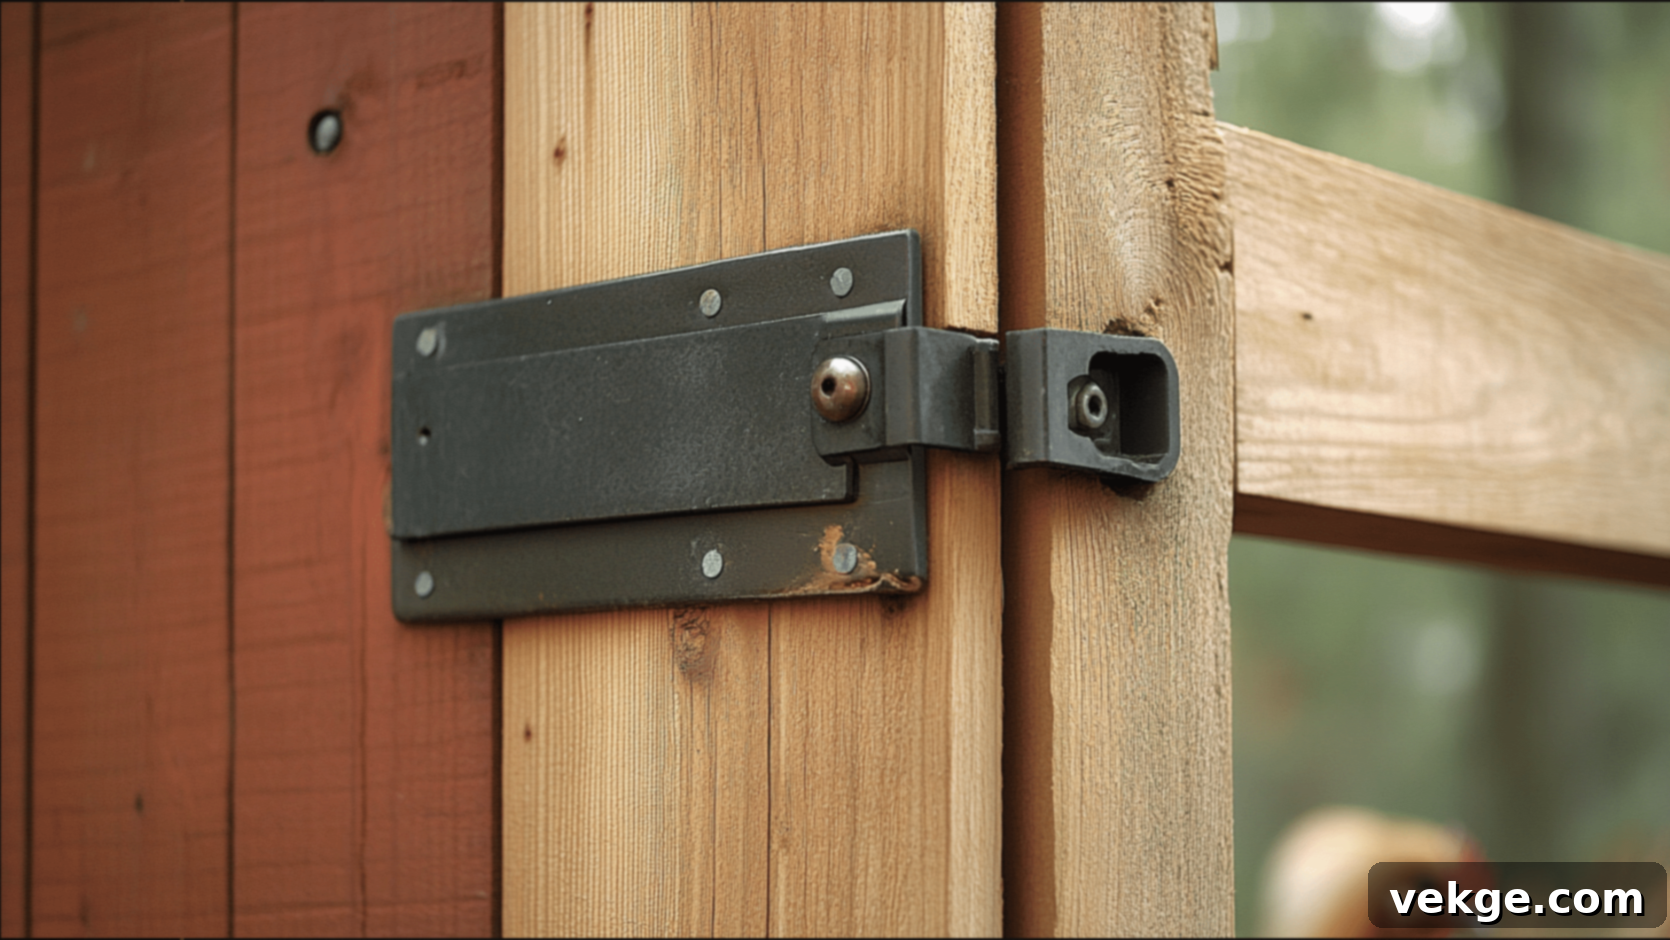
Beyond the chicken entrance, all human access points, including the main shed door and any windows, must be made predator-proof. Install heavy-duty, predator-resistant latches or padlocks on the main door. Replace any flimsy window screens with durable hardware cloth (1/2-inch or 1/4-inch mesh) and ensure windows can be securely latched or bolted shut. Inspect the entire structure for any existing holes, cracks, or gaps larger than an inch, as even small predators like rats or weasels can squeeze through surprisingly small openings. Seal these openings with wood, metal flashing, or hardware cloth.
6. Install Nesting Boxes
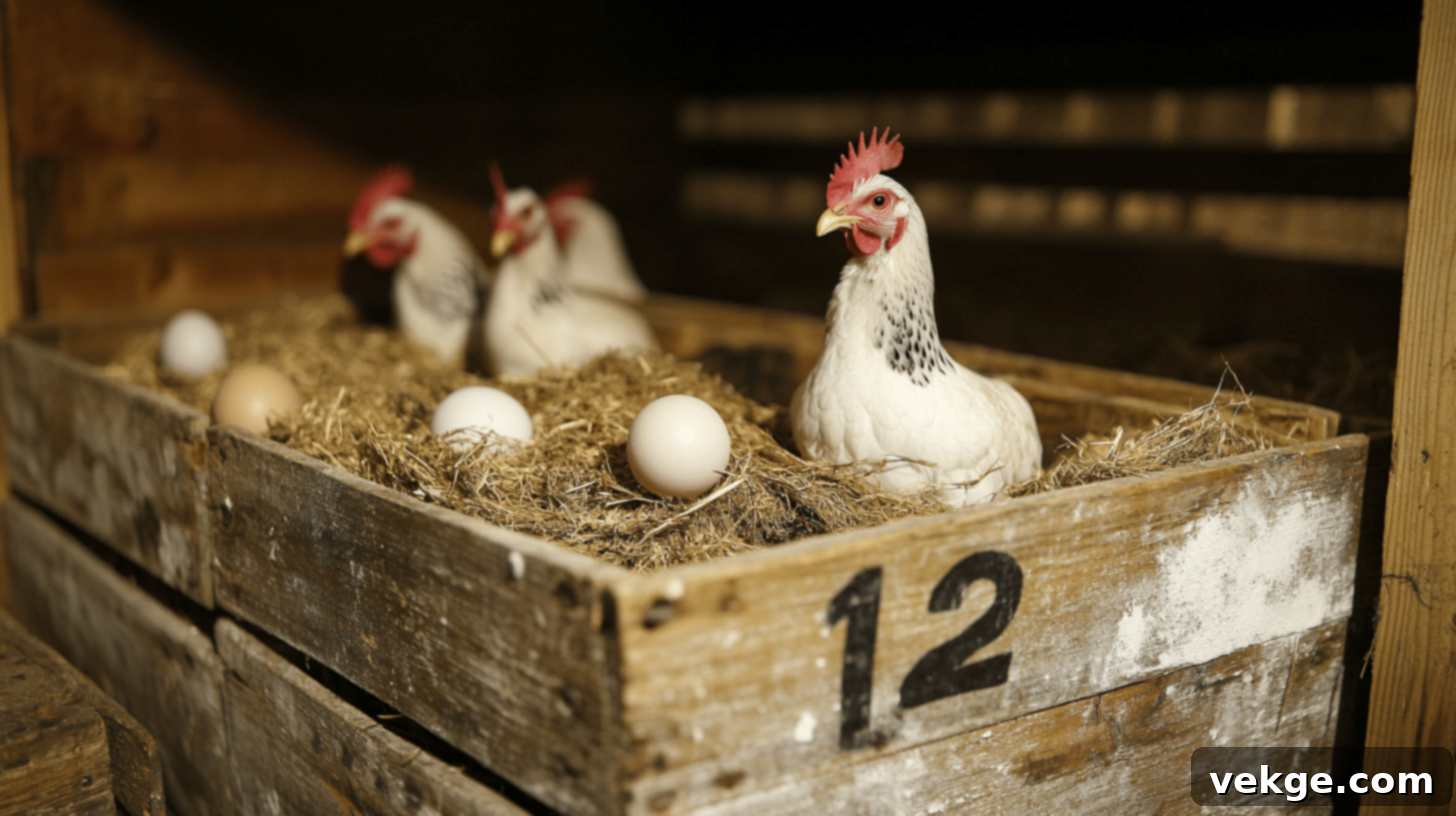
Construct or purchase nesting boxes that are approximately 12 inches high, wide, and deep. As mentioned, aim for one box per 3-4 hens. These can be built from plywood, repurposed wooden crates, or even sturdy plastic containers. Position the boxes in a quiet, slightly darker corner of the coop, ideally off the ground but lower than the roosting bars to prevent chickens from sleeping in them. Fill each box with ample, soft bedding material like straw, pine shavings, or shredded paper. To encourage hens to use the boxes, place a few ceramic eggs or golf balls inside them initially.
7. Set Up Roosting Bars
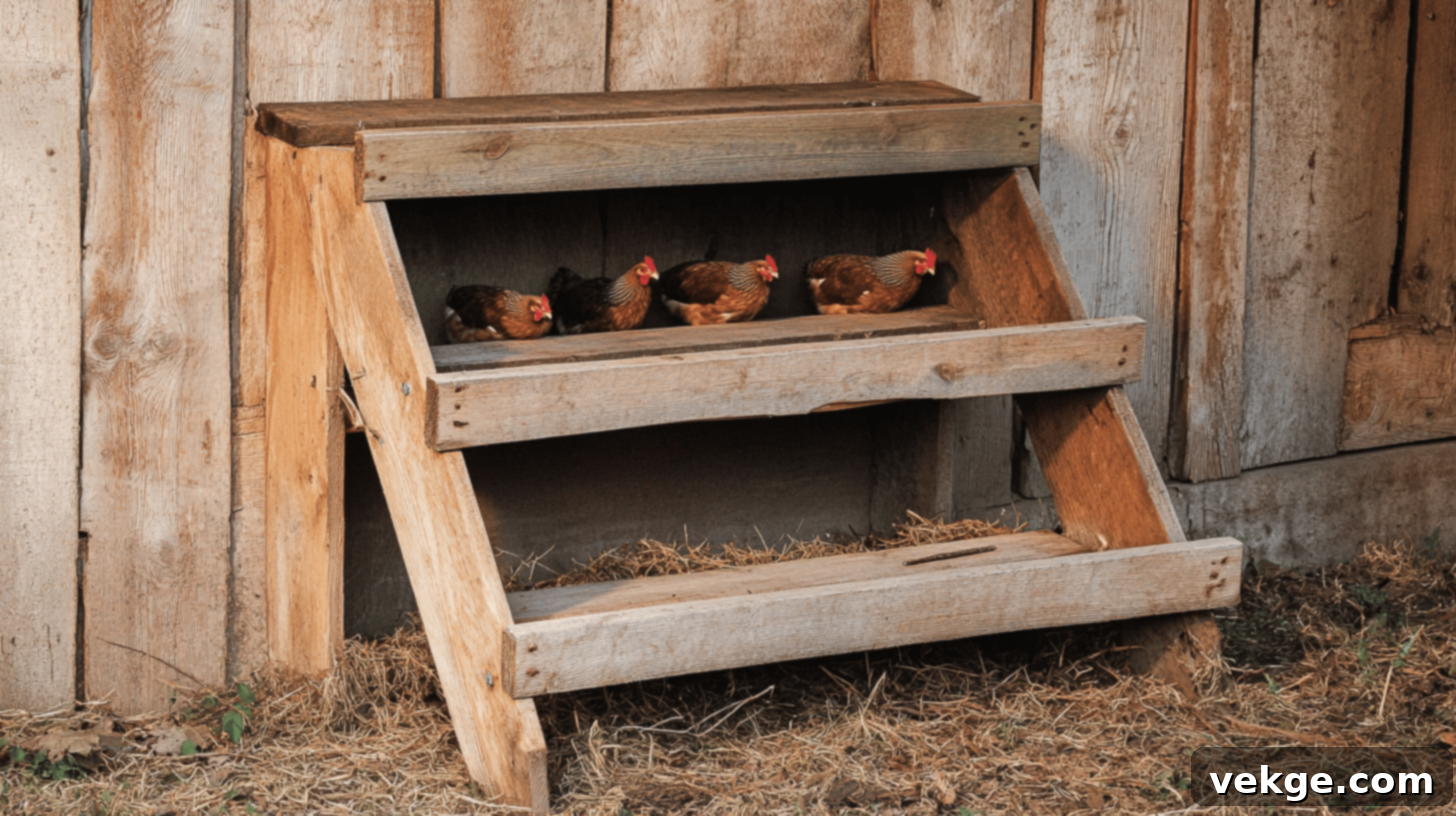
Install roosting bars securely within the coop, ensuring they are higher than the nesting boxes. This height difference is crucial for encouraging chickens to sleep on the roosts, keeping the nesting boxes cleaner. Use 2×4 boards with the 4-inch side facing upwards, providing a flat, comfortable surface for their feet. Allow at least 8-10 inches of roosting space per chicken. Arrange the bars in a ladder-like or tiered design to accommodate your entire flock. Ensure they are sturdy and firmly attached to the walls, capable of supporting the weight of multiple birds.
8. Ensure Proper Ventilation
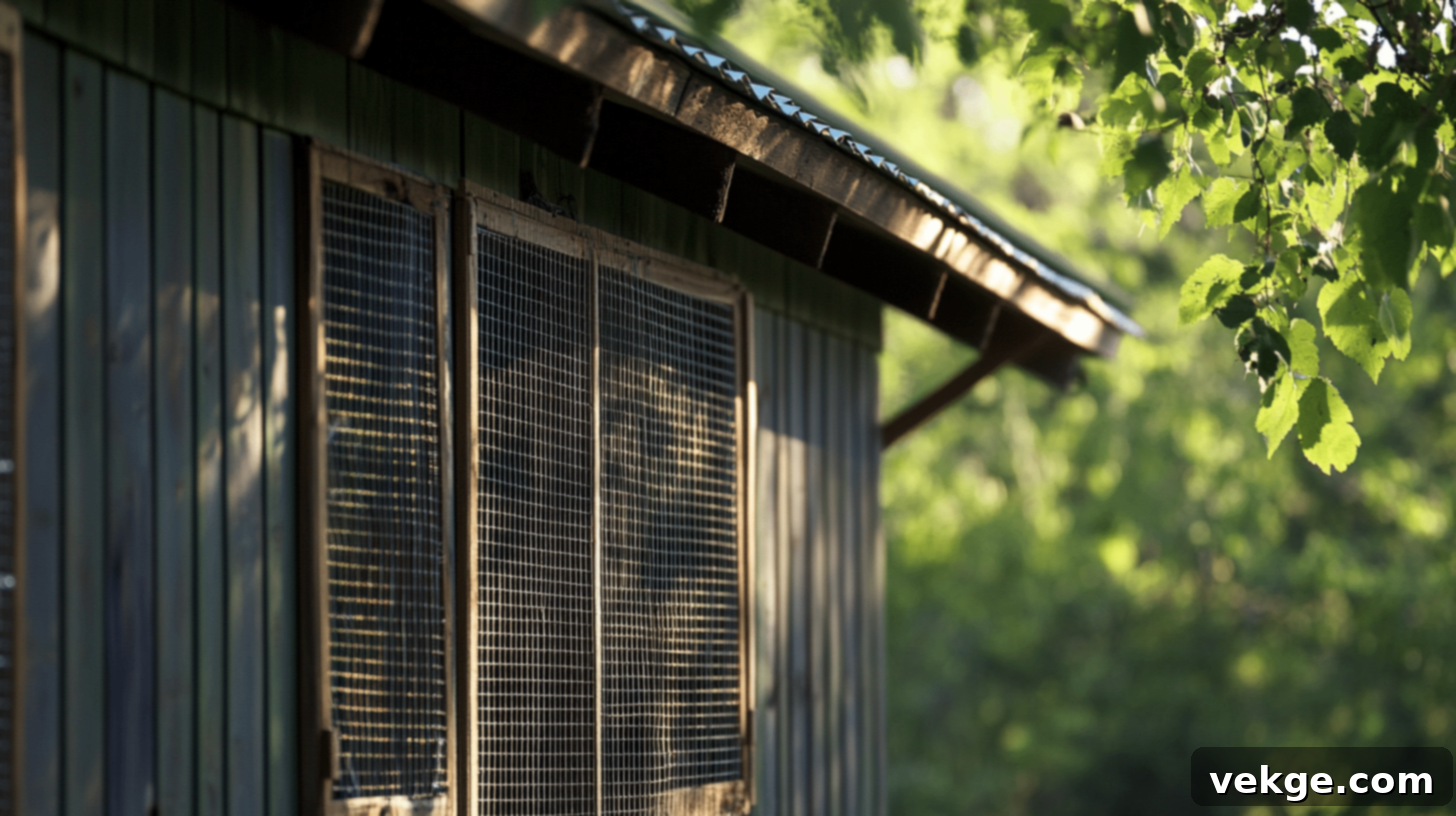
Good ventilation is paramount for chicken health, preventing respiratory issues from ammonia buildup and regulating temperature. Cover existing windows with hardware cloth to allow airflow while keeping predators out. If needed, cut additional ventilation openings near the eaves of the roof and near the floor on all walls to create a natural cross-breeze effect. Ensure all vent openings are covered with hardware cloth or metal grates for security against even small pests. Avoid direct drafts on the roosting birds, especially in colder climates, but prioritize constant fresh air circulation.
9. Inspect and Seal for Gaps and Holes
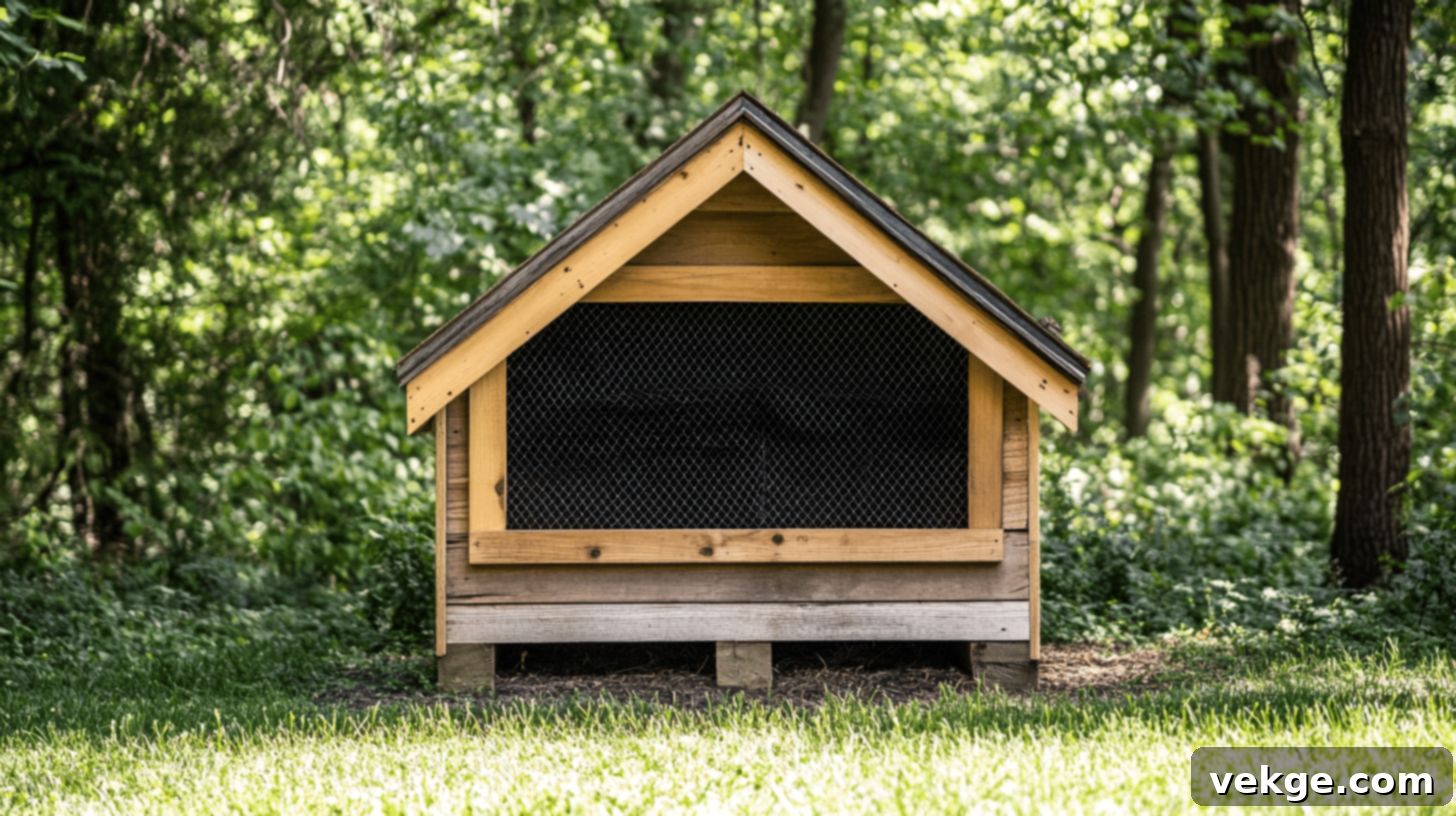
Once all major modifications are complete, conduct a meticulous inspection of the entire coop structure, both inside and out. Look for any openings, cracks, or gaps larger than an inch (or even smaller for determined weasels and mice). Pay close attention to corners, around windows and doors, and where walls meet the roof and floor. Seal all identified gaps using wood patches, caulk, expanding foam, or metal flashing. This step is critical for predator proofing and ensuring the coop remains a secure environment for your chickens.
10. Prepare the Interior with Essentials and Enrichment
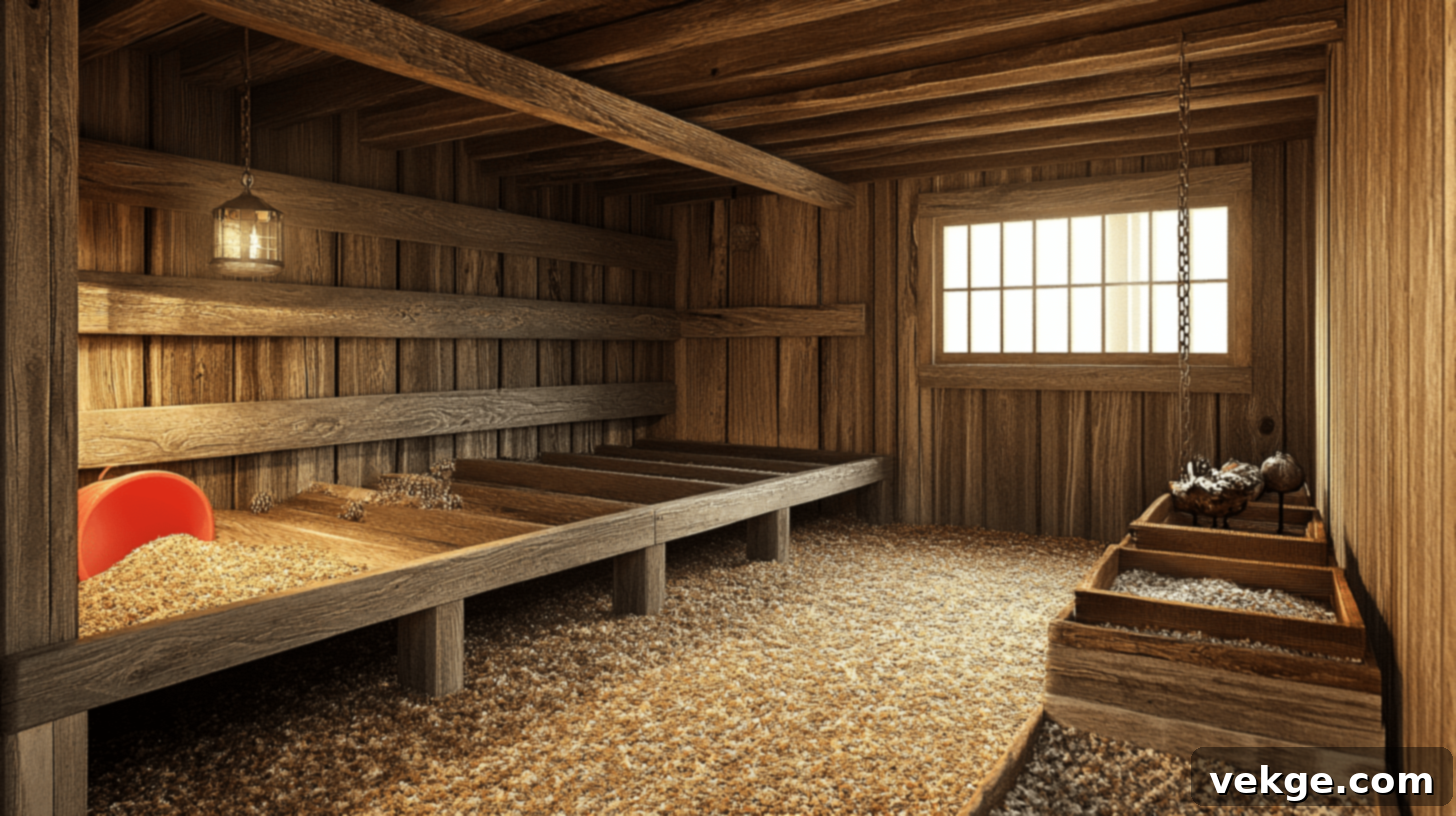
With the structure secure, it’s time to finalize the interior. Add fresh, clean bedding material throughout the coop floor. Position your feeders and waterers in convenient locations, ensuring they are stable and not easily tipped over or contaminated. Consider adding a dust bath area, either in a shallow pan or a designated corner, filled with a mixture of fine sand, dirt, and wood ash, which helps chickens clean their feathers and deter parasites. Introduce enrichment items like hanging cabbage, a small mirror, or even a chicken swing to keep your flock entertained and active, fostering a happy and stimulating environment.
11. Introduce Your Chickens to Their New Home
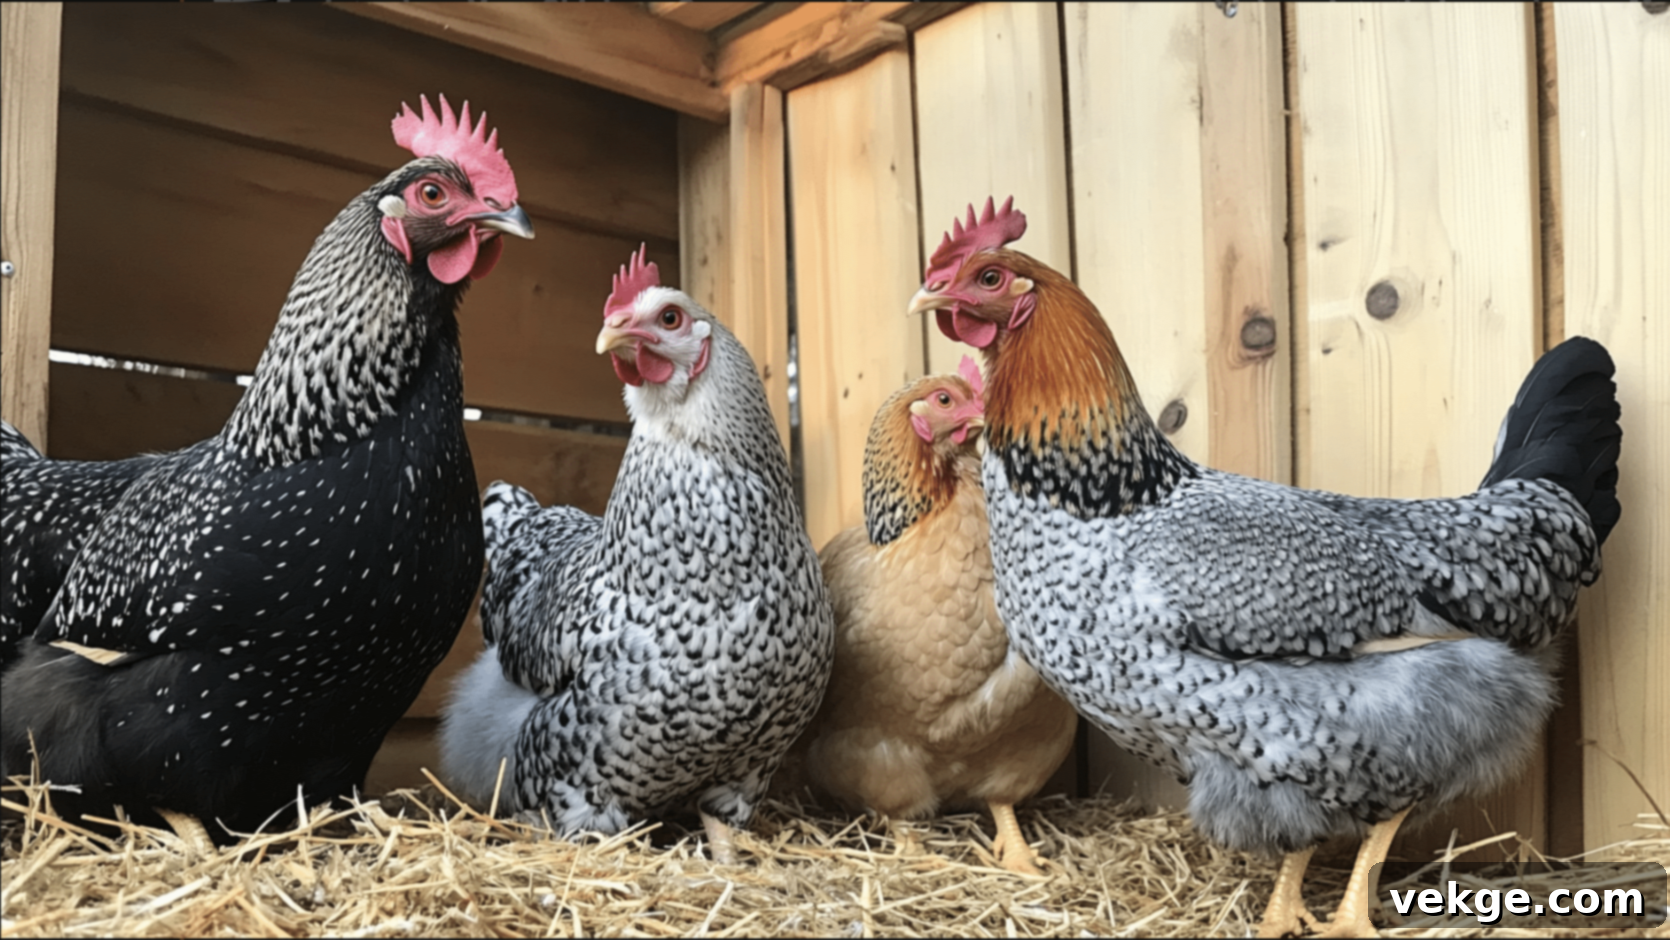
Once your shed-turned-coop is fully prepared, secured, and equipped, it’s time to introduce your flock to their new dwelling. Move your chickens into the coop, preferably in the evening, as they are more likely to settle in overnight. Monitor them closely for the first few days and nights to ensure they are adjusting well to their new surroundings. Observe their behavior, making sure they are using the nesting boxes and roosting bars correctly. Be prepared to gently guide them to the roosts the first few nights if needed. Watch for any signs of stress or discomfort and make minor adjustments as necessary to ensure a smooth transition and a happy flock.
Cost Considerations and Expense Breakdown for Your Shed Conversion
One of the primary advantages of converting an existing shed into a chicken coop is the potential for significant cost savings compared to purchasing a new, pre-built coop or constructing one from the ground up. However, there are still expenses to consider. The total cost will vary depending on the initial condition of your shed, the specific materials you choose for upgrades, and whether you opt for DIY construction or purchase ready-made components. Here’s a detailed look at potential expenses:
| Expense Category | Description | Cost Estimate (USD) |
|---|---|---|
| 1. Nesting Boxes | Materials to build nesting boxes yourself from wood or repurpose existing items (e.g., plastic crates). Pre-made boxes will be higher. | $20 to $75 |
| 2. Roosts | Lumber (e.g., 2x4s) for roosting bars. Cost depends on the quantity and type of wood used. | $10 to $40 |
| 3. Ventilation Materials | Hardware cloth for windows and vents, possibly roof vents or small exhaust fans. Essential for airflow and predator protection. | $30 to $100 |
| 4. Bedding | Initial purchase of quality bedding material (pine shavings, straw, hemp). Cost per large bag, typically lasts several months for a small flock. | $15 to $40 per bag |
| 5. Feeders | Durable and easy-to-clean equipment for providing food. Options range from simple hanging feeders to gravity-fed designs. | $20 to $60 |
| 6. Waterers | Reliable equipment for providing clean water. Options include nipple waterers, hanging waterers, or traditional founts. | $10 to $50 |
| 7. Predator Proofing & Security | Hardware cloth, sturdy latches, bolts, screws, and perhaps an automatic chicken door opener (optional but highly recommended for convenience and security). | $50 to $200 (more if adding an auto door) |
| 8. Flooring Materials | Plywood, vinyl flooring, concrete mix, or other materials to secure and improve the floor, including vapor barriers if needed. | $50 to $150 (varies greatly by current floor condition) |
| 9. Insulation | Rigid foam boards or fiberglass insulation for walls and ceiling, if your climate requires it. Covers and seals to prevent pecking. | $40 to $150 |
| 10. Miscellaneous Tools & Supplies | Saw blades, drill bits, paint, sealant, caulk, measuring tape, fasteners, and any small tools not already owned. | $30 to $100 |
| Estimated Total Conversion Cost | Overall estimated cost for a basic to moderately upgraded shed conversion. Significant savings over new builds. | $250 to $800+ |
| New Pre-built Coop | Cost of purchasing a brand new, pre-assembled chicken coop. Prices vary based on size, features, and material quality. | $200 to $2500+ |
| Monthly Feed | Ongoing monthly feed costs for a small flock (e.g., 4-6 chickens). This is an operational expense, not a conversion cost. | $20 to $50 per month |
By repurposing an existing structure, you inherently save a substantial amount on building a new coop from scratch, particularly on foundational and framing costs. The total investment for your shed conversion will largely depend on the condition of your initial shed and the quality and types of materials you select for upgrades. While there are initial costs, the long-term benefits of fresh eggs and a robust home for your chickens often outweigh the initial outlay, making it a truly worthwhile endeavor.
Wrapping It Up: Your New Chicken Haven Awaits
Transforming an old shed into a functional, secure, and comfortable chicken coop is an incredibly smart, sustainable, and satisfying DIY project. This conversion provides more than just shelter; it creates a true haven for your chickens, offering robust protection from harsh weather conditions and vigilant defense against various predators. By repurposing an existing structure, you’re not only saving a significant amount of money on materials and construction but also making efficient use of your property’s resources.
The process of converting a shed, while requiring a thoughtful approach and some hands-on effort, is entirely manageable for most DIY enthusiasts. Each step, from securing the floor to installing roosting bars and ensuring proper ventilation, contributes to a well-designed coop that will serve your flock for years to come. Remember, a well-planned and meticulously executed coop design directly translates into happier, healthier, and more productive chickens, which often results in a consistent supply of fresh, delicious eggs.
For anyone contemplating starting their backyard chicken journey, or those looking to upgrade their current chicken housing, don’t hesitate to get started on this rewarding project. The immense satisfaction of providing a high-quality home for your chickens, coupled with the tangible rewards of fresh, homegrown eggs, makes the effort truly worthwhile. Your shed-to-coop conversion experience is more than just a renovation; it’s an investment in sustainable living and the well-being of your feathered companions. Embrace the challenge, enjoy the process, and soon you’ll be enjoying the many benefits of your very own backyard chicken oasis!
Frequently Asked Questions (FAQs) About Shed-to-Coop Conversions
Can Any Type of Shed Be Converted into a Chicken Coop?
Most sheds are excellent candidates for conversion into chicken coops, provided they are structurally sound and offer enough space for your flock. The key factors are ensuring the shed is well-ventilated, secure against predators, and spacious enough to comfortably house your chickens (allowing at least 3-4 sq ft per bird inside and 8-10 sq ft in an attached run). Older sheds may require more repairs, such as sealing gaps, reinforcing floors, or adding insulation.
What Are the Best Materials for Flooring Inside a Chicken Coop?
For optimal cleanliness and predator protection, a solid and easy-to-clean floor is essential. Options include a concrete slab, a sturdy wooden floor (with predator-proof hardware cloth underneath if elevated), or a sealed plywood floor. Covering the floor with vinyl flooring or linoleum can make cleaning significantly easier. Regardless of the base, always cover it with a thick layer of absorbent bedding materials like pine shavings, straw, or hemp to absorb moisture, cushion eggs, and provide comfort for your flock.
How Do I Maintain Cleanliness and Hygiene in My Shed-Turned-Coop?
Regular cleaning is vital for maintaining a healthy coop environment. This includes daily spot-cleaning of droppings, especially under roosting bars, and weekly removal of soiled bedding, replacing it with fresh materials. Depending on the size of your flock and the bedding method (e.g., deep litter vs. full clean-out), a complete bedding change may be needed every few weeks to months. Ensure proper ventilation is always maintained to prevent ammonia buildup. Occasionally, a thorough cleaning with an animal-safe disinfectant is recommended to prevent the spread of diseases and parasites.
How Can I Predator-Proof My Converted Shed Coop Effectively?
Effective predator proofing involves multiple layers of defense. Start by using heavy-duty hardware cloth (1/2-inch or 1/4-inch mesh, not chicken wire) over all windows and ventilation openings. Install robust, predator-resistant latches on all doors, including the main shed door and the chicken pop-door. Inspect the entire structure meticulously for any gaps or holes larger than an inch and seal them with wood, metal flashing, or hardware cloth. If your coop has a wooden floor, consider burying hardware cloth around the perimeter of the attached run to prevent digging predators. Always close the chickens securely inside the coop at night.
