Ultimate Guide to Designing and Building Your Perfect Home Studio Booth
In today’s digital age, creating high-quality audio and video content from the comfort of your home has never been more accessible or necessary. Whether you’re a musician, podcaster, voice actor, content creator, or simply need a dedicated space for virtual meetings, a well-designed home studio booth is an invaluable asset. However, transforming an ordinary room into an acoustically optimized recording environment can be a challenging endeavor. It’s far more complex than just picking an empty corner. This comprehensive guide will walk you through six essential tips to set up your dream home studio booth from scratch, ensuring professional results every time.
Understanding the Anatomy of Recording Studio Rooms
To achieve professional-grade audio, your home studio booth should, as much as possible, mimic the design principles of a commercial recording studio. Professional studios are typically complex facilities, each with distinct areas serving specific functions. Understanding these differences is the first step toward creating an effective home setup, even if you’ll be combining multiple functions into a single space.
A full-fledged professional studio often features:
- Control Room: Where engineers operate recording equipment, mixing consoles, and monitoring systems. This is the nerve center of the studio.
- Live Room: A larger space designed for recording multiple instruments simultaneously, often with variable acoustics.
- Isolation Room (Iso Booth): A smaller, highly soundproofed space for recording loud instruments like drum kits or guitar amplifiers to prevent sound bleed into other microphones.
- Vocal Booth: Specifically designed for recording vocals and voice-overs, acoustically treated to minimize reflections and echoes, ensuring a clean, dry vocal track.
- Machine Room: Houses noisy equipment like computers and cooling systems, isolated to prevent operational noise from entering recording spaces.
- Storage Room: For instruments, cables, and other gear.
- Lounge Area: A space for artists and clients to relax.

For home studio projects, the terms “home studio booth” most commonly refer to the concepts of a vocal booth or an isolation room. A dedicated vocal booth is acoustically treated to reduce unwanted reverb and echoes, making it ideal for clear speech and singing. An isolation room, on the other hand, is specifically designed to allow you to individually play and record loud musical instruments at high volumes without their sound bleeding into other microphones in the vicinity. Both spaces, regardless of their primary function, share the critical requirement of being effectively soundproofed.
Given the typical space constraints in most homes, it’s often necessary to combine multiple of these functions into one area. While this presents an unenviable challenge, recognizing the distinct purpose and acoustical needs of each professional space is crucial for making informed design decisions in your more compact home setup. You might aim for a versatile vocal/instrument booth, or a control room that doubles as a recording space.
Determining the Nature of Your Production
In the world of home studio design, the old adage “form follows function” rings especially true. Before you even think about acoustic panels or wiring, you must clearly define what kind of content you’ll be producing. The rise of the internet and accessible digital technologies has democratized audio and video production, empowering billions of people to create, while the recent global shift to remote work has solidified the feasibility and practicality of home-based production.
Today, the landscape of home-based creators is incredibly diverse:
- Voice Actors: Many now ply their trade from home, requiring extremely clean vocal recordings with minimal room reflections.
- Podcasters: Can tape episodes from a garage or spare room, needing good microphone technique and sound absorption to manage speech clarity.
- Radio Personalities: Often produce non-live segments domestically for broadcast abroad, demanding broadcast-quality audio.
- Webinar Speakers & Instructional Video Creators: Prerecord asynchronous clips without leaving the house, needing clear audio and often good video lighting.
- YouTubers: A vast array, including entrepreneurs, thought leaders, product reviewers, reactors, ASMRtists, and unboxing video creators, all filming in their home base with varying needs for sound and visual quality.
- Musicians: From singer-songwriters recording demos to instrumentalists tracking full albums, their needs range from vocal booths to isolation for loud instruments.
This diversity means there is no one-size-fits-all home studio design. While fundamental principles affecting sound quality universally apply, specific recording booth use cases will render certain design elements more or less relevant, or even dispensable. For example, a podcaster primarily recording speech might focus heavily on vocal clarity and noise reduction, whereas a drummer will prioritize robust soundproofing and instrument-specific acoustic treatment.
Consider instrumentalists who offer online lessons or film original guitar solos with acoustic-electric six-strings for their social media pages. They don’t just need a booth conducive to excellent audio and video recording; they also require a main studio space with sufficient storage to accommodate effects pedals, amplifiers, multiple instruments, and other additional tools that a purely acoustic musician or voice actor might not need. Your production goals dictate your design choices, budget allocation, and the specific equipment and acoustic solutions you’ll need.
Choosing a Studio-Esque Room in Your Home
Once you’ve defined your production needs, the next critical step is to identify the most suitable room in your home for conversion into a studio. Ideal spaces for recording booths typically feature high ceilings and irregular shapes, as these characteristics naturally help to minimize standing waves and reduce unwanted reflections, leading to better acoustics. Rooms with fewer windows are also preferable, as glass is highly reflective and difficult to soundproof effectively.
It’s important to remember that a dedicated recording booth often functions as a “room within a room” to maximize isolation. This means the overall studio area requires more real estate than just the booth itself to comfortably house control equipment, silo noisy computer equipment, store studio gear, and maintain an organized, efficient workflow.
Finding a vacant room in a residence with ample square footage and naturally good acoustics can be quite challenging. For this reason, spare bedrooms, basements, and walk-in closets are popular options for home studio conversion projects. They are frequently vacant, underutilized, or offer inherent advantages:
- Spare Bedrooms: Offer decent space and flexibility for various setups, though often require significant acoustic treatment and soundproofing.
- Basements: Can be excellent for sound isolation due to being below ground, often having concrete walls/floors, and being away from external noise. However, they demand careful consideration for humidity control and potential flooding.
- Walk-in Closets: Perfect for creating a small, dedicated vocal booth due to their compact size, which can be easier to treat acoustically. Space is a major limitation here.
Unfortunately, in many home studio projects, the sheer availability of space often trumps ideal room acoustics. Nevertheless, make a shortlist of the best candidates in your home and choose the one with dimensions and characteristics that most closely fit your requirements, even if it means compensating with more intensive acoustic treatments later.
Prioritizing Sound Absorption for Optimal Acoustics
Once you have your room, the next crucial step is to address its internal acoustics through sound absorption. This involves using specialized acoustic treatments to neutralize three unpleasant aspects of sound that can severely degrade audio quality:

- Reflection: This phenomenon occurs when sound waves bounce off hard, flat surfaces (like walls, ceilings, floors, and windows) instead of being absorbed. High amounts of reflection within a room negatively impact audio clarity, richness, and even confuse listeners about the sound’s origin. It creates a “live” or echoey sound.
- Reverberation: Often confused with echo, reverberation is the lingering effect caused by countless sound waves bouncing around the room’s reflective surfaces and congregating before decaying. Excessive reverberation makes audio recordings sound muddy, distant, and generally unpleasant to the ear, reducing speech intelligibility and musical clarity.
- Resonance: Resonance refers to the natural vibration intensity of objects and materials in the room at specific frequencies. Sound waves can excite these objects, causing them to vibrate sympathetically and amplify certain frequencies, leading to a “boomy,” distorted, or unnatural sound in recordings, particularly in the bass range.
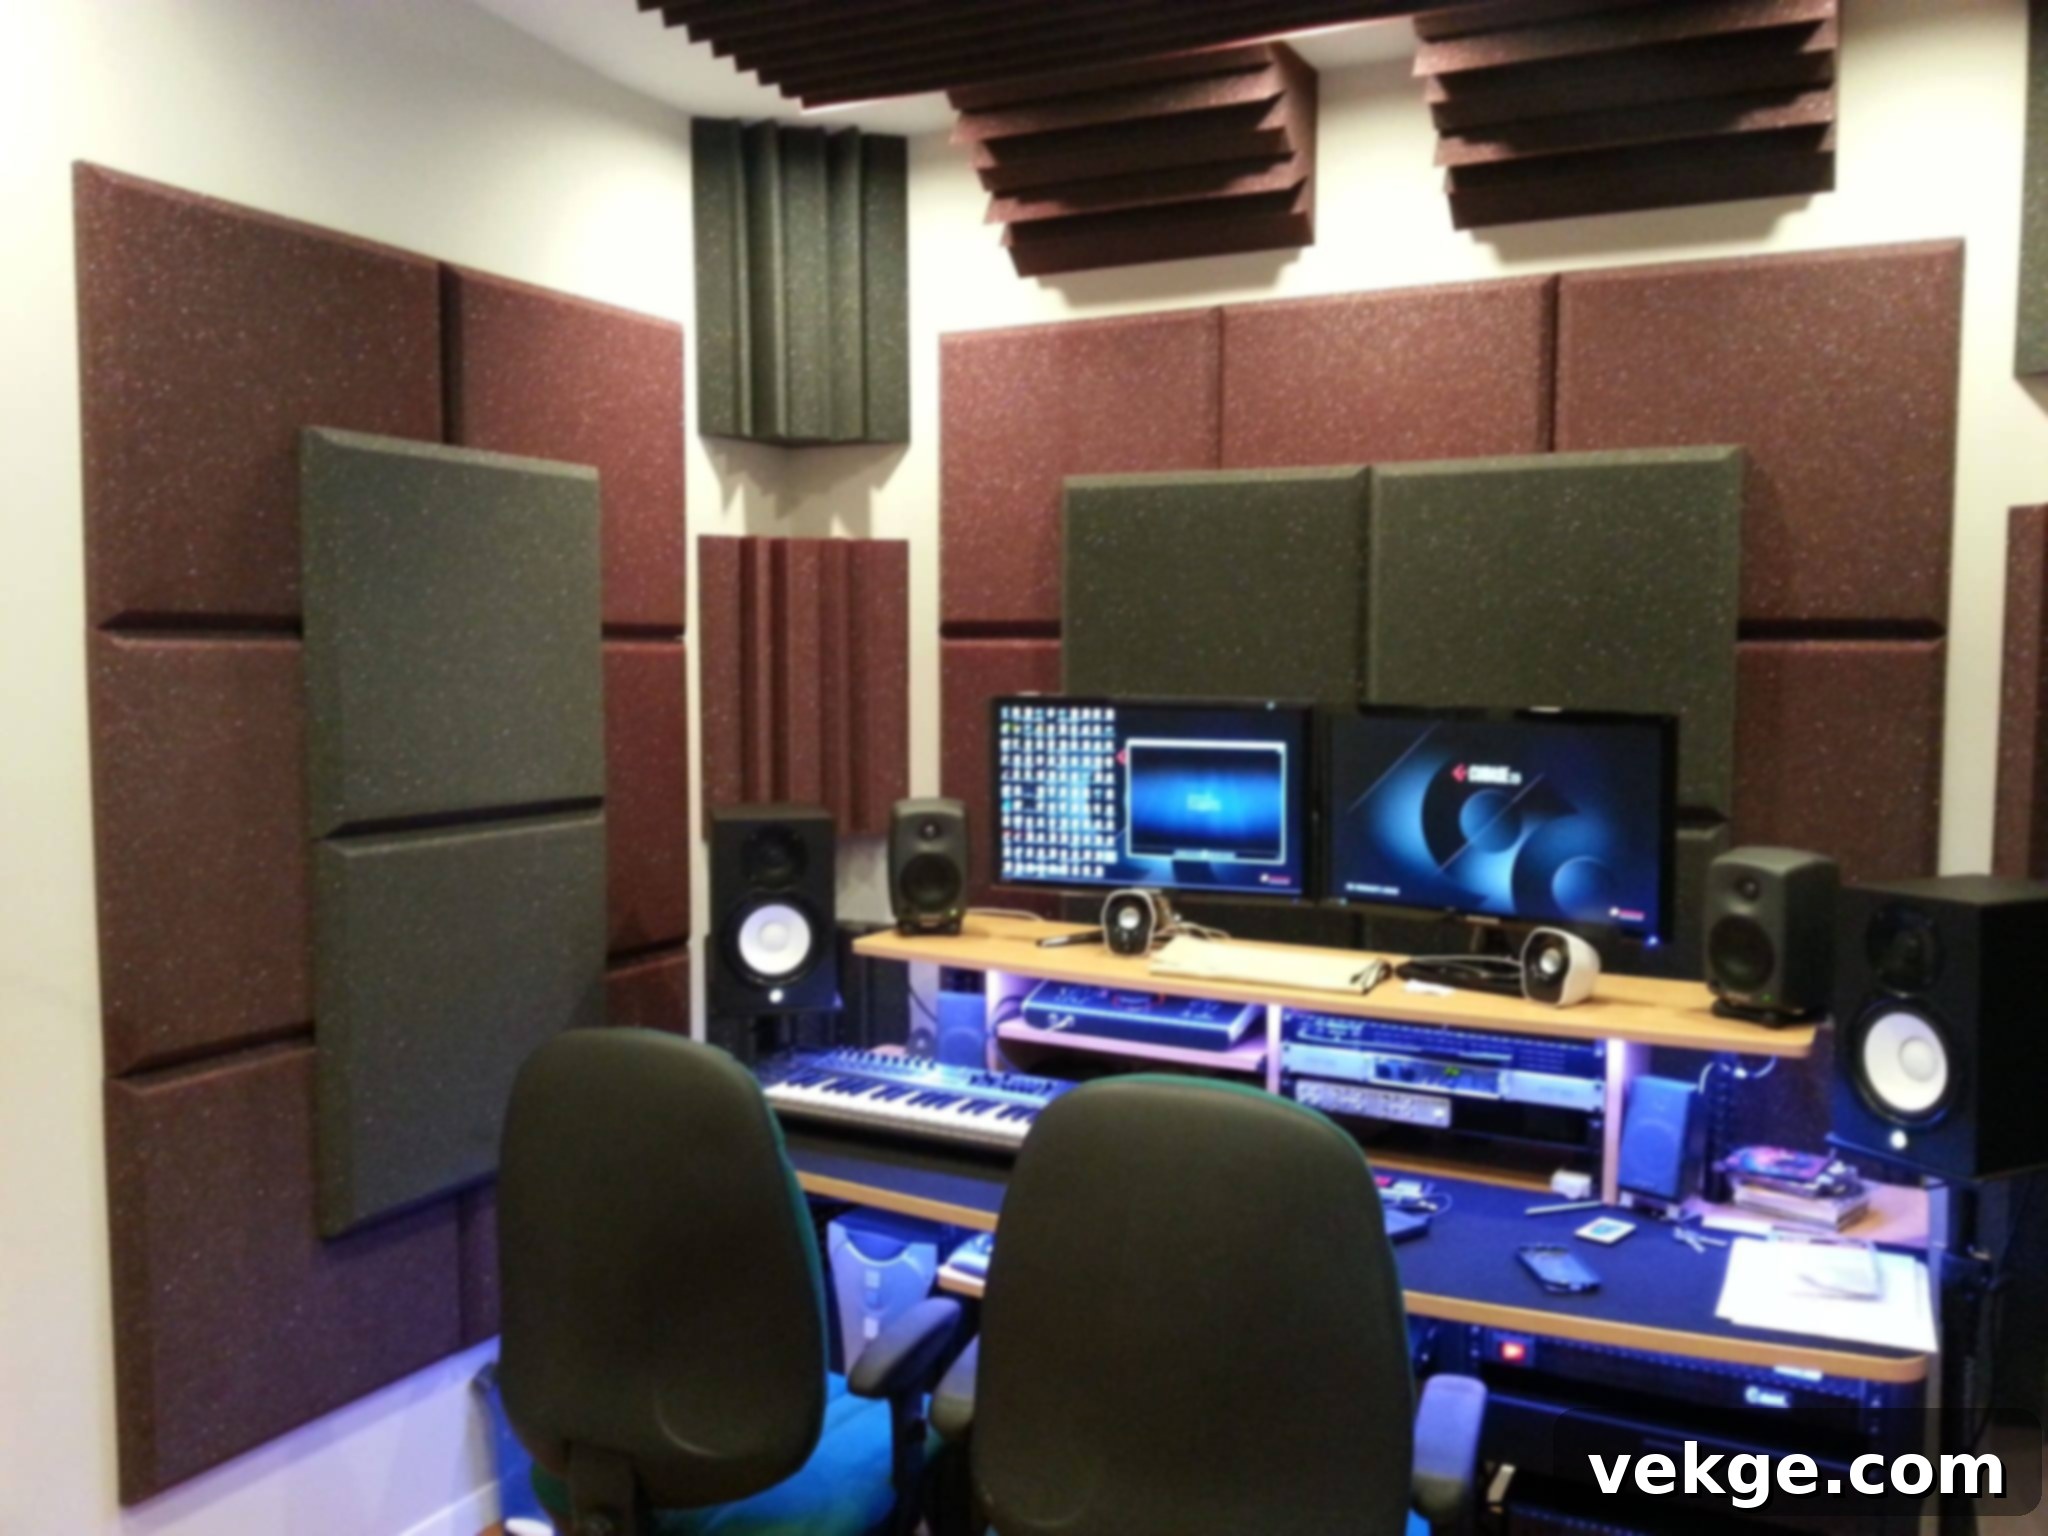
Sound absorption technologies are specifically designed to mitigate reflection, reverberation, and resonance within a home recording booth. The core principle acousticians follow is to use softer, porous materials to deaden sound as it hits surfaces, converting sound energy into a tiny amount of heat. The most common and effective treatments include:
- Acoustic Panels: Made from materials like mineral wool or fiberglass, these are typically placed at “first reflection points” (where sound waves first bounce from the speaker to the listener’s ear) to absorb mid and high frequencies.
- Diffuser Panels: Unlike absorbers, diffusers scatter sound waves in multiple directions, maintaining the “liveness” of a room while preventing strong echoes. They’re often used on rear walls or where a more natural room sound is desired.
- Bass Traps: Crucial for small rooms, bass traps are designed to absorb problematic low frequencies that tend to build up in corners, causing boominess and muddiness. They are dense and thick, often placed in wall-to-wall or wall-to-ceiling corners.
- Ceiling Clouds: Large acoustic panels suspended from the ceiling, primarily used to absorb reflections from above, especially useful directly over the recording position or mixing desk.
A balanced approach to absorption is key. Too little, and your recordings will sound reflective; too much, and they can sound unnaturally “dead.”
Observing Best Soundproofing Practices
While sound absorption deals with the internal acoustics of your studio, soundproofing is all about managing noise transmission. Your goal is twofold: to keep the loud sounds produced inside your studio from bothering neighbors or other household members, and simultaneously, to diminish external noises (traffic, pets, air conditioners, etc.) from ruining your pristine audio recordings. Soundproofing is about mass, density, and air-tightness.
Effective soundproofing begins with isolating noises at the source and preventing their entry or exit. To achieve this, you must limit sounds from external sources and significantly increase the studio’s R-values (a measure of thermal resistance, but also indicative of sound blocking capability). Building an acoustic enclosure system often involves several key strategies:
- Airtightness: Sound is essentially vibrating air. If air can pass through a gap, so can sound. Ensuring the space is as airtight as possible is paramount. This means sealing all cracks and gaps around windows, doors, electrical outlets, and ventilation systems using acoustic caulk, weatherstripping, and solid, heavy doors.
- Adding Mass: The heavier and denser a wall, floor, or ceiling, the more effectively it blocks sound. This can be achieved by adding more layers of drywall (ideally different thicknesses to block different frequencies), using mass-loaded vinyl, or even brick/concrete.
- Insulation: Installing high-density insulation materials like rockwool or fiberglass batts within wall cavities, ceilings, and floors helps to absorb sound energy as it attempts to pass through, adding to the soundproofing capabilities.
- Decoupling: This is a sophisticated technique that involves physically separating structures so that vibrations cannot easily transfer. Examples include building a “room within a room” with separate walls, using resilient channels or sound clips to attach drywall, or staggering studs in a wall.
After implementing robust soundproofing measures, your sound absorption strategy can then handle the remaining internal noises. While good quality headphones or In-Ear Monitors (IEMs) can certainly help vocalists and voice actors hear other tracks when performing, unwanted external sounds will inevitably manifest in recordings if soundproofing is inadequate, no matter how good your mic or talent is.
It’s crucial to remember that “over-soundproofing” is possible, though less common than under-soundproofing. Absorbing or blocking too much sound can eliminate the desirable natural qualities of a room, resulting in audio that lacks acoustical “oomph” or sounds unnaturally sterile and dry. A balanced approach combining both soundproofing and judicious sound absorption creates the best acoustic environment.
Figuring Out an Apt Layout for Workflow and Comfort
With the structural and acoustic elements addressed, the final step in designing your home studio booth is to optimize its layout. Let the previously determined nature of your production guide you in defining the essential subspaces within your room and how they fit together efficiently. If you have the luxury of space, decoupling dedicated recording booths from control zones or live areas should be a high priority to prevent monitoring sounds from bleeding into live mics.
Beyond stellar acoustics, a well-thought-out layout prioritizes several human-centric factors:
- Comfort: An ergonomic setup is vital. Invest in a comfortable, adjustable chair, position equipment to minimize strain, and ensure adequate workspace. Discomfort during long sessions can quickly lead to fatigue and negatively impact performance and creativity.
- Style and Aesthetics: While functionality is paramount, don’t underestimate the power of an inspiring environment. A studio that looks good and feels inviting can significantly boost creativity and motivation. Incorporate elements of your personal style, but ensure they don’t compromise acoustics (e.g., avoid highly reflective decor).
- Organization: A cluttered studio is a frustrating studio. Plan for smart storage solutions – racks for gear, shelves for accessories, and effective cable management systems. Good organization improves workflow, reduces troubleshooting time, and keeps the space safe and clean.
- Lighting: Proper illumination is critical. Poor lighting can strain eyes, lead to errors, and significantly affect video quality if you’re filming. Combine natural light (if available and manageable for sound) with adjustable artificial lighting. Consider dimmable lights and different color temperatures to create versatile moods and enhance video production. Improved lighting can also boost productivity and worker safety.
- Workflow Efficiency: Arrange your equipment logically. The most frequently used items should be within easy reach. Minimize cable runs and avoid tripping hazards. A smooth workflow means less time fussing with setup and more time creating.
- Power and Ventilation: Ensure you have sufficient power outlets for all your equipment and that your electrical system can handle the load. Proper ventilation is also key, especially in sealed-off booths, to maintain comfort and prevent equipment from overheating, all while avoiding unwanted fan noise.
A carefully planned layout ensures your home studio isn’t just acoustically superior but also a joy to work in, fostering productivity and creativity.
Designing a Workable Home Studio Booth Setup: The Journey Begins
Converting a regular room into an acoustically sound home studio booth requires a significant amount of resourcefulness, patience, and a keen understanding of architectural and acoustic principles. It’s often more demanding than other remodeling projects precisely because the subtleties of sound and space interact in complex ways. However, by keeping these foundational tips in mind – from understanding professional studio components and defining your production needs to meticulously addressing sound absorption, soundproofing, and ergonomic layout – you can approach this project with confidence.
Remember, building a great home studio is often an iterative process. You might start with a basic setup and gradually upgrade and refine it over time. Focus on getting the core elements right first, and then fine-tune as your needs evolve. With dedication and thoughtful planning, you can design and build a home studio booth that not only meets your technical requirements but also becomes a true sanctuary for your creative endeavors.
