Sew Your Own Curtains: The Ultimate Guide to DIY Window Treatments
Are you tired of endlessly searching for curtains that perfectly match your unique style and fit your budget, only to come up empty-handed? That feeling of compromise, settling for something “good enough” instead of exactly what you envision, is incredibly frustrating. The good news is, you don’t have to settle any longer. With a little guidance and creativity, you can transform your home with stunning, custom curtains that truly reflect your personal taste.
This comprehensive guide will walk you through everything you need to know to create beautiful, custom-made curtains for any room in your home. From selecting the ideal fabric and gathering the right tools to mastering essential sewing techniques and avoiding common pitfalls, you’ll gain the confidence to tackle this rewarding DIY project. Imagine the satisfaction of looking at your windows, adorned with bespoke curtains you crafted yourself, knowing you’ve saved money and infused your space with unparalleled charm.
By the end of this journey, you won’t just have new curtains; you’ll have a renewed sense of accomplishment and a unique touch that store-bought options simply can’t provide. So, if you’re ready to give your windows a fresh, personalized, and budget-friendly makeover, let’s dive in and start creating something truly special!
Why DIY Curtains Are a Smart and Rewarding Choice
Opting to sew your own curtains is far more than just a creative hobby; it’s a savvy decision that offers numerous benefits for your home and your wallet. Here’s why embracing the DIY curtain approach is an excellent idea:
Significant Cost Savings
One of the most compelling reasons to make your own curtains is the substantial cost savings. Ready-made curtains, especially those with unique patterns or specific lengths, can be surprisingly expensive. Custom window treatments from a professional drapery service can cost hundreds, if not thousands, of dollars. By purchasing fabric and supplies yourself, you can often create beautiful, high-quality curtains for a fraction of the price. You pay for the raw materials and your time, not hefty labor costs or brand markups, making stylish home decor much more accessible.
Unmatched Customization and Personal Style
When you sew your own curtains, you become the designer. You have complete control over every single detail, ensuring the final product perfectly complements your existing decor and personal aesthetic. This means no more compromising on color, pattern, texture, or length. Do you need blackout curtains for a bedroom, sheer panels for a bright living room, or a unique geometric print for a playroom? You choose the exact fabric, the precise dimensions, the specific heading style (grommets, rod pocket, pleats), and even the type of lining. This level of customization allows you to create truly bespoke window treatments that reflect your individual taste and needs.
Personal Satisfaction and Unique Home Decor
There’s a unique sense of pride and accomplishment that comes from creating something beautiful and functional with your own hands. Every time you gaze at your windows, you’ll be reminded of your creativity and effort. This personal touch infuses your home with character and warmth that mass-produced items simply can’t replicate. Your friends and family will undoubtedly be impressed, and you’ll love sharing the story of how you crafted them yourself. Plus, having the skills to make your own curtains opens up endless possibilities for matching accessories like throw pillows or tablecloths, further unifying your home’s design.
Quality Control and Durability
DIY curtains allow you to select high-quality fabrics and threads, ensuring your window treatments are durable and long-lasting. Unlike some ready-made options that might cut corners on material quality or construction, you can choose materials known for their resilience, fade resistance, and ability to hold up to washing. This investment in quality will pay off, as your handcrafted curtains will stand the test of time, looking beautiful for years to come.
Choosing the Perfect Fabric for Your Custom Curtains
The fabric you choose is arguably the most critical decision in your curtain-making journey, as it dictates the look, feel, drape, and functionality of your finished product. Understanding different fabric types and their properties will ensure your curtains meet both your aesthetic and practical needs.
- Heavy Fabrics (e.g., Canvas, Velvet, Brocade, Damask): These robust materials are excellent for blocking light, making them ideal for bedrooms, media rooms, or any space where significant light control is desired. Their substantial weight also provides superior insulation, helping to keep rooms warmer in winter and cooler in summer, potentially reducing energy costs. Heavy fabrics often add a sense of luxury and formality to a room, creating a rich, opulent drape. They can also offer some sound-dampening qualities.
- Medium-Weight Fabrics (e.g., Cotton Twill, Linen Blends, Poplin, Duck Cloth): Versatile and widely popular, medium-weight fabrics offer a balance of drape, durability, and light control. They are suitable for most rooms and styles, providing privacy while still allowing some soft, diffused light to filter through. Cotton and linen blends are easy to work with, readily available, and come in a vast array of colors and patterns, making them perfect for living rooms, dining rooms, or home offices where a classic or contemporary look is desired.
- Light Fabrics (e.g., Light Cotton, Voile, Organza, Chiffon): These fabrics are known for their airy, graceful appearance. While they offer minimal privacy or light control, they excel at letting natural light flood a room, creating a bright and open atmosphere. Light fabrics are often used for decorative purposes, such as adding a soft touch to a window, or layered underneath heavier curtains for added depth and texture. They are perfect for kitchens, sunrooms, or areas where you want to maintain a light and breezy feel.
- Sheer Fabrics (e.g., Lace, Sheer Voile, Batiste): Sheer fabrics are designed to offer the least amount of privacy and light blocking, focusing instead on decorative elegance. They diffuse harsh sunlight, soften the lines of a window, and add a romantic or ethereal touch to a room. Sheers are frequently used for layering, providing a base layer of softness beneath more substantial drapery or as standalone panels where privacy isn’t a primary concern.
Beyond weight, consider the fabric’s texture, pattern repeat (if any), and how it drapes. Always feel the fabric before buying to assess its quality and ensure it’s not flimsy or prone to premature wear. For longevity and a professional finish, especially if you want your curtains to block light or add insulation, consider adding a lining. Linings can also protect your main fabric from sun damage, extending the life of your curtains.
Essential Materials and Tools for Sewing Curtains
Before you begin sewing, gathering all the necessary materials and tools will ensure a smooth and enjoyable process. While the total cost will depend on your fabric choices and whether you already own some basic sewing equipment, the investment is typically far less than buying custom-made curtains. Here’s a detailed look at what you’ll need:
| Material/Tool | Description & Why You Need It | Estimated Cost Range (USD) |
|---|---|---|
| Fabric (e.g., 44″-60″ wide) | This is your primary material. Choose a fabric suitable for curtains based on weight, drape, and desired effect. The amount needed depends on your window measurements and desired fullness. | $10 – $50 per yard (varies greatly by type) |
| Measuring Tape | Crucial for accurate window measurements and fabric cutting. A sturdy, retractable tape measure is best for long lengths. | $5 – $15 |
| Sewing Machine | An essential tool for stitching seams quickly and evenly. Ensure it’s in good working order and you’re comfortable operating it. | $0 (if you own one) – $200+ (for a basic new machine) |
| Sewing Machine Needles | A universal needle (size 80/12 or 90/14) works for most fabrics. For heavier fabrics like canvas or velvet, a denim/jean needle (#14 or #16) will prevent skipped stitches and broken needles. | $3 – $7 per pack |
| Thread | Choose good quality polyester or cotton thread that matches your fabric color. Polyester is generally stronger and more durable for curtains. | $3 – $6 per spool |
| Fabric Scissors | Sharp scissors dedicated solely to fabric will ensure clean, straight cuts and prevent fraying. Never use them on paper! | $15 – $40 |
| Iron and Ironing Board | Absolutely vital for pressing seams flat and creating crisp, professional-looking hems. Do not skip this step! | $0 (if you own them) – $30 (for basic iron) |
| Grommets (with templates) | These metal rings provide a modern, clean way to hang curtains, allowing them to slide smoothly along the rod. Templates help with even spacing and hole cutting. | $10 – $30 per pack (includes templates) |
| Grommet Tool Kit (or Hammer/Mallet) | Often sold separately from grommets, this kit contains the specific tools needed to securely set the grommets in place. A rubber mallet or hammer is also required. | $15 – $30 |
| Pins or Fabric Clips | To hold fabric layers together and secure hems before sewing, ensuring accuracy. | $5 – $10 |
| Tailor’s Chalk or Fabric Marker | For marking cutting lines, hem folds, and grommet placements on your fabric. | $3 – $8 |
| Seam Ripper | An indispensable tool for correcting mistakes. Even experienced sewers make them! | $3 – $7 |
| Clapper (optional) | A wooden pressing tool that absorbs steam and helps create incredibly crisp, flat seams and folds, especially useful for thick fabrics. | $15 – $30 |
| Curtain Rod | The hardware from which your finished curtains will hang. Choose a style and finish that complements your decor. | $20 – $70+ (depending on length and style) |
| Total Estimated Cost (Excluding Fabric) | $80 – $350+ |
NOTE: These are estimated costs and may vary significantly based on your location, chosen brands, fabric quality, and whether you purchase new or already own certain tools. Fabric cost is highly variable and not included in the total estimated tool cost.
How to Sew Curtains: Step-By-Step Process for Grommet Curtains
Creating your own curtains with grommets is a straightforward process when broken down into manageable steps. This guide will take you from initial measurements to hanging your beautifully finished custom window treatments. Let’s get started!
Step 1: Precisely Measure Your Windows
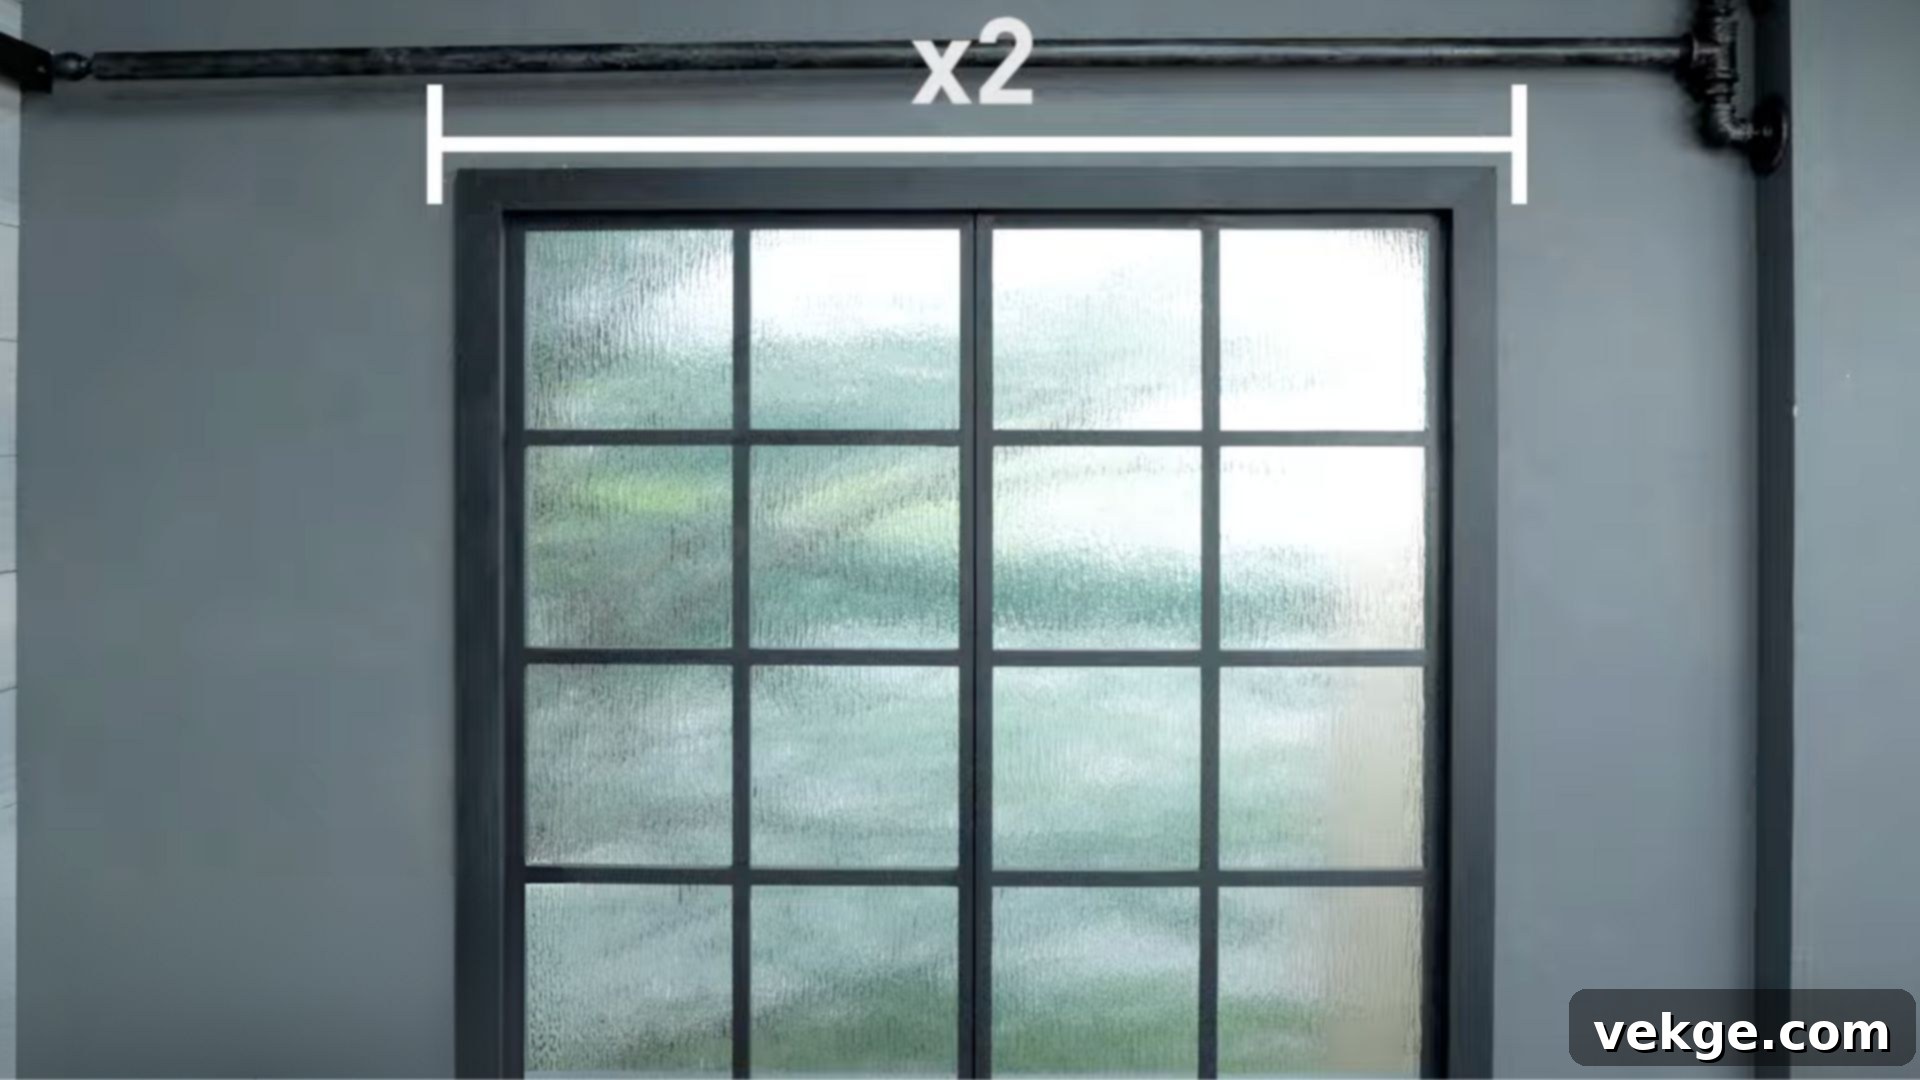
Accurate measurement is the cornerstone of professional-looking curtains. First, determine where your curtain rod will be installed. For an elegant look and to make windows appear larger, mount your rod 4-6 inches wider than the window frame on each side, and 4-6 inches above the window frame.
Now, measure the length: from the top of your curtain rod to where you want the curtain to end. Consider these common lengths:
- Sill Length: Ends just above the windowsill (for windows where you want clear access to the sill).
- Apron Length: Ends 4-6 inches below the windowsill.
- Floor Length (“Kissing the Floor”): Just barely touches the floor (a classic, clean look).
- Break Length: Gently pools 1-2 inches on the floor for a slightly relaxed look.
- Puddle Length: Creates a generous pool of fabric (6-10+ inches) on the floor for a luxurious, dramatic effect.
Once you have your desired finished length, add allowances for hems. For grommet curtains, you’ll typically need to add approximately 16 inches: about 8-10 inches for the top hem (to accommodate grommets and a stiffening header) and 6 inches for the bottom hem. For the width, measure the total length of your curtain rod. For adequate fullness, multiply this measurement by 1.5 to 2.5 (2 is a good standard for most fabrics and looks). Divide this total width by the number of panels you want (usually two) to get the width for each panel. Remember to add 2 inches for side hems per panel (1 inch on each side).
Bonus Tips:
- Always measure twice, or even three times, to ensure accuracy and avoid costly mistakes.
- Use a sturdy, metal measuring tape for precise results, especially for longer measurements.
- If in doubt, add a little extra length or width; it’s easier to trim excess fabric than to add more.
Step 2: Preparing and Cutting Your Fabric
Before cutting, it’s crucial to pre-wash and dry your fabric according to its care instructions. This prevents any potential shrinkage after your curtains are finished. Once dry, press the fabric thoroughly to remove wrinkles, ensuring a smooth and accurate cutting surface.
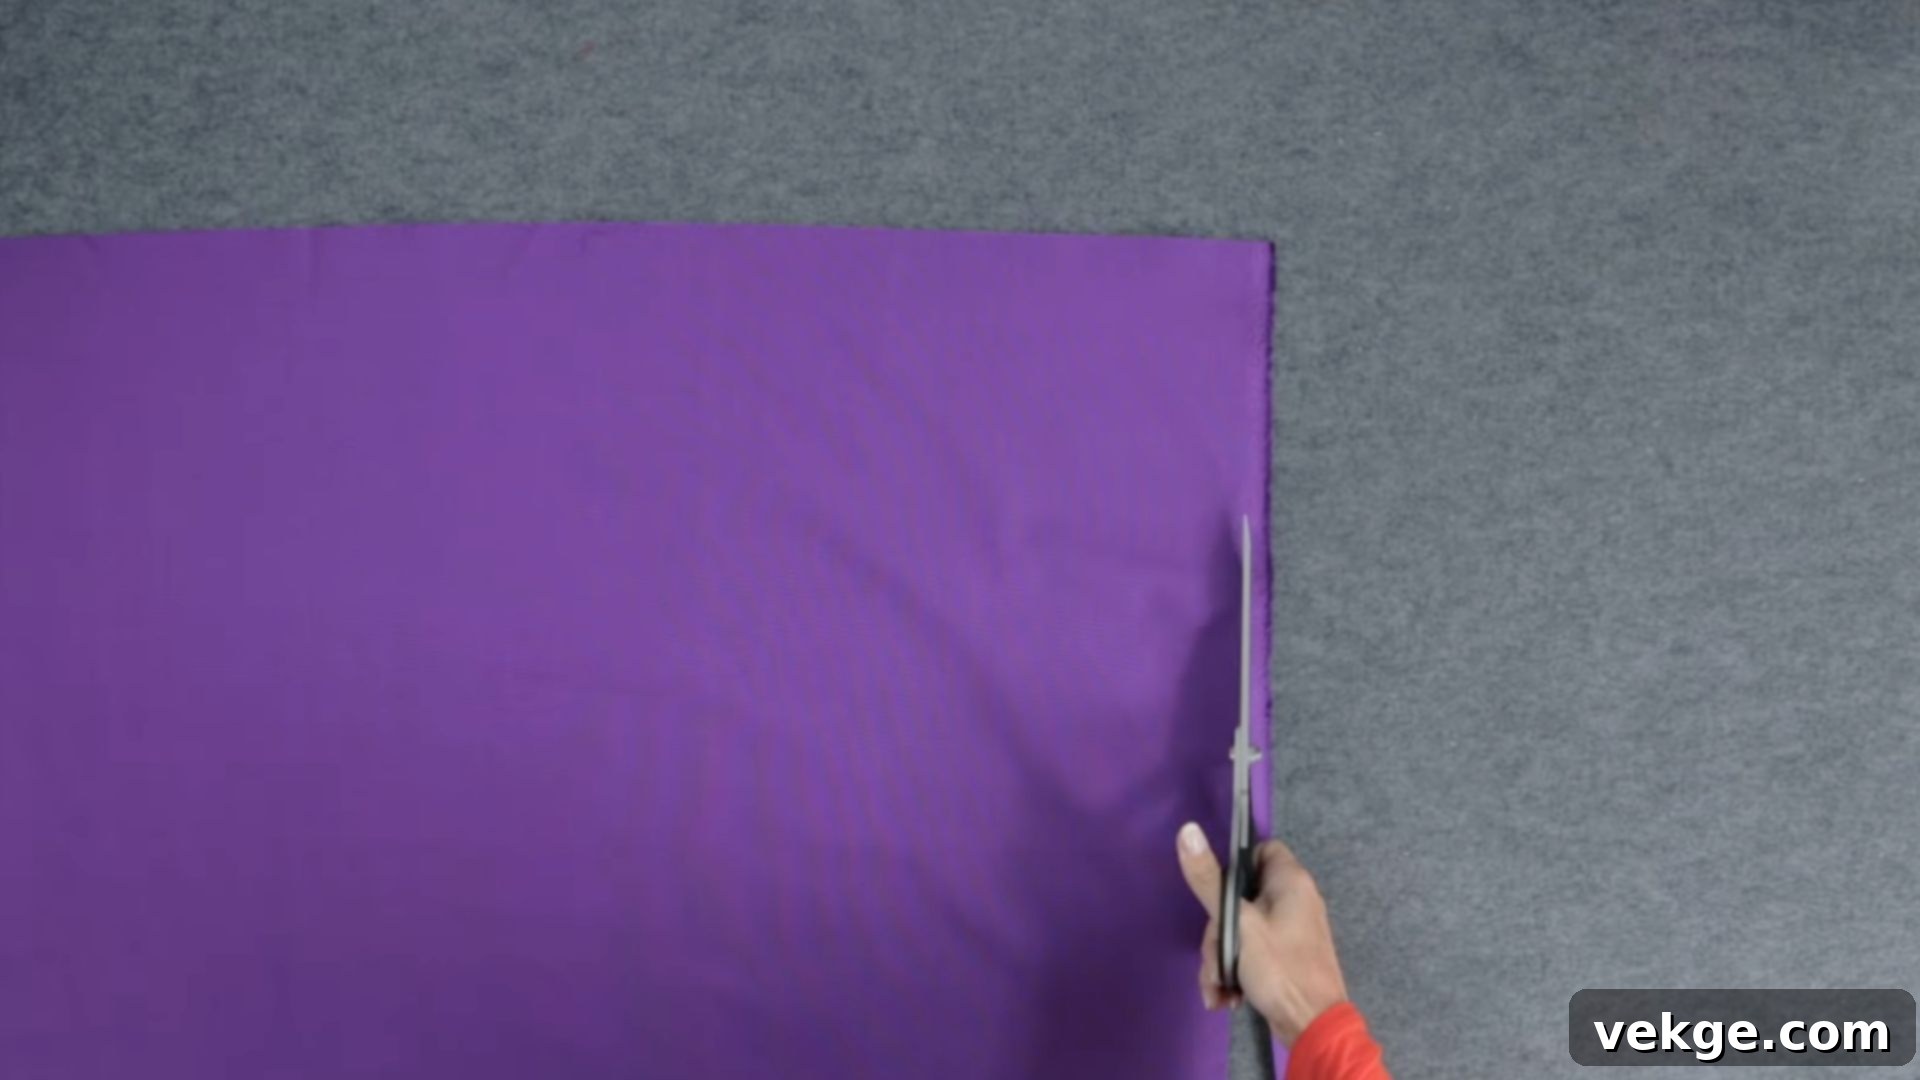
Lay your fabric flat on a large surface, ensuring it’s smooth and aligned. Use your calculated length and width measurements to cut your fabric panels. If your fabric has a pattern, pay attention to the pattern repeat if you have multiple panels, so they match when hung side-by-side. Use tailor’s chalk or a fabric marker and a long ruler to draw clear cutting lines. Carefully cut along these lines using sharp fabric scissors. For a truly professional finish and to prevent uneven draping, it’s often recommended to remove the selvages (the tightly woven edges of the fabric) as they can sometimes pucker or distort the hang of the curtain.
Bonus Tips:
- Always use fabric scissors for clean edges; dull scissors can fray fabric or result in uneven cuts.
- Take your time when cutting. Rushing can lead to crooked lines and wasted fabric. If possible, use a rotary cutter and a large cutting mat for perfectly straight lines.
- If working with a delicate or slippery fabric, consider using weights to hold it in place while cutting.
Step 3: Creating Crisp Side Hems
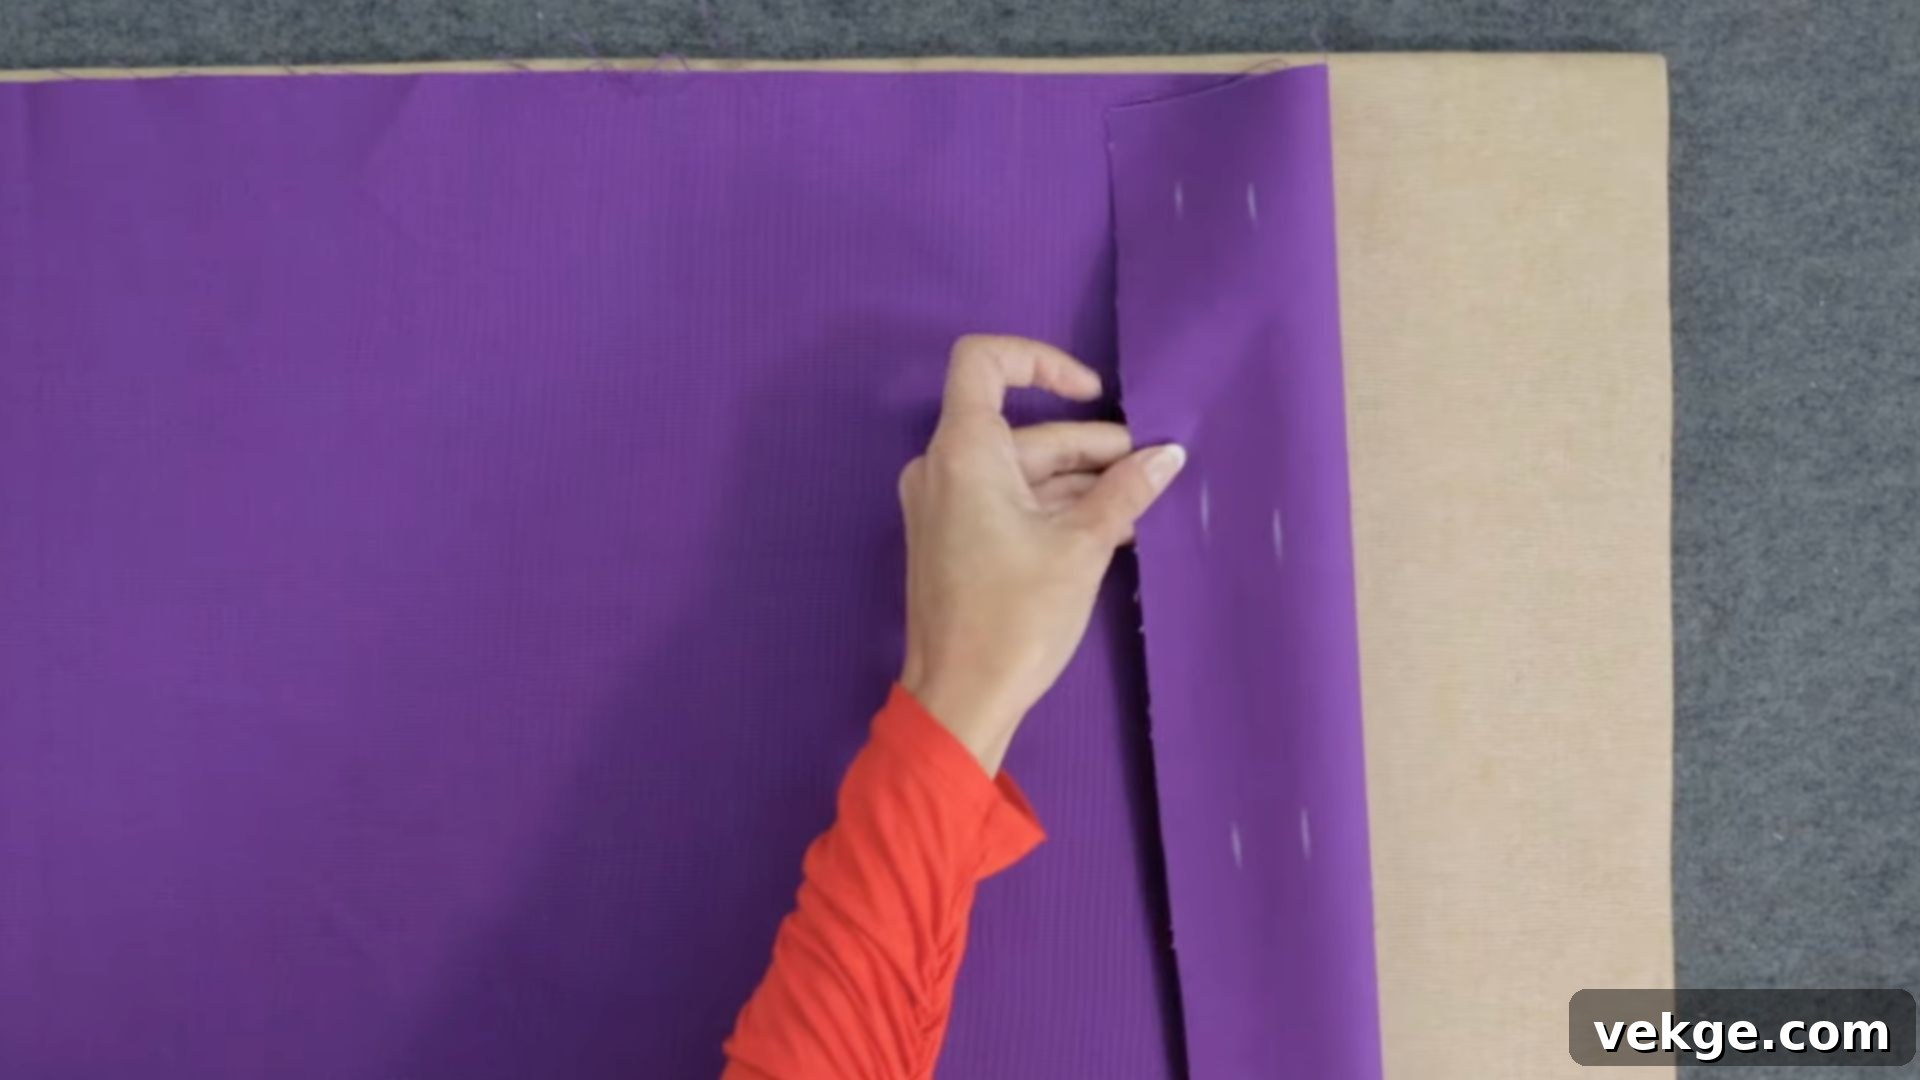
Neatly finished side hems are crucial for a polished look and to prevent fraying. Start by folding the raw edge of one side of your fabric panel under by 1 inch. Press this fold flat with your iron to create a sharp crease. Then, fold the fabric under another 1 inch, pressing again. This double-fold hem encases the raw edge, providing a clean and durable finish. Secure the fold with pins or fabric clips before taking it to your sewing machine.
Stitch the hem in place using a straight stitch, close to the inner folded edge. Use a thread color that matches your fabric for a seamless look. Repeat this exact process for the opposite side of the curtain panel. Ensure both side hems are consistent in width for a balanced and professional appearance.
Bonus Tips:
- For extra crispness, especially on heavier fabrics, use a wooden clapper after pressing each fold. Press down firmly while the fabric is still warm.
- If your fabric is particularly thick, consider using a slightly longer stitch length (e.g., 3.0mm) to prevent puckering.
- To make sure your hems are perfectly straight, use a ruler or a hem gauge to measure the 1-inch folds consistently along the entire length.
Step 4: Crafting the Bottom Hem
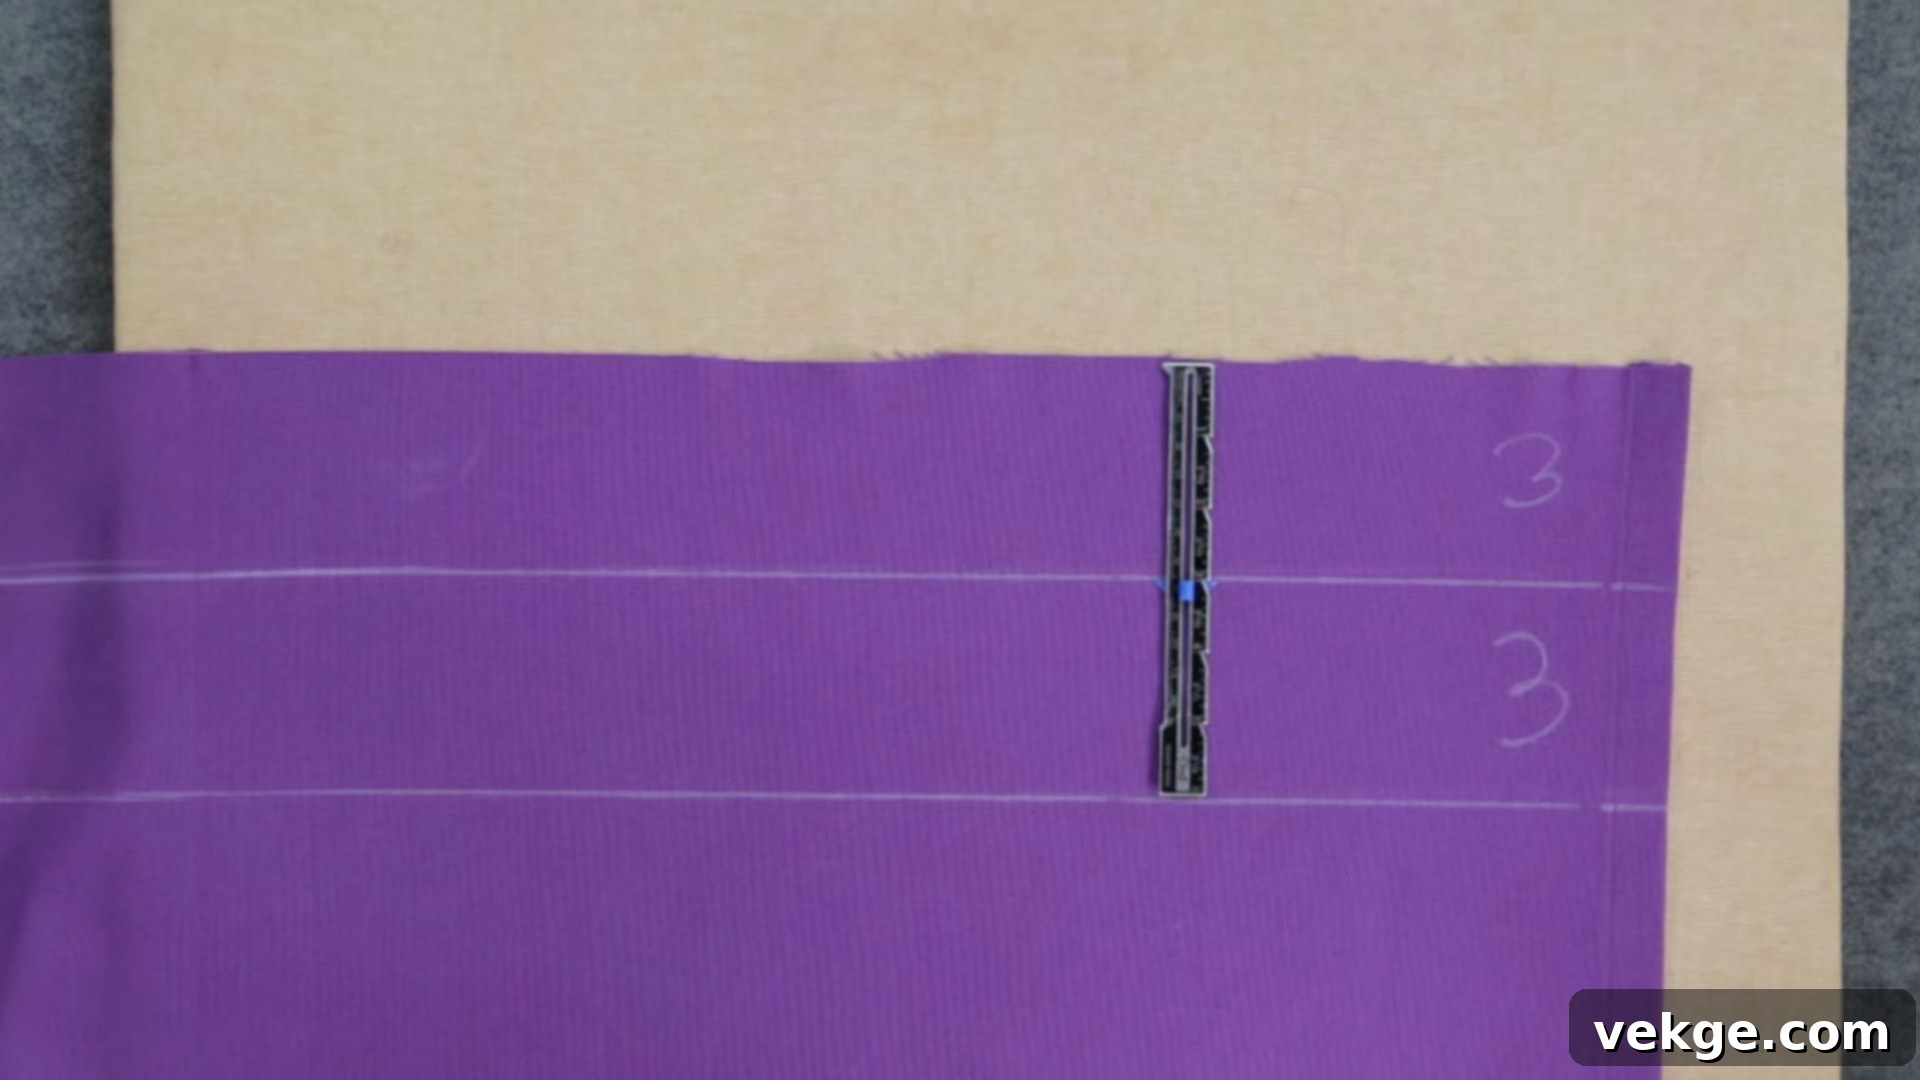
A substantial bottom hem adds weight, helps the curtain hang beautifully, and gives a truly professional finish. Begin by folding the raw bottom edge of your fabric panel under by 1 inch, and press firmly. This initial fold hides the raw edge. Next, fold the fabric up again, this time by 5 inches (creating a total 6-inch double-fold hem). Press this larger fold meticulously to create a sharp, even crease across the entire width of the curtain.
Secure the hem with pins, ensuring it remains flat and even. Stitch the hem into place using your sewing machine. You’ll typically sew two lines of stitching: one close to the top folded edge of the 5-inch hem, and another close to the bottom folded edge (which is the original 1-inch fold). This secures the hem thoroughly and prevents it from flapping. Use a longer stitch length (around 3.0-3.5mm) for a smoother, less puckered seam that complements the scale of the curtain.
Bonus Tips:
- For perfect straightness, use your measuring tape or a ruler to ensure the 5-inch fold is consistent all the way across.
- If your fabric is very bulky, placing a small piece of folded fabric behind your sewing machine’s presser foot at the start of the seam can help the machine feed the fabric more smoothly.
- Consider adding curtain weights (small, flat weights) into the corners of the bottom hem before stitching it closed. These help heavier curtains hang perfectly straight and prevent them from blowing outwards.
Step 5: Adding Grommets and Hanging Your Custom Curtains
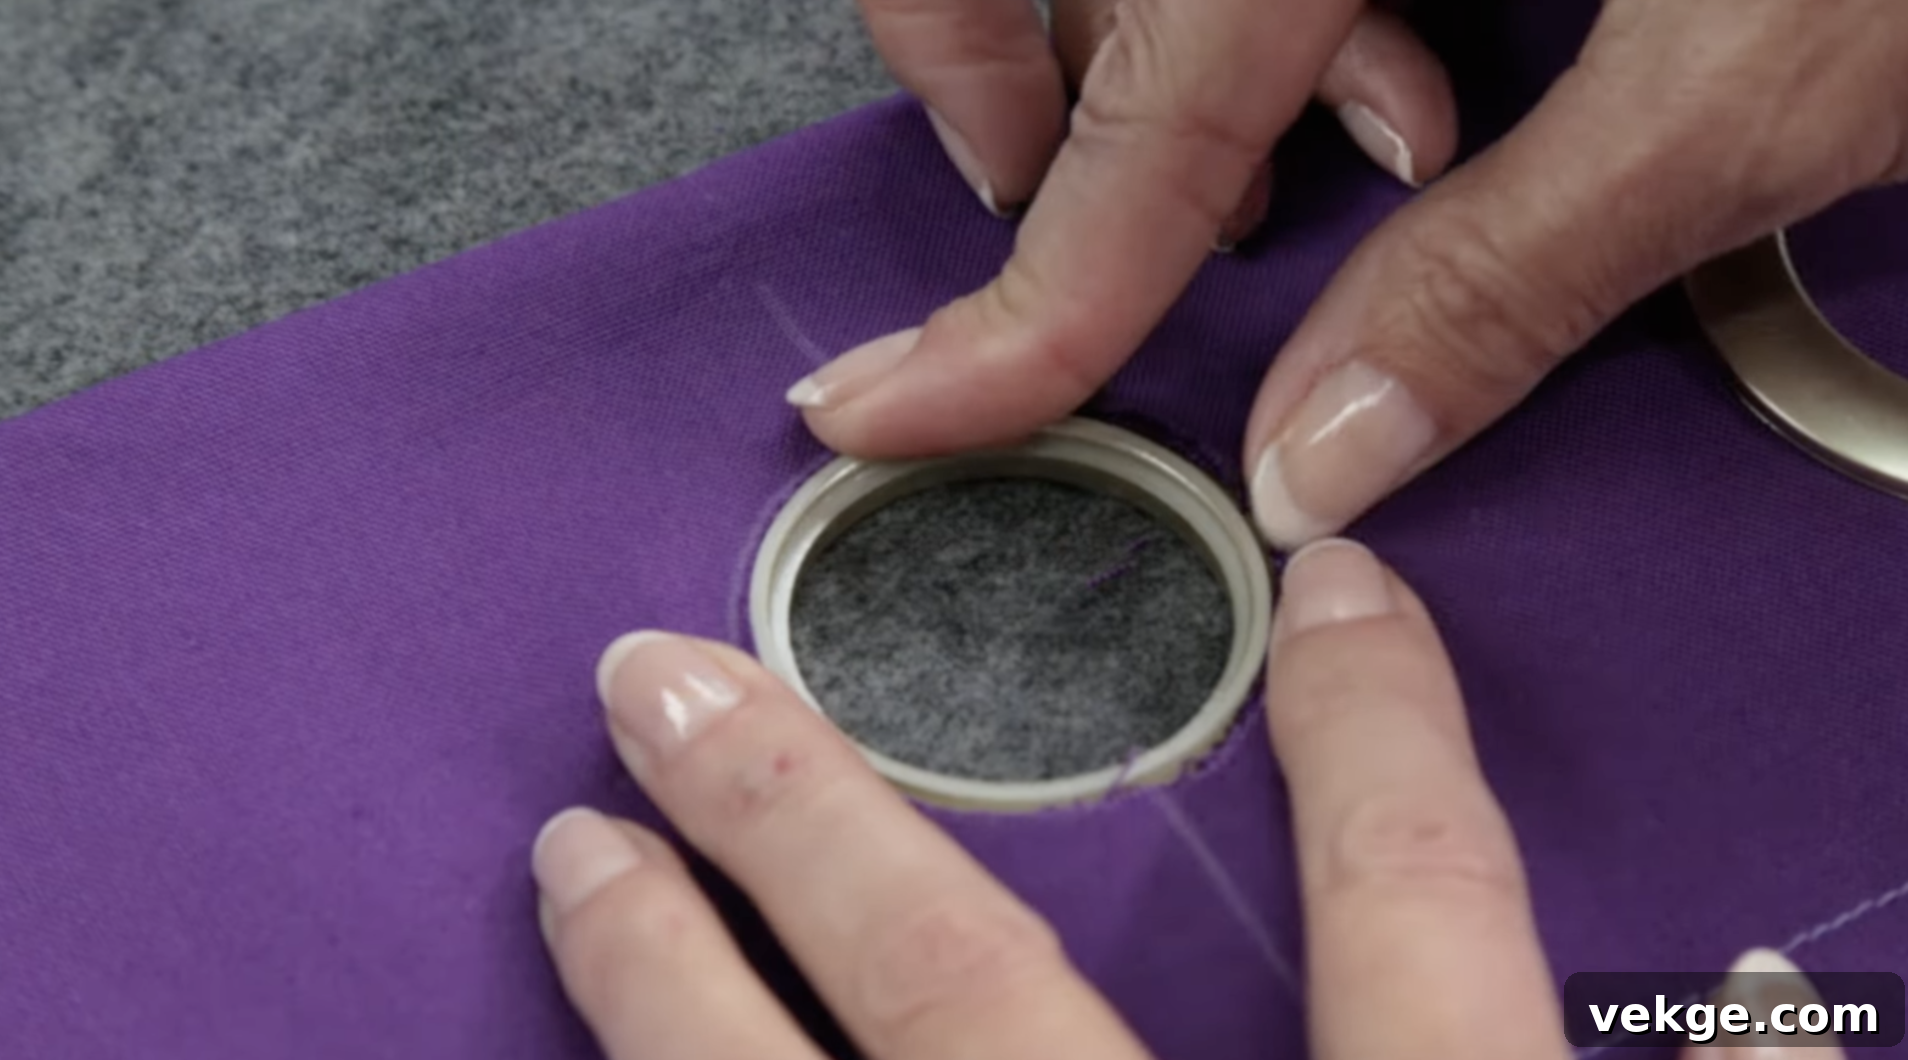
The top of your curtain panel, where the grommets will be inserted, needs a sturdy header. For grommet curtains, you’ll first create a wide double-fold hem at the top (similar to the bottom hem, but often 4-5 inches deep) and optionally insert a stiffening interfacing (such as buckram or heavy Pellon) into this hem to give the grommets firm support. Stitch this top hem securely.
Once your header is prepared, it’s time for grommets. Use the grommet template to mark the exact locations for each grommet. A common guideline is to place the first and last grommet about 2.5 inches from the side edges, and 2.5 inches from the top edge of the curtain. Evenly space the remaining grommets across the top. The spacing between grommets is typically 6-8 inches, ensuring an even drape. Use fabric scissors or a craft knife to carefully cut out the marked holes.
Position the grommet halves (one with prongs, one a ring) on either side of the hole. Press them together firmly until they snap securely into place. Many grommet kits come with a tool to help ensure a tight fit; use a rubber mallet if instructed. Once all grommets are installed, simply slide them onto your curtain rod and hang your beautiful new curtains!
Bonus Tips:
- For perfect spacing, calculate the exact distance between grommets by subtracting the initial and final grommet placements from the total width, then dividing by the number of remaining grommets.
- Practice installing a grommet on a fabric scrap first to get a feel for the tool and ensure a secure snap.
- After hanging, gently pull and arrange the fabric between the grommets to create soft, even folds.
Watch: How To Make Curtains Video Tutorial
For a more detailed visual walkthrough of the process, especially if you’re a visual learner, check out the video tutorial below. It provides step-by-step instructions that can complement this written guide.
Exploring Advanced Curtain-Making Techniques
Once you’ve mastered the basics of sewing grommet curtains, you might be ready to explore more sophisticated techniques that can add unique style and functionality to your window treatments. These methods allow you to tailor your curtains to specific aesthetic desires and room requirements.
| Technique | Description | Best For |
|---|---|---|
| Pinch Pleats | Creating structured, decorative folds (usually in groups of two or three) at the top of the curtain panel, which are then sewn into place. This gives the curtain a very tailored and formal drape. | Formal dining rooms, traditional living areas, bedrooms where an elegant, structured look is desired. Works well with heavier, luxurious fabrics. |
| Rod Pocket | A simple channel sewn across the top of the curtain panel, through which the curtain rod slides. This creates a soft, gathered look. | Casual spaces like kitchens, children’s rooms, or bedrooms where a relaxed, informal aesthetic is preferred. Best for lightweight to medium-weight fabrics. |
| Tab Top | Fabric loops (tabs) are sewn along the top edge of the curtain panel, allowing the curtain rod to pass through them. This gives a relaxed, airy, and contemporary look. | Kitchens, casual living rooms, children’s rooms, or any space desiring a modern, informal, and breezy feel. Easy to slide open and close. |
| Back Tab Curtains | Similar to tab top, but the fabric loops are sewn on the back of the curtain panel, creating a clean, seamless front look where the rod is hidden. | Modern, minimalist interiors where a clean, tailored drape is desired without visible hardware or gathers. Provides a sophisticated, understated elegance. |
| Interlining | Adding a middle layer of flannel or heavy cotton fabric between the main curtain fabric and the lining. This adds significant fullness, improves insulation, and creates a luxurious, plush drape. | High-end, luxury window treatments, bedrooms (for enhanced light blocking and warmth), or rooms where sound dampening is desired. Provides exceptional body and drape. |
| Blackout Lining | Incorporating a specialized opaque fabric as a lining layer. This effectively blocks out nearly all incoming light, making a room dark even in daylight. | Bedrooms, nurseries, media rooms, or any space where complete light control and privacy are paramount. Also adds thermal insulation. |
| Valances | Decorative top treatments that cover the uppermost part of the window and curtain rod. They can be simple gathered fabrics, pleated structures, or tailored boxes. | Adding a finishing touch to layered window treatments, concealing hardware, or introducing a pop of color/pattern above blinds or shades. |
Don’t feel overwhelmed by these options. Start with simple techniques like rod pockets or even basic tab tops before moving on to more complex pleating methods or adding multiple layers. As you gain confidence with each new project, you can gradually upgrade your skills and experiment with different styles to achieve truly bespoke window treatments.
Common Mistakes to Avoid for Flawless DIY Curtains
Even experienced sewers can make mistakes, but by being aware of common pitfalls, you can avoid frustration and ensure your DIY curtains turn out beautifully. Paying attention to these details will save you time, effort, and fabric in the long run.
- Not Pre-Washing Fabric Before Sewing: This is a golden rule! Fabric can shrink, sometimes significantly, after its first wash. If you don’t pre-wash, your perfectly measured and sewn curtains might end up too short or misshapen after their first cleaning. Always pre-wash and dry your fabric according to its care instructions, then iron it smooth before cutting and sewing. This stabilizes the fabric and prevents unwelcome surprises.
- Ignoring Curtain Fullness: Skimping on fabric width is a common mistake that leads to curtains looking flat and sparse when drawn. Curtains need extra width to create beautiful, soft folds and gathers. As a general rule, your curtain width (per panel or total) should be 1.5 to 2.5 times the width of the window or rod. Less than 1.5 times can look skimpy, while more than 2.5 times can look overly bulky.
- Using the Wrong Thread: The type and weight of your thread matter for durability and aesthetics. For most curtain fabrics, a good quality all-purpose polyester thread is ideal because it’s strong and resistant to UV degradation. If you’re working with very heavy fabrics like velvet or canvas, consider a heavier-duty thread. Always match your thread color as closely as possible to your fabric for a seamless, professional finish.
- Skipping the Lining: While optional, lining adds immense value to your curtains. It provides extra weight for a better drape, improves insulation (keeping rooms warmer in winter and cooler in summer), offers privacy, and protects your main fabric from sun damage and fading. A simple cotton lining can dramatically enhance the appearance and longevity of your curtains, giving them a more professional and luxurious feel.
- Incorrect Measurements: This might seem obvious, but rushing or being imprecise with measurements is a primary cause of disappointment. Measure your windows carefully at least twice. Pay attention to where the curtain rod will be installed (height and width) and how much extra length you need for hems and desired pooling. Remember to factor in fullness for width.
- Rushing the Process: Sewing is a craft that rewards patience. Trying to speed through steps, especially cutting and pressing, can lead to crooked hems, uneven panels, and general sloppiness. Take your time, focus on accuracy, and enjoy the creative process. It’s often quicker to do it right the first time than to unpick and re-sew mistakes.
- Ignoring Fabric Grain: Fabric has a grain, which refers to the direction of its threads. Cutting off-grain or sewing in a way that distorts the grain can cause your curtains to hang unevenly, twist, or pucker. Always ensure your fabric is squared and cut along the straight grain for the best drape.
- Not Pressing Seams Regularly: Pressing (not just ironing) is a separate and crucial step in sewing. Pressing seams flat as you go, and pressing hems before stitching, creates sharp, professional lines. It helps to set stitches, remove puckers, and gives your finished curtains a crisp, tailored appearance. A good iron and ironing board are your best friends in curtain making.
By keeping these common mistakes in mind and taking the extra time to ensure precision at each step, you’ll end up with curtains that not only look fantastic but also function beautifully in your space. The polished, professional finish achieved through careful craftsmanship is truly worth the effort.
Final Thoughts: Enjoying Your Handcrafted Curtains
Embarking on the journey of making your own DIY curtains might seem daunting at first, but as you’ve seen, it’s a deeply rewarding and surprisingly accessible project. It’s an incredible way to inject your personal style into your home while making smart, budget-friendly choices. The satisfaction of stepping back and admiring window treatments you’ve created with your own hands is truly unparalleled.
Now that you’re equipped with this comprehensive guide—from thoughtfully selecting your fabric and gathering the right tools to executing each sewing step with confidence—you have all the knowledge needed to get started. Envision your windows, beautifully dressed in bespoke curtains that perfectly complement your decor and reflect your unique taste. That feeling of pride and ownership is what handmade living is all about.
Remember these key takeaways for success: always measure meticulously, invest in good-quality fabric that suits your needs, and approach each step with patience and attention to detail. Every effort you put in will be visibly rewarded in the stunning, professional-looking results. Your home will feel more cohesive, more stylish, and truly yours.
If you’re eager for more simple tips, creative home ideas, or other inspiring DIY projects, don’t hesitate to explore the rest of the blogs on our website. We’re always sharing plenty to keep your creative spirit thriving and your home looking its best!
