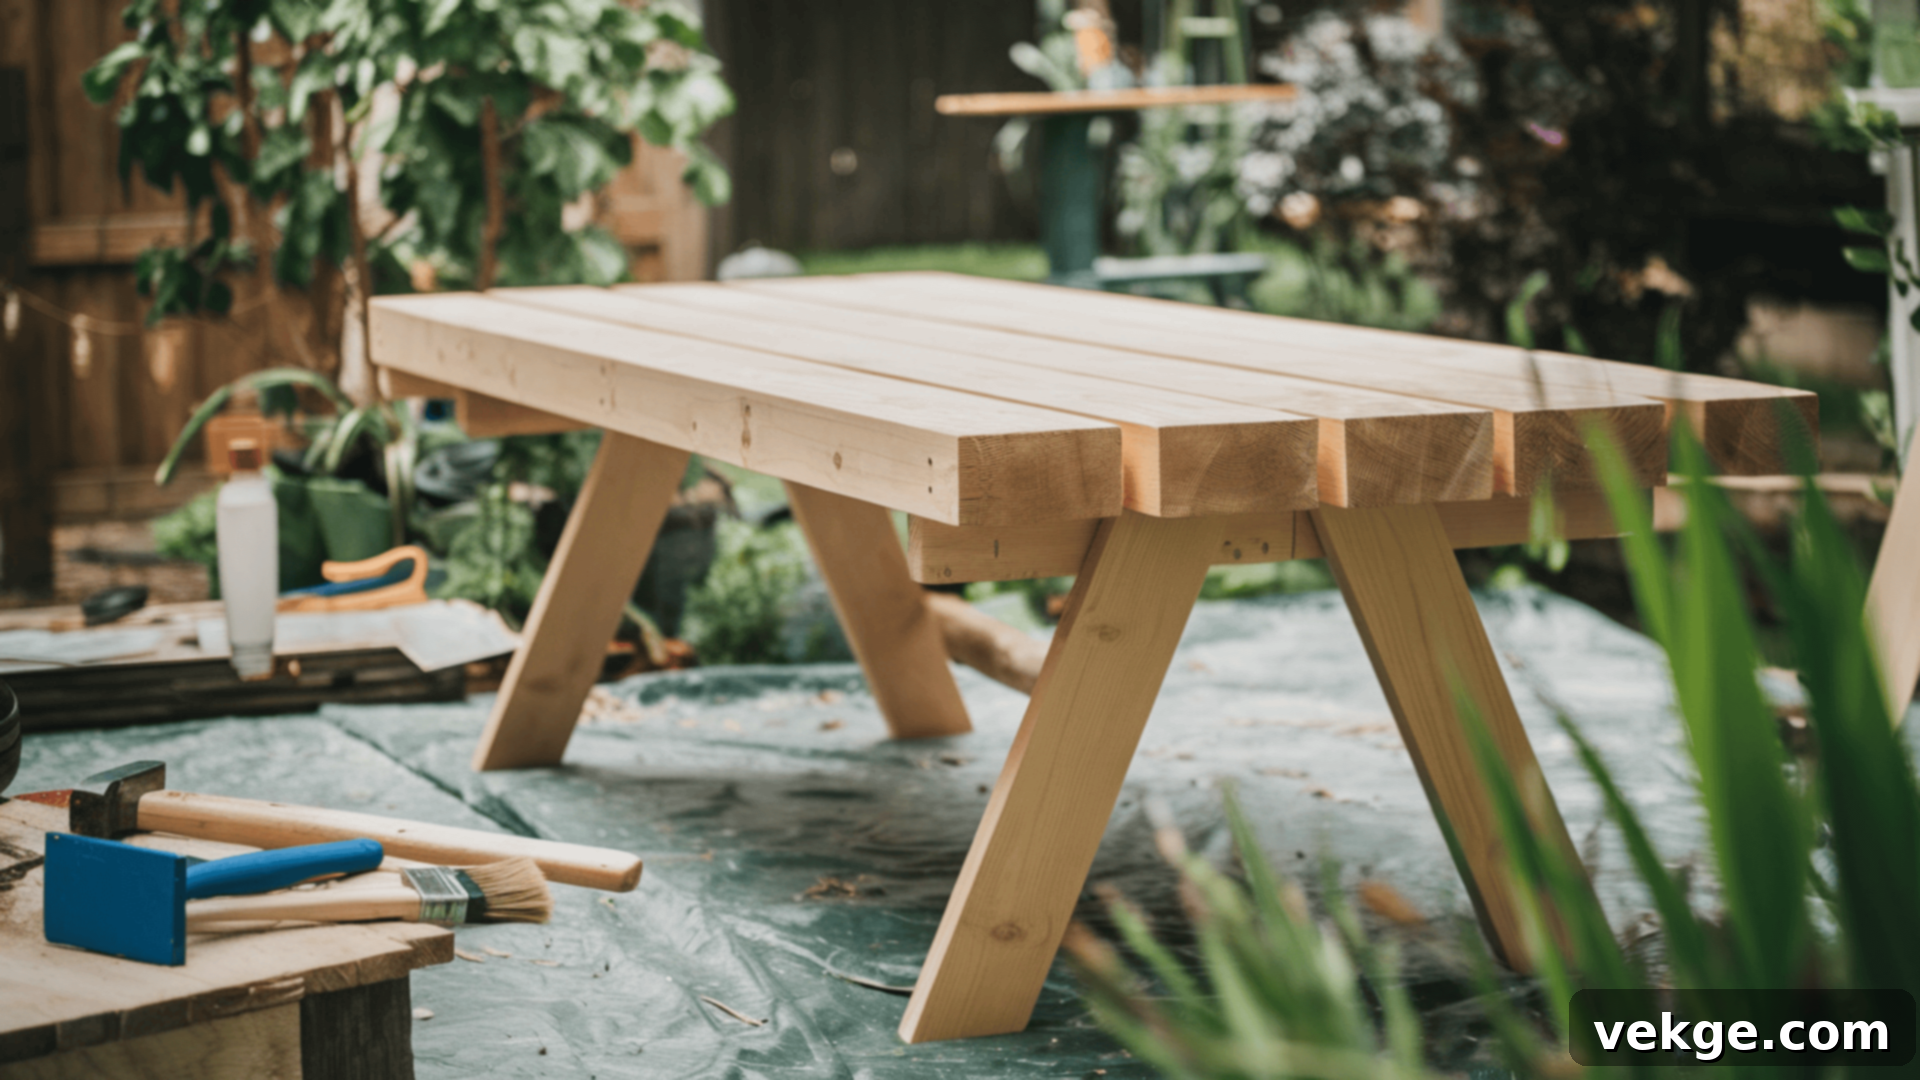
Build Your Own DIY Outdoor Table: A Complete Guide to Crafting the Perfect Patio Centerpiece
Transforming your backyard or patio into a functional and inviting outdoor oasis is easier than you think. One of the most rewarding ways to achieve this is by building your very own DIY outdoor table. Whether you envision a spacious patio dining table for al fresco meals, a compact side table for cozy chats, or a robust picnic table for family gatherings, a do-it-yourself project offers unparalleled flexibility and satisfaction. This comprehensive guide will walk you through every step of building an outdoor table, from planning and material selection to assembly and finishing, ensuring your custom creation perfectly complements your outdoor living space.
Not only will you save money compared to store-bought alternatives, but you’ll also infuse your garden or deck with a unique, personal touch that only a handcrafted piece can provide. Get ready to enhance your outdoor experience and proudly say, “I built that!” Let’s dive into the exciting journey of creating your custom outdoor table.
Why Embark on a DIY Outdoor Table Project?
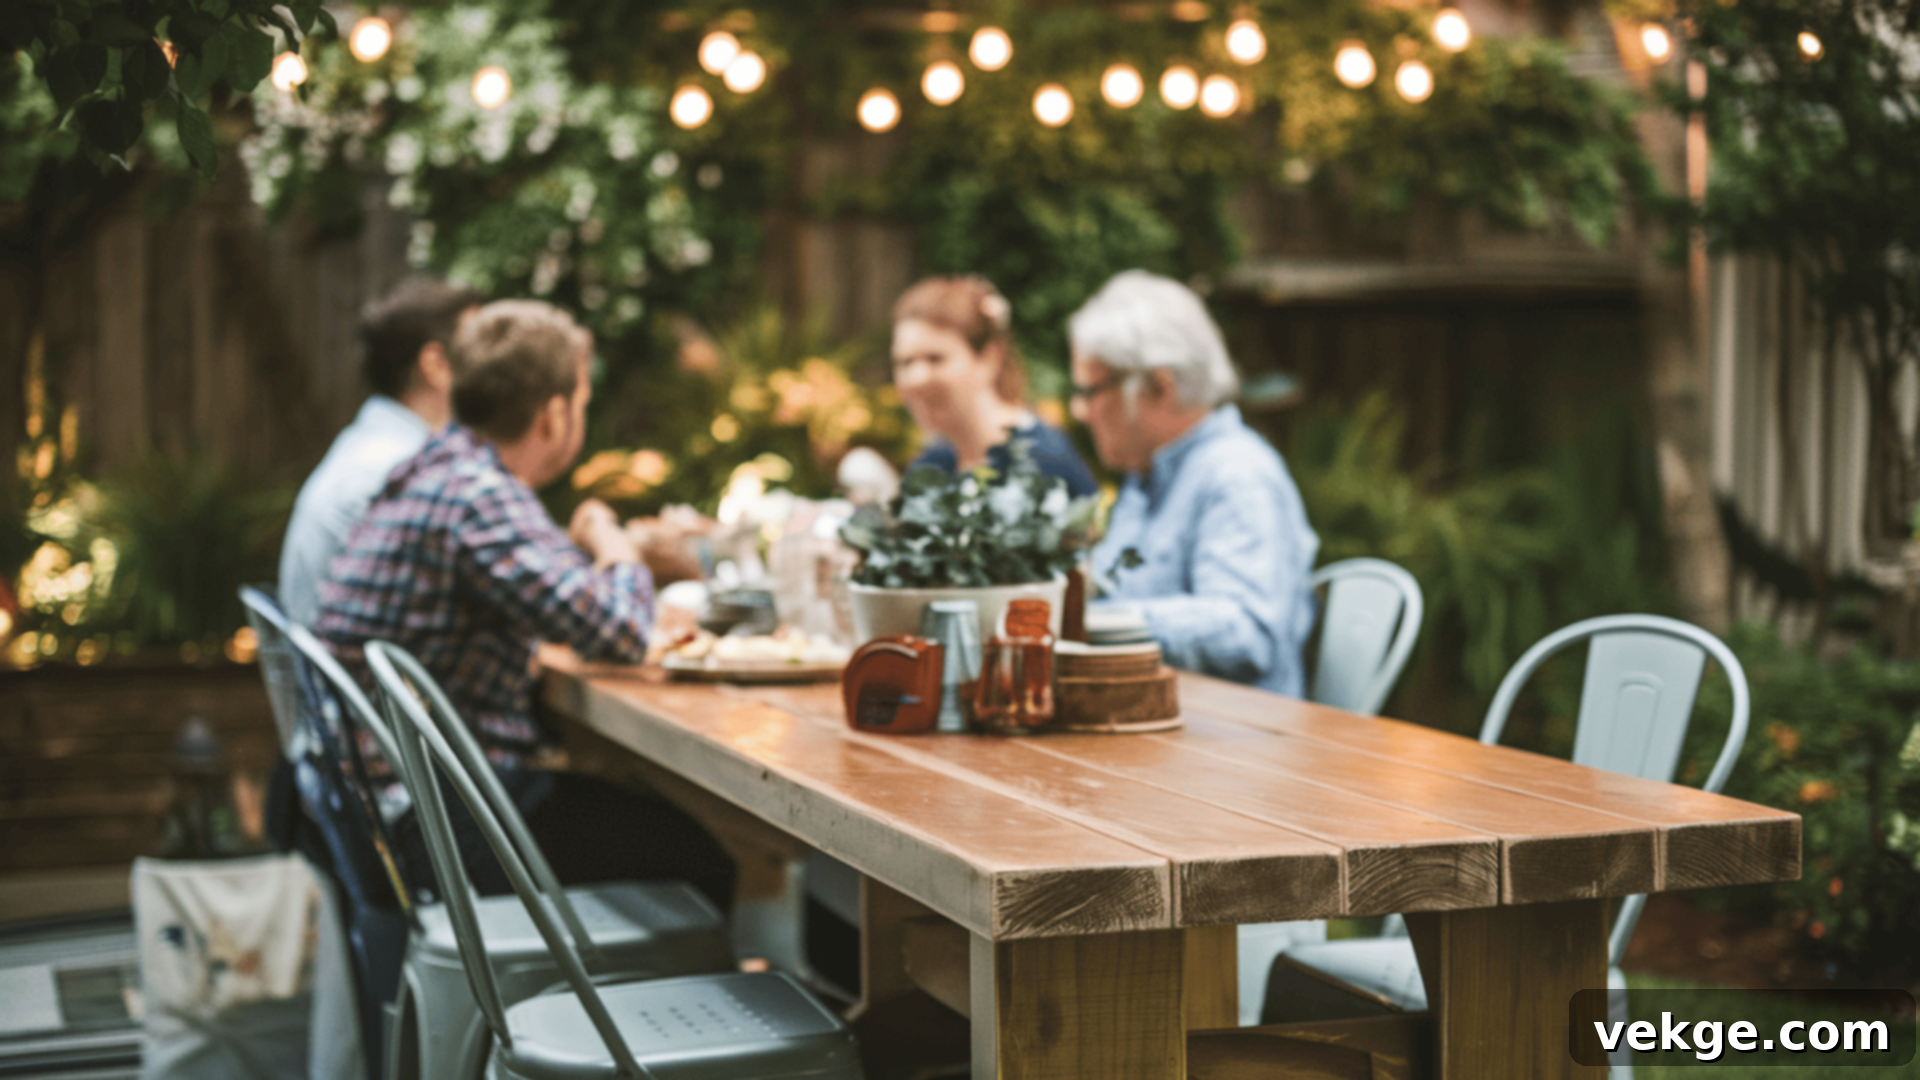
Unmatched Customization
- When you build your own outdoor table, you’re not confined by standard retail options. This means you have complete control over every design element, allowing you to create a piece that perfectly aligns with your aesthetic preferences and functional requirements.
- From selecting the ideal dimensions – whether a sprawling outdoor dining table for entertaining large groups or a petite bistro table for intimate settings – to choosing a specific shape like rectangular, square, oval, or even a unique geometric design, the possibilities are endless. More importantly, you can handpick materials that reflect your personal style, such as rustic reclaimed wood, sleek modern metal, or durable composite lumber, ensuring your patio table is truly one-of-a-kind.
Significant Cost Savings
- One of the most compelling reasons to DIY an outdoor table is the considerable financial saving. Pre-made outdoor furniture, especially high-quality pieces designed for durability, can come with a hefty price tag.
- By sourcing materials yourself and investing your own time and effort, you can significantly reduce expenses. This allows you to allocate your budget towards premium, weather-resistant materials that will ensure your table’s longevity and performance, all while staying within a reasonable cost. You’ll achieve a high-quality, robust, and beautiful table for a fraction of the cost of a comparable store-bought item.
Deep Personal Satisfaction & Unique Appeal
- There’s an undeniable sense of pride and accomplishment that comes with creating something with your own hands. Completing a DIY outdoor table project offers a rewarding experience, transforming raw materials into a functional and beautiful piece of furniture.
- This personal involvement means your outdoor table will carry a unique story and character, standing out from mass-produced items. It becomes more than just a table; it’s a testament to your creativity and effort, enhancing your outdoor space with a truly bespoke centerpiece that sparks conversation and joy.
Essential Planning Steps for Your DIY Outdoor Table Project
Choosing the Optimal Location
Before you even begin cutting wood, pinpointing the perfect spot for your DIY outdoor table is crucial. Select an area in your backyard, patio, or deck that offers a stable and perfectly level surface. An uneven foundation can lead to a wobbly table and an uncomfortable dining or lounging experience.
Beyond stability, consider environmental factors. Ideally, your table should be situated where it receives some protection from the harshest elements, such as intense, direct sunlight, which can cause wood to fade or warp, and heavy rain, which can accelerate wear and tear. A shaded area under a pergola, awning, or large tree can extend your table’s lifespan and enhance comfort. Also, evaluate the proximity to your home for convenience, especially if you plan to use it for outdoor dining.
Finally, carefully assess the available space. How many people do you intend to seat? Will there be enough room for chairs to be pulled out comfortably, and for people to walk around the table? Factor in clearance for movement and other outdoor furniture pieces to ensure a harmonious and functional layout.
Determining the Ideal Design and Size
The design and size of your custom outdoor table are paramount to its success. Begin by deciding on the basic shape: a classic rectangular table is excellent for family meals, a square design works well in smaller spaces or for intimate gatherings, and a round or oval table encourages conversation and often fits awkward spaces more gracefully.
Next, consider the prevailing aesthetic of your outdoor area. Is your patio decked out in a sleek, modern style with clean lines and minimalist decor? Or does your garden lean towards a charming rustic vibe with natural textures? Perhaps a bohemian or industrial look is more your speed. Design your table to complement this existing style, ensuring it integrates seamlessly rather than clashing. This attention to detail will elevate your entire outdoor space.
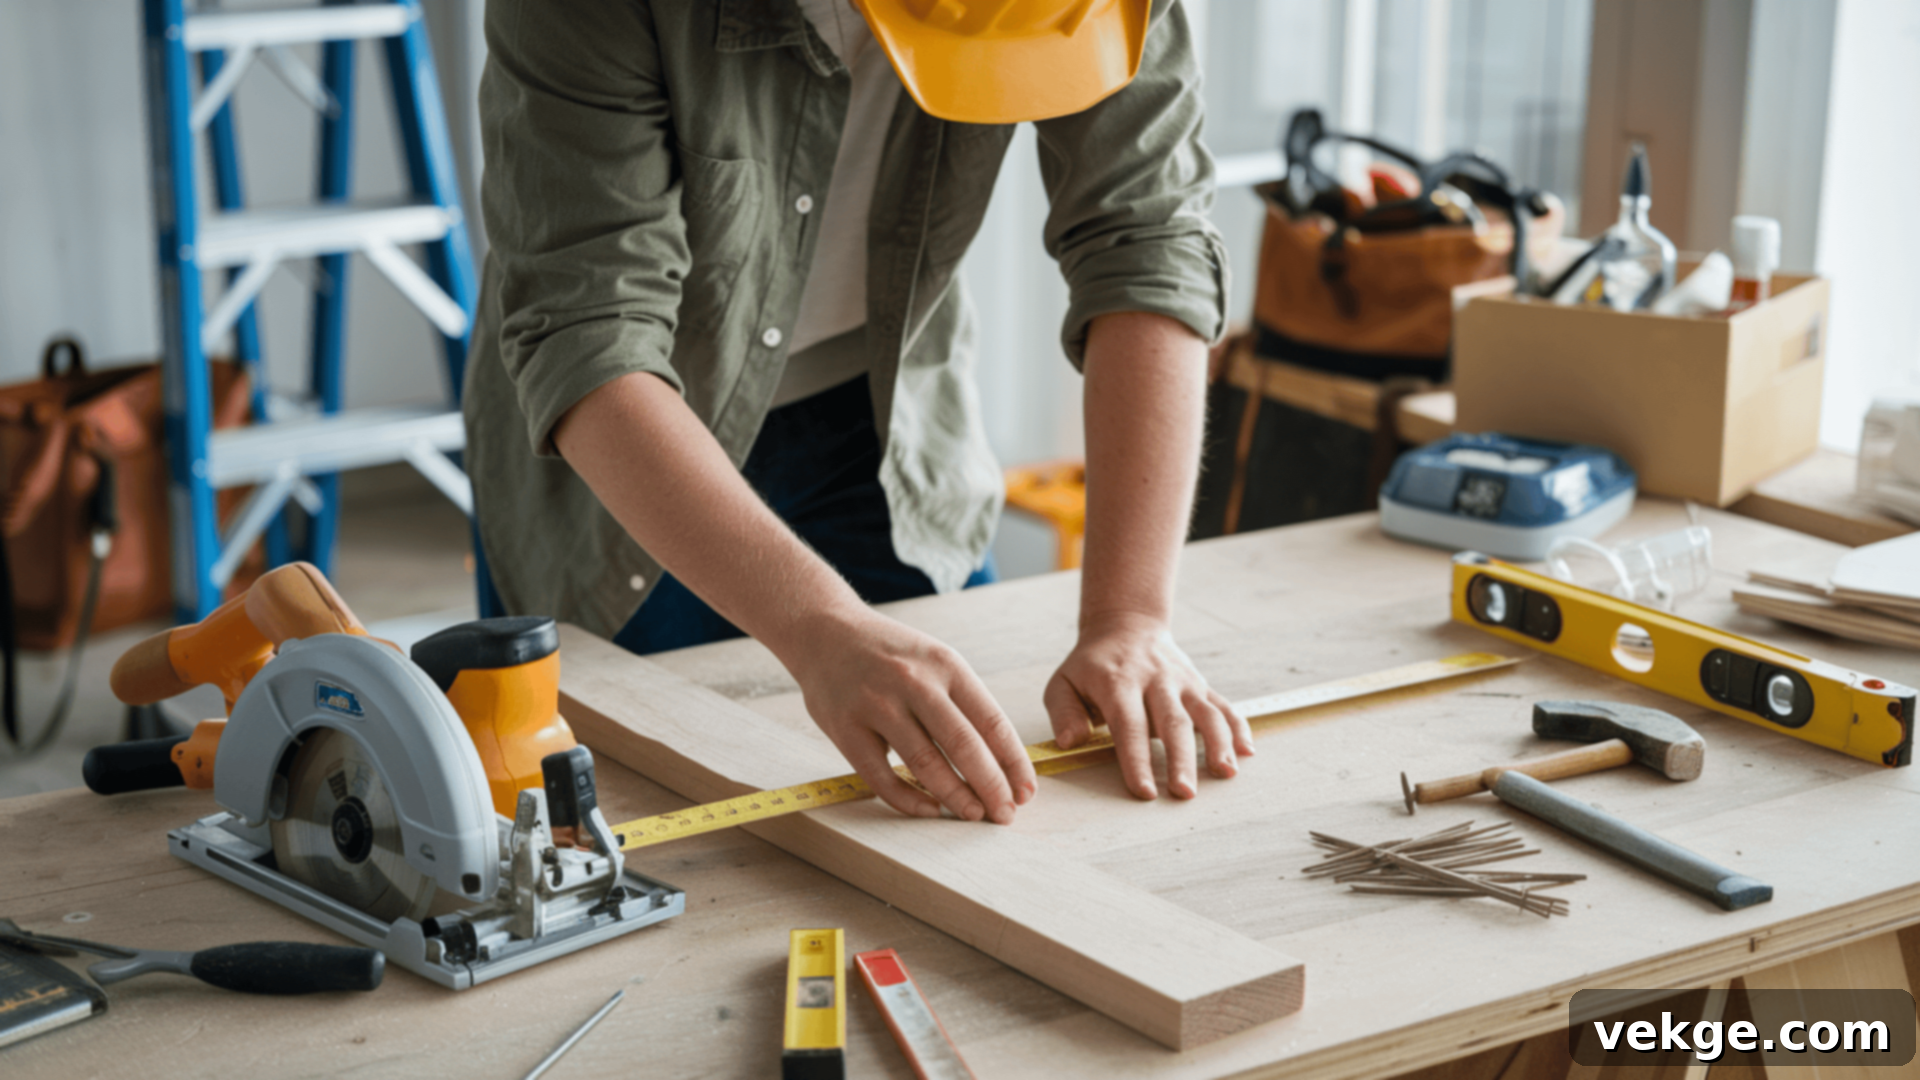
Lastly, precise measurements are non-negotiable. Use a tape measure to mark out the exact footprint the table will occupy. Visualize how chairs will fit around it and whether there’s ample circulation space. Standard dining table heights are typically between 28-30 inches, but you might adjust this for a coffee table or a bar-height table. Getting these dimensions right from the outset prevents costly mistakes and ensures your patio dining table is both practical and proportionate.
Essential Materials and Tools to Build Your DIY Outdoor Table
Selecting the Perfect Tabletop Material
The tabletop is the focal point of your DIY outdoor table, and choosing the right material is critical for both aesthetics and longevity. For outdoor use, weather resistance is paramount. Here are some popular options:
- Cedar: Known for its natural resistance to rot, decay, and insect attacks, cedar is a lightweight yet durable choice. It weathers to a beautiful silver-grey patina if left untreated, or can be stained to maintain its warm tones.
- Teak: Often considered the gold standard for outdoor furniture, teak is incredibly dense, naturally rich in oils, and highly resistant to moisture, UV rays, and pests. While more expensive, a teak tabletop is an investment that can last for decades with minimal maintenance.
- Pressure-Treated Pine: A more budget-friendly option, pressure-treated pine is chemically treated to resist rot and insects. It’s widely available and can be painted or stained, but ensure it’s fully dry before applying finishes.
- Redwood: Similar to cedar, redwood boasts natural durability and an attractive appearance. It’s naturally resistant to rot and insects and ages gracefully.
- Reclaimed Wood: For an eco-friendly and character-rich patio table, reclaimed wood is an excellent choice. Sourced from old barns, fences, or industrial buildings, it brings a unique story and a charming, rustic aesthetic that new wood simply can’t replicate. Just ensure it’s free of pests and properly treated for outdoor exposure.
- Composite Materials: Modern composite decking boards, made from recycled plastics and wood fibers, offer exceptional durability, low maintenance, and come in various colors and finishes. They resist fading, staining, and moisture, making them a worry-free option.
- Concrete or Stone: For a contemporary, industrial, or robust look, consider a concrete slab or stone tiles for your tabletop. These materials are extremely heavy and durable, offering a sleek, modern finish, though they may require more specialized skills to work with.
Choosing Sturdy Table Legs and Supports
The stability and overall look of your DIY outdoor table heavily rely on its legs and support structure. You have several routes to explore:
- Pre-made Legs: The simplest option is to purchase pre-made table legs, available in various styles (e.g., hairpin, tapered, turned) and materials (wood, metal). This saves time and ensures a consistent look.
- Wood Beams/Posts: For a more traditional or rustic outdoor dining table, sturdy wooden beams or posts cut to your desired height are ideal. You can use the same type of wood as your tabletop or a complementary species. Ensure they are robust enough to handle the tabletop’s weight and any items placed on it.
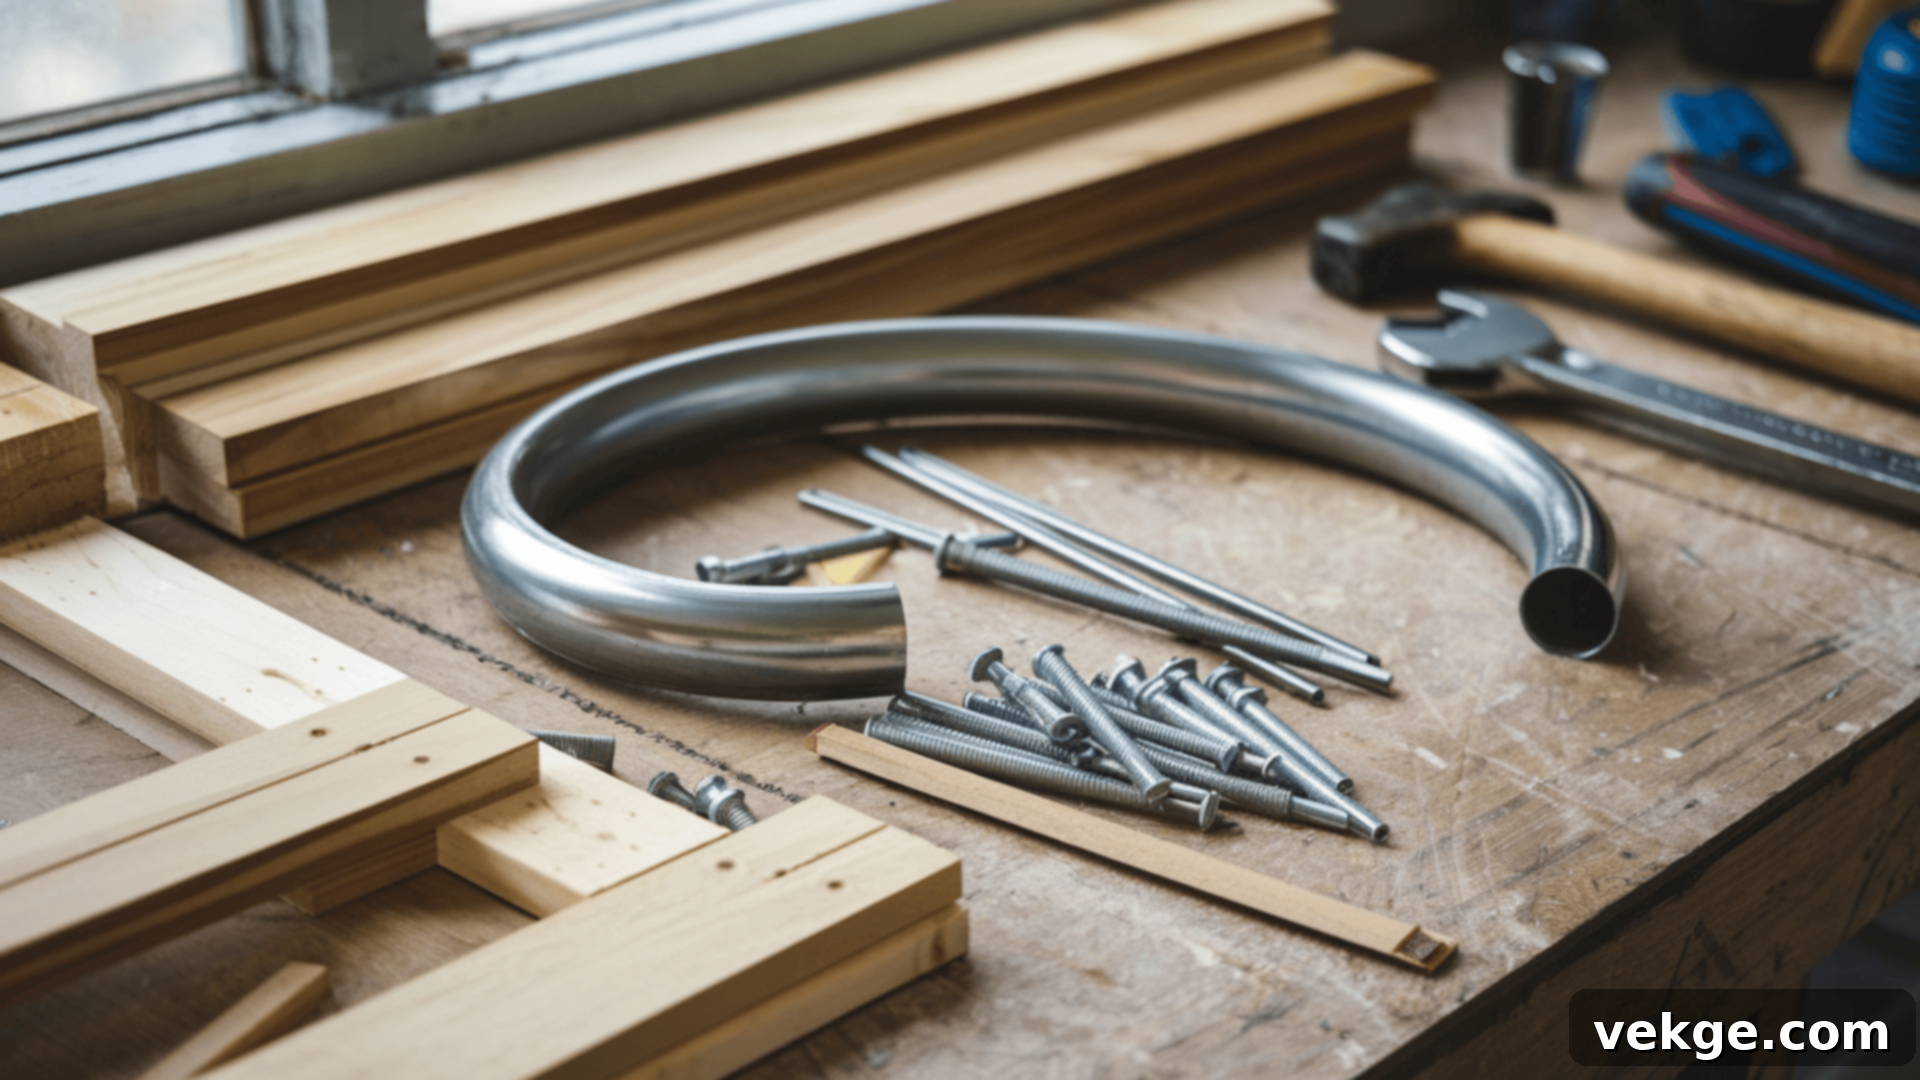
- Metal Pipes: To achieve an industrial or modern aesthetic, consider using galvanized steel or black iron pipes. These are incredibly strong and can be assembled into various leg configurations (e.g., ‘H’ shape, ‘A’ frame). They offer excellent durability and a unique visual appeal.
- Trestle or Pedestal Base: Beyond individual legs, you might opt for a trestle or pedestal base for a different style. These designs often provide excellent stability and can be a striking design feature.
Regardless of your choice, the paramount consideration is stability. Ensure that the legs are not only robust but also securely attached to the tabletop and adequately braced to prevent any wobbling. A well-constructed frame is essential for both safety and the longevity of your patio table.
Essential Tools for Construction
Having the right tools on hand will make your outdoor table build much smoother and more enjoyable. Here’s a list of essentials:
- Measuring Tools: Tape measure, ruler, and a carpenter’s square for accurate cuts and assembly.
- Cutting Tools: A circular saw, miter saw, or hand saw for cutting wood planks and legs. A jigsaw can be useful for curved cuts if your design requires it.
- Drilling Tools: An electric drill/driver for pre-drilling holes and driving screws. Ensure you have a good set of drill bits.
- Fasteners: Weather-resistant screws (stainless steel or galvanized are best for outdoor use), bolts, and wood glue for strong, durable joints.
- Clamps: Various sizes of clamps are invaluable for holding pieces together while glue dries or while fastening components.
- Sanding Supplies: Sandpaper (various grits from coarse to fine) or an orbital sander for smoothing surfaces and preparing for finishes.
- Safety Gear: Safety glasses, gloves, and ear protection are non-negotiable for any DIY project.
- Finishing Supplies (Optional but Highly Recommended): Paintbrushes, rollers, wood stain, exterior paint, or a durable sealant/polyurethane for weather protection and aesthetic enhancement.
Step-by-Step Guide to Building Your Custom DIY Outdoor Table
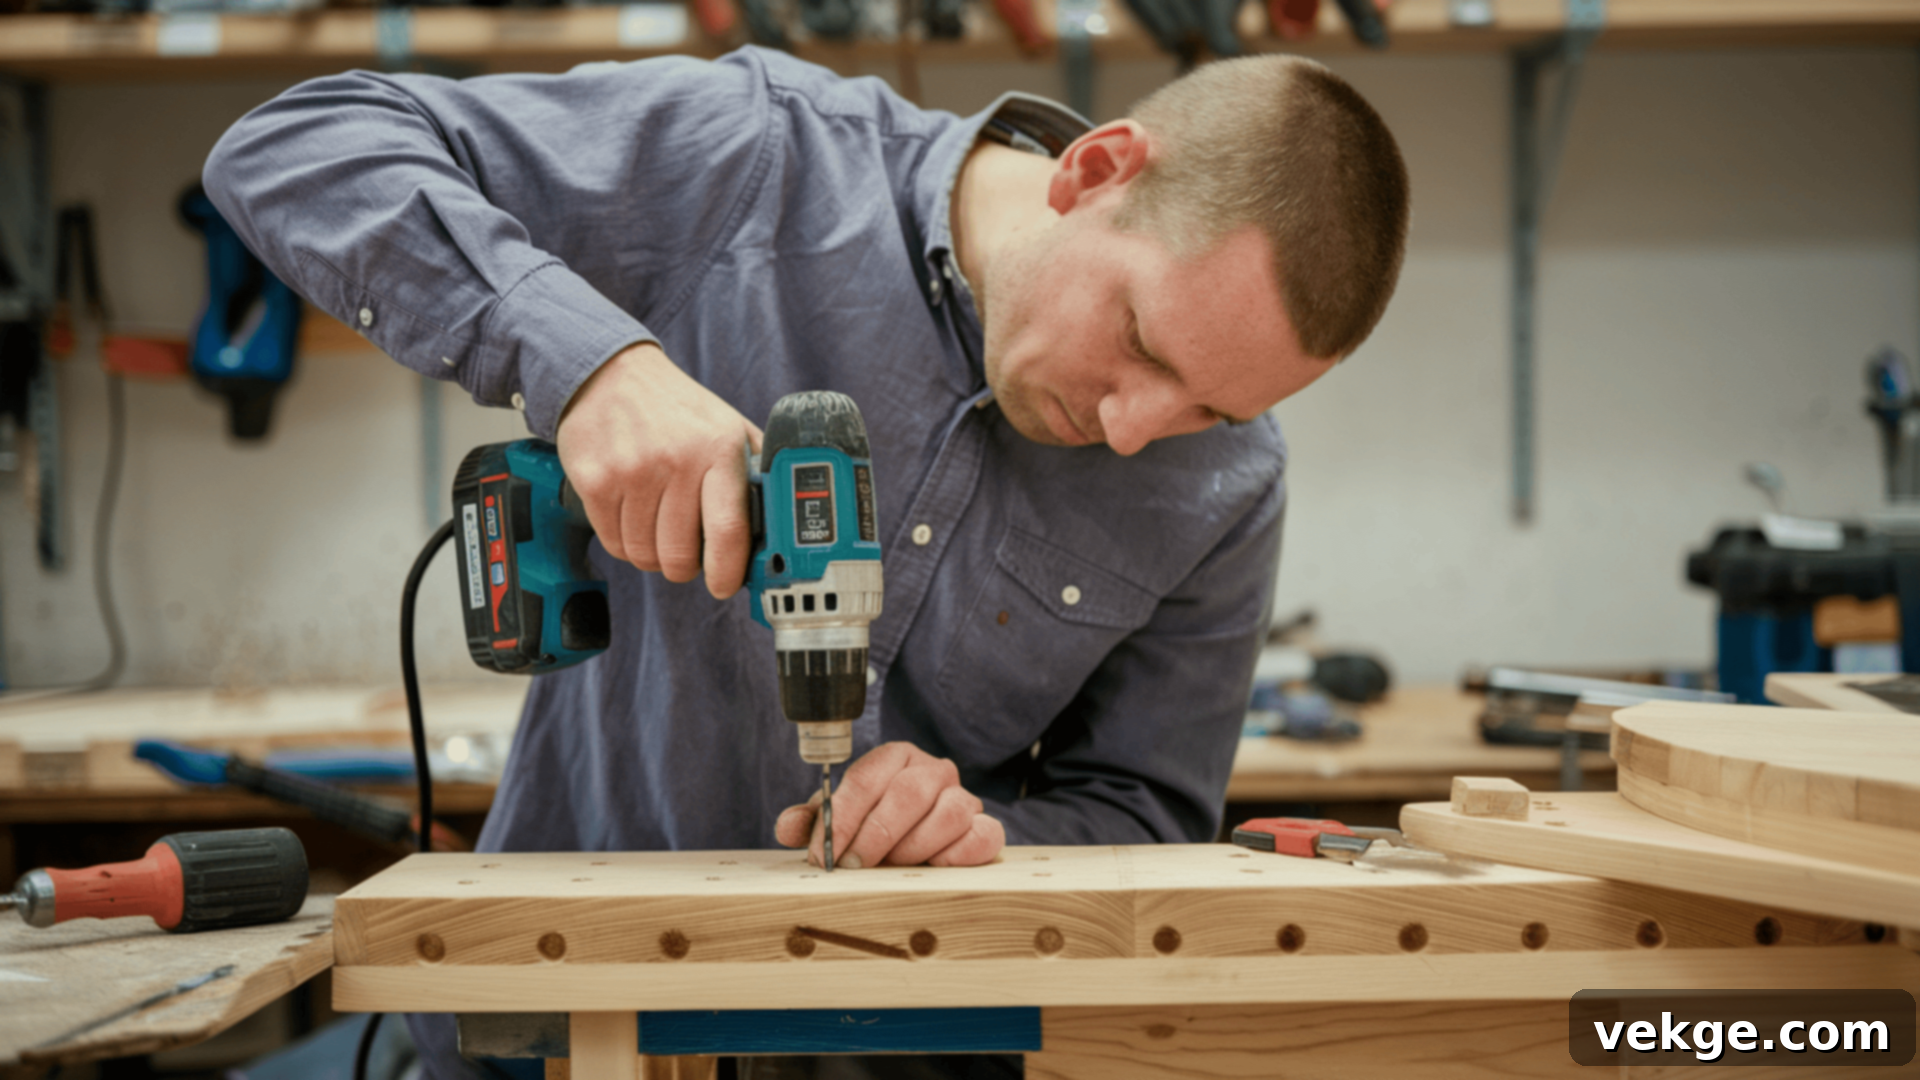
Step 1: Prepare Your Workspace and Materials
- Clear and Level the Area: Begin by selecting a flat, open, and stable spot in your yard, garage, or workshop to serve as your assembly area. Remove any potential hazards like debris, rocks, or uneven ground. If working outdoors, ensure the ground is as level as possible to facilitate accurate measurements and assembly. A stable base for construction is key to a stable finished product.
- Gather All Materials and Tools: Before making your first cut, ensure you have all the necessary lumber, hardware (screws, bolts, brackets), wood glue, and all your tools (saws, drill, measuring tape, safety gear) readily accessible. This pre-organization prevents interruptions and makes the building process much more efficient and enjoyable. Double-check your supply list against your chosen design.
Step 2: Precisely Cut Your Tabletop and Legs
- Measure Twice, Cut Once: This age-old carpenter’s adage is vital here. Using your detailed plans and a reliable tape measure, meticulously mark all cuts on your chosen wood for both the tabletop and legs. For the tabletop, decide if you’ll use individual planks or a solid sheet. Ensure consistency in leg lengths for a level table.
- Execute Clean Cuts: With your marks precise, carefully cut the wood using a circular saw, miter saw, or hand saw, depending on your tools and comfort level. Always wear safety glasses and follow tool safety guidelines. If you’re not confident in your cutting skills, many hardware stores offer wood cutting services based on your measurements. Remember that standard outdoor dining table height is typically between 28-30 inches, but adjust this to your specific needs for comfortable use.
- Prepare Tabletop Edges: If your tabletop consists of multiple planks, ensure their edges are perfectly straight and smooth for a tight seam when joined. You might use a router to create a decorative edge profile if desired, or simply sand them smooth.
Step 3: Assemble the Table Frame and Legs
- Construct the Base Structure: Lay your tabletop planks or sheet upside down on a clean, flat surface. This provides an excellent working area. Begin by attaching the apron or frame that will support the tabletop and connect the legs. Use wood glue on all joints for added strength, along with weather-resistant screws or bolts. Pre-drill pilot holes to prevent wood from splitting.
- Attach the Legs Securely: Position the legs at each corner of your table’s frame, or according to your design (e.g., trestle, pedestal). Use a drill to drive screws through the apron into the legs, or use sturdy corner brackets for enhanced stability. Ensure the legs are plumb (straight up and down) and square to the tabletop using a carpenter’s square. For an outdoor dining table, robust leg attachment is crucial for long-term durability.
- Add Reinforcement: For tables larger than a small coffee table, especially a DIY outdoor dining table, adding extra support beams or cross-braces underneath the tabletop is highly recommended. These reinforcements, secured with screws and wood glue, will prevent sagging and enhance the overall structural integrity, making your table incredibly sturdy and wobble-free.
Step 4: Sand, Finish, and Protect Your Outdoor Table
- Thorough Sanding: Once assembly is complete, it’s time to prepare the surface for finishing. Use an orbital sander or sandpaper by hand, starting with a coarser grit (e.g., 80-100) to remove any rough spots, glue residue, or imperfections. Gradually move to finer grits (e.g., 150-220) for a silky-smooth finish. Pay extra attention to all edges and corners to prevent splinters and ensure a pleasant tactile experience.
- Apply a Protective Finish: This is a vital step for any outdoor table. Choose a high-quality exterior wood stain, paint, or clear sealant designed to withstand UV rays, moisture, and temperature fluctuations. Stains enhance the natural beauty of the wood while providing protection, while exterior paints offer a broader color palette and a solid protective layer.
- Seal for Longevity: If using wood, a waterproof sealant or marine-grade polyurethane is paramount. Apply multiple thin coats according to the product instructions, allowing each coat to dry completely and lightly sanding between coats if recommended. This protective barrier will shield your patio table from rain, sun, and everyday wear, ensuring it remains beautiful and functional for many seasons to come. Let the final coat cure fully before placing items on or using the table.
Common Mistakes to Avoid When Building Your DIY Outdoor Table
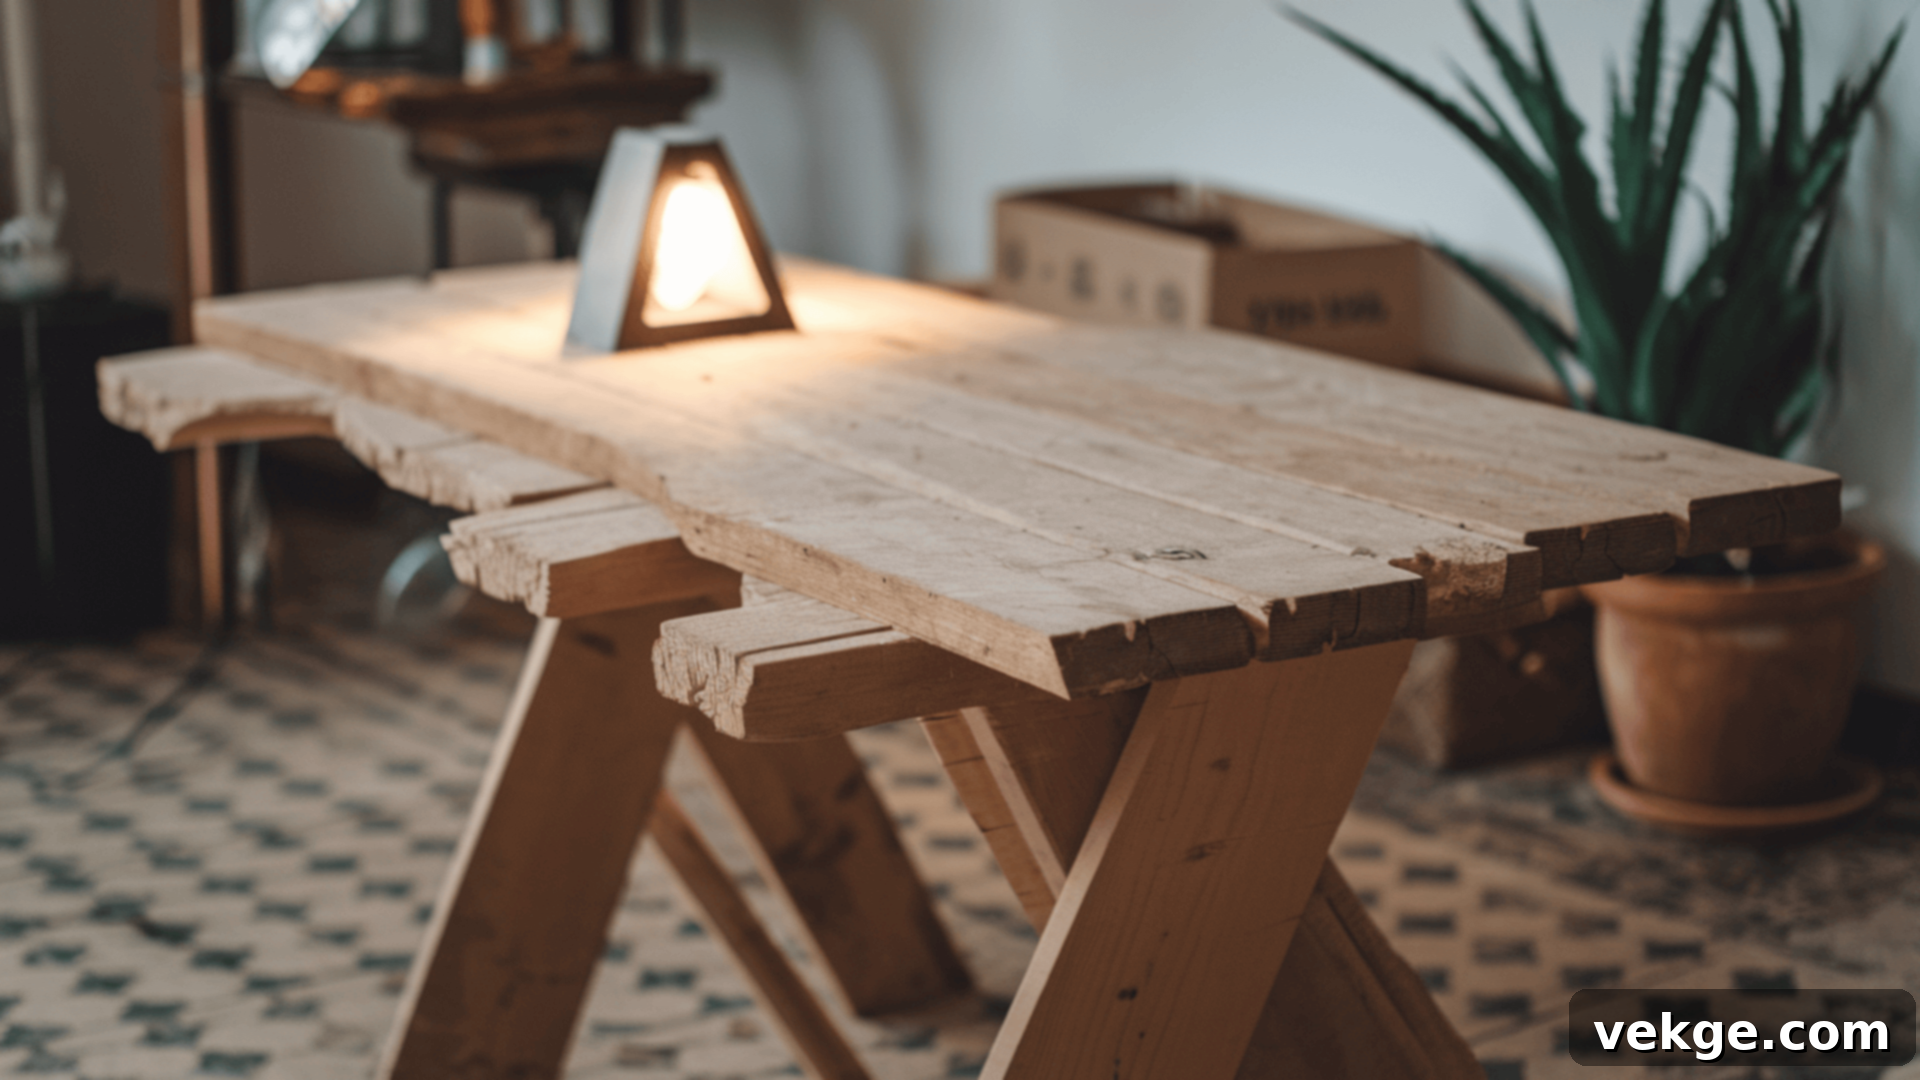
1. Neglecting to Choose Weather-Resistant Materials
- Problem: One of the most critical errors when building an outdoor table is using materials not suitable for exterior conditions. Untreated lumber, indoor-grade plywood, or fasteners that aren’t rust-proof will quickly succumb to the elements. Rain, humidity, UV radiation from the sun, and temperature fluctuations can lead to warping, rotting, cracking, and rust stains, significantly shortening your table’s lifespan.
- Solution: Always opt for wood species naturally resistant to decay and insects, such as cedar, teak, redwood, or pressure-treated lumber. If using other woods, ensure they are thoroughly treated with an exterior-grade wood preservative. Use stainless steel or galvanized screws and hardware, which are designed to resist corrosion. Investing in the right materials upfront is crucial for a durable and long-lasting patio table.
2. Inaccurate Measurements and Cuts
- Problem: A common pitfall in any woodworking project is imprecise measuring and cutting. Miscalculating the dimensions of your tabletop, cutting legs at inconsistent lengths, or failing to make square cuts can result in a lopsided, wobbly, or ill-fitting table. Even minor inaccuracies can lead to frustrating assembly challenges and a visually unappealing final product.
- Solution: Precision is key. “Measure twice, cut once” is a mantra for a reason. Use a reliable tape measure, a carpenter’s square, and a straightedge to mark all your cuts meticulously. Before making a cut, double-check that your saw blade is set correctly and your wood is securely clamped. If using multiple planks for a tabletop, ensure they are cut to identical lengths and widths to create seamless joins.
3. Skipping or Improper Finishing
- Problem: Many DIYers, eager to use their new outdoor table, rush or entirely skip the crucial finishing steps. Leaving wood unfinished or applying an inadequate sealant exposes it directly to the harsh outdoor environment. This accelerates deterioration, leads to splintering, color fading, mold growth, and makes the table difficult to clean.
- Solution: Dedicate ample time to sanding and finishing. Start with coarse sandpaper and progressively move to finer grits to achieve a smooth surface, paying special attention to edges. Apply at least two to three coats of a high-quality exterior-grade paint, stain, or clear sealant. These finishes provide a protective barrier against moisture, UV rays, and general wear. Allow each coat to dry completely according to manufacturer instructions. Regular reapplication of the finish (typically annually or bi-annually) is essential for maintaining your table’s protection and appearance.
4. Overlooking Structural Stability
- Problem: A beautiful table is useless if it’s unstable. Failing to properly reinforce the connections between the tabletop and legs, or not adding adequate bracing, can result in a wobbly or unsafe patio dining table. This is not only annoying but can also be dangerous if the table collapses.
- Solution: Beyond just screwing legs to the tabletop, ensure you use strong joinery techniques and add structural reinforcements. Wood glue on all joints significantly increases strength. Consider using corner brackets, cross-braces, or an apron frame underneath the tabletop to tie the legs together. When attaching legs, ensure they are plumb and square. Before heavy use, gently test the table’s stability by rocking it from different angles, and make any necessary adjustments or add more bracing.
5. Rushing Through the Construction Process
- Problem: Impatience can be a DIY project’s worst enemy. Rushing through steps, not allowing glue or finishes to dry properly, or failing to check alignment can lead to a cascade of errors. This often results in a sub-par product, frustrating rework, or even needing to start over.
- Solution: Embrace the process and take your time. Read through all instructions thoroughly before starting. Work methodically, focusing on one step at a time. Allow glues to cure fully and finishes to dry completely between coats – this is critical for durability. Don’t hesitate to take breaks if you feel rushed or frustrated. Enjoying the journey of building an outdoor table ensures a higher quality, more satisfying outcome.
Maintaining Your DIY Outdoor Table for Lasting Beauty
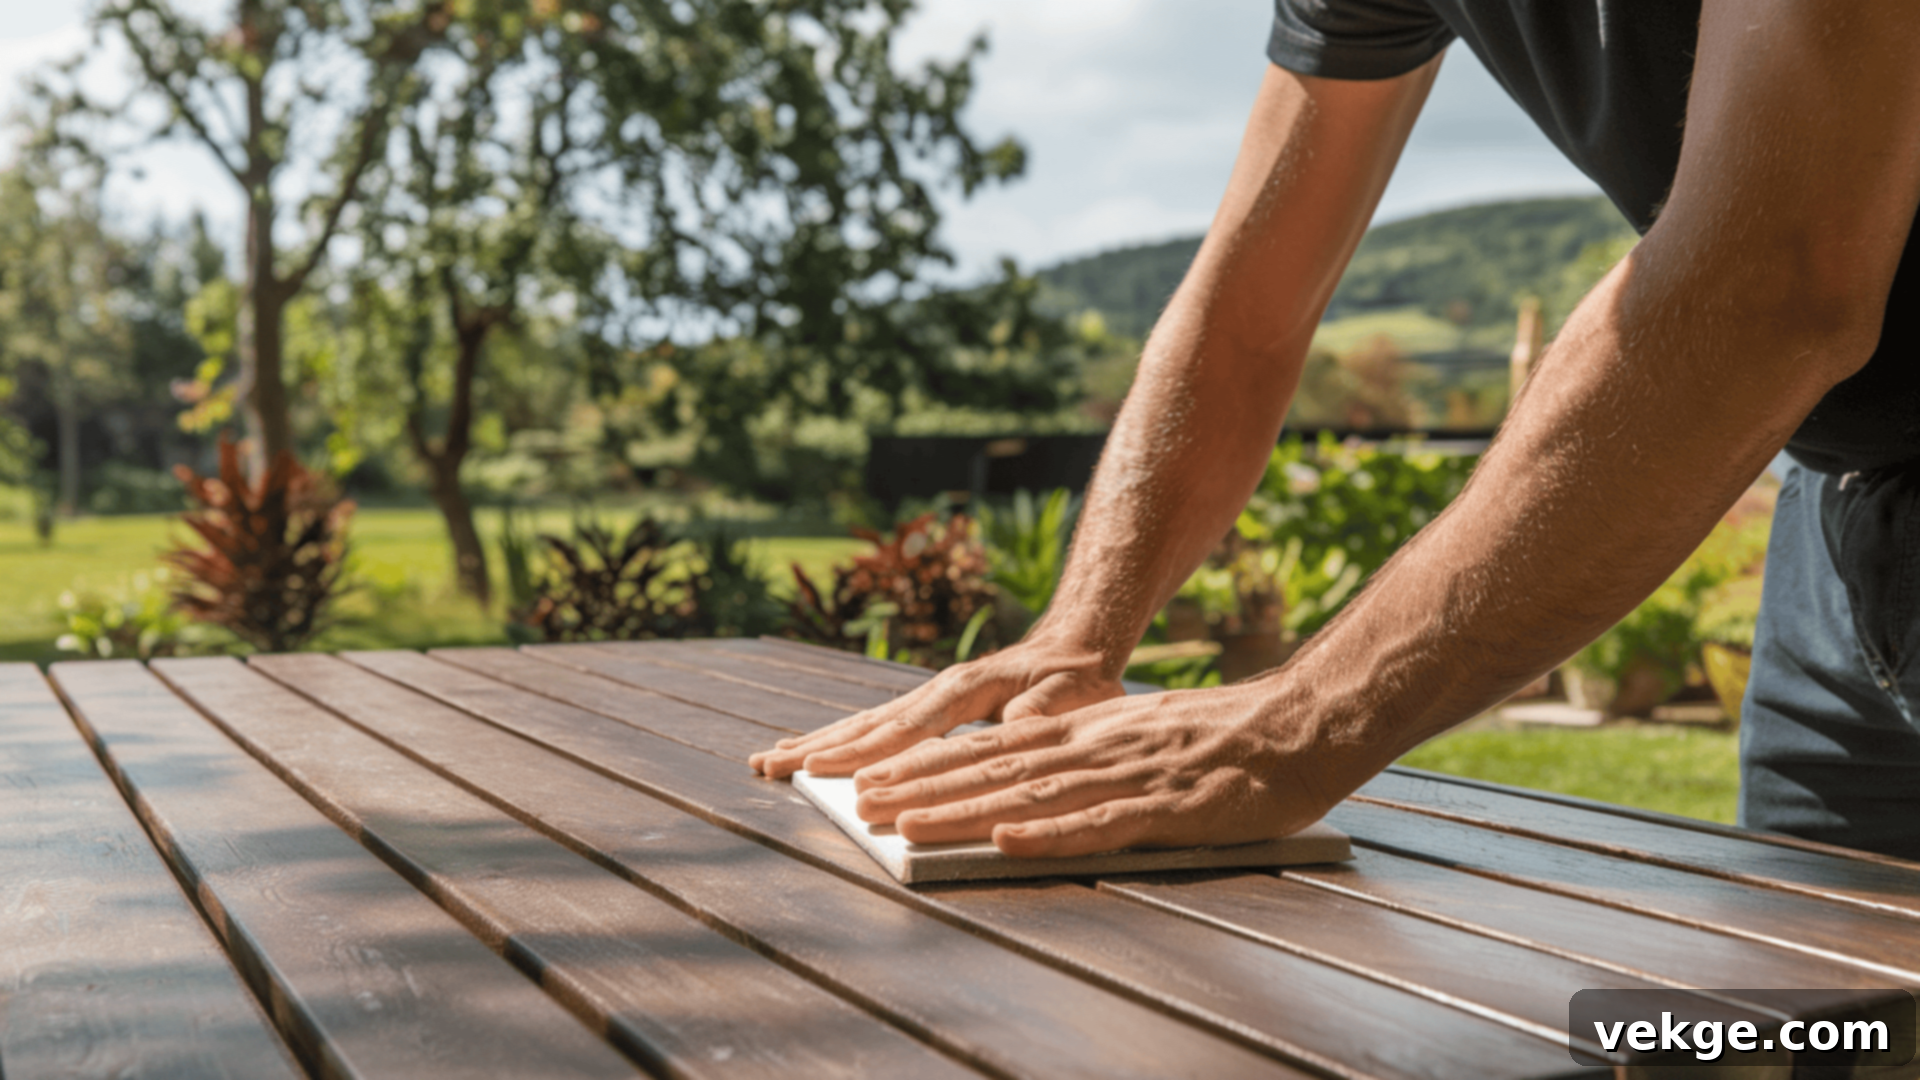
- Regular Cleaning is Key: To keep your patio table looking its best and prevent grime buildup, make regular cleaning a habit. Use a soft cloth, sponge, or non-abrasive brush with warm water and a mild dish soap solution. Wipe down the entire surface, legs, and underside to remove dust, dirt, pollen, food spills, and bird droppings. Rinse thoroughly with clean water and dry with a clean cloth to prevent water spots, especially on wooden surfaces.
- Opt for Gentle Cleansers: Harsh chemical cleaners or abrasive scrubbing pads can strip away your table’s protective finish, dull its appearance, and even damage the wood. Stick to mild soap and water for most cleaning tasks. For more stubborn stains, a specialized outdoor furniture cleaner or a diluted vinegar solution (1 part white vinegar to 4 parts water) can be effective. Always test any new cleaning solution on an inconspicuous area first.
- Reapply Weather Protection Annually: The sun’s UV rays, rain, humidity, and temperature changes continuously challenge your table’s finish. Over time, even the best sealants will degrade. To ensure long-term durability and resistance to fading, warping, and rot, plan to reapply a weather-resistant sealant or protective coating every 6 to 12 months, or as recommended by the product manufacturer. This proactive step is crucial for any DIY outdoor table.
- Select the Correct Protective Finish: Not all sealants are created equal. When reapplying, use a product specifically formulated for outdoor wood or the material of your tabletop. These exterior-grade finishes contain UV inhibitors and mold/mildrew resistors, offering superior protection against the unique challenges of the outdoor environment. Whether it’s a clear sealant, an outdoor stain, or a marine-grade varnish, ensure it’s compatible with your table’s existing finish.
- Conduct Periodic Inspections for Wear and Tear: Regularly (e.g., seasonally or bi-annually) inspect your DIY outdoor table for any signs of wear, damage, or structural issues. Look for loose screws, wobbly joints, cracks in the wood, splintering, or signs of rot. Address these issues promptly. Tighten any loose fasteners, fill minor cracks with exterior-grade wood filler, and sand down splinters. Early detection and repair can prevent minor problems from escalating into major damage.
- Reinforce as Needed and Store Properly: If you notice any persistent wobbling or structural weakness during your inspection, don’t hesitate to add further reinforcement. This could involve adding extra brackets, cross-braces, or replacing worn-out fasteners. During off-seasons or periods of extreme weather, consider covering your table with a breathable, waterproof cover or storing it in a sheltered area like a garage or shed. This extra layer of protection significantly extends the life and beauty of your handcrafted outdoor dining table.
Enhancing and Personalizing Your DIY Outdoor Table
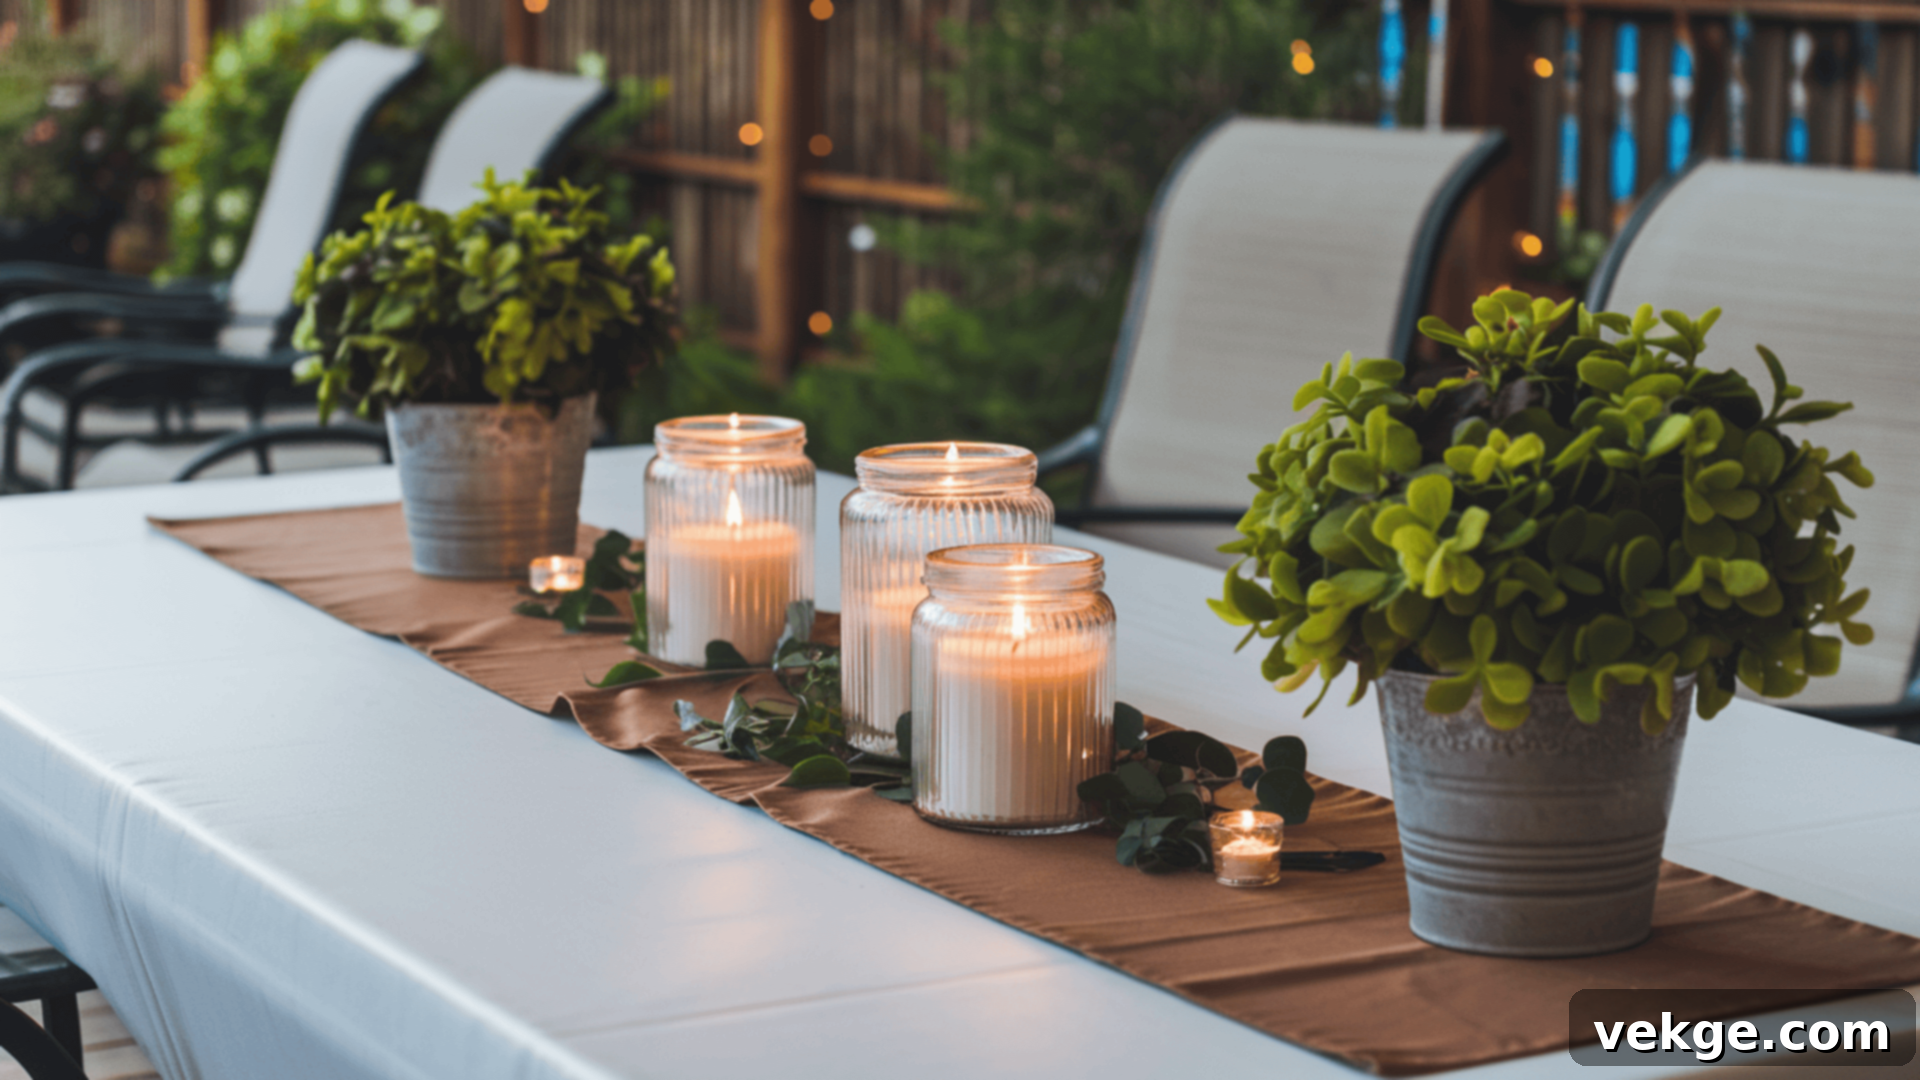
Elevate with Table Runners and Centerpieces
Once your DIY outdoor table is built and finished, the fun of personalization begins! A well-chosen table runner is an effortless way to introduce color, texture, and style. It can instantly refresh the look of your patio table for different seasons or occasions. Imagine a vibrant, weatherproof runner for lively summer barbecues, a warm, woven fabric for cozy autumn evenings, or a subtle linen for elegant gatherings. Swapping them out is quick and easy, allowing you to continually update your outdoor aesthetic.
Complementing the runner, a thoughtfully designed centerpiece can transform your table from merely functional to inviting and decorative. A simple vase of freshly cut flowers from your garden, a collection of unscented outdoor candles in hurricane lamps for ambient lighting, or a bowl filled with natural elements like polished stones, seashells, or seasonal fruits can create a welcoming focal point. These small additions infuse personality and make your outdoor dining table feel special for every meal or social gathering.
Incorporate Practical Built-In Features
Beyond its primary function, your custom outdoor table can be even more practical with clever built-in features. When designing, consider adding integrated storage options. A discreet shelf or a pull-out drawer positioned beneath the tabletop can be invaluable for keeping outdoor essentials handy yet out of sight – think napkins, extra placemats, garden tool organizers, or even children’s outdoor toys. This minimizes clutter and enhances convenience.
For ultimate entertaining, a built-in cooler or icebox is a fantastic addition. Integrated directly into the tabletop, this feature keeps beverages chilled and easily accessible during hot summer days, eliminating the need for bulky, freestanding coolers. Some designs even include a drain for easy cleanup. These functional enhancements not only boost your DIY patio table’s utility but also impress guests and elevate your outdoor entertaining experience.
Create a Cohesive Matching Outdoor Dining Set
To truly unify and elevate your outdoor living area, extend your DIY project to include matching seating. Building outdoor chairs or benches that complement your newly constructed outdoor dining table will create a cohesive and stylish ensemble. This approach ensures perfect harmony in design, materials, and finish, giving your outdoor space a polished, custom-designed look that is both functional and visually appealing.
When crafting your seating, use the same type of wood, fasteners, and protective finish as your table. Whether you opt for simple, sturdy wooden benches that can be tucked under the table, or individual chairs with a more intricate design, consistency is key. A complete DIY outdoor dining set not only provides ample seating but also enhances the overall aesthetic, making your outdoor area feel like a professionally designed extension of your home.
Inspiring Design Ideas for Your DIY Outdoor Table
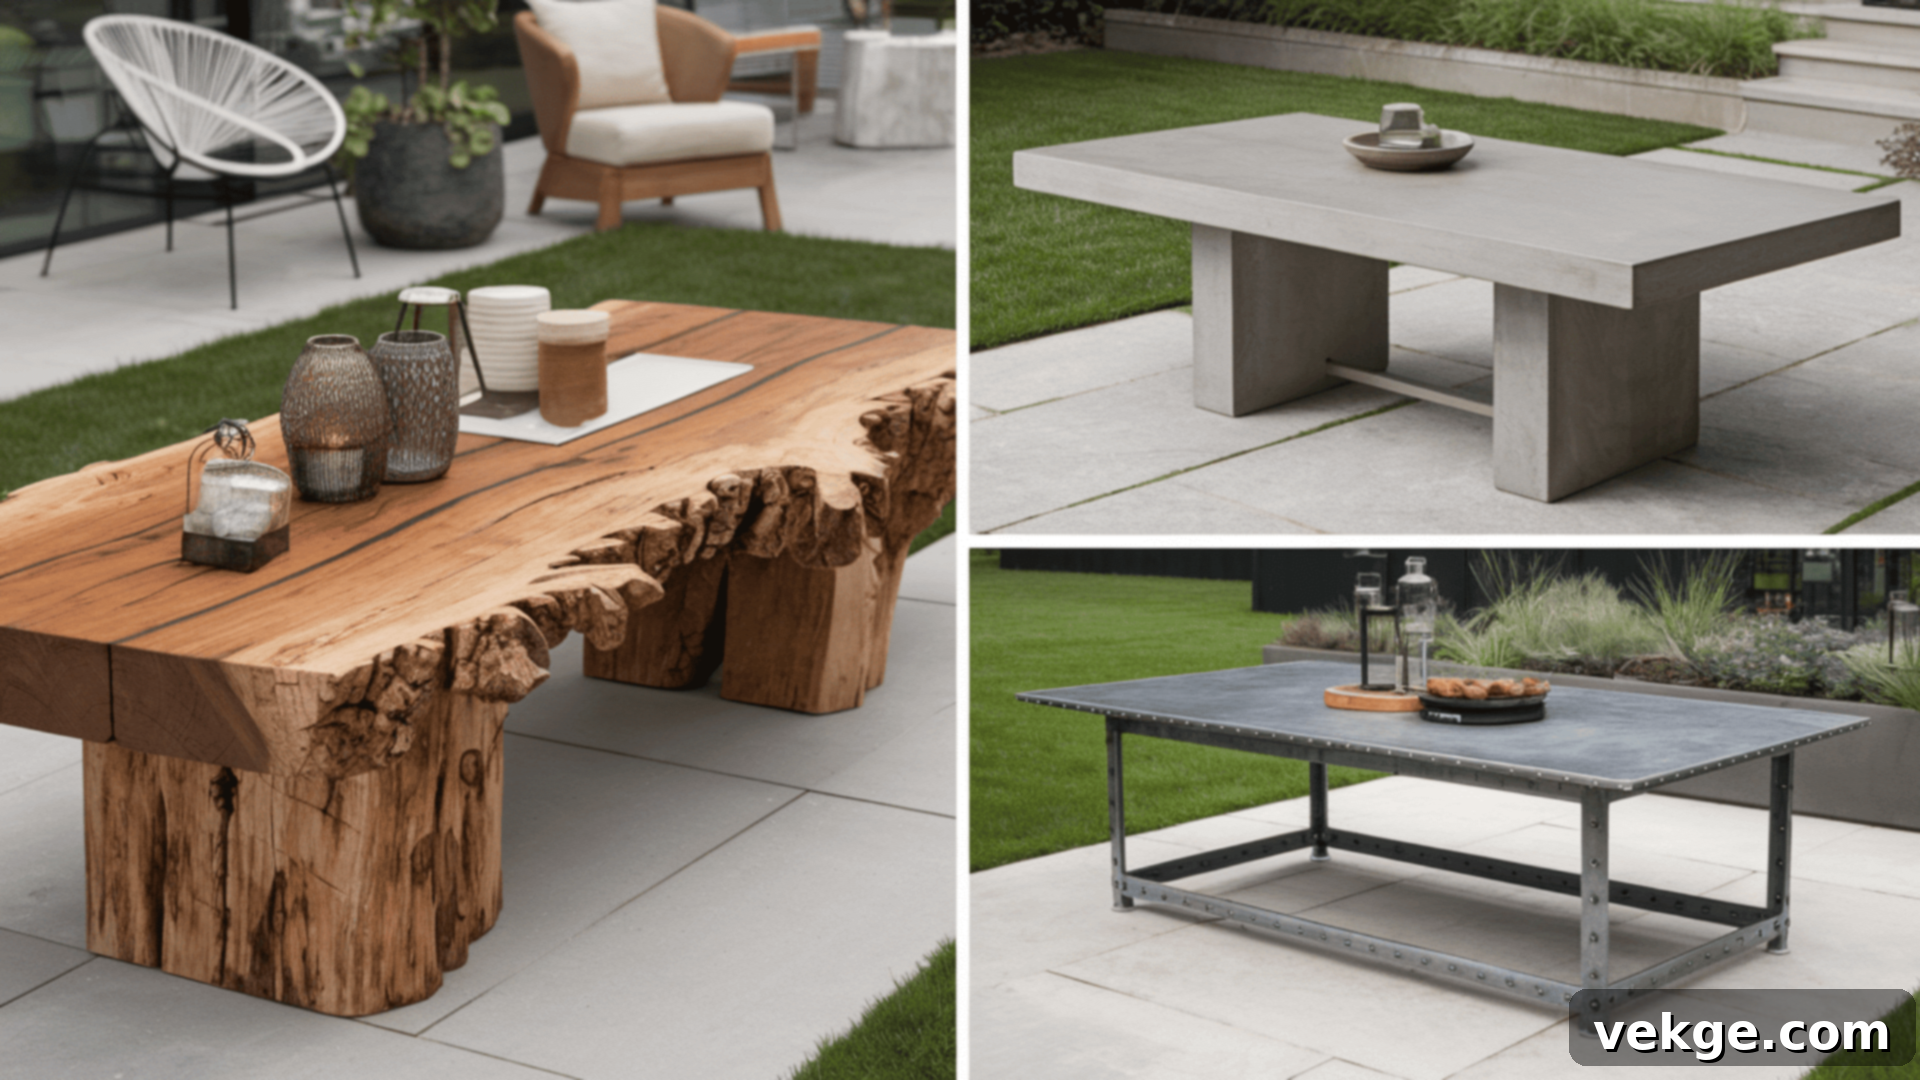
The Charm of Rustic Style Outdoor Tables
If you’re drawn to natural textures and an earthy aesthetic, a rustic DIY outdoor table is a perfect choice. Embrace the beauty of imperfection by using reclaimed wood, weathered barn planks, or rough-sawn lumber. These materials naturally feature knots, grain variations, and distressed finishes that tell a story, making each table unique. For an even more organic feel, consider a live-edge slab for your tabletop, showcasing the natural contours of the tree.
Complement this style with robust, chunky legs, perhaps from thick timber posts or even old metal elements for a touch of industrial rustic. Pair your rustic patio dining table with sturdy wooden benches or wrought-iron chairs, and add accessories like burlap runners, cast iron lanterns, or potted herbs to complete a warm, inviting, and grounded outdoor dining area.
Sleek Modern Minimalist Outdoor Tables
For those who prefer clean lines, uncluttered spaces, and a sophisticated aesthetic, a modern minimalist outdoor table design is ideal. This style focuses on simplicity, functionality, and often features geometric shapes and a neutral color palette. Opt for smooth, polished materials like sealed concrete, sleek composite decking, or dark-stained hardwoods such as teak or ipe.
The key here is understated elegance. Choose a design with simple, straight legs, perhaps made of brushed stainless steel or powder-coated aluminum, to create a light and airy feel. Avoid ornate details; let the quality of the materials and the precision of the construction speak for themselves. Pair your minimalist table with contemporary chairs in matching neutral tones for a chic and serene outdoor living space.
Robust Industrial Design Outdoor Tables
An industrial-style DIY outdoor table makes a bold statement, blending raw materials like metal and wood for an urban, factory-inspired look. This design is perfect for those who appreciate rugged durability and a utilitarian aesthetic. A popular choice involves pairing a thick, solid wood tabletop (such as pine, oak, or even a heavy-duty plywood with a robust finish) with sturdy metal pipe legs or steel box sections.
The beauty of industrial design lies in its exposed elements – visible bolts, raw metal finishes, and distressed wood. Consider using black iron pipes for the legs and frame, allowing the inherent character of the materials to shine. This style works exceptionally well in concrete-floored patios or urban garden settings. Complement your industrial table with metal chairs, benches, or even upcycled crates for seating, creating a distinctive and edgy outdoor dining experience.
The Comfort of a Farmhouse Style Outdoor Table
If you envision large family gatherings, casual entertaining, and a sense of timeless comfort, a farmhouse-style outdoor dining table is your go-to. Characterized by its generous size, sturdy construction, and welcoming appeal, a farmhouse table typically features a long, rectangular top crafted from substantial wooden planks. A distressed paint finish, often in whites, creams, or soft greys, can give it that charming, weathered, and loved look. Alternatively, a natural wood finish with a robust sealant works beautifully.
The legs are often chunky and turned, or simple, thick square posts. To complete the quintessential farmhouse look, pair your table with matching wooden benches on either side, perhaps with a couple of Windsor-style chairs at the ends. This design creates an inviting atmosphere, perfect for relaxed meals, card games, and creating lasting memories in your outdoor space.
Refreshing Coastal or Beachy Vibes Outdoor Tables
Bring the tranquility of the seaside to your backyard with a coastal or beachy-themed DIY outdoor table. This style emphasizes light, airy colors, natural textures, and a relaxed, laid-back feel. Opt for light-colored woods such as driftwood, pale pine, or white-washed cedar. These materials evoke a sense of sun-bleached beauty and natural elegance.
Consider a slatted tabletop design to enhance the breezy, open feel, or incorporate subtle details like rope accents. Finish your table with a clear, matte sealant to maintain the natural wood look, or a soft, weathered blue or green paint for a pop of color. To complete your coastal retreat, adorn the table with beach-inspired accessories like glass floats, seashells, woven placemats, linen runners, and comfy cushions in shades of blue and sand. This style creates a serene escape, perfect for enjoying cool beverages and gentle breezes.
Conclusion: Your Journey to a Perfect DIY Outdoor Table
Embarking on the journey to build your own DIY outdoor table is an incredibly rewarding endeavor. As we’ve explored, this project offers a fantastic opportunity to transform your backyard or patio into a more functional, beautiful, and personalized extension of your home. Beyond the significant cost savings compared to purchasing a pre-made table, the true value lies in the ability to create a piece that perfectly aligns with your specific needs, style preferences, and the unique character of your outdoor living space.
From carefully selecting durable, weather-resistant materials to meticulously following each step of the construction process, and finally, protecting your creation with a suitable finish, every decision contributes to a sturdy, long-lasting, and aesthetically pleasing patio table. Whether your vision leans towards a charming rustic outdoor dining table, a sleek modern minimalist design, a rugged industrial statement, a welcoming farmhouse centerpiece, or a serene coastal retreat, the possibilities for customization are truly limitless.
This comprehensive guide has equipped you with the knowledge, tips, and inspiration needed to confidently tackle your outdoor table build. Remember to plan carefully, measure precisely, prioritize stability, apply proper finishes, and perform regular maintenance to ensure your handcrafted masterpiece endures for many seasons of enjoyment. There’s immense satisfaction in gathering with family and friends around a table you built yourself, knowing it adds a unique touch to countless outdoor memories.
So, why wait? Gather your tools, unleash your creativity, and get started on your DIY outdoor table project today. Enjoy the pride of crafting something truly special for your home, and elevate your outdoor living experience. For more exciting DIY projects and creative ideas to enhance your outdoor spaces, be sure to explore the other insightful blogs and resources available on our website!
