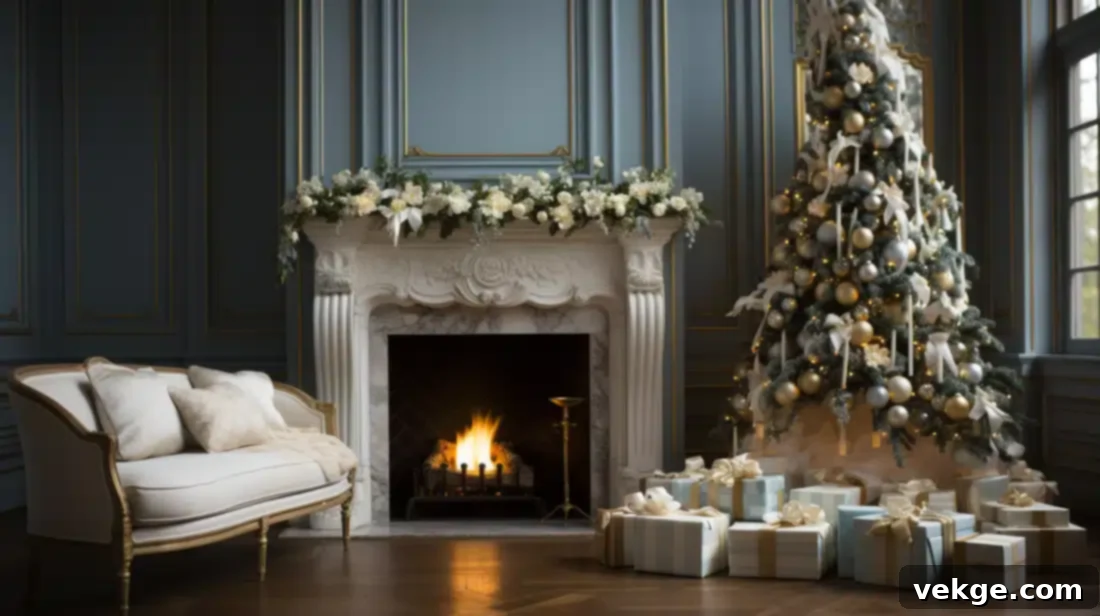
Transform Your Home: The Ultimate Guide to Decorating Your Christmas Tree Like a Pro
With the festive season just around the corner, it’s never too early to start planning how you’ll bring the magic of Christmas into your home. The centerpiece of these celebrations is undoubtedly the Christmas tree, a beacon of joy and tradition. While the tree itself might not be in front of you yet, envisioning its transformation and gathering inspiration can spark immense creativity and ensure your holiday decor is truly spectacular.
Decorating a Christmas tree is more than just hanging a few baubles; it’s an art form that combines creativity, personal style, and a touch of festive magic. There are fundamental principles that can elevate any tree, regardless of its size or type, ensuring a harmonious and visually stunning display. From the foundational layers of lights and garlands to the intricate details of ornaments and ribbons, each step builds upon the last to create a captivating focal point in your home. If you’re looking for practical tips and clever tricks to decorate your Christmas tree with finesse and flair, you’ve come to the right place. We’ve got you covered with a step-by-step guide designed to help you achieve a professional-looking result with ease.
The Foundation: Stringing Your Lights
Before any other decoration touches your tree, lights are paramount. They provide the fundamental glow and warmth that define the Christmas spirit. Choosing the right lights and stringing them correctly will make all the difference in how your tree shines. Begin by testing all your light strands to ensure they work perfectly – there’s nothing more frustrating than finding a burnt-out section after all your hard work!
When it comes to placement, think about wrapping your lights not just around the outer branches, but deep into the tree, close to the trunk, and then spiraling outwards. This technique adds incredible depth and an even, radiant glow that makes the tree truly sparkle from within. Aim for approximately 100 lights per foot of tree height for a truly dazzling effect. For example, a 7-foot tree would ideally have 700 lights. Consider the type of light that best suits your aesthetic: classic incandescent bulbs for a warm, traditional glow, or energy-efficient LEDs that offer a crisp, bright light in various colors. Warm white LEDs mimic the traditional look while consuming less power. Ensure your cords are tucked away as much as possible, blending into the branches for a seamless finish.
Layer One: Garlands for Depth and Texture
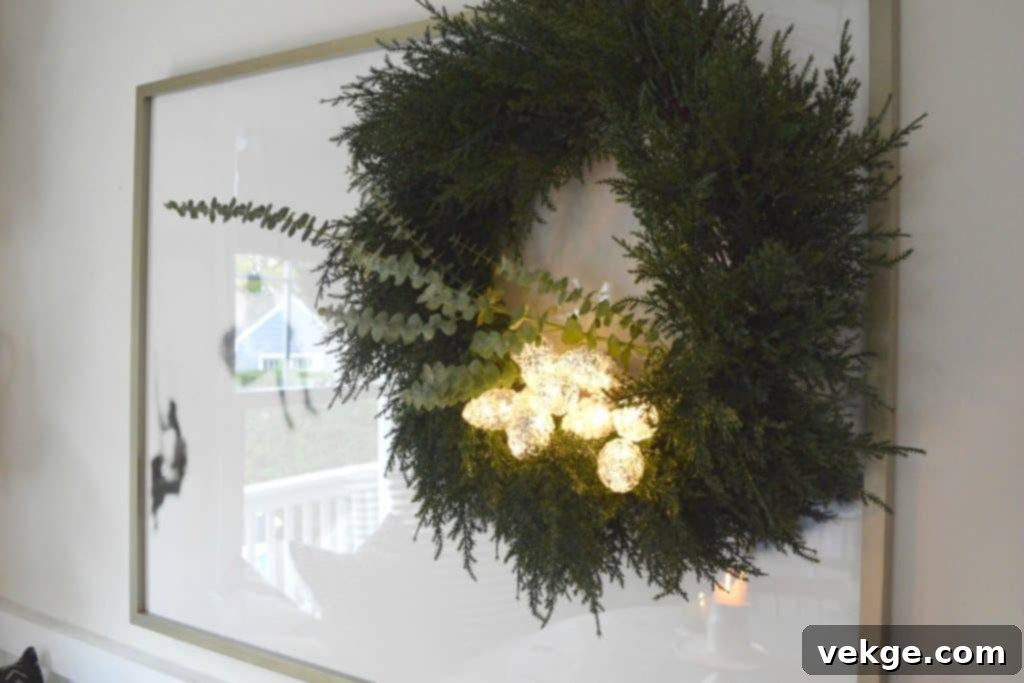
Once your lights are perfectly placed, the next layer to consider is the garland. Garlands introduce texture, color, and a sense of movement to your tree. Instead of wrapping it tightly in a spiral around the tree, try a more flowing, zigzag approach. Start at the top, allowing the garland to drape gracefully down through the branches, creating gentle swags. This method prevents the garland from looking stiff or getting tangled, giving it a more natural and elegant appearance.
You have a vast array of choices: classic beaded garlands, fluffy pom-pom strands, rustic burlap, shimmering tinsel, or even delicate string garlands. The key is to nestle your first layer of garland deeper into the tree, allowing it to become part of the tree’s internal structure rather than just resting on the surface. This technique creates a wonderful sense of depth and allows subsequent layers of decoration to truly pop. As the experts at Cadeaux Christmas, a renowned Dallas Christmas interior decorator, advise, “If you own a garland and want it to remain the star of the show, add it later. Your first layer should only be the one you want deep into the branches, and the outermost layers will take the limelight. So, if you want something to shine, leave it for the end. And hang ornaments in clusters of two or three; it gives them more visual impact.” By using multiple types of garlands, perhaps a simple bead strand deep within and a more elaborate one on the exterior, you can build rich layers of visual interest.
Layer Two: Ribbons for Elegance and Flow
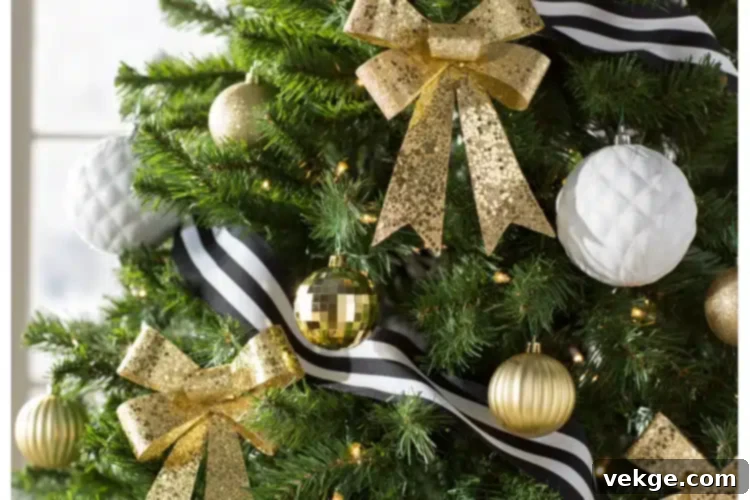
Ribbons are a fantastic element for adding a touch of sophistication, color, and vertical flow to your Christmas tree, yet many find them challenging to incorporate. Forget about unwinding an entire roll and wrapping it around the tree; this often leads to a messy, uneven look. Instead, think of ribbons as individual design elements that you strategically place. The goal is to create graceful cascades and elegant accents.
A popular and effective technique is the “twist-and-tuck” method. For this, you’ll need longer lengths of wired ribbon (wired ribbon holds its shape much better). Start by tucking one end of the ribbon securely into a branch deep within the tree. Let a section of the ribbon drape down, then gently twist it 360 degrees, creating a soft curl, and tuck the next section into another branch, continuing this pattern around the tree. This method creates beautiful, natural-looking swags and ensures the ribbon stays put. Alternatively, for a whimsical touch, you can create faux bows by making two to three ribbon loops and securing them with floral wire, then tucking these “bows” into various spots on the tree to mimic intricately tied bows without the fuss.
When selecting ribbons, start with your boldest or widest ribbon first, as this will define the primary color and texture. A thick, luxurious velvet or satin ribbon in a rich color like red, gold, or emerald green can serve as an excellent base. Then, layer in contrasting ribbons – perhaps a sheer, glittery ribbon or a thinner, patterned one – to add more visual depth and brightness. Ribbons are surprisingly inexpensive, especially when purchased in bulk, making them an excellent tool for filling gaps and adding a luxurious feel without breaking the bank. Experiment with different widths and textures to create a truly dynamic and visually engaging display. Remember to step back frequently and assess how the ribbons are flowing, adjusting as needed to ensure a balanced and organized appearance.
Layer Three: Ornaments for Sparkle and Personality
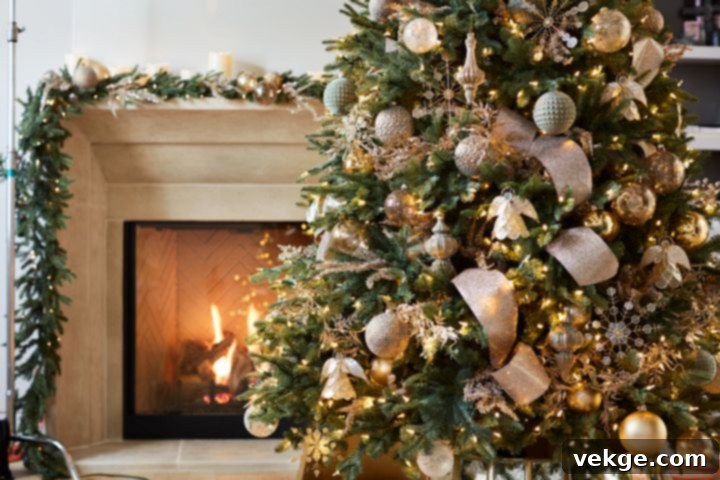
Now it’s time for the stars of the show: your ornaments! This is where your tree truly comes to life and reflects your personal style. Begin by placing your largest and most statement-making ornaments first. These could be oversized bells, grand stars, or unique, substantial pieces. Position them strategically at varying heights and depths within the tree, nestling them into the branches. Think of these as anchor points that provide visual weight and draw the eye.
Once your large ornaments are in place, move on to the medium-sized ones, using them to fill natural gaps and distribute color and shine evenly across the tree. Finally, add your collection of small and medium-sized ornaments. These are perfect for adding sparkle, intricate details, and a sense of abundance. Place some closer to the tips of the branches to catch the light, and tuck others deeper inside, especially if they are reflective, to create an illusion of greater depth and shimmering light from within the tree. To maximize visual impact, consider hanging smaller ornaments in clusters of two or three rather than scattering them individually. This technique creates mini focal points and adds a luxurious, bountiful feel to your tree.
Don’t forget to rotate your ornaments as you hang them, ensuring their most attractive side is facing outwards. Incorporate a variety of textures – shiny, matte, glittery, transparent – to add visual interest. Themes can also guide your ornament selection, whether you prefer a traditional red and gold, a modern silver and blue, a rustic farmhouse look, or a whimsical collection of sentimental pieces gathered over the years. This layering approach ensures a full, rich, and beautifully balanced tree that delights the eye from every angle.
Adding the Organic Touch: Natural Elements
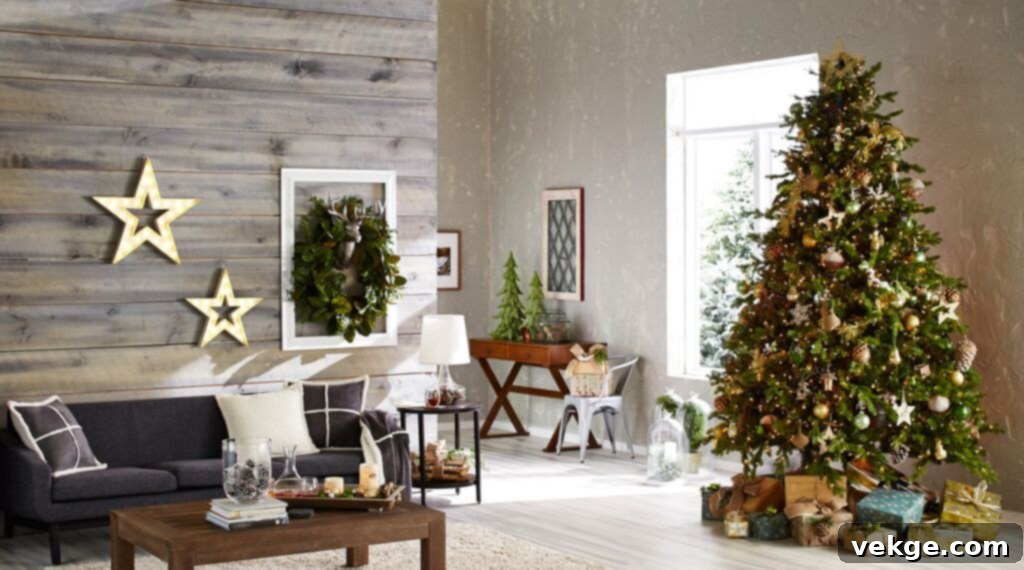
To truly bring your Christmas tree to life and infuse it with an authentic, organic charm, incorporate natural elements. These additions instantly add texture, an inviting aroma, and a unique touch that artificial decorations simply cannot replicate. Think beyond just the traditional baubles and bring in the beauty of the outdoors.
Eucalyptus leaves offer a beautiful silvery-green hue and a refreshing scent, while berry sprigs (real or high-quality faux) add pops of vibrant color and a festive feel. Mix and match different types of greenery and natural accents: olive branches for a Mediterranean touch, fragrant cedar and juniper sprigs for classic holiday appeal, bright holly with its iconic red berries, or soft lamb’s ear for a velvety texture. Even simple pinecones, either left natural or gently frosted with a touch of white paint, can be wired into the branches to add rustic charm.
Don’t hesitate to forage in your own backyard! Beautiful twigs, dried leaves, or interesting seed pods can be transformed into enchanting additions. You can also incorporate dried orange slices for a touch of old-world charm and a lovely citrus aroma, or cinnamon sticks tied with twine for a warm, spicy scent. These natural elements can be tucked directly into the branches, wired onto existing ornaments, or grouped together to create small, organic clusters. Using natural elements not only enhances the visual appeal but also adds a sensory dimension to your Christmas tree, making it feel more alive and deeply connected to the festive season.
The Grand Finale: Toppers and Finishing Touches
No Christmas tree is complete without its crowning glory – the tree topper. This final piece provides a majestic finish and truly symbolizes the spirit of the season. Whether you choose a classic star, an elegant angel, a lavish bow, or something uniquely personal to your family, the topper draws the eye upward and completes the entire decorative scheme. Secure it firmly at the very top of your tree, ensuring it stands straight and proud.
Once the topper is in place, take a step back and view your tree from various angles. This critical step allows you to spot any bare spots, areas that might look too crowded, or ornaments that are hanging loosely. Adjust elements as needed, ensuring a balanced and harmonious look from every perspective. Fluff out any flattened branches, gently reposition ornaments, and make sure all lights are evenly distributed. Finally, complete the scene by carefully placing your beautifully wrapped gifts or decorative boxes beneath the tree. Adding a festive tree skirt or collar will also hide the tree stand and provide a polished foundation for your holiday display.
Remember, when decorating a Christmas tree, there is no absolute right or wrong way. The most important aspect is to enjoy the process and create a tree that brings joy to you and your loved ones. Feel free to experiment with layers, play with different color combinations, and don’t be afraid to step outside traditional boundaries. You don’t need to spend a fortune to achieve a stunning tree. By intelligently using budget-friendly ribbons, incorporating natural elements, and focusing on careful placement, you can transform your tree into a bright, shiny, and personalized masterpiece. Lastly, consider adopting a consistent color scheme or theme across all your decorations – this will make the decorating process easier, create a cohesive and unique look, and make your tree truly unforgettable. Enjoy the festive glow and the beautiful atmosphere your perfectly decorated Christmas tree brings to your home!
