The Ultimate Guide to Building a Custom Outdoor Table: Design, Construct & Weatherproof
Have you ever found yourself frustrated by a wobbly restaurant table, thinking, “I could build something far better than this”? The good news is, you absolutely can! Crafting your own outdoor table is a rewarding project that doesn’t demand advanced woodworking expertise or a garage full of expensive tools. The satisfaction of sharing meals and creating memories around a table you built with your own hands is truly unparalleled.
This comprehensive guide will walk you through every essential step, from selecting the perfect design that complements your outdoor living space to adding clever features like built-in coolers. You’ll discover the best types of wood that can withstand various weather conditions, learn to avoid common DIY pitfalls, and gain valuable maintenance tips to ensure your handcrafted table looks fantastic for years to come.
By the time you finish this guide, you’ll have the confidence and knowledge to create a sturdy, beautiful, and functional outdoor table that perfectly fits your unique style and space. Let’s start building your dream outdoor centerpiece!
Choosing the Right Outdoor Table Design for Your Space
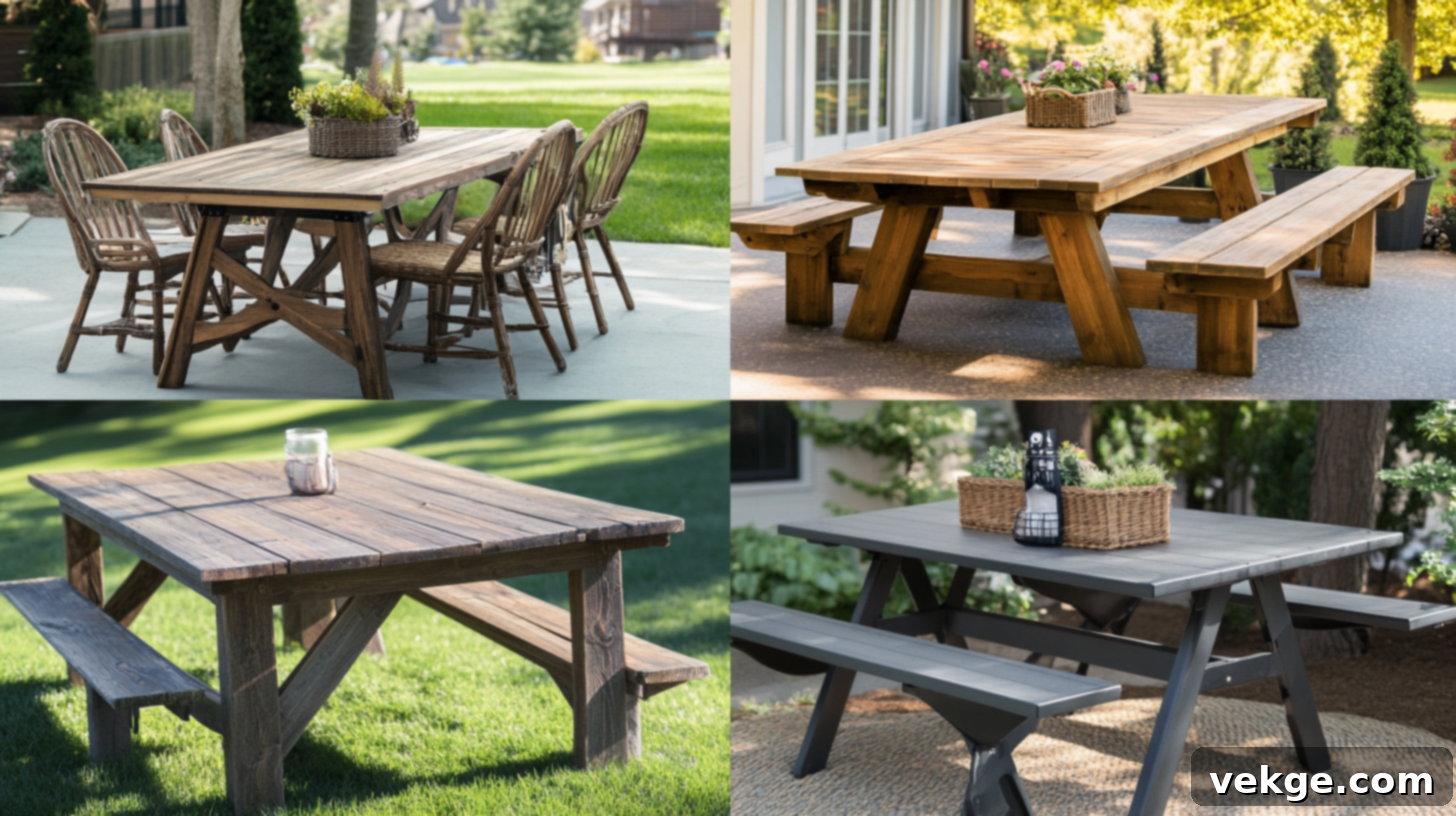
Finding the ideal table design is crucial for maximizing your enjoyment of your backyard or patio. The right table not only serves your functional needs but also enhances the aesthetics of your outdoor area and aligns with your building capabilities. Each time you gather around a table you’ve crafted yourself, you’ll experience a profound sense of pride and accomplishment.
Popular Outdoor Table Styles to Consider for Your DIY Project
When planning your outdoor table, consider these popular styles, each offering unique benefits:
- Outdoor Dining Tables: These are the go-to choice for family meals and larger gatherings. Typically higher than other outdoor tables, they pair seamlessly with standard dining chairs, creating a comfortable and familiar eating experience. A classic wooden dining table can become the heart of countless summer BBQs, festive brunches, and memorable dinners under the stars, fostering togetherness and conversation.
- Classic Picnic Tables: A beloved staple, picnic tables ingeniously combine seating and table into a single, cohesive unit. They are excellent for casual meals, can accommodate a large number of people efficiently, and are incredibly kid-friendly. This timeless design evokes nostalgic feelings of childhood parks, family camping trips, and carefree summer days, making them perfect for relaxed outdoor living.
- Rustic Farmhouse Tables: Characterized by their robust, wide, and sturdy construction, farmhouse tables exude a warm, inviting, and country-inspired aesthetic. Built for longevity and heavy use, they are perfect for those who appreciate a rustic charm that stands the test of time. A farmhouse table instantly gives your outdoor space a welcoming, homey feel, encouraging guests to relax and settle in.
- Foldable or Compact Patio Tables: These space-saving tables are ideal for smaller outdoor areas such as balconies, compact patios, or urban gardens. Their ability to be folded and stored away when not in use makes them incredibly practical. They also serve as excellent starter projects for new builders, allowing you to hone your skills before tackling more complex designs.
Key Considerations Before Starting Your Outdoor Table Build
Before you even pick up a saw, thoughtfully consider these factors to ensure your project is a success:
- Size and Space Planning: Begin by meticulously measuring your outdoor area. It’s vital to ensure there’s ample room not just for the table itself, but also for chairs to be pulled out comfortably and for people to walk around without feeling cramped. A table that is too large can overwhelm a space, making it feel smaller and less inviting.
- Seating Requirements: Think about the typical number of people you’ll need to seat. Do you frequently host large family gatherings, or are your outdoor meals usually intimate dinners? This will directly influence the optimal size and shape of your table, whether you need a large rectangular design or a cozy round one.
- Budget and Tool Inventory: Be realistic about how much you’re willing to invest in materials and any new tools. Create a detailed list of all the tools required for your chosen design and compare it against what you already own. Borrowing tools from friends or renting specialized equipment can significantly help in managing costs.
- Skill Level Assessment: Select a design that matches your current building proficiency. If this is your very first woodworking project, opt for a simpler design to build confidence and learn basic techniques. As your skills develop, you can always embark on more intricate and challenging table designs.
Step-by-Step Guide: How to Build a Durable Outdoor Table
With your design chosen, it’s time to roll up your sleeves and get to work! While building your own table might seem daunting at first, I’ll guide you through each step with clear instructions. Remember to take your time, enjoy the creative process, and celebrate your progress along the way.
Essential Tools and Materials You’ll Need
Having the right tools and materials on hand before you start will make the building process smoother and more efficient. Here’s a list of common necessities:
- Wood Options:
- Cedar: Excellent natural resistance to rot, decay, and insects. Beautiful grain and aroma.
- Pressure-treated wood: Chemically treated to resist rot and insects, often more affordable. Ensure it’s rated for ground contact if applicable.
- Pine with sealant: Pine is inexpensive but requires thorough sealing to protect against outdoor elements.
- Composite or Recycled Plastic Lumber: Highly durable, low maintenance, and resistant to rot, splinters, and insects.
- Cutting Tools:
- Circular Saw or Miter Saw: For precise and straight cuts on lumber.
- Jigsaw: Useful for cutting curves or intricate shapes if your design requires them.
- Fastening Tools:
- Cordless Drill/Driver: Essential for drilling pilot holes and driving screws.
- Pocket Hole Jig (e.g., Kreg Jig): Creates strong, concealed joints, ideal for tabletops and frames.
- Clamps: Crucial for holding pieces securely while drilling and fastening, ensuring square and tight joints.
- Measuring & Marking Tools:
- Measuring Tape: For all your length measurements.
- Pencil or Marker: For marking cuts.
- Speed Square or Combination Square: For marking 90-degree angles and ensuring square cuts.
- Level: To ensure your table is flat and level during assembly.
- Hardware & Adhesives:
- Exterior-grade Screws (Stainless Steel or Galvanized): Essential for outdoor use to prevent rust and ensure longevity.
- Waterproof Wood Glue (Exterior Rated): Adds significant strength to joints.
- Safety Gear: Safety glasses, ear protection, and gloves are highly recommended.
Step 1 – Plan Your Cuts and Layout with Precision
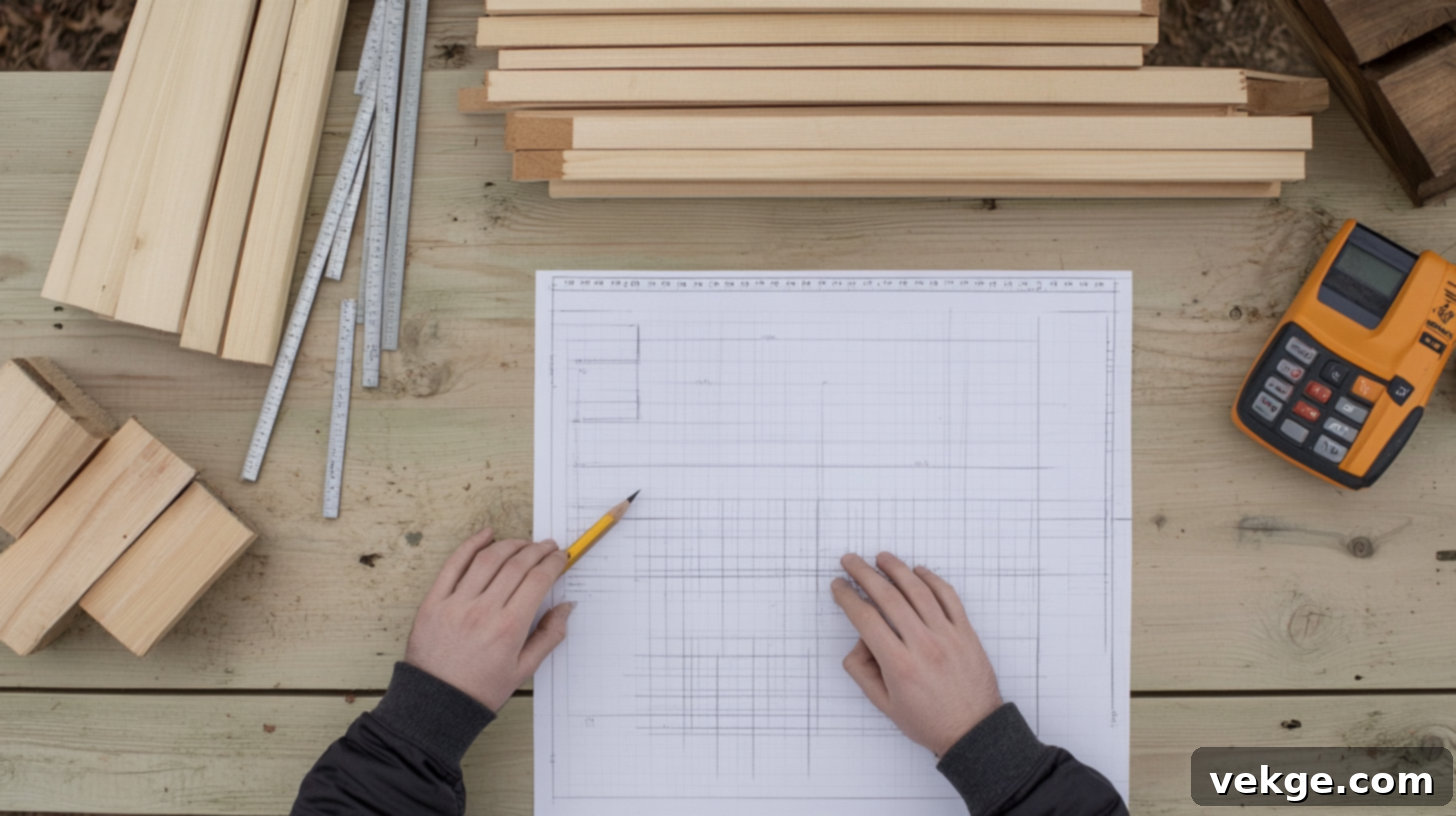
Before making any cuts, it’s highly recommended to draw a detailed plan of your table on paper or using a free online design tool. Clearly mark all measurements and dimensions. While many plans offer starting points, always adjust them to perfectly fit your specific needs and available space. This meticulous planning eliminates guesswork and potential costly errors.
Wood can be expensive, so optimizing your cuts to minimize waste is a smart strategy. Layout all your cuts on paper first, much like solving a puzzle, to determine the most efficient way to utilize each piece of lumber. This planning can save you a significant amount of money and reduce unnecessary trips to the hardware store for more wood.
Consider using free online cut calculators or woodworking apps. These tools can precisely calculate how much wood you’ll need based on your dimensions, helping you stay within budget and avoid accumulating piles of unusable scrap wood.
Step 2 – Construct the Sturdy Frame and Legs
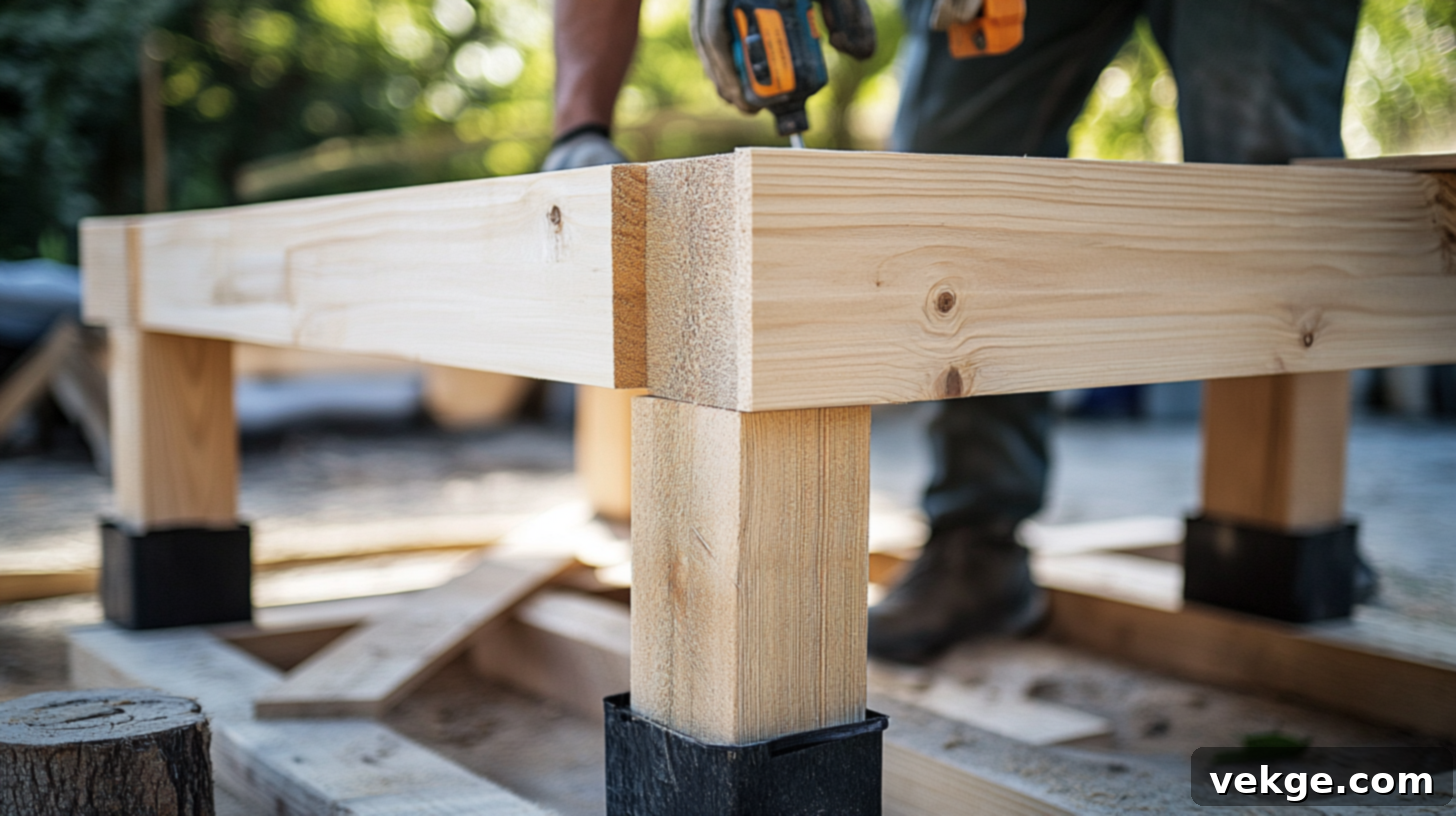
Begin with the table frame, as it forms the essential backbone of your entire project. Accuracy here is paramount. Ensure the frame is perfectly square by measuring diagonally from corner to corner; both measurements should be identical. Any discrepancy will lead to a twisted table.
For the legs, cut all pieces simultaneously to guarantee they are exactly the same length. Even slight variations can result in an annoying wobble that will detract from your dining experience. To prevent the table from swaying, add robust cross braces or an H-frame between the legs. These structural elements provide crucial stability.
Always opt for exterior-grade screws over nails for superior strength and durability in outdoor conditions. I always pre-drill pilot holes before driving screws to prevent the wood from splitting, especially near edges or ends. This small extra step takes a little more time but dramatically increases the longevity and structural integrity of your table.
Step 3 – Attach the Tabletop: Solid vs. Slatted Designs
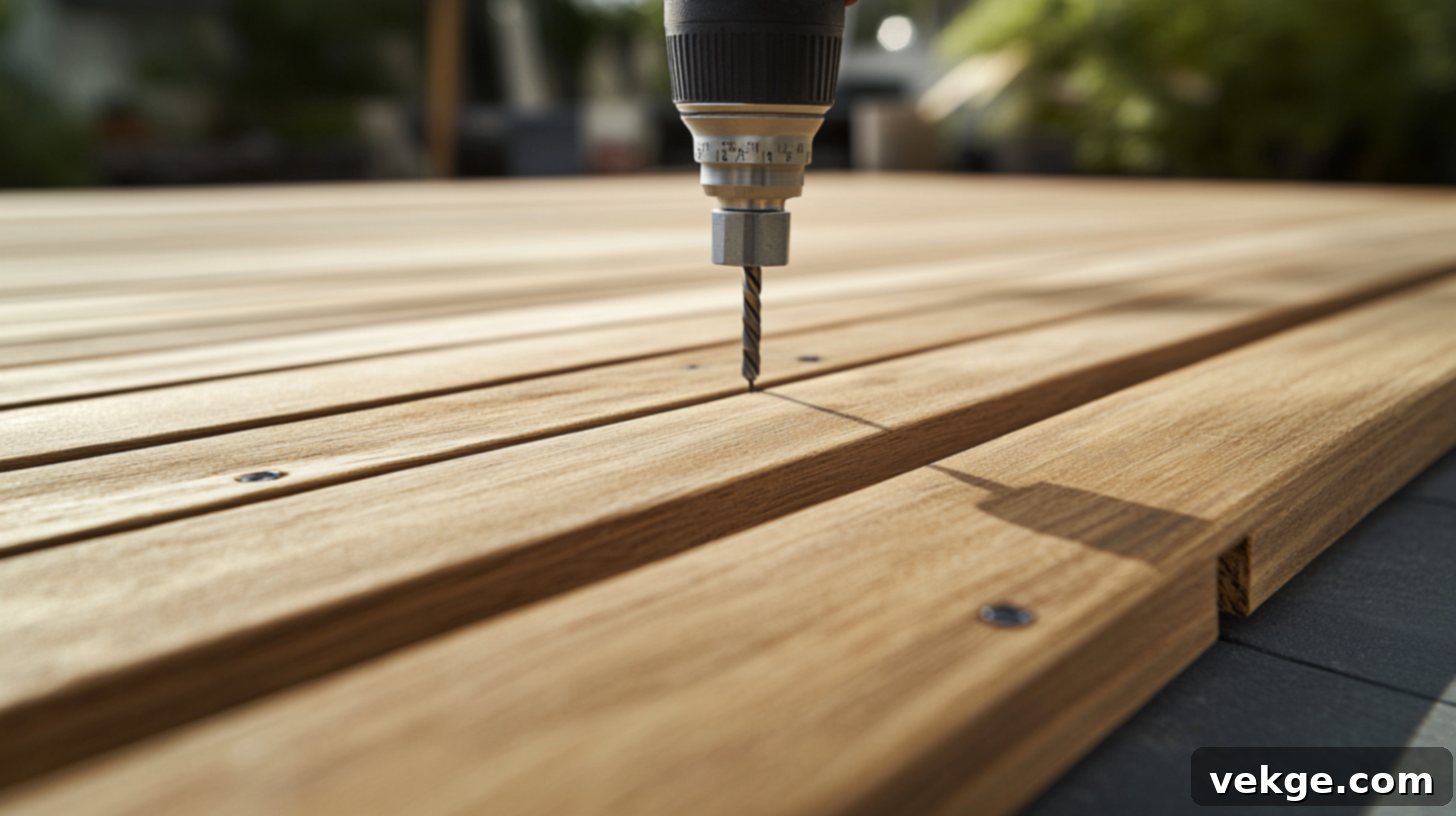
When it comes to the tabletop, you generally have two main choices: solid or slatted. A solid tabletop offers a sleek, continuous surface, but it can unfortunately trap rainwater, leading to warping or water damage over time. If you opt for a solid top, consider angling it very slightly (e.g., 1-2 degrees) or drilling small, inconspicuous drainage holes to allow rainwater to escape.
For outdoor use, slatted tops are often preferred and highly recommended. The small gaps between the boards allow rain and spills to drain through quickly, preventing water accumulation and reducing the risk of warping. They also lend a classic, appealing outdoor aesthetic that many builders love. When attaching the tabletop boards, always use exterior-grade screws (stainless steel or galvanized) to prevent rust and unsightly staining. While they cost a bit more, they save significant headaches down the line.
Crucially, leave a small, consistent gap between each board on a slatted top. This gap, approximately the width of a nickel or 1/8 inch, accommodates the natural expansion and contraction of wood due to changes in humidity and temperature. This prevents the boards from buckling or pushing against each other, while still being small enough to prevent most small items from falling through.
Step 4 – Sanding and Finishing for a Smooth Surface
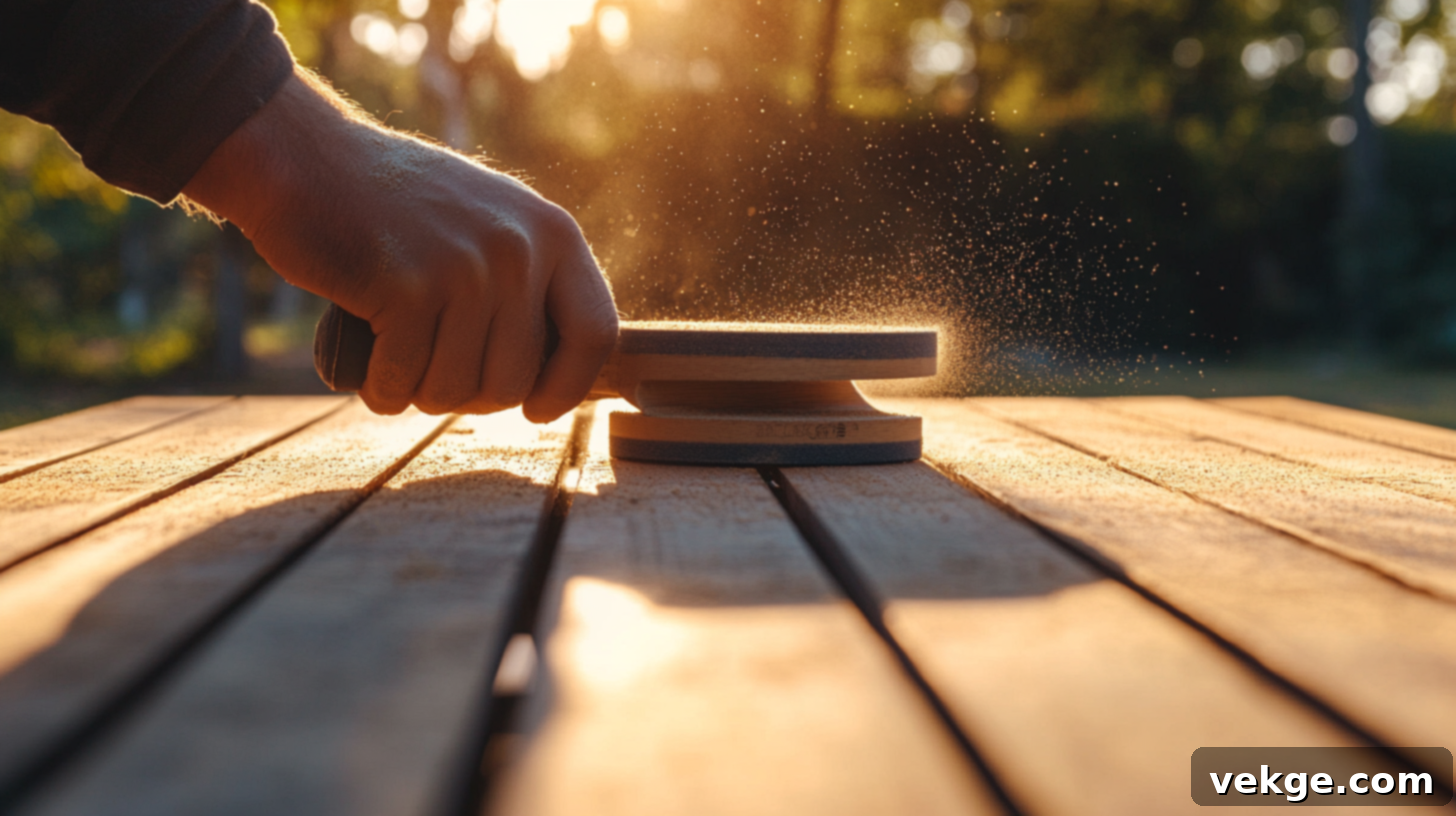
Proper sanding is vital for both the appearance and safety of your outdoor table. Start with a coarse sandpaper grit (e.g., 60-80 grit) to remove any major rough spots, mill marks, and potential splinters that could cause injury later. This initial pass establishes a relatively even surface.
Next, move to a medium sandpaper grit (e.g., 100-120 grit) to further smooth the surface and remove scratches left by the coarser paper. Finish with a fine sandpaper grit (e.g., 180-220 grit) for a silky-smooth, inviting feel. As a personal check, I always run my hand over the entire wood surface – if I detect any rough patches, I know more sanding is required.
Finally, lightly round all edges and corners of the table. This not only significantly improves the table’s aesthetic appeal but also prevents painful bumps and scrapes that can occur with sharp edges, especially when family and friends are moving around it.
Step 5 – Sealing and Weatherproofing for Longevity
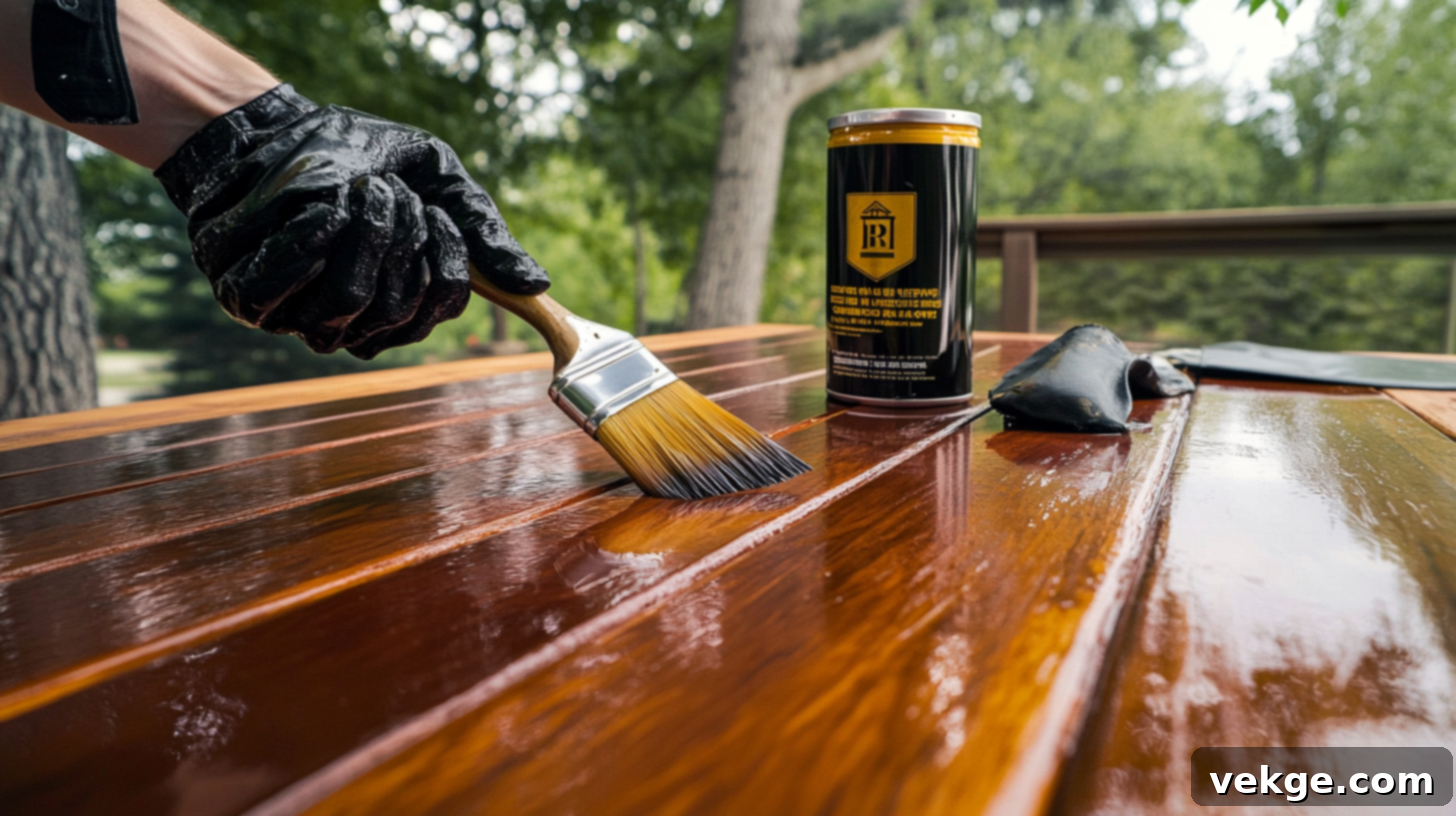
Weatherproofing is perhaps the most critical step for an outdoor table’s longevity. Apply at least three generous coats of a high-quality exterior-grade sealer or finish, allowing each coat to dry completely according to the manufacturer’s instructions. Skipping this step or cutting corners here will lead to a table that deteriorates quickly when exposed to the elements.
For tables that will face particularly harsh weather conditions, such as intense sun, heavy rain, or snow, consider using marine-grade sealers or spar urethane. These products are formulated for extreme environments and provide superior protection, though they may come at a higher cost.
To maintain its fresh appearance and protective qualities, plan to reapply a fresh coat of sealer every year or every other year, depending on your climate and the product used. For those desiring a colored finish, both exterior paint and outdoor-rated wood stains are excellent options that provide both protection and aesthetic appeal.
Enhance Your Outdoor Table with Custom Add-Ons and Features
Want to make your outdoor table truly unique and highly functional? Incorporating custom features can transform a basic table into a standout piece that perfectly caters to your entertaining needs. These thoughtful additions can greatly elevate your outdoor living experience.
Integrated Built-In Cooler Box
Adding a built-in cooler box to your table is an incredibly practical and impressive feature. Imagine the convenience of having ice-cold beverages readily accessible without needing to constantly get up during a summer BBQ! Your guests will be delighted when you effortlessly lift a panel to reveal chilled drinks right at the center of the table.
To construct one, design a recessed area within your tabletop that perfectly accommodates a metal or plastic tub. Ensure the tub has adequate drainage to allow melted ice water to flow out; a simple plastic planter box with a drilled hole can work wonderfully. The key to a seamless look is crafting a fitted lid that sits flush with the rest of the tabletop when closed. This allows you to utilize the full table surface when the cooler isn’t needed. Use the same wood and finish as your tabletop for a cohesive appearance.
If you’re concerned about water damage to the surrounding wood, line the cooler cavity with heavy-duty plastic sheeting or paint it with a waterproof sealant or epoxy. This extra layer of protection will ensure your table endures many summers of cool drinks and festive gatherings.
Coordinating Outdoor Benches for Ample Seating
Matching benches are often simpler to construct than individual chairs and offer the advantage of seating more people in a compact area. Plus, there’s a certain charm and fun for kids who love to squeeze together on benches during family meals outdoors.
For a standard 30-inch high dining table, benches should typically sit around 18 inches high. Allow approximately 20-24 inches of bench length per person for comfortable seating. Construct your benches using the same wood and finish as your table to create a harmonious and aesthetically pleasing outdoor dining set. They are generally less complex to build than the main table and are fantastic for maximizing space.
Umbrella Hole and Creative Shade Solutions
During the peak of summer, adequate shade isn’t just a luxury; it’s a necessity for comfortable outdoor enjoyment. An umbrella hole is one of the simplest yet most effective additions you can make to your outdoor table.
Drill a 2-inch diameter hole (or size appropriate for your umbrella pole) precisely in the center of your table. For a polished look and to protect the wood edges from wear, insert a metal or plastic umbrella ring. If a traditional umbrella isn’t your preference, consider alternative shade options. A pergola built above your table can provide permanent shade and a beautiful architectural element, while stringing lights overhead can create a magical ambiance for evening entertaining, offering both style and comfort.
Common Mistakes to Avoid When Building Your Outdoor Table
Learning from the experiences (and missteps) of others can save you immense time, money, and frustration. Here are some of the most frequent errors I’ve observed (and, candidly, made myself). Steering clear of these common pitfalls will ensure your table looks better, performs reliably, and lasts significantly longer.
- Forgetting to Account for Wood Movement (Warping): Wood is a natural material that expands and contracts with changes in humidity and temperature. Failing to account for this movement can lead to buckling or cracking. Always leave small, consistent gaps (e.g., 1/8 inch) between tabletop boards to allow them to swell without pushing against each other.
- Neglecting to Pre-Drill Screw Holes: Driving screws directly into wood, especially hardwoods or near the ends of boards, often causes unsightly and weakening splits. Taking an extra moment to drill pilot holes that are slightly smaller than the screw’s diameter will prevent splitting, create a stronger joint, and result in a much cleaner, more professional appearance.
- Using Indoor-Rated Screws or Glue Outdoors: Standard indoor screws are not designed for outdoor environments and will quickly rust, stain your wood, and weaken your joints. Similarly, indoor wood glue will break down rapidly when exposed to moisture and temperature fluctuations. Always invest in exterior-grade screws (stainless steel or galvanized) and waterproof wood glue specifically rated for outdoor use. This ensures your joints remain strong and your table hardware doesn’t corrode.
- Skipping or Insufficient Weatherproofing: The elements—rain, intense sun, snow, and humidity—are relentless. Unprotected wood will quickly rot, warp, fade, and degrade. Apply a high-quality exterior sealant, stain, or paint thoroughly to every surface of your table, including the underside and leg bottoms. Proper weatherproofing is the single most important factor for extending the life of your outdoor table by many years.
- Inadequate Leg Bracing Leading to Wobble: A wobbly table is not only annoying but can ruin a meal or gathering. Insufficient bracing between the legs is a common cause. Always incorporate sturdy diagonal braces or an H-frame structure under the tabletop or between the legs. This simple but critical step dramatically increases the table’s stability, making it rock-solid and reliable.
Essential Weatherproofing & Maintenance Tips for Lasting Beauty
Your outdoor table is constantly exposed to the elements: rain, harsh sun, snow, and humidity. With just a little consistent care, your handcrafted table can remain beautiful and functional for many years. A proactive approach to maintenance goes a long way in preserving the charm and integrity of your DIY masterpiece, season after season.
Protect Your Table from Moisture Damage
Water is arguably the greatest enemy of outdoor wood furniture. To combat this, apply a fresh coat of marine-grade sealant or spar urethane each spring as the weather warms up. This protective barrier, which often takes only an hour to apply, can add years of life to your table by repelling moisture.
A simple yet effective trick to prevent water damage to the table legs is to raise them slightly off the ground. You can achieve this by placing rubber feet, small concrete pavers, or even flat stones under each leg. This prevents the wood from constantly sitting in puddles or absorbing ground moisture, which is a common cause of rot.
Choosing the Right Wood for Outdoor Durability
My first outdoor table, built from inexpensive pine, succumbed to rot within a year. This taught me a valuable lesson. Now, I exclusively use woods naturally suited for outdoor conditions.
Cedar and Redwood are exceptional choices due to their natural resistance to rot, decay, and insect infestation. While their upfront cost is higher than common softwoods, they offer superior longevity and require less intensive maintenance over their lifespan, ultimately saving you money and effort. Pressure-treated pine is another cost-effective option, chemically treated to resist decay, making it suitable for outdoor use, especially where it might come into ground contact. For premium durability, consider exotic hardwoods like Ipe or Teak, known for their incredible density and natural oils that provide outstanding weather resistance.
Keep Your Table Looking Its Best with Regular Upkeep
To keep my table looking freshly built, I perform a light sanding and apply a fresh coat of exterior sealer or stain annually. This quick tune-up not only restores its appearance but also reinforces its protection, preventing more significant problems from developing over time.
During harsh winter storms or extended periods of non-use (e.g., several months), cover your table with a high-quality, breathable outdoor furniture cover. Alternatively, if space permits, storing it in a shed or garage will provide maximum protection. My neighbor’s covered table, despite being outdoors year-round, still looks brand new after five years thanks to this simple practice.
Wrapping Up Your DIY Outdoor Table Journey
Building your own outdoor table is an endeavor that requires effort and dedication, but I promise the satisfaction and joy it brings are immeasurable. There’s truly nothing quite like watching friends and family gather around a beautiful piece of furniture you crafted with your own hands, knowing it’s built to last.
You now possess all the essential steps and insights, from selecting the right weather-resistant wood and mastering construction techniques to adding practical features like cooler boxes. You’re equipped to avoid common woodworking mistakes and implement crucial maintenance tips to ensure your table retains its beauty year after year. The valuable skills you’ve gained through this project will undoubtedly serve you well in future DIY ventures.
Remember, your first project doesn’t need to be absolutely perfect; each subsequent table you build will only be better and more refined. So, gather your tools, acquire your lumber, and embark on creating the functional and inviting outdoor dining space of your dreams!
