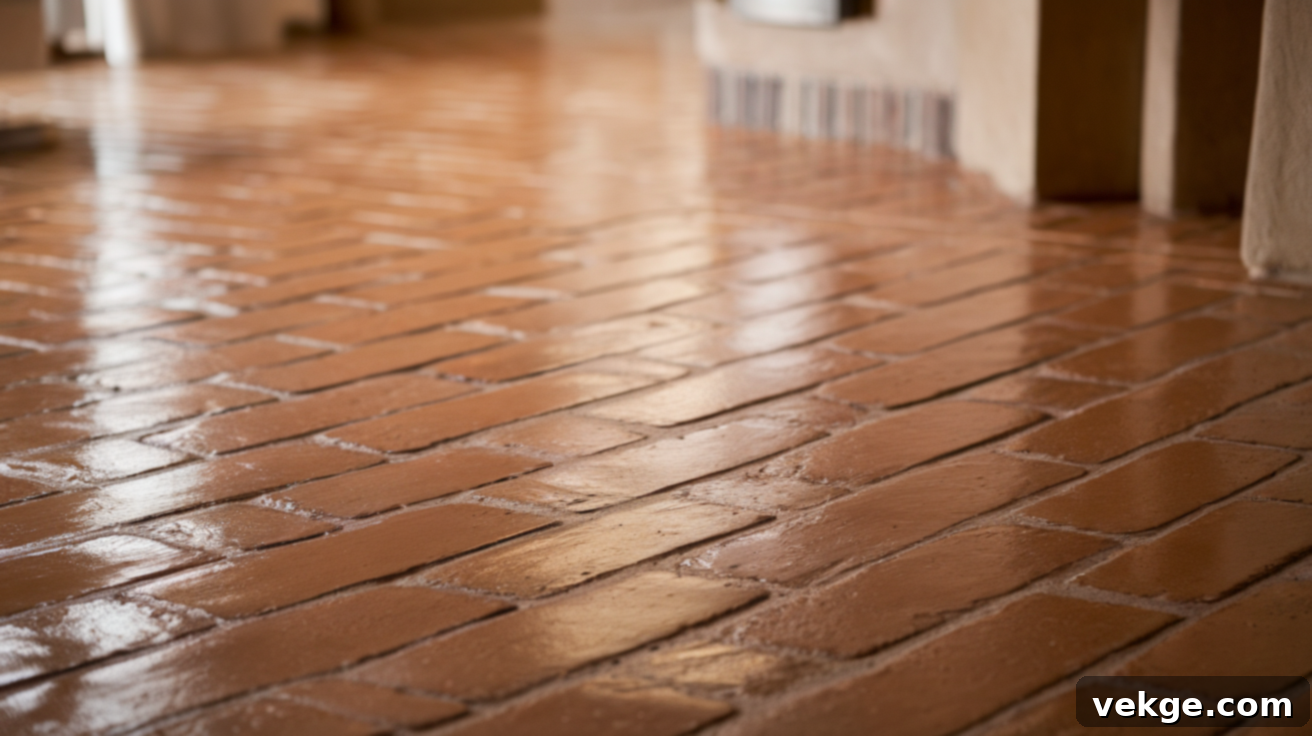
Ultimate Guide to Cleaning Brick Floors: Restore & Maintain Their Rustic Charm
Brick floors bring an attractive, classic feel to any room, infusing spaces with a timeless rustic elegance. Their unique texture and rich hues add so much warmth and character, making them a popular choice for homes seeking a blend of durability and traditional style. However, I’ve noticed that while beautiful, keeping these distinctive floors immaculately clean can be more challenging than it initially looks.
The very features that make brick floors so appealing—their textured surface and porous nature—can also make them prone to trapping dirt, dust, and spills. This can lead to a dull, worn appearance over time if not properly addressed. But don’t despair! With the right cleaning routine, suitable tools, and a bit of knowledge, you can effectively tackle any grime and keep your brick floors looking fresh, vibrant, and as beautiful as the day they were laid.
In this comprehensive guide, I’ll walk you through everything you need to know about how to clean brick floors. We’ll start with establishing the best daily cleaning habits to prevent buildup, then provide step-by-step instructions for a thorough clean. You’ll also learn advanced deep cleaning techniques, effective strategies for handling even the toughest stains, and essential long-term maintenance tips, including the crucial step of sealing your brick floors to protect their beauty for years to come.
Ready to unlock the secrets to sparkling clean brick floors and keep them in top shape? Let’s get started and preserve the enduring charm of your brick flooring!
Causes of Brick Floor Wear and Staining
Brick floors, while incredibly durable, can start to look worn and dirty over time due to a combination of factors inherent to their material and typical household conditions. Understanding these causes is the first step in effective prevention and cleaning:
- Porous Nature: The most significant factor is the porous nature of brick and its mortar. Unlike sealed tile or hardwood, brick has tiny capillaries that readily absorb dirt, moisture, and stains. This allows grime to penetrate deep into the material, leading to long-term buildup that surface cleaning alone cannot address.
- Spills and Contaminants: Everyday spills such as food, grease, wine, coffee, or even pet accidents can become deeply embedded if not cleaned immediately and properly. Grease, in particular, is notorious for soaking into brick, creating dark, stubborn spots.
- High Foot Traffic: Areas with frequent foot traffic introduce dirt, dust, and abrasive particles into the floor. These particles act like sandpaper, slowly eroding the brick’s surface and dulling its original finish over time. The constant friction can also grind dirt deeper into the pores.
- Harsh Cleaning Chemicals: Ironically, using the wrong cleaning products can also contribute to wear. Acidic or highly alkaline cleaners can strip away natural oils, etch the surface, or weaken the mortar, leading to discoloration and damage.
- Lack of Regular Maintenance: Neglecting daily sweeping or vacuuming allows loose dirt to accumulate and become ground into the floor. Similarly, an absence of periodic deep cleaning and sealing significantly reduces the floor’s resistance to staining and wear.
- Environmental Factors: Exposure to sunlight can cause some bricks to fade, while humidity can encourage mold or mildew growth in unsealed areas, especially in basements or outdoor applications.
Regular care, such as diligent cleaning with the right, pH-neutral solutions, and consistent sealing, is crucial. These practices help create a protective barrier, preventing these issues and maintaining the inherent beauty and structural integrity of your brick floors for years to come.
How to Clean Brick Floors: A Step-by-Step Guide for Lasting Freshness
Cleaning brick floors the right way is not just about aesthetics; it helps protect their unique charm and extends their life significantly. By following these simple yet effective steps, you can keep your floors fresh, clean, and damage-free, preserving their character for decades.
Tools and Materials Required
Before you begin, gather all necessary tools and materials. Having everything at hand will make the cleaning process smoother and more efficient:
- Traditional Broom or Vacuum Cleaner: Essential for removing loose dirt and debris. A vacuum with a soft brush attachment is ideal for textured surfaces and grout lines.
- Carpet Sweeper: A good alternative for quick daily tidying, picking up surface dust without electricity.
- Mop (Sponge or Microfiber): For applying cleaning solutions and rinsing. Choose one that allows you to control moisture effectively.
- Soft-Bristled Scrub Brush: Crucial for dislodging embedded dirt and tackling stubborn stains without scratching the brick. A grout brush is also highly recommended.
- Clean Towels or Rags: For drying the floor thoroughly after rinsing, preventing water absorption.
- Two Buckets: One for your cleaning solution and one for clean rinse water. This prevents cross-contamination and ensures effective rinsing.
- Appropriate Cleaning Solution: As detailed below, choose a mild, pH-neutral solution specifically for brick, or a natural alternative.
- Rubber Gloves: To protect your hands from cleaning solutions.
- Knee Pads (Optional but Recommended): For comfort during scrubbing.
Step 1: Prepare the Area Thoroughly
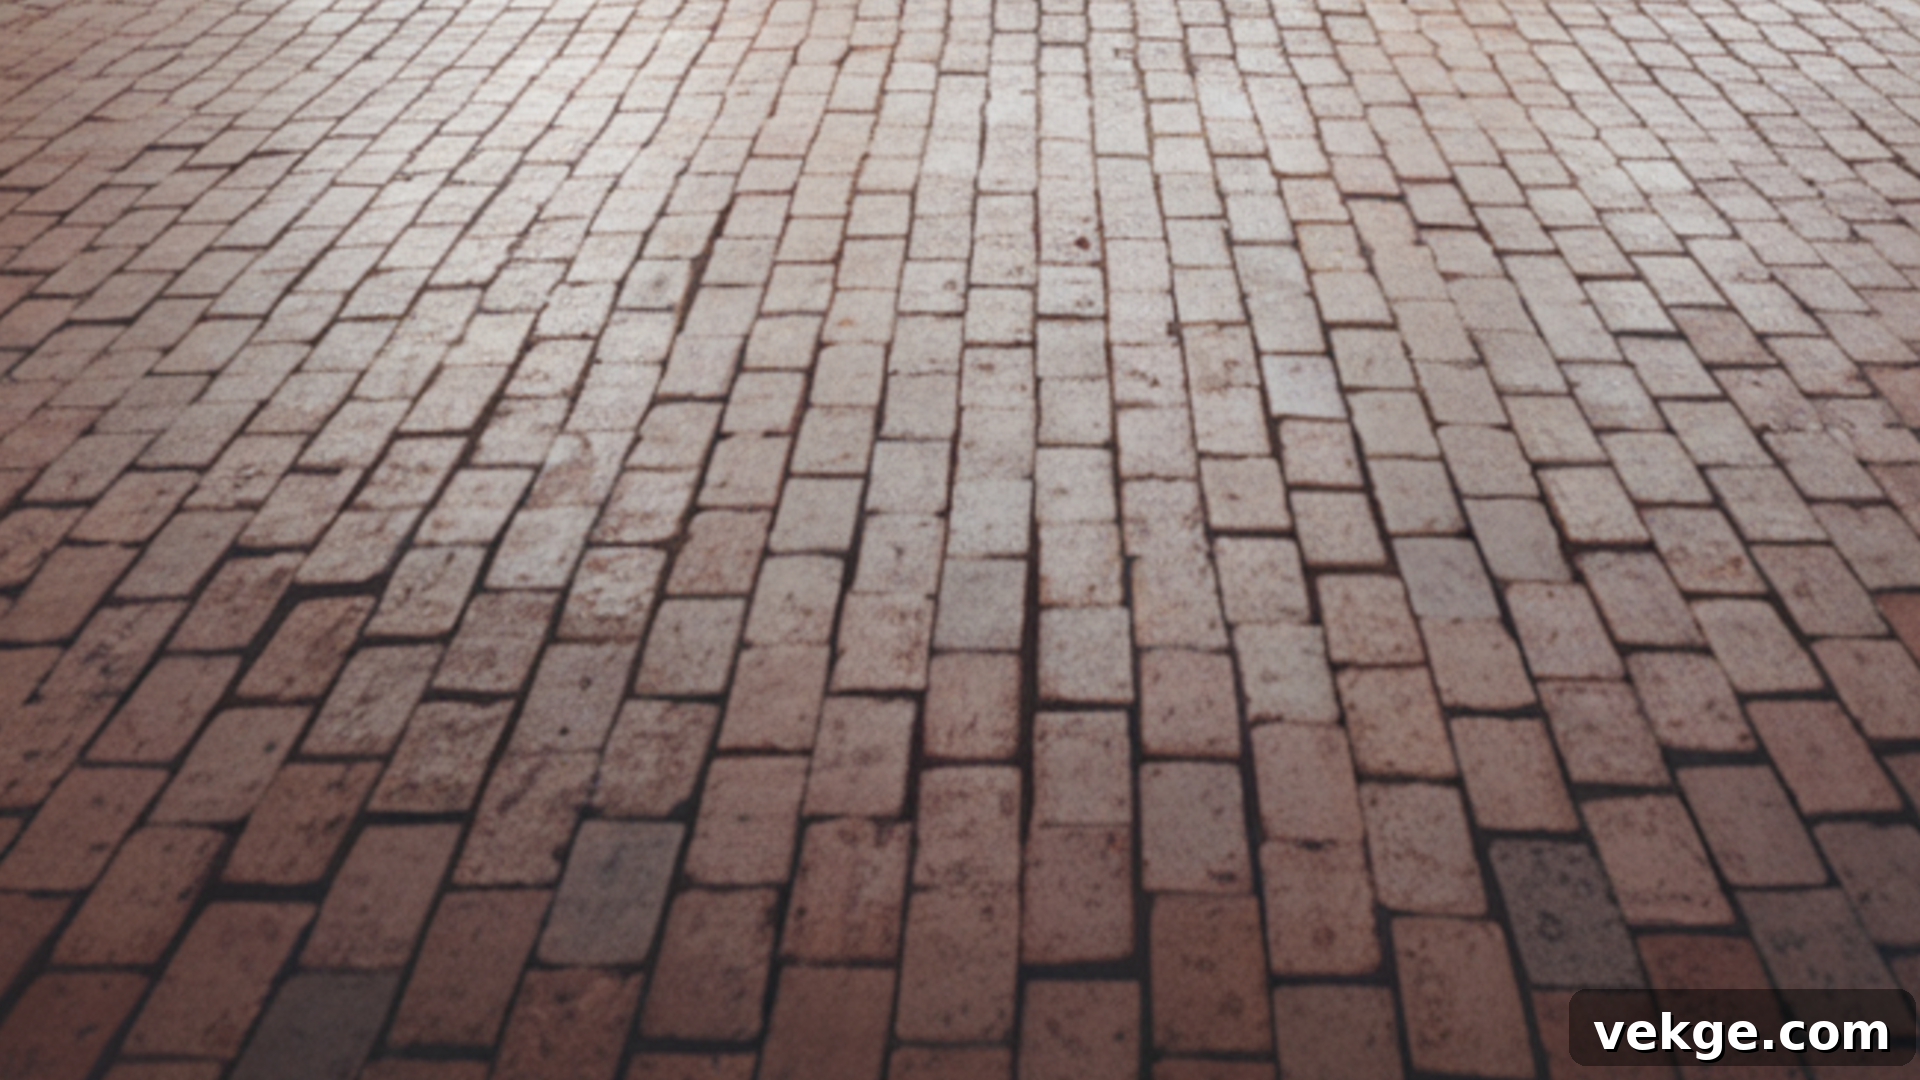
Before any wet cleaning begins, it’s vital to prepare the area thoroughly. Start by removing any furniture, rugs, welcome mats, or other obstacles from the floor. This ensures you have completely unobstructed access to the entire brick surface, allowing you to move around freely while cleaning and preventing any accidental bumps or missed spots. Once the area is clear, use a broom, vacuum cleaner with a soft brush attachment, or a carpet sweeper to meticulously remove all loose dirt, dust, pet hair, and debris. Pay special attention to grout lines and textured areas where grime tends to accumulate. This initial dry cleaning step is crucial, as it prevents you from simply spreading muddy water around during the wet cleaning phase.
Additionally, it’s a good idea to open windows or turn on a fan to promote good airflow in the room. This excellent ventilation serves a dual purpose: it helps the floor dry faster after cleaning, which is critical for porous brick, and it prevents moisture from lingering too long, potentially causing damage like efflorescence (a powdery white residue) or even mold growth over time. Proper ventilation also dissipates any fumes from cleaning solutions.
Step 2: Pre-wet the Floor Effectively
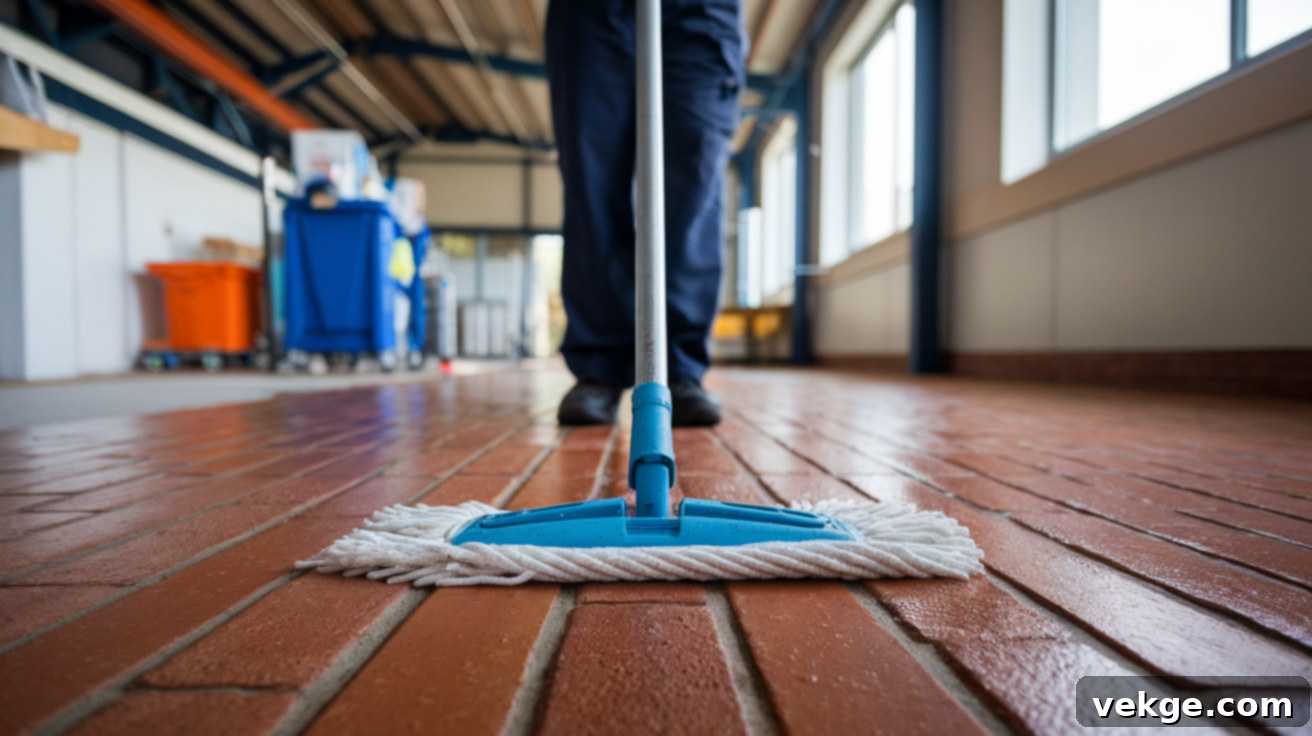
This often-overlooked step is crucial when cleaning porous surfaces like brick. Lightly dampen the entire floor with clean, plain water using your mop. You don’t want to soak the floor, just create a uniform, slightly damp surface. The reason for pre-wetting is scientific: it helps prevent the cleaning solution from soaking into the highly porous brick too quickly or unevenly. When the brick is already damp, its pores are partially filled with water, creating a barrier. This barrier ensures that when you apply your cleaning solution, it remains on the surface for longer, allowing it to work more effectively on the dirt and grime without being fully absorbed. This results in a deeper, more even clean and prevents streaks or blotchy results that can occur if the solution is absorbed unevenly. It also helps in preventing excessive absorption of the cleaning solution itself, which could leave behind residue.
Step 3: Apply the Cleaning Solution Thoughtfully
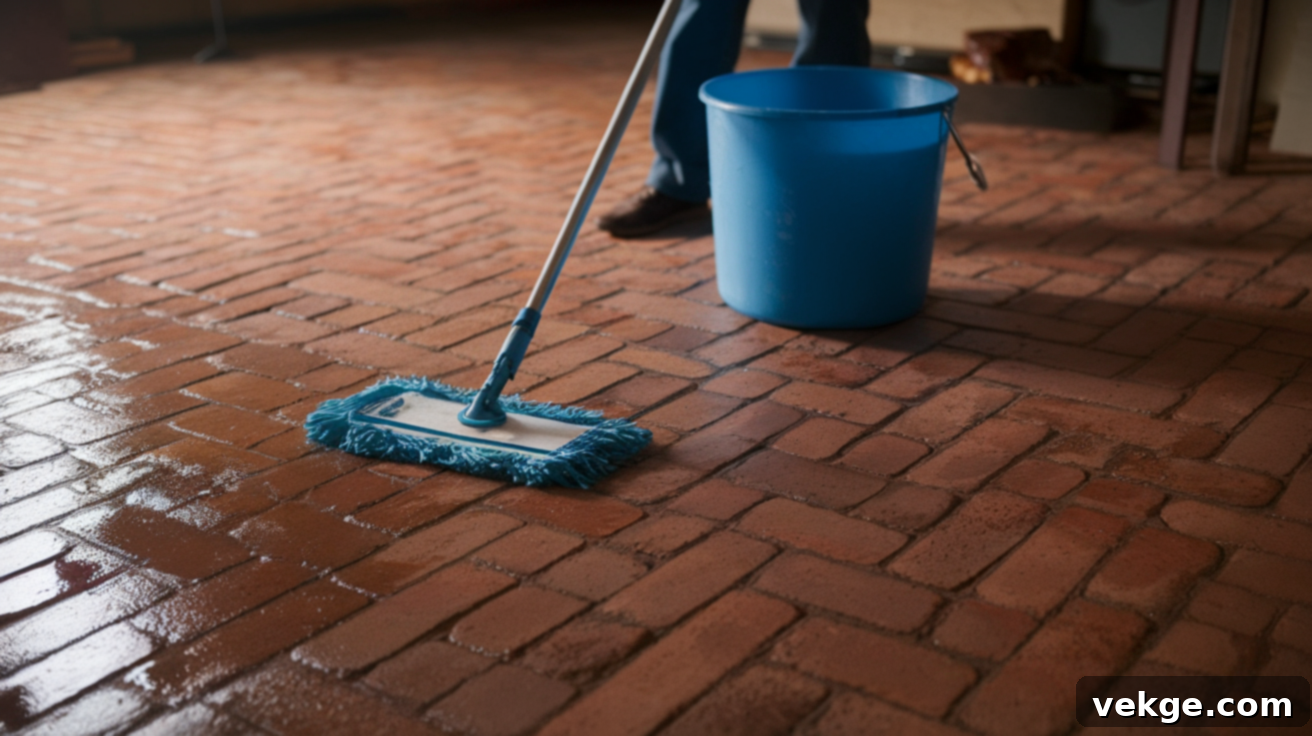
Once the floor is pre-wet, it’s time to apply your chosen cleaning solution. Using your mop, apply the solution in small, manageable sections, approximately 4 feet by 4 feet at a time. This sectional approach allows you to focus on one area, ensuring adequate saturation and working time for the solution before it dries. The key here is to use just enough solution to thoroughly clean the surface without oversaturating or soaking the brick. Too much water can be detrimental; it can seep deep into the brick and mortar, potentially weakening the grout, causing efflorescence, or promoting mold growth over time. Excess moisture also significantly hinders the drying process, which is critical for brick floors. Avoid pooling of water or solution; instead, aim for an even, thin coat that actively works on the surface dirt. Work methodically across the room, overlapping sections slightly to ensure no area is missed.
Step 4: Scrub, Rinse, and Dry Immediately
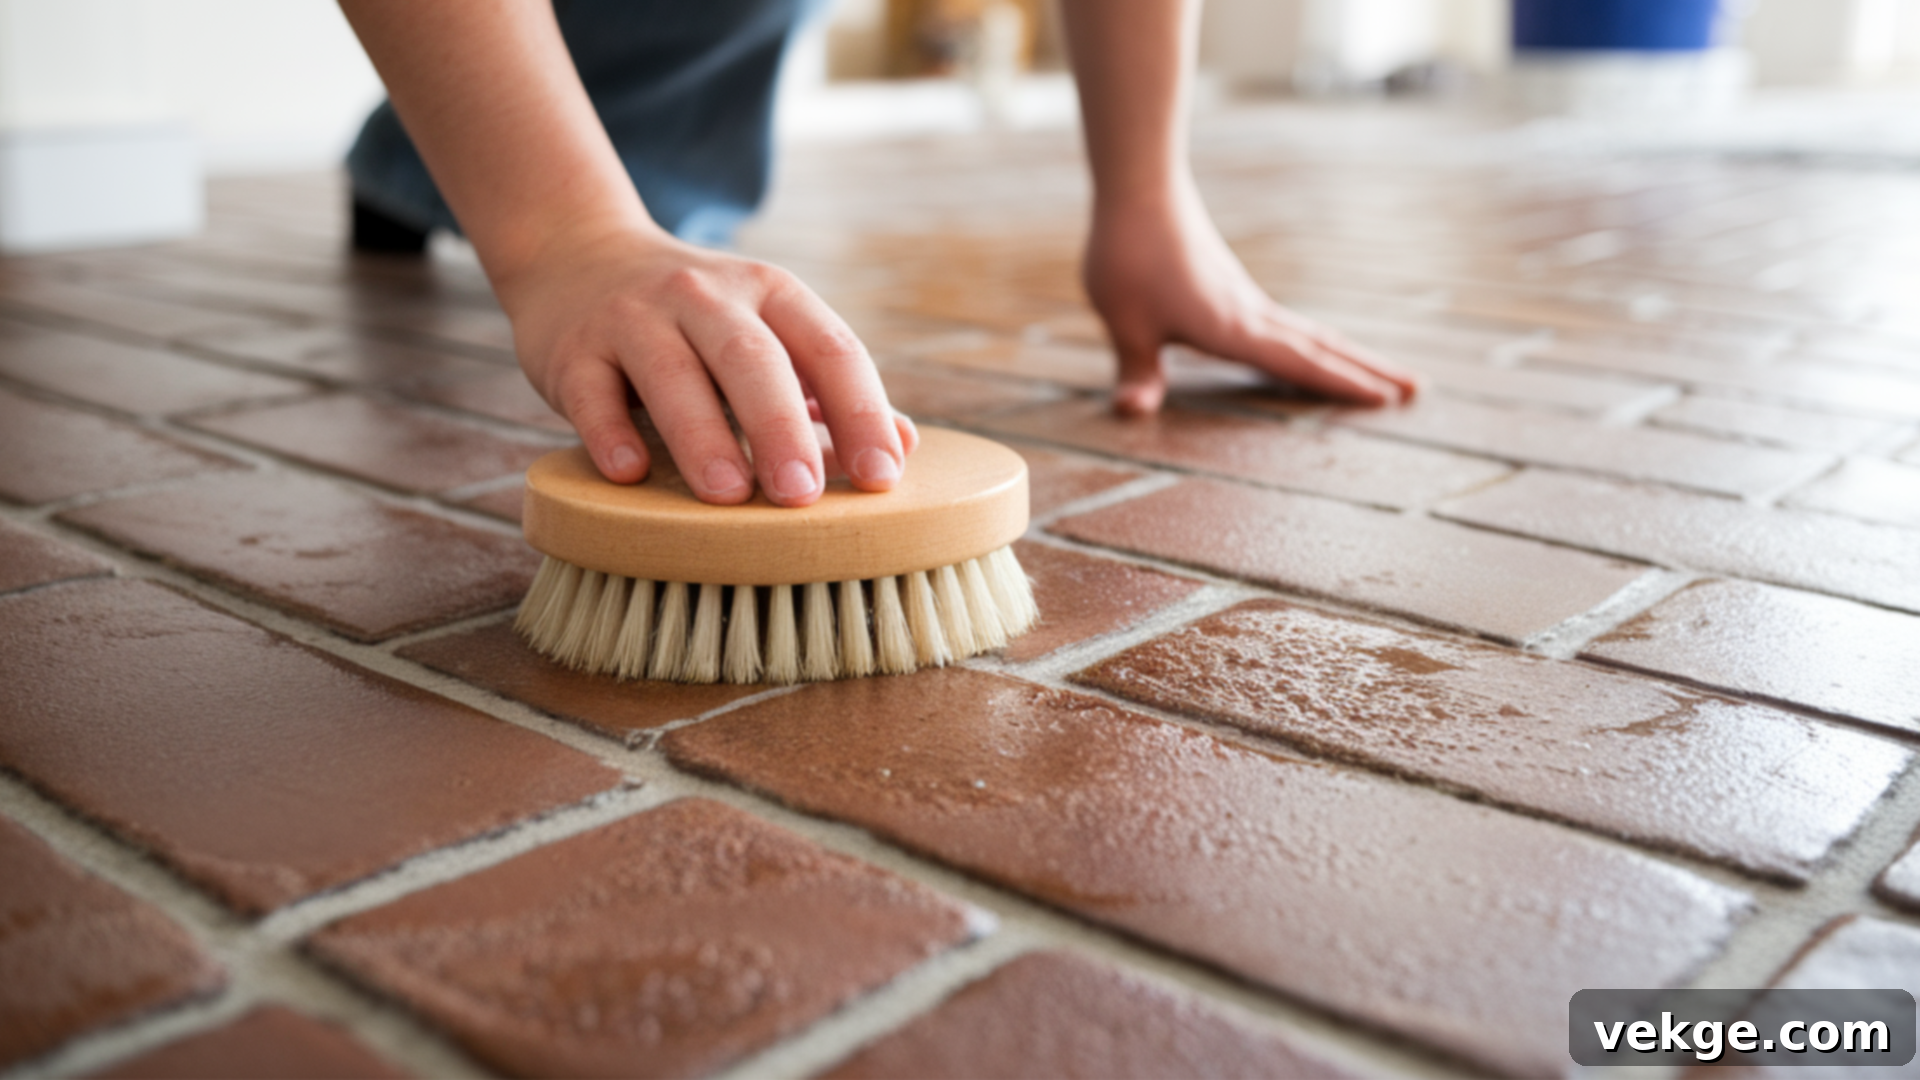
After applying the cleaning solution to a section, allow it to dwell for a few minutes (check product instructions, typically 5-10 minutes) to break down dirt and grime. Then, take your soft-bristled brush and gently scrub tough spots, heavily soiled areas, and especially the grout lines. Use gentle circular motions to loosen embedded dirt without scratching the brick surface. Avoid aggressive scrubbing, which can damage the brick or mortar. Once you’ve scrubbed a section, it’s crucial to rinse thoroughly and immediately.
Using your second bucket filled with clean, plain water, rinse the scrubbed section using a clean mop or fresh towels. It’s essential to change the rinse water frequently as it becomes dirty to avoid leaving a film of soapy residue on your clean floor. Continue rinsing until all traces of the cleaning solution and loosened dirt are gone. The final, critical step is to dry the floor immediately and completely. Use clean, absorbent towels or rags to blot and wipe the floor dry. Do not allow water to air-dry on brick, as this can lead to water spots, mineral deposits, or efflorescence. Proper and immediate drying prevents water absorption into the porous material, ensuring your brick floors remain pristine and protected.
Choosing the Right Cleaning Solution for Your Brick Floors
Selecting the appropriate cleaning solution is paramount for maintaining the beauty and longevity of your brick floors. Using harsh, acidic, or abrasive chemicals can do more harm than good, potentially damaging the porous surface and mortar. Gentle, pH-neutral, and natural cleaners are always the best choice, protecting the surface and keeping floors looking their best without harsh chemicals or fumes.
Here are your best options:
Mild Detergents:
- Dish Soap and Warm Water: For general cleaning and light dirt, a solution of mild dish soap (like Dawn) mixed with warm water is highly effective and safe. Use only a small amount (a teaspoon or two per gallon of water) to avoid excessive suds and residue. This mixture gently lifts dirt without damaging the porous brick surface.
Vinegar-Water Solution:
- Diluted White Vinegar: A mix of 1 part white vinegar to 10-15 parts warm water works exceptionally well for general cleaning, deodorizing, and tackling light mildew or grime. Vinegar is mildly acidic, which helps break down mineral deposits and some types of stains, but its dilution is key. Always dilute, as undiluted vinegar can be too strong and may harm brick and especially mortar over time by dissolving the lime content. Test in an inconspicuous area first.
Alternative Natural Cleaning Options:
- Baking Soda Paste: For scrubbing stubborn marks, scuffs, or light grease stains, baking soda is a fantastic abrasive yet gentle option. Mix 3 parts baking soda with 1 part water to create a thick paste. Apply it directly to the stain, let it sit for 15-30 minutes, then gently scrub with a soft-bristled brush. Rinse thoroughly.
- Lemon Juice and Warm Water: Similar to vinegar, lemon juice offers mild acidity and a refreshing scent. Mix freshly squeezed lemon juice with warm water for a gentle cleaner that can help brighten dull areas and remove light stains. Ensure to rinse well afterwards.
- Combination Cleaner: For a powerful yet natural all-purpose solution, you can combine vinegar, baking soda, and water. Create a paste with baking soda and water for initial scrubbing, then follow up with a diluted vinegar solution for overall cleaning and rinsing. This combination leverages the strengths of both ingredients for effective natural stain and dirt removal.
When selecting any cleaner, whether commercial or homemade, always test it on an inconspicuous area of your brick floor first to ensure it doesn’t cause discoloration or damage. This is especially important for unsealed or older brick floors.
Effective Methods for Cleaning Brick Floor Stains
Brick floors are prone to various stains from daily use and mishaps, but most can be tackled with the right approach and a bit of patience. The key is to act quickly; fresh stains are significantly easier to remove than old, set-in ones. Let’s discuss some common brick stains and the most effective techniques for their removal.
For Common Brick Stains
Common brick stains often include food spills (like tomato sauce, fruit juices, or wine), dirt marks, mud, and light scuffs. These are typically surface-level and haven’t fully penetrated the brick.
For most common stains, start with a versatile and gentle solution:
A vinegar and water mixture (1 part white vinegar to 3 parts warm water) is an excellent starting point.
Application:
- Apply the diluted vinegar solution directly to the stained area.
- Let it sit for 5-10 minutes to allow the mild acid to break down the stain.
- Gently scrub with a soft-bristled brush.
- Rinse the area thoroughly with clean water and dry immediately with a clean towel.
Food Stains: Tomato sauces, fruit juices, and red wine can often be lifted with the vinegar solution. For more stubborn food residue, a mild dish soap and water solution can be used.
Ink Stains: Fresh ink stains require prompt attention. Blot as much as possible with a clean cloth. Then, try a small amount of rubbing alcohol on a cotton swab. Apply only to the stain, blot, and then clean with dish soap and water. Older ink stains may be very difficult to remove without professional help.
For Tougher Stains: Grease, Oil, and Deep-Set Marks
Tougher stains, such as deep-set grease, oil, rust, or mold/mildew, require a more targeted approach. These have usually penetrated deeper into the porous brick. Here’s how to tackle them with practical and gentle cleaning methods:
Grease and Oil Stains:
Grease and oil are particularly challenging because they penetrate brick deeply. A common and effective method is using a poultice:
Baking Soda Paste (Poultice Method):
- Mix 3 parts baking soda with 1 part water (or a small amount of mild dish soap) to make a thick paste. The goal is a consistency like peanut butter.
- Apply a generous layer of this paste directly over the grease or oil stain, ensuring it covers the stain completely and extends slightly beyond its edges.
- Cover the paste with plastic wrap and tape the edges down to prevent it from drying out too quickly.
- Allow the poultice to sit for several hours, or even overnight (6-12 hours). The baking soda will absorb the grease as it dries.
- Once dry, scrape off the hardened paste with a plastic scraper (avoid metal).
- Gently scrub any remaining residue with a soft-bristled brush and rinse the area thoroughly with clean water. Dry immediately. Repeat if necessary for very deep stains.
Mold and Mildew Stains:
These often appear in damp, poorly ventilated areas. A diluted bleach solution or hydrogen peroxide can be effective:
- Diluted Bleach Solution: Mix 1 part household bleach with 10 parts water. Always test in an inconspicuous area first to ensure it doesn’t discolor the brick.
- Apply the solution carefully to the affected area, let it sit for 5-10 minutes (do not let it dry).
- Scrub gently with a soft-bristled brush.
- Rinse thoroughly with plenty of clean water and dry immediately. Ensure good ventilation while using bleach.
- Hydrogen Peroxide: For a milder alternative, a 3% hydrogen peroxide solution can also be used for mold/mildew. Apply directly, let bubble, scrub, and rinse.
Rust Stains:
Rust stains from metal furniture or tools can be particularly difficult. Specialized rust removers for masonry are available, but always choose pH-neutral options and test extensively.
- Lemon Juice and Salt: For light rust, sprinkle salt over the stain, then douse with lemon juice. Let it sit for a few hours, then scrub and rinse.
- Oxalic Acid: For more severe rust, a diluted oxalic acid solution (found in some deck cleaners or specialized rust removers) can be used, but this is a stronger chemical and requires strict adherence to safety precautions and professional guidance.
When to Call for Professional Help:
For persistent stains that do not respond to DIY methods, or for very delicate or antique brick, professional cleaning services are often the best solution. They have access to specialized equipment, stronger yet safe cleaning agents, and expertise to handle tough stains without damaging the brick or mortar. They can also advise on proper sealing and long-term maintenance plans.
Drying and Maintenance Advice for Brick Floors: Ensuring Long-Lasting Beauty
Proper drying and consistent maintenance are just as crucial as the cleaning process itself to preserve the beauty and extend the lifespan of your brick floors. Neglecting these steps can lead to new problems like water damage, efflorescence, and accelerated wear.
Essential Drying Practices:
- Immediate Drying is Key: After any wet cleaning or rinsing, always dry the floor immediately and completely. Use clean, absorbent towels or a wet/dry vacuum to remove all standing water and moisture. Do not allow brick to air-dry, as this can cause water spots, mineral deposits, and a white powdery residue called efflorescence, which is a common issue with porous materials.
- Promote Airflow: Keep windows open or use fans to ensure good ventilation, which aids in quicker drying and prevents moisture from lingering in the pores of the brick.
Long-Term Maintenance Strategies:
- Daily Sweeping or Vacuuming: Implement a routine of sweeping or vacuuming daily, especially in high-traffic areas. This removes loose dirt, dust, and abrasive particles before they can be ground into the brick’s surface and pores. A vacuum with a soft brush attachment is ideal for textured brick and grout lines.
- Spot Cleaning: Address spills and spots immediately. The quicker you clean them, the less likely they are to set and become permanent stains. Use a damp cloth and a mild cleaner for quick clean-ups.
- Avoid Overusing Cleaning Products: While cleaning is essential, overusing cleaning products can lead to residue buildup, making your floors look dull and sticky, and attracting more dirt. Always use the recommended dilution and rinse thoroughly.
- Protective Measures: Use doormats at all entrances to trap dirt before it enters your home. Place furniture pads under heavy furniture legs to prevent scratches and indentations on the brick surface.
The Importance of Sealing Brick Floors:
Sealing is perhaps the most critical long-term maintenance step for brick floors. A good quality sealer creates a protective barrier that repels water, resists stains, and makes future cleaning much easier, all while preserving the natural look of the brick.
- Preparation is Key for Sealing: Before applying any sealer, ensure the floor is meticulously cleaned and, most importantly, completely dry. Any trapped moisture or dirt beneath the sealer will be permanently locked in. Wait a full day (24-48 hours) after cleaning before sealing to ensure absolute dryness.
- Apply Thin, Even Coats: Apply the sealer in thin, even coats according to the manufacturer’s instructions. Avoid puddling or over-application, as this can lead to a sticky residue or uneven finish. Let each coat dry thoroughly before applying the next, typically 2-4 coats are recommended.
- Choose the Right Sealer Type:
- Water-Based Sealers: Generally recommended for indoor floors. They are low-VOC (Volatile Organic Compounds), easier to clean up, and typically provide a natural-look finish without altering the brick’s appearance.
- Solvent-Based Sealers: Often used for outdoor floors or in areas needing extra durability. They tend to penetrate deeper and offer superior protection against harsh weather and heavy traffic. They might also darken the brick’s appearance slightly.
- Enhancing Sealers: These sealers not only protect but also deepen the natural colors of the brick, giving it a richer, “wet” look.
- The Water Test: To check if resealing is needed, perform a simple water test. Drip a few drops of water onto the brick surface. If the water beads up, your sealer is still effective. If it soaks into the brick and darkens the surface, it’s time to reseal.
- Resealing Frequency: Most sealers last 2-3 years, but this can vary greatly depending on foot traffic, cleaning frequency, and the type of sealer. High-traffic areas, like entryways or kitchens, may require resealing more often, perhaps annually.
- Avoid Harmful Cleaners on Sealed Floors: Even after sealing, avoid strong acids, heavy-duty degreasers, and abrasive cleaners. These can degrade the sealer and expose the brick to damage. Stick to pH-neutral cleaners for regular maintenance.
By integrating these drying, maintenance, and sealing practices into your routine, you can ensure your brick floors remain a beautiful, durable, and low-maintenance feature of your home for many years.
Product Recommendations for Cleaners and Sealers
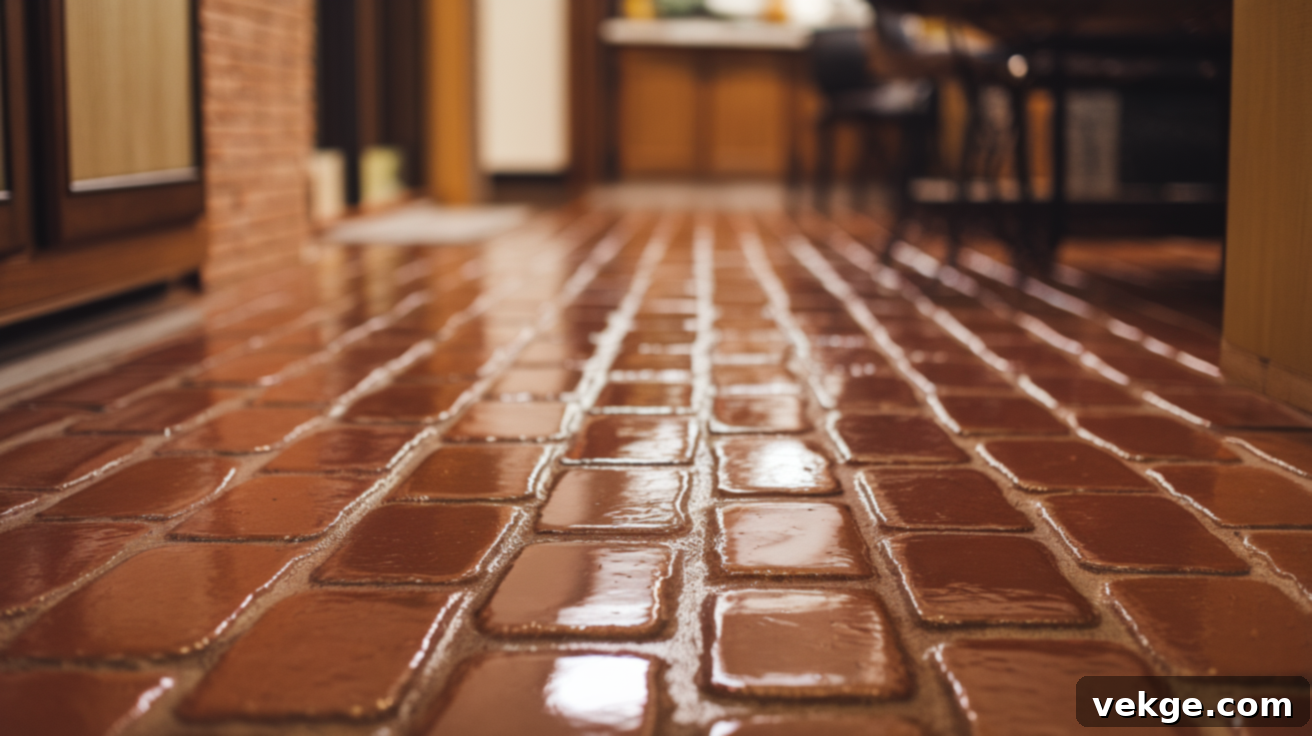
To help you maintain and protect your brick floors effectively, here are some highly recommended commercial cleaners and sealers known for their performance and safety on porous surfaces:
Commercial Cleaners for Brick Floors
- Zep Neutral pH Floor Cleaner: This is a highly reliable pH-neutral cleaner that is perfect for regular maintenance of brick floors. Its balanced formula ensures it won’t damage the surface or compromise any existing sealer, helping to maintain the natural look and integrity of your brick.
- Biokleen Bac-Out Stain+Odor Remover: An excellent enzyme-based cleaner that is particularly effective for handling organic stains like pet accidents, food spills, or mildew. It’s gentle on surfaces, non-toxic, and highly effective for breaking down and removing odors from organic materials absorbed into brick.
- Krud Kutter Original Concentrated Cleaner/Degreaser: This heavy-duty degreaser is a powerful solution for tackling stubborn grease stains, oil spills, and other tough grime that brick floors might accumulate. When used sparingly and diluted as per instructions, it can be highly effective, but always test in an inconspicuous area due to its strength.
Sealers for Brick Floors
Sealing is vital for protecting brick floors from stains and wear, making them easier to clean and preserving their appearance. Here are some top choices:
- Miracle Sealants 511 Impregnator Sealer: This is a top-rated penetrating sealer highly recommended for its durable protection without altering the natural look of your brick floors. It’s water-based and an excellent choice for indoor use, providing deep protection against moisture and stains.
- Tuff Duck Granite, Grout & Marble Sealer: Another excellent penetrating sealer, Tuff Duck provides robust protection for indoor brick floors. It effectively preserves the surface’s natural appearance and is particularly good at preventing staining from liquids, making clean-ups much simpler.
- StoneTech BulletProof Sealer: For areas requiring maximum stain protection, especially for outdoor brick floors or high-spill indoor areas, this solvent-based sealer is an excellent choice. It offers superior protection against stains and harsh weather conditions, making it suitable for even the most demanding environments and high-traffic areas.
Always read and follow the manufacturer’s instructions for any cleaning product or sealer you choose, including testing in an inconspicuous area first.
Common Mistakes to Avoid When Cleaning Brick Floors
To keep your brick floors looking their absolute best and to avoid costly repairs or premature wear, it’s essential to be aware of common cleaning mistakes that can lead to long-term damage and increased maintenance. A little knowledge can go a long way in protecting your investment.
- Using Too Much Water (Overwetting): This is perhaps the most common and damaging mistake. Brick and mortar are porous, meaning they absorb moisture. Overwetting the floor can cause water to seep deep into the brickwork, weakening the mortar, encouraging efflorescence (white powdery residue), promoting mold or mildew growth, and even leading to structural issues over time. Always use just enough solution to clean, and dry immediately.
- Using Harsh or Acidic Chemicals: Avoid cleaning solutions that are highly acidic (like undiluted vinegar, strong rust removers, or muriatic acid) or overly alkaline, and certainly steer clear of abrasive powders or scrubbers. These chemicals can etch, discolor, or dissolve the surface of the brick and, more critically, degrade the mortar joints. This not only ruins the appearance but also compromises the floor’s integrity. Stick to pH-neutral or mildly acidic/alkaline cleaners designed for masonry.
- Scrubbing Too Hard with Abrasive Brushes: While scrubbing is necessary for brick, using stiff, abrasive brushes or scrubbing too vigorously can scratch and wear down the brick’s surface and the grout. This creates rough spots that are more prone to trapping dirt and can permanently alter the floor’s texture and appearance. Always opt for soft-bristled brushes and gentle, circular motions.
- Skipping the Sealing Process: Failing to properly seal (or re-seal) your brick floors leaves them exposed and vulnerable. Unsealed brick will absorb spills and dirt much more readily, leading to more frequent and difficult staining, accelerated wear, and efflorescence. Sealing provides a protective barrier that repels moisture and stains, significantly easing maintenance and extending the floor’s life.
- Using the Wrong Cleaner for the Stain Type: Not all stains are created equal, and using a general cleaner for a specialized stain (e.g., a mild detergent for deep-set oil) can be ineffective, or worse, set the stain further. Conversely, using a heavy-duty degreaser for a light dust issue is overkill and potentially damaging. Always identify the stain type and select a targeted, appropriate cleaning solution.
- Not Rinsing Thoroughly: Leaving behind cleaning solution residue can lead to a sticky film that attracts more dirt, creates a dull appearance, or even discolors the brick. Always rinse the cleaned area thoroughly with clean water until all traces of the cleaning solution are removed.
By being mindful of these simple yet crucial tips, you can effectively protect your brick floors from damage, keep them cleaner for longer, and reduce the overall effort required for maintenance.
Conclusion
Cleaning brick floors doesn’t have to be a daunting task. With the right tools, appropriate cleaning solutions, and a commitment to regular upkeep, you can effortlessly keep your brick floors looking stunning and preserve their unique charm for many years to come. From daily dry cleaning to strategic wet cleaning and targeted stain removal, each step contributes to the longevity and beauty of your flooring.
I’ve personally noticed that integrating the critical step of sealing them makes a world of difference. Sealing not only helps protect against spills and deep-set stains but also significantly simplifies routine maintenance, transforming a potentially challenging chore into a manageable one. It’s an investment that truly pays off in the long run.
Give these comprehensive tips a try, and I’m confident you’ll see just how simple and rewarding it is to maintain your brick floors when you know how to clean them properly. With just a little consistent care and the right approach, your beautiful brick floors will continue to shine, enhancing the character and warmth of your home for decades.
For more helpful floor care tips, be sure to explore my other guides and discover new ways to keep every surface of your home looking its best.
Frequently Asked Questions About Cleaning Brick Floors
Can I use Dawn dish soap to clean brick floors?
Yes, Dawn dish soap is a very popular and effective choice for cleaning brick floors. It is a mild, pH-neutral detergent that is excellent at breaking down grease and grime without being too harsh on porous brick surfaces. Mix a small amount (a teaspoon or two) with a gallon of warm water. Be sure to dilute it properly to avoid excessive suds and rinse thoroughly to prevent any soap residue buildup, which can attract more dirt.
What is the main disadvantage of brick flooring?
The primary disadvantage of brick flooring stems from its porous nature. This characteristic makes brick highly absorbent, meaning it can easily soak up liquids and stains, making it prone to dirt buildup, discoloration, and deep-set staining if not properly maintained. It also requires regular sealing to create a protective barrier and reduce its absorbency. Without proper sealing and consistent care, brick floors can be challenging to keep clean and maintain their pristine appearance over time.
How often should I deep clean my brick floors?
The frequency of deep cleaning depends largely on the amount of foot traffic your brick floors receive. For high-traffic areas like entryways, kitchens, or living rooms, a deep clean might be needed every 3-6 months. For low-traffic areas like bedrooms or less-used hallways, once a year might suffice. Regardless of frequency, daily sweeping or vacuuming and immediate spot cleaning are crucial to extend the time between deep cleans.
Can I use a steam cleaner on brick floors?
Using a steam cleaner on brick floors is generally not recommended, especially for unsealed or older brick. While steam can loosen dirt, the high heat and moisture can penetrate the porous brick and mortar, potentially causing damage like efflorescence (white powdery residue), weakening the mortar joints, or even promoting mold growth. If your brick floors are well-sealed, a steam cleaner might be used with extreme caution on a low setting, but it’s often safer to stick to traditional damp mopping and thorough drying.
How can I prevent efflorescence on my brick floors?
Efflorescence, the white powdery substance on brick, is caused by moisture drawing salts from within the brick or mortar to the surface. To prevent it, ensure proper drainage around the foundation (for ground-level brick), use high-quality, dense brick, and crucially, apply a good quality penetrating sealer to your brick floors. During cleaning, avoid overwetting the floor and ensure it dries completely and quickly. If efflorescence appears, brush it off with a stiff, dry brush and then clean the area with a diluted vinegar solution (1:10 vinegar to water), ensuring thorough rinsing and drying.
