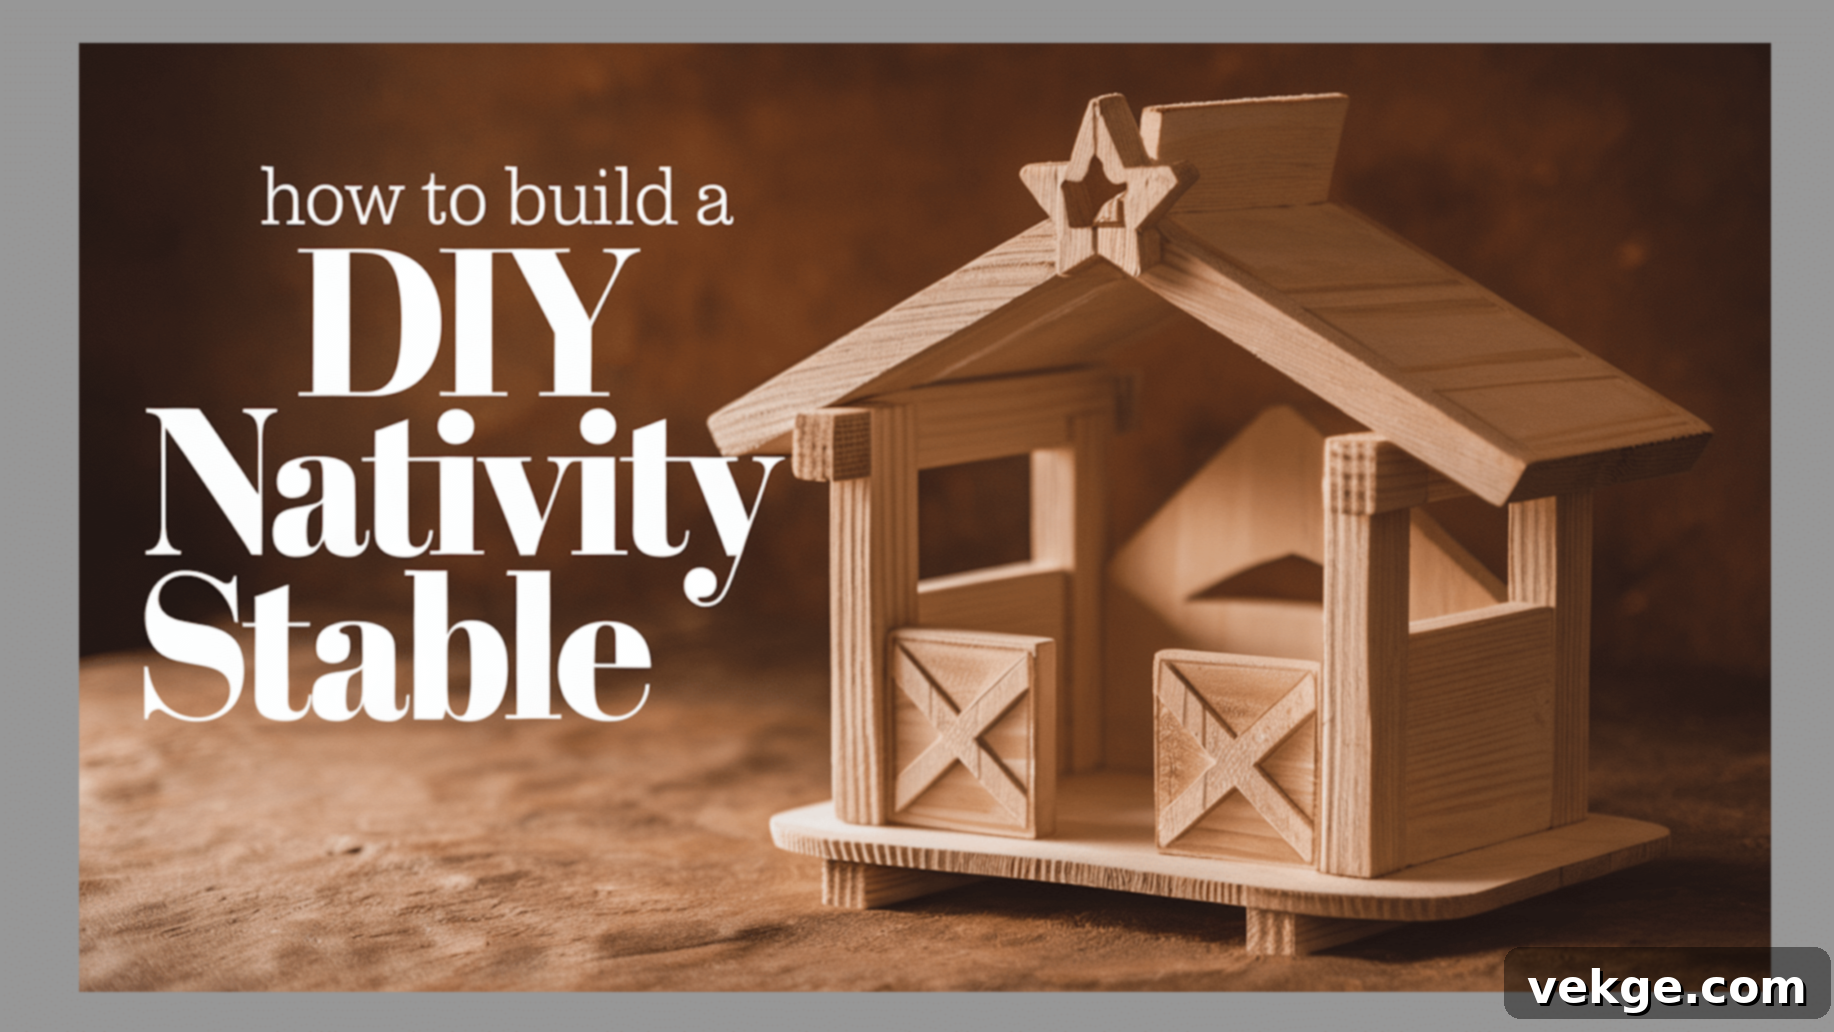
Craft Your Own Beautiful DIY Nativity Stable: A Complete Step-by-Step Guide
Creating a DIY nativity stable is a rewarding and fun project that adds a deeply personal touch to your holiday decorations. It’s a simple yet meaningful way to create a warm and inviting home for your treasured nativity set, transforming it into a more prominent and cherished display during the festive season.
Whether you envision your nativity stable standing proudly indoors as a centerpiece or gracing your outdoor festive scene, its design and size can be easily adjusted to perfectly fit your available space. This flexibility ensures your handmade stable will seamlessly integrate into your existing holiday decor, becoming a focal point of admiration.
With just a few basic materials, such as leftover scrap wood, reliable wood glue, and simple hand tools, you can construct a beautiful and sturdy stable. This guide will walk you through every essential step, from thoughtfully selecting the ideal materials to applying the final finishing touches. By the time you’re finished, you’ll have a unique, handmade nativity stable that will undoubtedly brighten your home and infuse it with the spirit of the season for years to come.
Essential Materials for Building Your DIY Nativity Stable
Building a charming DIY nativity stable is an enjoyable and accessible project that requires only a few fundamental materials. Gathering these items before you begin will ensure a smooth and efficient building process. Here’s a detailed look at what you’ll need:
1. Scrap Wood
Utilizing scrap wood from previous projects is an excellent choice for several reasons: it’s cost-effective, environmentally friendly, and often lends a rustic charm to your stable. Common types like pine and cedar are ideal due to their workability and attractive grain, but any sturdy, reclaimed wood will suffice. Focus on selecting pieces that are thick enough to provide structural integrity and support the stable’s overall design.
Before cutting or assembly, carefully inspect your chosen wood. If any pieces have rough edges, splinters, or uneven surfaces, take the time to sand them down thoroughly. A smooth finish not only looks better but also makes the stable safer to handle and easier to paint or stain. Embracing different types or shades of scrap wood can also enhance the stable’s simple, natural, and unique aesthetic. For those aiming for a more refined appearance, consider pre-treating the wood with a stain or paint before you begin the assembly process to achieve a consistent and polished look.
2. Wood Glue
Wood glue is a crucial component for securely joining the various pieces of your nativity stable. It forms a remarkably strong bond that significantly contributes to the structure’s stability and durability. For optimal results, apply a thin, even layer of wood glue to the edges of the wood pieces just before you join them. Press the pieces firmly together and hold them in place for a few minutes to allow the initial bond to set.
If you find that the pieces shift or need extra pressure, utilize clamps to hold them securely while the glue dries completely. This step is vital; allowing the glue to cure fully before moving on to subsequent steps will ensure the stable remains robust and long-lasting. Wood glue offers a straightforward and clean method to secure your structure, minimizing the need for an excessive number of nails or screws and maintaining the stable’s aesthetic.
3. Finishing Nails
While wood glue provides excellent adhesion, finishing nails offer supplementary support, significantly enhancing the stable’s strength and overall durability. These small, slender nails are designed to be less noticeable, contributing to a clean and neat final appearance.
Use finishing nails to secure the wood pieces at critical junctions, such as the base, where walls meet, and at roof attachment points. When hammering them in, exercise caution to prevent splitting the wood. For denser wood or to ensure precise placement, consider drilling small pilot holes before inserting the nails. This technique makes the nailing process easier and reduces the risk of damaging your carefully cut wood. Finishing nails play a vital role in keeping the stable solid and stable, ensuring it can withstand handling and display for many holiday seasons.
4. Saw
A reliable saw is essential for accurately cutting your wood pieces to the precise dimensions required for your stable. Depending on your preference, existing tools, and the type of cuts needed, you have several options: a hand saw, jigsaw, or miter saw.
A hand saw is a versatile tool suitable for straightforward, linear cuts, offering good control for basic carpentry. A jigsaw is ideal for more intricate designs, curved lines, or detailed cuts, providing flexibility for unique stable shapes. For highly accurate and clean crosscuts and angle cuts, a miter saw is an excellent choice.
Before making any cuts, always mark your wood clearly with a pencil and a measuring tape to ensure accuracy. Cut slowly and deliberately, carefully following your marked lines to achieve clean, straight edges. If the cut edges feel rough or uneven, a quick sanding can smooth them out, preparing the wood for assembly. Using the right saw and taking your time during the cutting phase will significantly contribute to an easier assembly process and a professional-looking finished stable.
5. Sanding Tools
Sanding tools are crucial for smoothing the wood surfaces and edges, making them safe to handle and preparing them for a flawless finish with paint or stain. Your choice of tool might include sandpaper, a sanding block, or a power sander, depending on the scale of your project and your comfort level.
Begin with medium-grit sandpaper to effectively remove any significant rough spots, splinters, or imperfections from the wood. Once the initial roughness is addressed, switch to fine-grit sandpaper to achieve an exceptionally smooth and refined surface. Always sand in the direction of the wood grain; this technique helps prevent unsightly scratches and ensures a uniform finish.
After completing the sanding, it’s important to thoroughly wipe away all dust particles using a dry cloth or a slightly damp rag. A clean, dust-free surface is critical for allowing paint or stain to adhere properly, resulting in an even application and a polished appearance. Additionally, sanding effectively eliminates sharp or jagged edges, making the stable safer and more pleasant to interact with.
6. Wood Stain or Paint
Applying wood stain or paint is the final step in both beautifying and protecting your DIY nativity stable. Each option offers distinct aesthetic qualities:
- Stain: This option accentuates the natural grain of the wood, providing a warm, organic, and rustic appearance. It allows the inherent beauty of the wood to shine through, creating a classic and understated look.
- Paint: If you prefer a more vibrant or customized look, paint offers endless possibilities. It allows you to match the stable to your existing holiday decor or to give it a fresh, bold, or even weathered appearance, depending on your chosen color and technique.
If you opt to stain, apply it evenly using a brush or a clean cloth, always moving in the direction of the wood grain. Immediately wipe off any excess stain with a fresh cloth to prevent blotchiness and ensure a uniform color. Allow the first coat to dry completely before deciding if a second coat is needed for a deeper, richer hue.
If you choose to paint, apply several thin layers rather than one thick coat. Use a quality brush or roller for an even application, allowing each coat to dry thoroughly before applying the next. Lightly sanding between coats can help achieve a wonderfully smooth, professional-grade finish. Both stain and paint provide a vital protective layer to the wood, enhancing its longevity and completing the stable’s overall look. Select the finish that best complements your personal style and holiday theme.
7. Measuring Tape
An accurate measuring tape is an indispensable tool for ensuring all your wood pieces are cut to the exact dimensions. Precision in measurement is key to a successful build; it guarantees that the stable fits together properly, stands balanced, and looks aesthetically pleasing. Before making any cuts, meticulously measure each piece of wood and use a pencil to mark your cutting lines clearly. It’s always a good practice to double-check your measurements to avoid costly mistakes and wasted materials. If you have a specific vision for your stable’s height, width, or depth, plan these dimensions carefully before you start cutting.
Taking the time to measure correctly will make the assembly process significantly easier and ensure that all the individual components align and fit together neatly. A well-measured project results in a stable that is not only structurally sound but also visually symmetrical and well-crafted.
Step-by-Step Guide to Building Your Own Nativity Stable
Building a DIY nativity stable is a rewarding and accessible project that anyone can undertake with a bit of patience and a few basic tools. This simple, step-by-step guide will help you navigate the process from start to finish, ensuring you create a beautiful stable that will be cherished for years.
1. Cut the Base
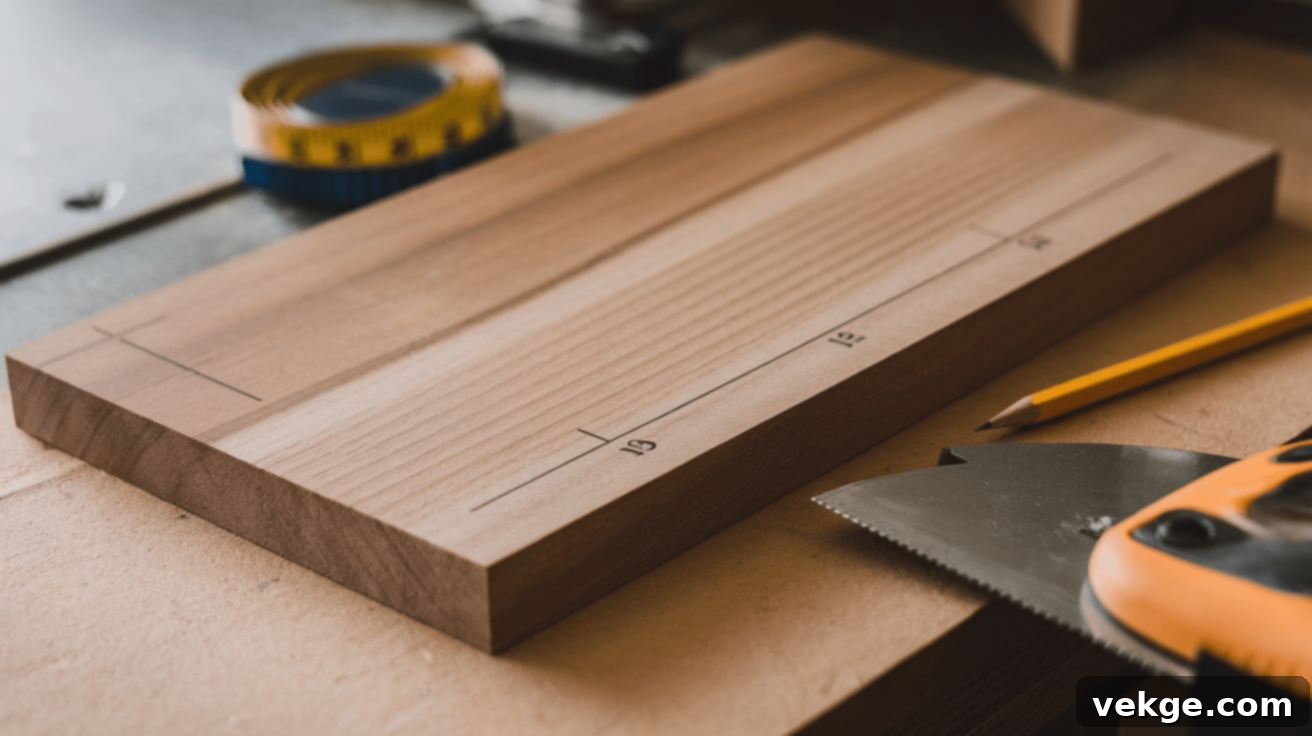
Begin your project by selecting a robust piece of wood that will serve as the stable’s foundation. The size of this base should be determined by the overall dimensions you envision for your stable and the size of your nativity figurines. A common starting size often recommended is approximately 24 inches by 12 inches, offering ample space for most standard nativity sets. If you plan to incorporate additional elements like a separate manger, miniature animals, or other decorative figures, ensure the base is sufficiently large to accommodate everything comfortably.
Once you’ve decided on the dimensions, use your measuring tape to precisely mark these measurements onto the wood. A pencil is excellent for drawing clear, straight lines that will guide your cuts. With your lines marked, carefully cut along the edges using your chosen saw—whether it’s a hand saw, jigsaw, or miter saw. Always cut slowly and steadily to maintain straight and even edges, which are crucial for a stable foundation.
After the base is cut, dedicate time to sanding the edges and surface with sandpaper or a sanding block. This step is essential for removing any rough spots, sharp edges, or potential splinters, ensuring a smooth and safe finish. A perfectly smooth and level base will not only make it easier to attach the subsequent stable pieces but also guarantee that your entire structure stands evenly and securely. If you desire a natural, rustic look, you can leave the base unstained. Alternatively, for a more polished appearance, consider staining or painting it at this stage before proceeding with the main assembly. A well-prepared base is the cornerstone of a strong and balanced stable.
2. Cut the Frame Pieces
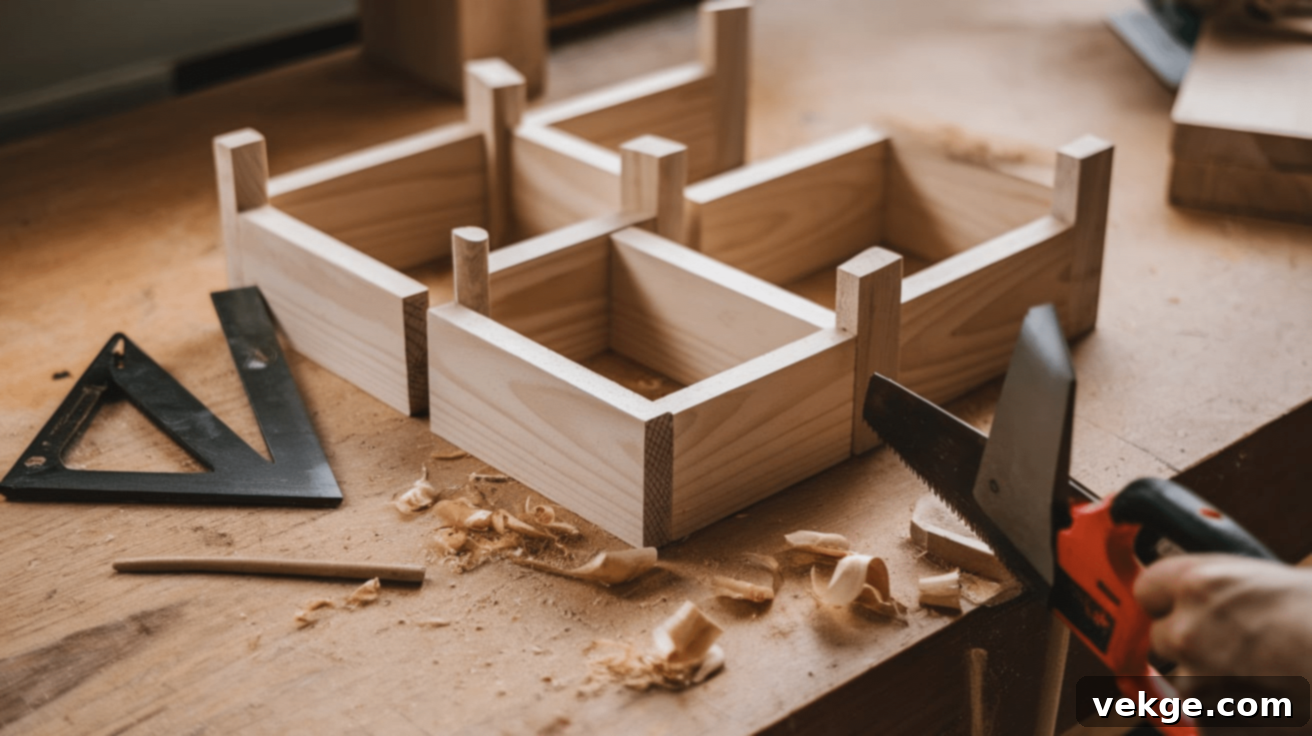
The frame is the skeletal structure that defines the stable’s shape and provides critical support for both the walls and the roof. For a basic stable, you’ll typically need four primary frame pieces: two side walls, a back wall, and either a full front wall or front support posts. The dimensions for these pieces will depend on the desired overall size of your stable. A common and versatile size for the side walls is 10–12 inches tall, while the back wall might be around 12–15 inches wide, but these can be adjusted to suit your specific nativity scene.
Employ your measuring tape to accurately mark these dimensions on your chosen wood pieces. Draw clear, straight lines with a pencil to guide your cuts. Then, using a hand saw, jigsaw, or miter saw, carefully cut each piece according to your markings. If you prefer an open-front stable to showcase your nativity scene more prominently, instead of cutting a full front wall, cut two vertical support posts. These posts will effectively hold up the roof while maintaining an inviting open display area.
Once all frame pieces are cut, sand the edges of each piece thoroughly. This step is crucial for removing any rough spots, splinters, or unevenness that may have resulted from cutting, making the assembly process smoother and safer. A well-sanded surface ensures that the wood pieces fit together more snugly and prevents any unwanted scratches or rough patches when handling the stable. Investing time in accurately cutting and sanding these frame pieces will guarantee a stronger, more stable structure and ensure all components align perfectly in the subsequent assembly steps.
3. Sand the Edges
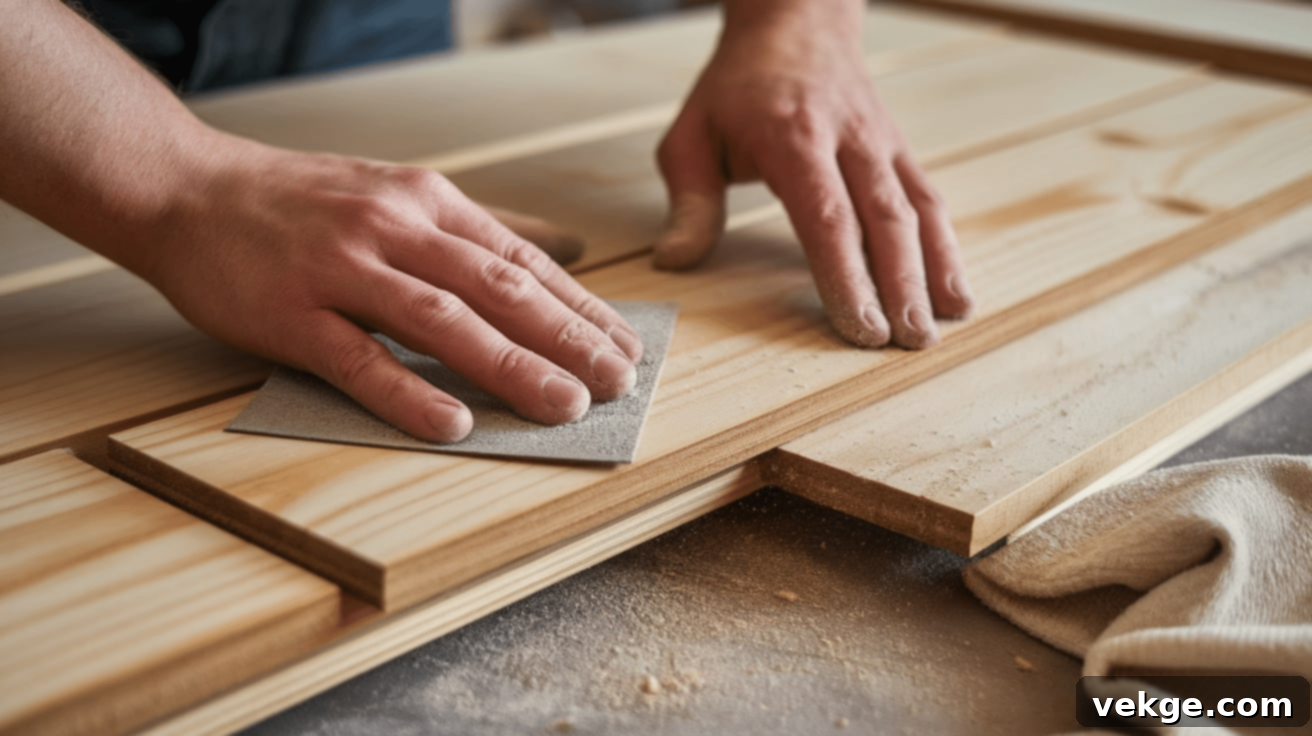
After all your wood pieces for the base and frame have been cut, the crucial next step is comprehensive sanding. This process is vital not only for safety—by removing rough spots and potential splinters—but also for preparing the wood surfaces for a smooth, professional-looking assembly and finish.
Begin with medium-grit sandpaper to effectively smooth out the edges and surfaces of each piece. Always sand in the direction of the wood grain to prevent creating unwanted scratches or swirl marks. If, after using medium-grit sandpaper, the wood still feels noticeably rough or uneven, transition to fine-grit sandpaper. This finer grit will help you achieve an exceptionally smooth, soft-to-the-touch finish.
Pay particular attention to the edges and corners of your wood pieces. These areas are prone to developing splinters or becoming uneven during the cutting process. If you encounter any minor cracks, small holes, or significant imperfections in the wood, apply a small amount of wood filler. Allow the filler to dry completely according to the manufacturer’s instructions, then sand it flush with the surrounding wood until the surface feels perfectly even and seamless.
Once all sanding is complete, use a dry cloth or a slightly damp rag to meticulously wipe off all sanding dust. This step is critical; removing dust ensures that any paint or stain applied later will adhere properly and result in a smooth, flawless finish. A well-sanded surface also greatly simplifies the assembly process, allowing the pieces to fit together more precisely and securely.
4. Assemble the Frame
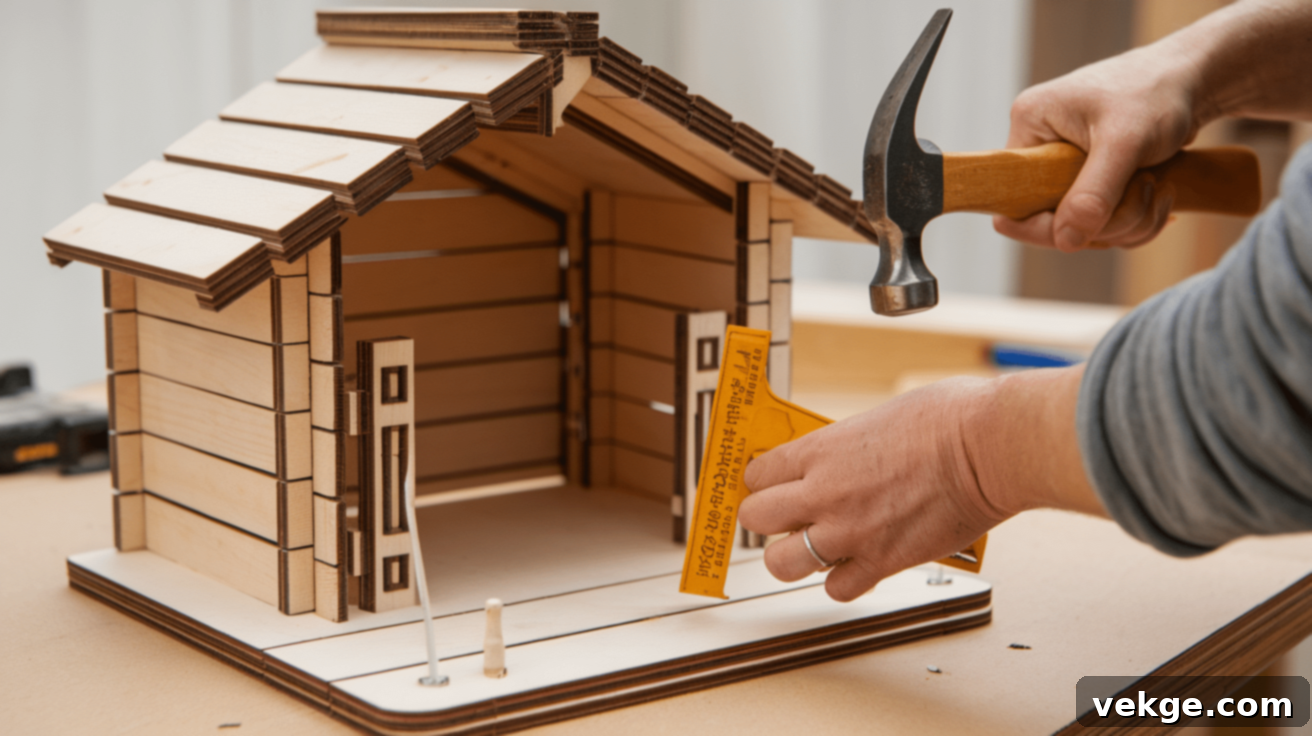
With all your frame pieces accurately cut and thoroughly sanded, it’s now time to bring your stable to life by assembling the main structure. Start by securely attaching the back wall to the chosen base. Apply a generous, even layer of wood glue along the bottom edge of the back wall where it will meet the base. Position the back wall squarely on the base, ensuring it is perfectly aligned, and then reinforce the bond using finishing nails. Hold the piece firmly in place until the initial glue set, and allow the glue to dry sufficiently before proceeding to the next step.
Next, move on to attaching the two side walls. Apply wood glue along the edges where the side walls will connect to both the base and the back wall. Carefully position each side wall, ensuring it stands straight and forms a true right angle with the base and back wall, then secure them with finishing nails. It is crucial to check that all walls are plumb and square before allowing the glue to dry completely, as this establishes the integrity of your stable.
If your design includes an open front, attach two vertical support posts at the front corners of the stable. These posts are essential for supporting the roof structure while maintaining an open display area for your nativity scene. Again, use wood glue and finishing nails to secure them firmly. Throughout this assembly phase, regularly check that all pieces are level and square. A strong, accurately assembled frame is paramount; it will ensure the stable remains sturdy, supports the roof properly, and stands the test of time, proudly displaying your nativity scene for many years.
5. Add the Roof Supports
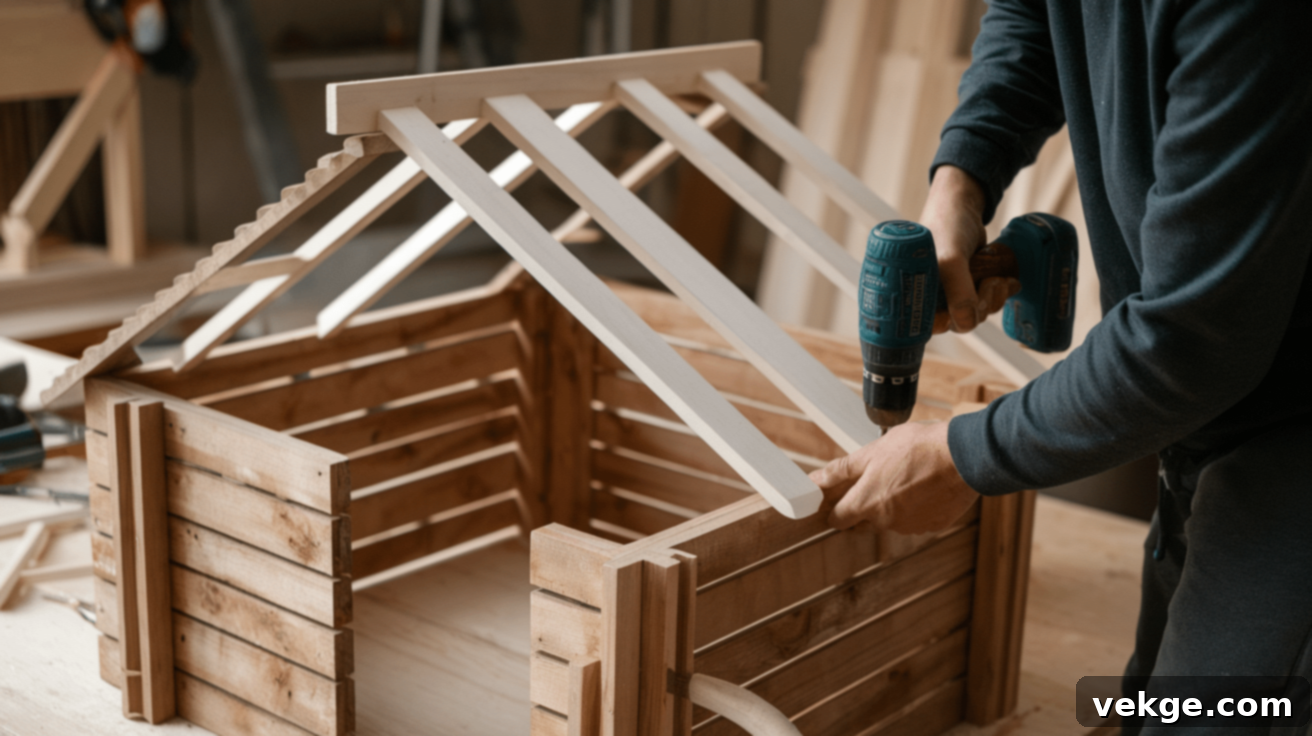
The roof supports are vital components that will hold your roof securely in place and further define the stable’s overall shape and silhouette. You will need to cut two roof support pieces. These pieces should be measured to span the width of your stable, connecting the front and back of the structure precisely to ensure a proper fit.
Carefully attach these support pieces to the top edges of the side walls. Use a combination of reliable wood glue and finishing nails for a strong, lasting bond. If your design calls for a classic slanted roof, position these supports at the desired angle. It’s imperative to ensure that both sides of your stable are evenly angled and level so that the roof will sit correctly and create a symmetrical appearance.
Once the roof supports are firmly attached, allow the wood glue to dry completely. This curing period is crucial for establishing maximum strength. These supports not only provide the necessary structure for your roof but also significantly contribute to the overall stability and rigidity of your handmade nativity stable, preparing it for the final roofing stage.
6. Cut and Attach the Roof
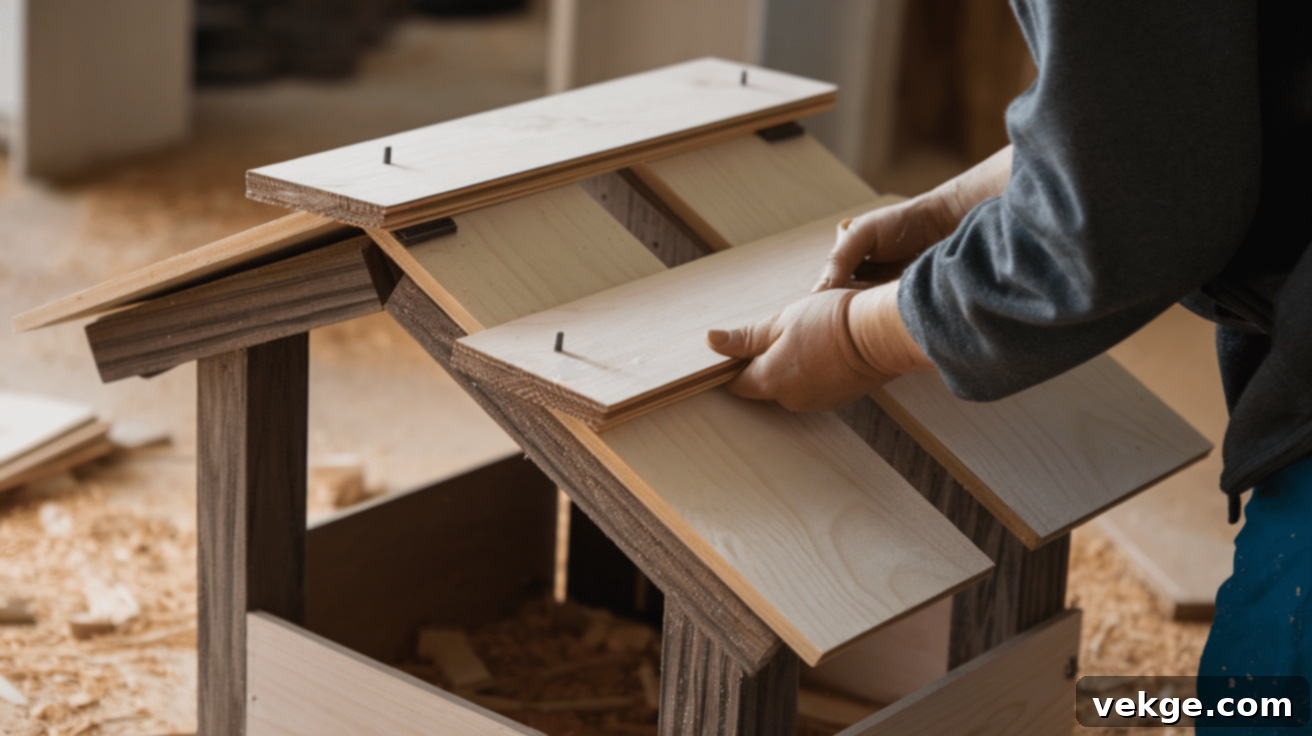
With the stable frame and roof supports now firmly in place, it’s time for the crowning element: the roof. The roof will complete the structure, providing the quintessential look for your nativity stable and offering shelter to your figures.
Begin by meticulously measuring the top opening of your stable to determine the precise dimensions for your roof panels. Use a measuring tape to mark these measurements accurately on your chosen wood, then cut the panels using your saw. If you are aiming for a traditional slanted roof, remember to cut one side of your roof panels slightly longer than the other to create the desired overhang and pitch.
Once the roof panels are cut, thoroughly sand their edges to remove any rough spots and ensure a clean finish. Carefully position the roof pieces on top of the stable, checking for a perfect fit and proper alignment with the roof supports. Apply wood glue generously along the top edges of the frame and the roof supports, then carefully place the roof panels into position.
Secure the roof panels firmly using finishing nails or screws. For added stability during the drying process, especially if dealing with larger panels, consider using clamps to hold the roof in place until the glue has fully cured. Ensure the roof sits evenly and securely before moving forward. After attaching the roof, inspect for any minor gaps or uneven edges. If necessary, a light sanding can smooth out any remaining rough areas, leaving your stable ready for its final aesthetic treatment.
7. Paint or Stain the Stable
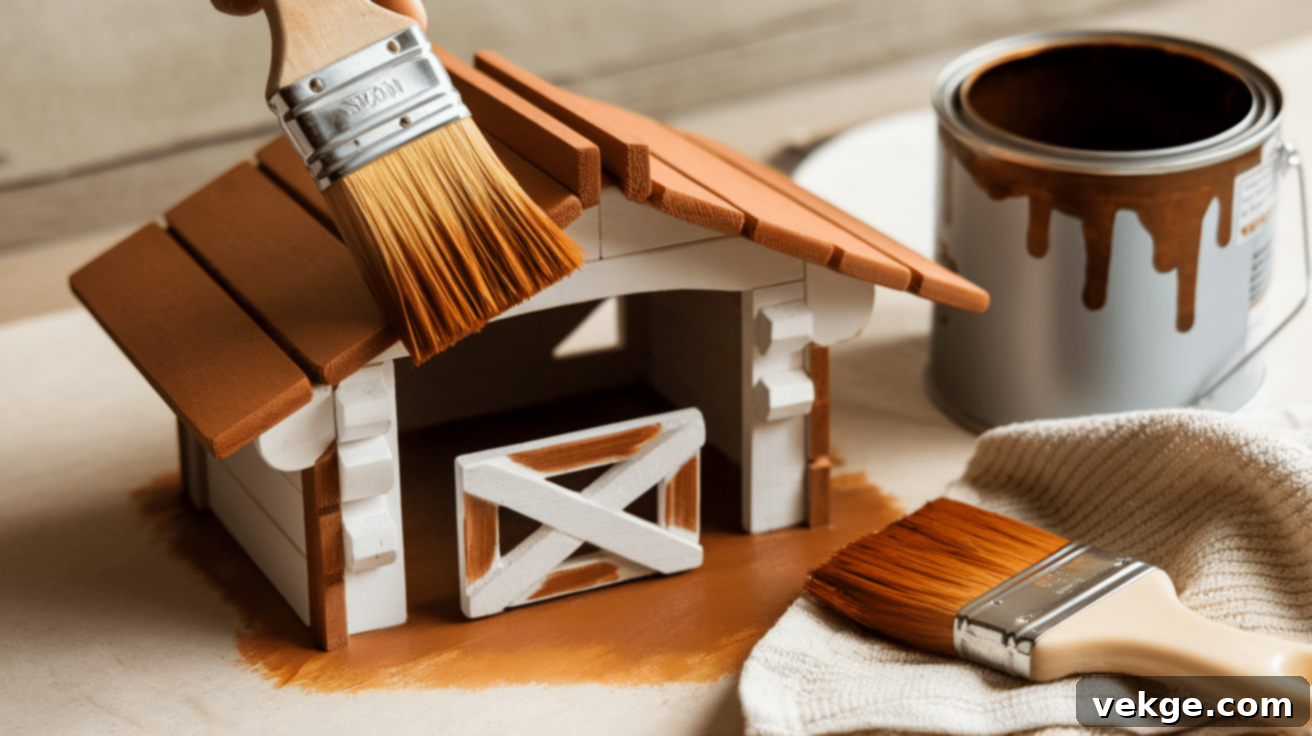
Now that your nativity stable is fully constructed, this is the exciting stage where you can apply paint or stain. This not only enhances its visual appeal but also provides a vital protective layer to the wood, ensuring its longevity.
If you opt for a stain, select a shade that beautifully highlights the natural grain and texture of the wood, adding warmth and depth to your stable. Use a quality brush or cloth to apply the stain evenly, always moving in the direction of the wood grain for a smooth, consistent finish. Immediately wipe off any excess stain with a clean, dry cloth to prevent streaks and achieve a uniform color. Allow the first coat to dry completely. If you desire a darker or richer finish, apply a second coat after the first has thoroughly dried.
If you prefer paint, apply it in thin, even coats using a brush or roller. Avoid applying thick coats, as they can lead to drips and uneven drying. Ensure each coat is completely dry before applying the next. For an exceptionally smooth, professional-grade surface, lightly sand the stable between coats with fine-grit sandpaper. Choose a color that complements your existing holiday decor or one that gives the stable a classic, timeless, or even a weathered, antique look. Both staining and painting will protect the wood from environmental elements and wear, ensuring your stable remains a beautiful part of your holiday display for many seasons. After the paint or stain is dry, consider applying a clear wood sealer for added protection and durability, especially if the stable will be displayed outdoors. Allow the stable to dry completely before adding any decorative elements or placing your nativity figures inside.
8. Add Decorative Details
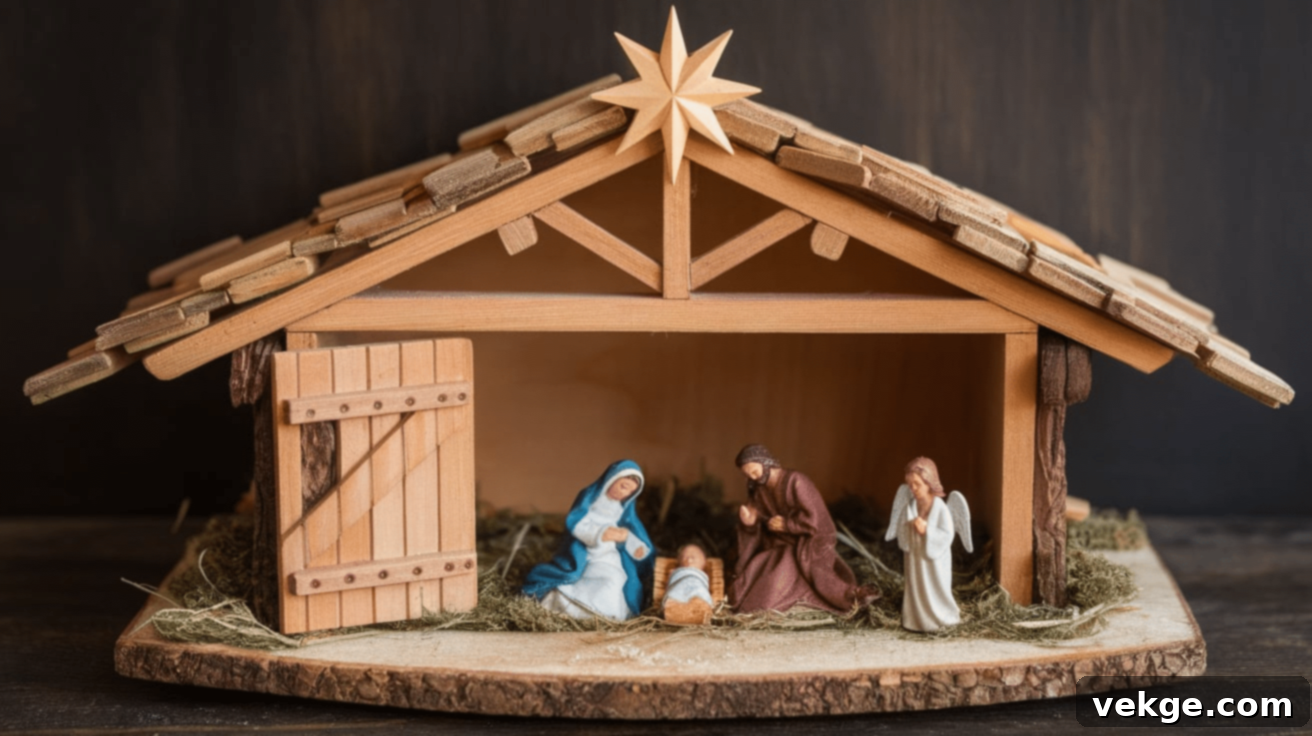
With the stable now fully built and finished, it’s time to infuse it with character and make it truly your own by adding simple yet impactful decorative details. These touches will make your stable look more authentic and harmonious with your nativity scene.
For an old-style, weathered appearance, you can gently distress the stable. Lightly sand the edges and corners to soften them and reveal the natural wood beneath the finish. You might also consider applying a very thin, diluted coat of dark stain and wiping it off quickly to create a subtle aging effect that brings out the wood grain beautifully.
If you’re aiming for a faded or whitewashed effect, use a dry brush technique with a small amount of white or light gray paint. Lightly brush over the wood surfaces, focusing on areas that would naturally show wear. This technique adds a worn, rustic look without completely obscuring the stable’s natural texture or original finish.
To incorporate extra, natural details, consider gluing small twigs, dried moss, or straw along the roofline or around the base. This can give the stable the authentic appearance of an ancient shelter. You can also attach a small wooden star, a simple cross, or other meaningful symbols to the top of the stable for a symbolic and charming finishing touch. These thoughtful additions help your handmade stable blend seamlessly and meaningfully with your entire nativity scene. Whether you prefer a minimalist approach or enjoy adding more intricate elements, these decorative steps allow you to personalize your stable to perfectly match your unique style and vision for the holiday season.
Personalizing Your Nativity Stable
Making your DIY nativity stable uniquely yours is one of the most enjoyable parts of the project. Thoughtful decorations can transform a simple structure into a heartwarming focal point for your holiday display. Consider incorporating small figurines, such as miniature farm animals like sheep, donkeys, or cows, which add life and a pastoral feel to the scene. A shimmering star positioned above the stable, or a tiny, handcrafted manger within, can enhance its symbolic significance and visual appeal. For a touch of natural beauty, adorn the base of the stable with sprigs of fresh greenery like pine branches, fragrant cedar, or carefully arranged straw, creating an authentic, rustic environment.
To achieve a truly enchanting ambiance, strategic lighting is key. Discreetly place small, battery-powered LED candles or delicate string lights around or within the stable. The soft, gentle glow will beautifully illuminate your nativity scene, drawing attention to the figures without being overpowering, creating a serene and magical atmosphere.
For those who appreciate a truly handmade aesthetic, woven twine, rustic raffia, or even burlap accents can be artfully wrapped around the stable’s edges or integrated into the roof design. A small, carefully crafted wooden star or a simple cross perched atop the stable adds a profound and elegant finishing touch. If you’re aiming for a charmingly weathered or antique look, a light sanding along the edges can create a gentle distressed effect, or a thin, carefully applied coat of wood stain can mimic the patina of age.
These small, intentional additions elevate your stable from a mere structure to a cherished piece of holiday decor, making it feel deeply personal and perfectly suited for the festive season. Whether your style leans towards minimalist elegance or richly detailed scenes, these personalization ideas will ensure your handmade nativity stable feels complete, meaningful, and a true reflection of your holiday spirit.
Conclusion
Building your own DIY nativity stable is more than just a craft project; it’s a simple, enjoyable, and deeply rewarding experience that enriches your holiday celebrations. It allows you to infuse your holiday decorations with a unique personal touch, making your nativity scene feel even more special and cherished. With just a few readily available basic materials and straightforward tools, you can construct a beautiful and durable stable that will become a beloved part of your family’s traditions for countless years to come.
By diligently following the step-by-step instructions provided in this guide, you gain the ability to create a stable that perfectly complements your specific space and aesthetic preferences. You have the freedom to keep its design elegantly simple and rustic or to enhance it with small, intricate details that make it truly stand out. Regardless of your chosen style, the construction process is designed to be accessible and gratifying, culminating in a finished product you can proudly display.
Don’t hesitate—start your project today and immerse yourself in the joy of crafting a meaningful piece that will bring warmth, beauty, and a sense of tradition to your holiday season, creating lasting memories for your family and guests.
Frequently Asked Questions About Building a DIY Nativity Stable
Do I need a lot of tools to build a DIY nativity stable?
Absolutely not! Building a charming DIY nativity stable is designed to be accessible, even for beginners, and doesn’t require an extensive workshop full of specialized tools. You can easily accomplish this project with a minimal set of basic hand tools. Essential tools typically include a reliable saw (such as a hand saw for straight cuts, or a miter saw for more precise angles), some sandpaper or a sanding block for smoothing, strong wood glue for secure joints, and a hammer with finishing nails for added reinforcement. While a power drill can be helpful for pre-drilling pilot holes or driving screws, it’s certainly not a strict necessity. These fundamental tools are generally affordable and intuitive to use, making the construction of a beautiful stable achievable for virtually anyone with minimal equipment.
Can I paint or stain my nativity stable?
Yes, indeed! Painting or staining your nativity stable is highly recommended and offers a fantastic opportunity to customize its appearance. Staining is an excellent choice if you wish to highlight the natural beauty and grain of the wood, creating a warm, rustic, and organic aesthetic. Alternatively, paint allows for a broader spectrum of creative expression, enabling you to introduce specific colors that complement your holiday decor or to achieve a particular look. You can explore various painting techniques, such as dry brushing for a distressed or aged effect, or whitewashing for a light, antique finish, to give your stable a unique, rustic character. Applying a stain or paint not only provides a polished and finished look but also adds a crucial layer of protection to the wood, ensuring your stable remains beautiful for many holiday seasons while perfectly matching your personal style.
How do I make sure my nativity stable is sturdy?
Ensuring the sturdiness of your DIY nativity stable is paramount for its longevity and safe display. The key lies in a combination of strong adhesion and careful construction. Always use a high-quality, durable wood glue on all joining surfaces; this forms the primary, lasting bond. For additional reinforcement, secure each joint with finishing nails or screws, as these provide extra mechanical strength. Crucially, pay meticulous attention during the cutting phase to ensure that every piece is cut accurately and squarely. When assembling the frame, continuously check that all walls and posts are square and plumb before attaching the roof. For maximum stability, consider utilizing a solid, reinforced back wall, as this significantly helps in preventing the structure from swaying or toppling. A robust foundation and precise, thoughtful assembly are the cornerstones of a stable that will stand strong, securely holding your cherished decorations without any worry.
Can I make the nativity stable larger or smaller?
Absolutely! One of the greatest advantages of building a DIY nativity stable is the complete flexibility to adjust its size to your specific needs and preferences. You can easily scale the dimensions of all the wood pieces up or down, depending on the size of the nativity figurines you plan to display, or the space where the stable will be placed. For instance, if you have a grand nativity set, simply increase the length, width, and height of your base, walls, and roof pieces proportionately. Conversely, for smaller figurines or limited display areas, you can reduce the dimensions. This adaptability allows you to create a stable that perfectly fits your decorative scheme or available space, all while following the same straightforward building steps outlined in this guide. The ability to customize the size makes this project incredibly versatile and truly personalized.
