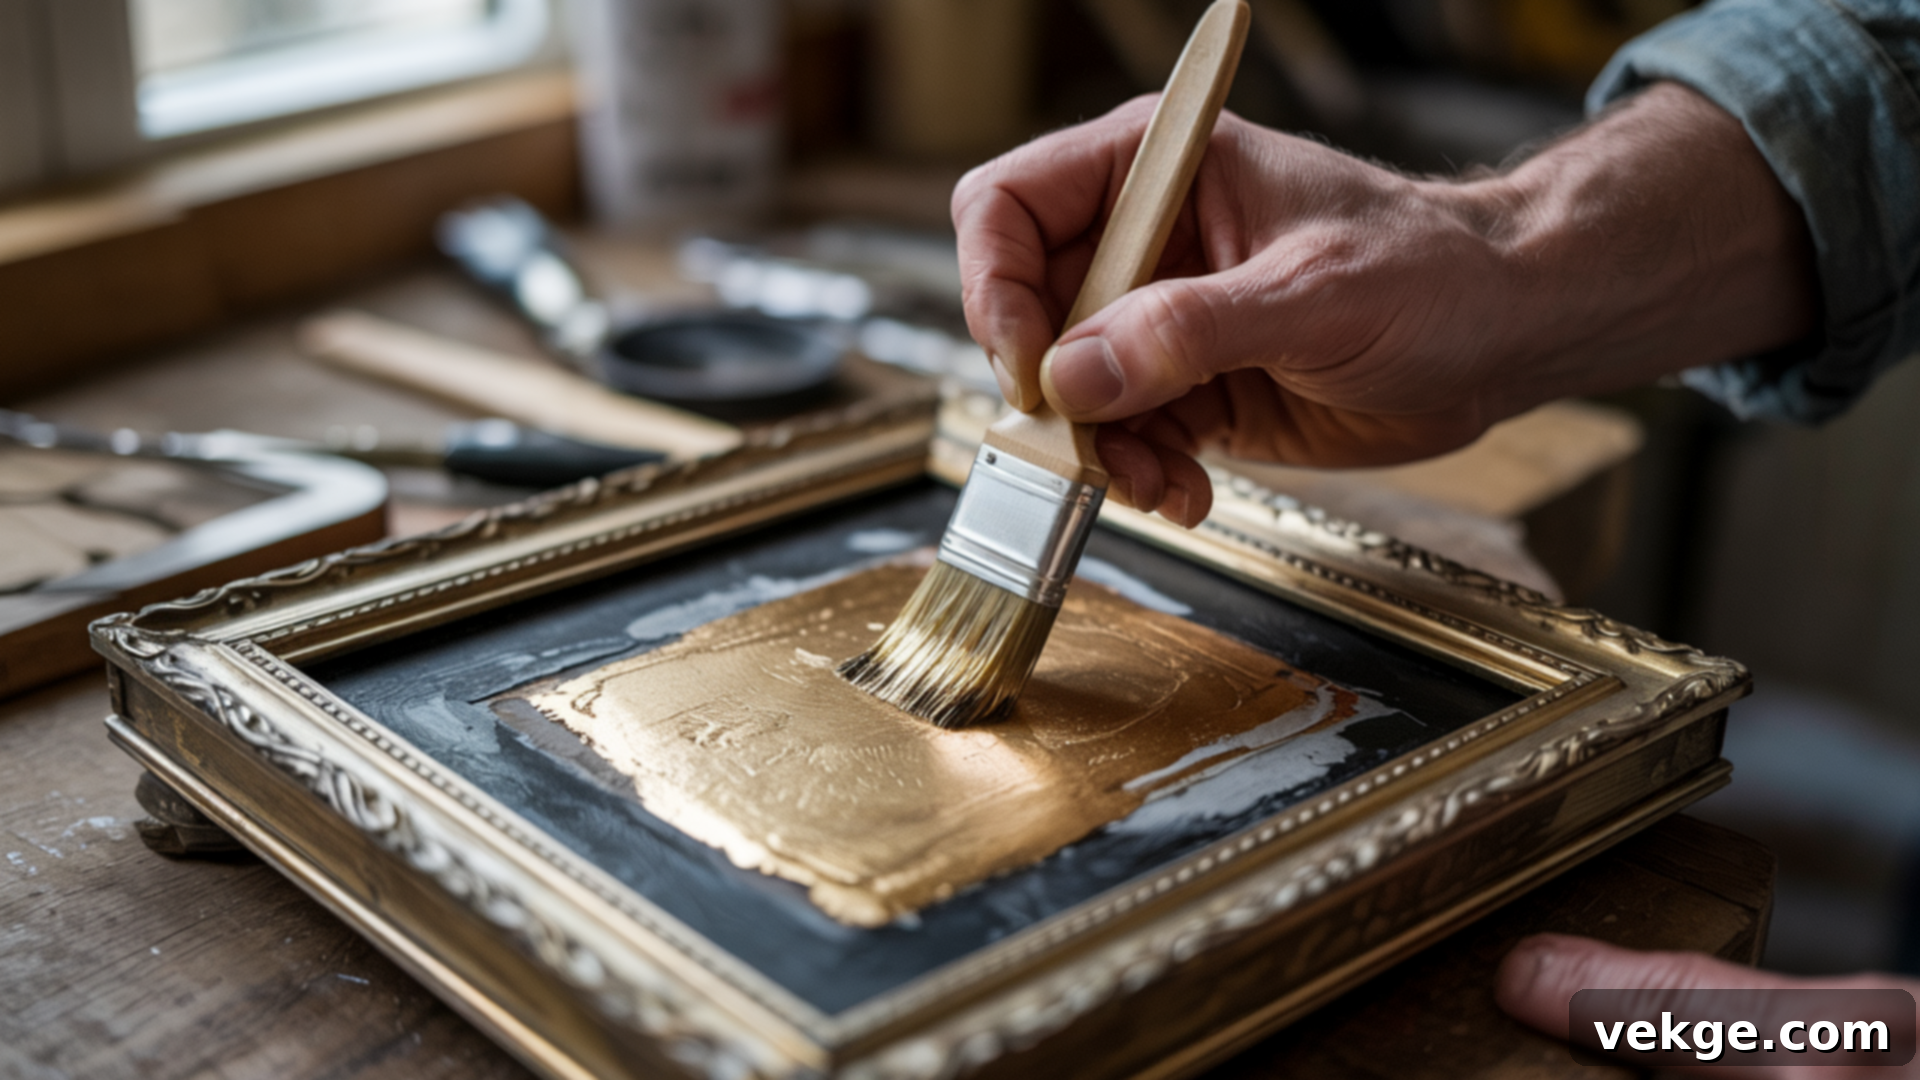
Mastering Rub ‘n Buff: Your Ultimate Guide to Transforming Home Decor with Metallic Finishes
Are you looking to infuse your home decor with a touch of elegance and a luxurious metallic sheen without breaking the bank? Look no further than Rub ‘n Buff! This incredibly versatile and easy-to-use product is a secret weapon for DIY enthusiasts and home decorators, perfect for adding a sophisticated grace and brilliant shine to a wide array of surfaces.
Whether your goal is to breathe new life into an old piece of furniture, elevate simple accent hardware, or bestow a charming vintage finish upon a modern item, Rub ‘n Buff provides a remarkably quick, simple, and affordable solution. Its unique wax-based formula allows for stunning transformations with minimal effort, making high-end looks accessible to everyone.
In this comprehensive guide, we’ll walk you through everything you need to know about using Rub ‘n Buff effectively. From essential surface preparation to mastering the application techniques for a flawless finish, and even insider tips and tricks to ensure your projects turn out beautifully every time, we’ve got you covered. Get ready to add unparalleled shine and distinctive style to your living space!
Understanding the Magic of Rub ‘n Buff
Rub ‘n Buff is a unique, wax-based metallic finish celebrated for its ability to effortlessly update and refresh a vast spectrum of surfaces. This ingenious product has quickly become a cornerstone for DIY enthusiasts, crafters, and home decorators due to its remarkable power to transform ordinary items into sophisticated, gleaming metallic pieces that exude a high-end appeal with surprisingly little effort.
What sets Rub ‘n Buff apart is its rich pigmentation and creamy consistency, which allows it to adhere beautifully and deliver an instant metallic luster. Available in an impressive range of vibrant colors—including classic shades like Gold Leaf, Antique Gold, Silver, Pewter, Bronze, and Copper, as well as unique options like Ruby—Rub ‘n Buff offers unparalleled versatility. It can be expertly applied to virtually any material, making it suitable for metal, wood, glass, ceramic, plastic, and even painted surfaces. This makes it an indispensable tool for a myriad of creative projects, from subtle accents to dramatic makeovers.
Unlocking the Benefits of Rub ‘n Buff for Your DIY Projects
Rub ‘n Buff isn’t just a product; it’s a game-changer for anyone embarking on DIY projects or home decor updates. Its straightforward application combined with its stunning metallic finish makes it an essential item in any creative toolkit. Here’s why it stands out:
- Effortless Application: Say goodbye to complicated tools and techniques. Rub ‘n Buff is designed for simplicity. You can achieve professional-looking results by simply applying it with your finger or a soft cloth, making it incredibly accessible for beginners and seasoned crafters alike.
- Exceptional Coverage and Value: A tiny amount of Rub ‘n Buff goes an impressively long way. Its concentrated formula means you need only a small dab to cover a significant area, making it an incredibly cost-effective solution for achieving luxurious finishes without extensive product consumption.
- Unmatched Versatility: This product truly shines in its adaptability. It adheres beautifully to a diverse range of materials including metal hardware, wooden frames, glass vases, ceramic figurines, and plastic embellishments. This opens up endless possibilities for transforming almost any item in your home.
- Instant and Gratifying Results: One of the most satisfying aspects of Rub ‘n Buff is the immediate visual impact. As soon as you apply and buff, you’ll witness an instant, shiny, metallic finish emerge, providing immediate gratification and motivation for your projects.
- Remarkable Durability: Once applied and cured, Rub ‘n Buff creates a resilient finish that is resistant to chipping and fading. For items that experience frequent handling or are exposed to the elements, an optional topcoat can be applied to provide an extra layer of protection, ensuring your creations last for years.
- Affordable Luxury: Why invest in expensive replacements or professional services when you can achieve a high-end, opulent look for a fraction of the cost? Rub ‘n Buff allows you to create sophisticated and luxurious finishes on a budget, making upscale decor attainable for everyone.
- Boundless Creative Potential: From giving an antique dresser a new lease on life to adding gilded accents to holiday ornaments, crafting unique jewelry pieces, or enhancing architectural details, Rub ‘n Buff fuels your creativity. It’s perfect for personalizing furniture, revamping home accessories, and adding metallic flair to any craft project.
In essence, Rub ‘n Buff provides a simple, highly effective, and economical avenue to elevate your DIY projects with breathtaking metallic finishes. Its unparalleled versatility and user-friendliness establish it as an indispensable tool for anyone looking to refresh and revitalize their home decor.
Step-by-Step Guide: How to Use Rub ‘n Buff Like a Pro
Transforming your items with Rub ‘n Buff is a straightforward and rewarding process. Follow this detailed step-by-step guide to ensure remarkable, shiny results with minimal effort, turning your DIY visions into reality.
Tools and Materials Required for a Flawless Finish
To ensure the best possible results and a smooth, effortless application of Rub ‘n Buff, gathering the right tools and materials is crucial. Having these items ready will help you achieve a professional-grade, flawless finish on all your DIY projects.
- Rub ‘n Buff: Select your desired metallic shade from the extensive color palette. Consider testing a small amount first if you’re unsure about the exact hue.
- Protective Gloves: Absolutely essential for protecting your hands from staining. Rub ‘n Buff is highly pigmented and can be surprisingly difficult to remove from skin. Gloves also help maintain a clean application and prevent smudges.
- Small Paintbrush (Optional): Ideal for reaching intricate details, delicate carvings, or tight corners that are difficult to access with a finger or cloth. A synthetic brush with fine bristles works best.
- Soft Cloth or Paper Towel: Critical for both application (especially on larger, smoother surfaces) and, most importantly, for buffing the product to achieve that signature metallic shine and remove any excess. Microfiber cloths or old, soft cotton t-shirts work wonderfully.
- Cleaning Supplies: A mild degreaser or a simple damp cloth with a bit of dish soap is needed to ensure your surface is pristine before application. For very smooth metals, denatured alcohol can also be effective.
- Protective Surface/Drop Cloth: Lay down newspaper, cardboard, or an old sheet to protect your workspace from accidental spills or transfer of the product.
- Fine-Grit Sandpaper (Optional): For very slick surfaces (like highly polished metal or glossy plastic), a quick, light sanding can create a “tooth” for better adhesion. Use 220-grit or finer.
By preparing these essential items beforehand, you set yourself up for a successful and enjoyable Rub ‘n Buff experience. Ensuring everything is within reach will facilitate a seamless application and help you achieve beautiful, long-lasting results.
Step 1: Prepare the Surface for Optimal Adhesion
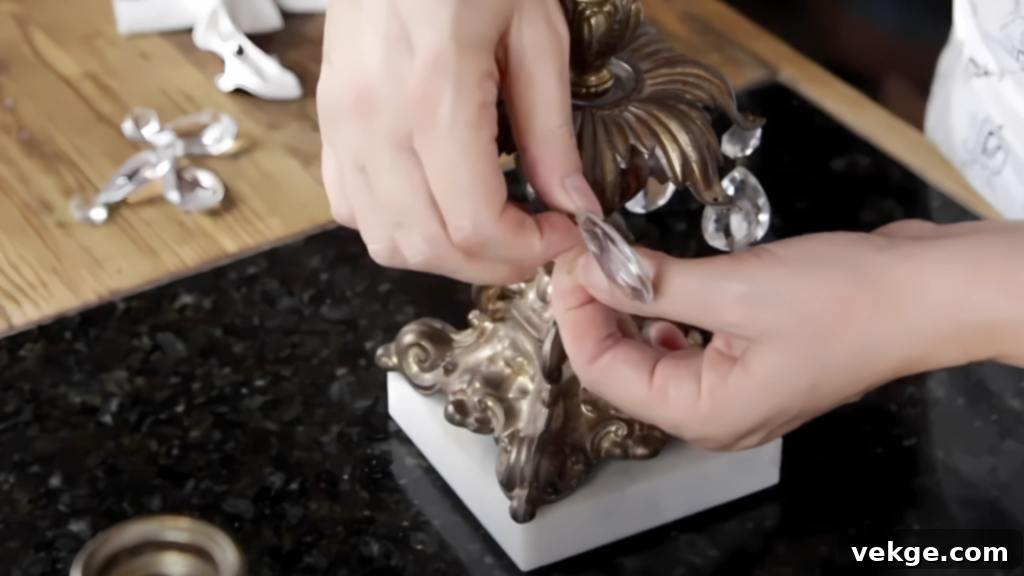
The foundation of a flawless finish lies in meticulous surface preparation. Begin by thoroughly cleaning the item you intend to apply Rub ‘n Buff to. Ensure it is completely free from any dust, dirt, grime, oil, or grease, as these contaminants can prevent the product from adhering properly and result in an uneven or patchy finish. A mild soap and water solution followed by a clean damp cloth, or a degreaser for particularly greasy items, usually does the trick.
For surfaces that are exceptionally smooth, such as polished metals, glossy plastics, or lacquered wood, consider lightly sanding them with fine-grit sandpaper (around 220-400 grit). This process creates a subtle “tooth” or texture on the surface, significantly improving Rub ‘n Buff’s adhesion and ensuring a more durable finish. Pay special attention to intricate areas like detailed frames or figurines, ensuring they are spotless so Rub ‘n Buff can apply evenly and enhance every design element. After cleaning or sanding, allow the surface to dry completely before proceeding to the next step. Any residual moisture can also compromise adhesion.
Step 2: Apply Rub ‘n Buff for Metallic Perfection
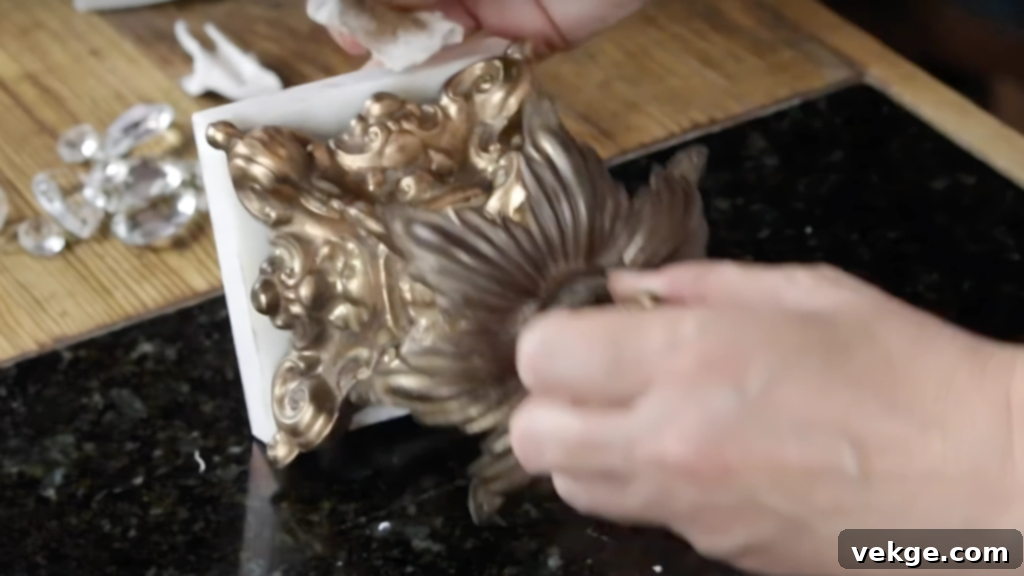
Now comes the exciting part: application! Remember, a little goes a very long way with Rub ‘n Buff. Start by squeezing out a small amount—about the size of a pea—onto your gloved finger, a soft cloth, or a small paintbrush. Always wear gloves at this stage to protect your hands from staining, as the product is highly pigmented and can leave stubborn marks. Gloves also offer better control over the application, preventing unwanted smudges and ensuring a cleaner finish.
For intricate details, such as the delicate carvings on a frame, the textured fur of a figurine, or small embellishments, a small paintbrush allows for precise application. Dip the brush lightly into the product and gently brush it into the crevices and raised areas. For larger, smoother surfaces, using your finger (with a glove) or a soft cloth works best. Apply the product in small, circular motions, working in thin layers. The warmth from your finger can actually help spread the wax more smoothly and achieve a more even coverage. Build up the color gradually as needed, rather than applying a thick coat all at once, which can lead to a less refined finish.
Applying Rub ‘n Buff on Various Metal Surfaces
Rub ‘n Buff is particularly effective on metal, making it ideal for revitalizing everything from dull hardware to antique decor. Here’s a general approach:
- Clean Thoroughly: For metal hardware like doorknobs, light fixtures, or drawer pulls, ensure they are free of any dirt, oil, or tarnish. A quick wipe with a damp cloth or a degreaser is often sufficient.
- Light Sanding (Optional but Recommended): If the metal surface is exceedingly smooth or heavily tarnished, a very light sanding with fine-grit sandpaper (e.g., 220-400 grit) can create a better surface for the Rub ‘n Buff to adhere to.
- Even Application: Apply a pea-sized amount of Rub ‘n Buff using your finger (gloved) or a soft cloth. Gently rub it onto the metal surface in small, circular motions, ensuring even coverage over the entire area you wish to transform. For engraved details or patterns, a small brush can help push the product into the recesses.
- Buff for Shine: After application, wait a few minutes for the wax to set slightly, then buff with a clean, soft cloth to bring out the desired metallic sheen.
- Consider a Topcoat: For frequently handled metal items (like drawer pulls), applying a clear, protective topcoat can significantly enhance the durability and longevity of your Rub ‘n Buff finish.
Step 3: Buff the Surface for a Brilliant Shine
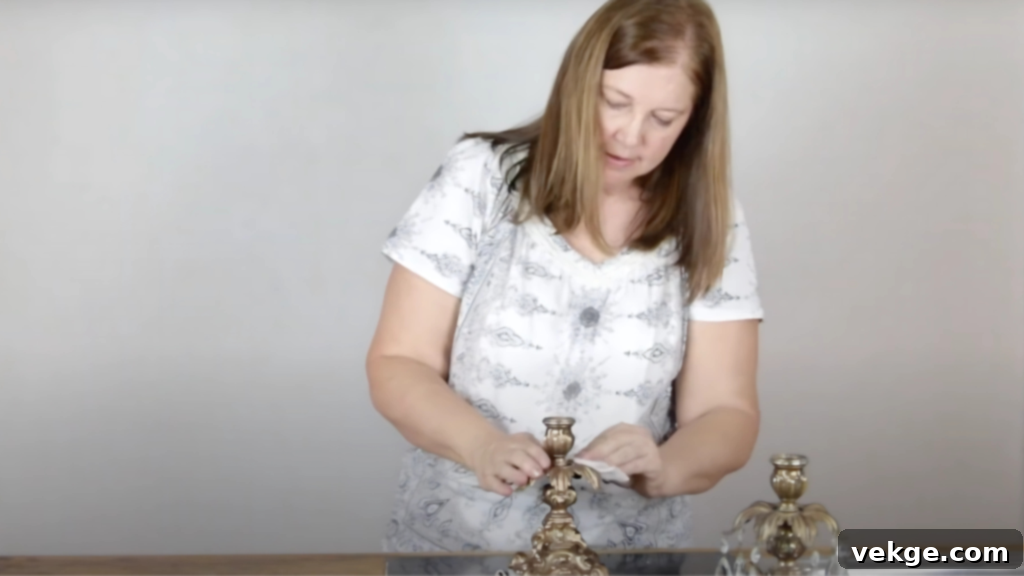
After you’ve carefully applied Rub ‘n Buff to your desired areas, the crucial next step is buffing. This process is what transforms the initial application into that signature polished, metallic luster. Take a clean, dry, soft cloth—a microfiber cloth or a soft cotton rag works exceptionally well, as they are less likely to leave lint behind. Gently but firmly rub it across the surface in small, circular motions.
The act of buffing serves a dual purpose: it removes any excess product that might have accumulated, preventing a streaky or uneven appearance, and more importantly, the friction generated helps to bring out the inherent metallic shine of the wax. Continue buffing until you achieve your desired level of sheen. If you notice any unevenness or slight streaks, simply continue buffing gently to smooth them out. You can also add another tiny dab of Rub ‘n Buff to fill in any sparse areas before buffing again. This step is key to achieving a professional, flawless, and brilliantly reflective metallic look.
Step 4: Admire the Final Result and Consider Protection
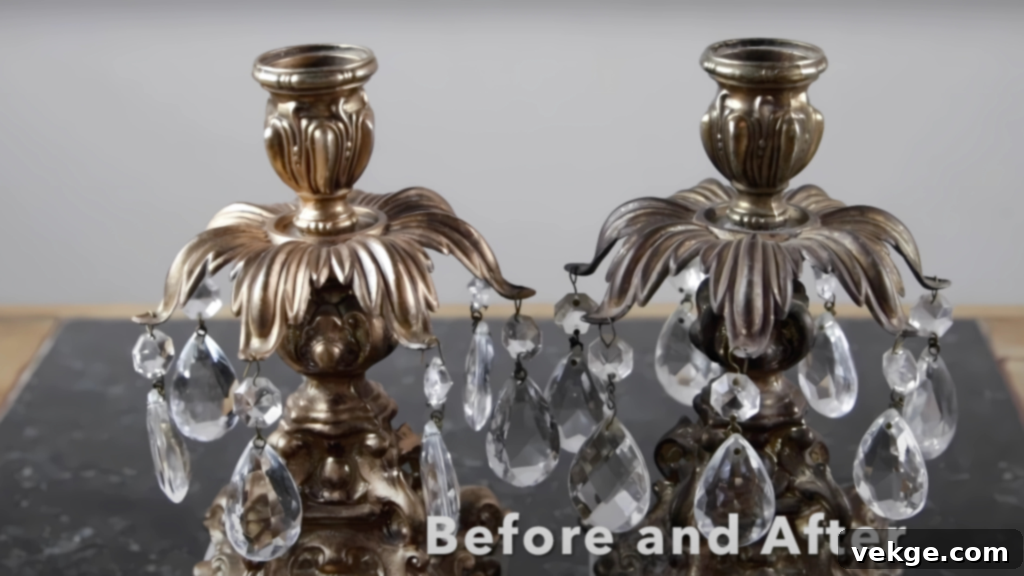
Once you have completed the application and buffing process, step back and take a moment to admire your transformed piece! The metallic finish should now appear smooth, uniformly shiny, and wonderfully enhanced. Whether you’ve revived a vintage frame, given new life to a decorative item, or upcycled a piece of furniture, Rub ‘n Buff delivers an instant, dramatic change with surprisingly minimal effort.
For items that will experience frequent handling or are exposed to potential wear and tear (such as cabinet hardware, outdoor decor, or tabletops), it is highly recommended to apply a clear protective coat or sealer. A clear acrylic spray sealer (matte or gloss, depending on your desired final look) or a clear wax can provide an extra layer of durability, protecting the beautiful finish from scratches, moisture, and fading over time. Allow the Rub ‘n Buff to cure for at least 24 hours before applying any topcoat. Always test your chosen topcoat on an inconspicuous area first to ensure compatibility and desired results.
To see this step-by-step guide in action and watch the full tutorial, you can watch the complete video here (link to video if applicable).
Rub ‘n Buff Color Options and Their Versatile Uses
Rub ‘n Buff offers an exquisite palette of metallic colors, each capable of creating distinct styles and effects. Choosing the right shade can significantly impact the final look and feel of your project. Here’s a breakdown of some popular options and their ideal uses:
- Antique Gold: This timeless shade is perfect for achieving a sophisticated, aged look. It’s ideal for restoring old picture frames, giving new life to vintage furniture, or adding a touch of old-world charm to decorative accents like ornate mirrors or carved wooden boxes.
- Gold Leaf: For a more vibrant, opulent, and truly luxurious finish, Gold Leaf is your go-to. It provides a bright, bold golden hue that makes a statement. Use it on modern accents, light fixtures, or for creating eye-catching focal points in contemporary decor.
- Silver and Silver Leaf: These cool, sleek metallic tones are perfect for creating contemporary, minimalist, or industrial designs. They work beautifully on modern hardware, metallic sculptures, or for giving a fresh, crisp update to outdated items. Silver Leaf tends to be brighter and more reflective than standard Silver.
- Bronze and Copper: If you’re aiming for a rustic, industrial, or earthy aesthetic, these shades are superb. Bronze offers a deep, rich warmth, while Copper provides a vibrant, reddish-brown metallic glow. They are excellent for enhancing architectural details, creating a patinated look on metal, or complementing natural wood tones in furniture and decor.
- Pewter: Offering a subtle, sophisticated, and slightly muted metallic finish, Pewter is fantastic for understated elegance. It’s perfect for items where you want a metallic accent without the bold intensity of gold or bright silver, blending seamlessly into various decor styles.
- Ruby: For a bold and dramatic splash of color, Ruby adds a rich, vibrant pop. This unique shade is excellent for seasonal decor, eclectic pieces, or any project where you want a deep, metallic red to stand out and create an artistic flair.
Experimenting with different colors, or even combining them, can unlock even more creative possibilities, allowing you to tailor your metallic finishes precisely to your desired aesthetic.
Quick Tips to Master Your Rub ‘n Buff Application
Rub ‘n Buff has the power to elevate your DIY projects with stunning metallic finishes. To ensure you achieve the best possible results every time, keep these expert tips in mind:
- Always Start with a Small Amount: This is arguably the most crucial tip. Rub ‘n Buff is highly concentrated. A tiny dab, about the size of a pea, is usually enough to cover a significant area. Applying too much at once can lead to a thick, gummy, or uneven finish, and wasted product. Build up layers gradually.
- Buff Diligently for Ultimate Shine: The buffing stage is where the magic truly happens. After applying the product, use a clean, soft cloth (like microfiber) and gently but firmly rub the surface. This action removes excess product and, more importantly, brings out that characteristic metallic luster and smoothness. Don’t skip or rush this step!
- Work in Manageable Sections: To maintain control and ensure even application, especially on larger items, apply Rub ‘n Buff to smaller sections at a time. This prevents the product from drying too quickly before you have a chance to properly spread and buff it, resulting in a more uniform finish.
- Seal for Enhanced Durability: For items that will be frequently handled, exposed to moisture, or placed in high-traffic areas (e.g., drawer pulls, tabletops, outdoor decor), applying a clear protective coat or sealant is highly recommended. A clear acrylic spray or a durable topcoat wax will safeguard your beautiful metallic finish from wear, scratches, and fading.
- Choose the Right Application Tool: Match your tool to the task. Your gloved finger is excellent for larger, smoother surfaces where you need to blend seamlessly. A soft cloth is also great for broad areas and buffing. For intricate details, delicate carvings, or tight crevices, a small artist’s paintbrush offers the precision you need.
- Always Test on an Inconspicuous Area First: If you’re working on a new material, an antique piece, or are unsure about your color choice or application technique, always test Rub ‘n Buff on a small, hidden spot first. This allows you to assess how the product reacts with the surface and how the color looks before committing to the entire project.
By diligently following these practical tips, you can consistently achieve a smooth, professional-looking, and stunning metallic finish with Rub ‘n Buff. Proper application and attention to detail are key to ensuring remarkable, long-lasting results that genuinely enhance your DIY projects and home decor.
Common Mistakes to Avoid When Applying Rub ‘n Buff
Rub ‘n Buff is a fantastic product, but like any craft, avoiding common pitfalls can significantly impact the quality and longevity of your finish. Being aware of these mistakes will help you achieve a smooth, shiny, and professional-looking application every time.
- Over-Applying the Product: This is perhaps the most frequent mistake. Using too much Rub ‘n Buff at once can lead to a thick, gummy, uneven, and difficult-to-buff finish. It also wastes product. Always remember: start with a tiny amount (a pea-sized dab) and build up thin layers gradually as needed.
- Skipping Surface Preparation: Neglecting to properly clean and prepare your surface is a recipe for disaster. Dust, dirt, grease, or oil will prevent Rub ‘n Buff from adhering correctly, resulting in a patchy finish that can easily peel or flake off. Always ensure your surface is clean, dry, and free of contaminants before application.
- Insufficient Buffing: After application, it’s tempting to stop once the color is on. However, insufficient buffing will leave your project looking dull, streaky, and lacking that characteristic metallic sheen. Dedicate enough time and effort to buff with a clean, soft cloth until you achieve a smooth, vibrant, and highly reflective finish.
- Not Wearing Protective Gloves: Rub ‘n Buff is highly pigmented and can deeply stain your skin, often requiring vigorous scrubbing to remove. Always wear protective gloves (latex, nitrile, or even plastic food prep gloves) to keep your hands clean and to maintain better control during application, preventing accidental smudges.
- Neglecting to Seal High-Traffic Items: While Rub ‘n Buff is durable, items that are frequently touched, used, or exposed to the elements will benefit greatly from a protective topcoat. Skipping this step for high-traffic pieces can lead to premature wear, scratches, or chipping of your beautiful finish. Always apply a clear, appropriate sealant for added protection and longevity.
By consciously avoiding these common errors, you can ensure a flawless, professional, and long-lasting finish with Rub ‘n Buff. Proper application techniques and attentive care will ensure your DIY projects look polished and retain their metallic beauty for years to come.
Conclusion: Transform Your Space with Rub ‘n Buff Today!
Now that you’re equipped with a comprehensive understanding of how to use Rub ‘n Buff, it’s time to unleash your creativity and infuse a fresh, stylish, and luxurious vibe into your living space! This remarkable product makes it incredibly easy to achieve high-end metallic finishes, transforming ordinary items into extraordinary pieces with minimal time and effort.
Whether you’re embarking on an ambitious furniture update, giving tired hardware a dazzling new lease on life, or simply adding that perfect gleaming touch to any DIY project, Rub ‘n Buff is your ultimate partner. Remember the key takeaways: meticulous surface preparation, starting with small amounts, patiently applying thin layers, and thoroughly buffing to bring out that radiant shine.
The true beauty of Rub ‘n Buff lies in its ability to facilitate dramatic home transformations without the prohibitive costs or the complexities associated with more traditional methods. It empowers you to create custom, luxurious decor that reflects your personal style, all while staying within a budget.
Don’t hesitate any longer! Discover the endless possibilities that Rub ‘n Buff offers. Convert your metallic surfaces, revitalize forgotten treasures, and craft the perfect stylish retreat you’ve always dreamed of. For even more creative inspiration and valuable home improvement tips, be sure to explore my other blogs for ideas on making your workspace and living areas truly exceptional.
