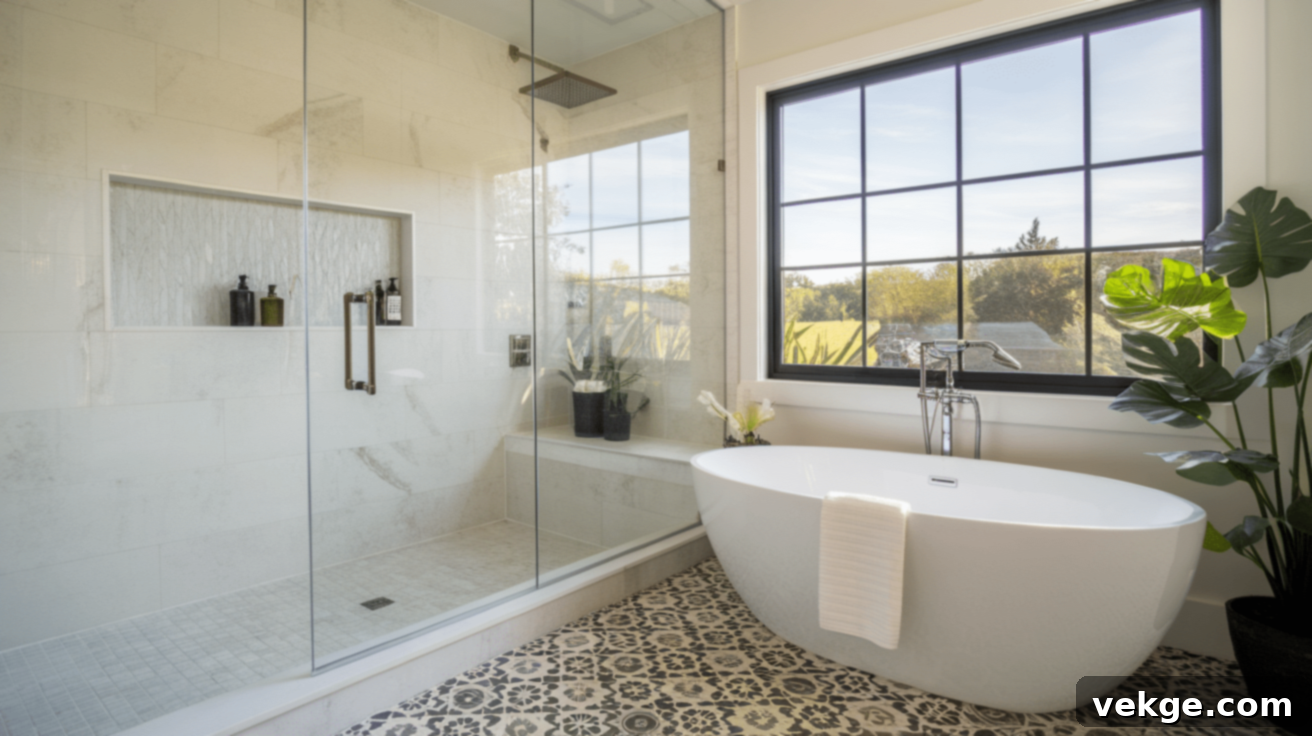
Transform Your Bathroom: The Ultimate Guide to Frameless Glass Showers Next to Tubs
Looking to give your bathroom a sleek, modern update? Installing a frameless glass shower right next to your bathtub might just be the perfect solution. This popular design choice can dramatically elevate the aesthetics and functionality of your space, making it feel more luxurious and open without the need for a complete overhaul.
Many bathrooms often suffer from feeling cramped or outdated, especially with bulky shower curtains or traditional, framed enclosures that break up the visual flow. Frameless glass, however, offers a liberating alternative. It creates an environment that feels expansive, airy, and undeniably stylish, often at a more accessible price point than you might expect for such a significant visual impact.
In this comprehensive guide, we’ll dive deep into practical design ideas that blend seamlessly with various bathroom styles. We’ll also equip you with essential tips for choosing the perfect frameless shower door that meets your needs and budget, alongside expert installation advice to ensure a smooth and successful project. Furthermore, we’ll share easy maintenance strategies to keep your new frameless shower sparkling and your bathroom looking pristine for years to come.
Whether you’re embarking on a full bathroom remodel or simply looking to make a targeted, impactful upgrade, this guide is designed to help you navigate the process. Our goal is to empower you to create a bathroom you’ll absolutely love, a sanctuary that combines comfort, style, and practicality. Curious to learn how this transformation works? Let’s get started!
Benefits of a Frameless Shower Next to a Tub
Integrating a frameless glass shower alongside your bathtub isn’t just about aesthetics; it’s a strategic design choice that offers a multitude of practical advantages. This elegant setup creates a bathroom that feels undeniably luxurious, often without the hefty price tag associated with high-end renovations. The benefits extend far beyond just visual appeal, enhancing both the functionality and value of your home.
Enhanced Openness and Space
One of the most compelling advantages of frameless glass panels is their ability to transform the perception of space. The clear, unobstructed glass acts as a seamless divider rather than a solid barrier. This transparency allows light to flow freely throughout your bathroom, reducing shadows and making the entire area feel significantly larger and more open. Unlike traditional framed enclosures or opaque shower curtains that visually chop up a room, frameless glass eliminates these visual impediments. This simple yet powerful design choice can make even smaller bathrooms feel less cramped and more comfortable, effectively giving the illusion of extra room without altering the actual dimensions of the space. It connects the shower and tub areas fluidly, creating a unified and harmonious look.
Versatile and Modern Aesthetic
Frameless glass boasts an incredibly adaptable design that suits a wide array of bathroom styles. Its clean, simple lines offer a minimalist sophistication that complements contemporary, modern, traditional, and even transitional décors. Regardless of whether your existing space features bold, vibrant tiles or subtle, earthy tones, the understated elegance of frameless glass allows your chosen tiles, fixtures, and other carefully selected design elements to truly take center stage. It provides a neutral yet stylish backdrop, ensuring that your personal taste shines through. This timeless appeal means your bathroom will look chic and current for many years, resisting fleeting design trends.
Effortless Maintenance and Cleaning
Beyond its beauty, a frameless shower significantly simplifies your cleaning routine. The absence of bulky metal frames, seals, and grooves means there are far fewer nooks and crannies where soap scum, mildew, and water marks can accumulate. Unlike framed showers which often trap moisture and grime in their intricate hardware, frameless designs present a smooth, continuous glass surface. This makes cleaning remarkably easier and faster. A quick wipe-down with a squeegee after each use, combined with periodic cleaning, is often all it takes to keep the glass sparkling. This saves you valuable time and effort, allowing you to spend more moments enjoying your beautifully maintained bathroom rather than scrubbing it.
Key Design Ideas for Frameless Showers Next to a Tub
These innovative design ideas showcase how frameless glass showers can beautifully complement bathtubs, catering to both expansive and compact bathrooms. Each option presents a unique approach to maximizing both the aesthetic appeal and practical utility of your space.
1. Minimalist Frameless Glass for Small Spaces
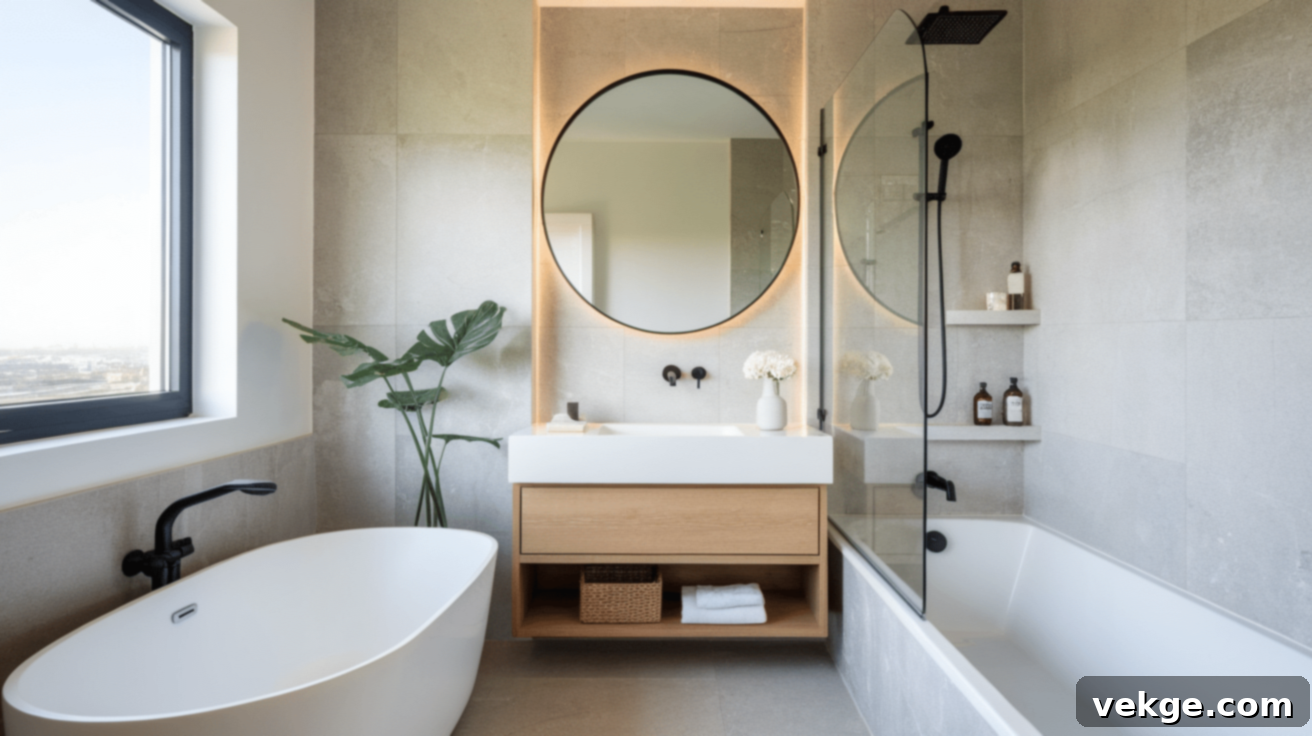
In bathrooms where space is a premium, simple, unadorned glass panels without heavy frames are an ideal choice. They contribute significantly to an uncrowded feel. The clear glass ensures a smooth, uninterrupted visual flow between the bathtub and shower areas, preventing any blockage of light or views. This setup is particularly effective when you desire both a shower and a tub but have limited floor space, creating a highly functional yet airy environment.
2. Freestanding Tub with Frameless Glass Surround
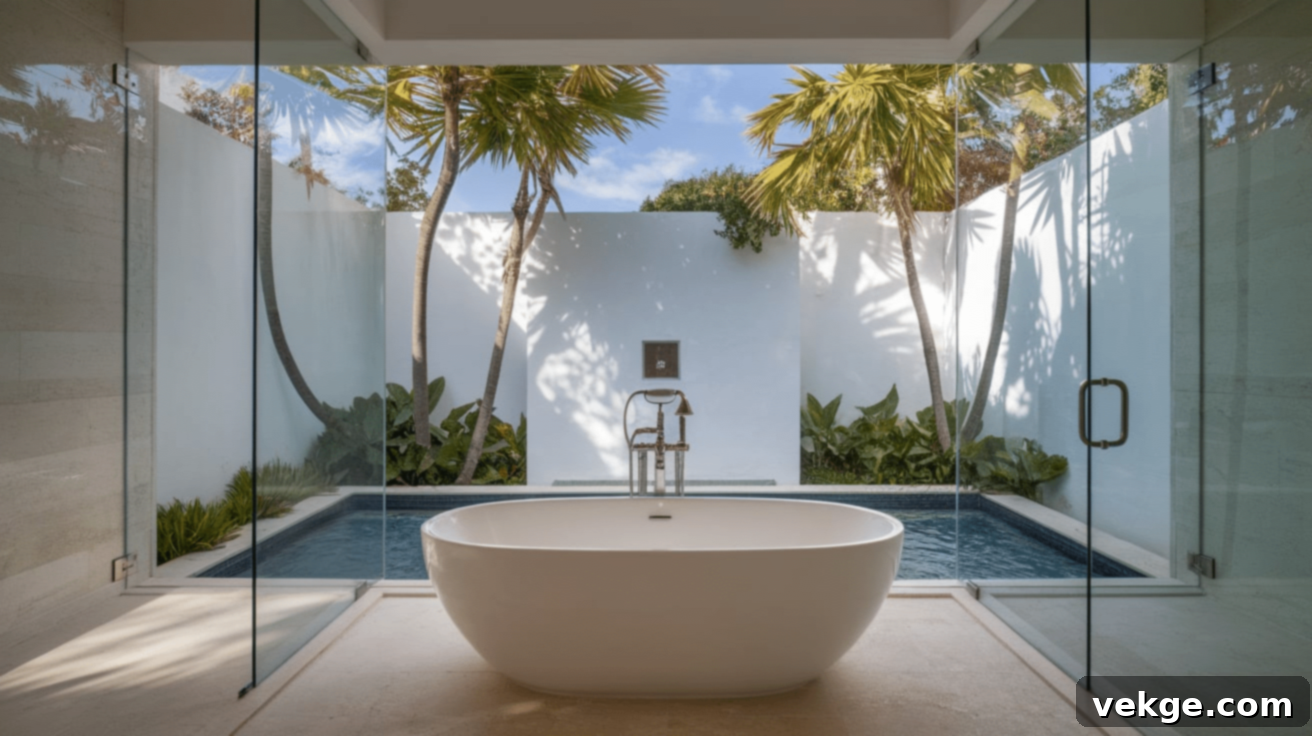
This luxurious layout places a standalone, freestanding tub as a striking focal point, with clear frameless glass panels strategically positioned nearby to contain shower spray. The open-top design of the enclosure allows an abundance of natural light to flood the space, enhancing the spa-like atmosphere while effectively keeping water within the designated shower zone. This design excels in larger bathrooms where the freestanding tub can be positioned away from walls, allowing it to truly shine as a sculptural element.
3. Frameless Glass Half-Wall with Shower Bench
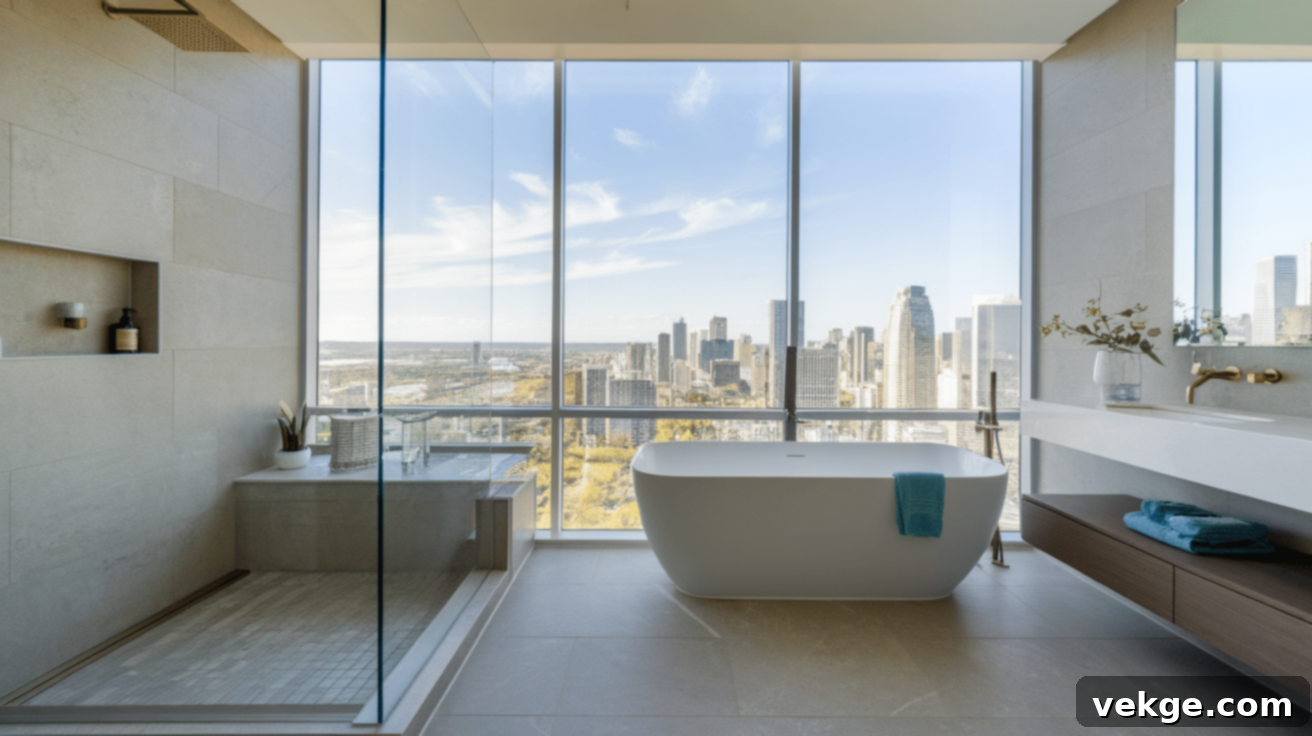
Enhance the practicality and comfort of your shower area by incorporating a built-in bench, particularly beneficial for those who prefer or need to sit while showering. The half-wall frameless glass design maintains the open and airy feel of the bathroom while effectively containing shower water. The integrated bench not only offers a convenient spot for sitting but also provides a stylish surface for storing shower essentials, adding a touch of comfort and convenience to your daily routine. It’s a smart way to blend functionality with modern design.
4. Frameless Glass and Tile Combo
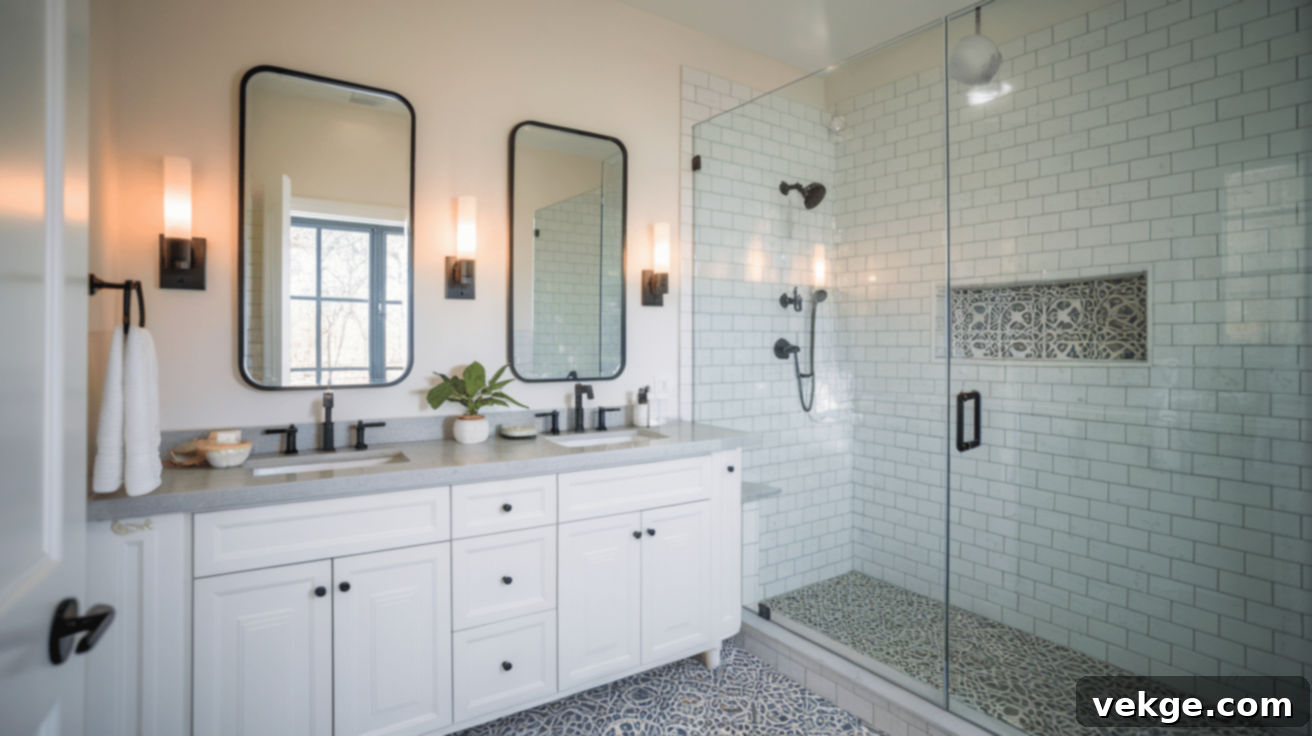
The combination of pristine clear glass with a stunning, eye-catching tile pattern creates a harmonious balance between simplicity and sophistication. The frameless glass recedes into the background, allowing your meticulously chosen tile work to truly come alive and become the star of the show. This pairing works exceptionally well with a wide variety of tile types—from classic subway tiles for a clean, linear look, to intricate mosaics that inject vibrant color, or natural stone for an organic, tactile feel. All these beautiful details are perfectly showcased through the transparent glass, adding depth and character to your bathroom.
5. Corner Tub with Frameless Glass
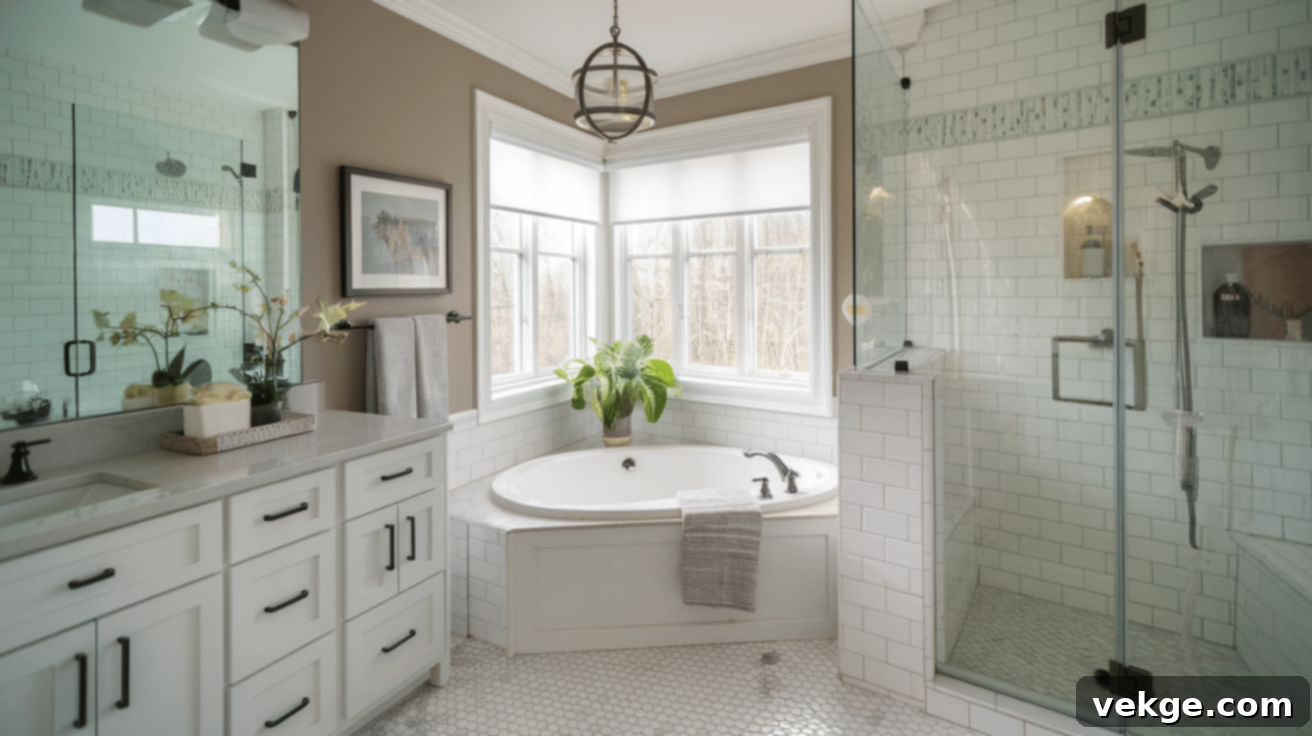
Optimizing space in any bathroom is crucial, and tucking your bathtub into a corner is an excellent way to achieve this. When paired with a frameless glass shower adjacent to it, this layout maximizes often underutilized corner areas while simultaneously preserving the open and expansive feel of the room. The clear glass panels can be configured to completely block water spray, ensuring a dry bathroom floor, all while maintaining a bright and remarkably roomy atmosphere. It’s a smart, space-saving solution that doesn’t compromise on style or comfort.
6. Frameless Glass Shower and Tub with Separate Zones
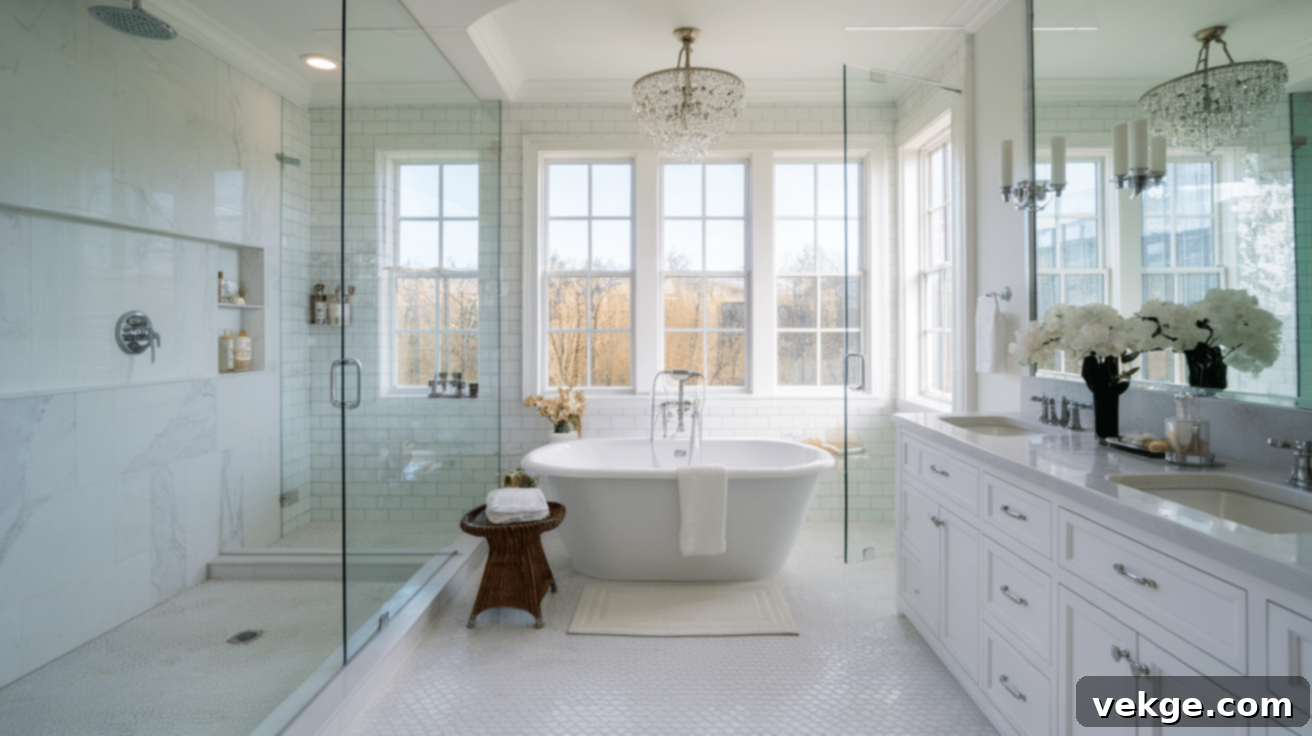
For larger bathrooms, frameless glass panels offer an ingenious way to delineate distinct zones without the need for solid walls, which can make a space feel enclosed. This approach creates a clear sense of order and structure, gracefully separating the shower and tub areas, or even a changing space, without visually closing off the room. The transparent glass dividers effectively contain water within the shower zone while allowing an uninterrupted flow of light throughout the entire bathroom, resulting in a bright, beautifully organized, and incredibly functional space.
7. Frameless Glass with Black or Matte Frame Accents
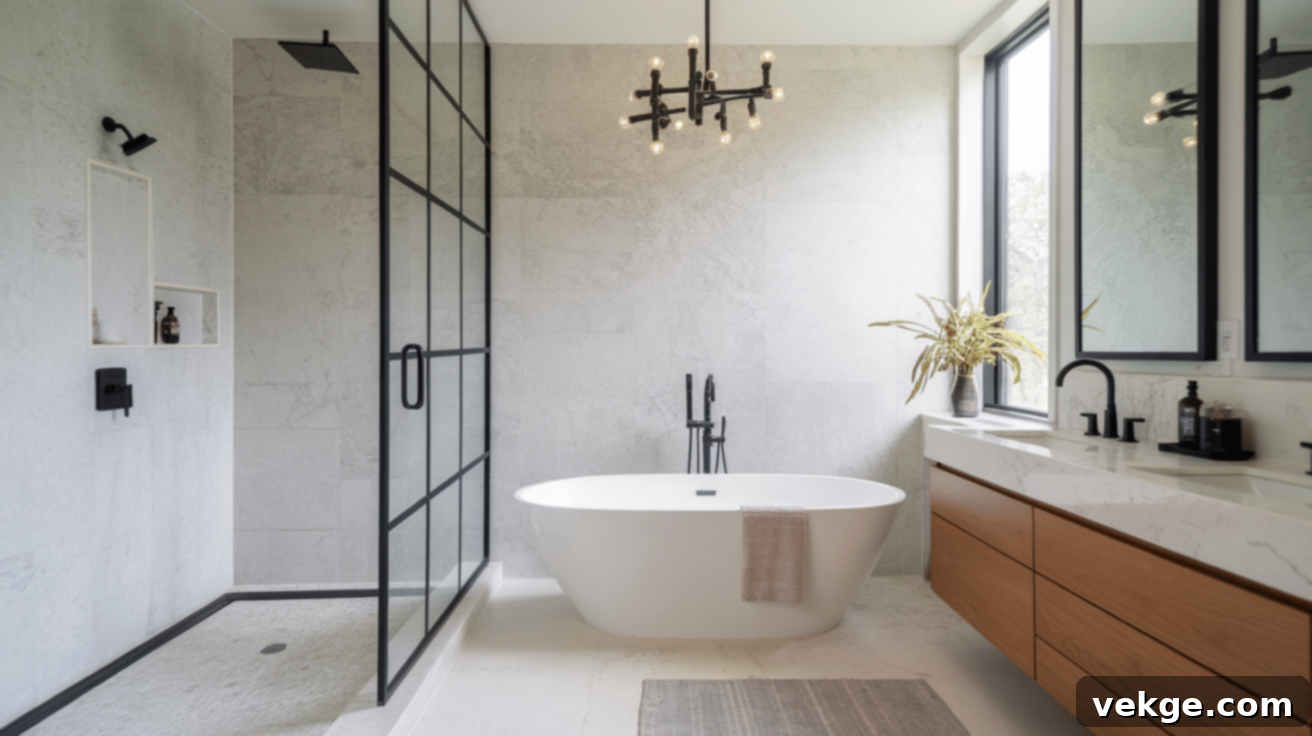
While the essence of “frameless” is the absence of a bulky frame, incorporating subtle, thin black metal or matte-finish accents around clear glass panels can introduce a sophisticated, industrial-chic aesthetic. This style provides a touch of visual contrast and a more defined silhouette, making a bold statement without sacrificing the airy, open feel that frameless glass is known for. The dark lines artfully frame your view of the shower and tub areas, adding a contemporary edge and architectural interest to your bathroom design.
Choosing the Right Frameless Shower Door for Your Tub
Selecting the perfect frameless shower door for your bathroom isn’t just about finding something that looks good; it’s about ensuring it fits your space correctly, functions flawlessly, effectively contains water, and promises durability for many years to come. Thoughtful consideration of various factors will lead to the best choice.
Glass Thickness
Frameless shower glass typically comes in two common thicknesses: 3/8 inch (10mm) or 1/2 inch (12mm). Thicker glass, such as 1/2 inch, offers superior structural integrity, feels more robust and luxurious, and generally lasts longer. However, it also comes with a higher price tag and significantly more weight. Thinner 3/8-inch glass is a more economical option and works well for smaller doors or panels, but it might not be sturdy enough for very large openings or configurations requiring minimal support. It’s crucial to assess if your bathroom walls and floor structure can adequately support the substantial weight of the glass thickness you choose. Always consult with an installer if you’re unsure about your wall’s load-bearing capacity.
Door Types
The type of door you choose will greatly impact the functionality and spatial dynamics of your bathroom:
- Sliding Doors: These are excellent space-savers, especially in smaller bathrooms, as they glide along tracks and do not require any outward swing space. They are a practical choice for tub-shower combinations where a hinged door might hit a toilet or vanity.
- Hinged Doors: Opening outward like a traditional door, hinged frameless doors offer the widest and most unobstructed entry into the shower. They create a grander feel but necessitate a clear, open floor space for their swing radius.
- Bi-fold Doors: These doors provide a clever compromise. They fold in on themselves as they open, taking up less room than hinged doors while still offering a decent entry width. They are a good solution when space is tight but a sliding door isn’t preferred.
- Fixed Panels with Open Entry: For a truly minimalist look, some designs opt for a fixed glass panel that simply screens the shower area, leaving an open entry point. This works best in larger bathrooms where splash containment is less critical, or with very efficient shower heads.
Customizable Options
While standard-sized frameless shower doors are available, made-to-fit or custom-designed doors often provide a superior fit and finish, although they usually cost more upfront. Custom doors are precisely cut to your bathroom’s exact measurements, which is critical for minimizing gaps, preventing leaks, and achieving a truly seamless look. Beyond precise sizing, customization extends to various aesthetic choices:
- Glass Types: Explore options like low-iron glass for enhanced clarity, frosted glass for privacy, or textured glass for a unique visual element.
- Hardware Finishes: Match your bathroom’s existing fixtures by choosing from a range of finishes for hinges, handles, and clips, such as chrome, brushed nickel, oil-rubbed bronze, or matte black.
- Handle Styles: Select from sleek pull handles, discreet knobs, or towel bar combinations for added functionality.
To ensure the best possible fit and prevent costly mistakes, it’s highly recommended to have precise measurements taken by a professional installer, especially for custom frameless enclosures.
Installation Considerations and Tips
Installing a frameless shower next to a bathtub is a project that demands careful planning, precision, and the right expertise. Before you embark on this significant upgrade, understanding these important considerations will help ensure a smooth installation process and help you avoid common, potentially costly mistakes.
Hiring Professionals vs. DIY
The decision to hire professionals or undertake a DIY installation is critical. Professional installers bring invaluable experience, specialized tools, and the necessary expertise for safely handling heavy, fragile glass panels. They are adept at addressing common challenges like uneven walls, ensuring proper waterproofing, and achieving precise alignment. Professionals also typically offer warranties on their work, providing peace of mind. While costs can range from $500 to $1,000 (or more, depending on complexity and location) for installation, this investment often saves significant time, stress, and potential repair costs down the line.
Attempting a DIY installation can certainly save money, but it carries substantial risks. Glass panels are extremely heavy and fragile, making them difficult and dangerous to maneuver without proper equipment and technique. Small measurement errors can lead to ill-fitting doors, leaks, or even shattered glass. Only consider a DIY approach if you possess advanced DIY skills, have access to specialized tools, and are confident in taking extremely precise measurements and handling heavy materials safely. For most homeowners, professional installation is the safer and more reliable option.
Step-by-Step Installation Overview
Understanding the general steps involved can demystify the process:
- Measuring: This is the most crucial first step. Accurate measurements of the exact space, including wall angles and ceiling height, are vital to ensure the glass panels and door fit perfectly. Even slight discrepancies can lead to gaps or an improper seal.
- Waterproofing: Before any glass goes up, apply appropriate waterproofing materials (like cement board and liquid membrane) to the walls and floor around the entire shower area. This protects against water damage, mold growth, and ensures the longevity of your bathroom structure.
- Marking: Precisely mark the locations where all supports, hinges, and brackets will be mounted on the walls and floor. This ensures precise placement and proper functionality of the shower enclosure.
- Drilling: Drill holes for the supports and brackets. Use the correct drill bits for your wall material (tile, concrete, drywall studs) and proceed with caution to prevent cracking tiles or damaging underlying pipes.
- Installing Brackets: Securely attach the wall brackets and clips to the marked positions. These components are fundamental to supporting the heavy glass panels, so they must be firmly anchored into wall studs or appropriate blocking.
- Setting Glass: With extreme care, lift and position the heavy glass panels into the installed brackets. This step often requires multiple people due to the weight and fragility of the glass. Ensure each panel is perfectly level and aligned.
- Adding Hardware: Once the panels are secure, attach the door hardware, such as hinges, handles, and any reinforcing bars. This completes the functional aspect of your shower door.
- Sealing: Apply a high-quality, mold-resistant silicone caulk to all edges around the glass panels and where they meet the walls or tub. This critical step prevents leaks and provides a clean, finished appearance. Allow adequate curing time before using the shower.
Precision matters at every single step of this installation. Minor mistakes can lead to leaks, glass that doesn’t fit right, or safety hazards. While simpler installations might take a day, more complex projects can easily require 1-2 days for a complete and proper setup.
Safety and Regulation
Adhering to safety standards and local building codes is non-negotiable for shower installations. All shower enclosures are legally required to use tempered safety glass, designed to shatter into small, blunt pieces rather than sharp shards if broken. The standard minimum height for shower enclosures is typically at least 72 inches to effectively contain water. Proper sealing is paramount not only for water containment but also to prevent water damage to your home’s structure.
Additionally, some municipalities and homeowner associations may require permits even for bathroom updates, so always check local regulations before beginning your project. Ensuring proper water drainage slopes in the shower pan and strategic door placement are crucial factors in preventing water from escaping the enclosure and causing damage to your bathroom floor or surrounding areas.
Maintenance and Care for Frameless Showers
Keeping your frameless shower looking pristine, clean, and clear doesn’t have to be a daunting chore. By adopting a few simple, consistent habits, you can effortlessly maintain that fresh, new appearance for many years, preserving the beauty and elegance of your bathroom.
Cleaning Tips
Regular and gentle cleaning is the key to preventing the buildup of soap scum, hard water spots, and mildew, ensuring your glass shower always looks its best. Simple routines can make a significant difference in the long-term cleanliness and clarity of your glass.
- Squeegee After Each Shower: This is arguably the most effective tip. A quick pass with a squeegee on all glass surfaces immediately after each shower (which takes just about 30 seconds) prevents water spots from drying and etching into the glass.
- Weekly Cleaning: For a deeper clean, use a solution of white vinegar and water (a 50/50 mix often works well). Spray it on, let it sit for a few minutes to break down mineral deposits, then wipe clean.
- Use Soft Cloths: Always use soft microfiber cloths, sponges, or non-abrasive scrubbers to avoid scratching the delicate glass surface.
- Avoid Harsh Cleaners: Steer clear of abrasive cleaners, scouring pads, and strong chemicals containing ammonia, bleach, or acidic components. These can damage the glass, hardware, and protective coatings over time.
- Target Soap Scum: For stubborn soap scum, a paste made of baking soda and a little water, gently rubbed onto the affected area, can be effective. Rinse thoroughly.
Glass Protection
Applying protective treatments to your shower glass can significantly reduce cleaning effort by creating a hydrophobic surface that repels water. This causes water to bead up and run off, rather than sticking and forming unsightly spots.
- Water-Repellent Sprays: Various over-the-counter water-repellent sprays are available (like car wax for glass or specialized shower glass treatments). These typically need to be reapplied every 2-3 months to maintain their effectiveness, depending on usage.
- Factory-Applied Coatings: Some frameless glass panels come with factory-applied protective coatings (e.g., ShowerGuard, ClearShield). While these often cost more upfront, they offer long-lasting protection, sometimes for the lifetime of the glass, and require less frequent reapplication.
- DIY Kits: Many home improvement stores offer DIY glass protection kits that allow you to apply a durable, water-repellent coating yourself. Follow the instructions carefully for the best results.
- Professional Treatments: For the longest-lasting and most robust protection, consider hiring a professional service to apply specialized glass coatings. These treatments can provide superior hydrophobic properties and durability.
Conclusion
Installing a frameless glass shower next to your bathtub is an outstanding way to elevate and modernize your bathroom, instantly making it feel more expansive and luxurious. This versatile design seamlessly integrates into both compact and spacious bathrooms, delivering a clean, contemporary aesthetic that is both timeless and highly functional. It transforms a utilitarian space into a personal oasis.
Throughout this guide, we’ve walked you through inspiring design ideas that cater to various tastes and spatial requirements, provided crucial tips for selecting the ideal shower door, detailed important installation considerations, and shared easy-to-follow maintenance advice. Our aim has been to equip you with the knowledge needed to make the best choices for your specific space and preferences.
Whether you’re undertaking a complete bathroom remodel or simply looking to make a few impactful upgrades, a frameless shower can dramatically enhance your bathroom’s style, functionality, and overall appeal, adding significant value to your home. It’s an investment that pays dividends in both daily enjoyment and lasting beauty.
Interested in exploring more home improvement and design ideas? We invite you to check out other insightful blogs on our website for more helpful tips, creative solutions, and boundless inspiration to transform every corner of your home.
