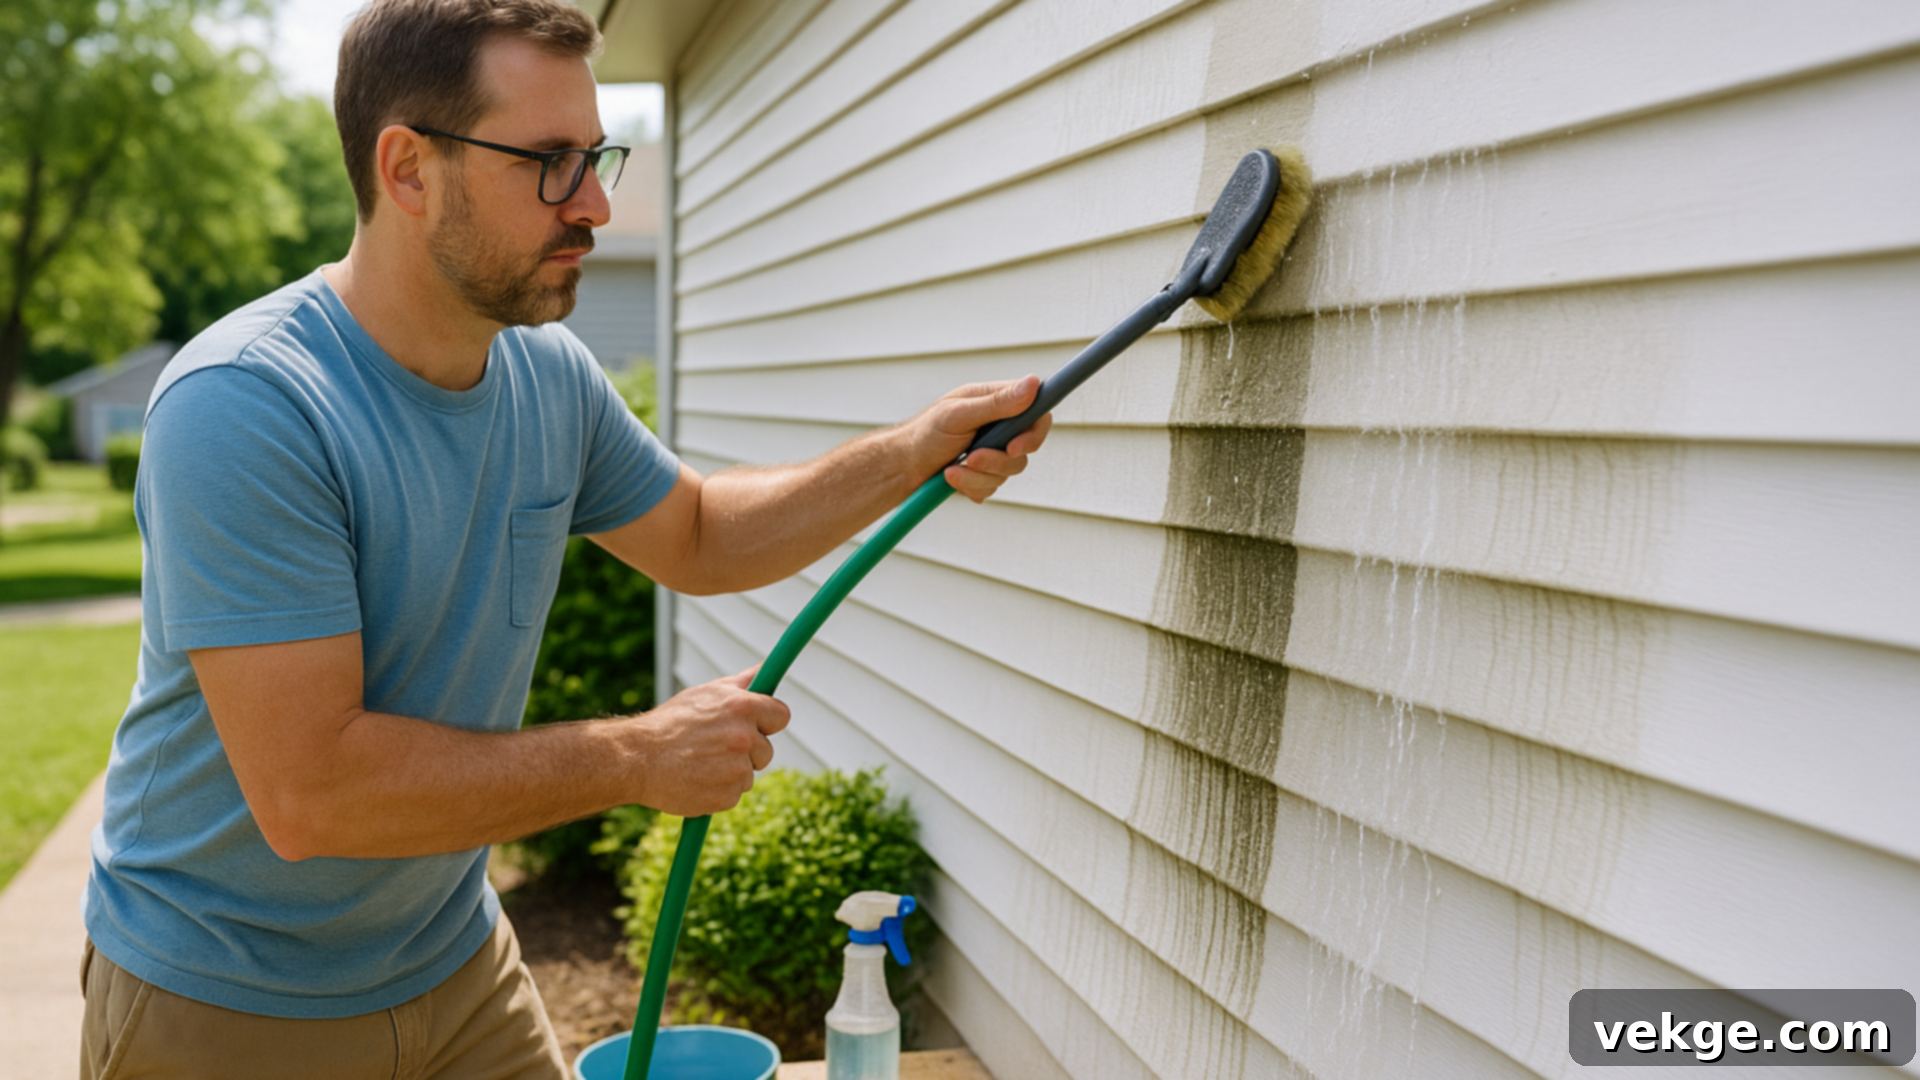
Ultimate Guide to Cleaning Aluminum Siding: Restore Shine & Protect Your Home
Is your aluminum siding looking dirty, dull, or covered in unsightly mildew and grime? It’s a common issue, and I know how frustrating it can be to see your home’s exterior lose its luster. You want it clean, vibrant, and protected, but without risking damage or spending a fortune on professional services. The good news is, restoring your aluminum siding to its former glory is a completely achievable DIY project!
Having navigated the challenges of outdoor cleaning myself, I’ve discovered a simple, effective, and safe way to revitalize aluminum siding. In this comprehensive guide, I’ll walk you through the entire process, step by step, using readily available tools and products you likely already have around your home. You’ll learn the best methods, what cleaning solutions to use (and which to avoid), and how to achieve a fresh, clean look quickly and efficiently, significantly boosting your home’s curb appeal and extending the life of your siding.
Simple and Safe Method to Clean Aluminum Siding for Fast Results
If you’re looking for quick and satisfying results without compromising the integrity of your aluminum siding, this straightforward method is your go-to solution. It’s designed to be gentle yet effective, tackling common issues like dirt, dust, and light mildew buildup.
First, begin by thoroughly spraying your siding with water using a standard garden hose. This initial rinse is crucial as it helps to loosen superficial dirt and debris, preparing the surface for a deeper clean and preventing abrasive particles from scratching the finish during scrubbing.
Next, prepare your cleaning solution. For most general cleaning tasks, a mixture of a few drops of dish soap in a bucket of warm water works wonderfully, acting as a gentle degreaser. Alternatively, a 50/50 solution of white vinegar and water is excellent for tackling light mildew and hard water spots, offering an eco-friendly approach. Dip a soft-bristle brush or sponge into your chosen solution and gently scrub one manageable section of the siding at a time. This ensures the cleaner doesn’t dry on the surface, which can lead to streaks.
Once you’ve scrubbed a section, rinse it immediately and thoroughly with clean water, working from the top down. This prevents dirty water and cleaning solution from running over cleaned areas and leaving new streaks. For particularly stubborn spots, such as heavy mildew or deeply embedded grime, a mild bleach solution (one part bleach to four parts water) can be effective. However, always remember to test this solution on an inconspicuous area first to ensure it doesn’t cause discoloration or damage. It’s also important to exercise caution and avoid using high-pressure washers, especially on older or more fragile aluminum siding, as excessive force can cause dents, water intrusion, or even strip paint.
Finally, take a moment to inspect your work. Check for any missed areas, remaining streaks, or persistent stains that might require a second application or a more targeted cleaning approach. This simple, safe, and systematic method will leave your aluminum siding looking fresh and clean.
Essential Checklist for Cleaning Aluminum Siding:
- Garden hose & adjustable spray nozzle (for various pressure levels)
- Large bucket for mixing cleaning solutions
- Soft-bristle brush (for gentle scrubbing) or a large sponge
- Your chosen cleaning agent: Dish soap, white vinegar, or a mild bleach solution (for tough spots)
- Warm water for diluting cleaners
- Optional: Aluminum polish for restoring shine to dull surfaces
- Safety goggles and gloves (especially when using bleach)
- Drop cloths or plastic sheeting (to protect plants and nearby surfaces)
How to Clean Aluminum Siding: A Detailed Step-by-Step Guide
If you’re ready to thoroughly clean your aluminum siding, here’s a detailed, step-by-step method that I’ve refined over time, proving to be both effective and safe for various siding conditions. You’ll need some basic household supplies and a bit of patience to achieve that “like-new” freshness.
Step 1. Rinse the Surface Thoroughly
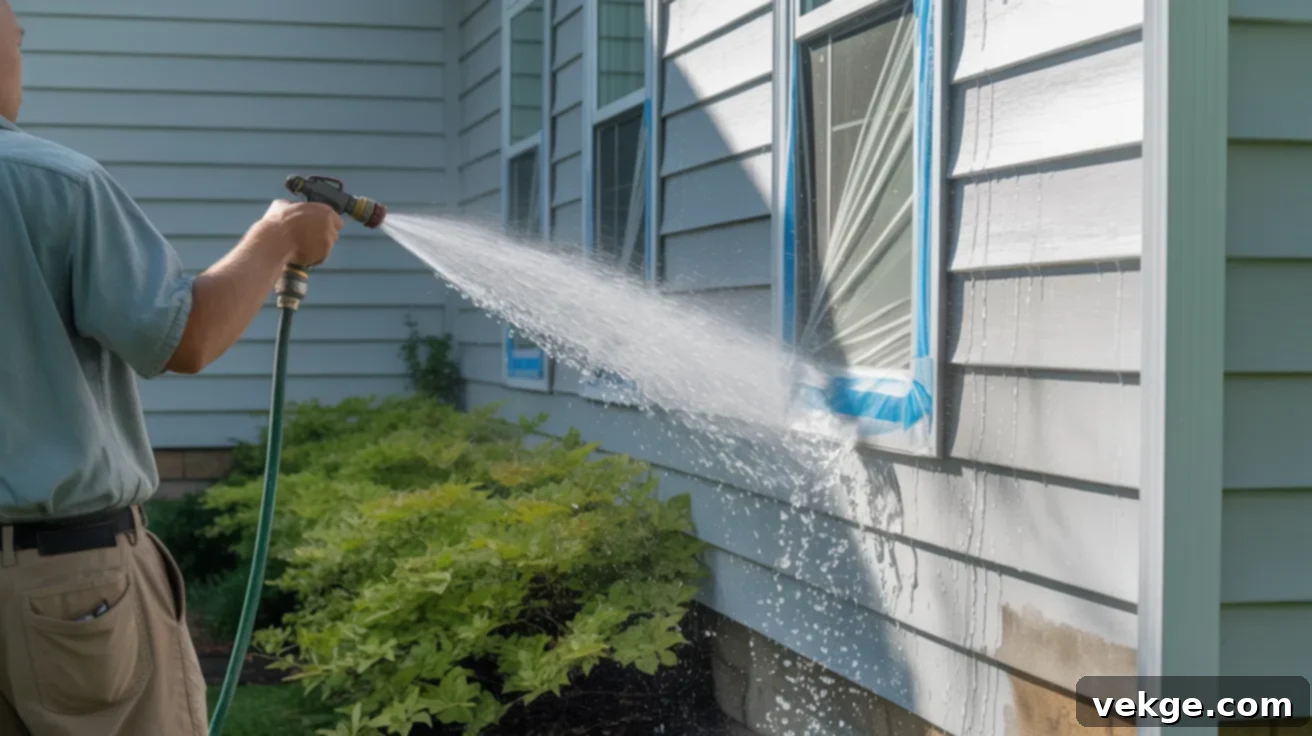
This initial rinse is more critical than many people realize. Begin by thoroughly wetting your entire siding surface with a garden hose or a low-pressure setting on a power washer (if applicable, ensuring PSI is under 1500). I always start at the bottom of a section and work my way upwards. This technique helps lift dirt and prevents clean areas from being streaked by dirty runoff from above. A good rinse loosens embedded dirt, dust, spiderwebs, and loose debris, making the subsequent scrubbing much easier and preventing gritty particles from scratching the siding.
For areas with significant buildup, let the water sit on the surface for a few minutes to deeply penetrate and soften the grime. Don’t rush this step; the more effectively you soak the siding, the better your chosen cleaner will perform. Before you even start rinsing, take a moment to cover or move any nearby plants, shrubs, and outdoor furniture, and ensure all windows and doors are securely closed to prevent water intrusion.
Step 2. Choose Your Optimal Cleaning Solution
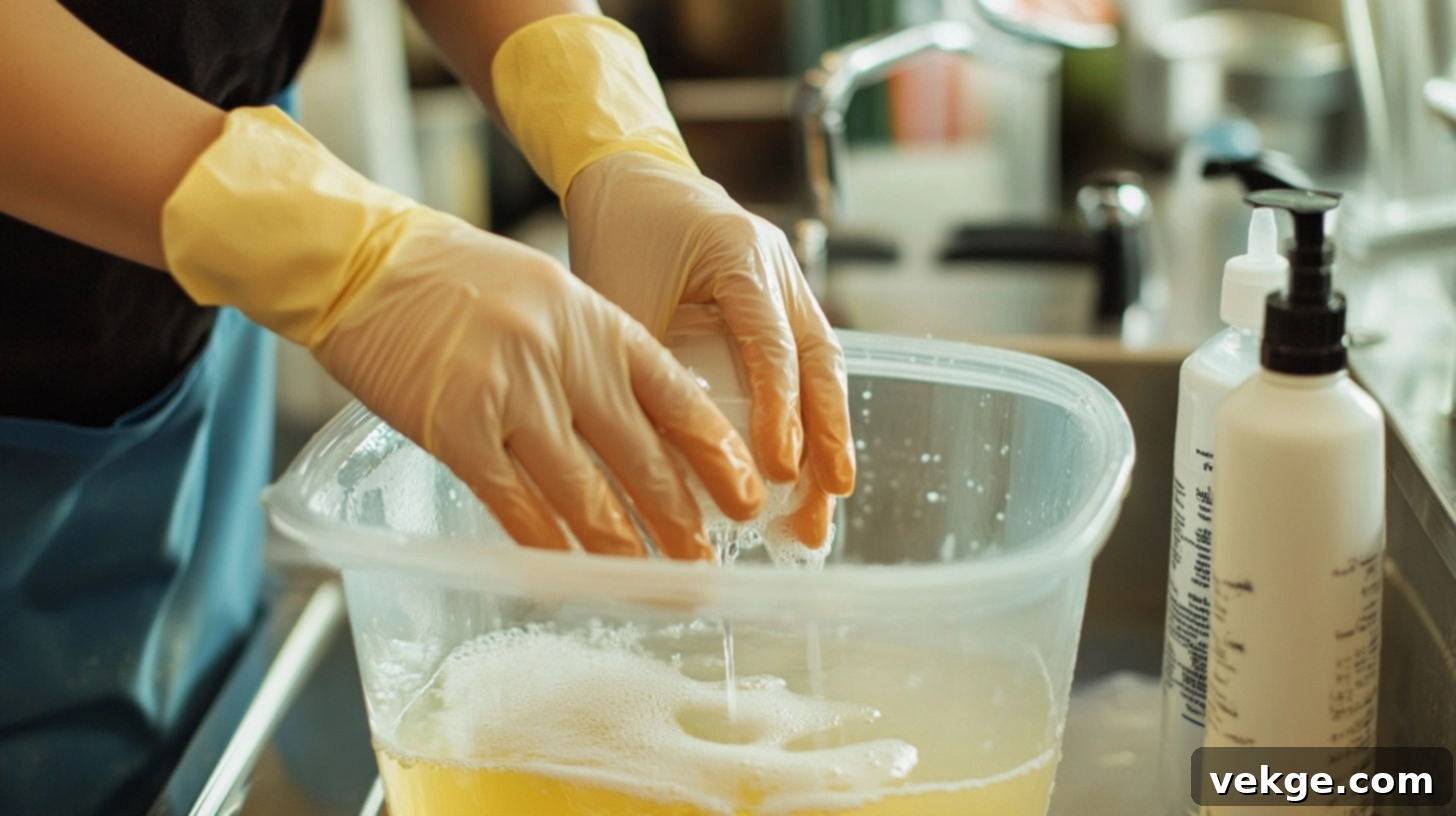
Selecting the right cleaning solution is key to both effectiveness and safety for your aluminum siding. There are several excellent options, depending on the type and severity of the dirt you’re tackling:
- Eco-Friendly Vinegar Solution: For general dirt, light mildew, and hard water spots, a mixture of equal parts white vinegar and water (50/50 ratio) is incredibly effective. Vinegar is a mild acid that breaks down grime without being harsh on the siding or the environment.
- Everyday Dish Soap Solution: For greasy spots, general surface grime, and light organic matter, a few squirts of liquid dish soap mixed into a bucket of warm water (approximately 1/4 cup per gallon) creates a powerful degreasing agent. This is a very safe and widely available option for regular cleaning.
- Mild Bleach Solution (for Tough Mildew/Mold): For really stubborn mildew, mold, or algae stains that vinegar or soap can’t conquer, a diluted bleach solution can be used. Mix one part household bleach with four parts water. Always test this solution on a small, hidden area first to ensure no discoloration occurs. Wear protective gloves and eye protection, and be mindful of runoff, protecting plants and grass below. This should be used sparingly and only on affected areas.
Crucially, avoid using any abrasive cleaners, strong degreasers not specified for siding, or unknown chemical products that could strip paint, damage the finish, or leave permanent marks. Always read product labels carefully, and as mentioned, conduct a spot test on an inconspicuous section of your siding before applying any solution to the entire surface.
Step 3. Apply & Scrub in Manageable Sections
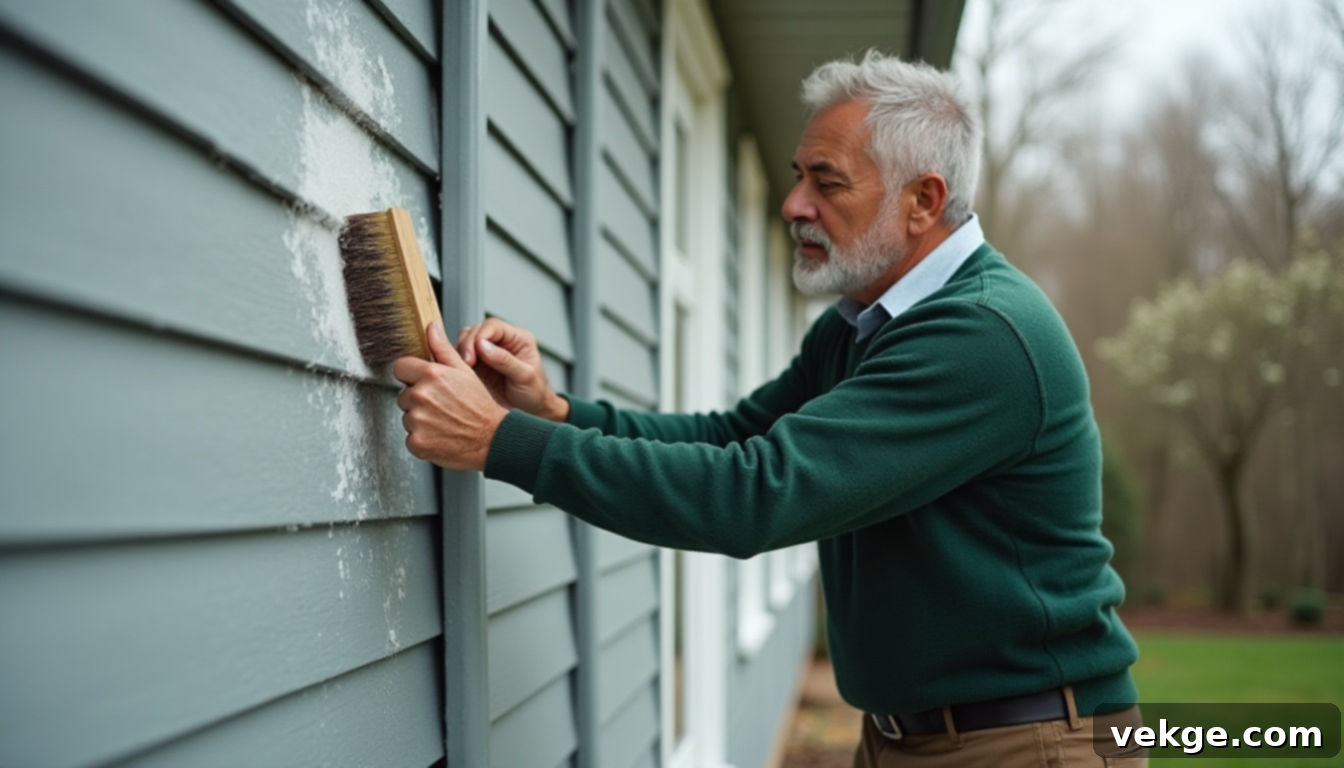
Once your cleaning solution is ready, dip your soft-bristle brush, sponge, or a soft cloth into the mixture. Begin applying the cleaner and scrubbing gently, working in small, manageable sections (e.g., a 4×4 foot area). I prefer to work from the bottom up when applying the cleaner to avoid dirty streaks running down untreated sections of the siding, which can be challenging to remove later.
When scrubbing, always go with the grain of the aluminum siding. This technique helps to avoid scratching the surface and ensures the cleaner gets into the subtle grooves of the material. Apply consistent, gentle pressure – there’s no need for harsh scrubbing, as the cleaning solution should do most of the work. Focus extra attention on areas with visible stains, such as mildew patches, or spots that don’t receive much direct sunlight and tend to accumulate more grime. Work quickly enough so that the cleaning solution doesn’t have a chance to dry on the siding before you rinse it off, which can lead to unsightly streaks.
Step 4. Rinse Thoroughly & Inspect Your Work
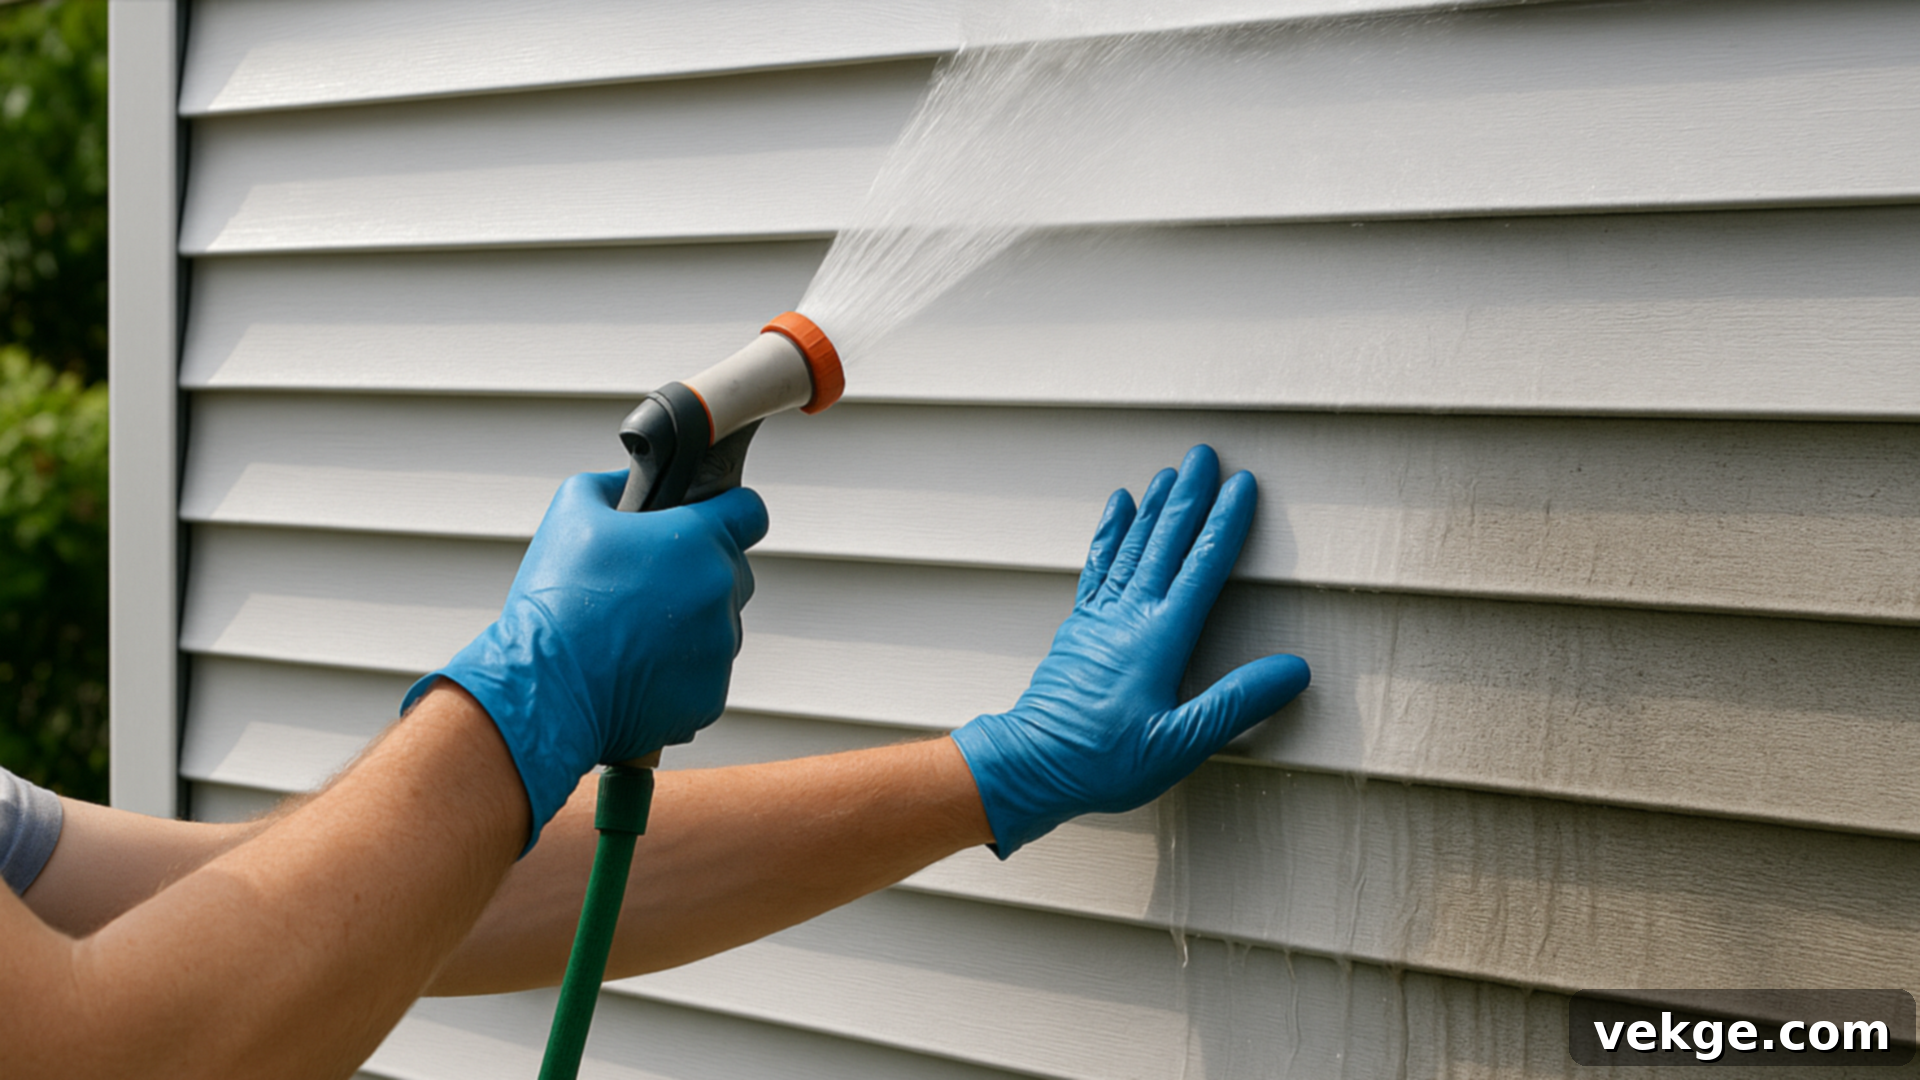
Immediately after scrubbing each section, it’s time to rinse. This is another critical step where technique matters. Start rinsing from the top of the cleaned section and work your way downwards with clean water from your garden hose. This method ensures that all traces of the cleaning solution, along with the dislodged dirt, are completely washed away without leaving behind soap residue or streaks on already-cleaned areas.
Use a generous amount of clean water, giving each area a full, thorough rinse to remove every trace of cleaner. Once you’ve rinsed a section, step back and carefully inspect your work. Look closely for any spots you might have missed, lingering stains, or any signs of residue or discoloration. If you find a persistent stain or a streaky area, don’t hesitate to give it a second round of scrubbing with your chosen cleaner or a slightly stronger, targeted solution if necessary. Patience here will pay off in a beautifully clean finish.
Step 5. Optional: Polish for Enhanced Shine and Protection
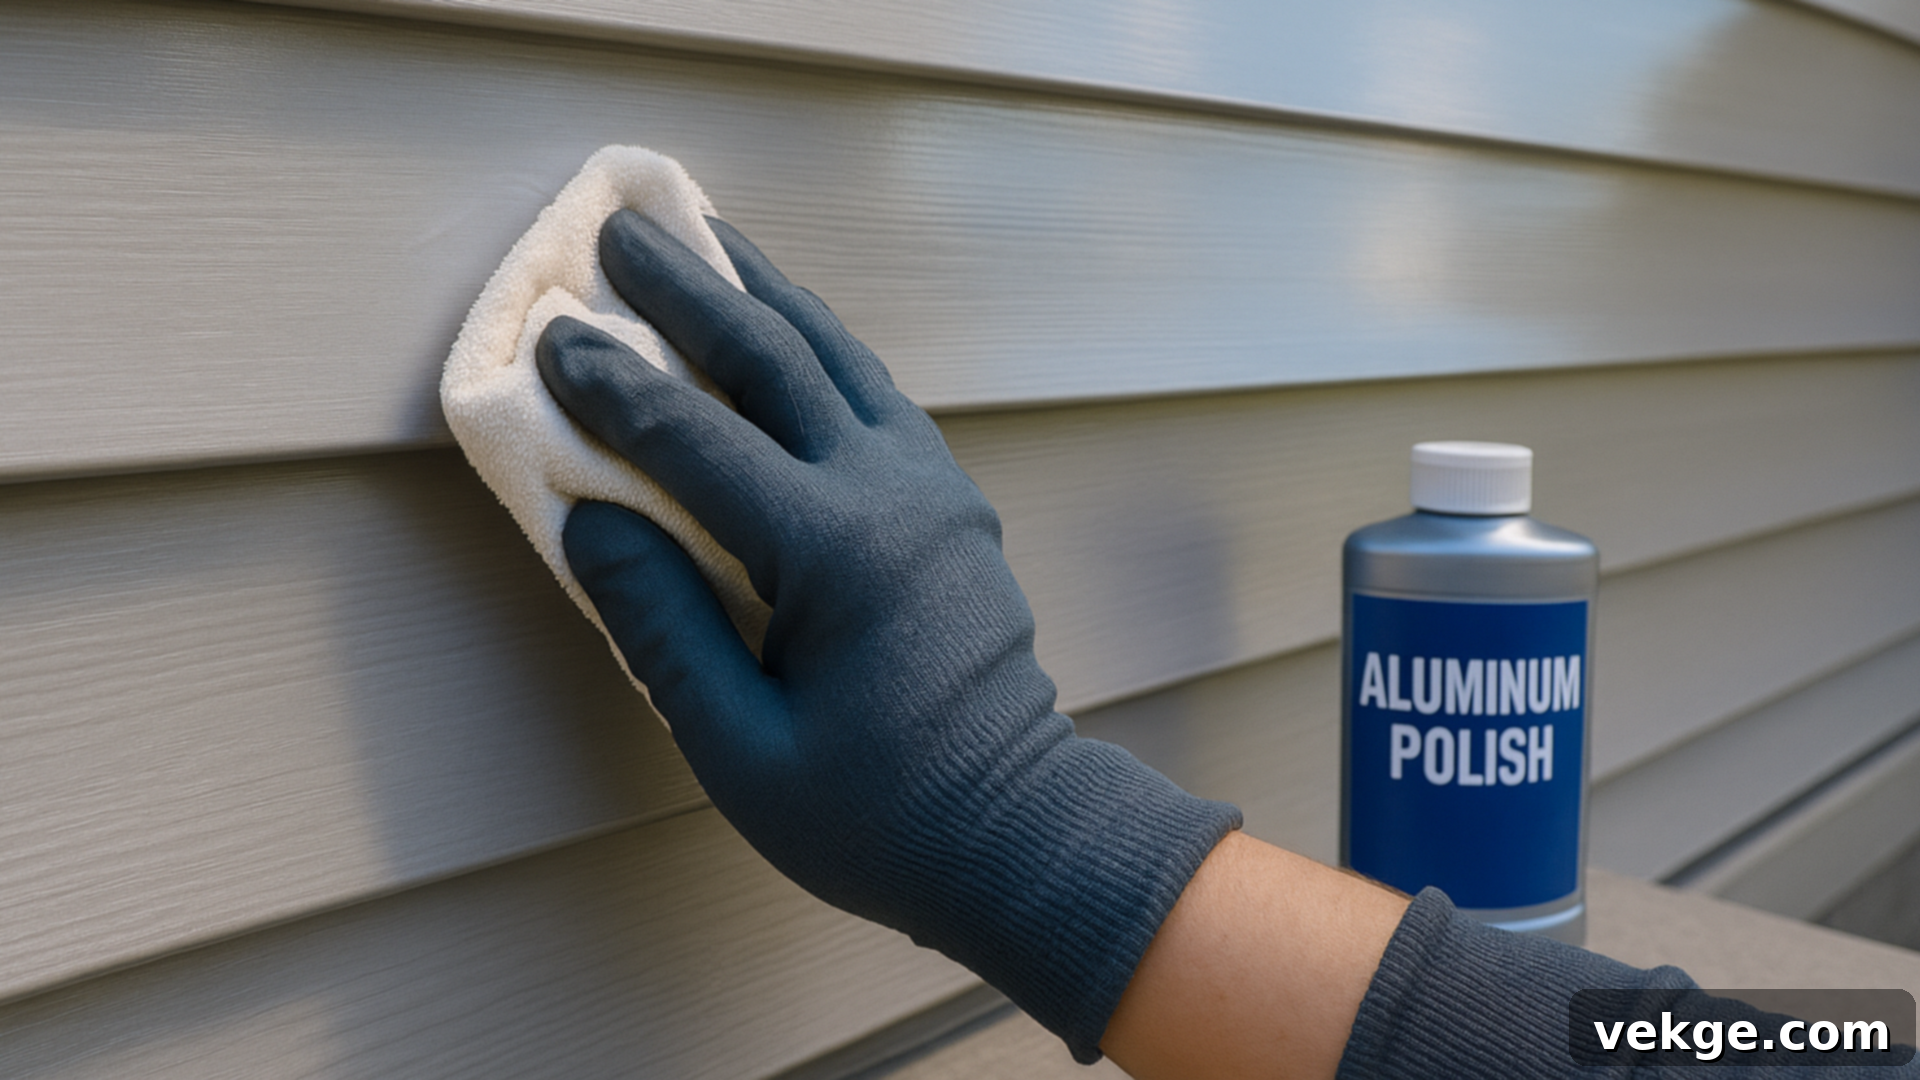
After your aluminum siding is thoroughly clean and dry, you might notice that while it’s free of dirt, it still lacks its original luster, appearing somewhat dull or faded, especially if it’s older. This is where an optional polishing step can make a significant difference. Using a basic aluminum polish, often found at hardware or automotive stores, can bring back a remarkable shine.
Apply the polish sparingly to a soft, clean cloth and gently work it into the siding using small, circular motions. There’s no need to overdo it; a light application, particularly in visible areas, sun-exposed spots, or where the siding looks most faded, is often sufficient. This step not only restores a glossy finish but can also add a thin layer of protection against future oxidation and environmental elements. Ensure the surface is completely dry before you begin polishing to avoid trapping moisture or creating uneven finishes. While entirely optional, this step is highly recommended for older siding or if you desire a truly showroom-ready appearance for your home’s exterior.
Best Products & Homemade Cleaners for Aluminum Siding
Achieving outstanding results when cleaning aluminum siding doesn’t necessarily require specialized, expensive equipment. The key lies in using the right combination of effective store-bought products or utilizing powerful, yet simple, homemade solutions. I’ve personally experimented with both approaches, and you can choose the option that best suits your preferences, budget, and the specific needs of your siding.
Safe and Effective Store-Bought Cleaners for Aluminum Siding
For those who prefer the convenience of a ready-to-use solution, several reliable commercial cleaners are specifically formulated for siding and safe for aluminum. Always look for products labeled “siding cleaner” or “exterior house wash.”
- Simple Green Oxy Solve Total Outdoor Cleaner: This is a highly recommended, all-purpose cleaner that’s incredibly versatile and safe for most exterior surfaces, including aluminum siding. Its oxygenated formula effectively tackles dirt, grime, mold, and mildew without harsh chemicals. It’s biodegradable and non-toxic, making it a great eco-conscious choice.
- TSP (Tri-Sodium Phosphate): TSP is a heavy-duty cleaner often used for prep work before painting, but it can also be very effective on severely grimy aluminum siding. However, I advise using it with caution, especially on painted surfaces, as it can be quite strong. Always dilute it according to package directions, wear protective gear, and rinse thoroughly.
- Dedicated Siding-Specific Cleaners: Many hardware stores carry cleaners specifically designed for vinyl and aluminum siding. Brands like Simple Green Oxy Solve are excellent as they are engineered to lift dirt and protect the finish without causing damage. These often contain mildewcides to prevent future growth. Always follow the manufacturer’s instructions to the letter, and as a golden rule, perform a small patch test in an inconspicuous area to confirm compatibility and prevent any unforeseen discoloration before applying to the entire house.
Eco-Friendly and Cost-Effective DIY Options
If you prefer to skip commercial products and opt for solutions you can whip up in your kitchen, homemade cleaners are incredibly effective, safer for the environment, and significantly more budget-friendly. I’ve consistently achieved great results with these simple concoctions:
- Vinegar and Water Mix (50/50): This classic combination is remarkably gentle yet potent enough to cut through light dirt, grime, and even inhibit mildew growth. White vinegar’s mild acidity helps break down mineral deposits and organic stains without harming the aluminum finish. It’s excellent for general maintenance and leaves a streak-free shine.
- Dish Soap and Warm Water: For general surface dirt, greasy spots, or oily residues, a few squirts of liquid dish soap (like Dawn) mixed into a bucket of warm water works wonders. Dish soap is a fantastic degreaser and lifts grime effectively. It’s incredibly safe for aluminum siding and won’t strip paint. For an added, subtle natural scent, you can include a few drops of essential oil, though this is purely optional and doesn’t enhance cleaning power.
- Baking Soda Paste (for Spot Treatment): For very small, localized stubborn stains, a paste made from baking soda and a little water can be gently applied with a soft cloth and lightly scrubbed. Baking soda is a mild abrasive and deodorizer, making it good for tough spots, but use it with extreme gentleness to avoid scratching.
These homemade solutions not only save money but also reduce your exposure to harsh chemicals, contributing to a healthier home and environment. Plus, you likely already have all the ingredients in your pantry!
Power Washing vs. Soft Washing Aluminum Siding
Before you commit to cleaning your aluminum siding, it’s crucial to understand the distinct differences between power washing and soft washing. Both methods have their merits, and I’ve utilized each depending on the specific condition, age, and fragility of the siding. Choosing the wrong method can lead to irreversible damage.
Can You Power Wash Aluminum Siding?
Yes, power washing aluminum siding is possible, but it absolutely requires significant caution and a nuanced approach. Power washing can be highly effective for removing heavy, caked-on dirt, stubborn grime, and deep-seated mildew that a garden hose alone can’t tackle. However, the high-pressure stream, if misused, poses several risks:
- Denting and Warping: Aluminum is a relatively soft metal. Excessive pressure can easily dent, warp, or even bend siding panels, particularly older or thinner ones.
- Water Intrusion: Spraying water directly upwards or at too steep an angle can force water behind the siding panels, leading to moisture problems, mold growth, and potential damage to the underlying structure.
- Stripping Paint/Finish: On painted or coated aluminum siding, too much pressure can strip away the paint, leaving unsightly patches or accelerating oxidation.
If you choose to power wash, I strongly recommend using a low-pressure setting (ideally under 1,500 PSI, never exceeding 2,000 PSI) and equipping your washer with a wide-angle nozzle (like a 25-degree or 40-degree tip) to disperse the pressure. Always hold the nozzle at least 12-18 inches away from the siding surface, and spray downwards at a slight angle (around 45 degrees) to avoid forcing water behind the panels. Always test on an inconspicuous area first. For older, fragile, or visibly oxidized siding, I generally advise against power washing entirely, favoring the gentler soft washing method instead. When executed carefully and correctly, power washing can indeed save considerable time and effort on large, robust surfaces.
What is Soft Washing Aluminum Siding?
Soft washing is a significantly gentler and often preferred alternative for cleaning aluminum siding, particularly for older, painted, or more delicate surfaces. This method prioritizes the effectiveness of specialized cleaning solutions over brute force from high-pressure water.
The soft washing process typically involves applying a custom-blended cleaning solution to the siding at very low pressure (similar to a garden hose spray). This solution often contains a mix of biodegradable soaps, surfactants, and a mold/mildew inhibitor (like a diluted bleach or specialized algaecide). The solution is allowed to dwell on the surface for a specific period (usually 10-20 minutes, depending on the product and conditions), during which it breaks down and loosens dirt, grime, algae, mold, and mildew at a chemical level. After the dwelling period, the siding is thoroughly rinsed with a low-pressure stream of clean water, gently washing away all the loosened contaminants.
The primary benefits of soft washing include:
- Reduced Risk of Damage: There’s virtually no risk of denting, warping, or forcing water behind panels.
- Superior Mold and Mildew Removal: The cleaning solutions penetrate and kill organic growth at its root, offering a longer-lasting clean than simply blasting it away with pressure.
- Preservation of Finish: It’s ideal for painted or oxidized siding as it doesn’t strip coatings or accelerate wear.
If your siding is showing signs of age, oxidation, or has persistent organic growth, soft washing is undoubtedly the safer, more protective, and often more effective long-term route, even if it might take a little more time initially.
Cleaning Painted vs. Oxidized Aluminum Siding: Specific Care
Not all aluminum siding is created equal, and cleaning methods must be adapted based on whether your siding is painted or has developed oxidation. I’ve encountered both types extensively, and with the right approach, you can clean them safely and effectively without causing further damage.
How to Clean Painted Aluminum Siding
Painted aluminum siding offers a beautiful, durable finish, but it requires careful attention during cleaning to prevent damage to the paint layer. The goal is to clean without stripping or fading the color. I always advocate for using the gentlest cleaning agents and techniques:
- Gentle Cleaners are Key: Stick to mild solutions like diluted dish soap and warm water or a 50/50 mix of white vinegar and water. These are effective at lifting dirt and grime without being aggressive.
- Bleach Caution: Avoid anything harsh, and never use full-strength bleach. If mildew is present on painted siding, use a very, very diluted bleach solution (e.g., 1 part bleach to 10 parts water) and test it meticulously on an unseen area first. Rinse immediately and thoroughly.
- No Abrasive Scrubbing: Use only soft cloths, sponges, or soft-bristle brushes. Abrasive tools or stiff brushes can easily scratch or mar the paint surface, leaving permanent marks. Scrub lightly, following the grain of the siding.
- Work in Sections: Always clean and rinse painted siding in small sections. This prevents the cleaning solution from drying on the surface, which can lead to unsightly streaks or uneven cleaning.
- Inspect for Damage: After rinsing, carefully inspect for any signs of peeling paint, bubbling, or faded spots. This observation can help you determine if the siding might need touch-ups or a full repaint in the near future. Gentle cleaning prolongs the life of the paint job.
How to Clean Oxidized Aluminum Siding
Oxidation is a common issue with older aluminum siding, where the metal reacts with oxygen and moisture, creating a chalky, dull, white, or powdery residue on the surface. When you wipe it with your finger, you’ll often see this chalky substance come off. Cleaning oxidized siding effectively means removing this chalky layer without causing further deterioration.
Here’s a recommended approach:
- Initial Rinse: Start by thoroughly rinsing the oxidized area with a garden hose to remove loose dirt and some of the chalky residue.
- Specialized Cleaners: For significant oxidation, consider using a cleaner specifically formulated to remove oxidation from aluminum. Products containing oxalic acid are often effective for this purpose. Alternatively, a general-purpose exterior cleaner or even an automotive aluminum polish can work wonders.
- Gentle Application and Scrubbing: Apply your chosen cleaner to a soft cloth or a very soft-bristle brush. Work in small, manageable sections, scrubbing gently in circular motions to lift the oxidation. Avoid aggressive scrubbing, as this can still cause scratches.
- Rinse Immediately: Rinse each section thoroughly and immediately after scrubbing to prevent the cleaner from drying and leaving streaks.
- Repeat if Necessary: For heavy oxidation, you may need to repeat the cleaning process multiple times, allowing the cleaner to dwell for a short period before scrubbing and rinsing.
- Protect and Prevent: Once cleaned, to achieve a better result and slow future buildup, I sometimes follow up with a protective coat specifically designed for aluminum or a high-quality car wax. This creates a barrier against the elements and helps maintain the restored shine longer. Regularly cleaning and applying a sealant can significantly extend the life and appearance of oxidized siding.
Essential Maintenance Tips to Keep Your Aluminum Siding Clean Longer
Proactive maintenance is key to preserving the beauty and longevity of your aluminum siding. Incorporating these simple habits into your home care routine will go a long way in keeping your siding cleaner, protecting it from premature wear, and preventing the buildup of unsightly dirt, mildew, and oxidation.
- Regular Rinsing: Make it a habit to rinse your siding with a garden hose at least once or twice a year, especially after pollen season or heavy storms. This simple step helps prevent long-term dirt buildup, reduces the severity of stains, and minimizes the need for more intensive cleaning later.
- Landscape Trimming: Keep nearby trees, shrubs, and bushes well-trimmed and away from your siding. Overhanging branches and dense foliage can trap moisture against the siding, block sunlight, and shed debris, all of which create ideal conditions for mold, mildew, and algae growth. Good airflow is essential.
- Apply a Sealant or Wax: For older siding, or after a thorough cleaning, consider applying a clear, protective sealant or a high-quality automotive wax specifically designed for aluminum. This adds a crucial barrier against UV rays, moisture, and environmental pollutants, helping to prevent fading, oxidation, and making future cleaning much easier.
- Use Gentle Cleaners Consistently: Stick to mild, pH-neutral cleaners like dish soap and water or a vinegar-water mix for routine cleaning. These gentle solutions are highly effective without risking damage to your siding’s paint or finish, ensuring its integrity over time.
- Always Use Soft Brushes: When scrubbing, exclusively use soft-bristle brushes or non-abrasive sponges and cloths. Stiff brushes, scouring pads, or abrasive materials can easily scratch, dull, or permanently mark the surface of your aluminum siding, diminishing its appearance.
- Perform Spot Testing: Before applying any new cleaning solution or even a familiar one to a large area, always test it on a small, inconspicuous spot of your siding first. This crucial step allows you to check for any adverse reactions, such as discoloration, streaking, or damage, ensuring the cleaner is safe for your specific siding.
- Protect Surrounding Plants: Before you begin any cleaning, take the time to cover or thoroughly rinse any nearby plants, shrubs, and grass. Even mild cleaning solutions can be detrimental to plant life, so creating a protective barrier or diluting runoff immediately is a wise precaution.
- Clear Gutters and Downspouts: Ensure your gutters are clean and downspouts direct water away from the house. Overflowing gutters can cause dirty water to cascade down your siding, leaving streaks and promoting mildew growth.
By consistently following these easy, yet impactful, habits, you can significantly prolong the lifespan, maintain the aesthetic appeal, and reduce the overall maintenance effort required for your aluminum siding, keeping your home looking pristine for years to come.
Common Mistakes That Can Damage Your Aluminum Siding (and How to Avoid Them)
Even with the best intentions, small oversights or improper techniques during cleaning and maintenance can inadvertently shorten the life of your aluminum siding or cause irreversible damage. Being aware of these common mistakes can save you a lot of headache and expense.
- Using Abrasive Tools or Cleaners: This is one of the most frequent and damaging errors. Employing rough sponges, stiff brushes, steel wool, or harsh abrasive cleaners can easily scratch, dull, or permanently etch the surface of your aluminum siding. How to avoid: Always use soft-bristle brushes, microfiber cloths, or soft sponges, and stick to non-abrasive, gentle cleaning solutions.
- Applying Full-Strength Bleach or Harsh Chemicals: Undiluted bleach, strong degreasers, or other harsh chemical cleaners can quickly strip the paint, fade the color, or degrade the protective coating on aluminum siding, leaving it discolored and vulnerable. How to avoid: Always dilute bleach significantly (1:4 or 1:10 with water) for mildew, or better yet, opt for a vinegar or dish soap solution for general cleaning. Always test in an inconspicuous area.
- Neglecting Dirt and Mildew Buildup: Allowing dirt, grime, mold, or mildew to accumulate for extended periods can lead to stubborn stains that are much harder to remove. Mildew, in particular, can eat into the finish over time. How to avoid: Implement regular cleaning and rinsing schedules. Addressing minor buildup promptly prevents it from becoming a major issue.
- Cleaning in Direct Sunlight: Washing your siding when the sun is directly beating down on it is a common mistake. The heat causes cleaning solutions to dry too quickly, leading to unsightly streaks, water spots, and residue that are difficult to rinse away completely. How to avoid: Plan your cleaning for overcast days, early mornings, or late afternoons when the siding is in shade. Work in small sections and rinse immediately.
- Spraying Water Upwards with High Pressure: Using a power washer and directing the spray upwards can force water behind the siding panels, leading to moisture intrusion, rot in the underlying structure, and mold growth. How to avoid: If power washing, always use a low-pressure setting and spray downwards at an angle (around 45 degrees) to direct water away from the seams.
- Ignoring Post-Storm Checks: High winds, hail, and heavy rain can cause subtle damage like small cracks, loose panels, or debris accumulation. Neglecting to inspect your siding after severe weather can allow small issues to escalate into major, costly repairs. How to avoid: Conduct a quick visual inspection of your siding after every major storm, looking for any new damage or areas that need attention.
By being mindful of these pitfalls and adopting careful, informed cleaning practices, you can ensure your aluminum siding remains beautiful, functional, and durable for many years to come.
Conclusion: Reclaim Your Home’s Curb Appeal with Clean Aluminum Siding
Now that you’re equipped with this comprehensive knowledge on how to clean aluminum siding, you can approach this home maintenance task with complete confidence and expertise. I’ve shared proven techniques, reliable cleaning solutions (both store-bought and homemade), and crucial insights into avoiding common pitfalls, ensuring you can tackle the job yourself without stress or the need for expensive professional services.
Remember, the key to achieving sparkling clean aluminum siding and preserving its longevity lies in taking your time, selecting the appropriate tools and cleaners for your specific siding type, and committing to regular, gentle maintenance. You’ll be genuinely surprised at the dramatic transformation and how much better your home looks and feels afterward. A clean exterior not only enhances curb appeal but also protects your investment for years to come.
Don’t let dirt, mildew, or oxidation diminish your home’s beauty any longer. Start small, perhaps with one section, and you’ll quickly see significant and rewarding results. Take pride in your home’s appearance, and enjoy the renewed freshness of your aluminum siding.
Seeking more invaluable tips and guides like this to keep your entire house in top shape? Be sure to explore my other home care blogs and resources on the website. Happy cleaning!
