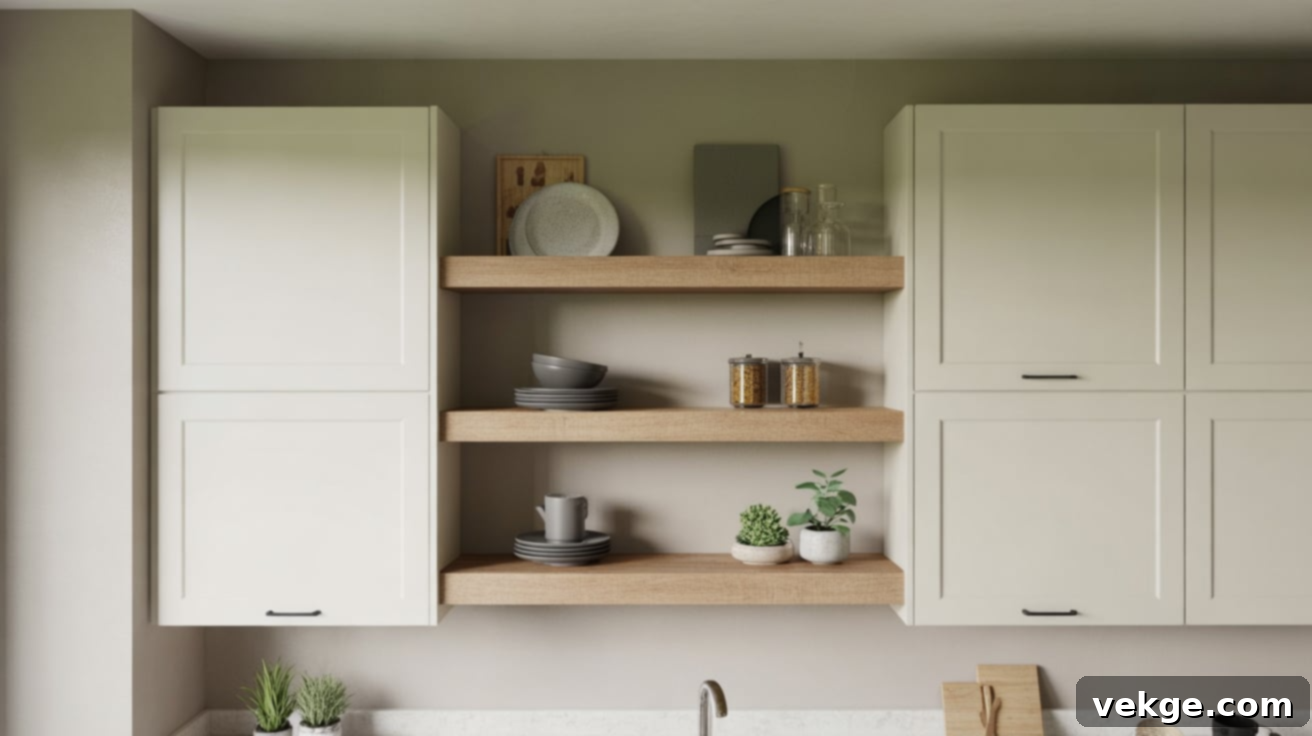
Seamless Storage Solutions: DIY Floating Shelves Between Kitchen & Laundry Cabinets
Do you have that awkward, often-overlooked space between your kitchen or laundry cabinets? You are certainly not alone. This neglected area can feel like wasted potential, leaving many homeowners unsure how to best utilize it. Fortunately, floating shelves offer a simple yet elegant solution to this common design challenge. They are not only easy to install but can also transform an empty gap into a highly functional and aesthetically pleasing storage spot, capable of holding everything from daily dishes and frequently used ingredients to decorative plants and essential laundry supplies.
This comprehensive guide will walk you through every step of the process, empowering you to tackle this home improvement project with confidence. You’ll learn how to meticulously plan your layout to maximize space, choose the perfect tools and materials that align with your style and budget, and install your floating shelves with professional precision. Beyond the practical installation, we’ll dive into inspiring design ideas, share expert styling tips to make your new shelves shine, and provide practical solutions for common issues like leaning shelves or unsightly gaps. If you’ve been dreaming of adding stylish and practical floating shelves but felt unsure where to begin, consider this your essential roadmap to success.
Why Add Floating Shelves Between Cabinets? Unlocking Hidden Potential
Floating shelves are an incredibly smart and effective way to utilize space that often gets overlooked in both kitchens and laundry rooms. That empty gap, which might currently serve no purpose, has the potential to become both immensely useful and remarkably stylish. Integrating floating shelves seamlessly into these spaces can significantly enhance their functionality and visual appeal, transforming a blank wall into a focal point of organized beauty.
These versatile shelves can instantly make your room feel more organized, complete, and thoughtfully designed. They provide a finished look to the space, breaking up the monotony of solid cabinetry without introducing clutter. Instead, they offer an opportunity to display cherished items or keep essential everyday objects easily accessible. Imagine a dedicated spot for your morning coffee mugs, a convenient location for dish towels near the sink, or a tidy home for office supplies if you’ve integrated a small desk area.
Furthermore, floating shelves excel in small or tight spots where installing full cabinets simply isn’t feasible. In constricted areas, a slim shelf can slide right in, offering valuable storage without overwhelming the footprint. They add personality, character, and a touch of bespoke design without requiring a massive budget or complex, specialized tools. Whether you’re aiming for a minimalist, modern, rustic, or traditional look, floating shelves can be customized to complement any interior style, truly making the most of every square inch.
Choosing the Right Materials for Your Floating Shelves
Before you commit to a specific shelf design or mounting type, it’s incredibly helpful to compare the various material options available. Each material offers a unique aesthetic, durability, and price point. Understanding these differences will help you select the best fit for your space, intended use, and overall budget.
| Material | Look & Characteristics | Cost | Best Use & Benefits |
|---|---|---|---|
| Pine | Light color, visible grain, natural finish, soft wood. | Budget-friendly | Excellent for painting, staining with light finishes, or achieving a rustic look. Easy to work with for DIY projects due to its softness. |
| Oak | Strong, prominent grain pattern, often darker or can be stained richly, very durable. | Higher | Ideal for classic, traditional, or farmhouse wood tones. Extremely durable and resistant to wear, making it suitable for heavy loads and high-traffic areas. |
| Plywood | Smooth surface, layered edges (can be hidden or exposed for a modern look), consistent finish. | Moderate | Great for painted or clean, contemporary designs. Offers good strength-to-weight ratio and is stable, resisting warping. Various grades available. |
| MDF (Medium-Density Fiberboard) | Very flat, smooth surface with no grain, dense. | Low | Perfect for painting, as it provides a flawless, smooth finish. Best for decorative items or lighter loads due to its density, which can make it heavy and less durable than solid wood for heavy-duty use. |
Consider the humidity levels in your kitchen or laundry room when making your choice. Certain woods might be more resistant to moisture, or you might need to apply a specific sealant for protection. Ultimately, pick a material that not only fits your space and budget but also aligns with the functional demands and the aesthetic you envision.
Understanding Floating Shelf Mounting Options
Picking the right mounting hardware is just as crucial as selecting the shelf material. The choice depends largely on how much weight you plan to put on the shelf and the desired visual effect. Different mounts offer varying levels of support and visibility, influencing the overall look of your floating shelves.
| Mount Type | Visible After Installation | Weight Support Capability | Best For |
|---|---|---|---|
| Brackets (External) | Yes (can be decorative or minimalist) | Heavier items, substantial loads | Kitchen storage (dishes, pots), bookshelves, laundry room essentials. Brackets offer maximum support and can also be chosen to complement your room’s style. |
| Hidden Mounts (Internal Rods/Cleats) | No (shelf appears to “float”) | Lighter to medium items (depending on installation into studs) | Decorative displays, lighter kitchen items (mugs, spices), minimalist aesthetics. Creates a sleek, seamless look, making the shelf itself the focal point. |
For shelves intended to hold heavier items like stacks of plates or numerous books, external brackets are highly recommended for their superior weight-bearing capacity. These can be made of various materials like steel, wood, or brass, offering an opportunity to add to your room’s decor. Conversely, if you’re aiming for a clean, minimalist look where the shelf itself is the star and you’re primarily displaying lighter decorative items or small kitchen essentials, hidden mounts are the perfect choice. Always ensure your chosen mounting system is securely fastened into wall studs whenever possible, or use appropriate heavy-duty wall anchors for reliable support.
Inspiring Floating Shelf Ideas to Elevate Your Space Between Cabinets
Once you’ve decided on your materials and mounting, the fun part begins: visualizing how your new floating shelves will transform your space! Here are a few creative and practical ideas that work exceptionally well in kitchens, laundry rooms, or any other small nooks between existing cabinetry, helping you unlock their full potential.
1. Centered Shelves Over the Sink or Countertop
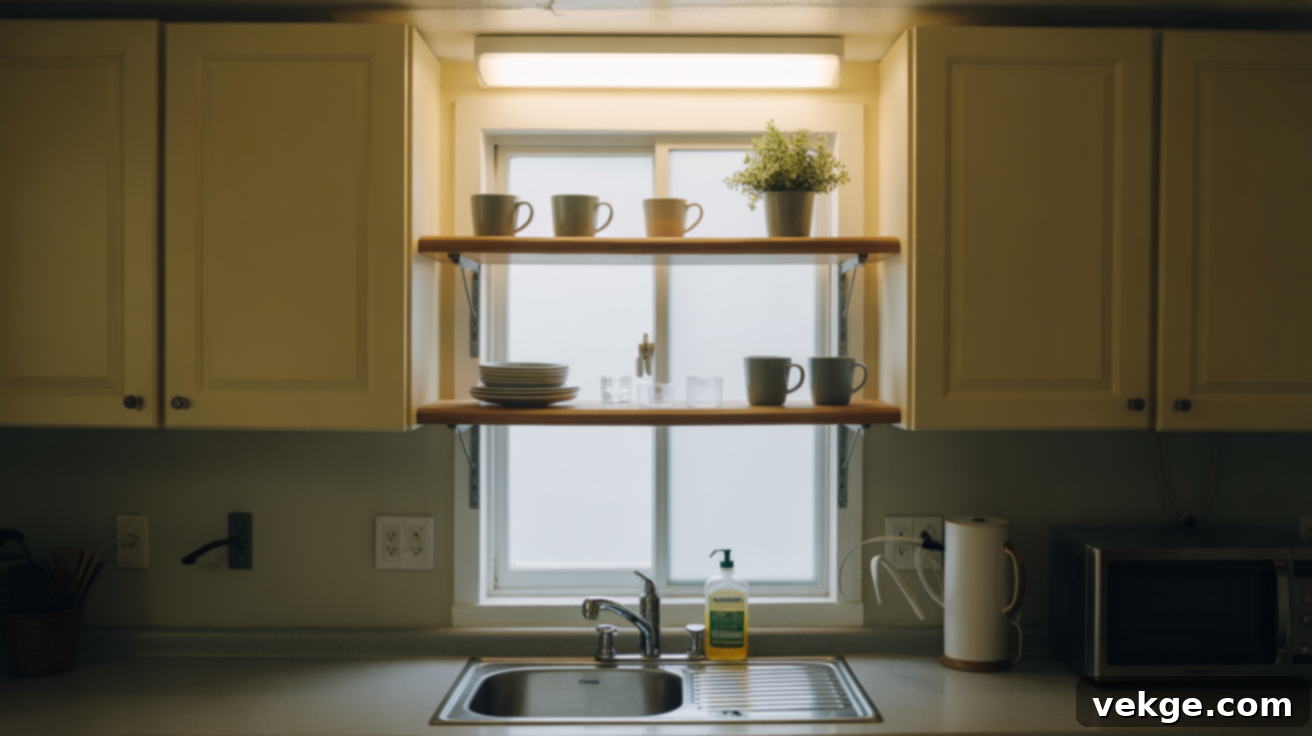
This layout is one of the most popular and timeless choices, primarily because it’s both straightforward to implement and inherently creates a sense of balance and harmony. It’s particularly effective if there’s a window nestled between your cabinets, as the shelves can frame the view beautifully without obstructing light. You can strategically place one or two shelves directly over the sink or counter to hold items you frequently reach for, making daily tasks more efficient.
Consider using the lower shelf for essentials like your favorite mugs, hand soap, or dish soap dispenser, keeping them conveniently at hand. The upper shelf can then be dedicated to decorative elements, such as small potted plants, a framed recipe, or other personal touches that add character to your kitchen. This arrangement keeps things within easy reach and visually appealing without making the entire space feel cluttered or confined, creating an organized and welcoming atmosphere.
2. Matching Shelf Colors with Existing Cabinets
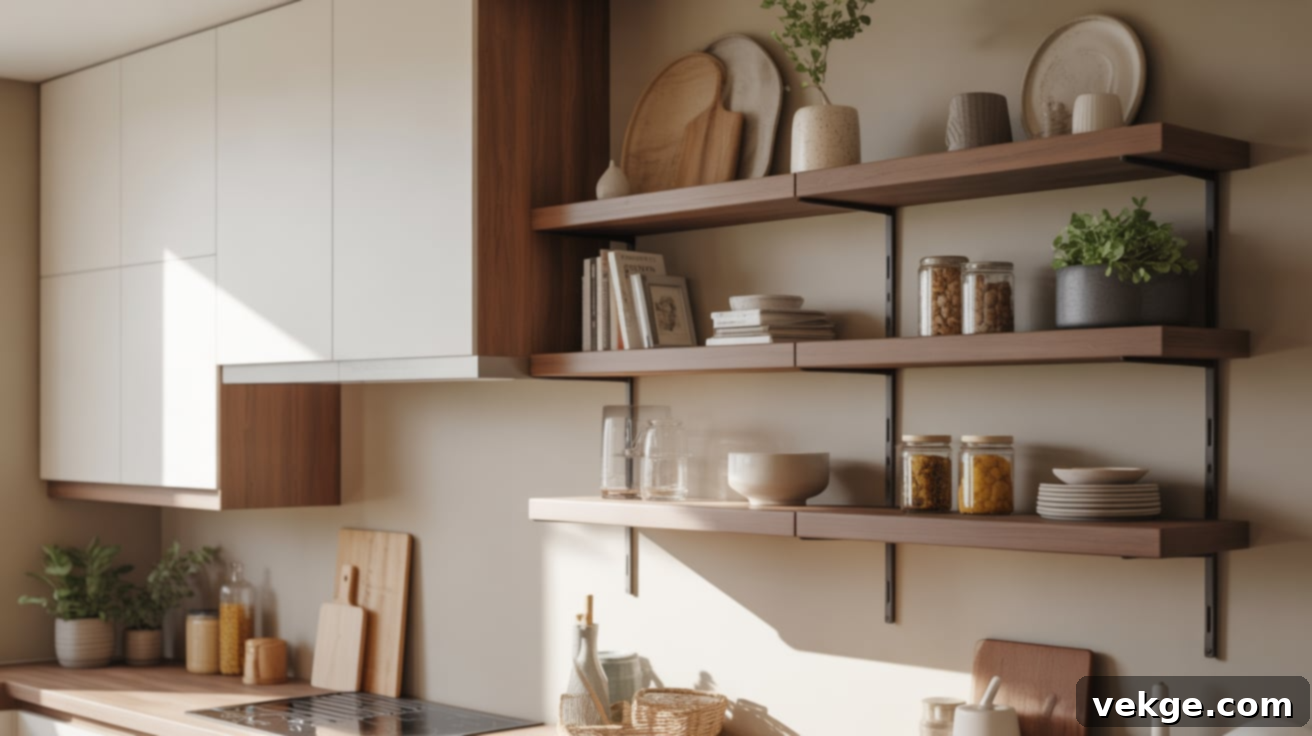
Opting for floating shelves that match the color or finish of your existing cabinetry is an excellent strategy for achieving a cohesive and integrated look. This approach helps the new shelves blend seamlessly with the rest of the room, creating a sense of unity and making the entire space feel more organized and visually soothing. For instance, white shelves are incredibly versatile, complementing most wall colors and cabinet styles, offering a bright and airy feel.
Natural wood shelves can introduce warmth and texture, making the room feel inviting and grounded. On the other hand, black shelves can provide a striking contrast that still feels sophisticated and simple, especially in a modern or industrial setting. This design choice is ideal if you want your floating shelves to feel like an inherent part of the room’s architecture rather than a standalone, added piece, contributing to a polished and professional interior design.
3. Corner-to-Corner Floating Shelf Integration
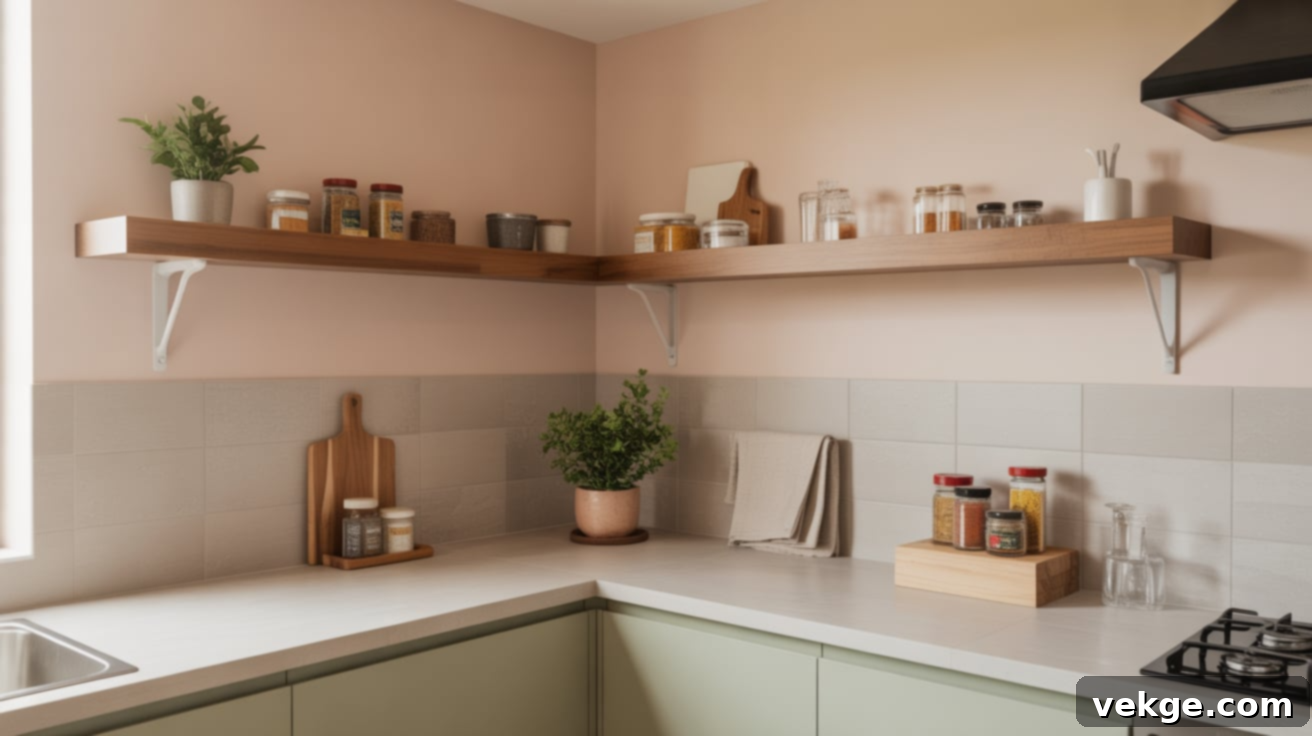
If the space between your cabinets extends across an interior corner, don’t let that valuable real estate go to waste. Instead, consider installing a single, continuous floating shelf that elegantly spans the entire section, from one end of the cabinet run to the other. This innovative setup is particularly adept at making full use of often-ignored empty wall space, creating a sleek and unbroken visual line that enhances the room’s flow.
A corner-to-corner shelf is perfect for storing an array of items, such as neatly folded hand towels in a laundry room, an organized collection of spice jars in the kitchen, or small decorative containers. Beyond its practical storage capabilities, this design helps to visually tie the two walls together in a clean, smooth, and sophisticated manner. It eliminates awkward breaks in the design, contributing to a more expansive and thoughtful aesthetic that feels both practical and high-end.
4. Floating Shelf with Built-In Hooks or Rods
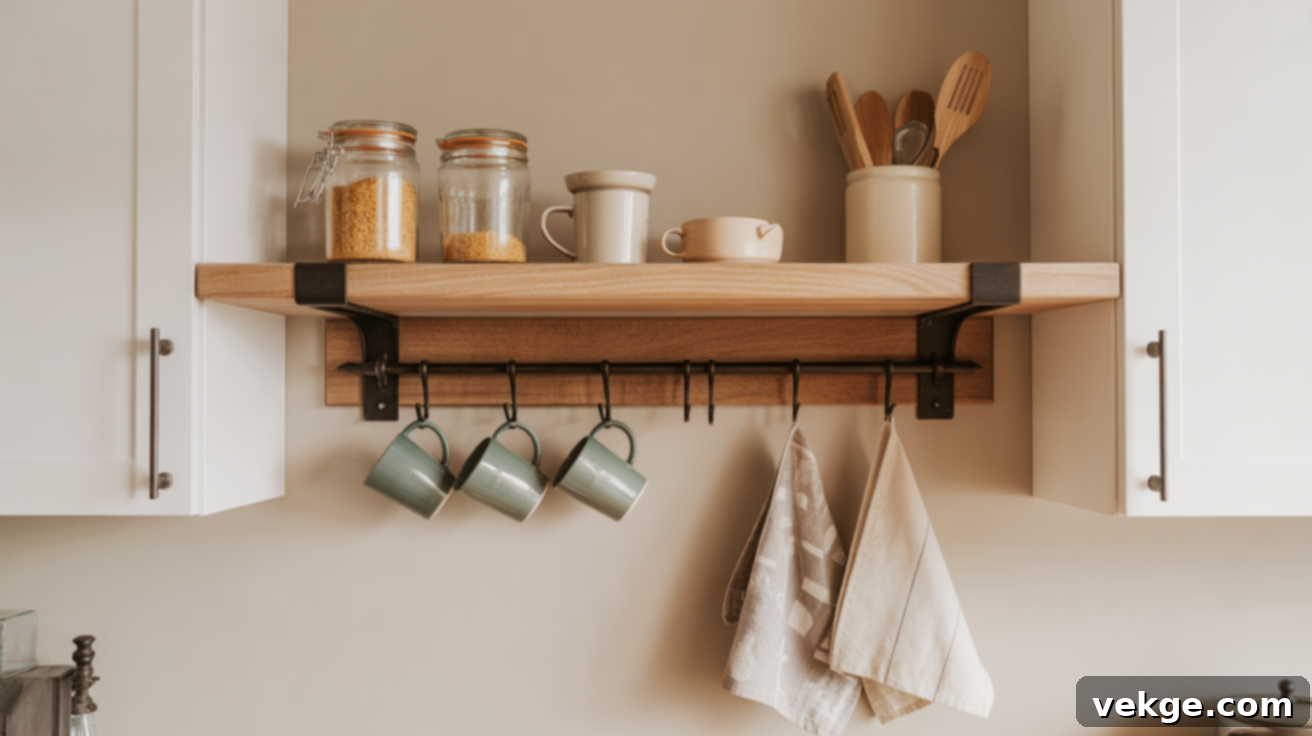
For those who prioritize multi-functional design, a floating shelf equipped with hooks or a rod underneath is a game-changer. This clever integration significantly enhances functionality without requiring additional wall space. In the kitchen, the hooks can be used to neatly hang coffee mugs, kitchen utensils, or hand towels, keeping them within easy reach and freeing up valuable drawer or counter space.
In a laundry room, a shelf with a built-in rod becomes an invaluable asset for hanging delicates to dry, air-drying clothes that can’t go in the dryer, or simply keeping frequently used cleaning tools organized. This dual-purpose setup not only saves precious drawer and cupboard space but also makes everyday items incredibly easy to grab and put away, streamlining your daily routines and contributing to a more organized home.
5. Floating Shelves as a Mini Coffee or Tea Station
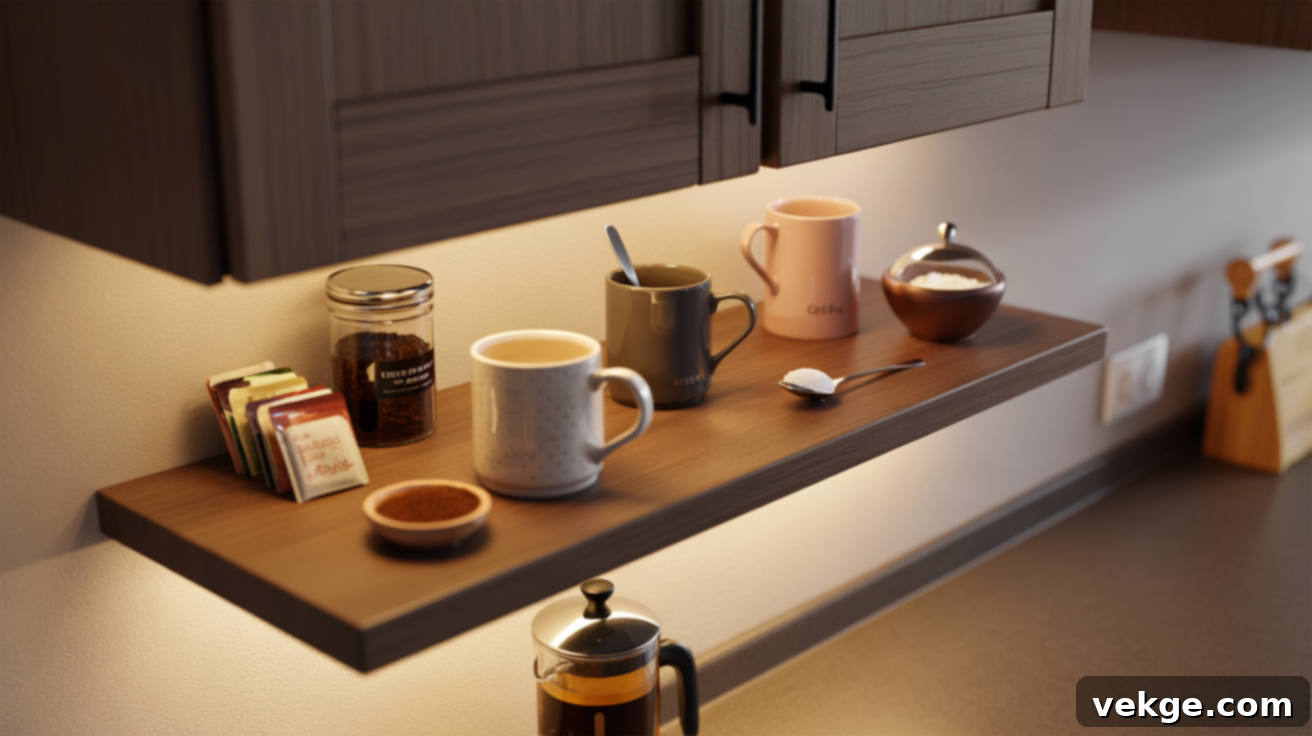
Transform the often-underutilized area between your cabinets into a delightful and dedicated mini coffee or tea station. This inviting setup requires minimal counter space and adds a charming, personalized touch to your kitchen. On one or two carefully placed floating shelves, you can artfully arrange your favorite mugs, elegant jars filled with coffee beans or tea bags, a sugar dispenser, and perhaps a stylish spoon holder.
Below the shelves, on the counter, you can place your coffee maker or electric kettle, creating a compact yet fully functional beverage hub. This idea is particularly brilliant if your kitchen is short on counter space but you still desire a dedicated, useful, and aesthetically pleasing area for your morning ritual or afternoon pick-me-up. It’s a small change that can make a big impact on your daily convenience and enjoyment.
6. Stack Multiple Narrow Shelves Vertically
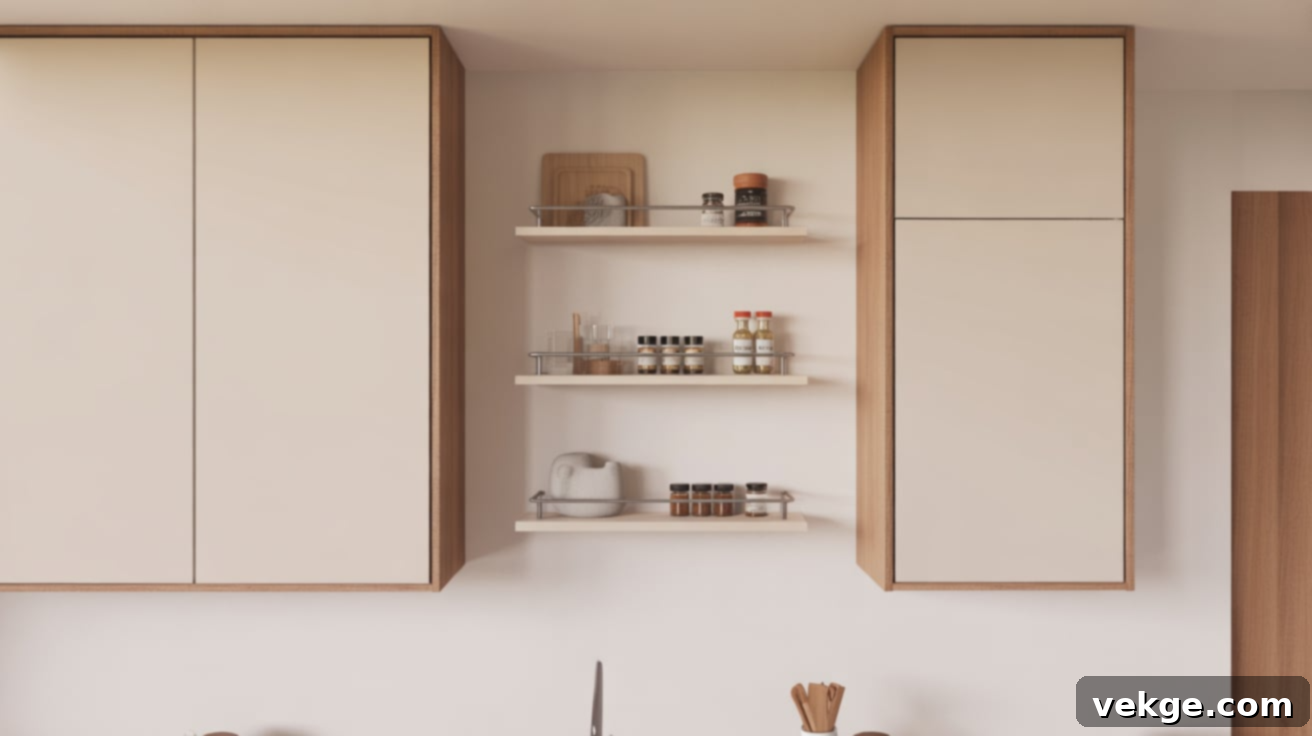
Instead of opting for a single, broad shelf, consider the visual appeal and practical benefits of stacking a few narrow shelves vertically, leaving ample space between each one. This particular setup is incredibly effective for organizing and displaying smaller items such as decorative spice bottles, tiny succulent pots, essential oil collections, or small decorative trinkets. It’s an ingenious solution for maximizing vertical storage in compact areas, especially between upper cabinets where horizontal space is limited.
This vertical arrangement draws the eye upward, creating a sense of height and openness, which can make a small area feel larger. It keeps the look light and airy, avoiding the bulkiness that a single deep shelf might present, while still providing valuable storage and display opportunities. It’s perfect for achieving a minimalist yet highly organized aesthetic, allowing each item to have its own designated spot and contributing to a tidy and refined appearance.
How to Plan Your Floating Shelf Setup for Optimal Results
Before you even think about cutting wood or drilling into your walls, taking the time to meticulously plan your floating shelf setup is crucial. A little foresight and careful consideration of the layout can ensure that everything comes together smoothly, resulting in shelves that fit perfectly, look integrated, and serve their purpose flawlessly. This planning phase is your opportunity to visualize the end result and prevent potential headaches down the line.
1. Measure Your Space Accurately
Your planning journey begins with accurate measurements. Grab a reliable tape measure and carefully record the full width between the cabinets, the available height from the countertop (or floor) to the bottom of the upper cabinet (or ceiling), and the depth you desire for your shelves. These precise numbers are fundamental for determining exactly how much room you have to work with and what size shelves will fit without feeling cramped or undersized.
It’s vital to write down all these measurements, even if you believe you’ll remember them. A small miscalculation in size can lead to significant problems later on when you’re cutting custom wood or purchasing pre-made shelves. Additionally, if your walls aren’t perfectly level or your cabinets aren’t aligned, double-check your measurements in several places (top, middle, bottom for width; left, middle, right for height). Using a good quality level or a laser level can also help you identify any subtle slants or unevenness in the wall, allowing you to account for them during installation.
2. Decide on the Number of Shelves You Need
The ideal number of floating shelves you choose to install will depend primarily on the vertical height of the available space and, more importantly, what you intend to store or display on them. In most kitchen or laundry applications, two shelves tend to work exceptionally well. This configuration provides ample storage or display opportunities without making the wall feel overly crowded or visually heavy.
You might dedicate one shelf to practical items like dishes, glasses, or cleaning supplies, and the other to smaller decorative items, plants, or cherished keepsakes. If you have extra vertical space above or below your primary shelving area, adding a third shelf can be a smart decision. This provides even more room for storage or decor and can create a beautiful sense of balance from top to bottom. However, always ensure there’s sufficient vertical clearance between each shelf to comfortably accommodate taller items you plan to place there, preventing a cramped appearance.
3. Optimize Height and Alignment for Visual Appeal
The height and spacing of your floating shelves play a much larger role in the overall aesthetic and functionality than you might initially think. Shelves that are too closely spaced can make the area feel cramped and difficult to access, while those positioned too far apart can make the entire setup look sparse and disjointed. Achieving the right balance is key.
One common and effective design strategy is to align the top floating shelf with the bottom edge of the adjacent upper cabinets, or to align the lower shelf with the top edge of your countertop or backsplash. This creates a visually harmonious connection with existing elements, making the shelves feel integrated and intentional. Even spacing between shelves generally contributes to a balanced and orderly appearance. However, always consider the size of the items you plan to display. If you’re storing tall jars, containers, or decor, ensure you leave enough vertical room so that nothing feels squeezed or out of place, allowing for easy access and an uncluttered look.
4. Open Shelf Styling Tips for a Polished Look
Open shelves, by their very nature, invite visual interest and personality, but they look their best when styled thoughtfully and not overloaded. Aim for a curated selection of practical items, then thoughtfully mix in pieces that add character, warmth, and visual interest. This could include a beautifully framed recipe, a small potted herb plant, an interesting ceramic bowl, or a stack of aesthetically pleasing cookbooks.
To maintain a cohesive and tidy appearance, try grouping items by color, texture, or function. For example, use matching clear jars for dry goods like pasta, rice, or coffee, or incorporate stylish woven baskets to hold smaller, loose items that might otherwise look messy. Remember, you don’t need to fill every single inch of your shelves. Leaving some negative space around your displayed items can make the shelves appear more intentional, easier to clean, and far more pleasing to the eye. This minimalist approach often leads to a more sophisticated and inviting display.
DIY Guide for Installing Floating Shelves Between Cabinets
The prospect of planning and installing floating shelves can seem daunting, but it’s often much easier than anticipated. With a clear step-by-step approach, a few basic tools, and a little patience, you can successfully set up shelves that are both highly functional and beautifully integrated into your home. This DIY guide will break down the process into manageable steps.
1. Materials and Tools You Need to Get Started
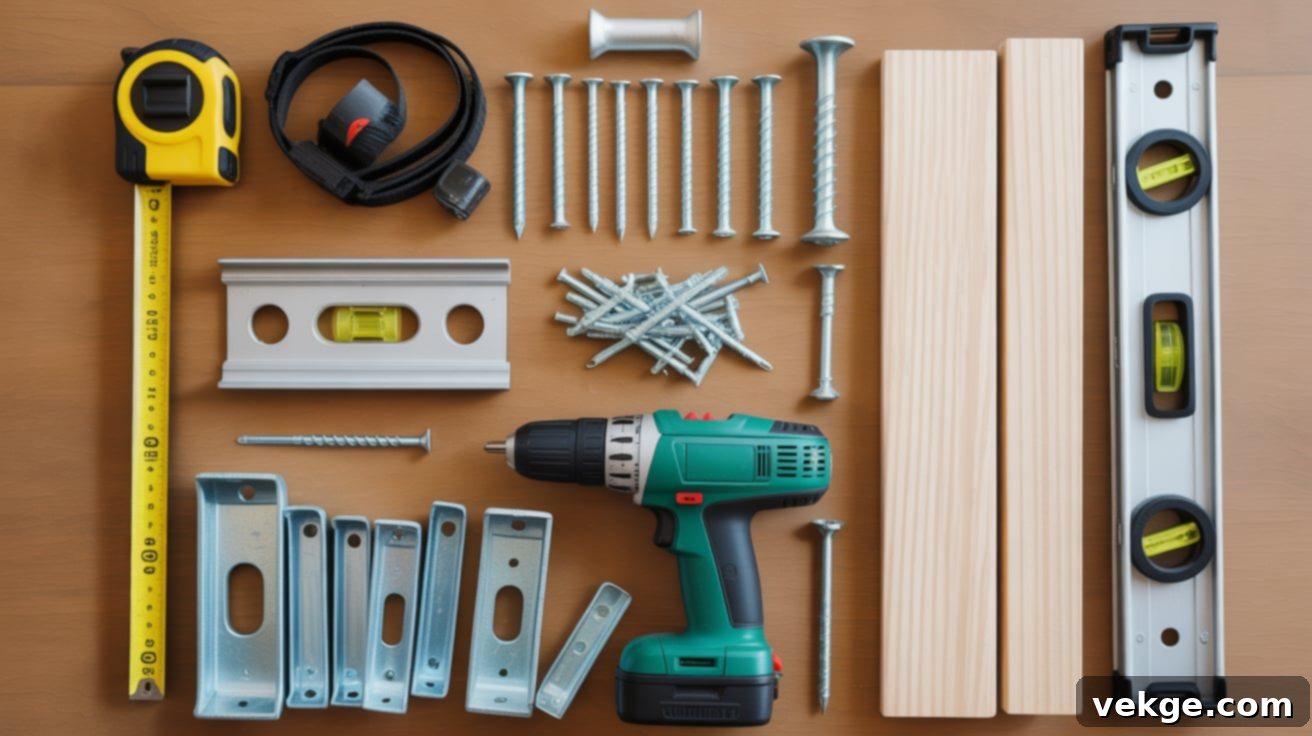
Before you begin any drilling or cutting, it’s essential to gather all your necessary tools and supplies. Having everything ready and within reach will save you significant time, prevent frustrating interruptions, and help you avoid common mistakes. Here’s a checklist of what you’ll typically need:
- Tape measure: For accurate measuring of your space and shelf placement.
- Pencil: To mark your wall for bracket placement.
- Stud finder: Crucial for locating wall studs for maximum support.
- Drill: To create pilot holes and drive screws.
- Level: An absolute must-have to ensure your shelves are perfectly straight.
- Brackets or cleats: Choose based on your preferred mounting style and weight requirements.
- Wall anchors or screws: Appropriate for the type of wall (drywall, plaster, tile) and the weight of your shelf.
- Wood boards or ready-made shelves: Your chosen material and size.
- Safety glasses: Always protect your eyes when drilling.
Always ensure that your chosen brackets and wall anchors are rated to support the weight you plan to put on your shelves, including the weight of the shelf itself. It’s better to overestimate than underestimate when it comes to load-bearing capacity.
2. Marking and Measuring the Wall for Precision
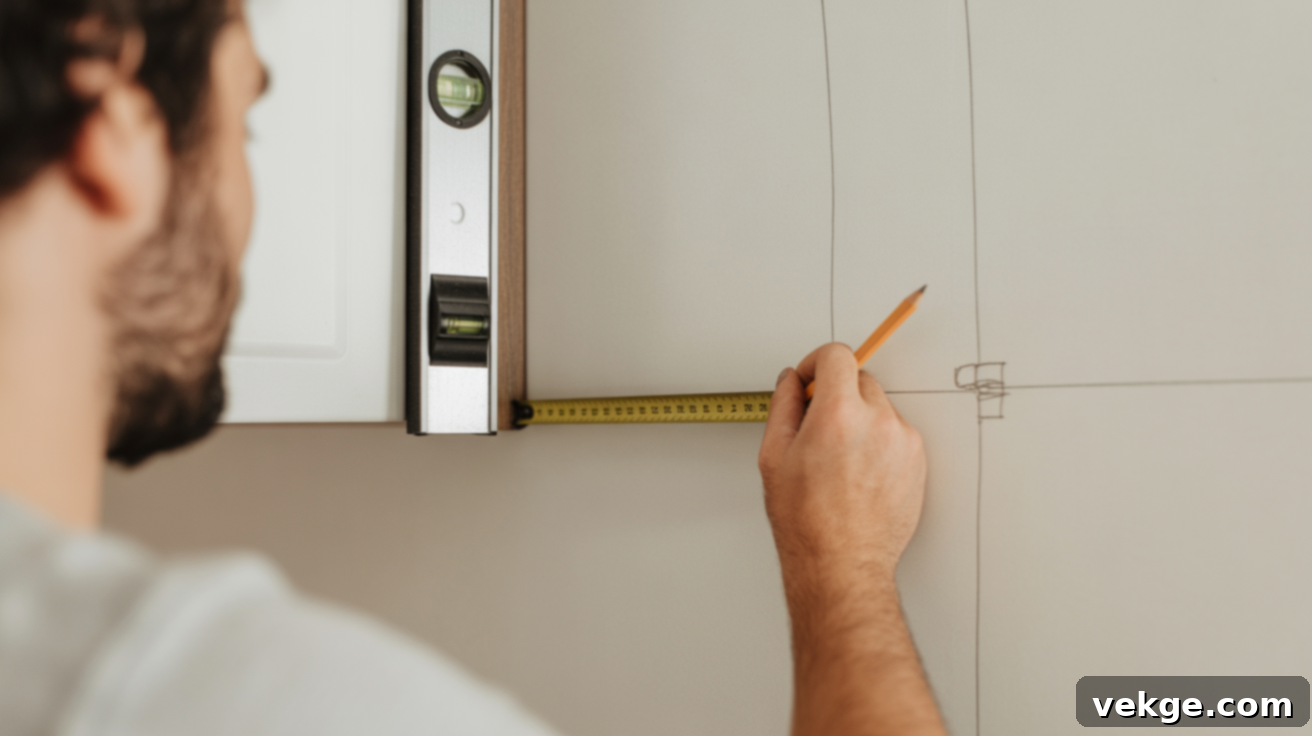
Begin by using your tape measure to carefully measure the exact width, height, and desired depth of the space between your cabinets. Double-check these measurements to ensure your shelves will fit perfectly. Next, using your pencil, mark precisely where you want the bottom edge of your shelf to sit on the wall. Consider your desired spacing if you’re installing multiple shelves. Use a level to draw a perfectly straight line across the wall where the bottom of your bracket or cleat will be.
It’s crucial to use a stud finder at this stage. Scan the wall along your marked line to locate any vertical wall studs. Drilling into a stud provides the strongest possible support for your shelves. Mark the center of each stud you find. Double-check your chosen shelf height and spacing to ensure they don’t block any essential features like electrical outlets or light switches, and that they align well with existing cabinet lines for a cohesive look.
3. Installing the Brackets or Cleats Securely
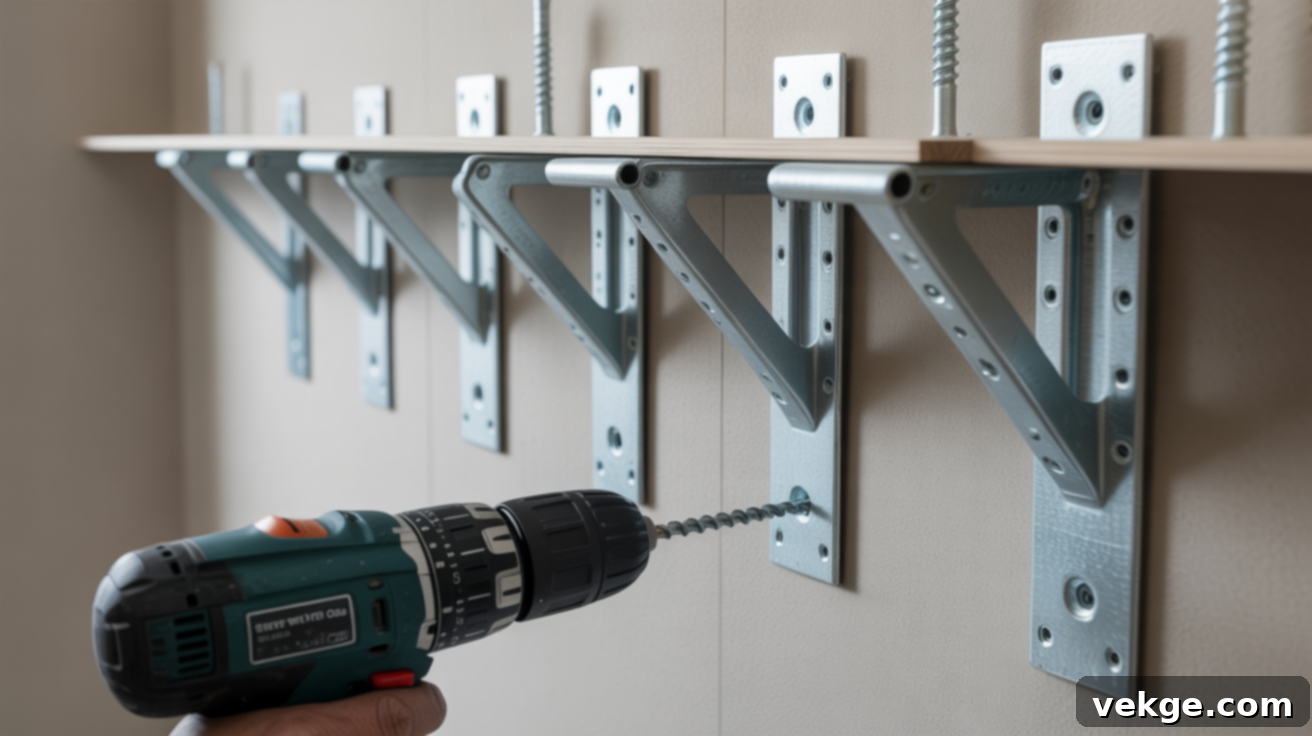
Now, it’s time to attach your chosen brackets or cleats to the wall. Using your drill, create pilot holes at your marked spots. If you were able to locate wall studs, drive your screws directly into the studs for maximum stability and support. If studs aren’t available at your desired mounting locations, it’s absolutely essential to use appropriate heavy-duty wall anchors or toggle bolts designed for the weight capacity you require. These anchors expand within the wall to create a secure point of attachment.
As you install each bracket or cleat, continuously check it with your level to ensure it is perfectly horizontal. Even a slight tilt can become very noticeable once the shelf is loaded with items. Take your time with this step, as a level foundation is critical for the appearance and safety of your floating shelves. Tighten all screws firmly but avoid over-tightening, which can strip the screw heads or damage the wall.
4. Placing and Securing the Shelf into Position
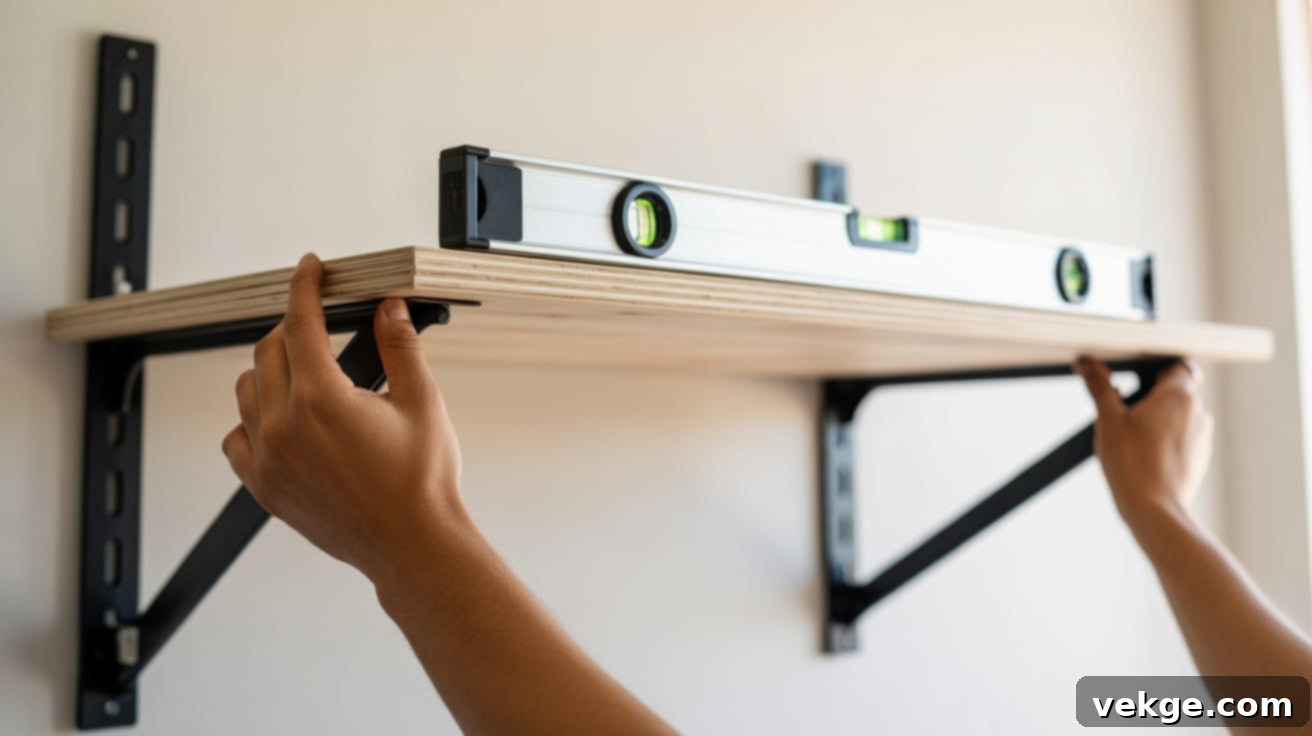
With your brackets or cleats securely in place and perfectly level, carefully slide or set your chosen shelf onto the mounting hardware. For hidden mounts, this might involve sliding the shelf onto internal rods; for external brackets, it means resting the shelf firmly on top. Once the shelf is in position, hold it steady and use your level one last time to confirm it is still straight and true. This final check is crucial for ensuring a professional finish.
If everything looks good, proceed to secure the shelf. Depending on your mounting system, this might involve driving screws up through the bottom of the shelf into the bracket, or through the top of the shelf into concealed cleats. Ensure all connections are tightened to lock the shelf down firmly. The installed shelf should feel solid and exhibit no noticeable wobbling or shifting when you gently press down on it. Your new floating shelf is now ready to be styled and enjoyed!
Installing Floating Shelves Without Drilling into Tile
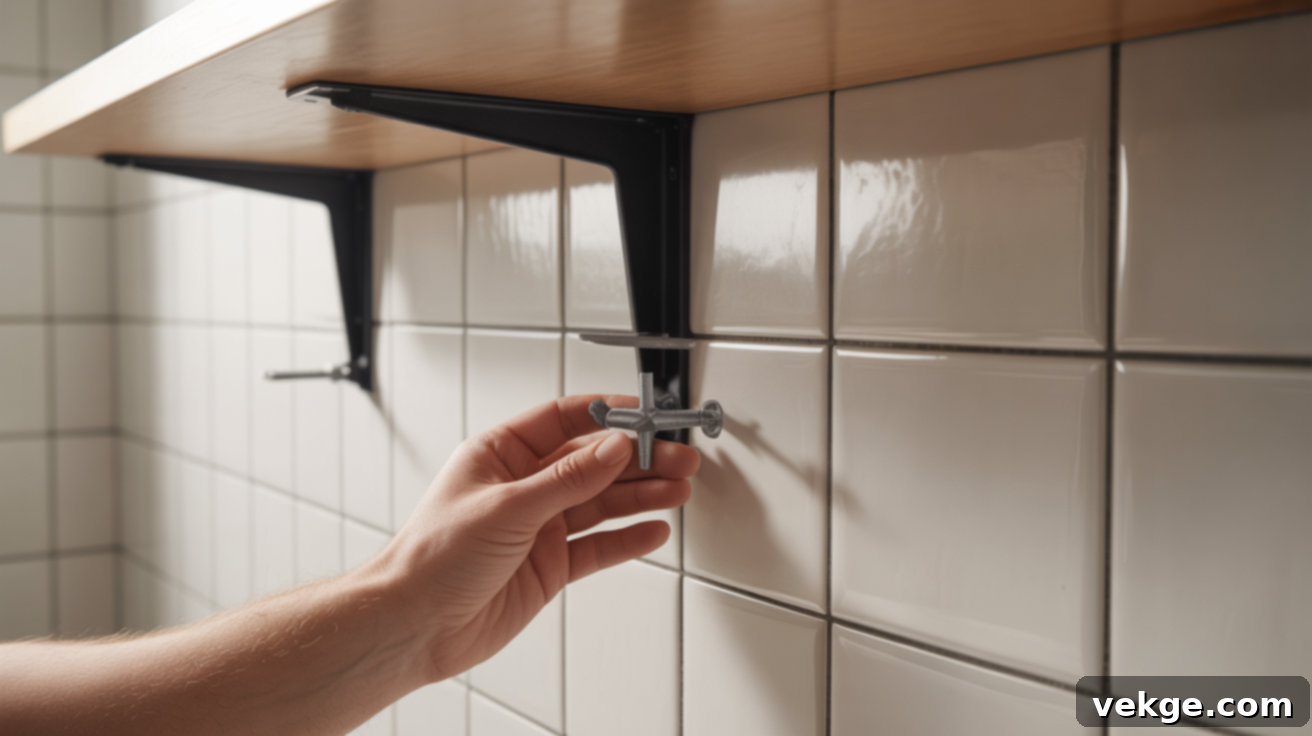
If your desired shelf location is over a tiled backsplash or wall, and you want to avoid drilling into the tile (which requires specialized drill bits and techniques), adhesive anchors or heavy-duty mounting tape can be a viable alternative for lighter shelves. These products are designed to stick firmly to clean, smooth surfaces and can often support light to medium-weight items, such as decorative displays, small spice jars, or lightweight plants.
Before applying any adhesive solution, thoroughly clean the tile surface with a degreaser or rubbing alcohol and allow it to dry completely. This ensures optimal adhesion. Carefully follow the manufacturer’s instructions for application, paying close attention to the recommended “set time.” It’s critical to wait the full recommended period (often 24-72 hours) before placing any weight on the shelf to allow the adhesive to cure fully and reach its maximum strength. However, it’s important to understand the limitations: adhesive solutions are generally not suitable for heavy items or high-traffic areas where durability is paramount. If you’re planning to add substantial weight, or if the shelves will be near a water source (like directly over a sink), consulting a professional for advice or considering traditional drilling into the grout lines (which is often easier than drilling tile directly) might be the smarter and safer option.
Fixing Common Floating Shelf Problems: Troubleshooting Tips
Even with careful planning and execution, small issues can sometimes arise during or after your floating shelf installation. Don’t worry, most common problems have straightforward solutions. Here are some frequent challenges and easy ways to fix them, ensuring your shelves look perfect and function reliably:
Shelf Appears Uneven or Leans
If your newly installed floating shelf leans visibly or slants to one side, the very first thing to do is re-check its level. Place your spirit level directly on top of the shelf to confirm if it’s truly straight. An uneven shelf is most often due to the brackets or cleats not being perfectly level during installation. If the level confirms a slant, you’ll need to loosen the screws on the problematic bracket (or both, if the whole shelf is off). Carefully adjust its position slightly, using the level as your guide, until it reads perfectly horizontal. Once adjusted, re-tighten the screws firmly. Even minor shifts can make a significant difference in how the shelf looks and performs, restoring its professional appearance.
Unwanted Gaps Between Shelf and Wall
A small gap between the back edge of your floating shelf and the wall is not uncommon, especially if your walls aren’t perfectly flat or if the shelf material isn’t cut precisely to the wall’s contours. While often minor, these gaps can sometimes detract from the seamless “floating” look. A simple and effective solution is to add a thin strip of trim along the back edge of the shelf, matching it to your shelf or wall color. Alternatively, you can fill the space neatly with a bead of paintable caulk. This not only creates a cleaner, more finished look, making the shelf feel more integrated with the wall, but it also helps prevent dust and debris from settling behind it, making cleaning easier.
Difficulty Locating Wall Studs for Support
Wall studs are the ideal anchor points for supporting heavy floating shelves, providing the most secure installation. However, sometimes they can be surprisingly difficult to locate accurately. If you’re struggling, investing in a good quality electronic stud finder is highly recommended. Always scan the area thoroughly before drilling. If, after your best efforts, you still cannot hit a stud at your desired shelf location, do not despair. Instead, you must use strong, appropriate wall anchors or toggle bolts specifically designed for heavy loads in drywall or plaster. These specialized fasteners are engineered to securely hold the shelf in place, even when a stud isn’t available, providing safe and reliable support for light to medium-weight items. Always check the weight rating of your chosen anchors and match it to your shelf and its contents.
Summing Up: Your Journey to Stylish, Organized Spaces
Adding elegant and functional floating shelves between your cabinets is a remarkably simple yet impactful way to make better use of often-wasted space while simultaneously infusing your kitchen or laundry room with personalized style. Now that you’re equipped with comprehensive knowledge on how to meticulously plan your project, confidently install your shelves, and effectively troubleshoot common issues, you are well-prepared to embark on your own DIY shelving adventure.
Whether your primary goal is to gain much-needed extra storage for everyday essentials, to create a charming and dedicated coffee station, or simply to add a touch of decorative flair, this guide has provided you with all the essential tools, tips, and inspiration to get started. Remember to approach the project one step at a time, take precise measurements, and don’t stress about achieving absolute perfection. Even small, thoughtful updates can go a very long way in enhancing the functionality and aesthetic appeal of your home, making your space truly your own.
If these creative floating shelf ideas for spaces between cabinets have sparked your imagination, be sure to explore our other insightful blogs for more home DIY tips, innovative storage solutions, and inspiring interior design ideas to continue transforming your living spaces!
