Mastering Wood Stain Drying Times: Your Definitive Guide to Flawless Finishes
Embarking on a wood staining project brings the excitement of transforming raw timber into a piece of art. However, one of the most common questions, and often the biggest test of patience, is: “How long do I let wood stain dry?” Rushing the drying process can lead to sticky surfaces, uneven finishes, and project setbacks, turning excitement into frustration. Understanding the nuances of drying times is crucial for achieving a durable, beautiful, and professional-looking finish.
This comprehensive guide will demystify wood stain drying times, covering various types of stains, the environmental factors that influence them, and practical strategies to ensure optimal results. You’ll learn the specific drying requirements for popular oil-based, water-based, and gel stains, as well as how to navigate common drying challenges. By the end, you’ll be equipped with the knowledge to plan your projects efficiently, minimize waiting, and confidently apply stain for a perfect finish every time.
Types of Wood Stains and Their Drying Times
Wood stains are not all created equal; they vary significantly in their composition, application, and, most importantly, their drying times. Choosing the right stain for your project not only impacts the final aesthetic but also dictates how long you’ll need to wait before proceeding to the next step. Let’s explore the most common types and their typical drying characteristics.
| Type of Stain | Drying Time | Pros | Cons | Special Notes |
|---|---|---|---|---|
| Oil-Based Stains | 8-24 hours | Long-lasting, deep color penetration, easy to apply and blend, excellent durability. | Slow drying, strong odor, requires good ventilation, mineral spirits for cleanup. | Ideal for rich, traditional finishes. Requires more patience. |
| Water-Based Stains | 2-3 hours | Fast drying, low odor (VOCs), easy water cleanup, eco-friendly. | May raise wood grain (requiring light sanding), less deep color, can dry quickly, leaving less working time. | Great for quick projects. Pre-wetting wood can help prevent grain raising. |
| Gel Stains | 8-24 hours | Non-drip formula, excellent for vertical surfaces or difficult woods (pine, maple), good for even color on non-porous woods. | Thicker texture can be harder to apply evenly, less penetration into the wood grain. | Applied by wiping with a cloth. Often used for faux finishes or over existing finishes. |
| Semi-Transparent Stains | 4-12 hours | Highlights natural wood grain, offers lighter color options, moderate protection. | Less protective than opaque stains, may require more coats for desired depth, color can be affected by wood’s natural tone. | Good for new wood where you want to enhance, not hide, the grain. Often used outdoors. |
As the table illustrates, there’s a significant difference between a quick-drying water-based stain and the more leisurely pace of oil-based or gel stains. Always check the manufacturer’s specific recommendations on the product label, as these can vary slightly. Your choice of stain should align not only with your desired aesthetic but also with your project timeline and working conditions.
Environmental Factors Affecting Drying Time
Beyond the type of stain, the environment in which you apply and dry your wood project plays a pivotal role in how quickly the stain cures. Understanding these factors allows you to optimize your workspace for faster, more consistent drying.
Temperature and Humidity
These two elements are the biggest influencers of stain drying. The process of drying involves the evaporation of solvents (in oil-based stains) or water (in water-based stains) from the wood surface. Temperature and humidity directly impact this evaporation rate.
- Temperature: Warmer temperatures accelerate the evaporation process. As the air heats up, its molecules move faster, allowing them to absorb and carry away moisture or solvents more efficiently from the stain. The ideal temperature range for most stain drying is between 70-80°F (21-27°C). Working in colder conditions, especially below 50°F (10°C), can double or even triple the drying time, as the solvents evaporate much slower.
- Humidity: High humidity, or the amount of moisture present in the air, is detrimental to stain drying. When the air is already saturated with water vapor, it has less capacity to absorb additional moisture from the drying stain. This effectively slows down evaporation. Aim to work in conditions where the humidity is below 50%. If the air feels “sticky” or heavy, it’s a clear sign that drying will be sluggish. Low humidity is your friend when it comes to drying stain quickly and thoroughly.
Airflow and Ventilation
While often overlooked, good airflow is just as critical as temperature and humidity control. Stagnant air around your stained project quickly becomes saturated with evaporated solvents or water, creating a mini high-humidity zone that slows drying. Moving air, on the other hand, constantly carries away this saturated air and replaces it with drier air, significantly speeding up evaporation.
- Ventilation: Always ensure adequate ventilation when staining, especially with oil-based products that emit strong fumes. Open windows and doors, or use exhaust fans to remove chemical vapors and promote air exchange.
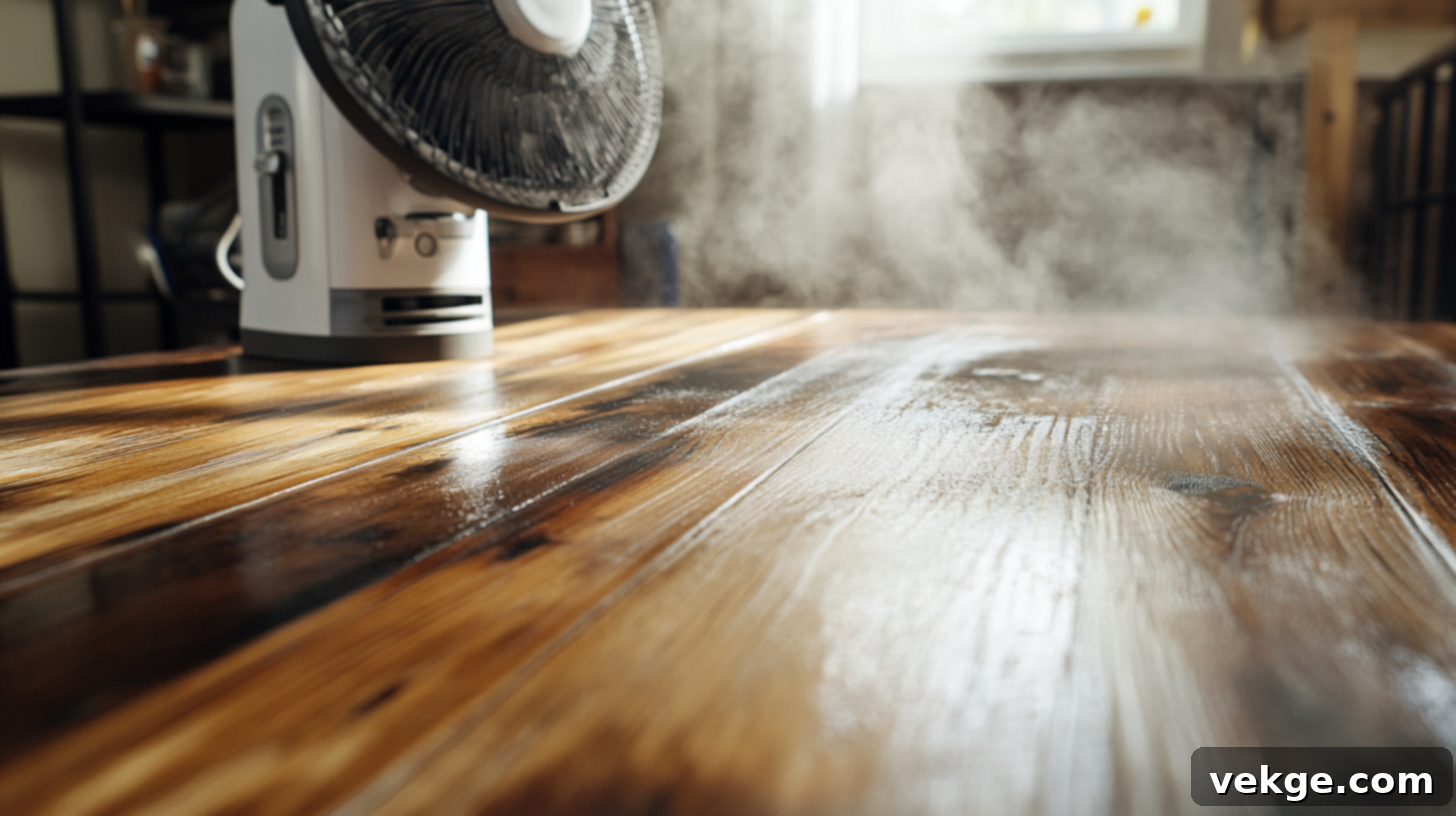
- Air Circulation: Position fans to blow air across, not directly onto, the stained surface. Direct airflow can lead to uneven drying, dust accumulation, or even “skinning” of the stain surface, trapping wet stain underneath. Indirect airflow gently promotes consistent evaporation across the entire surface.
How to Adjust for Different Weather Conditions
Since you can’t control the weather, you can control your environment to create optimal drying conditions:
- When it’s cold or wet outside: If possible, move your project indoors to a heated space. Use a small room heater to raise the ambient temperature to the ideal range. A dehumidifier can dramatically lower indoor humidity levels, especially on damp or rainy days, making a significant difference in drying speed.
- When working indoors: Even in ideal temperatures, a lack of air circulation can slow drying. Use fans positioned to create a gentle breeze across the workpiece. An air purifier with a fan can also help circulate air and capture dust, contributing to a cleaner finish.
- When it’s hot and dry: These are generally good conditions, but excessive heat or direct sunlight can cause some stains to dry too quickly, leading to uneven penetration or premature hardening before wiping off excess. Still use fans for air circulation, but monitor the drying process closely to avoid problems.
- Outdoor work: If you must stain outdoors, choose a day with low humidity and mild temperatures. Avoid direct sunlight during the hottest part of the day. Apply thinner coats and be prepared to wipe off excess quickly, as drying can be faster.
How to Make Stains Dry Faster

Patience is a virtue in wood finishing, but there are practical steps you can take to accelerate the drying process without compromising quality. These tips focus on optimizing both your application technique and your working environment.
Tips for Speeding Up Drying
Achieving faster drying times starts even before you open the stain can. Proper preparation and application are key:
- Prepare the Wood Properly:
- Sanding: Ensure the wood is sanded smoothly and evenly to the recommended grit (typically 150-220 for most stains). Proper sanding allows the stain to penetrate uniformly, preventing areas where excess stain might pool and prolong drying.
- Pre-Stain Conditioner: For woods prone to blotching (like pine, maple, or birch), apply a pre-stain conditioner. This equalizes the wood’s porosity, ensuring even stain absorption and preventing areas from drying slower due to over-saturation.
- Apply Thin, Even Coats: This is perhaps the most critical factor.
- Thick coats of stain take significantly longer to dry because there’s simply more material for the solvents or water to evaporate from.
- Apply stain sparingly and evenly, working with the wood grain.
- Avoid puddling or excessively heavy applications, as these will lead to tacky, slow-drying spots and an uneven finish.
- Wipe Off Excess Stain Promptly:
- After allowing the stain to penetrate for the manufacturer’s recommended time (usually 5-15 minutes), thoroughly wipe off any excess with a clean, lint-free cloth.
- Leaving excess stain on the surface is a primary cause of sticky, never-drying finishes. The stain is designed to penetrate the wood, not sit on top of it.
- Optimize Your Drying Environment:
- Increase Airflow: Use fans to circulate air around your project, but do not point them directly at the wet surface. An indirect breeze helps carry away evaporating solvents or water, introducing drier air.
- Control Temperature: Maintain the room temperature between 70-80°F (21-27°C). If your workspace is cold, a space heater can effectively raise the ambient temperature. Always ensure safe operation and ventilation when using heaters.
- Reduce Humidity: On humid days, a dehumidifier can dramatically lower the moisture content in the air, creating a more favorable drying environment.
- Ensure Ventilation: Always work in a well-ventilated area to dissipate fumes and promote air exchange. Open windows or use exhaust fans.
By combining these strategies, you can significantly reduce the overall drying time of your wood stain, allowing you to move to subsequent coats or topcoats sooner without compromising the quality of your finish.
Waiting Times Between Coats and Before Topcoats
Mastering the art of wood staining involves more than just applying a single layer. Most projects benefit from multiple coats of stain for deeper color and richness, followed by protective topcoats. Knowing when to apply the next layer is just as crucial as the initial drying time.
How Long to Wait Between Coats of Stain
Applying a second coat of stain too soon can cause the first coat to lift, create an uneven finish, or result in a sticky, perpetually wet surface. The key is to ensure the previous coat is not just dry to the touch, but sufficiently cured to accept another layer without issues.
- Oil-Based Stains: Due to their slower evaporation, oil-based stains typically require a longer waiting period. Expect to wait at least 12-24 hours between coats. In cooler or more humid conditions, this could extend to 36-48 hours. The wood should feel completely dry, with no tackiness, and your finger should not pick up any stain when lightly pressed onto the surface.
- Water-Based Stains: These stains dry much faster. You can usually apply a second coat after 2-4 hours. Again, perform the touch test: the surface should feel dry and smooth, not damp or sticky.
The “Touch Test”: Lightly touch an inconspicuous area of the stained wood with a clean finger. If no stain transfers to your finger and the surface feels completely dry (not just slightly tacky), it’s generally safe to apply the next coat. If in doubt, always err on the side of caution and wait longer. Manufacturer instructions are your best guide, as specific formulations can vary.
How Long to Wait Before Topcoats and Polyurethane
This is arguably the most critical waiting period. A topcoat, such as polyurethane, varnish, or lacquer, creates a protective barrier over the stain. If the stain beneath is not fully cured, the topcoat can trap solvents, leading to a host of problems including poor adhesion, cloudiness, bubbling, or even the topcoat never fully hardening.
- For Oil-Based Stains: This type of stain requires the longest curing time before a topcoat can be applied. While it might feel dry to the touch after 24 hours, the solvents inside are still evaporating. It’s highly recommended to wait a minimum of 24-48 hours, and sometimes up to 72 hours, especially if multiple stain coats were applied or in less-than-ideal drying conditions. Some manufacturers even suggest 72 hours for complete curing. A good rule of thumb is to wait until there is absolutely no detectable odor of the stain.
- For Water-Based Stains: With their faster drying nature, water-based stains generally require less waiting time before topcoating. Typically, you can apply a water-based topcoat after 4-6 hours, provided the stain is completely dry and cured. Always refer to the specific product instructions, as some may recommend a slightly longer wait.
- General Topcoat Application: Once the stain is fully cured, apply topcoats in thin, even layers. For products like polyurethane, allow each coat to dry fully (usually 2-4 hours for water-based, 24 hours for oil-based) before lightly sanding with fine-grit sandpaper (e.g., 220-320 grit) to promote adhesion, and then applying the next coat. Always wipe off sanding dust thoroughly before proceeding.
Rushing the topcoat application is a common mistake that can ruin an otherwise perfect staining job. Patience here ensures the durability, clarity, and beauty of your finished project for years to come.
Common Drying Problems and How to Fix Them
Even with careful planning and execution, wood staining projects can sometimes present unexpected challenges, especially during the drying phase. Being able to identify and fix these common problems is essential for achieving a flawless finish.

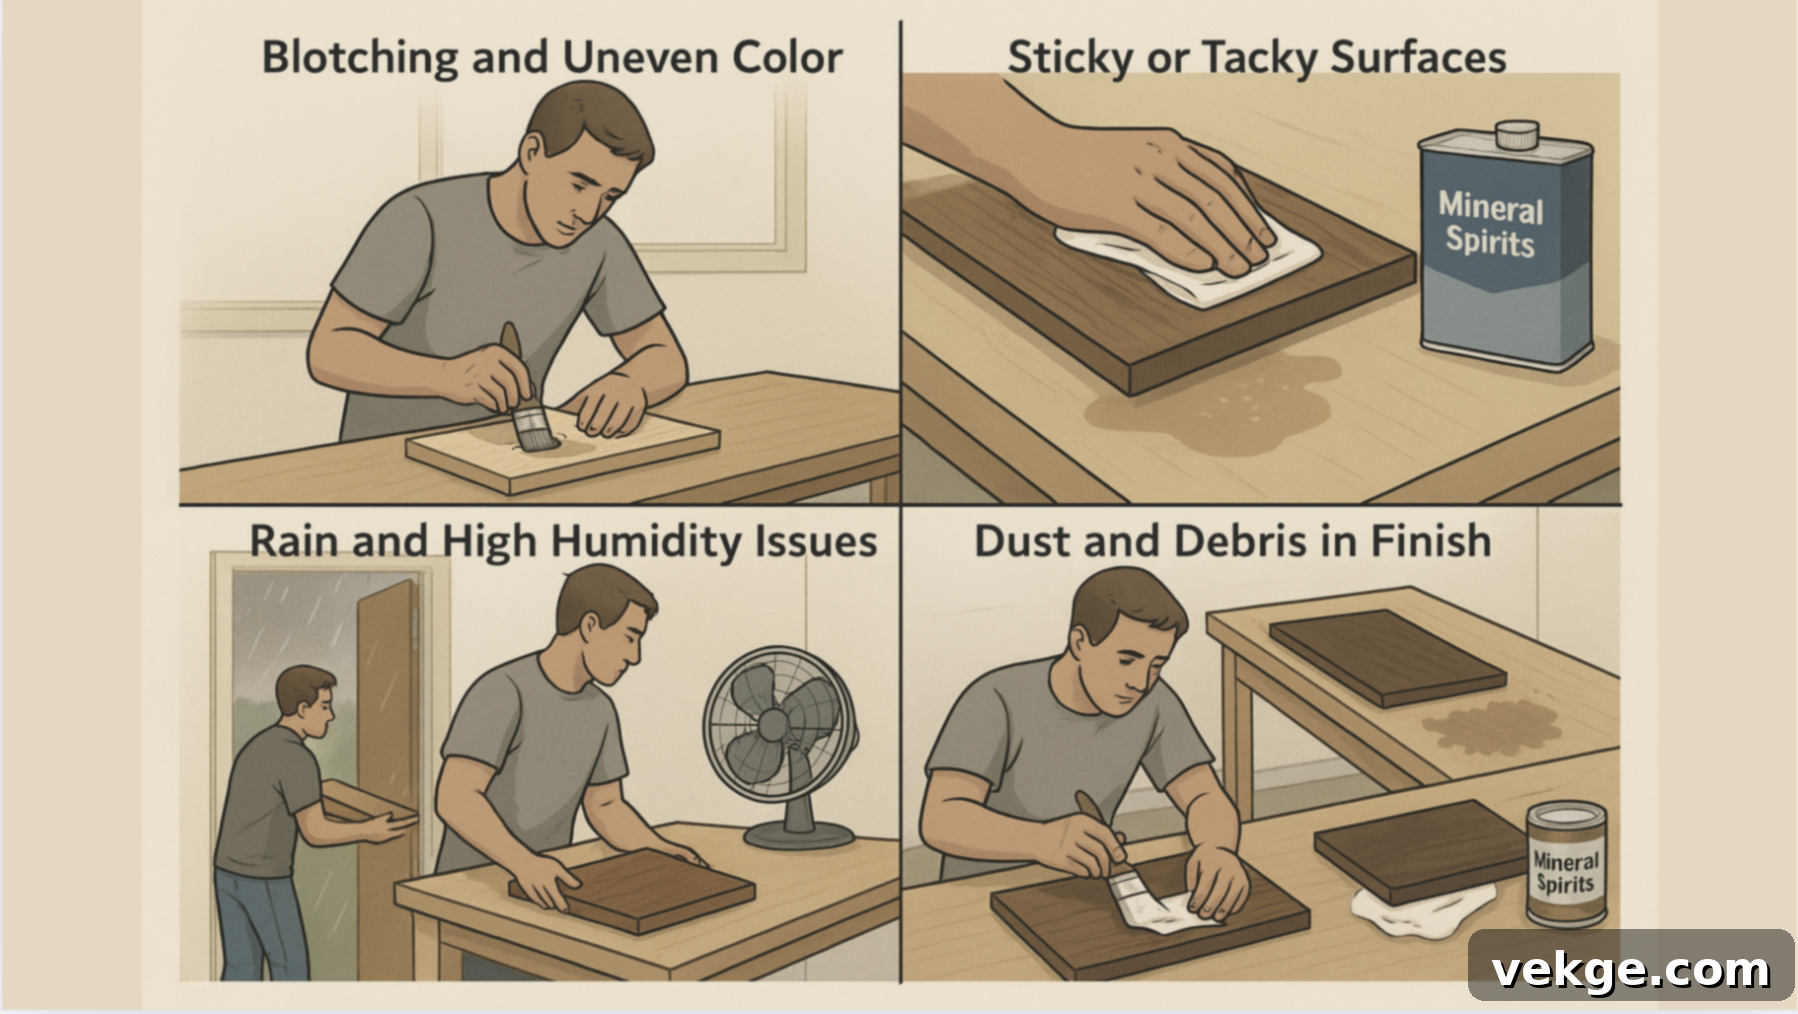
- Blotching and Uneven Color:
- Problem: The stain appears darker in some areas and lighter in others, creating an inconsistent, splotchy look. This often occurs on softwoods (pine, fir) or woods with varying porosity (maple, birch).
- Cause: Wood fibers absorb stain at different rates, leading to uneven penetration.
- Solution: Prevention is key. Before staining, always apply a pre-stain wood conditioner. This evens out the wood’s porosity, allowing for more uniform stain absorption. If blotching has already occurred, you may need to sand down the affected area and reapply the stain after conditioning.
- Sticky or Tacky Surfaces:
- Problem: The stain remains sticky or gummy to the touch long after its expected drying time, sometimes for days or even weeks.
- Cause: Most commonly due to applying too much stain, not wiping off excess thoroughly, or high humidity/low temperatures preventing proper evaporation and curing.
- Solution: For oil-based stains, lightly wipe the tacky surface with a clean cloth dampened with mineral spirits. This helps to re-liquefy and remove excess un-cured stain. For water-based stains, a cloth dampened with denatured alcohol or rubbing alcohol can sometimes help. In both cases, ensure good ventilation and temperature/humidity control. If the tackiness is severe and widespread, you might need to lightly sand the entire surface and re-stain with thinner coats.
- Slow Drying in High Humidity or Cold:
- Problem: The stain takes much longer to dry than expected, sometimes feeling perpetually damp or not curing properly.
- Cause: High humidity inhibits the evaporation of solvents/water from the stain, while low temperatures slow down the chemical reactions required for curing.
- Solution: Move your project to a warmer, drier environment if possible. Use a dehumidifier to reduce ambient moisture and a space heater (safely) to raise the temperature. Increase air circulation with fans, but ensure they are not blowing directly onto the wet stain to avoid dust and uneven drying. Patience is also a virtue here; sometimes, you simply need to wait for better conditions.
- Dust and Debris in Finish:
- Problem: Small particles of dust, lint, or other debris become embedded in the wet stain, creating a rough or unsightly finish.
- Cause: Working in a dusty environment, inadequate cleaning of the workpiece before staining, or blowing air directly onto a wet surface.
- Solution: Always work in the cleanest possible area. Thoroughly clean and vacuum your workspace and wipe down the wood surface with a tack cloth before applying stain. If dust gets stuck, allow the stain to dry completely, then lightly sand the affected areas with very fine-grit sandpaper (e.g., 320-400 grit) to remove the dust. You may then need to reapply a thin coat of stain or proceed to topcoat, making sure to sand between topcoats as well.
- Color Too Light or Too Dark:
- Problem: The final stain color is not what you intended; it’s either too pale or too intense.
- Cause: Inadequate penetration time for too light, or excessive penetration/too many coats for too dark. Different wood species also take stain differently.
- Solution: Always test your stain on a scrap piece of the same wood before applying it to your main project. If the color is too light, apply another thin coat after the first has dried sufficiently. If it’s too dark, act quickly while the stain is still wet: wipe it with a clean cloth dampened with the appropriate solvent (mineral spirits for oil-based, water for water-based) to remove some of the pigment. Once dry, lightening a stain is much harder and usually requires sanding.
Wrapping Up: Achieving Perfect Wood Finishes
Understanding wood stain drying times is more than just waiting; it’s about strategic planning, environmental control, and patient application. By now, you know that the drying duration varies significantly based on the type of stain you choose—from the rapid 2-3 hours for water-based formulas to the more extensive 8-24 hours (or more) required for oil-based and gel stains. You’ve also learned how critical environmental factors like temperature, humidity, and airflow are in determining how quickly your project progresses.
Armed with this knowledge, your next wood project doesn’t have to be a guessing game. Remember to always consult the manufacturer’s specific instructions, as they provide the most accurate guidance for their products. Prioritize proper wood preparation, apply thin and even coats, and diligently wipe off excess stain to prevent common drying problems like tackiness and unevenness.
If you’re under a time crunch, implement strategies like using fans for circulation, employing dehumidifiers, and maintaining optimal room temperatures to gently accelerate the process. Always perform a “touch test” before applying subsequent coats or a protective topcoat to ensure proper curing, especially before applying durable finishes like polyurethane.
By respecting the drying and curing times of your chosen stain, you’ll not only avoid frustrating setbacks but also achieve a truly professional, smooth, and long-lasting finish. So go ahead, embark on your next wood staining adventure with confidence, and enjoy the beauty of your perfectly finished creations!
