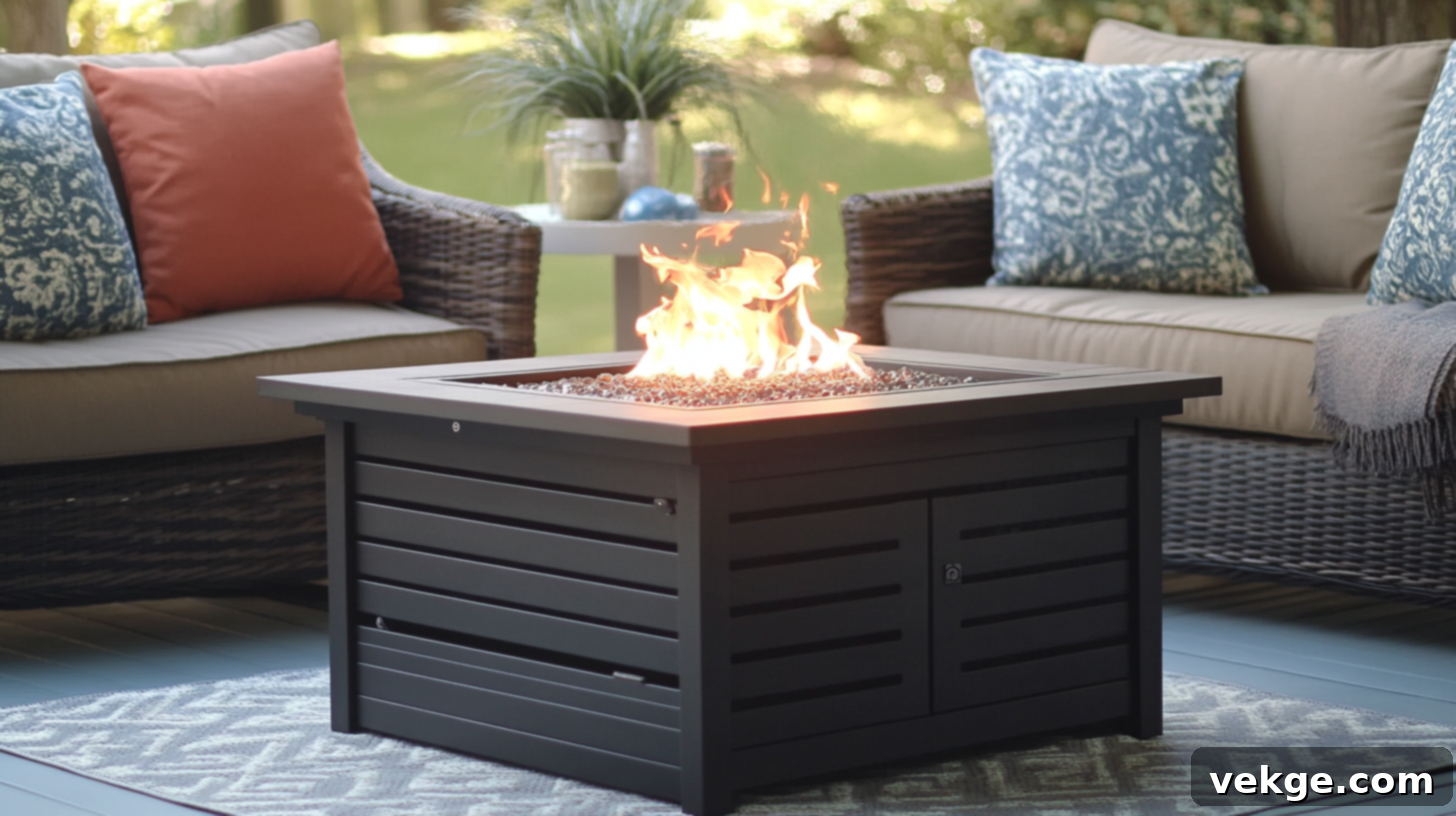
DIY Fire Pit Table: Craft Your Own Outdoor Oasis for Cozy Nights
Imagine chilly evenings transformed into warm, inviting gatherings. Instead of huddling indoors, you’re outside, gathered with loved ones around the mesmerizing flicker of a fire. A fire pit table isn’t just a piece of outdoor furniture; it’s the heart of your backyard, a place where stories are shared, laughter echoes, and unforgettable memories are forged. While designer fire pit tables can command a hefty price tag, ranging from hundreds to thousands of dollars, the dream of having one is far more attainable than you might think.
The exciting truth is, you absolutely can build a beautiful, functional fire pit table yourself – and for a fraction of the cost! This isn’t just a cost-saving venture; it’s an opportunity to infuse your personal style into your outdoor space and experience the immense satisfaction of a handmade creation.
This comprehensive guide will walk you through every step of constructing your very own fire pit table. From gathering the right materials and executing each building phase with confidence, to exploring inspiring design ideas and ensuring your finished product stands the test of time with proper maintenance, we’ve got you covered. Our aim is to provide you with all the essential knowledge and practical tips to create a custom fire pit table that perfectly complements your outdoor aesthetic and fits comfortably within your budget.
Are you ready to elevate your outdoor living experience, add a touch of warmth and elegance to your backyard, and embark on a rewarding DIY journey? Let’s turn your vision into a crackling reality!
Why Embark on a DIY Fire Pit Table Project?
Choosing to build your own fire pit table offers a multitude of compelling advantages that go far beyond just saving money. It’s an investment in your home, your lifestyle, and your creative spirit.
- Unmatched Customization: Unlike store-bought options, a DIY approach gives you complete control over every detail. You can tailor the size, shape, height, materials, and finish to perfectly match your existing outdoor decor and the specific dimensions of your yard or patio. Want a modern concrete top with a rustic wood base? Or perhaps a minimalist design that blends seamlessly with your landscaping? The possibilities are endless when you’re the designer.
- Significant Cost Savings: This is often the primary motivator. By sourcing materials yourself and investing your own labor, you can drastically reduce the overall expense. High-quality materials are readily available at hardware stores, and often, the bulk of the cost in commercial units comes from manufacturing and brand markup. You’ll get premium results without the premium price tag.
- Sense of Accomplishment: There’s an undeniable pride that comes from creating something with your own hands. Every time you gather around your finished fire pit table, you’ll feel a deep sense of satisfaction, knowing you brought it to life. This personal connection makes the warm glow of the fire even more special.
- Enhanced Outdoor Living: A fire pit table instantly transforms any backyard into a more inviting and functional space. It becomes a natural focal point for social gatherings, quiet contemplation, or simply enjoying a beautiful evening outdoors. It extends your usable living area and adds significant value to your home.
- Quality and Durability: When you build it yourself, you control the quality of materials and construction. You can ensure that sturdy, weather-resistant components are used, leading to a durable piece that will withstand the elements and provide years of enjoyment.
The warm, dancing flames from your custom-built fire pit will not only provide comfort but also create a captivating ambiance, making every outdoor moment truly memorable for your friends and family.
Your Step-by-Step Guide to Building a Fire Pit Table
Bringing your custom fire pit table to life is a rewarding process that begins with careful planning and preparation. Let’s outline the essential materials you’ll need and then dive into each construction phase. A well-organized approach ensures a smoother and more efficient build.
Essential Materials Required
Gathering all your supplies before you begin is crucial. Here’s a detailed list of materials for your DIY fire pit table, with notes on why each is important:
- Three-Quarter Inch Melamine Boards: These smooth, durable boards are ideal for creating your concrete form. Their non-stick surface ensures easy removal after the concrete cures, leaving a clean finish.
- Concrete Mix (e.g., Quikrete Countertop Mix): Choose a high-quality, high-strength concrete mix specifically designed for countertops or fine detail work. These mixes often contain additives for strength and a smoother finish.
- Mesh Reinforcement (e.g., Steel Lath or Rebar Grid): Essential for adding tensile strength to your concrete tabletop, preventing cracks and increasing overall durability, especially against temperature changes.
- Silicone Sealant: Used to seal the edges of your melamine form, preventing concrete leaks, and also to seal around the fire pit insert during the pour, ensuring a clean void.
- Cedar Wood (4x4s and other dimensions for slats): Cedar is an excellent choice for outdoor furniture due to its natural resistance to rot, decay, and insect infestation. Its beautiful grain and aroma are added bonuses.
- Pocket Hole Screws and Exterior Wood Screws: Use screws specifically designed for outdoor use and strong joinery. Pocket hole screws create strong, hidden joints for a cleaner aesthetic on your base frame.
- Outdoor Defense Oil or Wood Sealer: Crucial for protecting your cedar base from UV damage, moisture, and general weathering, extending its lifespan and maintaining its appearance.
- Gas Fire Pit Insert (with burner pan, igniter, and control valve): This is the heart of your fire pit. Ensure it’s rated for outdoor use and compatible with your chosen fuel source (propane or natural gas).
- Propane Tank (if not using natural gas): A standard 20lb propane tank is common. Ensure you have a proper regulator and hose to connect it to your fire pit insert.
- Fire Glass or Lava Rocks: These decorative media cover the burner, diffuse the flame, and enhance the aesthetic. Choose heat-resistant options designed for fire pits.
- Optional: Seam Tape (for melamine forms), Rubber Mallet, Trowel, Concrete Sealer, Safety Gear (gloves, safety glasses).
With your materials in hand, let’s dive into the construction.
1. Construct the Concrete Table Top Form
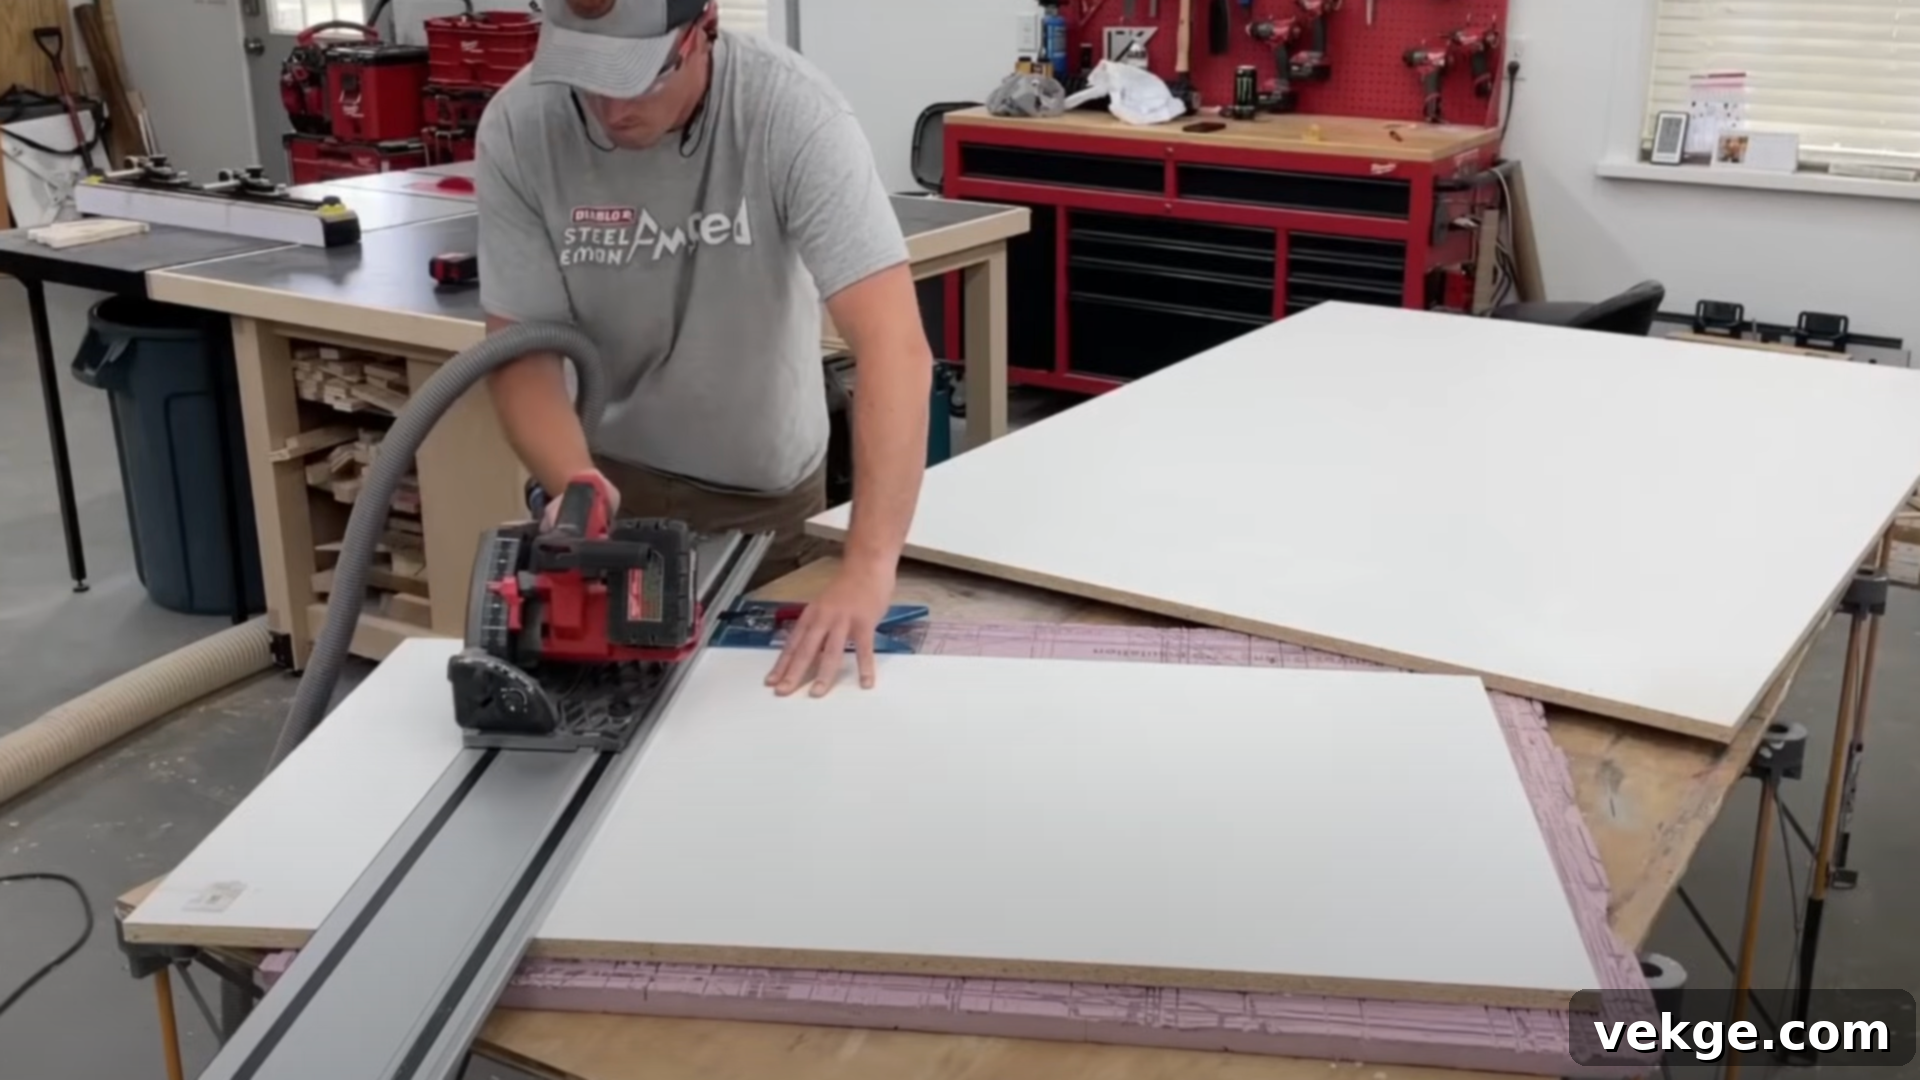
The first critical step is creating a perfectly square and sealed mold for your concrete tabletop. Carefully measure and cut your three-quarter-inch melamine boards to form the bottom and four sides of your desired tabletop dimensions. Assemble these pieces into a sturdy box shape, ensuring all corners are square and the joints are tight. Precision here is paramount for a professional-looking finished product. Next, and this is a crucial detail, apply a generous amount of seam tape (or a high-quality, waterproof silicone sealant) along all inside edges and seams of your form. This creates a watertight barrier, preventing any concrete slurry from leaking out. Any leaks will not only create a mess but will also manifest as undesirable bumps or irregularities on the visible surface of your finished tabletop once it’s cured. Smooth, even seams mean a flawless concrete finish.
2. Prepare and Mix the Concrete
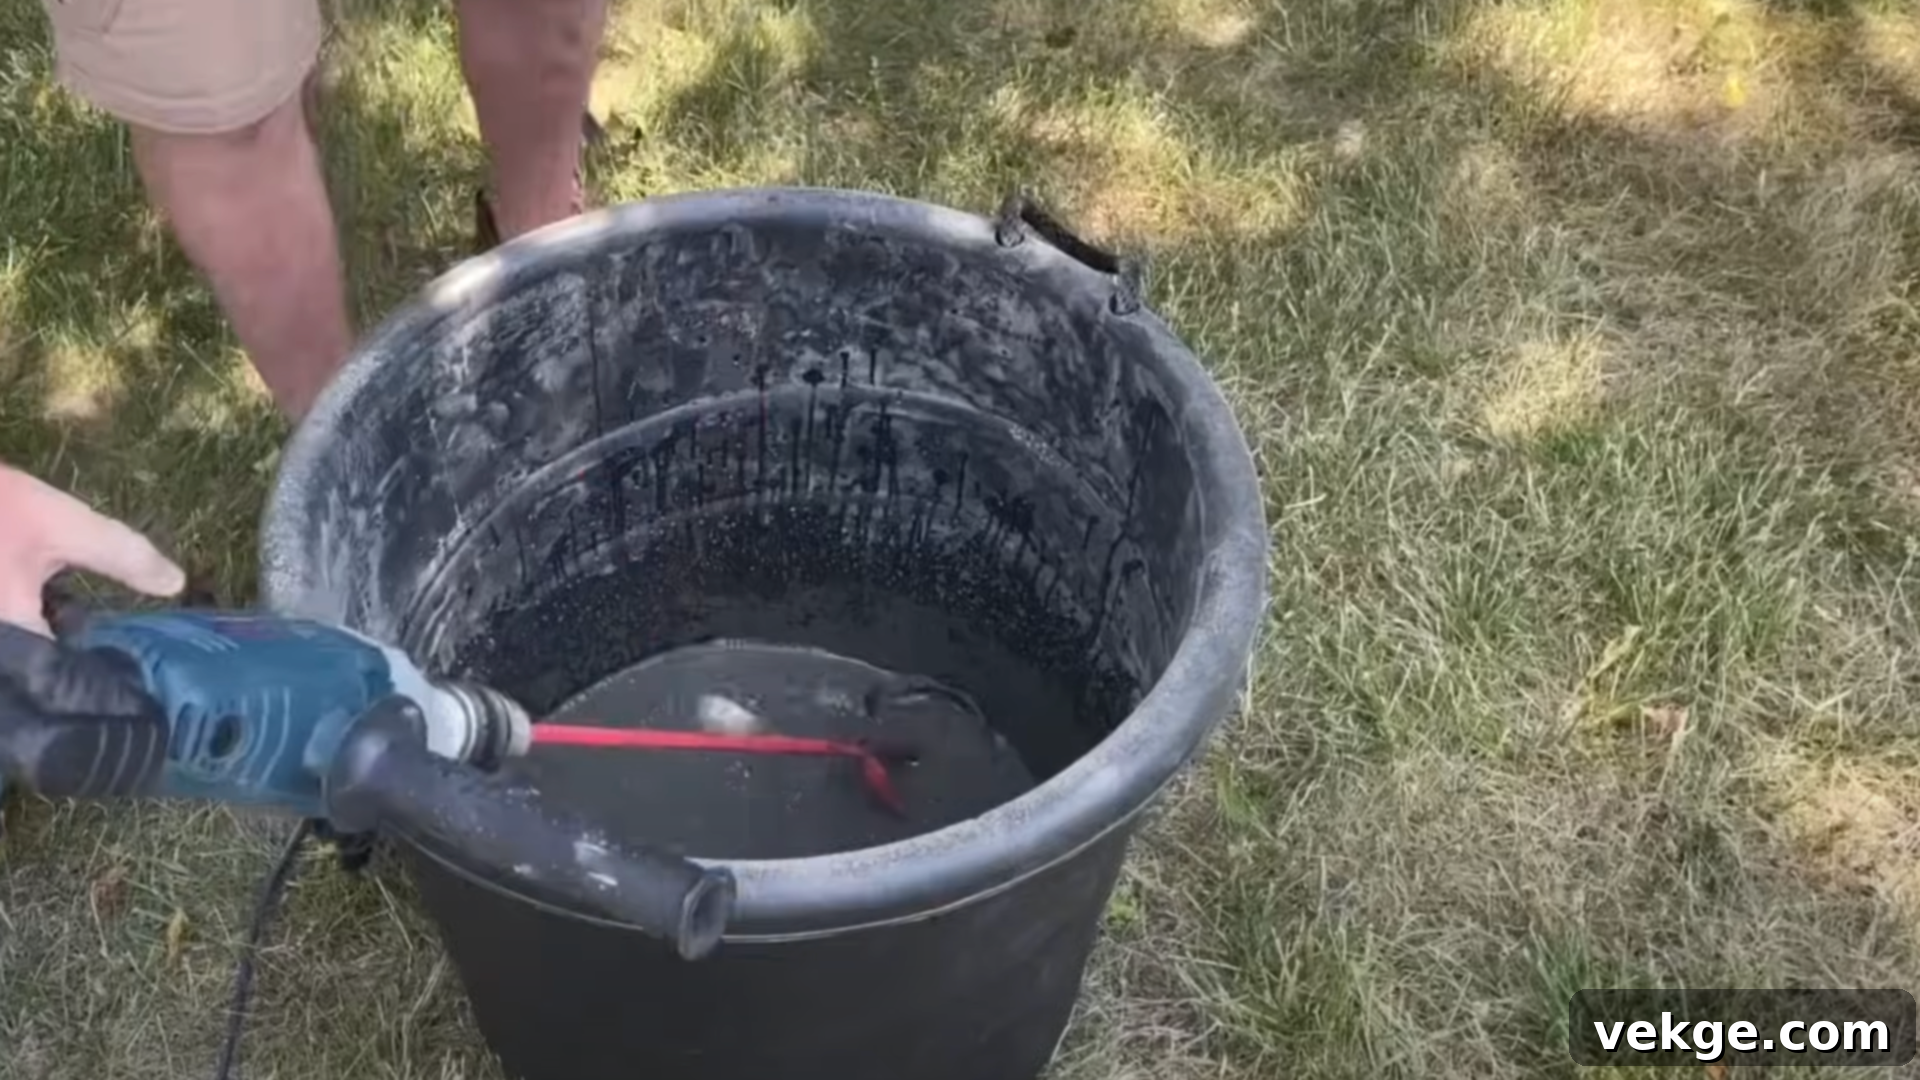
Now it’s time to get hands-on with the concrete. Empty your concrete mix into a large, clean bucket, mixing tub, or wheelbarrow. Following the manufacturer’s instructions on the concrete bag, begin adding water slowly and gradually, while continuously mixing. The goal is to achieve a thick, smooth, and consistent consistency, often compared to that of a dense cake batter or thick oatmeal – not too watery, but easily workable. Take your time with this step, thoroughly breaking up any dry clumps to ensure a uniform mixture. Inconsistent mixing can lead to variations in color, strength, and texture in your final concrete piece. Good, even mixing now will result in a stronger, more attractive, and more durable tabletop later.
3. Pour and Vibrate the Concrete
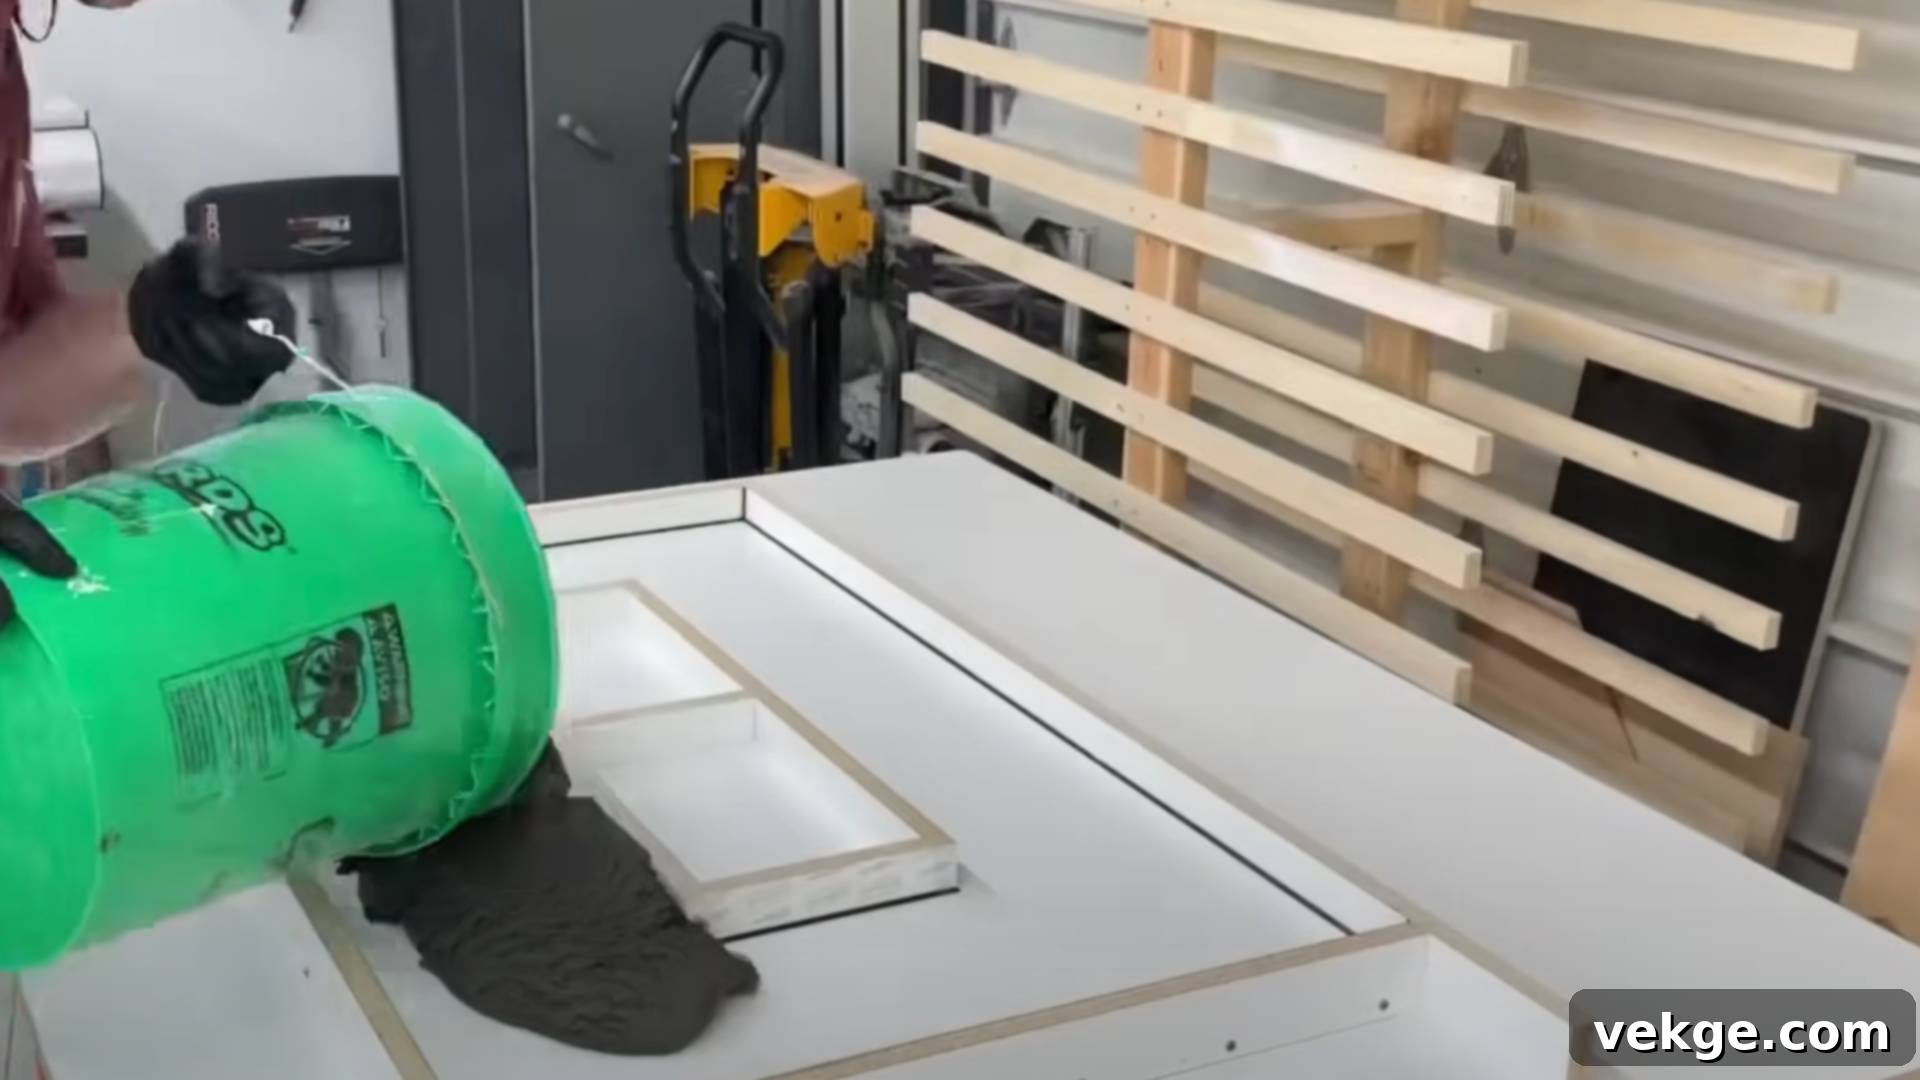
Carefully pour about half of your thoroughly mixed concrete into the prepared melamine form, spreading it evenly across the bottom. Next, place your mesh reinforcement (like a sheet of steel lath or a rebar grid) on top of this initial concrete layer. This reinforcement is vital for the structural integrity of your tabletop, helping to prevent cracking. Once the mesh is in place, pour the remaining concrete on top, ensuring the mesh is fully encapsulated. After pouring, the next crucial step is to remove any trapped air bubbles. Gently tap the sides of the form with a rubber mallet, or carefully shake the entire table form (if it’s small enough). You’ll notice air bubbles rising to the surface. This vibration process compacts the concrete, eliminates voids, and creates a much stronger, smoother, and denser finished product, free from unsightly pockmarks.
4. Create the Void for the Fire Pit Insert
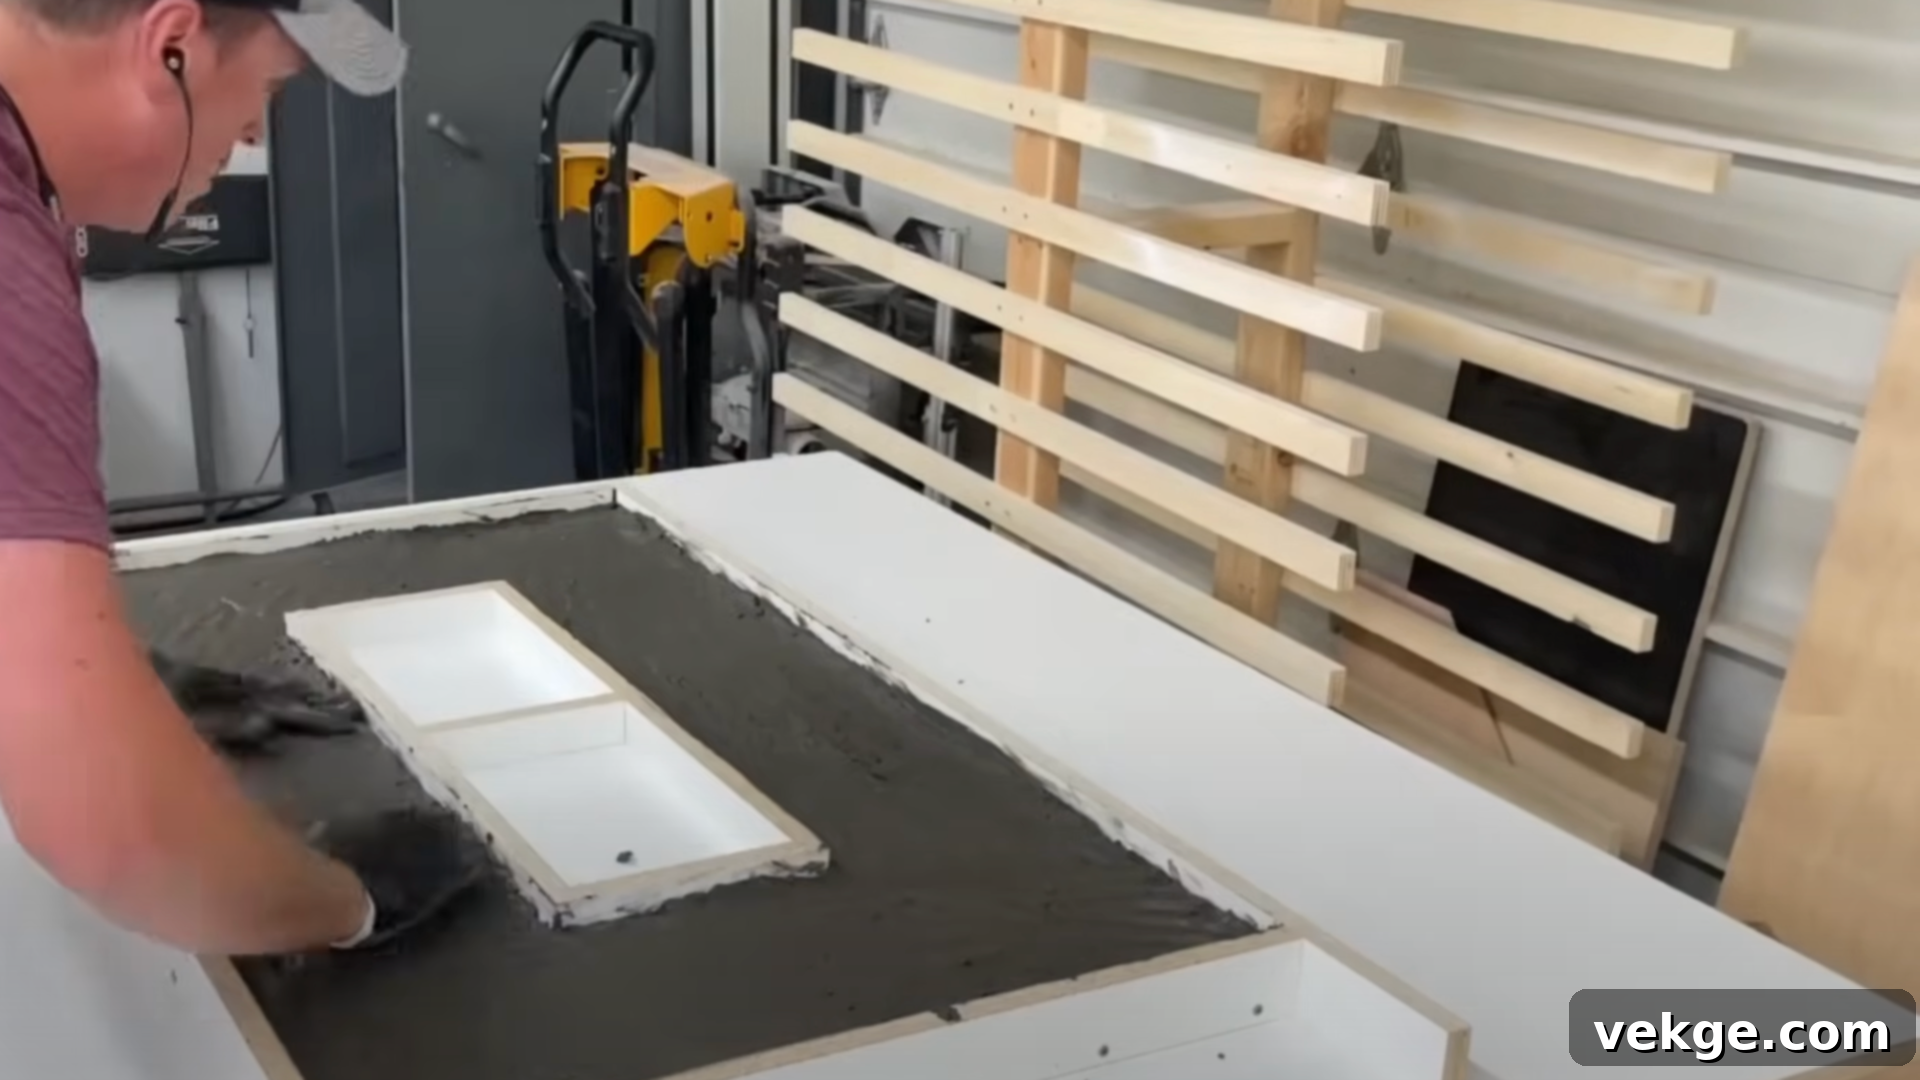
With the concrete still wet and pliable, it’s time to create the perfect recess for your fire pit insert. Carefully take your fire pit insert (burner pan and rim) and place it upside down in the precise center of your wet concrete. Gently press it down to your desired depth, ensuring it is level and centered. The insert will act as a temporary mold, creating a perfectly shaped void. To prevent any concrete from seeping underneath or around the edges, run a continuous bead of silicone sealant around the perimeter where the insert meets the wet concrete. This seal is important for maintaining the cleanliness and precision of the void. Once the concrete cures and you flip the tabletop over, you’ll have a perfectly sized and shaped opening ready for your fire pit burner assembly.
5. Allow Concrete to Cure
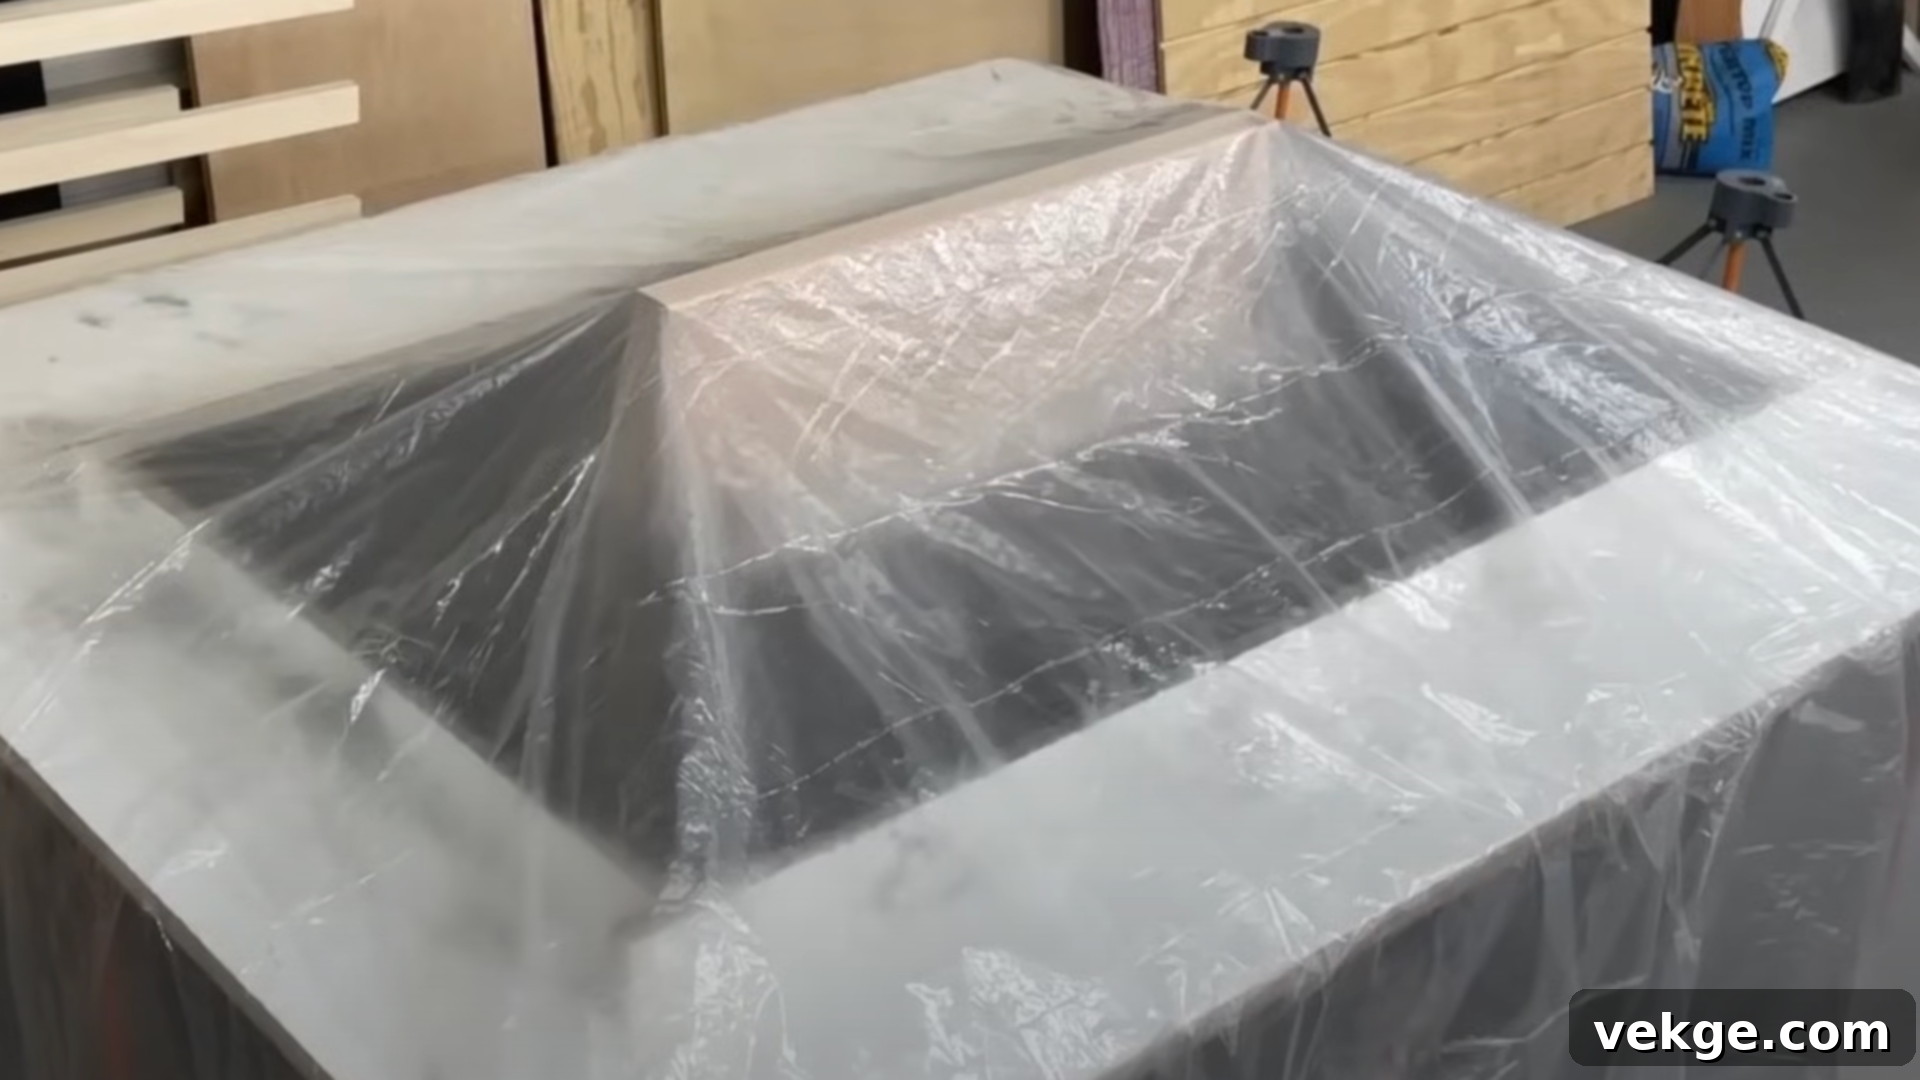
Patience is a virtue in concrete work, and proper curing is non-negotiable for a strong, long-lasting tabletop. Immediately after pouring and vibrating, loosely cover your concrete form with a sheet of plastic wrap or a tarp. This helps to retain moisture, which is essential for the chemical reaction of curing, preventing the concrete from drying out too quickly and cracking. Allow the concrete to cure for a minimum of 24 hours, but ideally 48 to 72 hours, especially in cooler or drier conditions. Do not rush this step! Prematurely removing the form or handling the concrete can lead to cracks, weakness, and a compromised finish. Keep the form in a location with a relatively stable temperature, avoiding extreme heat or cold fluctuations, as this can negatively impact the curing process. Once sufficiently cured, you can carefully remove the melamine form boards.
6. Build the Table Base Frame
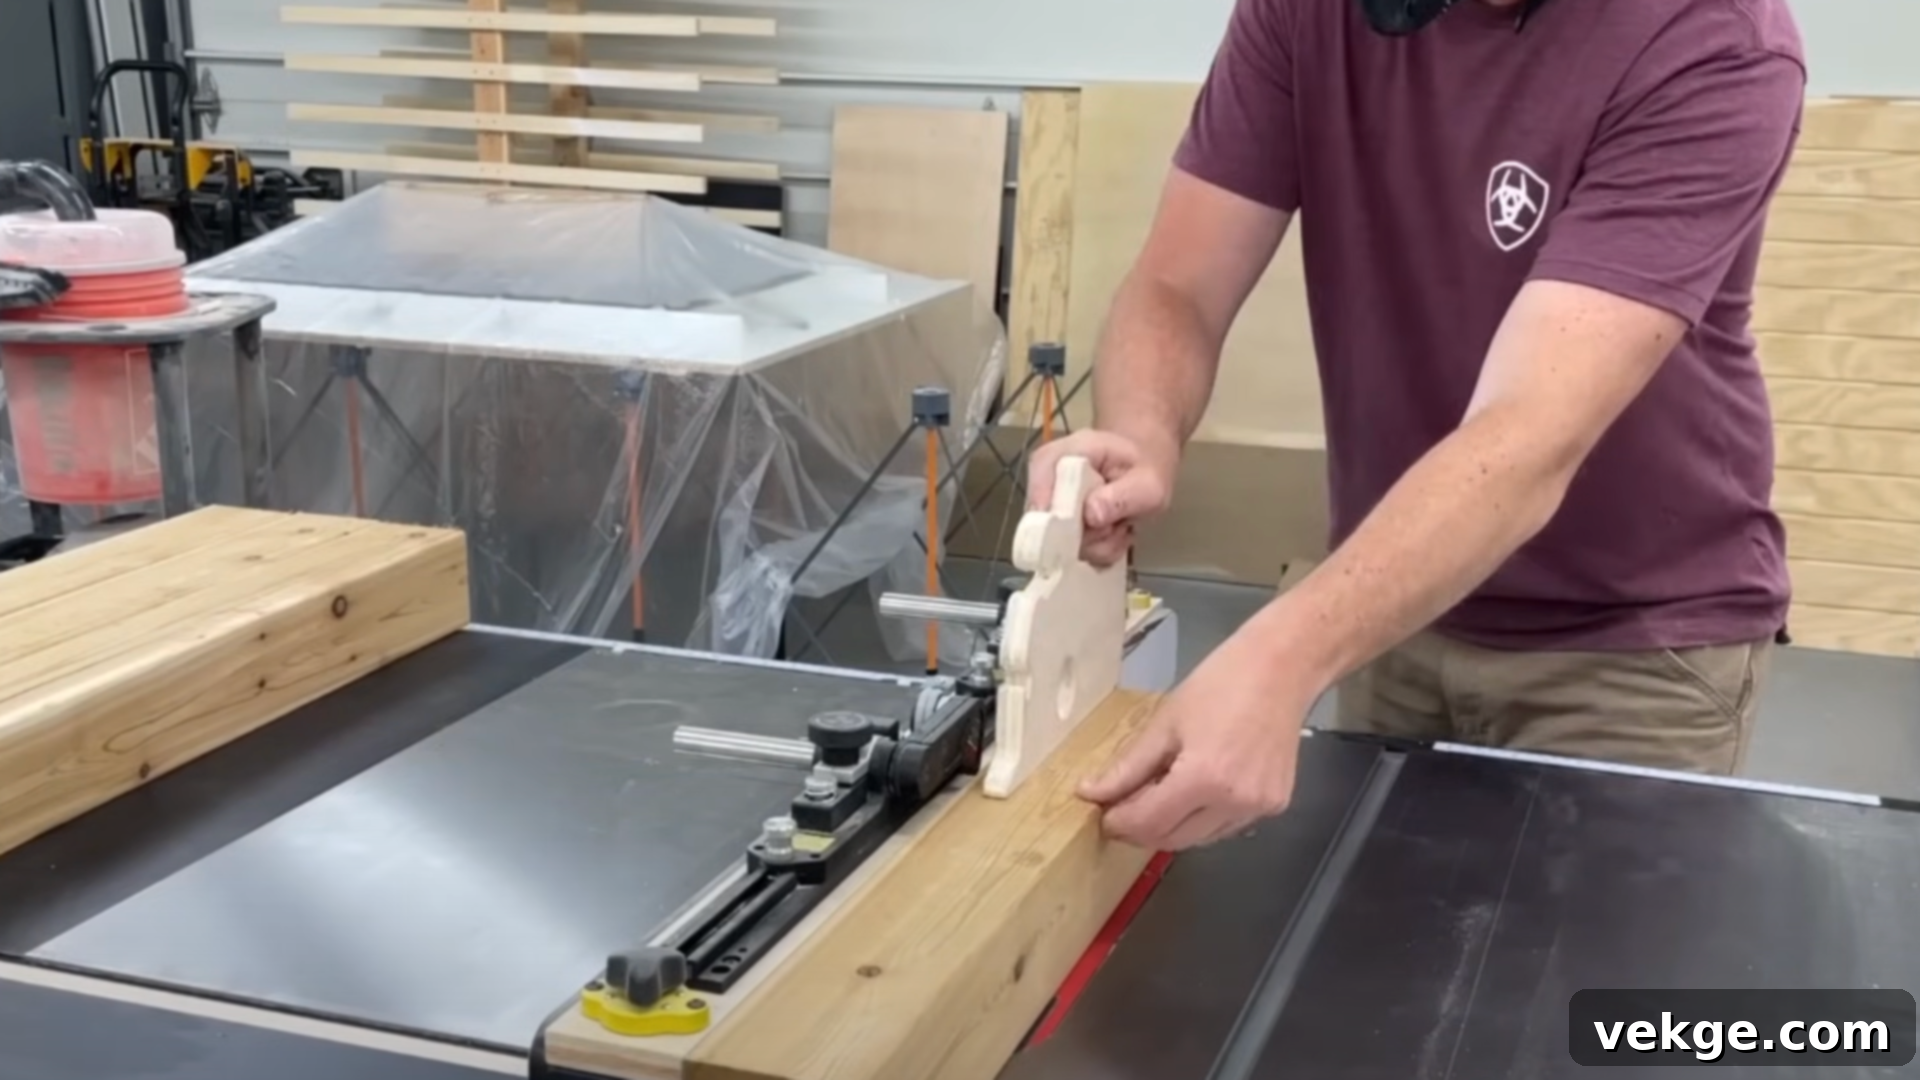
While your concrete top is curing, you can begin constructing the sturdy base that will support it and house your propane tank. Cut your cedar boards to the precise lengths required for the legs and the various support frames. Cedar is an excellent choice for outdoor applications due to its natural resistance to rot, decay, and insect damage, ensuring your base remains stable and beautiful for years. As you assemble the frame, pay special attention to creating additional internal framing or shelving where your propane tank will sit securely. This not only provides support but also keeps the tank hidden and safely contained. Utilize a carpenter’s square frequently to ensure all your cuts and joints are perfectly at right angles. A square base is crucial for a stable, wobble-free table that will safely support your heavy concrete top.
7. Assemble the Table Base with Slats
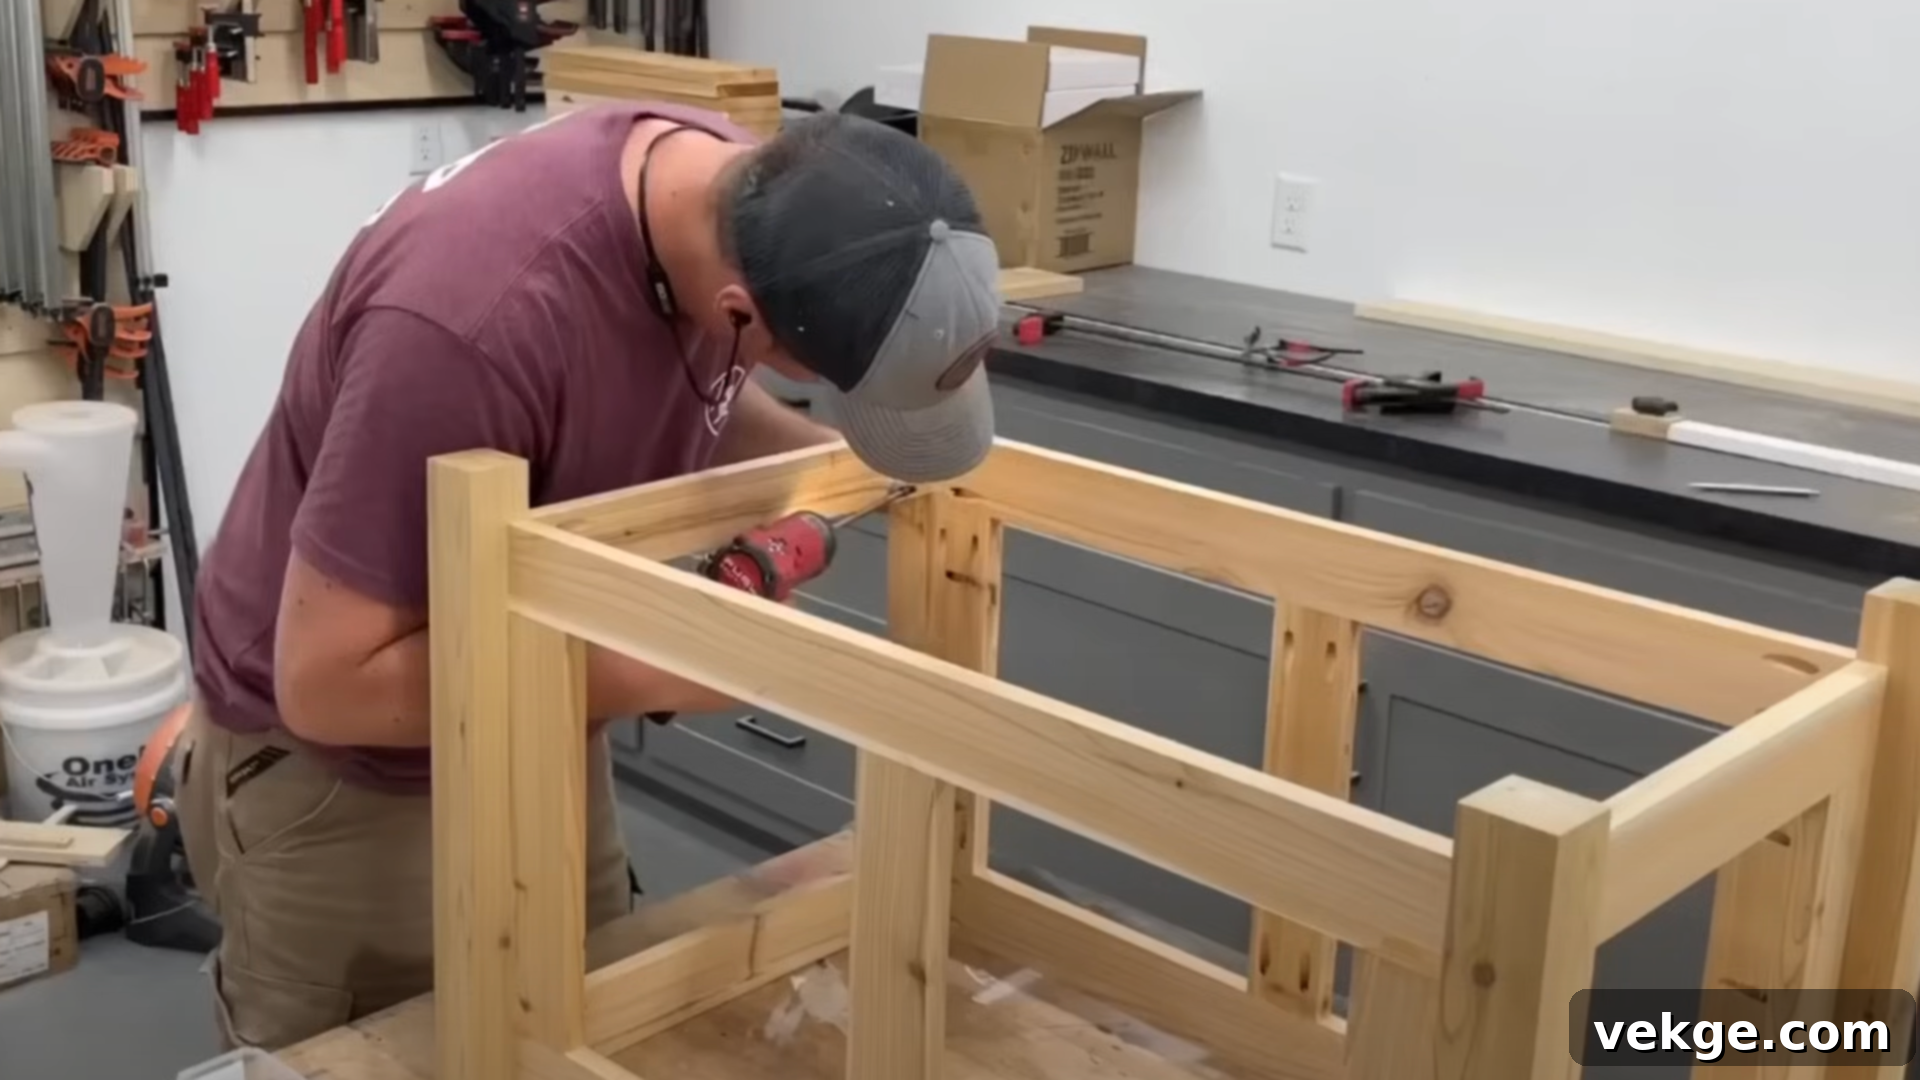
With the main frame constructed, it’s time to add the aesthetic and functional side slats. These slats will visually enclose the base, hiding the propane tank, while also allowing essential airflow for safety. Using a combination of strong, exterior-grade wood glue and screws (pocket hole screws are ideal for a clean finish), begin attaching the cedar side slats to your frame. Start from the bottom and work your way up, using spacers to ensure consistent and even gaps between each board. This uniformity will give your base a professional and attractive appearance. Always remember to pre-drill pilot holes before driving screws into cedar or any hardwood. This prevents the wood from splitting, which is common, especially near the ends of boards. The finished slatted design is both visually appealing and practical, ensuring your propane tank is discreetly stored and well-ventilated.
8. Sand and Protect the Concrete Top and Wood Base
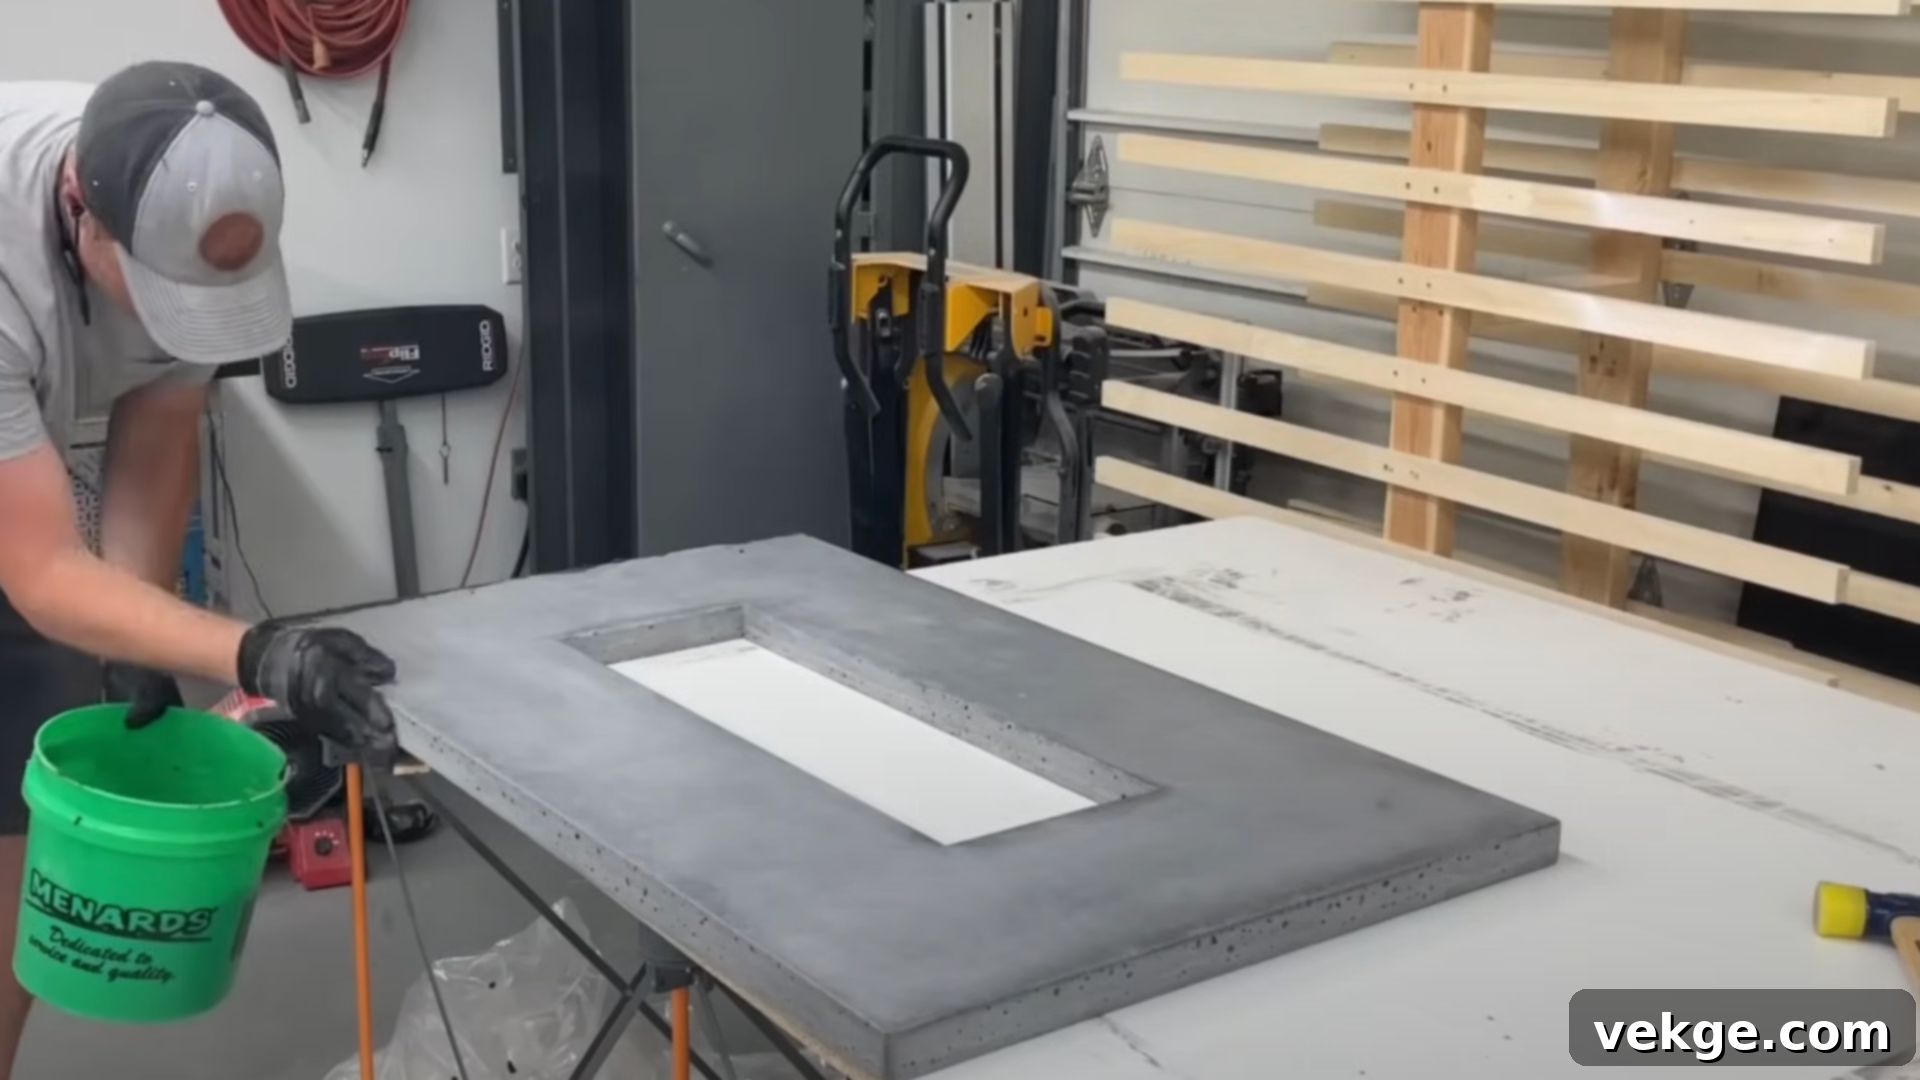
Once your concrete top is fully cured and out of its form, it’s time for the finishing touches. Use progressively finer grits of sandpaper (starting with perhaps 100-grit and moving to 220-grit or higher) to smooth out any rough spots, sharp edges, or minor imperfections on the concrete surface. For any small pinholes or air voids that remain, mix a small amount of concrete with water to create a thin slurry. Rub this slurry into the imperfections, allowing it to fill the gaps and then wiping away the excess. Once this is dry, apply at least two coats of a high-quality concrete sealer specifically designed for outdoor use. This sealer will protect your tabletop from stains, moisture, and UV damage, making it easy to clean and ensuring its longevity. For your cedar wood base, thoroughly clean any dust or debris, then apply a generous coat of outdoor defense oil or wood sealer. This will enhance the natural beauty of the cedar while providing crucial protection against moisture, UV rays, and environmental wear, keeping your base looking new for years.
9. Install the Gas Fire Pit Insert and Final Assembly
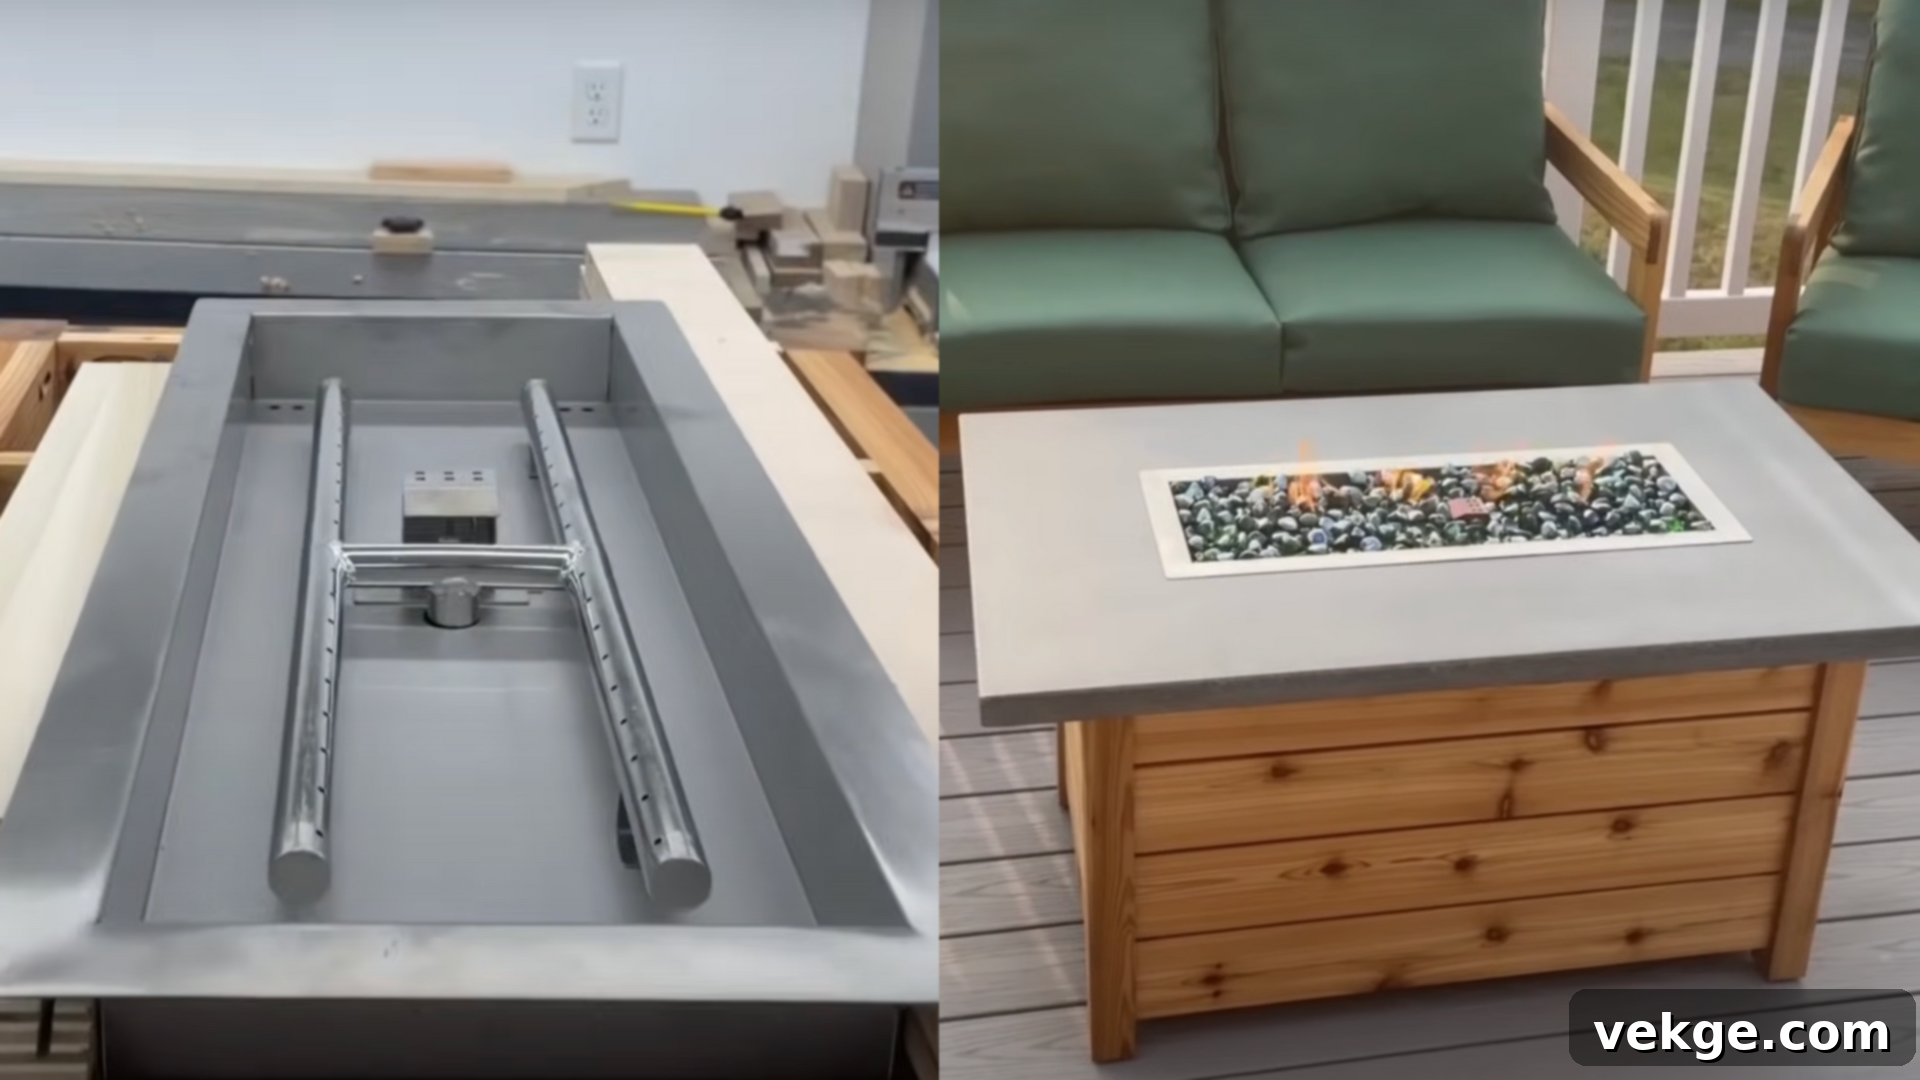
With both the concrete top and wood base ready, it’s time for the exciting final assembly. Carefully place your cured concrete tabletop onto the finished wood base, ensuring it is centered and stable. Secure it to the base using appropriate hardware, such as L-brackets or construction adhesive, if desired, to prevent shifting. Now, it’s time to install your gas fire pit insert into the void you created. Connect the gas line from your propane tank (or natural gas source) to the fire pit insert’s control valve, following the manufacturer’s instructions precisely. Ensure all connections are tight and secure. Perform a leak test by applying a soapy water solution to all gas connections and looking for bubbles, which indicate a leak. If you see bubbles, tighten the connection and retest. Once confirmed leak-free, connect the igniter wire to the spark electrode. Finally, carefully fill the burner pan with your chosen fire glass or lava rocks, arranging them around the burner ring. Perform a few test lights to ensure the igniter works, the flame is consistent, and everything functions safely. Now, step back and admire your handiwork – your custom fire pit table is ready to bring warmth and ambiance to your outdoor space!
For a more visual and detailed explanation, you can refer to John Builds It’s YouTube video below:
Inspiring Design Ideas for Your Custom Fire Pit Table
Beyond the basic construction, the true magic of a DIY fire pit table lies in its design potential. Your new outdoor centerpiece can be customized to reflect your personal style and cater to specific needs. Here are some popular and creative design ideas to spark your imagination for your next project:
Outdoor Dining Fire Pit Tables
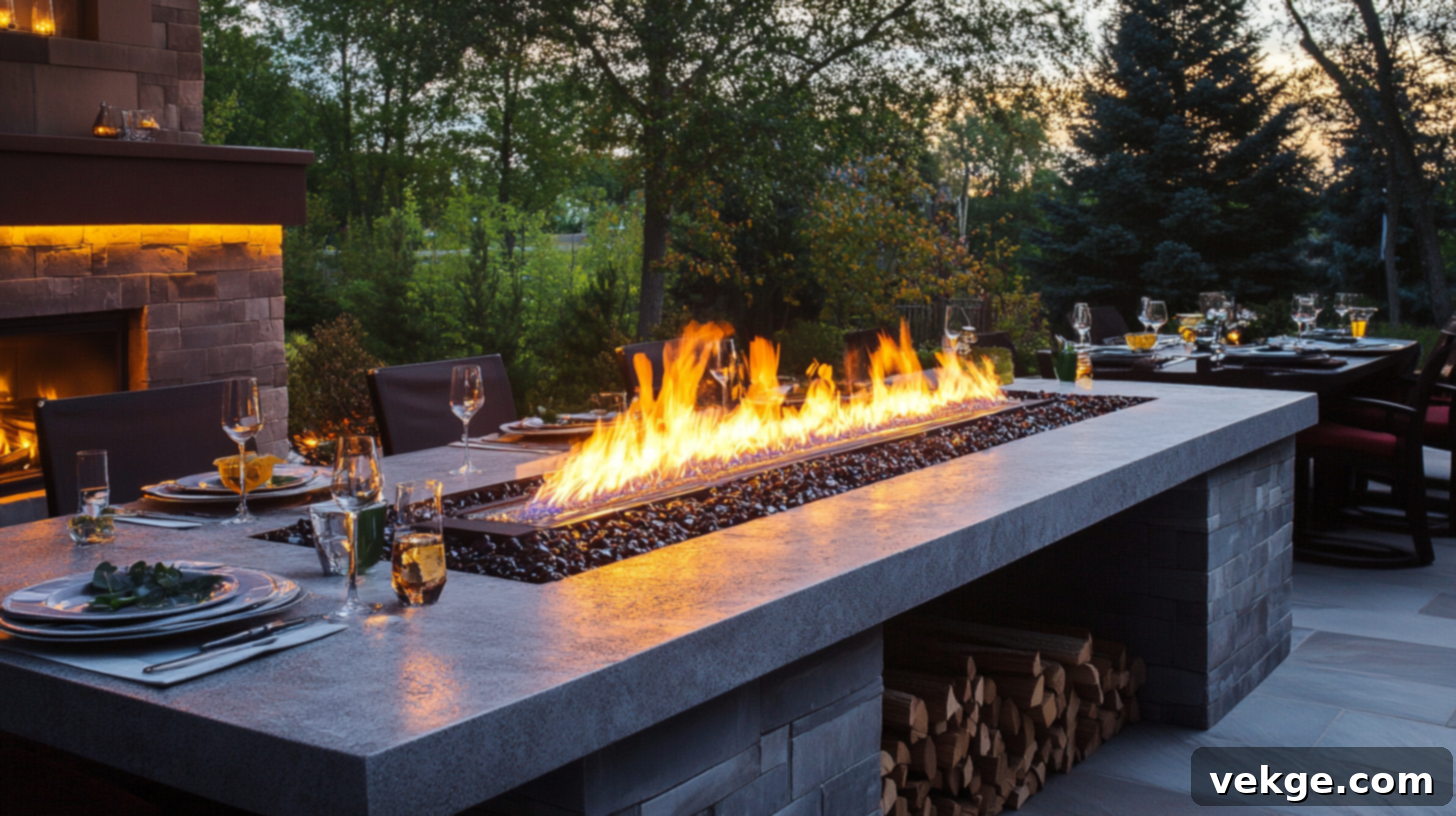
Imagine enjoying a delicious meal outdoors, even as the evening chill sets in. Outdoor dining fire pit tables are designed with this dual function in mind. These tables typically feature a central fire pit surrounded by a wide, stable rim, providing ample space for plates, drinks, and serving dishes. They are often built at standard dining table height (around 28-30 inches) to comfortably accommodate chairs. Consider heat-safe materials for the tabletop surface, such as honed stone, polished concrete, or durable metal, which can withstand both the heat from the fire and the demands of dining. Some clever designs even integrate discreet storage compartments underneath for firewood (if wood-burning) or extra serving accessories. This style is perfect for patios and larger outdoor areas where you frequently host dinner parties or simply enjoy al fresco dining with the added ambiance and warmth of a fire.
Tabletop Fire Pit Designs
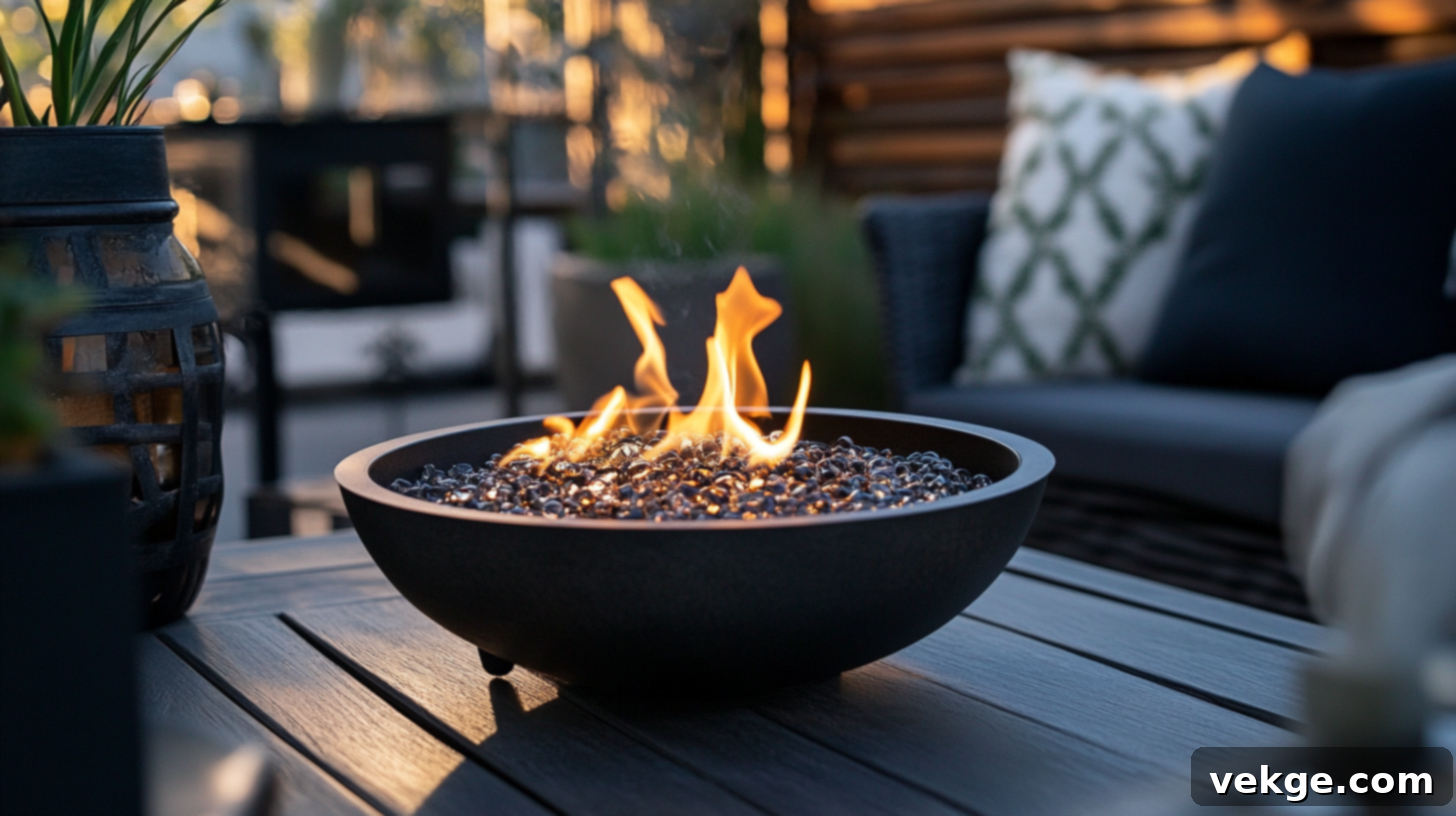
For those with limited space or a desire for maximum versatility, tabletop fire pits are an excellent solution. These smaller, portable fire features are designed to sit atop an existing outdoor table, instantly adding warmth and charm. They are relatively simple to construct, often involving a decorative metal bowl, a small gas burner, and a bed of fire glass. Many DIY enthusiasts have successfully created the concrete vessels for these by using old salad bowls or other unique containers as molds, allowing for a wide range of creative shapes. The primary advantage of tabletop fire pits is their portability; you can easily move them from a patio to a balcony, or even store them away when not in use. They’re ideal for small balconies, compact yards, or as an additional, movable heat source for larger gatherings.
Unique Styles: Modern, Rustic, Minimalist, and More
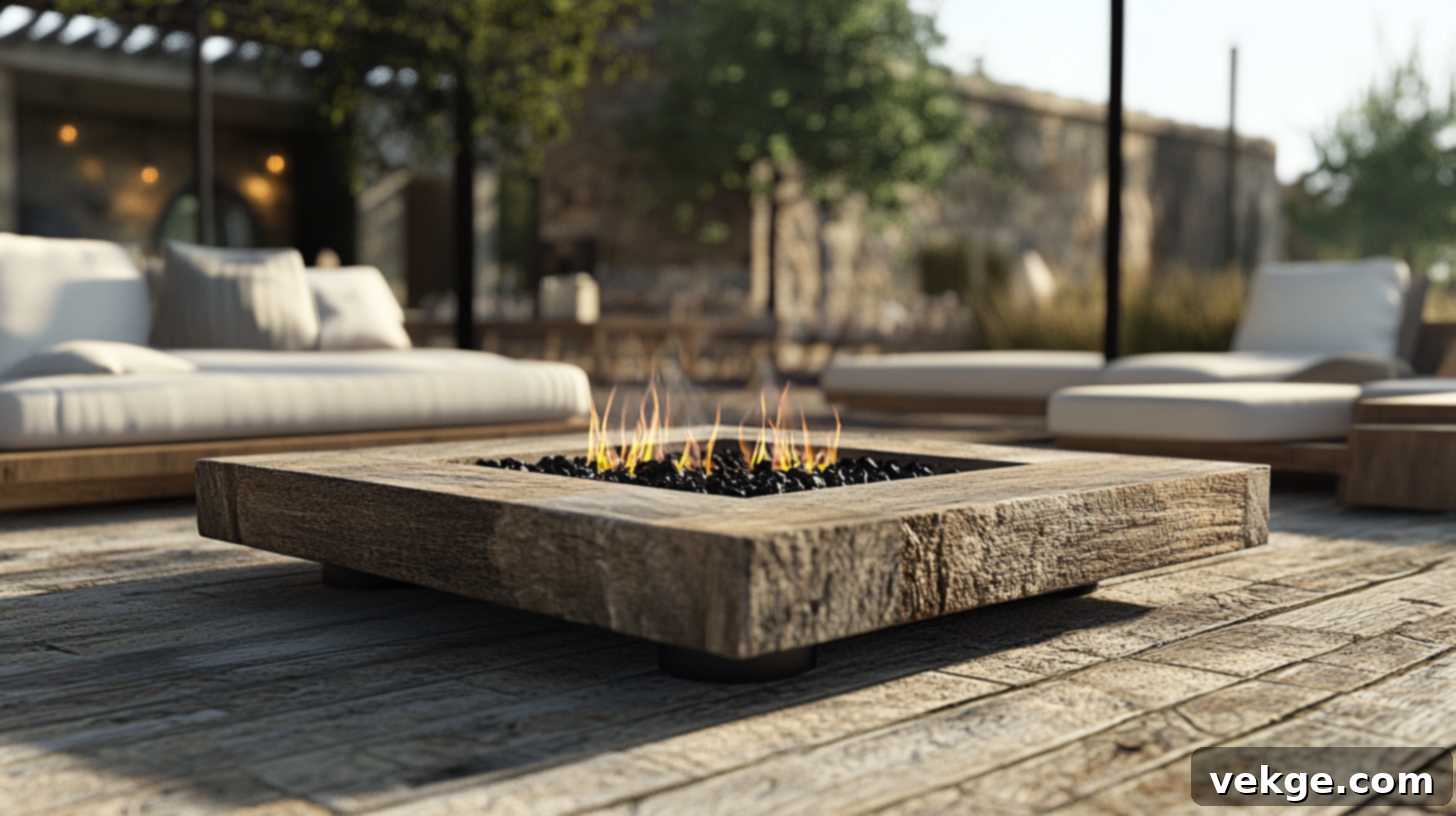
Your fire pit table is an extension of your personal style. Embrace creativity and design a piece that truly resonates with your aesthetic preferences:
- Modern: Characterized by clean lines, geometric shapes, and often features materials like polished concrete, stainless steel, or dark-stained wood. The focus is on simplicity, functionality, and a sleek, contemporary look.
- Rustic: Emphasizes natural textures and raw materials. Think reclaimed wood, rough-hewn stone, or distressed metal. Earthy tones and a weathered appearance contribute to a cozy, inviting, and slightly rugged charm.
- Minimalist: Strips away all non-essential elements, focusing on pure form and function. Designs are typically understated, with a limited color palette and simple, elegant shapes that blend seamlessly into the environment without overwhelming it.
- Industrial: Combines raw, unfinished materials like exposed concrete, rusted steel, and dark metals with robust construction. It offers a rugged, utilitarian aesthetic that can be surprisingly sophisticated.
- Bohemian/Eclectic: Mixes various textures, colors, and global influences. This style allows for unique combinations of materials and patterns, creating a vibrant and personalized outdoor space.
Consider how the style you choose will complement your existing outdoor furniture, landscaping, and overall home architecture. The right style will make your fire pit table not just a source of warmth, but a statement piece that brings you joy every time you see it.
Coffee Table Fire Pit Designs
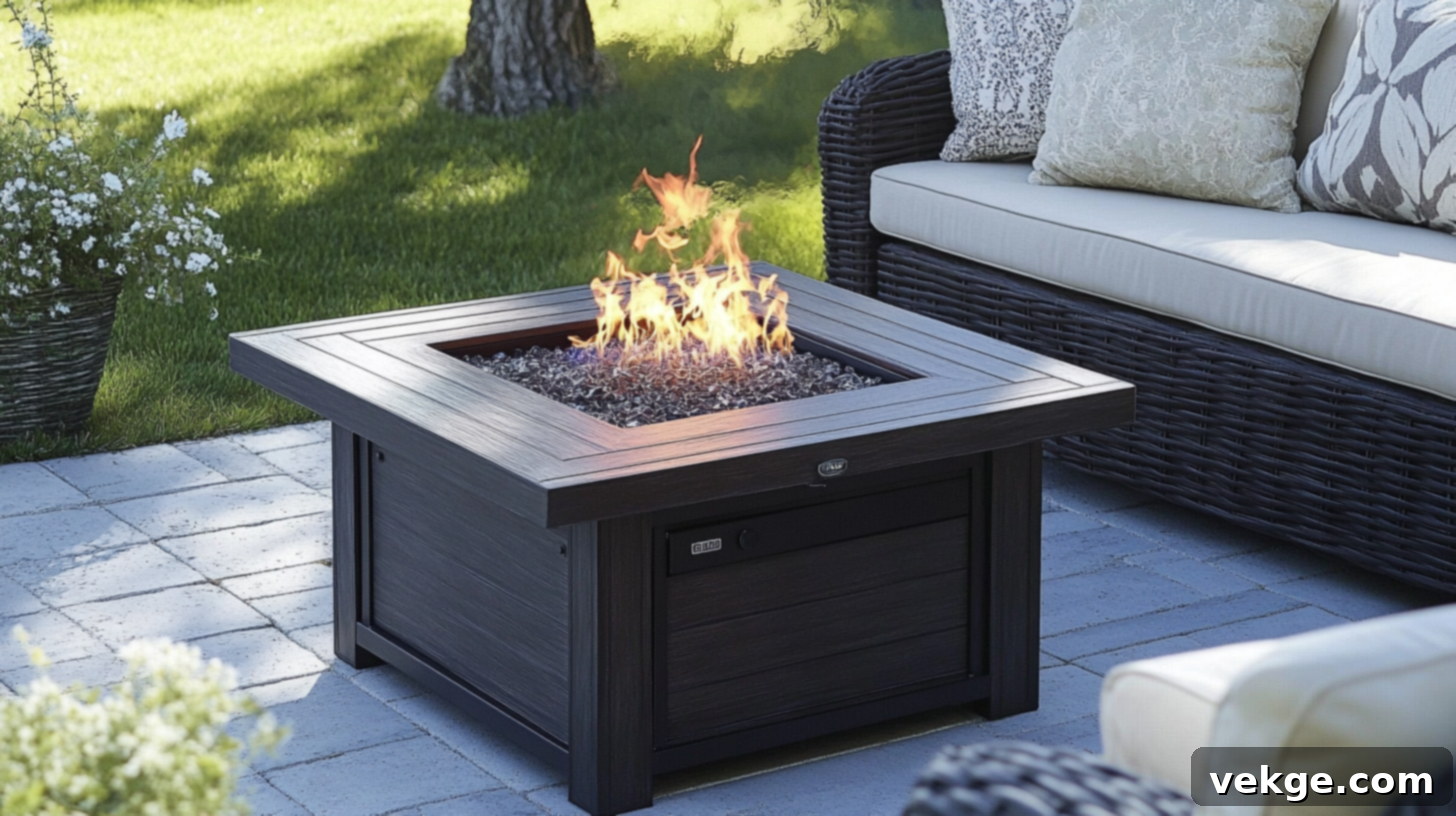
Designed for comfort and relaxation, coffee table height fire pits are built lower to the ground, typically between 18-24 inches tall. This makes them perfectly suited for pairing with outdoor sofas, lounge chairs, and conversational seating arrangements, creating a truly inviting and intimate atmosphere. When not in use as a fire pit, the generous surface area can function as a regular coffee table, providing a convenient spot for drinks, snacks, books, or decorative items. Their lower profile also makes them an excellent choice for smaller decks or patios where a full-height dining table might feel too imposing. A key benefit of this design is the ability to discreetly hide the propane tank within the table’s base, ensuring a neat and uncluttered look. The compact yet functional nature of coffee table fire pits makes them a popular choice for enhancing cozy outdoor lounge areas.
Convertible Fire Pit Tables
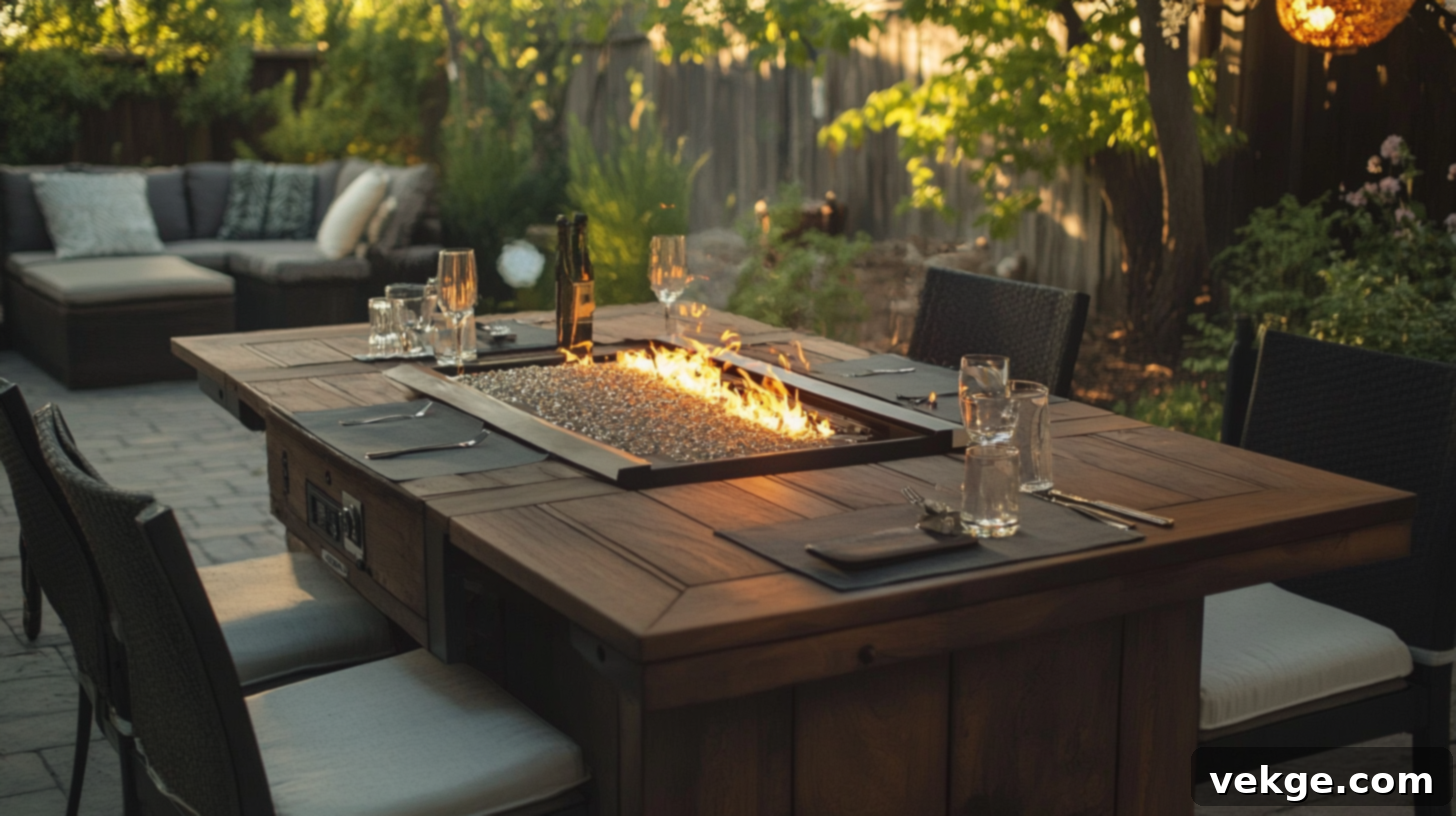
For ultimate flexibility and maximization of space, convertible fire pit tables are an ingenious solution. These smart designs allow you to transform your fire pit into a full, usable table surface when the flames aren’t needed. The key feature is a custom-fitted cover that perfectly fits over the fire pit opening. This cover can be made from the same material as your tabletop (e.g., concrete, wood, or metal) to create a seamless and cohesive look, or it can be a contrasting material for an added design element. When you want to enjoy the warmth and ambiance of the fire, simply remove the cover and safely store it nearby. When you need a larger surface for dining, games, or simply resting items, the cover instantly transforms it back into a functional table. This type of table is particularly valuable for smaller outdoor spaces where you need to serve multiple functions, offering both a dedicated dining area and a captivating fire feature without compromising on space or style.
Maintenance Tips for Your DIY Fire Pit Table
Congratulations on building your custom fire pit table! To ensure it remains a safe, functional, and beautiful centerpiece for years to come, regular maintenance is essential. A well-cared-for fire pit table not only looks better but also operates more efficiently, providing clearer flames and less smoke for an optimal outdoor experience. Here are crucial tips to keep your fire pit table in pristine condition:
- Regular Cleaning of Fire Media: Over time, fire glass or lava rocks can accumulate soot, dust, and debris. Clean your fire glass with warm water and a mild dish soap solution at least once a month (or more frequently with heavy use). Rinse thoroughly and allow them to dry completely before placing them back in the burner pan. For lava rocks, a simple brush-off or rinse with a hose usually suffices.
- Inspect Gas Lines and Connections: Safety is paramount. Periodically check all gas lines, hoses, and fittings for any signs of wear, cracks, or damage. Perform a leak test annually (or if you suspect a leak) by applying a soapy water solution to all connections. Bubbles indicate a gas leak, which requires immediate attention and tightening of the connection. Never use your fire pit if you suspect a gas leak.
- Re-seal Concrete Top Annually: The concrete sealer applied during construction will wear down over time due to weather exposure. To protect your tabletop from moisture penetration, stains, and cracking, reapply a fresh coat of high-quality concrete sealer annually, or as recommended by the product manufacturer.
- Cover When Not in Use: The simplest and most effective way to protect your investment is to use a durable, waterproof outdoor cover. This shields your table from rain, snow, harmful UV rays, dust, leaves, and animal droppings, significantly extending its lifespan and maintaining its appearance.
- Wood Base Inspection and Treatment: For cedar or other wood bases, regularly inspect for any signs of rot, mold, mildew, or insect damage. Clean the wood as needed. Depending on your climate and the type of wood oil/sealer used, reapply outdoor defense oil or wood sealer every 1-3 years to replenish its protective qualities and enhance the wood’s natural beauty.
- Clean Burner and Igniter: Ensure the burner ports are clear of debris. A small wire brush can be used carefully to clean any blockages. Check that the igniter is clean and positioned correctly to create a strong spark for easy lighting.
- Winterization: If you live in an area with harsh winters, consider disconnecting and storing your propane tank indoors (in a well-ventilated area, not a living space). Cover the fire pit thoroughly, or if possible, consider storing smaller tabletop units indoors.
By following these maintenance tips, your DIY fire pit table will continue to be a source of warmth and enjoyment for many years to come.
Wrapping Up Your DIY Fire Pit Table Journey
You’ve now been equipped with all the knowledge and detailed steps required to construct your very own magnificent fire pit table! While this project might span a weekend or two, the profound satisfaction and the enduring value it adds to your home are truly immeasurable. Your custom-built fire pit table isn’t just a structure; it’s a future hub of happiness, where countless good times, cherished conversations, and warm memories will unfold season after season.
Before you dive into gathering materials and cutting wood, take a moment to consider which of the inspiring design ideas resonates most with your personal style and outdoor space. Visualize how it will fit into your landscape and how you’ll use it. Also, and this is a critical safety and legal point, always remember to check your local city or county regulations regarding outdoor fires and fire pit construction. Permitting requirements, setback distances from structures, and fuel type restrictions can vary widely, and it’s essential to comply with all local ordinances.
The step-by-step instructions provided are designed to be accessible and straightforward for most DIY enthusiasts, regardless of extensive prior experience. With careful attention to detail and a commitment to safety, you can achieve a professional-looking result without the exorbitant cost of a retail product. Once completed, your custom fire pit table will stand as a proud testament to your skills and creativity, a unique centerpiece that didn’t break the bank but enriched your outdoor living experience tenfold.
So, why wait for another cold night to pass? Start planning, begin gathering your materials this very weekend, and soon you could be relaxing by the warm, dancing flames of your very own handmade fire pit table, creating priceless memories with the people who matter most to you. Embrace the warmth, embrace the joy, and embrace the satisfaction of DIY!
