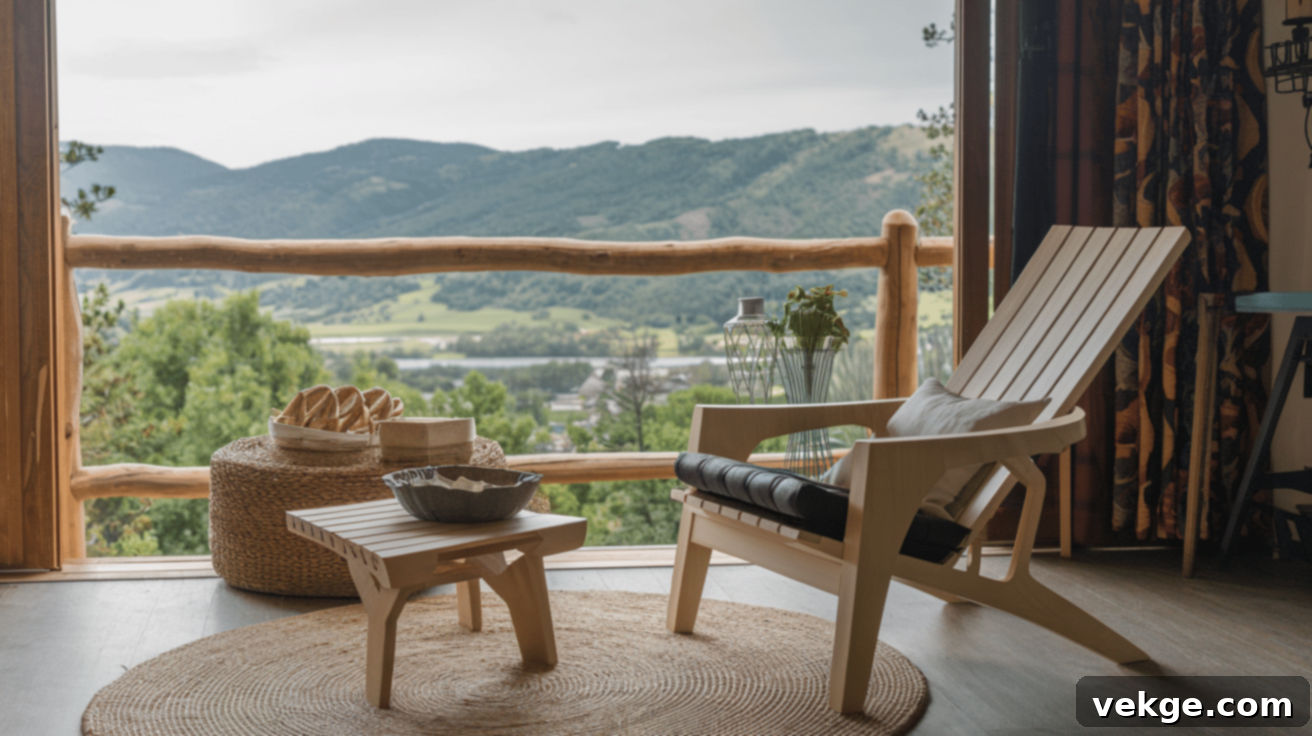
Build Your Own Outdoor Chair: A Comprehensive DIY Guide to Custom Patio Seating
Embarking on the rewarding project of building your own outdoor chairs is an excellent way to elevate your outdoor space and gain complete control over the design, comfort, and durability of your seating. With just a few essential tools and readily available materials, you can craft custom chairs that perfectly reflect your personal style and meet your specific needs. Whether you envision cozy evenings by the fire pit or delightful meals on a newly furnished patio, these DIY chairs will infuse a unique, personal charm into your outdoor environment.
This project is designed to be accessible for beginners, offering clear, straightforward steps. In just a few dedicated hours, you can create a set of beautiful, robust, and functional chairs ready for immediate enjoyment. Beyond the tangible furniture, this endeavor also builds practical skills and fosters a sense of accomplishment. Let’s explore the easy and engaging steps to construct your very own outdoor seating that will stand the test of time.
What You’ll Need to Build Your Chair
Before you begin any woodworking project, it’s crucial to gather all the necessary materials and tools. This not only streamlines the building process but also ensures you have the right components for a sturdy and long-lasting outdoor chair. Your choice of wood, in particular, will significantly impact the chair’s resilience against the elements and its overall aesthetic.
Wood Choices for Outdoor Durability
Selecting the right wood is paramount for outdoor furniture, as it must withstand varying weather conditions, moisture, and pests. Here’s a breakdown of common options:
| Wood Type | Good Points | Not So Good |
|---|---|---|
| Pine |
|
|
| Cedar |
|
|
| Pressure-Treated Wood |
|
|
Recommendation: For a balance of durability and cost, pressure-treated wood is a solid choice. If aesthetics are a top priority and budget allows, cedar offers natural beauty and resistance. Pine is best for temporary projects or if you’re committed to rigorous sealing and maintenance.
Tools You’ll Need for Construction
Having the right tools makes the job easier, safer, and more precise. Ensure all your tools are in good working order before you start:
- Saw (circular or miter): Essential for making straight and angled cuts on your lumber. A miter saw offers more precision for angles, while a circular saw is versatile for longer cuts.
- Drill with different bits: Crucial for drilling pilot holes to prevent wood splitting and for driving screws efficiently. Include various drill bit sizes and screwdriver bits.
- Measuring tape and square: Absolutely vital for accurate measurements and ensuring all your cuts and assemblies are perfectly square and level. “Measure twice, cut once” is the golden rule.
- 4-6 clamps: Indispensable for holding pieces together firmly while glue dries or while you’re drilling and screwing, ensuring tight, strong joints.
- Sander or sandpaper (80, 120, and 220 grit): For smoothing rough edges, preparing surfaces for finishing, and achieving a professional feel. Start with lower grit (80) for rough shaping, move to medium (120), and finish with fine (220) for a silky smooth touch.
- Pencil for marking: For marking cut lines, drill points, and assembly guides on your wood.
- Safety gear (goggles, gloves, ear protection): Non-negotiable for your safety. Goggles protect your eyes from sawdust and flying debris, gloves prevent splinters, and ear protection guards against loud power tool noise.
Other Essential Supplies
Don’t forget these critical items that ensure the longevity and finish of your outdoor chair:
- Outdoor wood screws (2″ and 3″): Use screws specifically designed for outdoor use, such as stainless steel or coated screws, to prevent rust and corrosion. The 3-inch screws are typically for structural joints, while 2-inch screws might be for attaching seat/back slats.
- Waterproof wood glue: Provides extra strength and stability to your joints, preventing them from loosening over time, especially when exposed to moisture. Look for Titebond III or similar outdoor-rated glue.
- Wood stain or paint for outdoors: Protects the wood from UV radiation and moisture while adding color and enhancing its natural beauty. Choose a product specifically formulated for exterior use.
- Waterproof clear coat: An additional layer of protection over stain or paint, offering superior resistance against weather elements and wear.
- Weather-safe cushions: To maximize comfort and add a decorative touch. Ensure they are made from outdoor-rated fabrics that resist fading and mildew.
How to Build Your Chair: Stepwise Guide
Building your own outdoor chair is a satisfying process that requires attention to detail at each stage. Follow these steps carefully to ensure a sturdy, comfortable, and attractive piece of furniture.
1. Plan and Measure Your Design
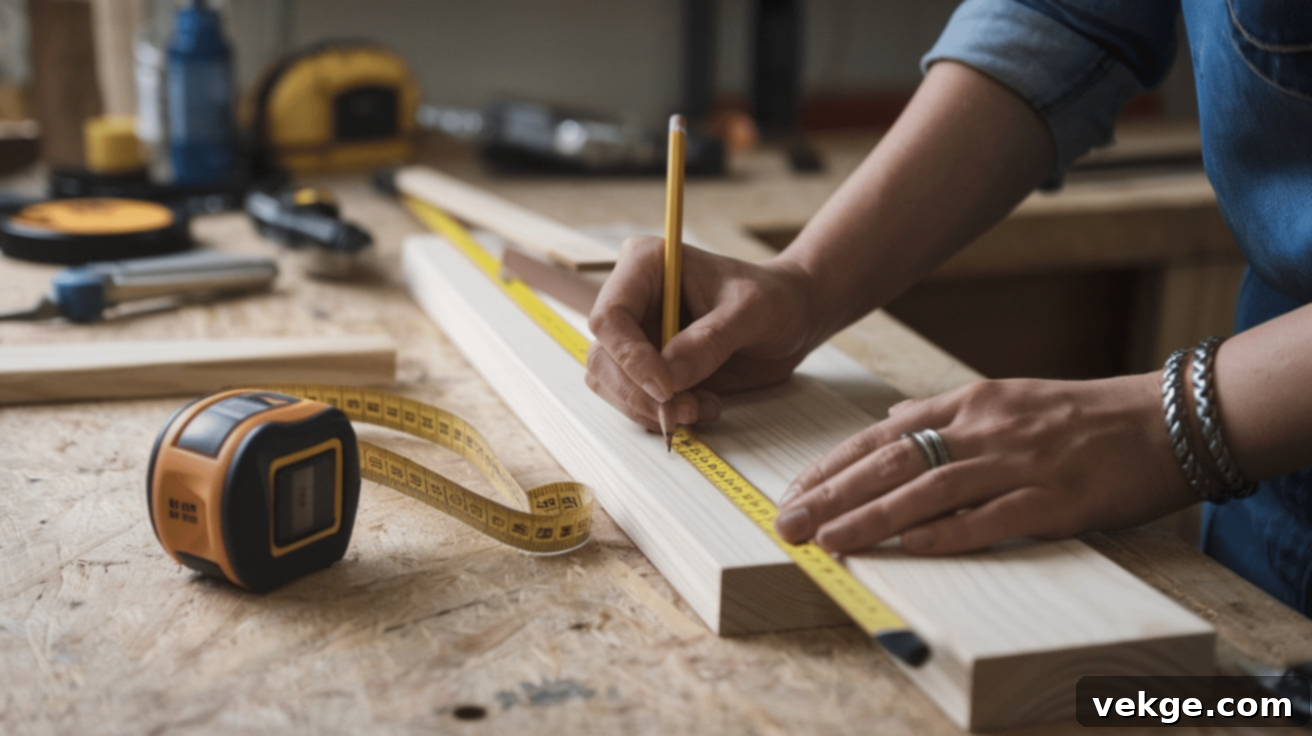
Accurate planning and precise measurements are the foundation of any successful woodworking project. Start by making a detailed list of all the wood pieces you’ll need to cut, including their exact dimensions. Consider printing out a diagram or sketching your own to visualize the chair components.
For optimal comfort, adhere to ergonomic chair sizes. These dimensions are based on general human anatomy and provide a good starting point:
- Seat height: 16-18 inches from the ground (allowing feet to rest flat).
- Seat depth: 18-20 inches (providing adequate thigh support without cutting off circulation).
- Back height: 30-36 inches from the seat (offering good upper back and shoulder support).
- Back angle: 100-110 degrees from the seat (a slight recline for relaxed sitting, preventing a rigid posture).
Always wear your safety gear (goggles, gloves, ear protection) and work in a well-ventilated area. This protects you from dust, noise, and potential accidents.
Wood Pieces You’ll Need for a Basic Chair (Dimensions for one chair)
These dimensions provide a comfortable and robust chair. Adjust as necessary for your desired size or specific wood availability. For the wood type, refer to the “Wood Choices” section and pick based on your preferences for durability and aesthetics.
| Part | Size | How Many | Recommended Wood Type |
|---|---|---|---|
| Front legs | 2×4×18″ | 2 | Cedar/Pressure-treated |
| Back legs | 2×4×40″ | 2 | Cedar/Pressure-treated |
| Side supports | 2×4×20″ | 2 | Cedar/Pressure-treated |
| Front/back supports | 2×4×22″ | 2 | Cedar/Pressure-treated |
| Seat boards | 1×4×24″ | 5 | Cedar/Pressure-treated |
| Back boards | 1×4×22″ | 4 | Cedar/Pressure-treated |
2. Cut and Prep Your Wood
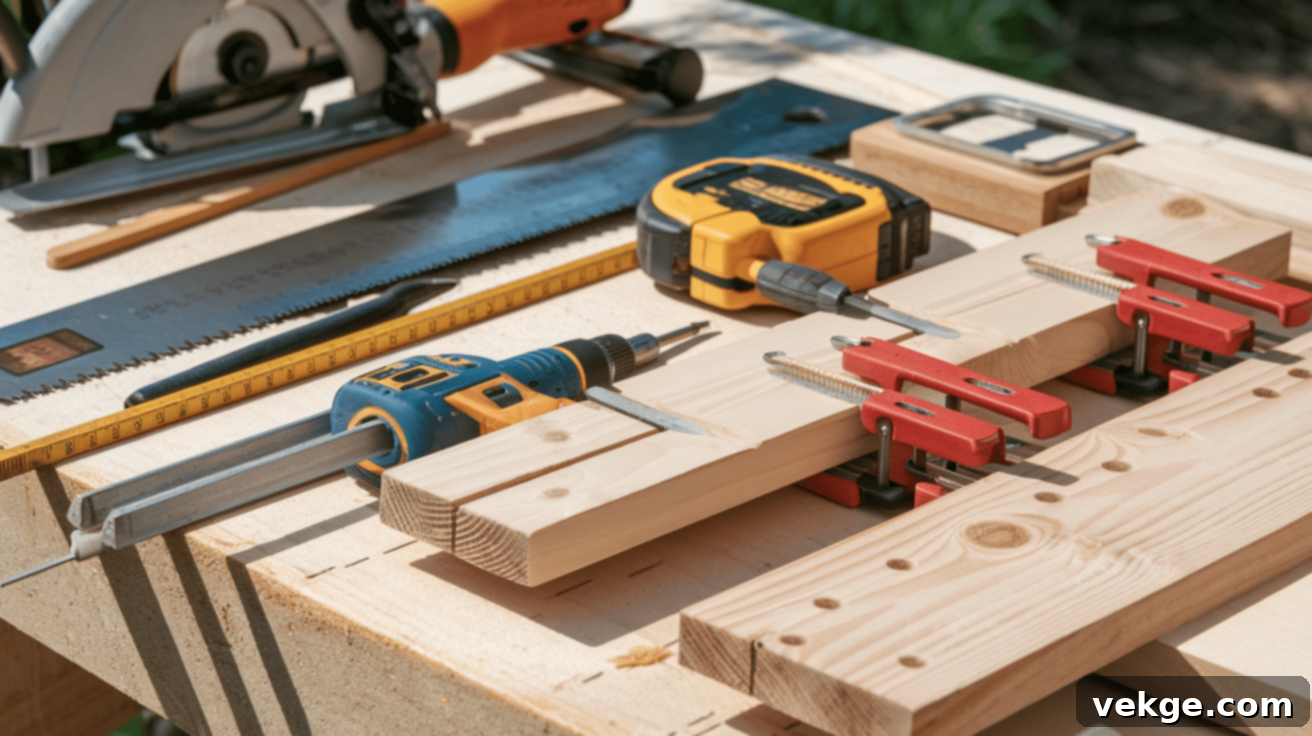
Precision in cutting is as important as precise measurements. Before making any cut, mark your cut lines clearly with a pencil and square, then double-check your measurements against your plan. Using a speed square or a combination square helps ensure your marks are perfectly straight and accurate.
For angle cuts, such as those for the back legs to create the recline, use a protractor or the angle setting on your miter saw. Mark the exact angle with a square to ensure consistency between both back legs.
To prevent wood from splitting, especially with woods like cedar or pine, employ these best practices:
- Use sharp saw blades: Blades designed for your specific wood type (e.g., fine-tooth blades for plywood, general-purpose for lumber) will make cleaner cuts and reduce tear-out. Replace dull blades immediately.
- Apply tape over cut lines: For woods prone to splitting or tear-out, especially cedar, place painter’s tape or masking tape along the cut line. This helps hold the wood fibers together as the blade passes through.
- Drill small pilot holes: Always drill pilot holes before driving screws, particularly near edges or ends where wood is weakest. The pilot hole should be slightly smaller than the screw’s core diameter.
- Support the wood fully: Ensure the wood is fully supported on both sides of the cut line during sawing. This prevents vibration and splintering, leading to cleaner and safer cuts.
- Sand edges immediately: After cutting, lightly sand all cut edges right away. This not only removes splinters but also helps prepare the wood for smoother handling and assembly.
3. Assemble the Chair Frame
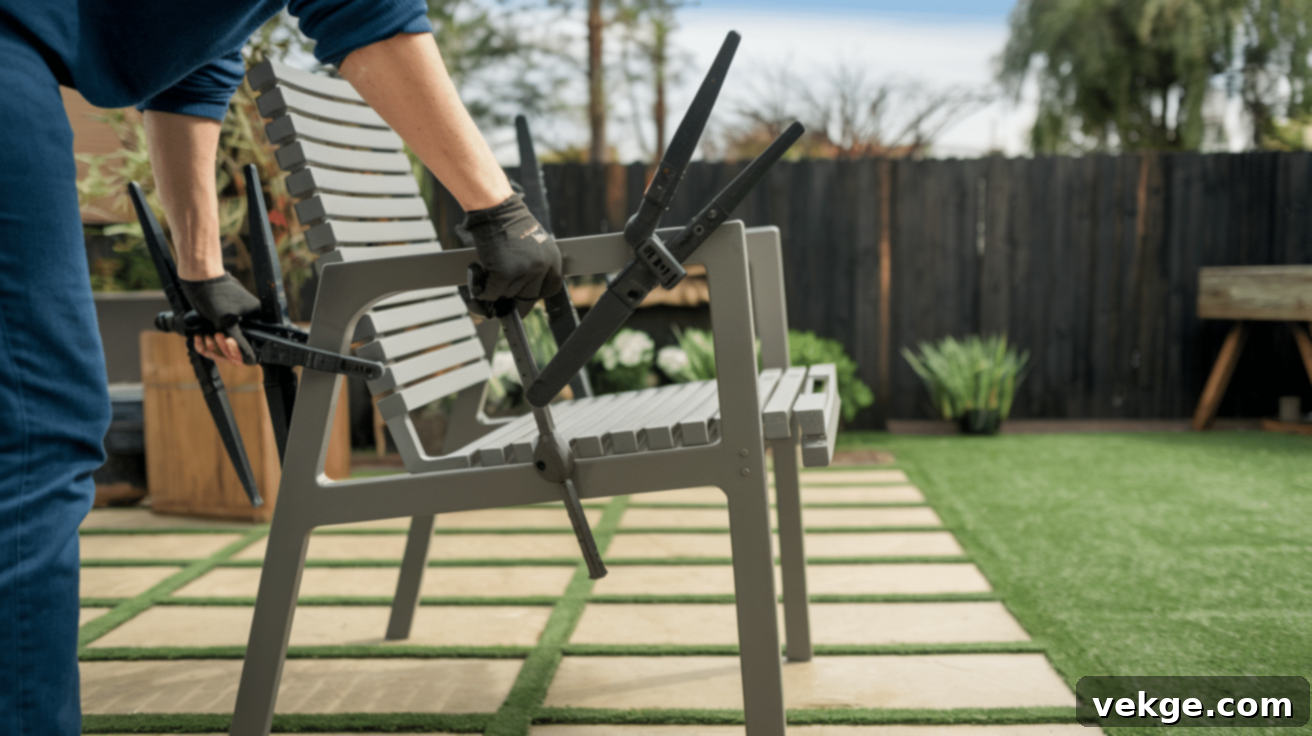
A solid, square frame is the backbone of your outdoor chair, ensuring it remains stable and durable for many years. Begin by constructing the two side frames first.
Take one front leg and one back leg. Connect them using a side support piece. Position the side support so its top edge is 16-18 inches from the bottom of the front leg (this will define your seat height). Apply waterproof wood glue to the ends of the side support and the joining surfaces of the legs. Then, use 3-inch outdoor screws to secure the joint. To prevent wood splitting, drill pilot holes slightly smaller than your screw diameter through the leg and into the side support before driving the screws.
Crucially, ensure the back legs are angled correctly for comfort, typically around 105-110° from the seat. This slight recline makes the chair much more comfortable for relaxing. Use a T-bevel or an angle finder to set this angle accurately. Repeat this process for the second side frame, ensuring both sides are identical.
Next, you’ll join these two side frames together. Place the front and back supports between the two assembled side frames. The front support should align with the top of the front legs, creating a consistent line. The back support should be positioned just below where the seat boards will meet the backrest, providing crucial support for the seat base.
Use clamps to hold all pieces tightly and squarely as you work. Apply glue to all joining surfaces and secure with 3-inch outdoor screws, remembering to drill pilot holes first. Before fully tightening all screws, double-check that the legs are even and the frame isn’t wobbling. Adjust as needed. It’s also a good practice to measure corner-to-corner on the rectangular sections of the frame; if these measurements are equal, your frame is square.
Once assembled, set the frame on a flat, level surface and check for any wobbling. If necessary, you can add extra braces (e.g., small triangular blocks in corners) for added strength, though a well-glued and screwed frame is usually sufficient. Allow the waterproof wood glue to dry completely, typically for at least 24 hours, or according to the manufacturer’s instructions, before proceeding to the next steps. This ensures maximum joint strength.
4. Attach the Seat and Back Boards
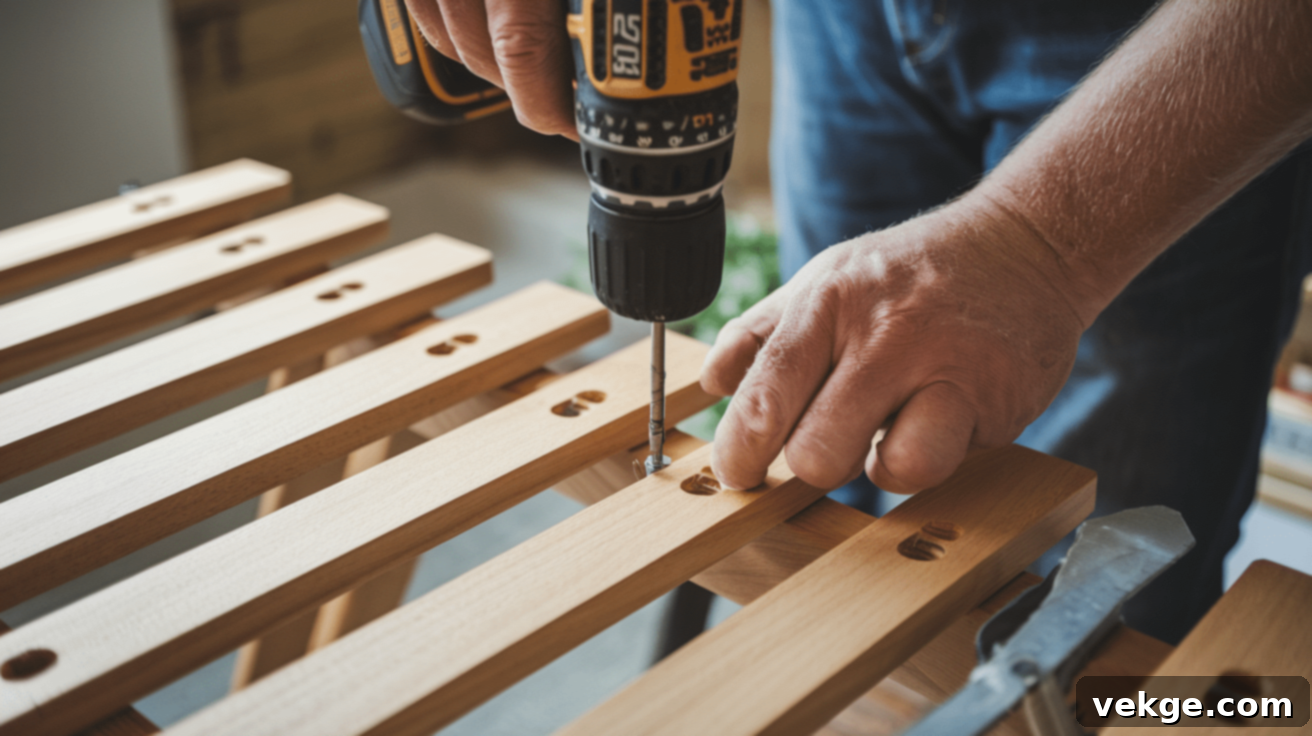
For the seat and backrest, both comfort and structural integrity are paramount. The way you arrange and secure these boards will define the chair’s feel and durability.
For the Seat:
Begin by positioning the first and last seat boards at the very front and back edges of the seat frame. Then, evenly space the remaining middle boards between them. Aim for consistent gaps of about ¼” to ½” between each board. These gaps are crucial for water drainage, preventing pooling and allowing for natural wood expansion and contraction due to temperature changes. For a professional, finished appearance, allow the seat boards to hang over the front and sides of the frame by approximately ½”. This overhang adds a visual weight and a more refined look.
Before securing each board, drill pilot holes slightly larger than the screw shank (the smooth part) but smaller than the threads. This ensures the screw heads will sit flush with or slightly below the surface (countersunk) for a smooth, comfortable finish that won’t snag clothes or skin. To maximize strength and prevent twisting, place two 2-inch outdoor screws in each board at every support point (i.e., where the board crosses a side or front/back support). For a visually appealing result, take the time to align all screw heads in straight, neat rows.
For the Backrest:
Attach the back boards similarly, spacing them evenly. You might opt for a slightly smaller gap here, depending on your desired aesthetic and comfort. Ensure the top board is flush with the top of the back legs or slightly below. Again, use two 2-inch outdoor screws per board at each support, with pre-drilled pilot holes, and ensure screws are countersunk.
Finally, once all seat and back boards are securely attached, pay special attention to sanding the edges. This is particularly important for the front edge of the seat, as it will be in direct contact with the user’s legs. Rounding these edges significantly enhances comfort and safety, eliminating sharp points and splinters.
5. Sand and Finish for Protection and Beauty
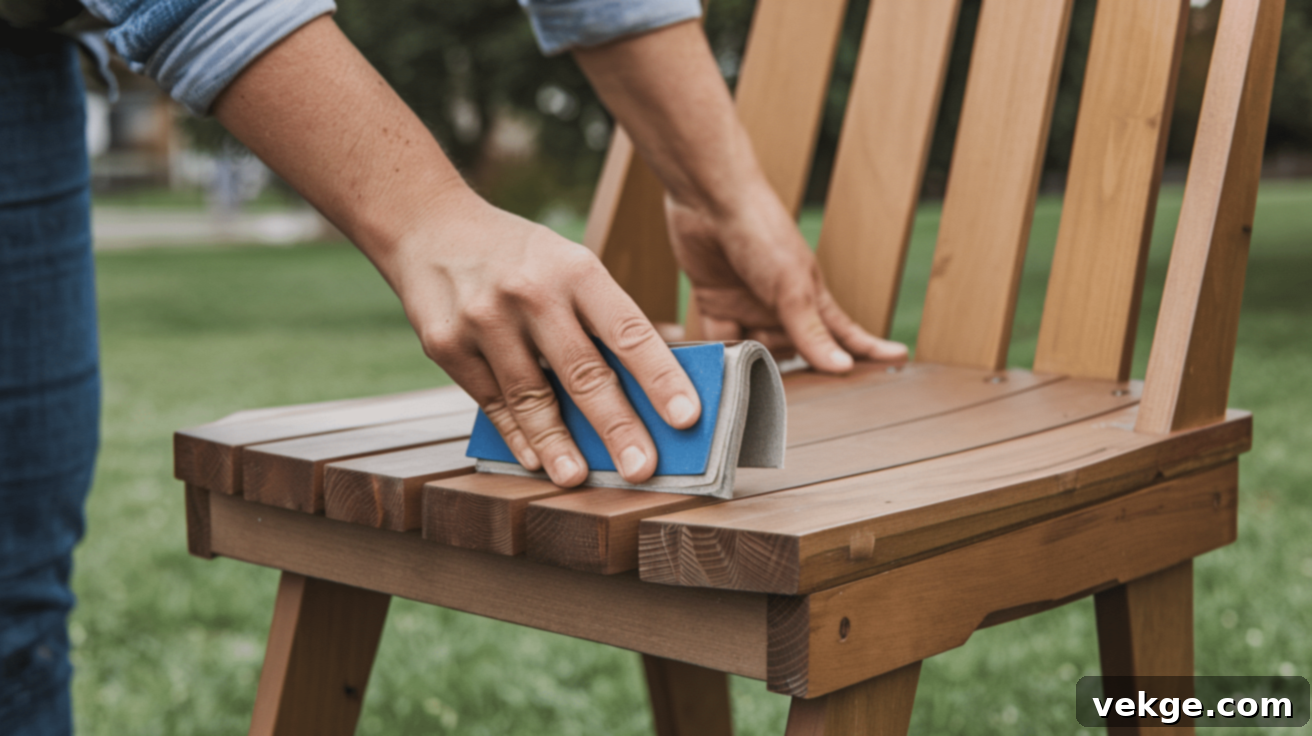
Proper finishing is not just about aesthetics; it’s vital for ensuring your chair lasts longer, resists weather damage, and feels comfortable to use. This multi-step process protects the wood and enhances its natural beauty.
Sanding: Start by sanding in stages. Begin with a coarse 80-grit sandpaper to remove any deep scratches, rough spots, or factory stamps and marks from the lumber. This grit helps level uneven surfaces. Next, move to 120-grit sandpaper to smooth out the marks left by the 80-grit paper. Finally, finish with a fine 220-grit sandpaper to achieve a silky-smooth, touchable surface. Always sand in the same direction as the wood grain; sanding across the grain will create visible scratches that are difficult to remove. As you sand, pay special attention to smoothing and slightly rounding all edges and corners for added comfort and safety, preventing splinters and sharp points.
Cleaning: After sanding, thoroughly wipe off all dust with a clean, damp (but not wet) cloth or a tack cloth. Ensure the surface is completely clean and dry before applying any finishes. Dust left behind will create a gritty finish.
Stain or Paint: Apply your chosen outdoor wood stain or paint according to the product instructions. This typically involves applying 2-3 coats. If staining, apply a thin, even coat, let it soak in for a few minutes, then wipe off any excess before it dries to prevent blotchiness. If painting, thin coats are better than one thick coat to prevent drips and ensure even coverage. Allow each coat to dry fully as per manufacturer’s recommendations (usually several hours) before applying the next. Lightly sand with 220-grit sandpaper between coats of paint or stain for better adhesion and a smoother final result.
Clear Coat: Once the stain or paint is completely dry, apply 2-3 coats of a high-quality outdoor clear coat. This is your primary defense against moisture, UV rays, and general wear and tear. Again, follow the product instructions for application and drying times. It’s common for clear coats to require a longer drying period, often 24 hours between coats, to ensure full curing and maximum protection. Lightly sand with 220-grit sandpaper between clear coats to create a mechanical bond for the next layer, making the finish even more durable and smooth.
Ensure you work in a well-ventilated area and avoid finishing in direct sunlight or extreme temperatures, which can affect drying and curing.
Ways to Make Your Chair Special
Beyond the basic construction, there are many opportunities to personalize your outdoor chair, making it truly unique and perfectly suited to your taste and comfort preferences.
1. Comfort Enhancements
Making your chair exceptionally comfortable can transform it into a favorite spot in your outdoor oasis:
- Contoured Seat Boards: Instead of flat seat boards, consider slightly shaping them to fit the natural contours of the human body. This can be achieved by gently routing or sanding a subtle curve into the boards, providing better ergonomic support.
- Washable Outdoor Cushions: While essential, invest in high-quality, weather-resistant outdoor cushions with removable, washable covers. This ensures easy cleaning and maintenance, keeping your seating fresh and inviting. Consider cushions with ties to secure them to the chair.
- Curved Backrest: A gently curved backrest offers superior lower back support compared to a straight one. This can be achieved by cutting the backrest boards with a slight arc or by using a method of steam bending if you’re feeling adventurous.
- Rounded Armrests: Fabricate armrests from wider 1×4 boards and ensure all their edges are thoroughly rounded and smoothed. This provides a more comfortable resting place for arms and reduces the chance of splinters or sharp corners.
2. Aesthetic Customizations
Give your chair a distinctive look that reflects your personal style:
- Two-Tone Paint Scheme: Experiment with painting different parts of the chair in two complementary colors. For example, a darker frame with lighter seat and back slats, or vibrant accents on the armrests. This technique can highlight certain design elements and add a playful or sophisticated touch.
- Cohesive Color Palette: Coordinate the chair’s colors with your existing outdoor decor or other patio furniture. This creates a harmonious and inviting outdoor living space. Consider using colors that either blend seamlessly or provide a striking contrast that still feels intentional.
- Creative Backrest Shapes: Instead of simple straight backrest boards, consider cutting fun or intricate shapes into them. This could involve geometric cutouts, a wave pattern, or even custom designs that give the chair a unique and artistic appearance. Stencils can be useful for repeating patterns.
- Varying Board Directions: For a more avant-garde look, try arranging the seat or backrest boards in different directions. For example, a herringbone pattern or alternating vertical and horizontal slats can create interesting visual texture and make your chair a conversation piece.
- Mixed Wood Species: Incorporate different colored wood pieces into your design. For instance, using a darker wood for the frame and lighter wood for the slats, or creating striped patterns with alternating wood types. This enhances the visual appeal and adds depth to the chair’s design.
Common Mistakes to Avoid when Making a Chair
Building an outdoor chair can be a straightforward process, but it’s easy to overlook small details that can significantly impact its longevity and comfort. Being aware of common pitfalls during building, finishing, and designing will help you create sturdy, comfortable, and beautiful furniture that lasts.
Building Mistakes
Errors during the assembly phase can lead to structural weaknesses or functional problems:
- Using Indoor Screws: A frequent and critical error is using standard indoor wood screws. These are not designed to withstand outdoor conditions and will rust quickly, weakening joints and staining the wood. Always opt for exterior-grade screws, such as stainless steel or specially coated deck screws.
- Neglecting Pilot Holes: Failing to drill pilot holes before driving screws is a common mistake that often results in split wood, especially near edges or with harder wood types. Pilot holes guide the screw and relieve pressure, ensuring a clean, strong fastening.
- Incorrect Back Leg Angles: If the back legs are set at an improper angle, the chair will be uncomfortable to sit in – either too upright and rigid or too reclined and awkward. Double-check your angle measurements against ergonomic recommendations (100-110 degrees).
- Uneven Legs: Chairs with legs of unequal length will wobble, making them unstable and annoying. Always use a level and measure carefully during assembly, shimming as necessary to ensure all four legs sit flat on the ground.
- Driving Screws Too Deeply: Over-tightening or driving screws too far into the wood can strip the wood fibers, weakening the joint. It can also cause cracking or create depressions that collect water. Aim for screws to be flush or slightly countersunk without stripping the wood.
Finishing Mistakes
Poor finishing practices compromise the chair’s protection and appearance:
- Insufficient Sanding Between Coats: Skipping sanding between coats of stain, paint, or clear coat leads to a rough, uneven finish and poor adhesion of subsequent layers. Lightly sanding with fine-grit paper creates a smooth surface and helps the next coat bond better.
- Omitting Primer: When painting certain woods, especially those with high tannin content like cedar, skipping an outdoor-grade primer can lead to stains bleeding through the paint or poor paint adhesion. Primer creates a barrier and a uniform surface for topcoats.
- Finishing in Poor Weather: Applying finishes in very humid, extremely hot, or cold conditions can significantly impact drying times and the quality of the cure. This can result in bubbling, uneven drying, or a tacky finish. Always follow the manufacturer’s recommended temperature and humidity ranges.
- Inadequate Sealing of End Grain: The end grain of wood (the cut ends) is highly absorbent. Not properly sealing these areas allows water to soak in readily, leading to swelling, cracking, and rot. Apply extra coats of finish to end grain.
- Too Few Coats of Finish: Using only one or two coats of stain, paint, or clear coat leaves the chair inadequately protected against harsh outdoor elements. Most outdoor finishes require at least 2-3 coats for optimal durability and longevity.
Design Mistakes
Flaws in the chair’s design can affect both comfort and structural integrity:
- Boards Spaced Too Far Apart: Wide gaps between seat or backrest boards can make sitting uncomfortable, as they allow pressure points on the body. Maintain appropriate spacing (¼” to ½”) for comfort and drainage.
- Incorrect Seat Height/Depth: A seat that is too high or too low, or too shallow or too deep, will feel awkward and uncomfortable, especially for prolonged sitting. Adhere to ergonomic guidelines for seat dimensions.
- Improper Backrest Angle: As mentioned, an incorrect backrest angle can cause discomfort. A backrest that is too straight can feel rigid, while one that is too reclined might be difficult to get out of.
- Lack of Adequate Seat Support: Insufficient support beneath the seat boards can lead to sagging, weakening, or even breaking, especially under heavy weight. Ensure your frame provides solid cross-supports for all seat boards.
- Sharp or Rough Edges: Leaving edges unsanded, sharp, or rough creates a hazardous and uncomfortable chair. Always sand all exposed edges and corners smoothly to prevent splinters and provide a pleasant tactile experience.
How to Make Your Chair Last
Once you’ve invested time and effort into building your custom outdoor chair, protecting it from the elements and performing regular maintenance will ensure it remains a beautiful and functional piece for many years to come. Simple care routines can significantly extend its lifespan, keeping it sturdy, comfortable, and aesthetically pleasing.
Weather Protection Strategies
Proactive steps against harsh weather are crucial for the longevity of your outdoor furniture:
- Seasonal Storage or Covering: During periods of severe weather, such as heavy rain, snow, or harsh winter conditions, either bring your chairs indoors (shed, garage) or use durable, waterproof outdoor furniture covers. This protects them from extreme moisture, freezing, and UV exposure.
- Annual Clear Coat Application: Apply a fresh coat of waterproof clear sealant each year. This replenishes the protective layer that gradually breaks down from sun and rain, maintaining the wood’s integrity and keeping its surface looking clean and vibrant.
- Protective Feet Pads: Attach small, durable pads or glides to the bottom of the chair’s feet. These create a barrier between the wood and the ground, preventing moisture from wicking up into the wood, which is a common cause of rot at the base of furniture legs.
- Drainage Holes: When designing or building, consider incorporating small, discreet drainage holes (e.g., 1/4 inch) in the lowest points of the seat boards or frame where water might otherwise collect. This allows rainwater to quickly escape, preventing pooling that can lead to rot and mildew.
Routine Maintenance
Consistent, simple care will keep your chairs in top condition:
- Periodic Inspections: Every few months, take time to inspect your chairs thoroughly. Check for loose screws, wobbly joints, signs of wood rot, mildew growth, or peeling finishes. Addressing small issues early prevents them from becoming major problems.
- Routine Cleaning: Clean your chairs about twice a year, or more often if they are heavily used or exposed to dirt. Use a mild soap solution (like dish soap and water) and a soft brush or cloth to gently scrub away dirt, pollen, and grime. Rinse thoroughly with clean water and allow to air dry completely.
- Spot Refinishing: If you notice any areas where the finish is worn, faded, or chipped, lightly sand only that specific area with fine-grit sandpaper (220 grit) and apply a new coat of matching stain, paint, or clear coat. This prevents moisture penetration at vulnerable spots.
- Full Repainting/Restaining: Depending on sun exposure and rainfall, plan to repaint or restain your chairs every two to three years. This full refresh not only restores their appearance but also renews their complete protective barrier against the elements.
- Tighten Screws: At the start of each outdoor season (typically spring), go around and tighten all screws on your chairs. Wood can expand and contract with temperature changes, causing screws to loosen over time, leading to instability.
Fixing Common Problems
Even with good care, issues can arise. Knowing how to fix them will save your chair from early retirement:
- Wobbly Chairs: If your chair becomes wobbly, first check and tighten all visible screws. If this doesn’t resolve it, the joints might be loose. You can add small wooden braces (corner blocks) with glue and screws to reinforce weak joints, or disassemble, re-glue, and re-screw the affected parts.
- Bending or Warping Wood: For significantly bent or warped wood pieces, it’s often best to replace them with new, straight lumber. For minor warping, you might be able to reinforce the piece with additional supports or by clamping it straight while glue sets with new fastenings.
- Surface Damage: For minor scratches, dents, or gouges on the surface, use an exterior-grade wood filler to smooth out the imperfections. Once dry, sand the area smooth and then refinish it to match the rest of the chair.
- Cracked or Damaged Boards: If a seat board, backrest slat, or any structural piece develops a significant crack, is split, or is severely damaged, it’s safer and more durable to replace the entire board rather than attempting a repair. This ensures structural integrity and safety.
Regular checks and prompt, small repairs are key to keeping your chairs safe, comfortable, and looking great for many seasons.
Other Chair Styles You Can Try
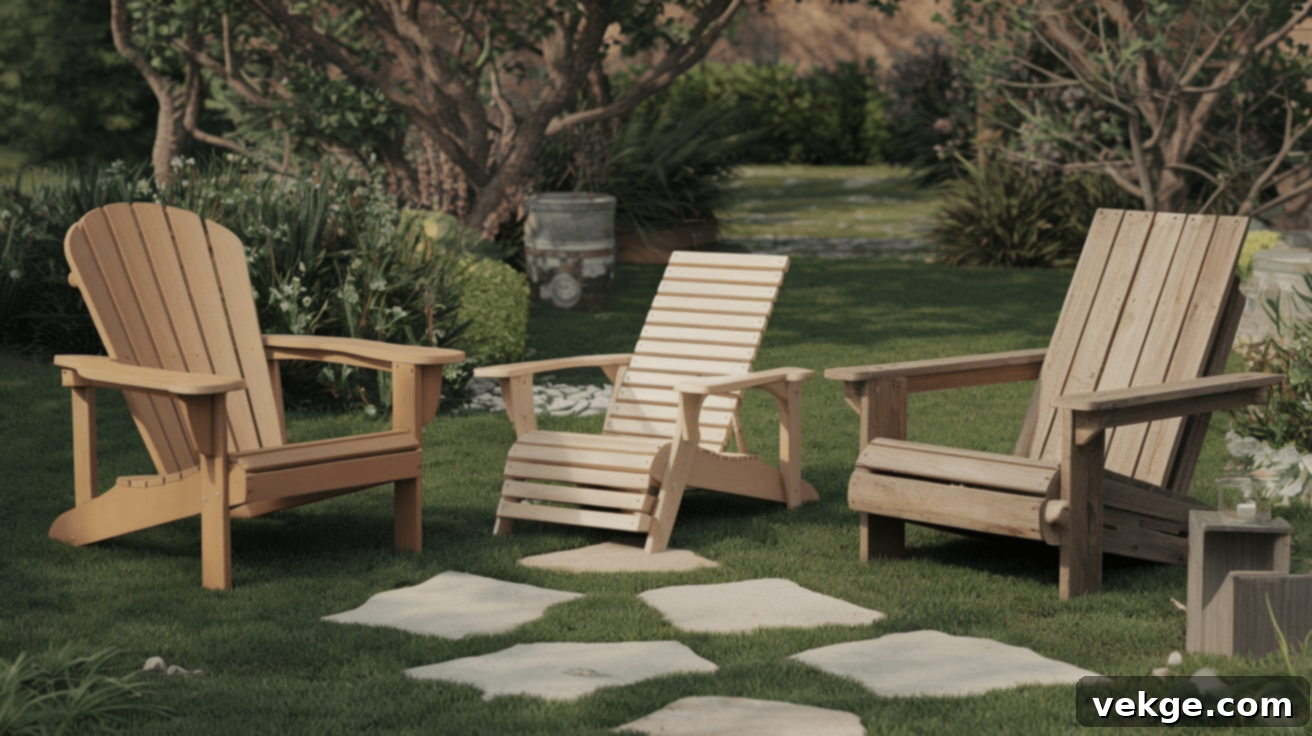
Once you’ve mastered the basic outdoor chair, you might want to explore other popular designs that offer different aesthetics and functionalities. Each style presents unique challenges and rewards.
1. Adirondack Chair
Adirondack chairs are iconic for their distinctive design, offering exceptional comfort and a classic, relaxed style. Their low profile, deep slanted seat, and tall, fanned backrest make them ideal for lounging and enjoying the outdoors. The wide armrests are a signature feature, providing a convenient surface for placing drinks, books, or snacks. While the design includes several angled cuts and curved pieces, which can be a bit more challenging for beginner woodworkers, the extra effort in precision cutting and assembly truly pays off with a level of comfort that is hard to match. Their timeless appeal makes them a favorite for many backyard and patio settings.
2. Folding Chair
Folding chairs are an incredibly practical option, especially if you have limited outdoor space or frequently rearrange your patio layout. Their ability to fold flat makes them easy to store when not in use or to transport for picnics and outdoor events. Construction of folding chairs is slightly more complex than a fixed-frame chair due to the integration of hinges and various moving parts, which require precise alignment for smooth operation. However, choosing thinner wood pieces for the slats and frame can make the chairs lighter and easier to handle. The convenience and versatility of foldable outdoor seating make them a rewarding project for those looking for functional, space-saving solutions.
3. Pallet Chair
Building chairs from reclaimed wooden pallets is an excellent choice for those seeking an environmentally friendly and budget-conscious project with a rustic aesthetic. Pallet chairs embody the spirit of upcycling, transforming discarded materials into functional furniture. They generally feature simpler construction methods with fewer intricate cuts, making them an approachable project. However, working with pallet wood comes with its own set of challenges. Pallet sizes and quality can vary significantly, requiring careful selection, cleaning, and sometimes de-nailing before use. Despite these potential hurdles, the satisfaction of giving new life to reclaimed wood and creating unique, character-filled furniture makes pallet chairs a popular and sustainable DIY option.
Final Thoughts on Your DIY Outdoor Chair Project
Creating your own outdoor chair is far more than just constructing a piece of furniture or finding an economical way to add seating to your backyard. It’s a deeply fulfilling endeavor that builds a profound sense of accomplishment and equips you with practical woodworking skills transferable to countless future home projects. Each chair you successfully complete serves as a tangible reminder of your ingenuity, patience, and the capabilities of your own hands.
Remember, the journey of DIY is one of learning and growth. It’s perfectly normal if your first chair isn’t flawless; every cut, every joint, and every finishing detail teaches you something new. With each subsequent chair, you’ll find yourself gaining confidence, refining your techniques, and crafting furniture with increasing ease and precision. Take immense pride in the unique chairs you’ve brought to life, and relish the opportunity to share your creations with friends and family. Every outdoor gathering becomes a little more special, and every moment of relaxation more profound, when you settle into seating that you personally built, knowing that each piece is uniquely yours and crafted with care.
