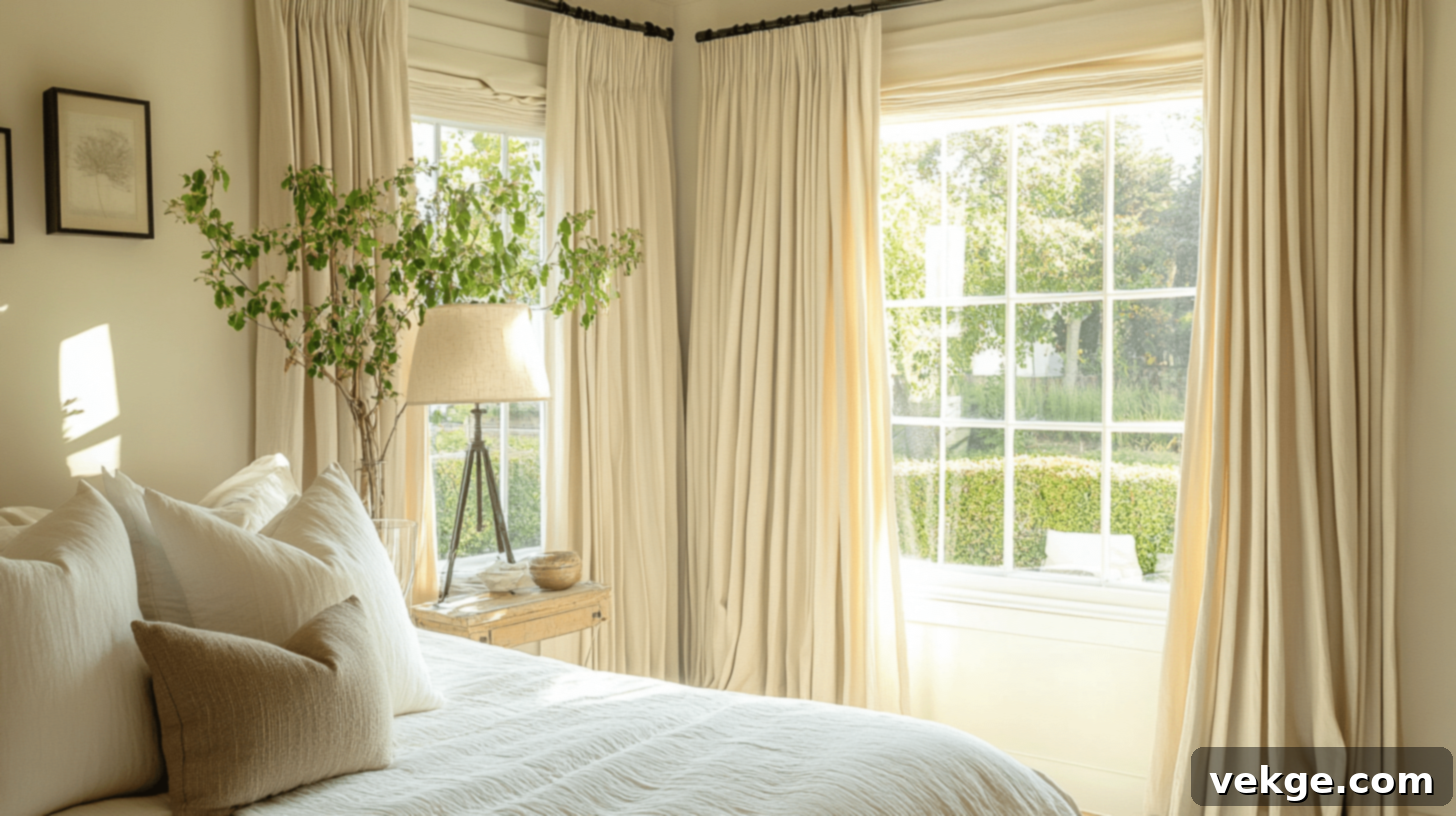
DIY Guide: How to Make Perfect Pleated Curtains for a Polished Home Look
Are your curtains lacking that designer touch, appearing flat and uninspired? As someone who has dedicated years to crafting beautiful curtain pleats, I’m excited to share my wealth of knowledge and best-kept secrets with you. Learning how to create stunning pleated curtains is not as daunting as it might seem, especially once you grasp the fundamental steps and techniques.
In this ultimate DIY guide, I’ll walk you through the entire process, from selecting the right pleat style to the final hanging and styling touches. You’ll discover how to transform ordinary fabric into luxurious, custom-made window treatments that will undoubtedly give any room a sophisticated and polished appearance. Imagine your windows framed by perfectly structured, elegant drapery – that’s the transformation we’re aiming for!
You’ll gain invaluable insights into the essential tools and materials required, master the art of accurate measurement, and follow precise step-by-step instructions to create consistent, long-lasting pleats. Beyond the basics, I’ll also unveil some simple yet effective tricks that I’ve learned over the years to help you skillfully avoid common pitfalls and achieve truly professional results.
By the time you finish reading this comprehensive post, you will possess all the necessary know-how and confidence to confidently create pleats that not only look impeccably clean and crisp but also retain their beautiful shape over time. Say goodbye to dull, lifeless curtains and hello to bespoke elegance!
Ready to embark on this rewarding DIY journey and learn how to make those perfect, enviable pleats? Let’s dive in and elevate your home decor!
An Overview of Different Types of Curtain Pleats
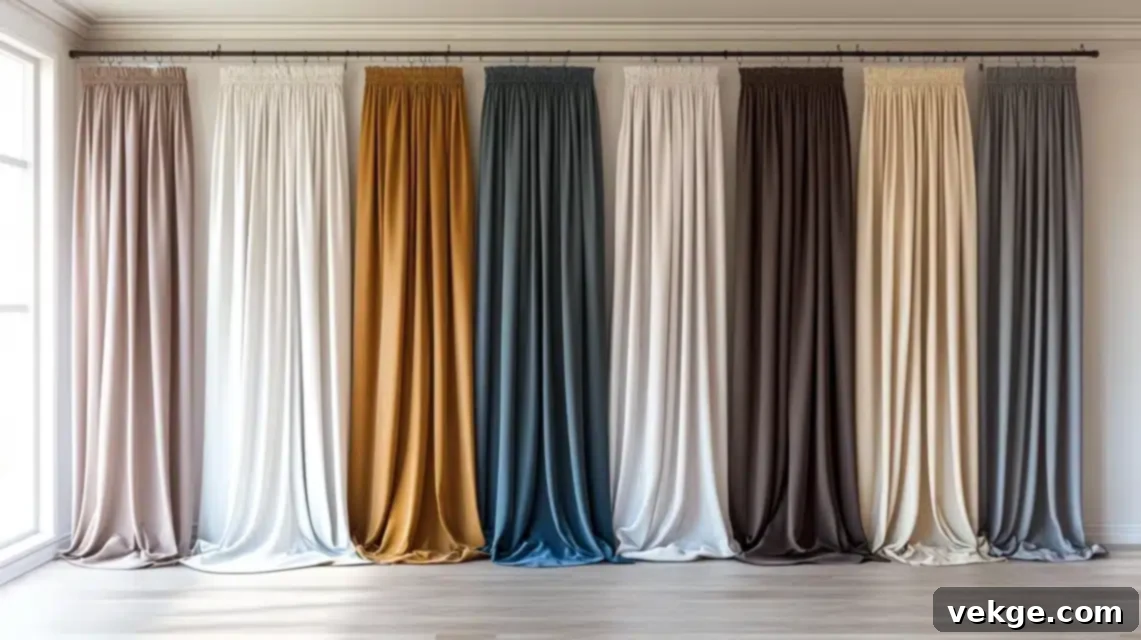
Having worked with a multitude of curtain pleat styles throughout my career, I’ve developed a deep understanding of each type’s unique characteristics and aesthetic appeal. Allow me to guide you through the most popular and versatile pleat styles, helping you decide which one best suits your desired look and functional needs.
- Box Pleats: Box pleats are defined by their crisp, flat, and rectangular folds at the top of the curtain. These pleats create a very structured and tailored appearance, making them an excellent choice for formal living rooms, dining rooms, or home offices. The neat, deep folds ensure your curtains hang in a beautifully straight and architectural manner, adding a sense of grandeur and order to the space. They require more fabric but deliver a truly elegant statement.
- Pinch Pleats (also known as French Pleats): When I create pinch pleats, I gather the fabric into groups of two or three small, individual folds, which are then “pinched” and sewn together at the base of the pleat. This technique allows the fabric to fan out gracefully below the pinch point, adding a timeless and elegant touch to any room. Pinch pleats are incredibly versatile, enhancing both traditional and transitional decor, and are renowned for making windows appear taller and more luxurious.
- Pencil Pleats: As their name suggests, pencil pleats are slender, tightly gathered, and uniformly upright, resembling a row of pencils standing side by side. I often opt for pencil pleats when aiming for a more understated, contemporary, or casual aesthetic. They are particularly well-suited for lighter fabrics such as cotton or linen, providing a clean, neat, and effortlessly modern feel to your windows without overwhelming the space. They are also among the easiest pleats to create and maintain.
- Goblet Pleats: Visualize the elegant shape of a wine glass – that’s precisely the sophisticated silhouette goblet pleats create at the top of your curtain. I reserve these exquisite pleats for highly formal or luxurious spaces, such as grand dining rooms, master bedrooms, or opulent drawing-rooms. The distinct, rounded, cup-like top demands a stiffer fabric with good body to maintain its shape effectively, ensuring a dramatic and opulent drape.
- Cartridge Pleats: Cartridge pleats produce distinct, rounded, tubular folds along the top edge of your curtain, reminiscent of shotgun cartridges. These pleats offer a full, rich, and rather grand appearance, often suggesting classic elegance with a subtle flair. I frequently recommend cartridge pleats for rooms where you desire a touch of unique style and lavishness. They work exceptionally well with thicker, heavier fabrics, which help them hold their bold, sculptural form beautifully.
How to Choose the Right Pleat Style for Your Curtains
Selecting the perfect pleat style is crucial for achieving the desired look and functionality of your window treatments. Drawing from my extensive experience, I want to share the key factors I always consider when advising on or choosing the best pleat for any given situation. Here’s a breakdown of what influences my pleat choices:
- Room Style Matters Most: The overall aesthetic of your room should be the primary guide. For instance, in a traditional or formal setting, I gravitate towards the classic elegance of pinch pleats or the stately presence of box pleats. Their structured appearance complements ornate furnishings and rich textures beautifully. Conversely, for modern, minimalist, or Scandinavian-inspired rooms, I prefer the clean lines and simplicity of pencil pleats or unadorned cartridge pleats, which blend seamlessly with contemporary design elements.
- Think About Your Fabric Choice: The weight, texture, and drape of your chosen fabric significantly impact how a pleat will form and hang. I’ve consistently observed that heavier fabrics, such as velvets, brocades, or thick linen, lend themselves wonderfully to substantial pleats like box pleats or goblet pleats. These styles benefit from the fabric’s inherent stiffness and volume. For lighter, more fluid fabrics like sheer cottons, silks, or light linens, pencil pleats or simple pinch pleats are often the best choice, as they allow the fabric to gather and fall naturally without looking too bulky.
- Window Size and Scale Count: The dimensions of your windows play a vital role in determining the appropriate pleat style. Large, expansive windows can easily accommodate fuller, more dramatic pleats such as cartridge or pinch pleats, which manage a greater volume of fabric gracefully and make a grand statement. For smaller windows or those in compact rooms, I typically suggest more streamlined options like pencil pleats. These prevent the window treatment from overwhelming the space and maintain a sense of balance.
- Consider Your Time Commitment: It’s important to acknowledge that some pleat styles require more intricate construction and ongoing maintenance than others. For clients or friends seeking low-maintenance, easy-care options, I always recommend pencil pleats due to their straightforward design. However, if you’re willing to invest a bit more time in both creation and occasional re-shaping, the refined beauty of goblet or multi-fold pinch pleats can add unparalleled style and sophistication to your home.
- Budget Factors and Fabric Consumption: Your budget is an undeniable factor, especially since the pleat style directly influences the amount of fabric required. I’ve found that fuller styles like box and pinch pleats demand significantly more fabric to achieve their desired fullness and luxurious drape compared to pencil pleats. This consideration becomes particularly important when you’re working with premium or expensive materials, as the fabric cost can escalate quickly. Always factor in fabric consumption early in your planning.
- Desired Light Control: Different pleat styles offer varying degrees of light blocking when the curtains are closed. If your priority is maximum light control and privacy, I recommend choosing fuller pleats such as box or cartridge styles. These pleats are designed to overlap more extensively when drawn, creating a denser barrier against incoming light. For a softer, filtered light, or when layered with sheers, less voluminous pleats like pencil pleats can be perfectly adequate.
Different Methods for Creating Beautiful Curtain Pleats
Once you’ve chosen your ideal pleat style, it’s time to learn how to bring them to life. I’ve outlined three distinct methods for creating curtain pleats, ranging from no-sew options for beginners to more traditional sewing techniques, ensuring there’s a perfect approach for every skill level.
Method 1: No-Sew Pinch Pleats with Pleater Tape
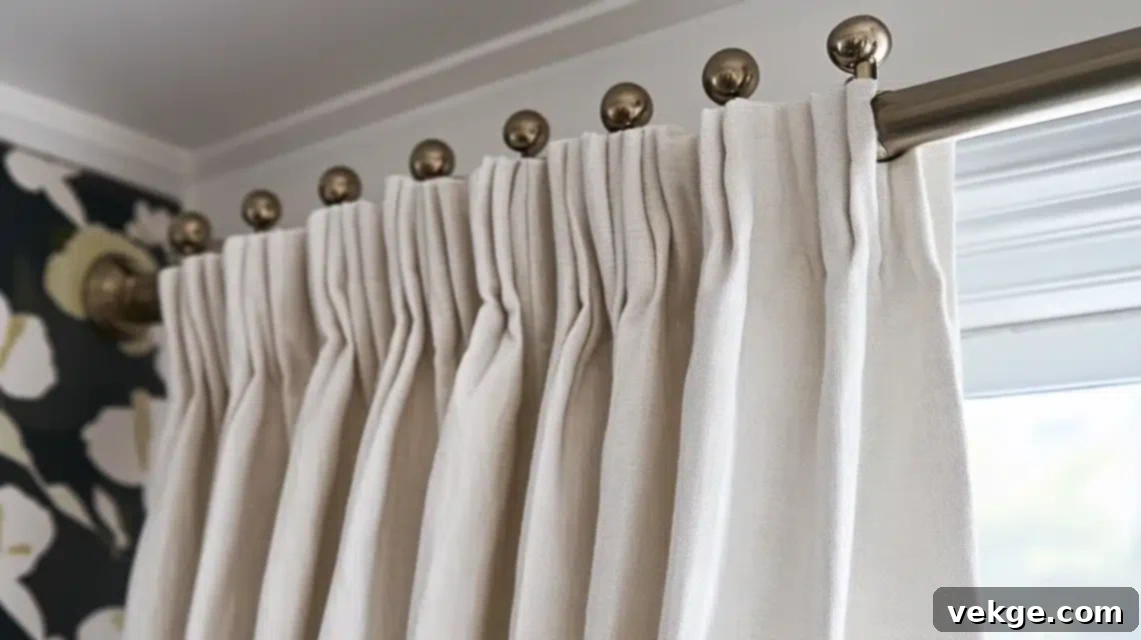
This method is fantastic for those who prefer not to sew or are looking for a quick and easy way to achieve elegant pinch pleats. It’s surprisingly effective and yields beautiful results.
Tools & Materials Required:
For this straightforward method, I always ensure I have self-adhesive or iron-on pleater tape (often called “header tape”), specialized pleat hooks (usually four-prong hooks), a sharp pair of fabric scissors, a reliable measuring tape, and a good iron with a steam function. I also keep an ample supply of sewing pins or fabric clips readily available to help hold everything securely in place as I work, ensuring precision.
Step-by-Step Instructions:
- Prepare Your Curtain and Tape: First, ensure your curtain panel is hemmed and pressed neatly. Then, measure the pleater tape to match the entire top edge of your curtain, adding an extra inch or two on each side for neat finishing. Carefully iron the pleater tape firmly across the very top edge of the curtain, following the manufacturer’s instructions for adhesion. If it’s not iron-on, use a strong fabric adhesive to secure it. I always make sure the tape is perfectly straight and flush with the top edge.
- Positioning the Pleat Hooks: With the pleater tape securely in place, you’ll notice it has small pockets or woven channels. The next crucial step is to insert your pleat hooks into these pockets. I typically start by inserting the hooks at regular intervals, ensuring equal space between each intended pleat. For consistency, I like to mark the precise spots with pins beforehand – this helps in achieving perfectly uniform pleats and a balanced look across the entire curtain width.
- Forming the Pleats: Once the hooks are inserted, gently push the fabric between the prongs of each hook. The pleater tape is designed to help gather the fabric into neat folds. Adjust the fullness of each pleat by sliding the fabric slightly until you achieve your desired look. The hooks will hold the pleats in place, giving you the classic pinch pleat appearance without a single stitch.
- Final Check: Step back and inspect your pleats. Ensure they are evenly spaced and that each pleat has a consistent fullness. Make any minor adjustments by gently pulling or pushing the fabric within the pleater tape.
Method 2: Pleating with Curtain Clips

This is arguably the simplest and most flexible method, perfect for achieving soft, flowing pleats or quick updates. It’s incredibly forgiving and allows for easy adjustments.
Tools & Materials Required:
For this incredibly adaptable method, I primarily rely on a sufficient number of high-quality curtain clips (the ones with a small ring attached), a flexible measuring tape, and a fabric pencil or tailor’s chalk for precise marking. To ensure my folds are perfectly straight and uniform, I also frequently use a long ruler or a straight edge as a guide.
Step-by-Step Instructions:
- Calculate and Mark Pleat Positions: Begin by deciding on your desired pleat width and the spacing between each pleat. I meticulously mark where each pleat will commence on the top edge of the curtain using my fabric pencil. For a polished look, aim for consistent distances and symmetrical placement across the entire panel.
- Create Even Folds: Once marked, I carefully gather the fabric at each marked point, creating a fold. It’s essential to maintain a consistent depth and width for each fold to ensure uniformity. I use my fingers to press and shape the fabric into a neat pleat.
- Secure with Clips: After forming each pleat, I firmly attach a curtain clip to the gathered fabric at the top. Ensure the clip grips enough fabric to hold the pleat securely without slipping. The clip effectively holds the pleat in its desired shape, and the attached ring will then slide onto your curtain rod.
- Refine and Adjust: Once all clips are in place and the curtain is hung, take the time to gently pull and adjust each pleat. This method allows for easy tweaking of the pleat’s fullness and spacing, giving you full control over the final aesthetic.
Method 3: Sewing Pinch Pleats
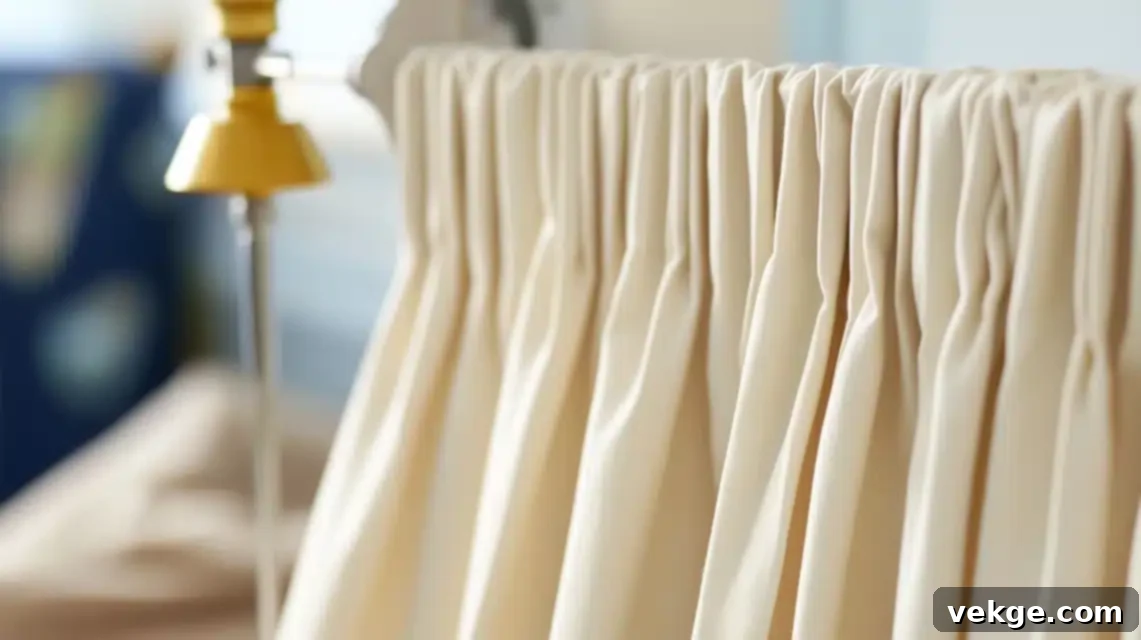
For the most professional, durable, and custom-tailored look, sewing pinch pleats is the gold standard. While it requires a bit more skill, the results are truly unmatched.
Tools & Materials Required:
To embark on this more advanced but highly rewarding method, I ensure I have high-quality sewing thread that matches my fabric, a variety of sharp sewing needles, plenty of sturdy pins, a good pair of fabric scissors, a precise measuring tape, and, ideally, a reliable sewing machine. My iron is always at the ready, along with a pressing cloth, to achieve perfectly crisp pleats.
Step-by-Step Instructions:
- Precise Marking of Pleats: This is where meticulous planning pays off. I begin by carefully measuring and marking the exact positions of each pleat on the reverse side of the curtain fabric’s top edge. I consider the desired fullness, the number of pleats, and the spaces between them. Using a fabric pen or chalk ensures my marks are clear and accurate, setting the foundation for uniform pleats.
- Folding and Pinning Each Pleat: Next, I take the marked sections of fabric and fold them into the desired pleat style (e.g., two or three small folds for a pinch pleat). Each fold is then meticulously pinned in place, ensuring it is straight, even, and consistent with the others. I use multiple pins for each pleat to prevent shifting during the sewing process.
- Sewing the Pleats: Once all pleats are folded and securely pinned, I move to the sewing machine. I stitch a vertical line from the top edge downwards, usually about 3-4 inches, through all layers of the gathered fabric at the base of each pleat. It’s crucial that my stitches are consistently even and robust to hold the pleat’s structure. After sewing each pleat, I immediately press it with an iron to set the fold, creating a crisp, professional finish.
- Reinforce and Finish: For extra durability, I often add a small backstitch at the beginning and end of each sewn pleat line. After sewing, you might consider hand-tacking the top of the individual folds within a pinch pleat to create that distinct ‘pinched’ look, or securing curtain hooks directly into the sewn pleat base.
How to Hang Your Beautifully Pleated Curtains for Optimal Impact
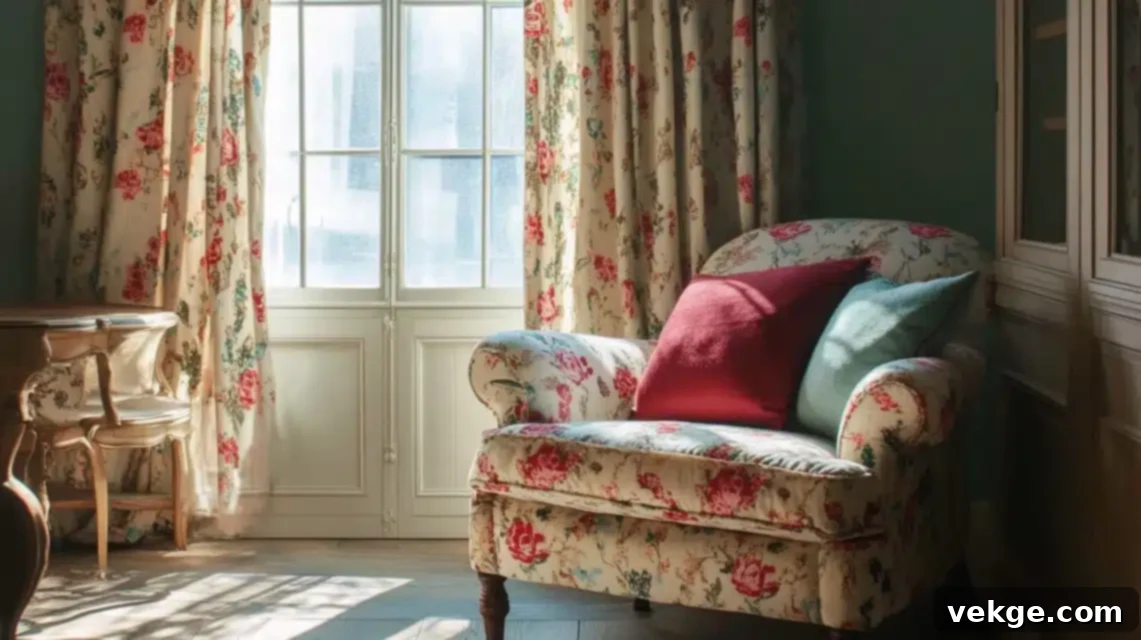
Even the most perfectly crafted pleated curtains won’t look their best if hung incorrectly. Proper installation is key to achieving that high-end, custom look. Here’s my detailed approach to hanging pleated curtains to maximize their visual appeal:
- Measure Your Window Precisely: The first and most critical step is to accurately measure your window. For width, I always measure the actual window frame and then add an extra 6-12 inches on each side. This additional width allows the curtains to stack back fully when open, ensuring maximum light entry and making the window appear larger. For height, measure from your intended rod placement down to where you want the curtains to end (e.g., sill length, floor length, or pooling slightly on the floor).
- Strategically Choose Your Rod Height: A common designer trick I employ is to install the curtain rod significantly higher than the window frame. Typically, I aim for 4-6 inches (or even more, up to 12 inches) above the top of the window frame. This creates an illusion of greater ceiling height and more expansive windows. Additionally, the rod should extend approximately 3-5 inches past each side of the window frame to allow the curtains to clear the window when open.
- Verify Your Hardware Strength: Pleated curtains, especially those made from heavier fabrics with substantial fullness, can be quite weighty. Before installation, I always meticulously check that the curtain rod and its mounting brackets are robust enough to securely hold the combined weight of the curtains. For optimal stability and to prevent sagging or pulling out of the wall, I strongly recommend using appropriate wall anchors with all bracket screws, particularly in drywall.
- Prepare Your Curtains for Hanging: Prior to lifting them onto the rod, I perform a final, thorough inspection of all my pleats. I carefully straighten each fold, ensuring the spacing looks perfectly even and consistent across both panels. If using specific curtain hooks that attach to rings, I count the number of rings on my rod and ensure I have enough hooks, spaced correctly, to match the pleats. This pre-check prevents frustration during the actual hanging process.
- The Gentle Hanging Process: I always recommend starting from one end of the curtain rod and carefully attaching each pleat or hook one by one. Work slowly and methodically to prevent the fabric from tangling or pleats from becoming dislodged. If you’re using clip rings, first thread all the rings onto the rod, then meticulously clip each curtain pleat to its corresponding ring, ensuring uniform spacing.
- Adjust and Perfect Each Pleat: Once both curtain panels are fully hung, take the time to meticulously adjust each individual pleat. I ensure that all pleats face the same direction, fall straight, and maintain their crisp, defined shape. Sometimes, gently using my hands to “train” the pleats and help them fall naturally into their intended folds can make a significant difference.
- Final Touches and Symmetry Check: Step back from your windows frequently to assess that both curtain panels look perfectly balanced and symmetrical. If necessary, make small adjustments to the rod ends or the spacing of the pleats to achieve an even hang. Finally, gently “train” the pleats by loosely tying them with soft strips of fabric for a day or two, which helps them remember their perfect form and fall beautifully.
Best Finishing Touch Options for Pleated Curtains
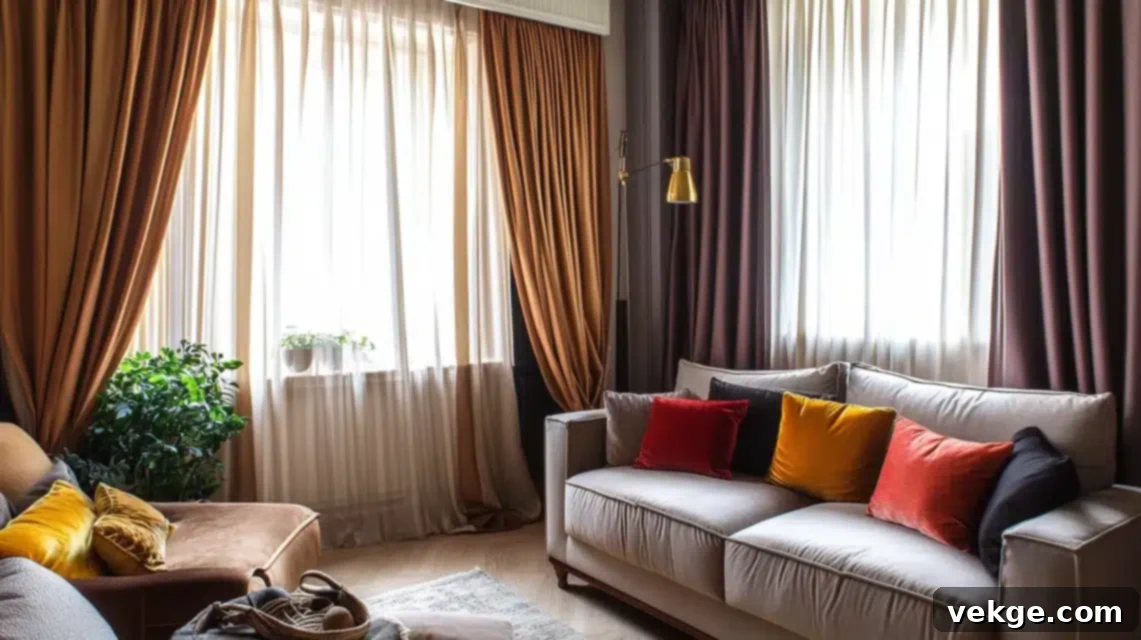
The magic of truly professional-looking pleated curtains lies in the details. These finishing touches are what elevate your DIY project from good to absolutely stunning, ensuring your pleats look crisp, hang beautifully, and stay in shape for years to come.
1. Steam Pressing for Crisp Folds: Once your curtains are carefully hung, I highly recommend a thorough steam pressing. Using a good quality handheld steamer, I work meticulously from the top of each pleat down to the bottom. The gentle heat and moisture from the steam not only help to permanently set the folds, giving them incredible crispness and definition, but also effortlessly release any lingering wrinkles or creases that might have occurred during handling. Always hold the steamer approximately six inches from the fabric to prevent water spots or heat damage.
2. Training Your Pleats for Perfect Drape: To ensure your pleats fall perfectly and maintain their elegant shape over time, a technique called “pleat training” is indispensable. I achieve this by gently gathering and tying the newly formed pleats together loosely with soft strips of scrap fabric or ribbon, forming several vertical bundles along the curtain. I leave these ties in place for at least 24 to 48 hours. This gentle compression helps to “memorize” the pleats’ desired form, encouraging them to fall with a consistent and beautiful drape every single time you open or close them.
3. Adding Hem Weights for a Smooth Fall: To give curtains a luxurious, weighted feel and ensure they hang perfectly straight and smooth, I frequently sew small drapery weights into the bottom corners of the hem. These discreet lead or fabric-covered weights provide just enough ballast to keep the fabric from flaring out or moving excessively. They are particularly effective at preventing curtains from blowing around in a breeze when windows are open, maintaining an elegant, undisturbed line.
4. Flawless Hem Finishing: A perfectly finished hem is the hallmark of high-quality curtains. After hanging, I take the time to meticulously press the bottom hem with an iron, ensuring it lies completely flat and presents a clean, even line across both curtain panels. I inspect for any minor imperfections; sometimes, a few hand stitches are needed to secure any loose areas or to ensure the hem hangs flawlessly without any puckering or unevenness.
5. Utilizing Pleat Clips for Structure: For added structure and to help new pleats retain their defined shape, especially with softer fabrics, I sometimes use special, subtle pleat clips. These small, unobtrusive clips are designed to hold the folds firmly in place near the top of the curtain, often hidden behind the pleat itself. I typically leave them in for a few days or even up to a week until the fabric has “set” into its pleating, then remove them for a natural, polished look.
6. Incorporating Elegant Tiebacks: Tiebacks are not just functional; they are powerful styling tools that can dramatically enhance the appearance of your pleated curtains. When I wish to beautifully frame a window and allow maximum light, I strategically add tiebacks. I place them approximately two-thirds of the way down from the curtain rod. This placement creates a gentle, graceful sweep in the fabric, elegantly holding the curtains open without distorting or pulling the carefully crafted pleats out of shape.
7. Consistent Regular Care: Maintaining the beauty of your pleated curtains requires simple but consistent care. I make it a habit to gently brush my pleated curtains weekly with a soft, lint-free cloth or a handheld fabric brush. This routine task effectively removes accumulated dust and helps to maintain the crispness and definition of the pleats. Additionally, I take a moment to adjust any folds that might have shifted or lost their shape slightly during the week, ensuring they always look their best.
Creative Styling & Inspiration Ideas for Pleated Curtains
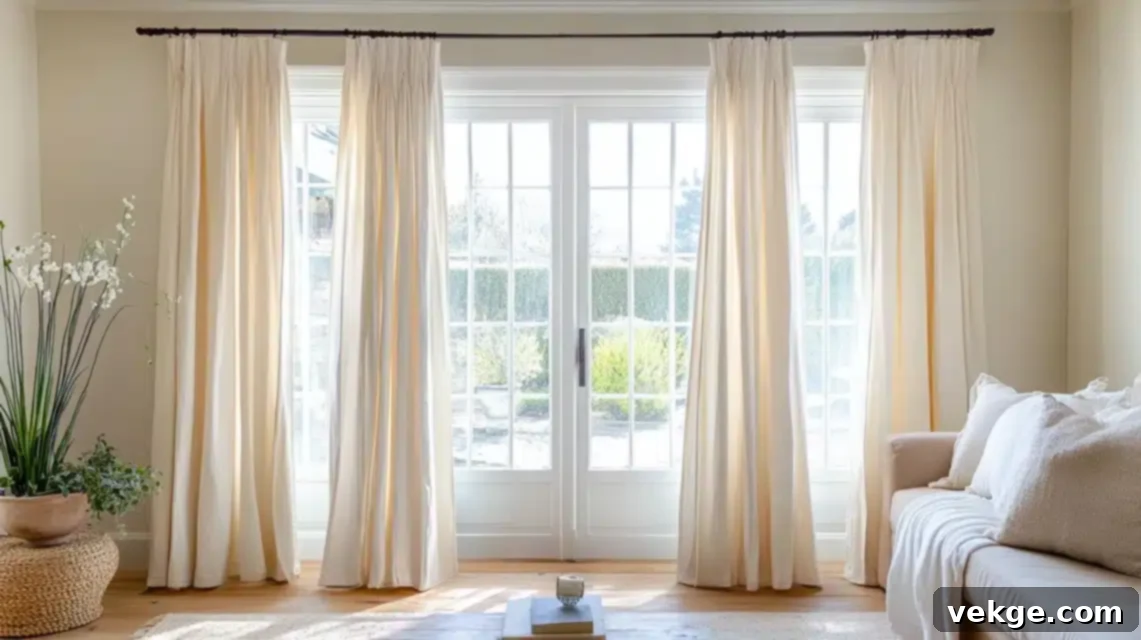
Pleated curtains are incredibly versatile and can be styled in numerous ways to suit any interior design aesthetic. Here are some of my favorite styling and inspiration ideas, along with approximate budget ranges for each, to help you envision the perfect look for your home:
1. Classic Double Panels ($100-$300+)
For a truly timeless and balanced aesthetic, I frequently advocate for using two full panels of pinch-pleated curtains on each side of wide windows. This classic configuration offers a sense of grandeur and symmetry, providing excellent coverage and framing the view beautifully. The inherent fullness and structured drape of double panels make windows appear more substantial and luxurious without ever feeling overdone. This style is particularly effective in living rooms and master bedrooms.
2. Floor-Length Elegance ($150-$400+)
My absolute favorite look is when curtains just graze the floor, perhaps with a slight “break” of an inch or two. This length exudes sophisticated elegance and works seamlessly in both relaxed and formal environments. To achieve this, it’s paramount that the pleats remain impeccably crisp and defined from the very top to the bottom hem, creating an uninterrupted, clean vertical line that enhances the room’s height. This versatile look is ideal for almost any room.
3. Side Panel Accent ($75-$200+)
When a full window treatment isn’t necessary, or if you’re working with a tighter budget, using single pleated panels as decorative side accents can be wonderfully effective. I often suggest this approach to frame windows without obstructing too much natural light. These panels, typically stationery, add a pop of color, texture, and tailored sophistication, making the window look effortlessly put together while saving on fabric and cost. Perfect for smaller windows or rooms where light is precious.
4. Layered Look for Depth and Function ($200-$500+)
One of the most versatile and functional styling choices is to layer pleated panels over sheer curtains or blinds. This combination offers superior flexibility in light control and privacy throughout the day. The sheers can filter harsh sunlight while maintaining an airy feel, while the pleated panels, when drawn, provide complete privacy and add a rich layer of style and insulation. This multi-dimensional approach adds depth and visual interest to any window.
5. High-Mount Style for Elevated Ceilings ($125-$350+)
To create a dramatic illusion of height and make a room feel more spacious, I always recommend hanging pleated curtains as close to the ceiling as possible. This design trick works exceptionally well in spaces with standard-height ceilings, drawing the eye upwards and elongating the room’s vertical lines. The strong vertical emphasis of the pleats further reinforces this elevated aesthetic, making your windows and room feel grander.
6. Pattern Play for Visual Interest ($175-$450+)
Don’t shy away from patterns! I love selecting patterned fabrics for pleated curtains to infuse a room with personality and visual intrigue. Whether it’s classic stripes, subtle geometric prints, a delicate floral, or a richly textured material, patterns can transform simple pleats into extraordinary design statements. The beauty of pleats ensures that the pattern is displayed in graceful, undulating folds, which are often best appreciated in natural light, adding dynamic depth to your decor.
Conclusion: Your Journey to Perfect Pleated Curtains
Crafting beautiful, professional-looking pleated curtains is a rewarding endeavor that can profoundly transform the ambiance and style of your home. While it certainly takes a bit of practice and patience, I am confident that with the detailed guidance and expert tips I’ve shared, you are now well-equipped to create the perfect pleats for your windows.
Remember to thoughtfully choose the pleat style that best complements your room’s aesthetic, take your time with accurate measurements, and always pay close attention to those crucial finishing touches. Don’t be discouraged if your initial attempts aren’t absolutely flawless. Even the smallest adjustments and refinements can make a monumental difference in the overall appearance of your curtains, elevating them from homemade to custom-tailored masterpieces.
Your first try might not be perfect, but every stitch and fold is a step towards mastery. Keep at it, and you’ll soon be admiring your handiwork!
Do you have more questions about home decor or want to share your own experiences with pleating curtains? Please feel free to leave a comment below! I love hearing from fellow DIY enthusiasts and sharing insights.
Additionally, for a steady stream of fresh home styling ideas, exclusive tips, and weekly updates, consider signing up for my newsletter. Let’s continue to create beautiful homes together!
Frequently Asked Questions About Pleated Curtains
What is the Difference Between French Pleats and Pinch Pleats?
This is a common question, and I’m happy to clarify! French pleats and pinch pleats are actually two different names for the exact same style of pleat. Both terms refer to the classic, elegant pleat where the fabric is gathered into groups of two or three small folds that are then “pinched” and stitched together a few inches from the very top edge of the curtain. This technique causes the fabric to fan out gracefully below the pinched point, creating a full, tailored, and luxurious look that is timeless and widely admired in home decor.
How Do You Calculate Fabric for Pleated Curtains?
Calculating the correct amount of fabric is crucial for achieving the right fullness. A good rule of thumb I use is to multiply your finished window width by a fullness factor. For standard, attractive pleats, I typically multiply the window width by 2.5 (e.g., a 40-inch wide window needs 40 x 2.5 = 100 inches of fabric width). If you desire a much fuller, more luxurious, or opulent look, I recommend a fullness factor of 3 (e.g., 40 x 3 = 120 inches). Always remember to add extra inches to this calculated width for side hems (typically 2-4 inches per side) and ensure you have enough length for top and bottom hems (often 6-12 inches total, depending on your hem style).
How Do I Ensure My Pleats are Even and Professional-Looking?
Achieving even, professional-looking pleats comes down to meticulous preparation and consistency. Here are my top tips: First, always precisely mark your pleat positions on the fabric before you begin folding – using a fabric pen or chalk is essential. Second, I recommend using a ruler or even a specialized pleating tape to accurately measure the width and depth of each pleat, ensuring they are identical. Third, pin each pleat securely in place before sewing or attaching clips; this prevents shifting. Finally, pressing each pleat with a good iron after forming and before or after sewing is key to setting the shape and creating those crisp, defined folds that scream professional quality.
