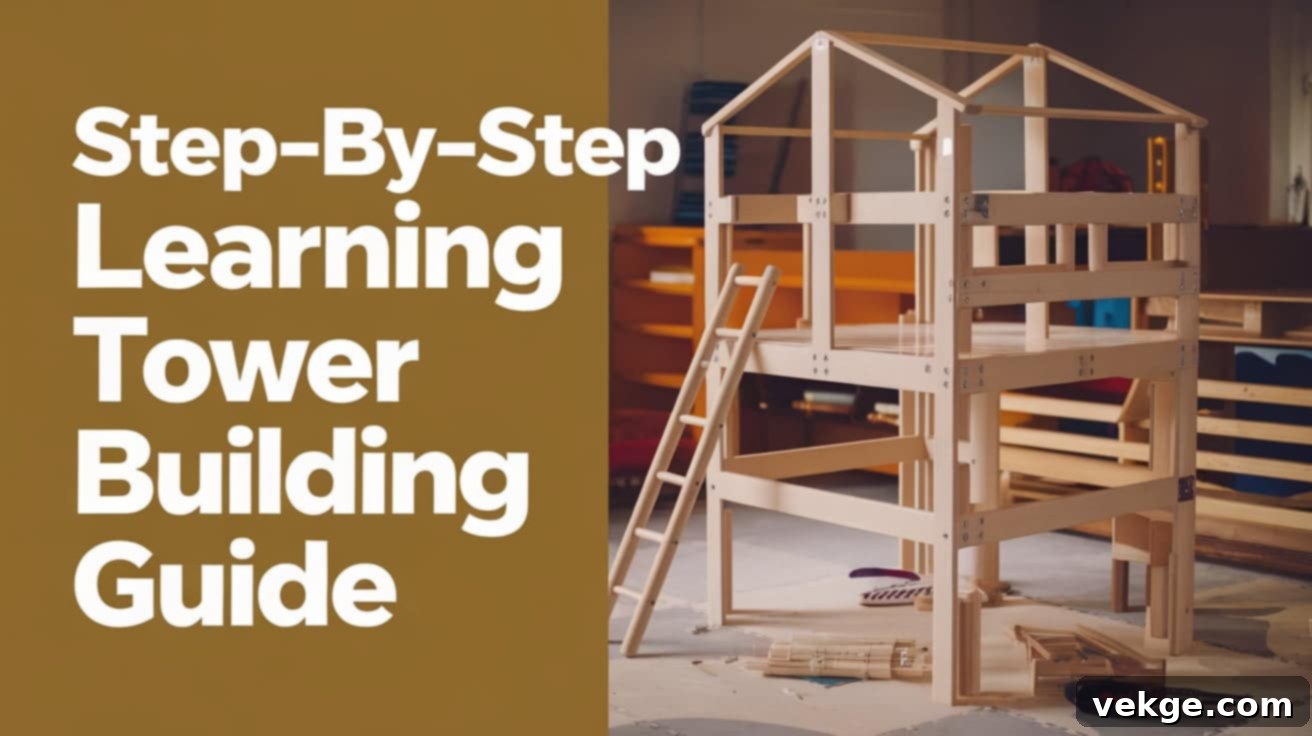
DIY IKEA Learning Tower: Build a Safe & Engaging Kitchen Helper for Your Toddler
Do you dream of a kitchen where your toddler can safely participate in daily tasks, transforming meal prep from a challenge into a joyous learning experience? A learning tower might be the perfect solution you’ve been searching for.
This ingenious raised platform, complete with secure safety rails, elevates your little one to counter height, allowing them to engage with activities typically out of their reach. It’s more than just a stool; it’s a gateway to independence, skill development, and invaluable family bonding in the heart of your home.
Parents worldwide are discovering that learning towers are instrumental in fostering children’s confidence and practical abilities. Instead of relegating toddlers to the sidelines of kitchen activities, these towers create a secure and accessible space for them to observe, assist, and grow alongside adults. This active participation aligns perfectly with child development principles, encouraging a love for learning and a sense of contribution from an early age.
While various companies offer pre-built learning towers, often at a premium price, constructing one yourself using an affordable IKEA BEKVÄM step stool presents a highly cost-effective and rewarding alternative. This DIY approach not only saves money but also allows for personalization, ensuring the tower perfectly fits your family’s needs and aesthetic.
Join us as we explore the journey of creating this indispensable tool. Discover how to build a sturdy, safe, and functional learning tower that beautifully supports your child’s innate curiosity and natural desire to learn and help, transforming your kitchen into a hub of discovery and collaboration.
What Exactly is a Learning Tower? Understanding the Montessori Connection
At its core, a learning tower is a specially designed raised platform that safely brings children to the level of kitchen counters or other work surfaces. Its defining features include protective sides and a stable, wide base, which are crucial differentiators from ordinary step stools. Unlike a simple stool that offers elevation but lacks secure boundaries, a learning tower ensures your child is safely enclosed, reducing the risk of falls and providing peace of mind for parents.
This thoughtful design is deeply rooted in Montessori educational philosophies, which champion the importance of involving children in real-world, practical activities. The Montessori approach posits that children learn most effectively when they are actively engaged in meaningful tasks alongside adults, rather than being passively observed or confined to child-specific play areas. A learning tower embodies this principle, enabling children to experience the satisfaction of contributing to household chores and developing essential life skills in a natural, hands-on environment.
Unlocking Potential: Key Benefits of Using a Learning Tower

The advantages of integrating a learning tower into your home extend far beyond mere convenience. They represent a significant investment in your child’s holistic development, fostering skills that will serve them for years to come.
- Boosted Independence and Confidence: When children can independently reach counters and work surfaces, their confidence soars. The learning tower provides a secure personal space where they can practice new skills—like stirring, washing, or pouring—without the constant need for direct physical support from a parent. This autonomy empowers them to tackle challenges and fosters a strong sense of self-reliance.
- Active Participation in Daily Life: Working at counter height allows children to seamlessly participate in a wide array of kitchen activities. They can assist in washing fruits and vegetables, mixing ingredients for baking, setting the table, or simply observing how meals are prepared. This involvement not only teaches practical skills but also makes them feel like valued members of the family unit, strengthening bonds and communication.
- Enhanced Motor Skill Development: The physical act of climbing into and standing securely within the tower naturally builds gross and fine motor skills, as well as balance and coordination. Children learn to navigate their bodies, refine hand-eye coordination through tasks like pouring and stirring, and develop core strength in a stable and safe environment.
- Cognitive and Language Growth: Kitchen activities offer rich opportunities for cognitive and language development. Children learn about numbers (counting ingredients), colors, textures, cause and effect (ingredients changing with heat), and sequences. Engaging in conversation about these activities expands their vocabulary and comprehension.
- Fostering Practical Life Skills: Beyond cooking, the tower facilitates other practical life skills such as washing hands properly, cleaning up spills, and organizing items. These are fundamental skills that prepare them for greater independence and responsibility.
When is Your Child Ready? Age Recommendations for Learning Towers
While every child develops at their own pace, most children typically begin using learning towers effectively between the ages of 18 months and 7 years old. The ideal starting age is primarily determined by a child’s individual physical abilities, stability, and overall maturity, rather than a strict chronological age.
To determine if your child is ready, look for several key developmental milestones. These include: steady and confident walking without assistance; the ability to climb stairs with some support; and the capacity to understand and follow simple verbal directions. Crucially, your child should also display a genuine interest in joining counter-height activities, showing curiosity about what you’re doing in the kitchen and wanting to be involved. If they exhibit these signs, they are likely ready to safely enjoy the benefits of a learning tower.
Constructing Your Own IKEA Learning Tower: A Detailed Guide
Transforming a simple IKEA BEKVÄM step stool into a functional learning tower is a popular and rewarding DIY project. It combines affordability with customization, resulting in a robust and child-friendly piece of furniture.
Gathering Your Toolkit: Essential Materials Needed
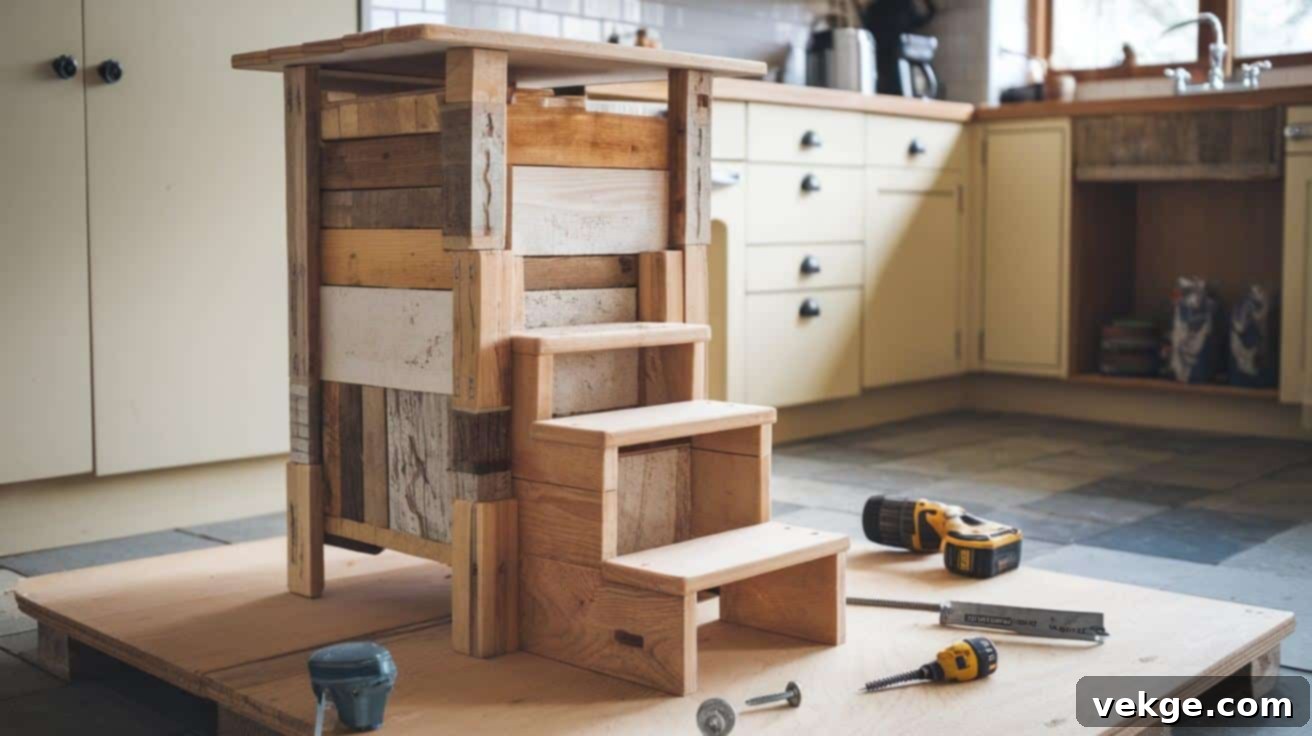
The foundation of this project is the versatile IKEA BEKVÄM step stool, readily available and budget-friendly. Beyond this base, you’ll need a selection of additional materials to create the safety structure. High-quality plywood or other suitable wood for constructing the protective sides and rails is essential for durability and safety. You’ll also require wood screws for secure fastening and basic woodworking tools such as a drill for making pilot holes and driving screws, and a saw (like a jigsaw or circular saw) for precise cuts.
To personalize your learning tower and integrate it seamlessly with your home decor, consider paint or wood stain. These finishes also provide an extra layer of protection to the wood. For an added layer of safety, particularly for younger children, incorporating non-slip strips on the steps is highly recommended. These small additions significantly reduce the risk of slips and falls, making the tower even more secure for active toddlers.
A Step-By-Step Building Guide: From Stool to Tower
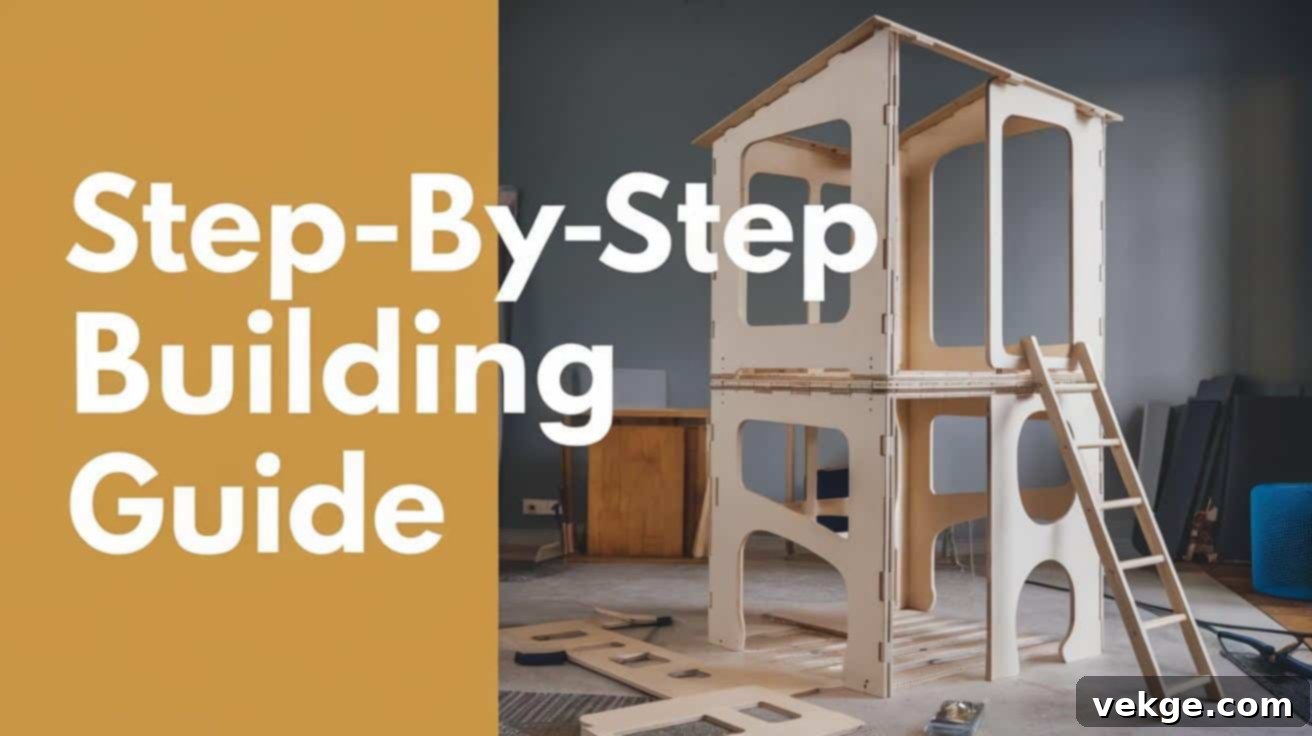
Follow these detailed steps to expertly construct your IKEA BEKVÄM learning tower, ensuring a safe, sturdy, and aesthetically pleasing result.
STEP 1: Gather Materials and Prepare Your Workspace
Before beginning, ensure you have all necessary materials on hand. This includes a durable sheet of plywood, preferably maple for its strength and smooth finish, along with other essential supplies like a jigsaw (for intricate cuts), appropriate wood screws, strong wood glue, a router (for smoothing edges), and various grits of sandpaper. Prepare a clean, well-lit, and organized workspace. Safety is paramount, so ensure you have proper personal protective equipment, such as safety glasses and hearing protection, ready for use.
STEP 2: Accurately Cut the Main Panels
Begin by using a circular saw to roughly cut the plywood into more manageable sections. This makes it easier to handle and allows for more precise subsequent cuts. Carefully follow a pre-designed template or diagram to ensure all parts, especially the side panels, are cut to accurate dimensions. Paying close attention to these initial cuts will minimize material waste and guarantee that all components fit together perfectly in later stages. Double-check measurements before cutting.
STEP 3: Smooth and Refine All Edges for Safety
Once your panels are cut, it’s critical to smooth all edges. Use a belt sander for initial shaping and removing any rough saw marks, followed by a random orbital sander for a finer, splinter-free finish. For child safety, it’s imperative to round all corners. This can be achieved with a router fitted with a round-over bit, or by hand-sanding until all sharp points are eliminated. Smooth edges prevent scrapes and snags, making the tower much safer for little hands.
STEP 4: Craft the Identical Side Panels
Design and cut two identical side panels that will form the main structural support of your tower. Use a jigsaw to create any decorative shapes or handle cutouts you desire in the design. These handles are not just aesthetic; they provide a natural gripping point for children climbing in and out. After cutting, sand and refine the panels meticulously with a file and sandpaper to achieve a polished, smooth finish, paying extra attention to the handle cutouts.
STEP 5: Prepare Connecting Support Pieces
Cut additional support boards that will serve as the back, platform, and step of the learning tower. For added aesthetic appeal and child-friendliness, consider incorporating slight curves into the design of these pieces. Once cut, use a round-over bit on your router to thoroughly smooth all edges of these connecting pieces. This critical step eliminates sharp edges and creates a comfortable, child-safe surface everywhere your child might touch.
STEP 6: Assemble the Core Tower Structure
Carefully attach the two side panels to the support pieces using high-quality wood screws and threaded inserts. Threaded inserts provide a stronger, more reliable connection than screws directly into wood, especially if you plan to disassemble the tower for cleaning or transport. Ensure that all parts are perfectly aligned and securely fastened. The goal is to create a robust and sturdy structure that can withstand enthusiastic use, while also allowing for easy removal of parts if an adjustable platform is desired.
STEP 7: Integrate Adjustable Platform Strips (Optional but Recommended)
To make the learning tower adaptable as your child grows, attach strips of wood inside the side panels at various heights. These strips will support the adjustable platform. Secure them firmly with a combination of wood glue, small nails, and screws for long-lasting durability. This feature allows you to lower or raise the platform, ensuring your child always has safe and ergonomic access to the counter height.
STEP 8: Apply Finish and Final Assembly
Before final assembly, apply your chosen finish to all wooden components. Danish oil is an excellent choice for highlighting the natural wood grain and providing a rich, protective layer. After the oil has dried, apply several coats of polyurethane for enhanced durability, moisture resistance, and a smooth, easy-to-clean surface. Once the finish is completely cured, reassemble the tower. Install the adjustable platform at the appropriate height for your child, ensuring it is locked securely into place. Your custom IKEA learning tower is now ready for use!
Visual Aid: Learning Tower Video Tutorial
For a detailed visual guide and practical tips, we highly recommend checking out this comprehensive video tutorial by Make It Now. This video will walk you through each step, ensuring you build your learning tower with confidence and precision.
Safety First: Crucial Guidelines for Using a Learning Tower
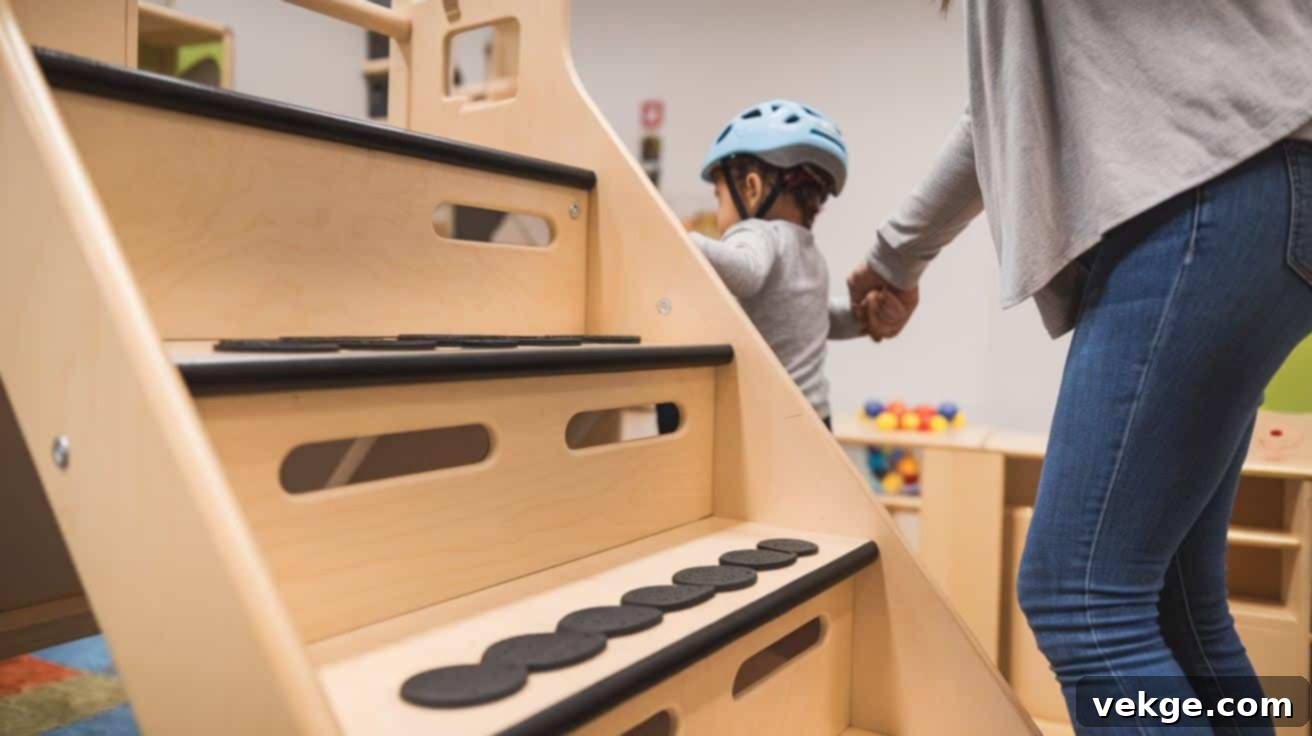
While a learning tower is designed with safety in mind, responsible use and constant vigilance are paramount to prevent accidents and ensure your child’s well-being. Adhering to essential safety features and supervision guidelines will allow your child to enjoy their tower safely.
Ensuring Essential Safety Features are in Place
Before each use, always perform a quick check to ensure that all parts of the learning tower are firmly attached and stable. Look for any loose screws, wobbly joints, or signs of wear and tear that might compromise its structural integrity. For proper support and to prevent falls, the protective rails of the tower should ideally reach your child’s chest height. This prevents them from leaning too far over the sides or climbing out inadvertently. Adjust the platform height as your child grows to maintain this critical safety measure.
Strategic placement of the tower is also vital. Always position it away from potential hazards such as hot stoves, sharp knives, electrical outlets, or any other dangerous kitchen implements. The tower should be placed in an area where you can easily supervise your child’s activities, maintaining clear lines of sight and quick access to them at all times. Avoid placing it near open windows or anything that could be pulled down onto the child.
Strict Supervision Guidelines for Active Use
The most important rule for learning tower use is: always stay within arm’s reach of your child. Never leave a child unattended in the learning tower, even for a moment. Actively supervise their actions, ready to intervene if needed. Teach them how to climb in and out safely, emphasizing the use of proper hand holds and encouraging slow, deliberate movements. Practice this routine with them multiple times until they are confident and capable.
Establish and consistently enforce clear rules about behavior while in the tower. Remind children that the tower is for standing and assisting, not for climbing on the rails, leaning excessively over the sides, or engaging in rough play. Explain these rules calmly but firmly, and reinforce them with positive praise when they are followed. Consistency in supervision and rule enforcement will build safe habits and ensure the learning tower remains a secure and positive environment for your child.
Expenses and Cost Considerations: DIY vs. Store-Bought

One of the most compelling reasons to build your own learning tower is the significant cost savings compared to purchasing a pre-made model. Understanding the financial breakdown and long-term value can help you appreciate this worthwhile DIY project even more.
1. Detailed Cost Breakdown of Your DIY Learning Tower
Building your own IKEA learning tower offers substantial financial advantages over buying ready-made versions. The foundational cost begins with the IKEA BEKVÄM step stool itself, which is typically priced around $20-25. This affordable base provides an excellent starting point for your project, offering a sturdy and well-designed foundation.
The additional materials required to complete your tower, such as quality wood for the safety rails, various screws, wood glue, paint or stain, and optional non-slip strips for enhanced safety, will generally add an estimated $30-40 to your total expenses. This budget accounts for good quality lumber and finishing products. When you sum these costs, the complete DIY learning tower project typically amounts to a total of approximately $60-70. This figure is a fraction of the cost of store-bought towers, which frequently range anywhere between $150 and $300, and sometimes even higher for premium models.
2. Understanding the Long-Term Value and Return on Investment
Considering how frequently your child will use the learning tower, this DIY investment truly makes financial sense. Many families report using their learning towers daily, sometimes multiple times a day, for several years. This high frequency of use dramatically reduces the “cost per use” to a very small amount, making it an incredibly valuable addition to your home.
Thanks to the sturdy construction of the IKEA BEKVÄM base and the use of quality materials for the additions, a well-built DIY tower is designed to last. It can comfortably serve through multiple children in a family, offering enduring utility. Furthermore, these durable towers often become cherished hand-me-downs, passed on to younger siblings or other families, extending their value and usability even further, embodying sustainability and practicality.
3. Minimal Maintenance and Potential Upgrades
The beauty of a DIY learning tower also lies in its low long-term maintenance costs. Basic care, such as occasional cleaning, will keep it looking great. You might only need to consider a touch-up of paint or a replacement of non-slip strips every few years, which are minor expenses. Some creative families also choose to add simple, functional upgrades like a chalkboard side panel for drawing or small storage pockets for craft supplies, typically costing an extra $10-20. These additions can enhance the tower’s versatility without significantly increasing the overall investment.
Before adding extra elements, carefully consider your kitchen space and your family’s specific needs. Often, simpler designs prove to be the most effective and least cluttered, especially in smaller kitchens. Regular cleaning and basic care are generally sufficient to protect your investment and ensure the tower remains functional and beautiful for years to come, without incurring significant ongoing costs.
Maximizing the Learning Tower Experience: Enriching Your Child’s Growth
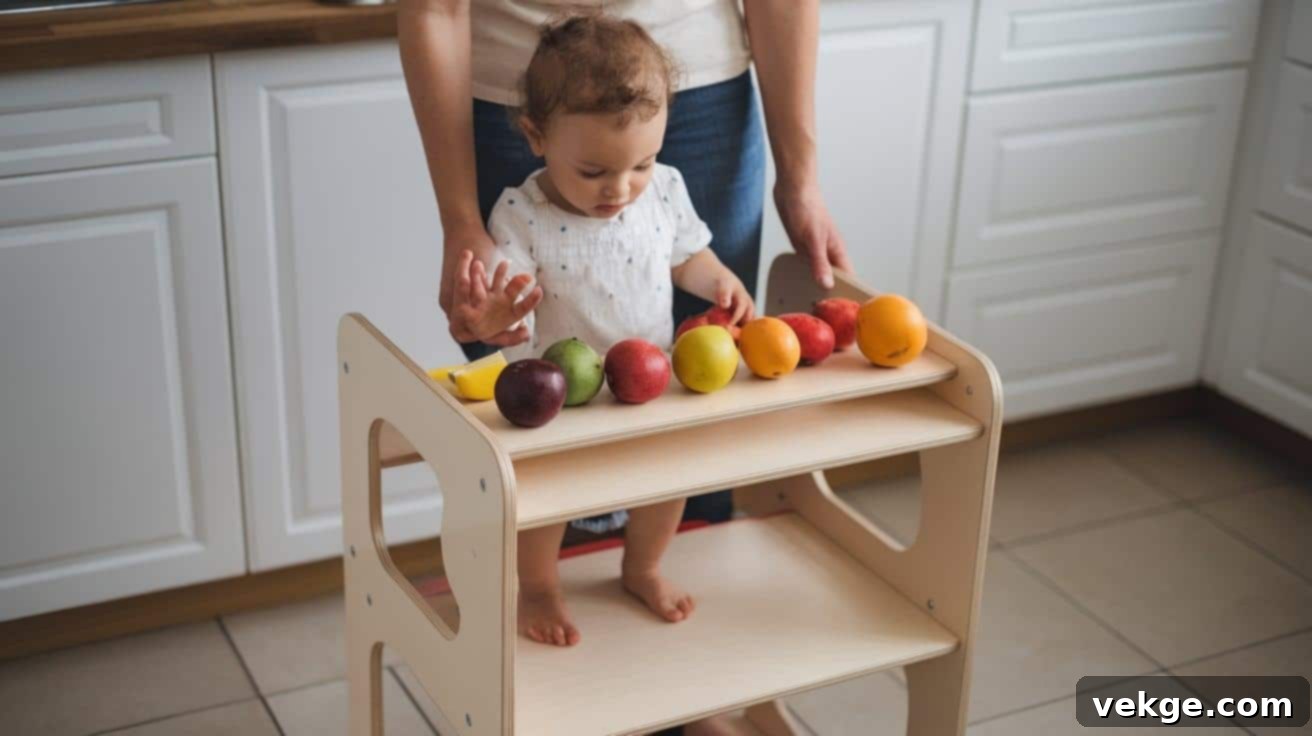
A learning tower is more than just a piece of furniture; it’s a tool for fostering independence, teaching practical skills, and strengthening family bonds. By thoughtfully integrating it into your daily life, you can maximize its benefits and create lasting memories.
Incorporating into Daily Activities for Holistic Development
Actively include your child in simple, age-appropriate cooking and kitchen tasks. Start with easy activities like washing fruits and vegetables, stirring cold ingredients (like salad dressings or pancake batter), or tearing lettuce for a salad. These hands-on activities are excellent for developing fine motor skills, hand-eye coordination, and a sense of accomplishment and confidence.
Utilize tower time as a natural opportunity for cognitive and language learning. Count ingredients together, name different kitchen tools as you use them, describe colors and textures of food, or talk about where food comes from. This organic learning environment makes education fun and relevant. Make the learning tower an integral part of daily routines. This could include helping to set the table, assisting with preparing snacks, or participating in meal clean-up (like wiping down surfaces with a damp cloth). Establishing these routines builds responsibility, introduces essential life skills, and instills a sense of helpfulness from an early age.
Cultivating Positive Habits and Independence
To ensure consistent use and benefit, establish regular activities that involve the learning tower. This could be a designated “weekend baking” session, helping with morning meal prep, or preparing after-school snacks. Children thrive on routine and predictable opportunities to help, which reinforces the value of their participation.
Where appropriate and safe, keep child-friendly kitchen tools and ingredients within easy reach of the tower. This promotes self-sufficiency, allowing children to independently grab what they need for an activity, which reduces frustration and encourages proactive engagement. Think about child-safe knives, small mixing bowls, or sponges.
Ultimately, the learning tower transcends its functional purpose; it becomes a catalyst for creating meaningful spaces for learning, personal growth, and deeper family connection. Through consistent and guided use, children develop a wide array of skills—from practical life abilities to cognitive and social-emotional competencies—that will benefit them far beyond their tower-using years.
Always remember to adjust activities to match your child’s current age, developmental stage, and unique abilities. Begin with very simple tasks and gradually introduce more complexity as their skills and confidence grow. This adaptive approach ensures they remain engaged, challenged, and most importantly, safe while learning and exploring in the kitchen.
Final Words: Empowering Your Child in the Heart of Your Home
The DIY IKEA learning tower project offers a wonderful opportunity to create a dedicated and safe space where your children can actively and confidently join parents in engaging kitchen tasks. This simple yet profound piece of furniture fosters independence, nurtures learning, and strengthens family bonds within the heart of your home.
By investing a little time and effort into careful building and committing to consistent supervision, you’re not just constructing a stool; you’re building a foundation for your child’s growth and lifelong learning. Remember to thoughtfully select materials that align with your needs for durability and safety, and always adhere strictly to the recommended safety guidelines.
The satisfaction derived from seeing your child confidently helping with daily activities, developing new skills, and sharing in the joy of creation makes the effort truly worthwhile. This learning tower will undoubtedly become a cherished part of your family’s daily rhythm, creating countless opportunities for shared experiences and precious memories.
We’d love to hear about your experiences with your learning tower! What kitchen tasks does your little one enjoy helping with the most? Share your stories and tips in the comments below – your insights could inspire other families to embark on their own rewarding DIY learning tower projects and foster a love for cooking and learning in their children.
