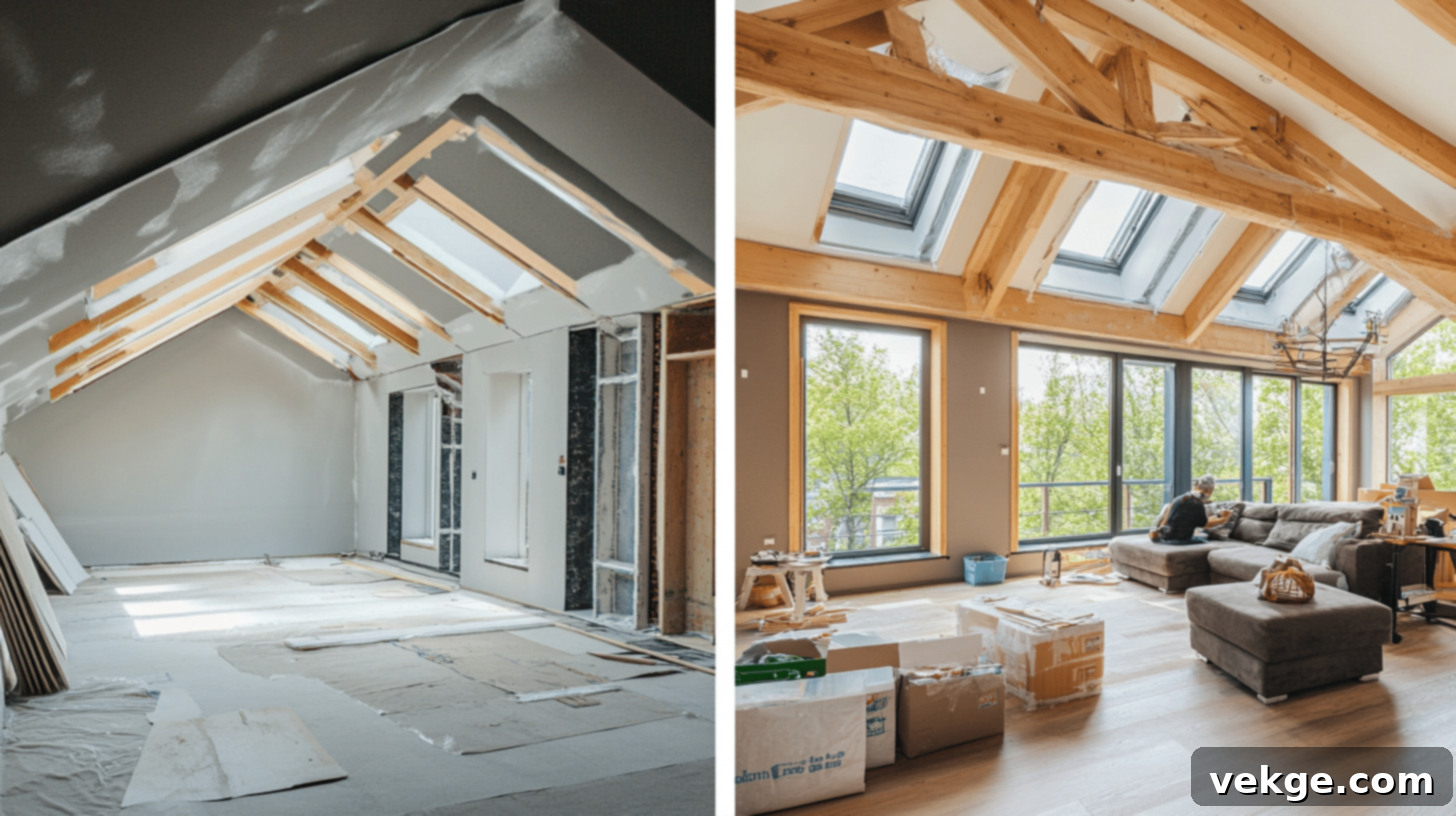
Mastering Your Loft Renovation: A Comprehensive Guide to Transforming Your Attic Space
Have you ever looked up at your dusty, underutilized attic and envisioned something more? That often-forgotten space above your head holds immense, untapped potential, waiting to be transformed into your home’s newest, most valuable asset. A well-executed loft renovation isn’t just about adding extra square footage; it’s about redefining your living experience, boosting your property’s appeal, and creating a space perfectly tailored to your evolving needs.
This comprehensive guide is designed to walk you through every critical aspect of a successful loft renovation journey. From the initial sparks of inspiration and meticulous planning stages to navigating complex legal requirements and applying the perfect finishing touches, we’ll cover it all. You’ll learn how to accurately assess your space’s potential, understand the various types of loft transformations, handle crucial legalities, and create a realistic budget that ensures your vision comes to life without unwelcome surprises.
Successful renovation begins with thorough knowledge and careful preparation. Whether your dream involves building a peaceful home office bathed in natural light, a cozy extra bedroom for a growing family, a vibrant play area for children, or a sophisticated family entertainment zone, this guide will equip you with the essential information you need. We’ll delve into fundamental steps such as:
- Gaining a deep understanding of local building requirements and regulations
- Strategically planning your new space for optimal functionality and aesthetics
- Weighing the pros and cons of tackling projects yourself versus hiring professional help
- Mastering effective cost management to stay within your financial boundaries
- Integrating modern features, sustainable materials, and smart home technology
- Exploring various financing options and maximizing return on investment
Join us as we explore how to turn your loft dreams into a tangible reality, ensuring a smooth process while expertly navigating and avoiding common pitfalls that can derail a home improvement project.
Unlocking Your Home’s Potential: Understanding Loft Renovation
What Exactly Is Loft Renovation?
At its core, a loft renovation involves updating and significantly improving your home’s topmost floor or attic space. This transformative process goes beyond mere cosmetic changes; it encompasses modifying the existing structure and layout to create a more useful, comfortable, and ultimately, a more livable area. This often involves adding new structural elements, installing modern amenities, or completely reconfiguring the internal space to suit a new purpose.
The scope of a loft renovation can vary dramatically, ranging from relatively simple updates like adding insulation and new flooring to extensive structural changes that might include raising the roofline or installing dormer windows. Many homeowners opt for loft renovation as an excellent strategy to create crucial extra living space without the significant expense and disruption of a full home extension, maximizing existing footprints.
It’s important to distinguish between a “loft renovation” and a “loft conversion.” While often used interchangeably, there’s a key difference in the extent of the changes. A loft renovation typically improves an *already usable* or semi-usable space by enhancing its insulation, updating flooring, plastering walls, or installing modern fixtures. For example, turning a dusty storage attic into a clean, insulated storage room with improved access could be considered a renovation.
A loft conversion, however, involves a more profound transformation. It converts an *unused* and often uninhabitable attic space into a fully functional, habitable room, such as an extra bedroom, bathroom, home office, or playroom. This usually necessitates significant structural alterations, proper staircase installation, heating, and full compliance with building regulations for habitable spaces. Understanding this distinction will help you set realistic expectations for your project.
The Multifaceted Benefits of a Loft Renovation
The primary and perhaps most compelling advantage of renovating your loft is the significant addition of valuable living space. A meticulously planned and executed renovation can effortlessly transform an underused or neglected area into a highly practical and inviting space that precisely meets your family’s evolving needs without encroaching on garden space or requiring a costly ground-floor extension.
Beyond the immediate living benefits, the financial advantages of loft renovation make it an exceptionally attractive option for homeowners. Numerous studies and real estate analyses consistently show that a properly executed loft renovation can significantly increase your property’s market value. Depending on your location, the quality of the work, and the type of space created, a loft conversion can boost property value by anywhere from 10% to an impressive 20% or even more, making it one of the smartest home improvement investments you can make.
Furthermore, a renovated loft brings a fresh aesthetic appeal to your entire home. The introduction of new windows, improved natural and artificial lighting, and modern, high-quality finishes can dramatically transform a basic, often dreary attic into a bright, inviting, and architecturally interesting space that perfectly complements your home’s existing style and character. It adds a ‘wow’ factor that can differentiate your property.
Most modern renovated lofts also boast significantly better temperature control and can lead to reduced energy costs. By integrating advanced insulation methods and high-performance materials, you can ensure comfortable temperatures year-round, regardless of external weather conditions. This improved thermal efficiency translates directly into lower utility bills, making your home more sustainable and cost-effective in the long run.
Finally, well-designed storage solutions are a hallmark of expertly renovated lofts. Custom-built cabinets, integrated shelving, and clever storage spaces can make the absolute most of unusual angles, sloped ceilings, and hidden corners, helping you organize your belongings more effectively and reducing clutter throughout the rest of your home. This clever utilization of space enhances both functionality and aesthetics.
The Foundation of Success: Planning Your Loft Renovation
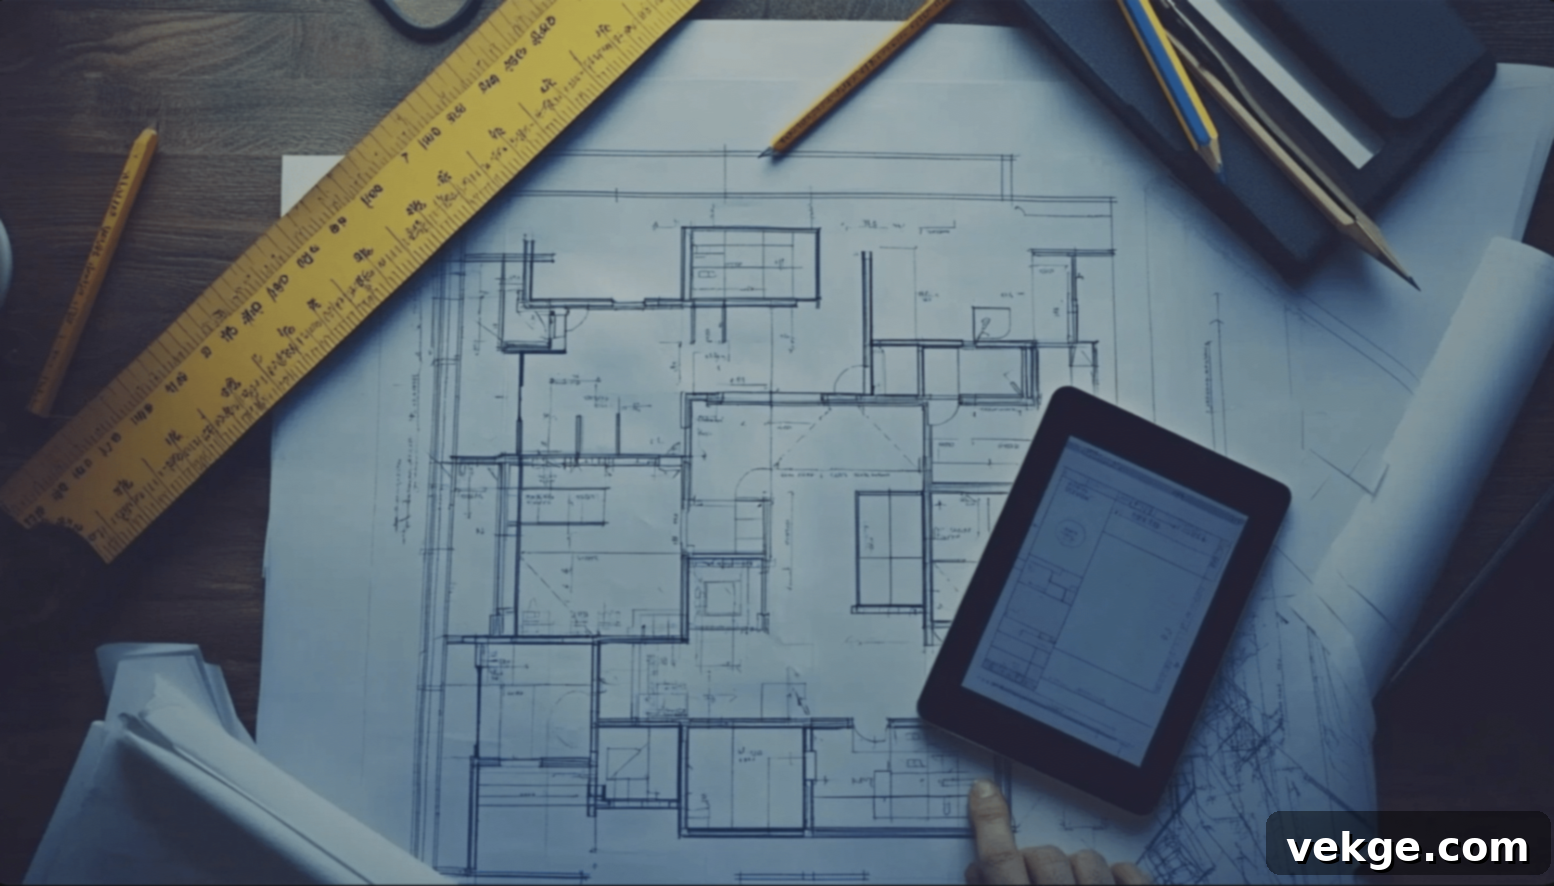
Setting Clear Goals and Priorities for Your New Space
The absolute first step in meticulously planning your loft renovation is to establish a crystal-clear purpose for the space. This isn’t just about what you *want* it to be, but what it *needs* to be. Thoroughly consider how you intend to use your loft – will it function primarily as a serene master bedroom with an ensuite, a dynamic home office for remote work, a versatile family room, a dedicated guest suite, or perhaps a creative studio? Defining this purpose early on will guide all subsequent design and structural decisions.
Following this, make an exhaustive list of essential features your new space must possess to function optimally and meet its intended purpose. For instance, a dedicated home office will undeniably require ample natural light, numerous electrical outlets for devices, robust internet connectivity, and perhaps soundproofing. Conversely, a comfortable bedroom will necessitate excellent ventilation, appropriate ceiling height for comfortable movement, privacy, and suitable storage solutions. Prioritize these needs over desires.
Effective planning involves a crucial exercise: separating your absolute needs from your aspirational wants. Always begin with the foundational basics: ensuring proper insulation for thermal efficiency, implementing effective lighting strategies, guaranteeing adequate ventilation for air quality, and establishing safe access. Extra, more luxurious features like custom built-in shelving, elegant skylights, or an elaborate ensuite bathroom can certainly be incorporated later if your budget allows, but securing the core functionality should be paramount.
Consider the long-term needs of your family. Will this space need to adapt in the future? Designing for flexibility can save you time and money down the line. For example, if it’s a child’s playroom now, could it easily transition into a teenager’s bedroom or a home gym in a few years?
Realistic Timeline Estimation for Your Project
While every renovation project is unique, a basic loft renovation or conversion typically takes approximately 6-8 weeks from the commencement of structural work to the final finishing touches. This general timeline accounts for initial construction, the installation of electrical and plumbing systems, and all aesthetic finishing work.
However, it is crucial to recognize that several factors can significantly extend your renovation schedule. These include:
- Unpredictable Weather Conditions: Heavy rain, snow, or high winds can directly impact external construction work, especially roof modifications or dormer installations.
- Material Availability and Delivery Times: Supply chain issues or delays in receiving specialized materials can push back project completion. Custom-made items, like bespoke windows or cabinetry, often have longer lead times.
- Building Permit Approval Processes: The time it takes for local authorities to review and approve your plans can vary widely, from a few weeks to several months depending on complexity and local council workload.
- Contractor Schedules and Workforce Availability: Reputable contractors often have busy schedules. Securing your chosen team and ensuring consistent workforce availability throughout the project is vital.
- Scope Creep: Adding new features or making significant design changes mid-project will inevitably extend the timeline and increase costs.
- Unexpected Structural Issues: Discovering unforeseen problems like rot, pest damage, or structural weaknesses during demolition can lead to delays as they must be addressed safely and properly.
The initial planning phase alone, which encompasses measuring the space, developing detailed designs with an architect, and securing necessary approvals (including planning permission and building control), usually spans an intensive 2-3 weeks, sometimes longer for more complex projects. This phase is critical and should not be rushed.
The core construction work, which involves structural changes, floor installation, wall modifications, and the first fix of electrics and plumbing, often takes between 3-4 weeks. This is where the bulk of the heavy lifting occurs.
The finishing phase, encompassing plastering, painting, installation of final fixtures (e.g., light fittings, sanitaryware), and flooring, typically requires an additional 1-2 weeks. This is when the space truly begins to take its final form.
Always remember to build in a contingency buffer of at least 10-20% extra time for unexpected issues that inevitably arise during any renovation project. Proactively planning for potential delays helps to significantly reduce stress and keeps the entire project running as smoothly as possible, preventing frustration and cost overruns.
Furthermore, consider the seasonal timing for your renovation project. Starting in late spring or early summer often means more favorable weather conditions for external construction work, which can minimize weather-related delays and ensure a more comfortable working environment for your team.
Navigating the Red Tape: Guiding Regulations and Permits

1. Understanding Local Building Codes and Regulations
Building codes are paramount; they are non-negotiable legal requirements designed to protect your safety, ensure the structural integrity of your home, and guarantee that your renovated loft meets basic, habitable living standards. These codes cover every aspect, from the foundational structure to fire safety and ventilation.
One of the most common requirements pertains to minimum ceiling height. Most regulatory bodies stipulate a minimum ceiling height of at least 7 feet (approximately 2.13 meters) for a significant portion of the living space. Some regions might allow slightly lower clearances, such as 6.5 feet (around 1.98 meters), for certain sloped areas or alcoves, but the primary circulation path must adhere to the higher standard. This is critical for comfort and compliance.
Floor strength is another absolutely critical requirement. Your existing attic joists are typically designed only for light storage. For a habitable space, they must be significantly reinforced or replaced to safely support the much heavier weight of furniture, people, and the new flooring materials without deflection or structural failure. This often involves sistering existing joists or installing new, larger beams.
Proper fire safety measures must be an integral and non-negotiable part of your renovation plan. This includes the mandatory installation of interconnected smoke detectors on all levels of your home, including the new loft space, and ensuring suitable escape routes. Depending on the height and layout of your loft, this might necessitate the installation of fire-rated doors, a protected staircase, or even an escape window that meets specific size and accessibility criteria. Your local building control will specify these.
The windows in your loft also need to meet specific size and type requirements. These rules are in place to ensure not only ample natural light and adequate ventilation but also to provide emergency exits if required, often referred to as “means of escape” windows. They must be large enough to crawl through and easy to open without a key or special tool.
Finally, staircase regulations are stringent. The new staircase leading to your loft must be safe, comfortable, and compliant with specific dimensions for tread depth, riser height, and width. It must also have appropriate handrails and balustrades. This often means sacrificing space on the floor below.
2. Obtaining Necessary Permits: A Step-by-Step Guide
Before any demolition or construction work begins, the very first step is to contact your local building department or planning authority. This is essential to understand the specific permits required for your project. Most areas will absolutely require permits for any structural changes, significant electrical work, and any new plumbing installations. Ignoring this step can lead to hefty fines, forced demolition, and difficulties selling your home in the future.
The permit application process typically involves a series of structured steps:
- Submit Detailed Plans: You will need to provide comprehensive architectural and structural plans for your renovation, often prepared by a qualified architect or structural engineer. These plans must clearly show existing and proposed layouts, materials, and compliance with building codes.
- Pay Required Fees: Permit applications come with fees, which vary based on the scope and estimated cost of your project.
- Wait for Plan Review and Approval: The local authority will review your submitted plans to ensure they meet all relevant building codes and zoning regulations. This review process can take several weeks or even months.
- Schedule Necessary Inspections: As work progresses, official inspectors will visit your site at various stages (e.g., foundation, framing, electrical, plumbing, insulation) to ensure the work adheres to the approved plans and codes. Do not cover up work until it has been inspected and approved.
- Get Final Approval and Certificate of Occupancy: Once all work is completed and all inspections are passed, you will receive final approval and potentially a Certificate of Occupancy, which legally certifies the space as safe and habitable.
It is paramount to keep all documentation related to your permits, approved plans, and inspection reports in a safe and accessible place. These papers serve as official proof that your renovation meets all local standards and can be invaluable during future home maintenance or, more importantly, when you decide to sell your home, providing assurance to potential buyers.
3. Working with Homeowners’ Associations (HOAs)
If your property is part of a Homeowners’ Association, it is absolutely crucial to review your HOA’s covenants, conditions, and restrictions (CC&Rs) before even drawing up plans for any renovation work. Many associations have very specific guidelines and restrictions regarding external home changes, which can include the addition of new windows (especially dormers), modifications to the roofline, or any visible structural alterations. Failure to comply can result in fines or demands to reverse the work.
The approval process with an HOA usually involves:
- Submitting a Detailed Proposal: This should include plans, material samples, and a clear description of all proposed external changes.
- Waiting for the Review Committee Meeting: Your proposal will typically be reviewed by an architectural review committee.
- Making Any Requested Changes: Be prepared to make modifications to your plans based on their feedback.
- Getting Final Written Approval: Never proceed without obtaining explicit, written approval from your HOA.
Beyond the structural changes, be mindful of community guidelines regarding construction hours, noise levels, and cleanup. Maintaining good communication with your HOA management and, where appropriate, your neighbors, can help prevent misunderstandings and potential disputes during the renovation period, ensuring a smoother project overall.
Always secure approval in writing before initiating any work. This written consent will serve as vital protection against future issues and ensures that your renovation complies with all community standards, safeguarding your investment and your relationship with your association.
DIY vs. Hiring Professionals: Making the Right Choice
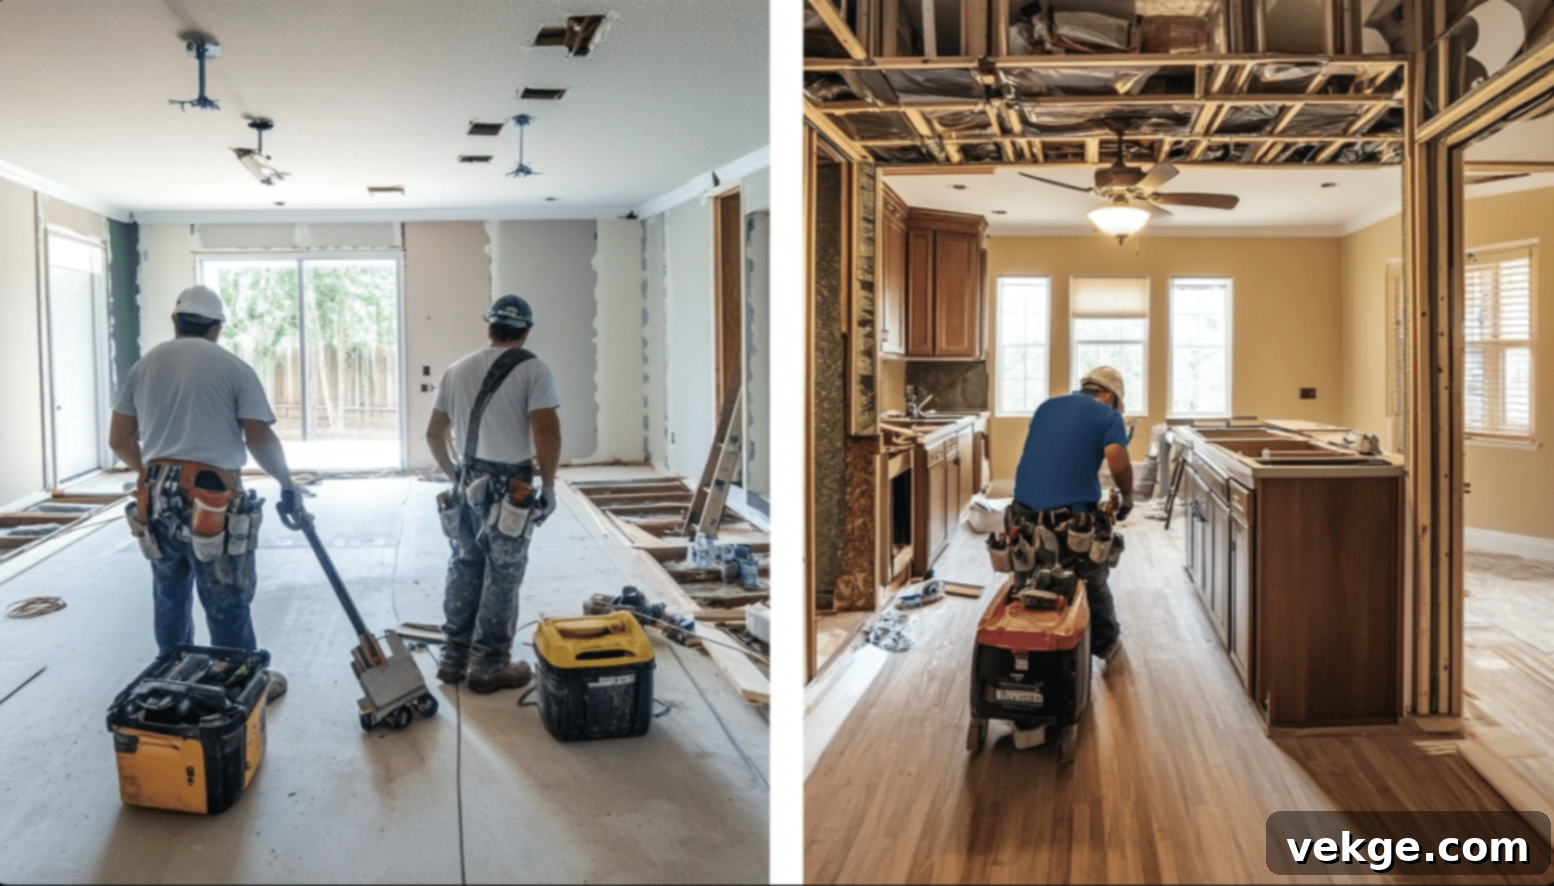
When to Confidently Consider the DIY Approach
For many homeowners, the allure of cost savings makes the DIY approach incredibly appealing for certain aspects of a loft renovation. Simple, non-structural tasks like interior painting, decorating, installing shelving units, laying laminate flooring, or assembling flat-pack furniture are often suitable for confident DIY enthusiasts. These jobs typically require only basic tools, readily available materials, and fundamental skills that many homeowners already possess or can easily acquire through online tutorials.
However, safety must always be your paramount consideration when deciding to undertake work yourself. Never compromise on safety. Only take on tasks you feel genuinely confident about performing correctly and safely, and where you possess a complete understanding of the necessary steps and potential hazards. Structural work, electrical wiring, plumbing, and roofing are almost always best left to certified professionals due to the inherent risks and regulatory requirements.
Basic skills that are essential for successful DIY loft work include:
- Accurate Measuring and Marking: Precision is key for everything from cutting drywall to placing fixtures.
- Safe Use of Hand and Power Tools: Familiarity with drills, saws, sanders, and other common tools, along with proper safety protocols (PPE).
- Ability to Follow Detailed Instructions: Reading and understanding product manuals, building plans, and installation guides.
- Basic Mathematical Calculations: For estimating materials, cutting angles, and ensuring level surfaces.
- Physical Stamina and Ability: Loft work often involves lifting, bending, working in confined spaces, and prolonged physical effort.
- Problem-Solving Skills: Renovation rarely goes exactly as planned; the ability to troubleshoot and adapt is invaluable.
While cost savings are a significant driver for DIY, it’s crucial to realistically consider the value of your time and the potential for costly mistakes. Sometimes, paying professionals upfront can actually save you money in the long run by avoiding expensive errors, the need to redo shoddy work, or even potential structural damage that could result from inexperienced execution. Factor in the cost of tools you might need to buy, the learning curve, and the opportunity cost of your free time.
The Indispensable Role of Hiring Contractors and Architects
For any significant structural changes, major electrical or plumbing work, or if you lack the time, skills, or confidence, hiring licensed and experienced professionals is not just advisable—it’s often legally required and the wisest investment. Start by seeking out licensed contractors with a proven track record and specific expertise in loft renovations and conversions. Personal recommendations from friends, family, and neighbors who have had positive experiences can be an excellent starting point.
When interviewing potential contractors, ask a series of essential questions to thoroughly vet their capabilities and suitability:
- “How many loft conversion/renovation projects have you successfully completed, and can you provide examples or a portfolio?”
- “Can you provide at least three recent references from previous clients whom I can contact?”
- “Which specific permits will you handle, and what is your process for securing building control approvals?”
- “What is your estimated timeline for the entire project, from start to finish, including a detailed breakdown of phases?”
- “What payment schedule do you require, including deposit, progress payments, and final payment terms?”
- “Are you fully insured and bonded? Can I see proof of your liability insurance and workers’ compensation?”
- “How do you handle unforeseen issues or changes to the original plan?”
- “What warranties do you offer on your workmanship?”
It is always recommended to obtain at least three detailed, itemized quotes from different reputable contractors. Do not simply compare the bottom line; instead, carefully compare the scope of work each quote covers, the quality and specifications of the materials proposed, the estimated timeframes, and the payment structures. A suspiciously low bid might indicate shortcuts or hidden costs down the line.
Once you’ve chosen a contractor, meticulously read the contract before signing anything. Ensure it includes:
- A clear and comprehensive project timeline with specific start and completion dates, and milestones.
- A detailed cost breakdown for labor, materials, and any sub-contracted services.
- A transparent payment schedule tied to specific project milestones, not just arbitrary dates.
- Explicit warranty information covering both materials and workmanship.
- Detailed responsibilities for site cleanup, waste removal, and protection of existing property.
- A clause for change orders, outlining how additional work or changes will be agreed upon and priced.
- Proof of the contractor’s insurance and licensing.
Embracing Collaborative Approaches for Optimal Results
For many homeowners, the most effective strategy lies in a collaborative approach, mixing DIY work with professional expertise. This hybrid model allows you to leverage your own skills for simpler tasks while entrusting the complex, critical elements like structural changes, electrical wiring, and plumbing to certified experts. For example, you might hire professionals for the core structural shell, leaving yourself to handle painting, decorating, and perhaps laying the final floor finishes.
To make this approach work seamlessly, create a clear, detailed plan that explicitly delineates which tasks you will undertake yourself and which require professional assistance. This roadmap will help avoid confusion, ensure efficient scheduling, and keep the project moving forward without overlapping responsibilities or missed steps.
Even when working with professionals, it is vital to stay actively involved in the project. Regular communication through scheduled meetings, site visits, and prompt responses to queries helps catch potential issues early, ensures that the work aligns with your vision, and allows you to make informed decisions as the project progresses. Your input and oversight are crucial.
Maintain a detailed record of all work performed, regardless of whether it was a DIY task or completed by professionals. This includes receipts for materials, invoices for labor, photographs of various stages, and copies of all permits and approvals. This comprehensive documentation is invaluable for future maintenance, warranty claims, and significantly adds value and credibility when you decide to sell your home.
The Renovation Unfolds: A Step-by-Step Process
1. Preparation and Demolition: Clearing the Path
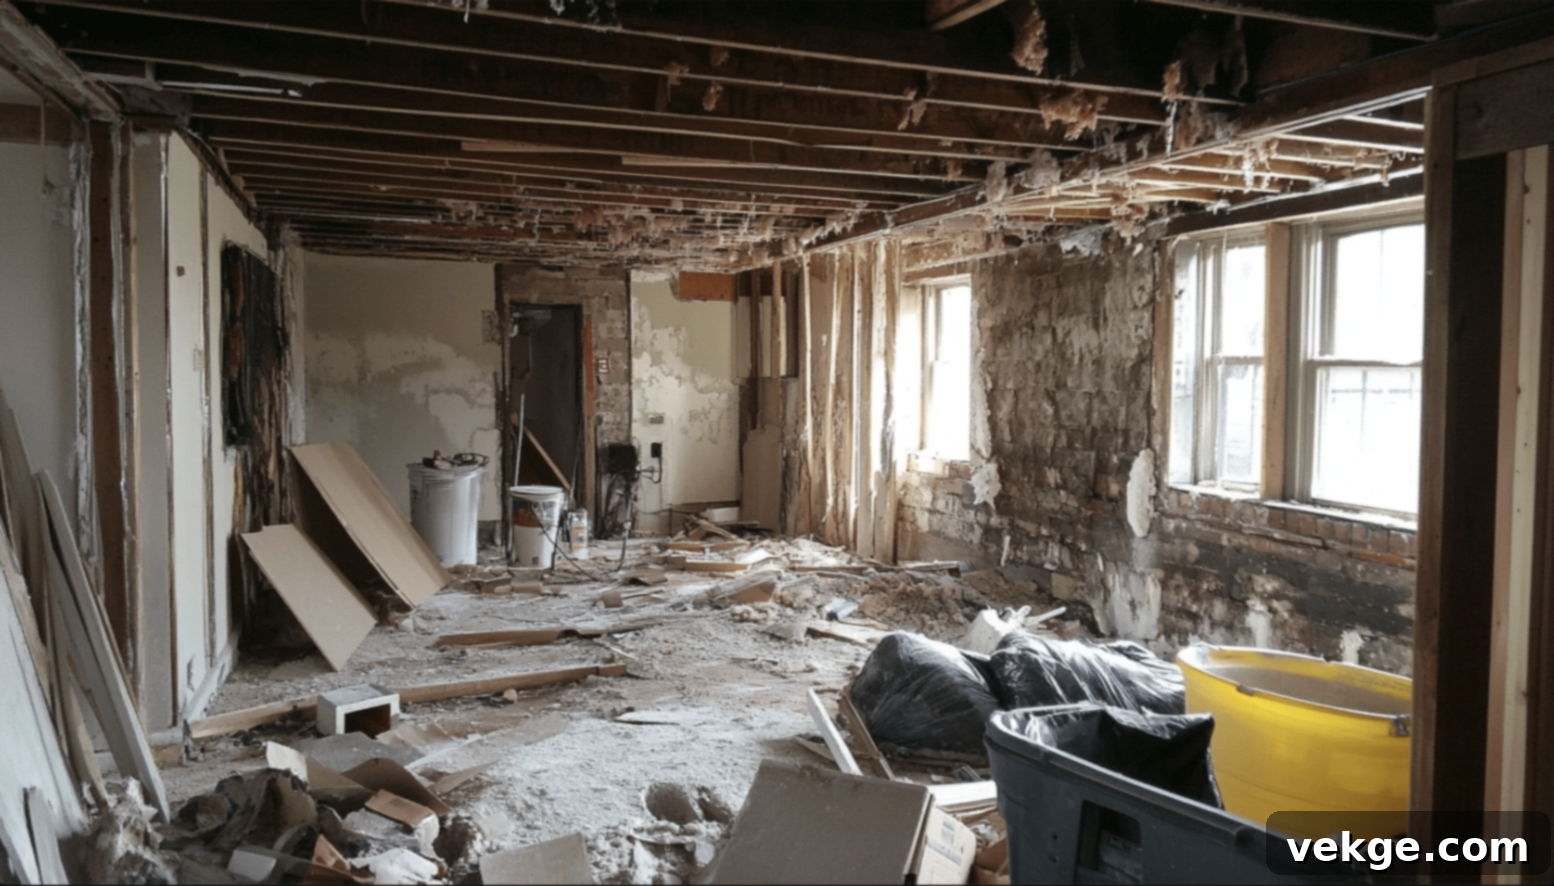
The renovation process kicks off with meticulous preparation. Begin by completely clearing out your entire loft space of any existing items, debris, or old insulation. Crucially, take proactive measures to protect the lower levels of your home; cover any furniture, flooring, and access points below the work area with heavy-duty tarps or plastic sheeting to shield them from the inevitable dust, falling debris, and foot traffic.
Before any demolition work commences, stringent safety measures must be firmly in place. Ensure that all electrical power to the work area is turned off at the main breaker to prevent accidents. All workers and homeowners involved should wear appropriate personal protective equipment (PPE), including safety goggles to protect eyes, robust gloves, hard hats if there’s a risk of falling objects, and high-quality dust masks or respirators, especially when dealing with old insulation or plaster, which can release harmful particles.
The demolition phase itself requires careful planning and execution. Materials should be removed systematically and safely. Start with non-load-bearing elements such as old partitions or ceilings before moving on to any larger or more structurally involved changes. Be mindful of potential hidden hazards like old wiring, asbestos (if your home is pre-1990s), or water damage.
To manage waste effectively and efficiently, arrange for a large skip or waste bin to be placed conveniently close to your property. Where possible, sort materials that can be recycled or reused (e.g., wood, metal, plasterboard) from general waste. This not only reduces your environmental impact but can also lead to savings on waste disposal costs.
2. Structural Work: Building the Foundation
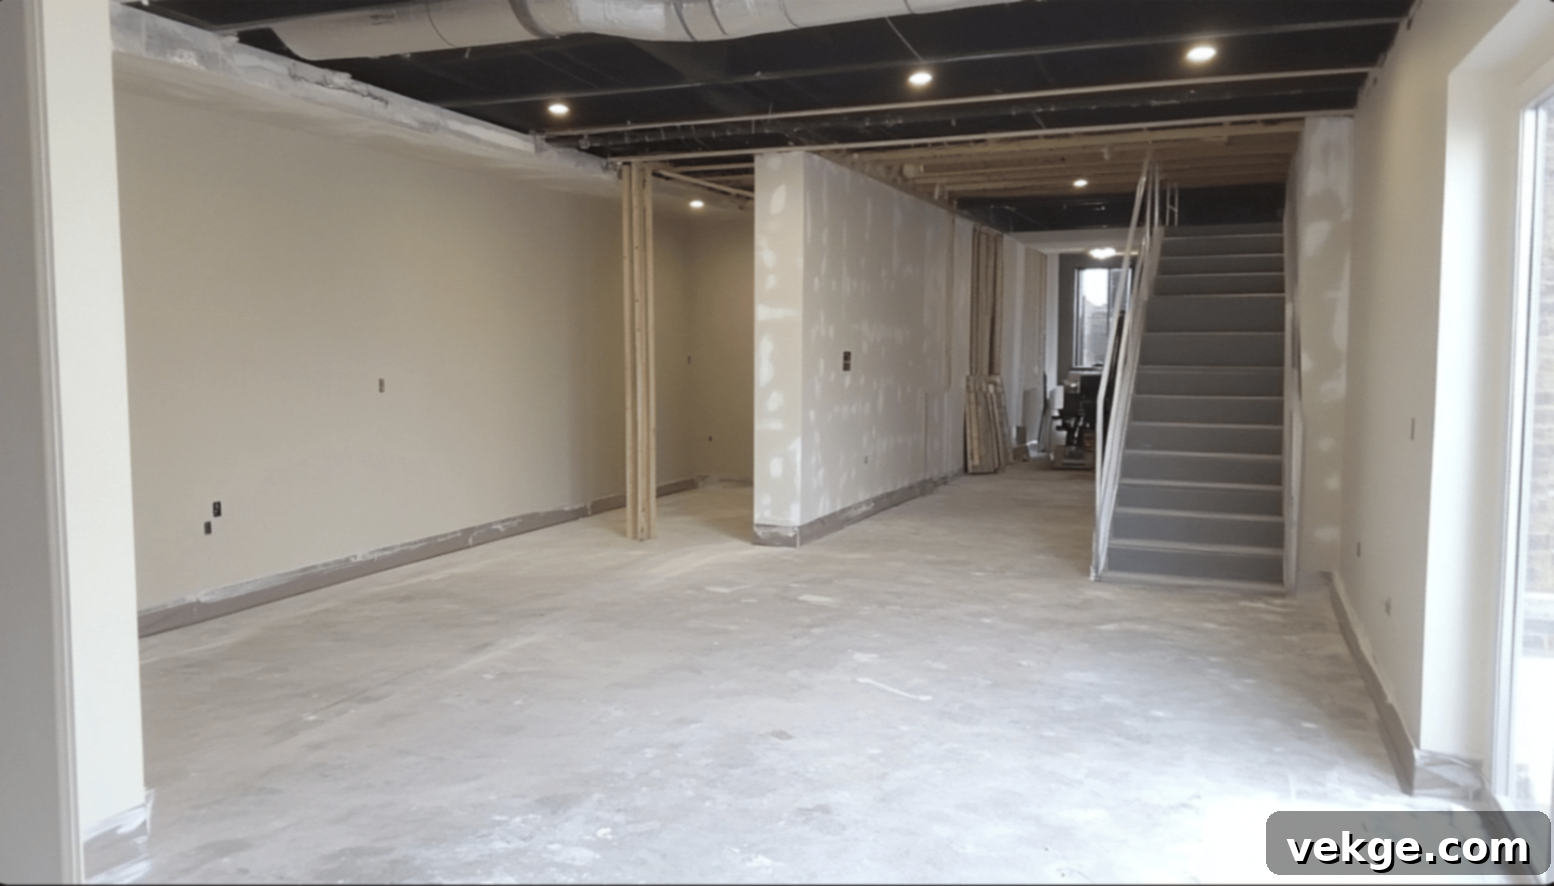
Structural alterations form the backbone of any loft conversion, and floor reinforcement is often the critical first step. Your existing attic floor joists are rarely strong enough to support the weight of a habitable room. This phase involves strengthening these joists, typically by “sistering” them (adding new joists alongside the old ones) or installing a new, independent floor structure. This ensures a robust, solid, and compliant base for the rest of the renovation work.
Wall updates might include the installation of new stud walls to define rooms, the addition of vital insulation between studs, and then covering these with new plasterboard (drywall). Good quality insulation is not just a building code requirement; it is fundamental for controlling temperature fluctuations, significantly reducing energy consumption, and providing effective noise reduction between floors and from external sources. Consider advanced insulation types like PIR boards or spray foam for maximum efficiency where space is at a premium.
Ceiling work requires special attention, particularly in pitched roofs, to maximize usable head height. This might involve creating new flat ceilings, incorporating dormer windows to create vertical space, or even exposing original beams to add character while preserving precious headroom. Careful planning here ensures the space feels open and functional, not cramped.
Finally, integrating sound-proofing materials during the structural phase, especially between the new loft floor and the ceiling of the room below, is highly recommended. This helps to significantly reduce noise transfer, making the new loft space, and indeed the room beneath it, much more comfortable and private, particularly if the loft is intended as a bedroom, home office, or quiet retreat.
3. Electrical and Plumbing Considerations: Powering Your Space
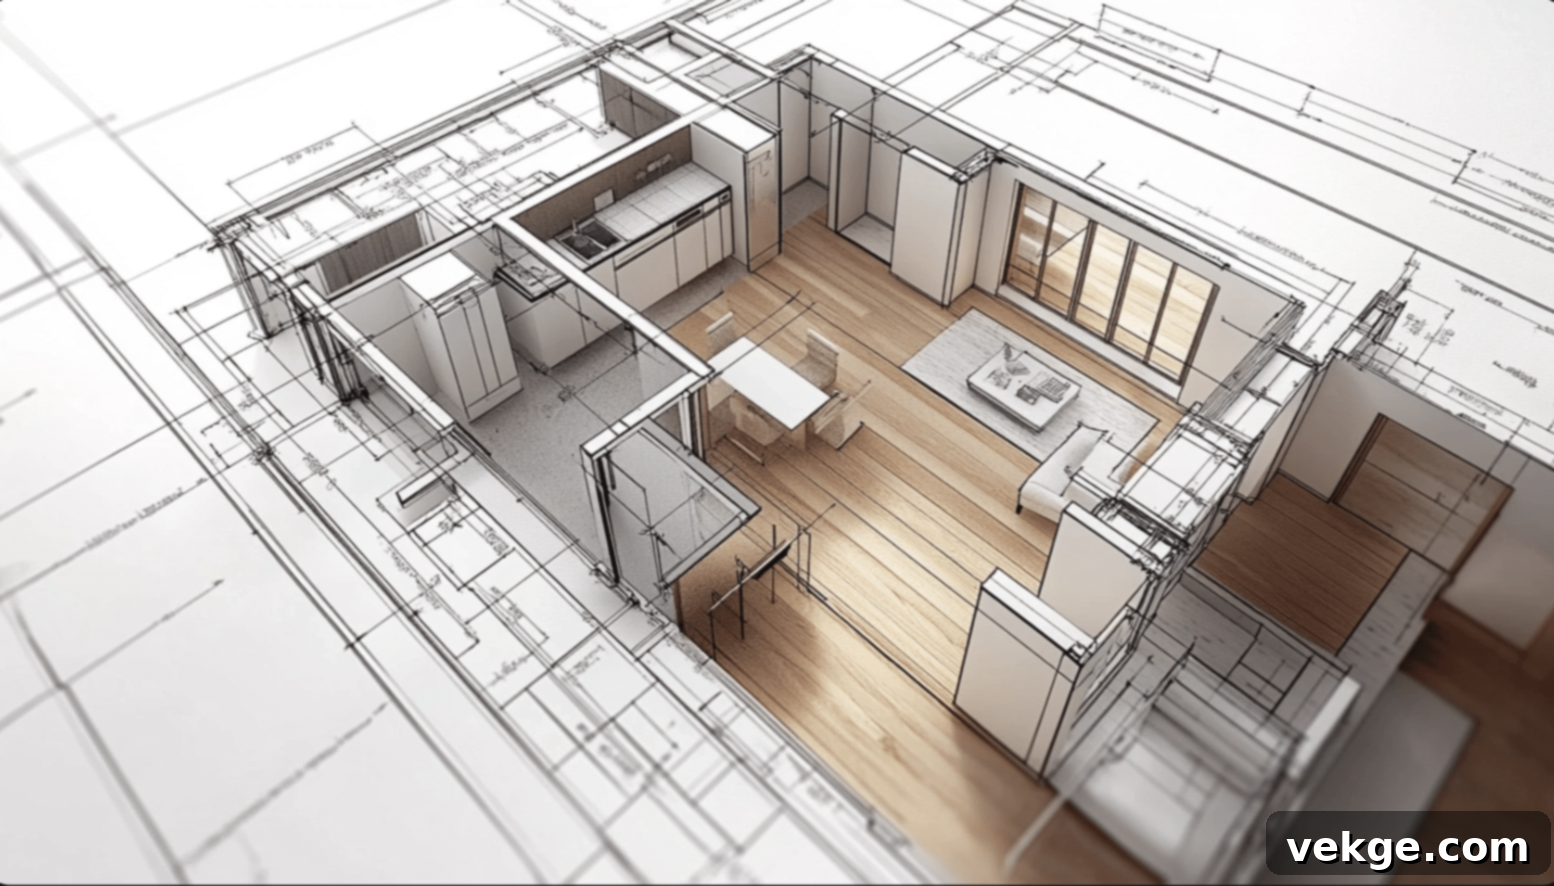
Careful planning of electrical outlets and lighting is crucial to the functionality and ambiance of your new loft space. Strategically plan the placement of electrical outlets based on how each area of the room will be used. Ensure you include an adequate number of outlets for furniture placement, entertainment systems, and any dedicated work zones. It’s often wise to include extra circuits for high-power items such as air conditioning units, specialized office equipment, or a future mini-kitchenette.
Effective lighting design involves a layered approach:
- Task Lighting: Essential for work areas (desks), reading nooks, or vanity spaces. Consider adjustable spotlights or pendant lights.
- Ambient Lighting: Provides general illumination for the entire space, often achieved with recessed downlights, track lighting, or a central fixture.
- Accent Lighting: Used to highlight architectural features, artwork, or create specific moods. Wall sconces or up-lighters can be effective.
- Natural Light: Maximize this through strategically placed windows, skylights, or dormers. Natural light drastically improves mood and reduces the need for artificial lighting during the day.
Integrating plumbing into a loft is a more complex undertaking and should only be considered if truly necessary, as it significantly increases the complexity, cost, and potential disruption of the project. If you plan to add a bathroom or wet bar, consider the proximity of existing water lines and waste pipes on lower floors to minimize extensive rerouting. Gravity-fed systems might require macerating toilets or pumps if drainage is an issue.
Finally, installing proper ventilation systems is paramount for controlling moisture, regulating temperature, and maintaining excellent indoor air quality. This will help prevent the buildup of humidity (which can lead to mold and mildew), keep the space comfortable year-round, and ensure a healthy living environment. Options range from simple trickle vents in windows to mechanical extractor fans, especially in bathrooms, and even heat recovery ventilation systems for optimal energy efficiency.
4. Finishing Touches: Bringing Your Vision to Life

The finishing touches are where your loft truly transforms into a personalized and inviting space. The choice of wall finishes should perfectly align with the space’s planned use and your desired aesthetic. Light colors, such as whites, creams, or pale pastels, are often recommended, especially in smaller loft spaces, as they reflect light, make the area feel significantly larger, brighter, and more airy, counteracting any potential feeling of confinement.
Floor finishing needs to strike a balance between practicality, durability, and visual appeal. Consider materials that are easy to maintain, resistant to wear and tear, and perfectly suit your style preferences. Options range from warm, inviting carpets (excellent for sound insulation and comfort), engineered wood or laminate flooring (durable and aesthetically versatile), to more modern polished concrete or luxury vinyl tiles (ideal for high-traffic areas or a contemporary look).
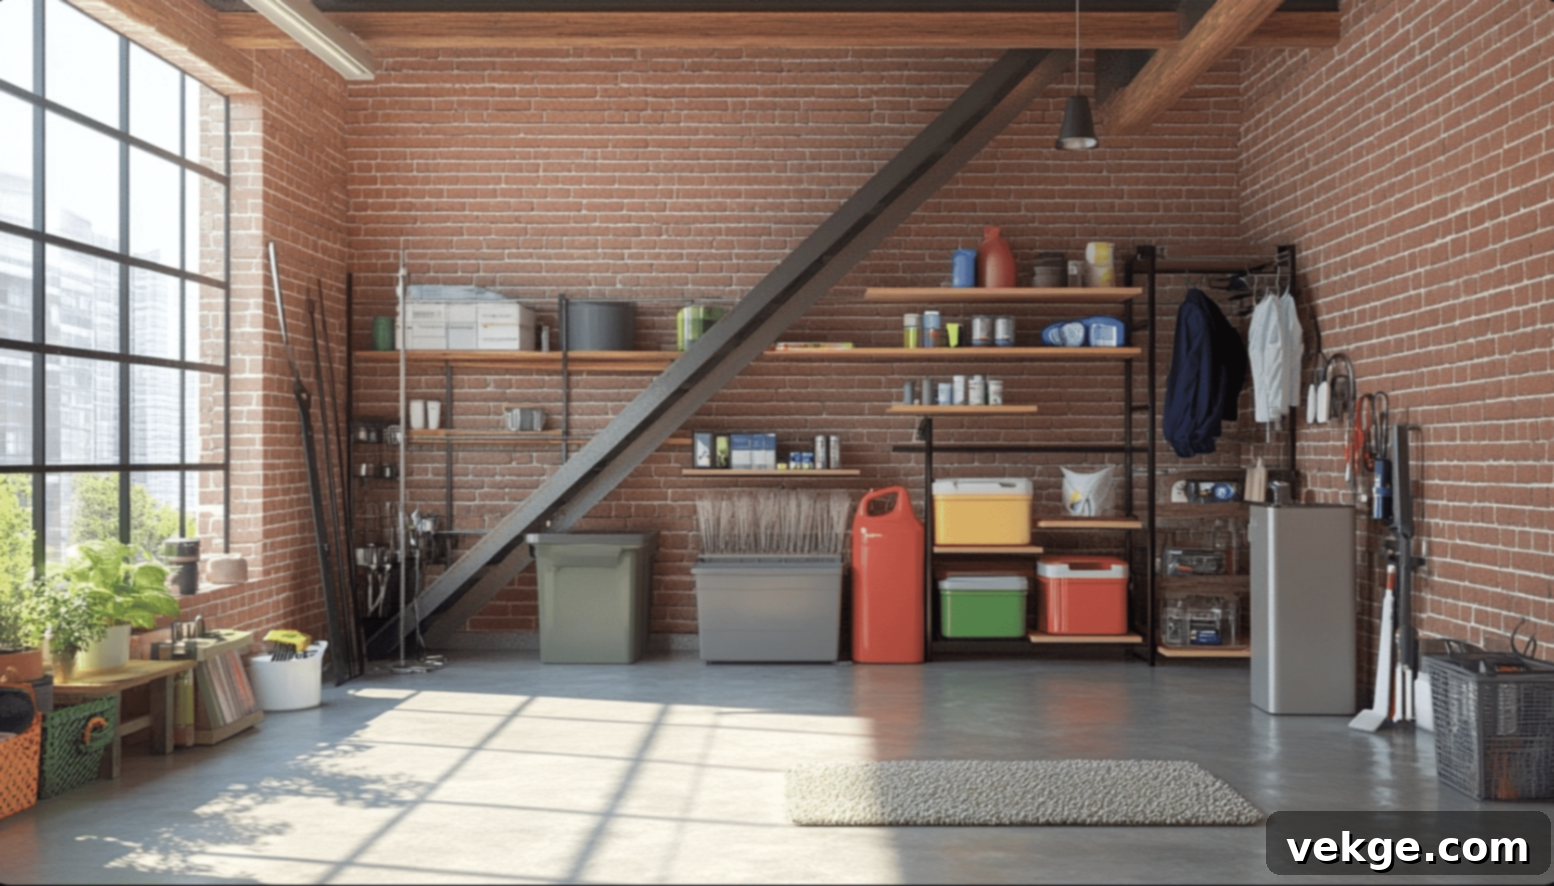
Cleverly integrated storage solutions are non-negotiable in a loft space, especially given the often-awkward angles and sloped ceilings. Maximize every inch by incorporating built-in cabinets, custom-fitted wardrobes, and bespoke shelving units that effectively utilize areas with low ceiling height or unusual corners. Under-eave storage, pull-out drawers, and integrated seating with hidden compartments are all excellent ways to enhance functionality without cluttering the main living area.
Finally, the selection of decorative elements should enhance the space’s character without overwhelming or cluttering it. Choose items that serve both functional and aesthetic purposes: stylish light fixtures, statement rugs, comfortable furniture scaled appropriately for the room, and personal touches like artwork or plants. Thoughtful decoration brings warmth and personality, completing the transformation of your loft into a truly cherished part of your home.
A Visual Aid: Video Tutorial
Sometimes, seeing is believing. For those who benefit from visual guidance, this video offers an insightful walkthrough of loft transformation projects. It provides practical tips and inspiration directly from experts, helping you visualize the possibilities for your own space.
For more meticulous visual aid and expert insights, we highly recommend checking out this detailed tutorial by NEVER TOO SMALL on YouTube.
Future-Proofing Your Home: Sustainable and Smart Renovations
Embracing Eco-Friendly Materials for a Greener Loft
Incorporating sustainable practices and eco-friendly materials into your loft renovation is a smart choice for both the environment and your long-term living comfort. Natural, recycled, and responsibly sourced materials offer excellent options for a green renovation, often providing superior performance and a healthier indoor environment. For instance, cork flooring is an outstanding choice, offering warmth, natural sound dampening, comfort underfoot, and coming from a rapidly renewable resource.
When it comes to insulation, wool stands out as an exceptionally effective natural choice. It not only provides excellent thermal regulation, keeping your loft warm in winter and cool in summer, but it is also breathable, non-toxic, and sourced sustainably. Other green insulation options include recycled denim, cellulose (made from recycled paper), and wood fiber.
To maintain superior indoor air quality, always look for low-VOC (Volatile Organic Compound) paints, sealants, and finishes. These products release significantly fewer harmful chemicals and toxins into your living space, contributing to a healthier environment for you and your family, and are especially important in new or renovated areas.
Prioritizing local materials helps to significantly reduce the environmental impact associated with transportation, minimizing carbon footprint. Locally sourced materials often come with the added benefits of potentially lower transportation costs, supporting local businesses, and ensuring that materials are well-suited to the local climate and conditions. Reclaimed wood, for instance, can add immense character and unique aesthetic appeal to design features like exposed beams, feature walls, or custom furniture, while giving valuable materials a second life and reducing demand for new timber.
Seamless Smart Home Integration for Modern Living
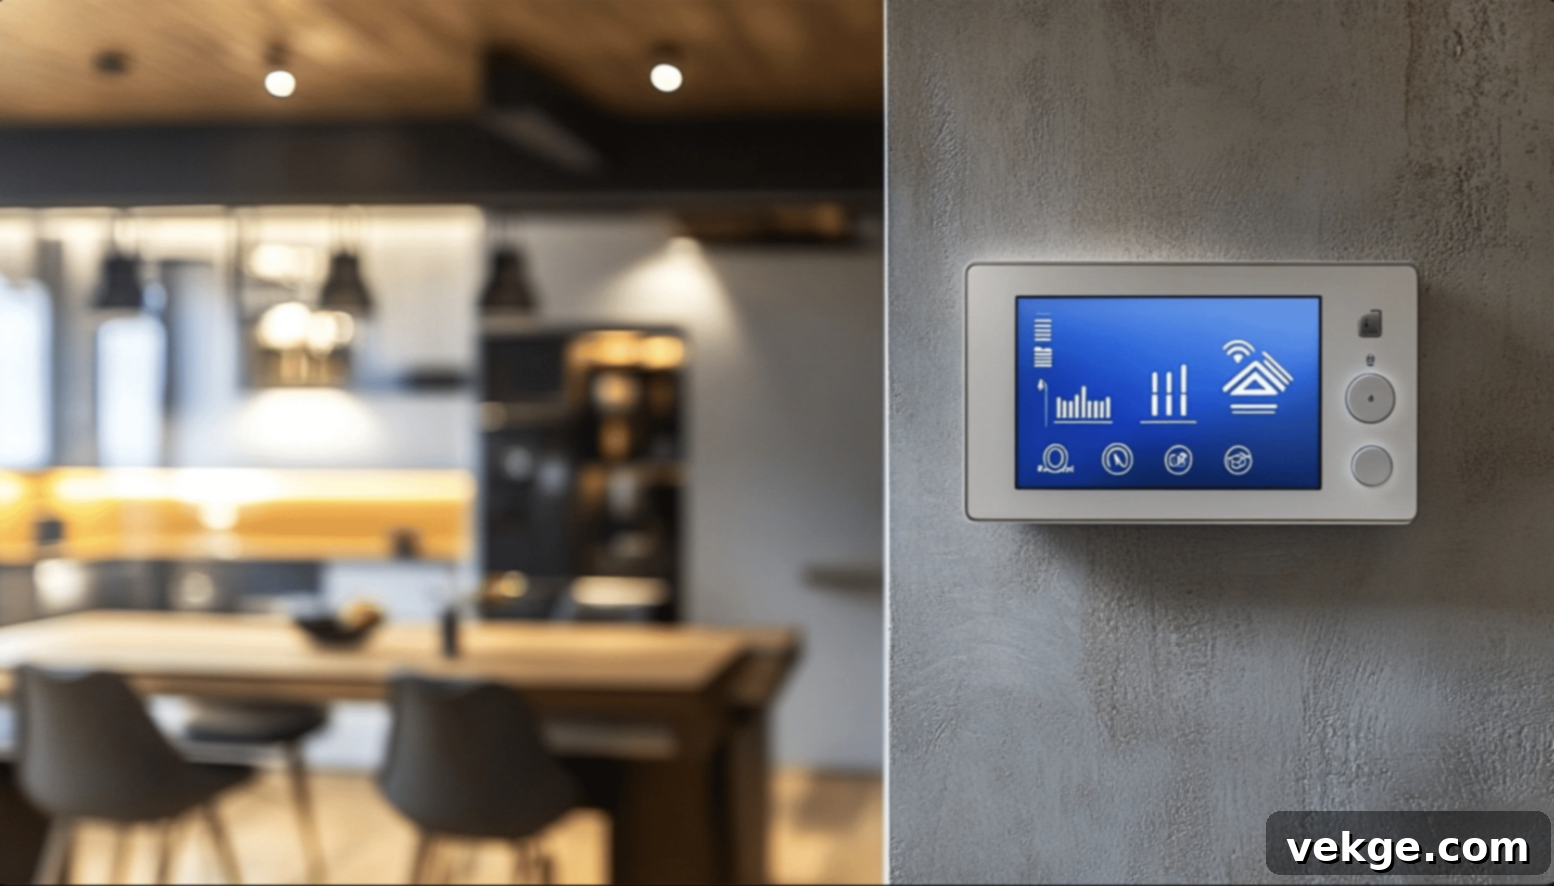
Integrating smart home technology into your loft renovation can dramatically enhance convenience, energy efficiency, and security. Start with basic smart lighting controls, which are relatively easy to install and offer immediate benefits. They allow you to easily adjust the brightness and color temperature of your lights, create custom scenes, and even schedule lighting, saving energy and effortlessly setting the perfect ambiance for any occasion.
Advanced temperature control systems are another wise investment. Smart thermostats learn your daily patterns and adjust heating and cooling automatically, optimizing comfort while significantly reducing energy waste. Many can be controlled remotely via smartphone, allowing you to warm or cool your loft before you even arrive home.
Consider these additional smart home features to further enhance your loft’s functionality:
- Motion Sensors for Automatic Lighting: Perfect for hallways, staircases, or areas where hands might be full, turning lights on and off as needed.
- WiFi-Enabled Smoke and Carbon Monoxide Detectors: Offer enhanced safety with alerts sent directly to your phone, even when you’re away from home.
- Smart Window Blinds or Shades: Automate light control and privacy, and contribute to thermal regulation by blocking sun in summer or insulating in winter.
- Integrated Security Cameras: Provide peace of mind by allowing you to monitor your loft space remotely.
- Advanced Climate Control Systems: Go beyond basic thermostats, offering zoning capabilities for precise temperature management in different areas.
- Smart Plugs: Transform any ordinary appliance into a smart device, allowing you to monitor and control energy use and turn off devices automatically when not needed.
Crucially, plan cable routes and network infrastructure during the initial construction phase. This pre-wiring makes it significantly easier and less disruptive to add or update technology later, ensuring your loft is future-proofed. Think about future technology needs and install extra electrical capacity and additional data points (Ethernet ports) for seamless later upgrades.
Voice control systems (e.g., Amazon Alexa, Google Assistant) can manage multiple smart features from a central command, adding unparalleled convenience and making the space more accessible for everyone. Smart locks provide enhanced security and convenience, allowing keyless entry and remote access control.
When selecting smart home devices, remember to choose systems that are compatible and can work together seamlessly through a single hub or app. This prevents the need for multiple disparate apps or complex control systems, ensuring a truly integrated and user-friendly smart home experience.
Beyond Completion: Post-Renovation Considerations
Essential Maintenance Tips for Your New Loft
The completion of your loft renovation is just the beginning of its long and useful life. Regular and proactive maintenance is key to preserving its beauty, functionality, and structural integrity, preventing small issues from escalating into costly problems. Make it a habit to perform visual checks every few months, diligently looking for any early signs of wear, damage, or potential issues.
Maintaining good air quality and system efficiency is paramount. Clean your ventilation systems, including any extractor fans or heat recovery units, regularly. Replace or clean filters according to the manufacturer’s guidelines, typically every 3-6 months. This prevents dust buildup, ensures proper air circulation, and prolongs the life of your systems.
Water infiltration poses one of the biggest risks to any renovated space, especially those at roof level. After heavy rain or severe weather, make it a point to inspect for any signs of leaks or dampness around windows, skylights, roof joints (especially around dormers), and any plumbing fixtures. Addressing leaks immediately can prevent extensive damage to insulation, plasterboard, and structural elements.
Keep a vigilant eye on these key areas during your routine checks:
- Window Seals and Frames: Check for drafts, condensation between panes, or signs of degradation in seals.
- Floor Condition and Stability: Listen for squeaks, check for unevenness, or any signs of excessive movement.
- Electrical Outlets and Fixtures: Ensure all are securely fastened and functioning correctly; report any flickering lights or strange odors.
- Heating and Cooling Systems: Confirm they are operating efficiently and that thermostats are accurate.
- Paintwork and Decor: Look for cracks, peeling paint, or signs of damp.
Document all maintenance work you perform, including dates, details of tasks, and any materials used. This record not only helps you track when items need attention or replacement but also serves as valuable proof of upkeep, which can be beneficial for warranties or future home sales. Creating a simple schedule for routine upkeep tasks will ensure nothing is overlooked. Remember, regular preventative maintenance almost always costs significantly less than having to fix major problems later down the line.
Showcasing Your Stunning New Loft Space
Once your loft is complete and impeccably clean, it’s time to showcase your hard work and beautiful new space. If you plan to share your renovation online, with friends, or for potential future sales, good photography is essential. Always take photos during daylight hours when natural light is at its best. Open blinds and curtains fully to maximize light and ensure all artificial lights are on. Good lighting dramatically shows off your renovation’s best features and makes the space appear larger and more inviting.
Before any photoshoot, ensure the space is thoroughly cleaned and decluttered. A tidy, well-organized space always looks more appealing, professional, and spacious. Remove any personal items that might distract from the architecture and design.
To highlight the versatility and functionality of your loft, showcase its various uses through careful staging. If it’s a multi-purpose room, set up different areas to display the space’s flexibility: a neatly made bed for the sleeping zone, a styled desk for the office corner, or comfortable seating for a lounge area. This helps viewers envision themselves using the space.
When sharing your renovation story, include compelling details such as:
- Before and After Comparisons: These are incredibly powerful and visually demonstrate the transformation.
- Special Features You Added: Highlight unique elements like custom built-ins, skylights, or a feature wall.
- Unique Solutions to Challenges: Share how you overcame obstacles, demonstrating clever design and problem-solving.
- Energy-Saving Improvements: Mention new insulation, energy-efficient windows, or smart home tech.
- The Inspiration Behind the Design: Share your vision and how it came to life.
Keep meticulous records of all improvements made, including receipts, warranties, and permits. These details significantly add value and credibility when selling your home. If possible, track your energy bills before and after the renovation to visually demonstrate efficiency gains. Lower utility costs are a significant selling point and can attract future buyers.
Finally, share your experience and insights with others who are planning similar projects. Your journey, challenges, and successes can provide invaluable guidance, helping them avoid common mistakes and inspiring them to embark on their own loft transformation.
Use a variety of angles when photographing your space. Wide-angle shots capture the overall feel, while close-ups highlight craftsmanship and thoughtful details, effectively showing how well you utilized the available area.
Budgeting and Cost Breakdown: Financial Planning for Your Loft Renovation

Smart and meticulous budget planning is arguably the most critical step to prevent costly and unwelcome surprises during your loft renovation. Understanding the typical cost components is essential. For instance, quality flooring can range from $35-$75 per square foot, comprehensive insulation might be around $500-$750 depending on the type and area, and individual windows can cost anywhere from $600-$1,200 each, with bespoke options costing more.
It’s important to recognize that labor typically accounts for nearly half of the total project costs, if not more, for a professional conversion. Professional fees for architects, structural engineers, and contractors vary significantly depending on your geographical location, the complexity and size of your project, and the reputation of the professionals involved.
The main categories of expenses to budget for include:
- Structural Work: Reinforcing floors, constructing dormers, fitting new joists, and any roof alterations. This is often the largest single cost.
- Electrical Systems: New wiring, outlets, lighting fixtures, and potentially a new consumer unit.
- Plumbing (if applicable): For new bathrooms, ensuites, or wet bars, including pipework, fixtures, and waste disposal.
- Insulation: High-performance thermal and acoustic insulation materials.
- Finishing Materials: Drywall, plastering, paint, flooring, doors, skirting boards, and architraves.
- Staircase: Design, materials, and installation of a compliant staircase.
- Windows/Skylights: Purchase and installation of new windows, Velux, or dormer windows.
- Professional Fees: Architects, structural engineers, building control applications, and project management.
A golden rule for budgeting is to always save an additional 10-15% extra as a contingency fund for unexpected issues. Renovation projects, especially in older homes, frequently uncover unforeseen problems like hidden structural damage, old wiring, or damp, which will require immediate, unbudgeted expenditure. Always obtain multiple, detailed quotes from different contractors and track all spending meticulously against your budget to stay in control.
Remember to account for several “hidden costs” that homeowners often overlook: these include permit application fees, substantial waste removal and skip hire costs, temporary storage solutions for your belongings, potential increases in home insurance premiums (inform your insurer immediately), and council tax reassessments after completion. While quality materials might have a higher upfront cost, they invariably save money over time through superior durability, reduced maintenance requirements, and better energy efficiency. Finally, compare prices from various suppliers, explore trade discounts, and keep an eye out for seasonal sales on materials or fixtures to maximize your budget efficiency without compromising on quality.
Conclusion: Your Dream Loft Awaits
Embarking on a loft renovation is a significant and rewarding journey. A well-planned and expertly executed loft transformation not only adds invaluable living space tailored to your unique needs but also significantly increases your home’s market worth and overall appeal. From the initial exciting phase of conceptual planning and meticulously navigating complex permit requirements, to the crucial decision-making between DIY efforts and professional expertise, each step plays a pivotal role in shaping your project’s ultimate success and the enjoyment you’ll derive from your new space.
As you move forward with your own loft renovation, keep these key takeaways firmly in mind:
- Define Your Vision: Start with clear goals and a precise purpose for your new space, ensuring it aligns with your family’s lifestyle and future needs.
- Prioritize Compliance: Always adhere strictly to safety standards and local building codes, and secure all necessary permits before any work begins.
- Strategic Help: Make an informed decision between tackling tasks yourself and engaging qualified professionals, recognizing where expertise is indispensable.
- Budget Wisely: Plan your budget comprehensively, always including a substantial contingency fund for unforeseen circumstances to avoid financial stress.
- Innovate and Sustain: Consider integrating sustainable materials and smart home features to enhance energy efficiency, comfort, and the long-term value of your loft.
- Maintain and Enjoy: Once complete, implement a regular maintenance schedule to preserve your investment and fully enjoy your transformed space for years to come.
Now is truly the perfect time to unlock the hidden potential above your head and start your loft renovation journey. With careful planning, the right team, and a thoughtful approach, you can create a beautiful, functional, and value-adding space that your family will cherish and enjoy for many years to come, truly making your house feel more like a home.
Frequently Asked Questions (FAQs) About Loft Renovations
How Can I Make My Loft More Energy-Efficient and Environmentally Friendly?
To significantly enhance your loft’s energy efficiency and reduce its environmental footprint, prioritize comprehensive insulation of walls, floors, and the roof. Utilize high-performance insulation materials such as mineral wool, rigid foam boards (PIR/PUR), or even eco-friendly options like recycled denim or sheep’s wool. Install modern, double or triple-glazed windows and skylights to minimize heat loss and gain. Opt for energy-efficient LED lighting throughout the space. Furthermore, ensure proper ventilation systems, such as a heat recovery ventilation (HRV) system, which can exchange stale air with fresh air while retaining heat, leading to optimal temperature control and reduced energy consumption.
Is a Loft Renovation Highly Disruptive to Everyday Living?
The level of disruption during a loft renovation can vary significantly depending on the scope and complexity of the project. Generally, it can be mildly disruptive, involving noticeable noise from construction activities (hammering, drilling), significant dust generation (even with protective measures), and restricted access to certain parts of your home, particularly the access point to the loft. However, careful planning and strategic scheduling with your contractor can significantly minimize inconvenience. Discuss phased work, clear communication channels, and strategies for dust control and waste management. Many contractors will try to ensure that essential services (water, electricity) remain functional with minimal interruption, and a good team will aim to keep the disruption to your daily routine as contained as possible.
What are the different types of loft conversions available?
There are several popular types of loft conversions, each suited to different roof structures and budgets:
- Velux/Rooflight Conversion: The simplest and often most affordable type, involving the installation of Velux windows that fit flush with the existing roofline. Minimal structural work is needed, and no extension is typically required.
- Dormer Conversion: This involves adding a box-shaped structure that projects out from the existing roof, creating additional headroom and floor space. This is a very popular option as it often doesn’t require planning permission (falling under permitted development rights) and significantly increases usable space.
- Hip-to-Gable Conversion: Suitable for properties with a ‘hipped’ roof (sloping on all four sides). One of the sloping sides is extended vertically to form a ‘gable’ end, significantly increasing the internal volume.
- Mansard Conversion: This creates a new roof structure with two angles, with the lower part almost vertical. It often requires more extensive structural changes and almost always requires planning permission, but it maximizes the space available.
The best type for your home depends on your roof’s structure, local planning regulations, and your budget.
How long does the planning permission process usually take?
The planning permission process can vary significantly depending on your local authority and the complexity of your proposed loft conversion. Generally, once a complete and valid application is submitted, local councils typically aim to make a decision within 8 weeks for minor applications and 13 weeks for major applications. However, this timeframe can be extended if there are queries from the planning officer, if additional information is required, or if the application needs to go before a planning committee. It’s advisable to factor in a buffer period, potentially up to 3-4 months, for the planning and approval stages before any physical work can commence.
Will a loft renovation add value to my home?
Yes, a well-executed and compliant loft renovation is widely regarded as one of the most effective ways to significantly increase the value of your home. By adding an extra habitable room, such as a bedroom with an ensuite, a home office, or a versatile living space, you are expanding your home’s total living area and improving its functionality. Real estate experts often estimate that a quality loft conversion can add between 10% to 20% to your property’s market value, sometimes even more in areas where space is at a premium. The exact return on investment will depend on factors like the quality of the conversion, the type of space created, and prevailing local market conditions.
