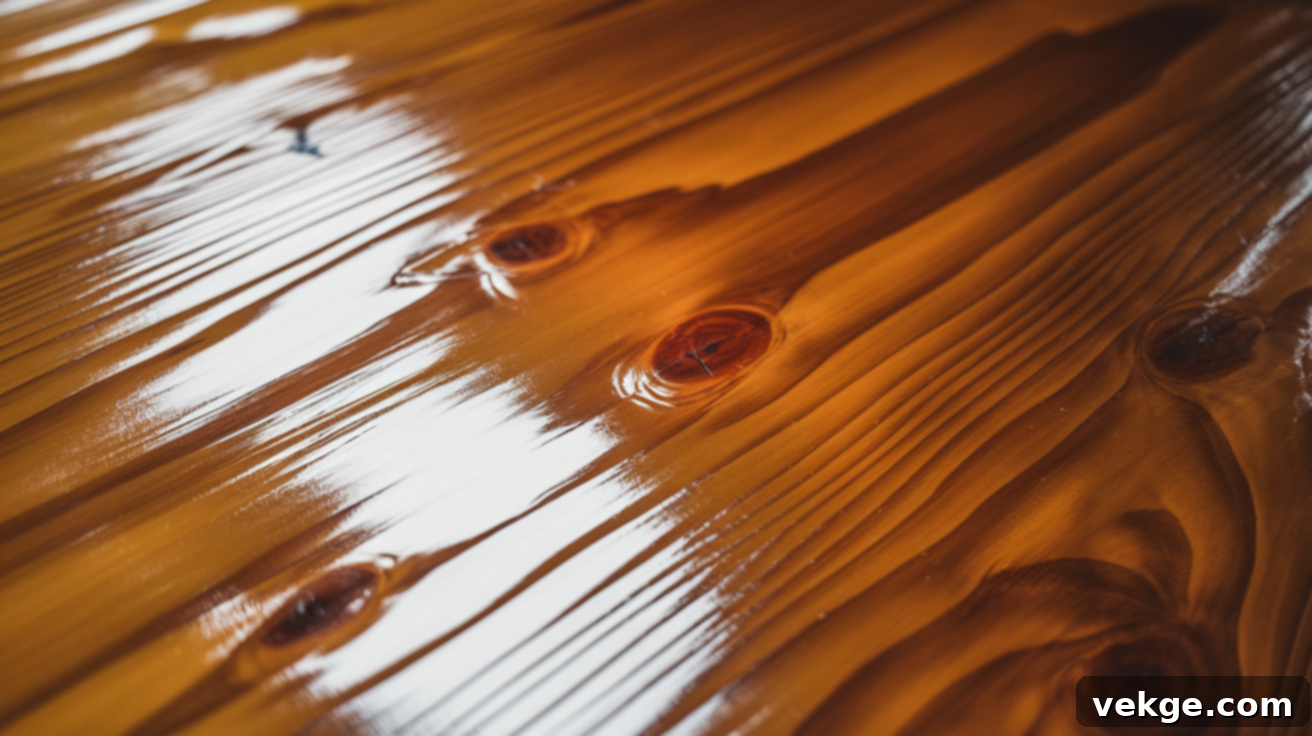
The Ultimate Guide to Applying Tung Oil on Pine Wood for Lasting Beauty and Protection
Are you looking to enhance the natural beauty and significantly extend the lifespan of your pine wood projects? Tung oil is a time-tested, popular choice among woodworkers and DIY enthusiasts alike, renowned for its ability to create a deep, lustrous finish. However, achieving that perfect, durable result requires a precise understanding of the application process. Many common mistakes can be easily avoided with the right guidance.
This comprehensive guide will walk you through every essential aspect of using tung oil on pine, from the initial preparation stages to the final application and curing. You’ll learn the techniques to achieve a smooth, resilient, and beautifully rich finish without falling into common pitfalls. Whether you’re working on large furniture pieces, robust flooring, or intricate smaller items like cutting boards and decorative accents, we’ve got you covered. Continue reading to unlock the secrets to achieving professional-grade results and confidently tackle your pine woodworking endeavors.
Why Choose Tung Oil for Pine? Understanding Its Unique Benefits
Tung oil, derived naturally from the seeds of the tung tree (Vernicia fordii), boasts a rich history spanning centuries as a superior wood protectant. Its enduring popularity stems from its exceptional ability to penetrate deep into wood fibers, polymerize, and create a highly durable, water-resistant surface. Unlike many synthetic finishes that merely sit on top of the wood as a film, tung oil integrates with the wood itself, celebrating and accentuating its natural grain while imparting a warm, inviting tone.
Here’s a detailed look at why tung oil stands out as an excellent choice specifically for pine:
- Enhances Natural Grain and Warmth: Pine wood, with its distinct grain patterns and often lighter hue, benefits immensely from tung oil. The oil deeply permeates the wood, dramatically bringing out the intricate beauty of the pine’s natural grain. This process doesn’t just protect; it enriches the wood’s inherent character, giving it a deeper, more lustrous, and inviting warm tone that synthetic finishes often mask.
- Superior Durability and Water Resistance: Once cured, tung oil forms a robust, flexible barrier within the wood. This makes the pine significantly more resistant to everyday challenges such as spills, unsightly stains, and the general wear and tear of daily use. This enhanced durability is crucial for furniture, countertops, or any pine surface that sees frequent interaction.
- Non-Toxic and Food-Safe: Pure tung oil is celebrated for being a natural, non-toxic, and food-grade finish. This makes it an ideal and safe choice for applications where contact with food is inevitable, such as wooden cutting boards, butcher blocks, children’s toys, and kitchen or dining room furniture. You can have peace of mind knowing your finished pine items are safe for your family.
- Long-Lasting, Deep Protection: When properly applied and allowed to cure, tung oil creates a protective barrier that can last for many years. This deep penetration means the protection isn’t superficial; it’s an integral part of the wood itself, helping to prevent drying, cracking, and splintering, thus keeping your pine looking exquisite for a much longer time.
- Effortless Application and Repair: Despite its professional results, tung oil is surprisingly simple to apply. It typically requires only thin, even coats and minimal, light sanding between layers. Furthermore, unlike film-forming finishes that chip or scratch, tung oil can be easily repaired by spot-applying new coats to damaged areas, seamlessly blending with the existing finish without the need to strip the entire piece.
- Eco-Friendly Choice: In an age where environmental consciousness is paramount, pure tung oil stands as an excellent eco-friendly alternative to many synthetic and petroleum-based wood finishes. It’s a renewable resource, biodegradable, and releases minimal volatile organic compounds (VOCs) during application, contributing to better indoor air quality.
These multifaceted benefits collectively make tung oil a remarkable choice for improving both the aesthetic appeal and the structural longevity of your pine wood projects, offering a natural, resilient, and beautiful finish that truly stands the test of time.
Step-by-Step Guide: How to Properly Apply Tung Oil on Pine
Applying tung oil to pine wood is a straightforward process, but meticulous adherence to the correct steps is crucial for achieving optimal results. This detailed, step-by-step guide will ensure you gain a beautiful, durable finish that truly showcases your pine. Always work in a well-ventilated area and wear appropriate personal protective equipment.
1. Preparation: The Foundation for a Flawless Finish
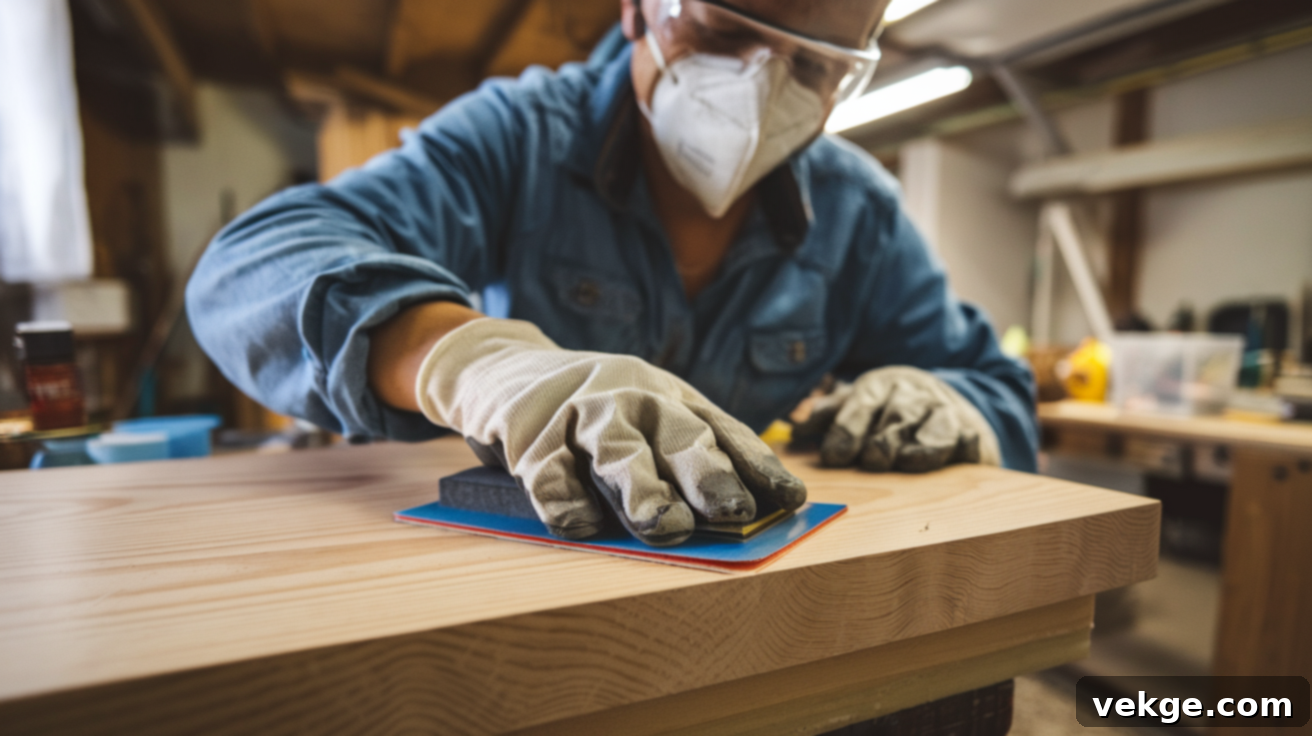
Before you even think about applying tung oil, proper surface preparation is paramount. This foundational step ensures maximum oil penetration and an even, smooth final finish.
- Thorough Cleaning of the Surface: Begin by ensuring your pine surface is impeccably clean. This means it must be completely free from any dust, dirt, grease, grime, or remnants of old finishes. Use a clean, lint-free cloth, possibly dampened with mineral spirits or a wood cleaner specifically designed for pre-finishing, to wipe down the entire surface. Allow it to dry completely. Any residual contaminants can prevent proper oil absorption and lead to an uneven or sticky finish.
- Strategic Sanding of the Wood: Lightly sand the pine wood to open up its pores and create a uniformly smooth surface. Start with a medium-grit sandpaper (e.g., 120-grit) to remove any major imperfections or milling marks. Progressively move to finer grits, such as 180-grit, and then finish with 220-grit or even 320-grit sandpaper for an extra smooth feel. Sanding with the grain is essential to avoid unsightly scratches. After sanding, meticulously remove all dust with a tack cloth or a vacuum cleaner followed by a damp cloth, allowing it to dry fully. This step significantly aids in the tung oil’s ability to absorb evenly and deeply.
2. Applying Tung Oil: Mastering the Coats
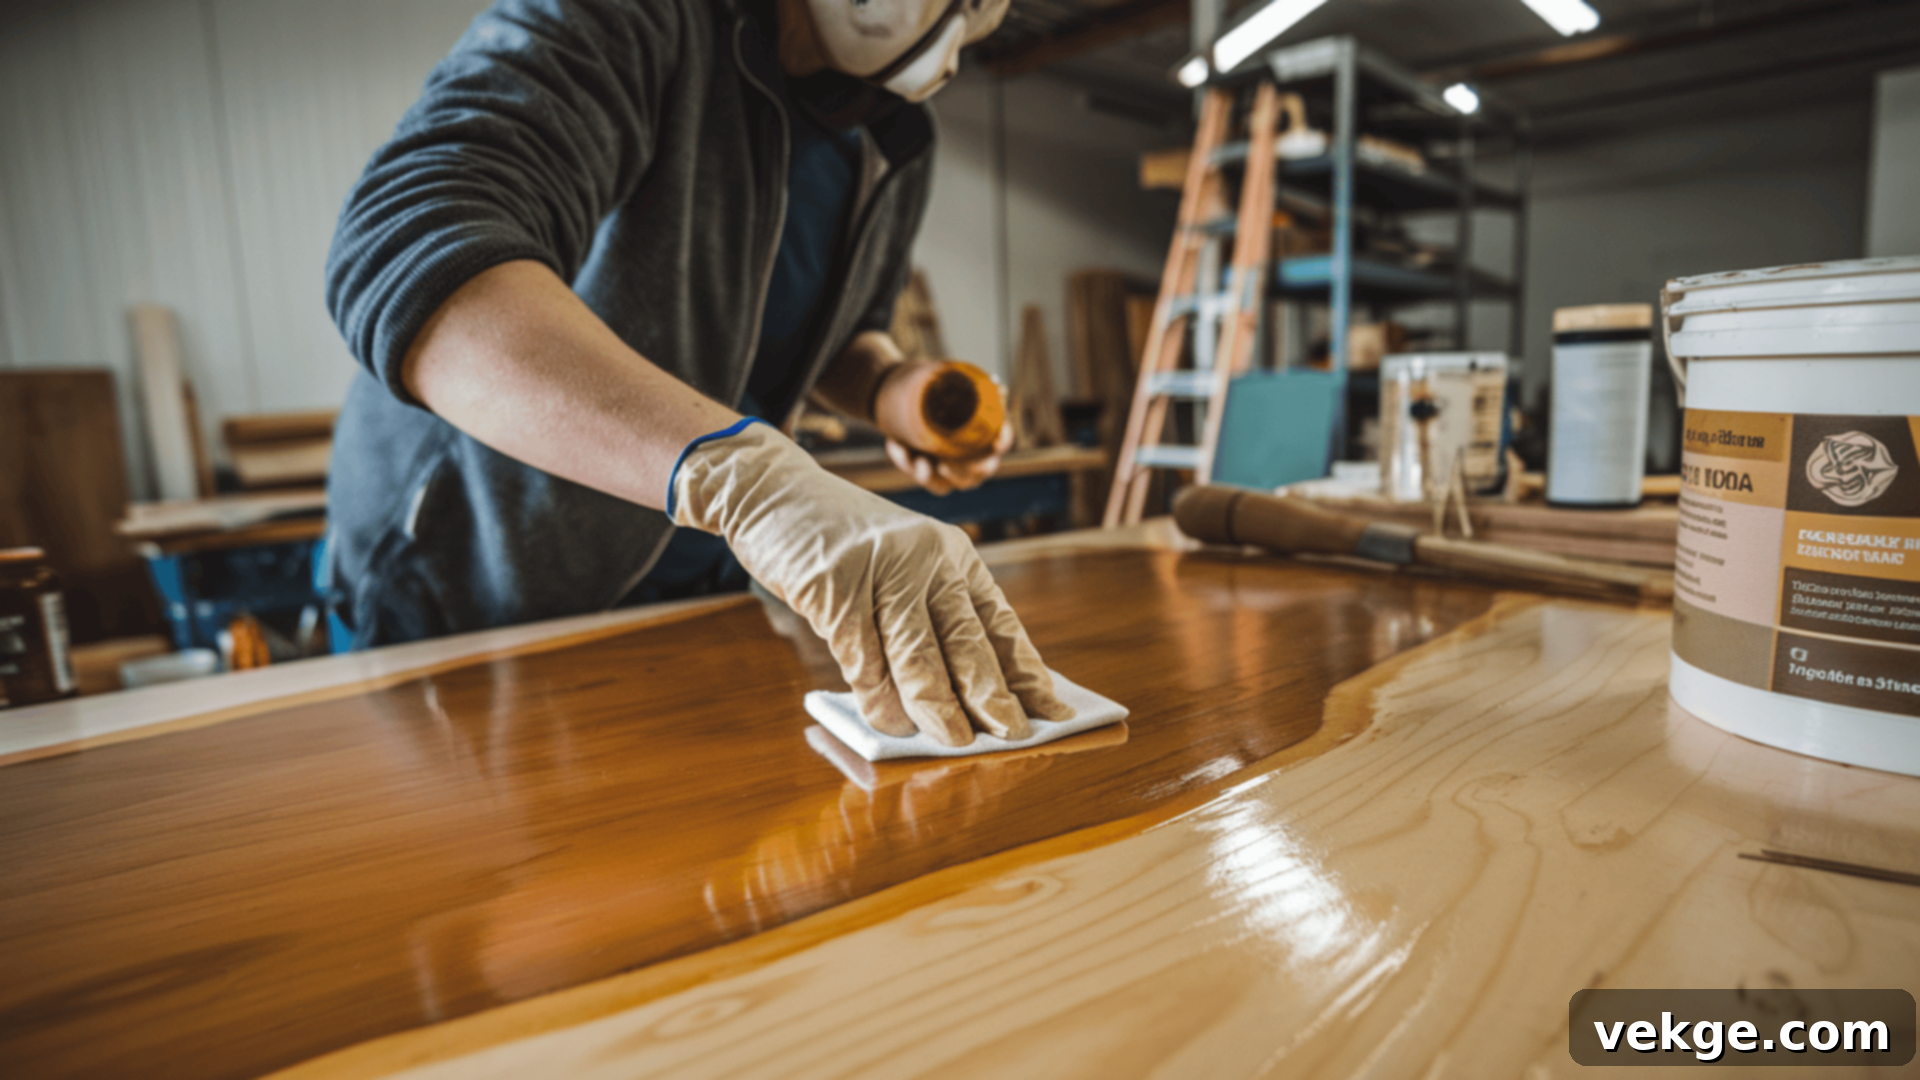
Once the pine is clean and sanded, it’s time for the star of the show: applying the tung oil. Remember, patience and thin coats are your best friends here.
- Apply Thin, Even Coats: Begin by applying a very thin, even layer of tung oil. You can use a clean, lint-free cotton cloth (like an old T-shirt), a foam brush, or a natural bristle brush. The key is to avoid over-applying. Think “less is more.” Thin layers allow the oil to penetrate deeply into the wood fibers rather than simply sitting on the surface, which is crucial for durability and preventing a sticky finish. Work with the grain of the wood.
- Wipe Off Excess Oil Promptly: This is a critical step that many beginners overlook. After letting each coat sit for about 15-30 minutes (or as directed by the product manufacturer), meticulously wipe off *all* excess oil with a clean, dry, lint-free cloth. If too much oil is left on the surface, it won’t cure properly and will result in a sticky, tacky finish that attracts dust and dirt. The surface should feel barely damp to the touch after wiping.
- Allow Ample Drying Time Between Coats: Patience is a virtue when working with tung oil. Each coat must be allowed to dry completely before the next one is applied. Typically, this means waiting at least 24 hours, but it can extend up to 48-72 hours depending on humidity, temperature, and the specific tung oil product. Test a small, inconspicuous area to ensure it’s dry and not tacky. Rushing this step can lead to a soft, improperly cured finish.
- How Many Coats for Optimal Protection? The number of coats needed varies depending on the project’s intended use and desired level of protection. For light-use items or purely decorative pieces, two to three coats might suffice. For surfaces subjected to heavy wear, like tabletops, cutting boards, or flooring, five to seven coats are often recommended. Each subsequent coat builds on the previous one, enhancing depth, durability, and water resistance.
- Light Sanding Between Coats (Optional but Recommended): After each coat has thoroughly dried, lightly sand the surface with a very fine-grit sandpaper (e.g., 320-400 grit). This light “scuff sanding” helps to remove any minor imperfections, smooth out any raised wood fibers (“grain raise”), and provides a better adhesion surface for the next layer of oil. Always wipe away all sanding dust before applying the next coat. This step is essential for achieving a truly smooth, professional-grade finish.
By diligently following these steps, you will achieve a beautiful, resilient, and deeply protected finish on your pine wood, ensuring its beauty and longevity for years to come.
Achieving a High-Gloss Finish with Tung Oil on Pine
While tung oil is often favored for its subtle, satin-like sheen that enhances natural wood, it is entirely possible to achieve a stunning high-gloss appearance on your pine wood projects. This requires a bit more dedication and precision in the application and finishing stages, but the results—a deep, reflective luster that truly brings out the wood’s character—are immensely rewarding. Here’s how to elevate your tung oil finish to a brilliant high gloss:
- Diligent Application of Multiple Thin Coats: The foundation of a high-gloss finish lies in the layering. Apply more thin coats of tung oil than you would for a satin finish, often five to ten coats or even more. The key remains *thin* coats; thick coats will not cure properly and will result in a tacky mess. Ensure each layer is completely cured and hardened before applying the next. Thin coats are crucial for maximizing penetration and minimizing the chance of sticky patches and uneven curing, which can dull the final shine.
- Meticulous Sanding Between Each Coat: For a truly high-gloss finish, sanding between coats becomes even more critical. After each coat has fully dried (which might take longer for later coats due to reduced absorption), lightly sand the entire surface with progressively finer grit sandpaper. Start with 320-grit, then move to 400-grit, and potentially even 600-grit for the final few coats. This process meticulously smooths out any minor imperfections, removes dust nibs, and creates an incredibly flat surface, which is essential for a mirror-like shine. Always wipe away all sanding dust with a tack cloth before the next application.
- Precision Buffing for Sheen: Once the final coat has completely cured (which can take several weeks, as discussed below), the buffing process begins. Use a soft, clean, lint-free cloth – like a piece of old flannel or a microfibre cloth – for manual buffing. For larger surfaces or a more intense shine, a power buffer with a lamb’s wool pad on a very low speed can be used. Buff the surface in small, overlapping circular motions until the desired level of gloss is achieved. This action gently polishes the cured oil, bringing out its maximum reflective quality.
- Extended Curing Time is Essential: This is arguably the most overlooked step for a durable, high-gloss tung oil finish. While individual coats may feel dry to the touch in 24-72 hours, tung oil requires a significantly longer period to fully polymerize and harden to its maximum potential. For a robust, high-gloss finish, allow the final coat to cure completely for at least 30 days, and sometimes up to 60 days, especially in cooler or more humid conditions. For the absolute best and most resilient results, it is highly recommended to avoid heavy use or placing objects on the wood during this critical curing period.
This patient and meticulous process will reward you with a breathtakingly beautiful, exceptionally durable, and genuinely high-gloss finish that profoundly enhances the natural character and beauty of your pine wood, making it a focal point in any setting.
Tung Oil vs. Other Finishes: Making the Best Choice for Pine
When it comes to protecting and enhancing pine wood, the market offers a variety of finishes, each with unique characteristics. While tung oil is an outstanding choice, understanding how it compares to other popular options like Danish oil and Boiled Linseed Oil (BLO) is vital. This comparison will help you select the most suitable finish for your specific pine project, ensuring you achieve the desired aesthetic and level of durability.
Tung Oil vs. Danish Oil
Danish oil is a blend of oil (often tung oil or linseed oil) and varnish, sometimes with thinners, designed for easy application and a low-sheen finish. It offers some of the benefits of oil but with added hardeners for durability.
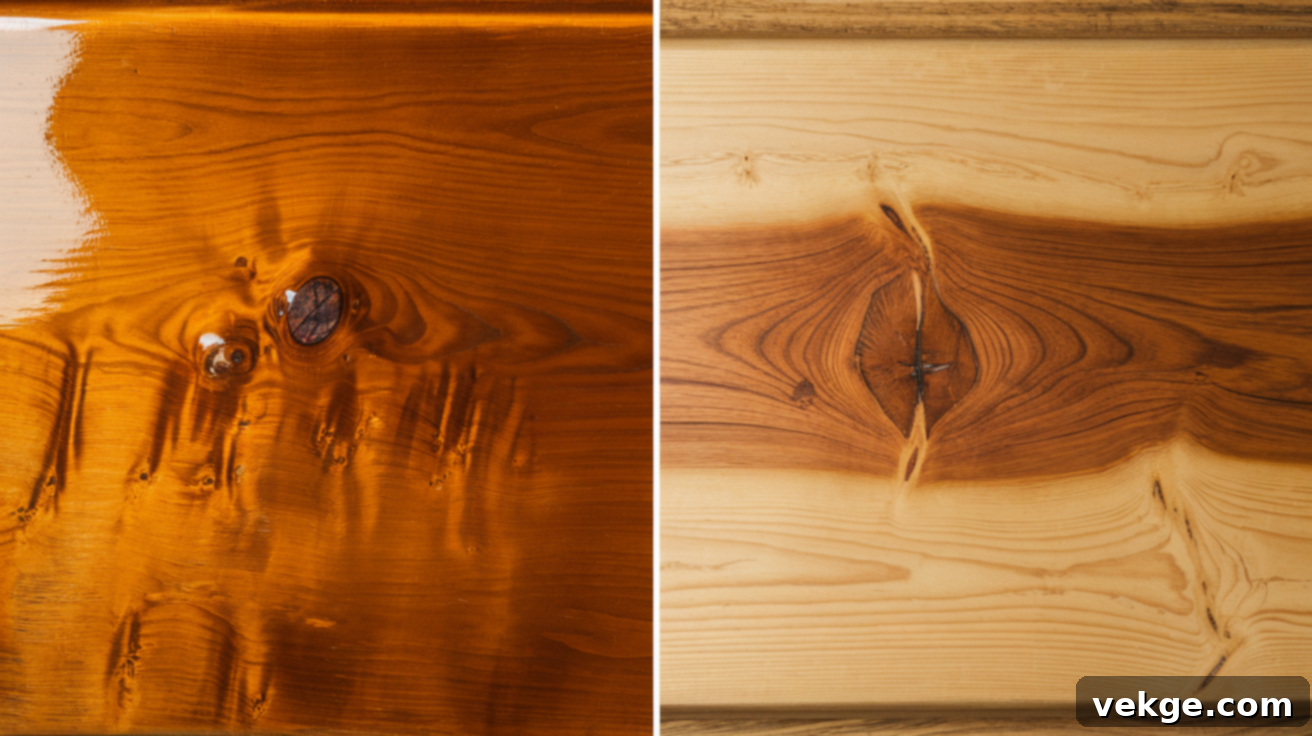
| Feature | Tung Oil | Danish Oil |
|---|---|---|
| Appearance | Creates a deeper, more lustrous, and water-resistant finish, enhancing the natural grain with subtle warmth without significant darkening. | Typically results in a more matte to satin finish, subtly enhancing the wood’s color and providing a natural feel. It doesn’t penetrate as deeply as pure tung oil. |
| Durability | Highly durable and water-resistant, forming a resilient barrier within the wood. Offers superior protection against moisture and wear. | Generally less durable and not as water-resistant as pure tung oil due to its blended nature. Provides good protection but may require more frequent reapplication on high-traffic surfaces. |
| Application | Requires more thin coats (3-7+) to achieve optimal results and full curing. Longer drying times per coat. | Fewer coats are typically needed (2-3), and it dries faster due to added dryers, making it quicker to finish a project. |
| Repairability | Excellent. Scratches or worn areas can be spot-repaired by applying new oil, which blends seamlessly. | Good, but blending new applications into old can sometimes be less seamless than with pure oil. |
Tung Oil vs. Boiled Linseed Oil (BLO)
Boiled Linseed Oil (BLO) is a traditional wood finish derived from flax seeds. “Boiled” refers to a process that adds metallic dryers to speed up its natural drying time, as raw linseed oil dries extremely slowly. It’s known for its ability to bring out the natural warmth of wood.
| Feature | Tung Oil | Boiled Linseed Oil (BLO) |
|---|---|---|
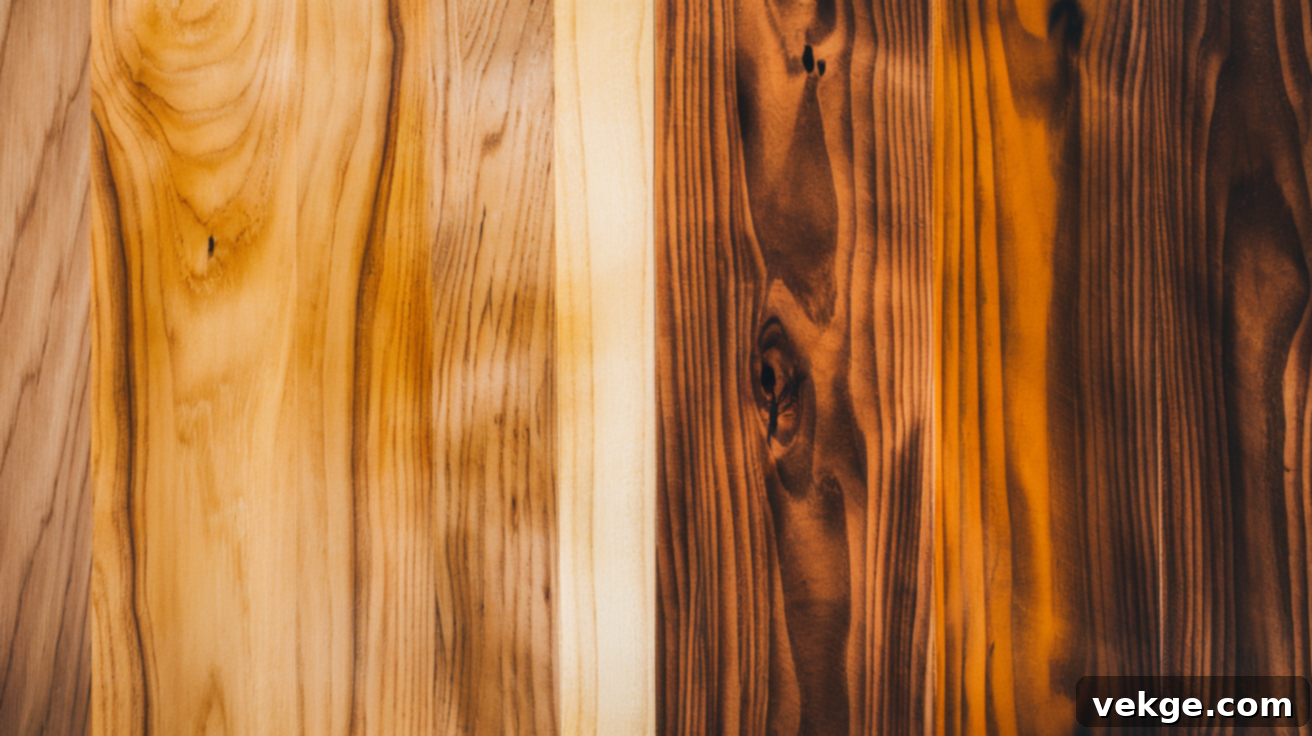
| Color & Tone | Leaves a warm, subtle, honey-like color, enhancing the grain without significantly altering the wood’s natural hue. Minimal yellowing over time. | Imparts a rich, amber hue, often darkening the wood. Tends to yellow significantly over time, which can alter the aesthetic of lighter woods like pine. |
| Drying Time | Dries and cures relatively faster than pure linseed oil, allowing for more coats in a reasonable timeframe (24-72 hours per coat). | While “boiled” to speed drying, BLO still has a longer drying time compared to tung oil, which can prolong the finishing process. |
| Protection & Durability | Forms a more durable, flexible, and highly water-resistant finish that penetrates deeply into the wood. Offers superior long-term protection. | Provides good protection and accentuates grain, but it is generally less durable and less water-resistant than tung oil, and offers less resistance to mildew. |
| Toxicity | Pure tung oil is non-toxic and food-safe once cured. | BLO often contains metallic dryers (cobalt, manganese) that make it unsuitable for food-contact surfaces. Not considered food-safe. |
By carefully considering these differences, you can confidently choose the finish that best aligns with your project goals, ensuring you achieve the desired visual appeal, level of protection, and longevity for your pine wood creations.
Troubleshooting Common Issues with Tung Oil on Pine
While tung oil offers a fantastic finish for pine, the application process isn’t always perfectly smooth. Beginners and experienced woodworkers alike can encounter challenges. Understanding common issues and knowing how to effectively resolve them will ensure you maintain the quality of your finish and avoid unnecessary frustration.
Here are some of the most frequently encountered problems and their practical solutions:
1. Sticky or Tacky Finish
A common complaint is a finish that feels sticky, tacky, or gummy long after it should have dried. This usually indicates improper application.
Cause: The most frequent culprits are applying too much oil in a single coat, or failing to adequately wipe off the excess oil before it has a chance to set. Tung oil needs to penetrate, not sit on top in a thick layer.
Solution:
- Prevention is Key: Always apply tung oil in extremely thin coats, almost as if you’re staining the wood rather than painting it. After allowing it to penetrate for 15-30 minutes, diligently wipe off *all* visible excess with a clean, lint-free cloth. The surface should feel barely damp, not oily or wet.
- For Existing Stickiness: If you find yourself with a sticky surface, you have a few options. For minor tackiness, try waiting a bit longer; sometimes it just needs more time to fully cure, especially in humid conditions. For more stubborn tackiness, you can lightly dampen a clean cloth with mineral spirits or pure turpentine and gently wipe down the sticky area. This will help dissolve and remove the uncured oil. Be gentle and wipe until the tackiness is gone. You might need to lightly sand with 320-400 grit sandpaper after this step to smooth the surface, then reapply a *very thin* coat of tung oil.
2. Uneven Coverage or Blotches
Sometimes, the tung oil can soak unevenly into the pine, resulting in a splotchy appearance with darker and lighter areas.
Cause: This is often due to inconsistent sanding, leading to areas of varying porosity, or uneven application of the oil itself. Pine is also naturally prone to blotching because it has both dense and soft grain areas that absorb finish differently.
Solution:
- Thorough and Consistent Sanding: Ensure the wood is sanded uniformly with progressively finer grits (up to 220 or 320) to create a consistent surface texture. This helps the oil absorb more evenly.
- Pre-conditioning (Optional): For very blotch-prone pine, consider applying a thin “washcoat” of diluted shellac or a wood conditioner before the tung oil. This evens out the absorption rate across the wood.
- Even Application: Apply thin, even coats, working methodically across the entire surface. Use a consistent application method (e.g., a foam brush or cloth) and ensure you wipe off excess uniformly. If blotching appears, lightly sand the affected area with 320-grit sandpaper and apply another very thin coat, paying extra attention to evenness.
3. Wood Darkening Too Much
While tung oil is generally known for enhancing natural color, some users might find their pine darkening more than desired.
Cause: This usually happens from applying too many coats, especially if they are not fully wiped off, allowing excess oil to build up and contribute to a deeper, sometimes overly dark, hue. Tung oil naturally adds a slight amber tone, and this effect compounds with each layer.
Solution:
- Fewer Coats for Lighter Finish: If you prefer a lighter finish, simply apply fewer coats. Two to three well-applied, thin coats are often sufficient to provide protection and a subtle enhancement without significant darkening.
- Aggressive Excess Removal: Make sure to wipe off *all* excess oil immediately after each coat. Any oil left on the surface will continue to cure and contribute to darkening over time.
- Test First: Always test tung oil on a scrap piece of the same pine wood to observe how it changes the color and tone before committing to your main project.
4. Excessively Long Drying Times
Tung oil inherently takes time to dry, but if the process seems unusually prolonged, there might be underlying factors at play.
Cause: High humidity, low temperatures, poor ventilation, or – again – applying coats that are too thick are the primary reasons for extended drying times.
Solution:
- Control Environmental Factors: Ensure you are working in a well-ventilated area with moderate temperature (ideally 60-75°F or 15-24°C) and low to moderate humidity. Using fans can help circulate air and speed up drying.
- Thin Coats are Crucial: Reiterate the importance of applying extremely thin coats. Thicker coats contain more oil that needs to polymerize, leading to significantly longer drying times.
- Patience is Key: While the above tips help, remember that tung oil is a natural product and requires patience. Respect the recommended drying times (typically 24-72 hours between coats, and weeks for full cure). Don’t rush the process, as this will compromise the final finish’s durability and appearance.
By effectively addressing these common issues, you’ll gain the confidence and skill to achieve consistently excellent results with tung oil on all your pine woodworking projects.
Safety Precautions and Responsible Handling of Tung Oil
While pure tung oil is a natural and relatively safe wood finish, it is still essential to handle it with care and observe proper safety precautions during application and storage. Adhering to these guidelines will not only ensure your personal safety but also maintain the quality and effectiveness of the product. Always prioritize safety in your woodworking endeavors.
- Personal Protective Equipment (PPE):
- Gloves: Always wear chemical-resistant gloves (e.g., nitrile or latex) to protect your skin from direct contact with tung oil. While natural, repeated exposure can still cause minor irritation or dryness.
- Safety Glasses: Protect your eyes from splashes or accidental contact. Safety glasses are a simple yet vital piece of equipment for any finishing task.
- Adequate Ventilation:
- Work in a Well-Ventilated Area: Apply tung oil in a space with ample fresh air circulation, such as an open garage, outdoors, or a workshop with windows and doors open. While pure tung oil has low VOCs, prolonged inhalation of any vapors is best avoided. If working indoors, use exhaust fans to draw fumes away from your breathing zone.
- Avoid Confined Spaces: Never apply tung oil in poorly ventilated or enclosed spaces, as this can lead to a buildup of vapors and discomfort.
- Proper Storage of Tung Oil:
- Cool, Dry Place: Store tung oil in its original, tightly sealed container in a cool, dry place, away from direct sunlight, extreme temperatures, and any heat sources or open flames. Exposure to heat and light can cause the oil to polymerize and thicken prematurely.
- Airtight Seal: Ensure the container is tightly sealed to prevent air exposure, which can cause the oil to skin over or harden. If using a large container, consider decanting into smaller, airtight glass jars as the supply diminishes to minimize air contact.
- Safe Disposal of Oily Rags: Fire Hazard!
- Spontaneous Combustion Risk: This is the most critical safety precaution. Rags soaked with tung oil (or any drying oil like linseed oil) can spontaneously combust as the oil oxidizes and generates heat. This is a very real fire hazard.
- Immediate Disposal Methods:
- Air Dry Flat: The safest method is to immediately spread out all used rags flat, outdoors, in a well-ventilated area away from combustible materials, and allow them to air dry completely until hard and crunchy. Once fully cured and hardened, they are no longer a fire risk and can be disposed of in regular trash.
- Water Submersion: Alternatively, place all used rags in a sealed metal container filled with water, ensuring they are completely submerged. Seal the container and dispose of it responsibly according to local regulations for hazardous waste.
- Fire-Proof Container: For workshops, a dedicated fire-proof metal waste can with a self-closing lid is an excellent investment for disposing of oily rags.
- Never Wad Up Rags: Never wad up used rags and leave them piled in a corner or in a normal trash can, even for a short time.
By diligently adhering to these safety precautions, you will ensure a safe and effective application of tung oil, protecting both yourself and your workspace while achieving beautiful results on your pine projects.
Conclusion: Embrace the Natural Beauty and Protection of Tung Oil on Pine
Tung oil truly stands out as an exceptional choice for finishing pine wood, offering a unique blend of aesthetic enhancement and robust protection. By opting for tung oil, you’re not just applying a finish; you’re deeply enriching the wood’s natural character, bringing out its inherent warmth and beautiful grain with a smooth, natural-looking sheen. It’s a testament to timeless craftsmanship, providing a finish that is both visually appealing and remarkably durable.
By diligently following the right application steps – starting with meticulous surface preparation, applying thin, even coats, patiently allowing ample drying time between layers, and wiping off all excess oil – you can ensure your pine projects are not only stunning but also built to last. This careful approach prevents common issues and maximizes the inherent protective qualities of tung oil, safeguarding your wood against daily wear, moisture, and stains for years.
Should you encounter any challenges during the process, remember that most issues like stickiness, unevenness, or prolonged drying times have straightforward solutions. Simple fixes, such as light sanding between coats, more aggressive wiping of excess oil, or ensuring proper ventilation, can easily rectify problems and get your project back on track. With the detailed guidance provided in this article, you are now well-equipped to approach your pine woodworking projects with confidence, achieving professional-grade results and enjoying the lasting beauty of a tung oil finish.
Ready to explore more expert insights and elevate your woodworking skills? Check out our other comprehensive guides for more helpful advice on wood finishing, care, and various woodworking techniques!
