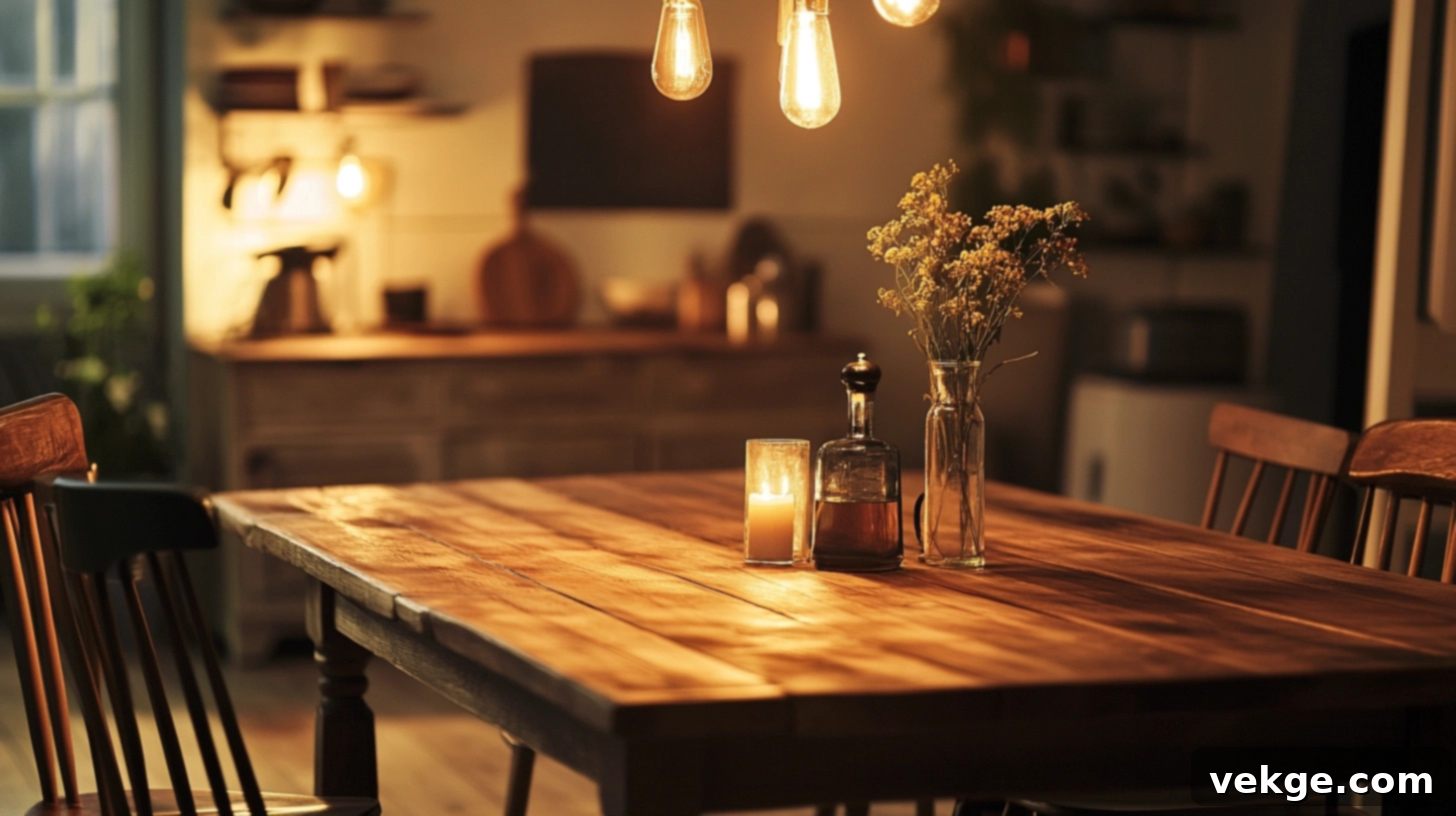
Build Your Own Dream Dining Table: A Comprehensive DIY Guide for Woodworking Enthusiasts
Imagine gathering around a beautiful dining table that you built with your own hands. Not only is it a deeply satisfying project, but it also allows you to create a custom piece perfectly suited to your home’s style and dimensions, often for significantly less than buying one from a retail store. A DIY dining table isn’t just a piece of furniture; it’s a personal statement, a functional work of art, and the heart of countless future memories with family and friends.
This detailed guide will empower you to construct a durable, elegant dining table that will stand the test of time. We’ll meticulously walk you through every critical step, from selecting the ideal lumber and essential tools to mastering precision cuts, robust joinery, flawless sanding, and applying protective, long-lasting finishes. Whether you envision a rustic farmhouse design or a sleek modern aesthetic, this guide provides the foundational knowledge to bring your vision to life.
Are you ready to embark on this rewarding journey and craft a centerpiece that truly embodies the warmth and character of your home? Let’s dive in and transform raw materials into a cherished heirloom.
Why Choosing the Right Dining Table Plan Matters Immensely
Selecting the perfect dining table plan goes far beyond the technical aspects of woodworking; it’s about defining the very essence of your home. This isn’t merely a surface for meals; it’s a foundational piece where life unfolds. It will host the joyful chaos of everyday dinners, the warmth of holiday feasts, the quiet concentration of late-night homework sessions, and the heartfelt conversations that strengthen family bonds. The right plan ensures that your table is not just structurally sound but also perfectly suited to your family’s needs and lifestyle.
A thoughtfully chosen plan allows you to build a table that invites everyone to gather comfortably. Consider how your family grows and evolves: children will become taller, and extended family members will visit. Having the perfect dimensions means no one feels cramped or isolated, fostering an atmosphere of connection and ease. Some families thrive with large tables for grand gatherings, while others prefer more intimate settings that encourage close conversation. Your table will bear witness to significant milestones – from a child’s first day of school to momentous birthday celebrations and the simple, comforting routine of Sunday breakfasts. It might even become the cherished spot where your children first explore their creativity through drawing, or where you share laughter and stories with old friends late into the evening.
By investing time in choosing the right plan, you’re not just constructing a piece of furniture; you’re actively shaping the backdrop for years of cherished family stories, shared laughter, and deep connections. This intentional choice transforms a house into a truly vibrant, welcoming home, making every meal and every moment spent around it feel special and intentional.
Choosing the Perfect Dining Table Style for Your Home

The style of your DIY dining table will profoundly influence the aesthetic and atmosphere of your entire dining area. Each design paradigm brings a unique feeling to your home, reflecting your personal taste and your family’s dynamic. As you explore the vast array of available plans, you’ll discover styles ranging from the comforting warmth of country-inspired designs to the sleek sophistication of contemporary minimalism.
Farmhouse Style Plans: Rustic Charm and Enduring Strength
Farmhouse tables consistently rank among the most beloved DIY projects, celebrated for their ability to infuse any home with a sense of warmth, history, and togetherness. These iconic tables typically feature robust, thick tabletops, substantial, often trestle-style legs, and straightforward, honest designs that are remarkably achievable for even novice woodworkers. Renowned DIY creators like Ana White and Rogue Engineer offer accessible plans that demonstrate how to construct these charming tables using only basic tools and materials, making them incredibly popular.
The inherent solid construction of farmhouse tables makes them exceptionally practical for bustling families with children. Their sturdy build can withstand daily use, and minor dents or scratches over time only enhance their character and authentic appeal, adding to their lived-in charm. This forgiving nature makes them ideal for homes where the dining table truly serves as the energetic hub of family life.
Modern and Minimalist Designs: Sleek Elegance and Simplicity
Modern dining tables epitomize clean lines, unadorned forms, and a refined simplicity that seamlessly integrates into contemporary home environments. These plans often utilize fewer individual pieces of wood compared to their traditional counterparts but demand a higher degree of precision in cuts and joinery to achieve their signature crisp aesthetic. The minimalist approach of these designs results in tables that often appear far more expensive and sophisticated than their actual construction cost.
These tables are particularly well-suited for smaller living spaces where bulky, ornate furniture might overwhelm the room. Their understated forms contribute to a calm, uncluttered, and expansive feeling within your dining area, making them a perfect choice for those who appreciate understated elegance and functional beauty.
Rustic and Reclaimed Wood Options: Story, Sustainability, and Unique Character
Building a dining table with reclaimed wood offers a unique opportunity to imbue your piece with rich history, unparalleled character, and a strong sense of environmental responsibility. A multitude of DIY plans guide you through the process of transforming salvaged materials such as old barn wood, repurposed floor planks, or other recycled lumber into stunning furniture. Each knot, grain pattern, and imperfection tells a story, making these tables instant conversation starters when guests gather.
Resources like The Spruce Crafts provide excellent plans that focus on celebrating and highlighting the inherent, natural beauty of aged wood. These rustic tables introduce a comforting, lived-in charm to your dining space, fostering an atmosphere where meals feel more relaxed, authentic, and genuinely welcoming. Choosing reclaimed wood is not just about aesthetics; it’s about sustainability and creating a unique piece with soul.
Dining Table Size and Dimensions Guide: Ensuring Perfect Fit and Comfort
Achieving the correct table size is absolutely paramount for both the comfort of your guests and the overall functionality of your dining space. Before you commit to any specific plan, it’s crucial to meticulously measure your available area. This careful planning will guarantee that your finished table fits perfectly within the room, allowing ample space for movement, comfortable seating, and an enjoyable dining experience without feeling cramped or overly spread out.
Standard Sizes for 4, 6, 8, and 10 People: Practical Dimensions
To comfortably seat a family of four, a rectangular table measuring approximately 36″ x 48″ or a round table with a 48″ diameter generally provides sufficient space without appearing empty or overwhelming. For those who regularly host six people, consider plans for rectangular tables around 36″ x 60″ or round tables with a 54″ diameter. These dimensions ensure everyone has adequate elbow room.
Eight-person tables typically require larger dimensions, such as 36″ x 80″ for a rectangle or a 60″ diameter for a round table, ensuring a comfortable and spacious setting. If you frequently accommodate ten people, explore plans for substantial tables often described as “massive” by many DIY guides, typically measuring 36″ x 96″. When calculating width, remember to allocate at least 24″ of space per person, and for rectangular tables, allow a minimum of 30″ of table length per person along the sides.
Best Shapes for Different Spaces: Maximizing Room Flow and Interaction
Rectangular tables are the most versatile and fit seamlessly into the majority of dining rooms, working exceptionally well when placed against a wall in tighter spaces. Many free DIY plans prioritize this practical shape due to its adaptability. Round tables, on the other hand, naturally foster a more social and inclusive environment where everyone can easily see and converse with each other. They are particularly well-suited for square rooms and simplify the passing of food and dishes.
Square tables are an excellent choice for smaller families or compact dining areas, and many designs offer the flexibility of expandable leaves for occasional larger gatherings. For long, narrow rooms, oval or elongated rectangular designs tend to work best, complementing the room’s proportions without obstructing flow. The chosen table shape significantly impacts how people interact and move during meals, so carefully consider your family’s typical dining habits and the spatial dynamics of your room when making your selection.
DIY Guide: Step-by-Step Instructions to Build Your Custom Dining Table
This comprehensive guide meticulously breaks down the table-building process into manageable, easy-to-follow steps, drawing on proven techniques from seasoned woodworkers. By carefully following each instruction, you will confidently create a stunning dining table that not only becomes the centerpiece of your home but also serves as a cherished gathering spot for countless family meals and celebrations for many years to come.
Based on the robust, step-by-step process demonstrated by the “Stud Pack 2” YouTube channel, here’s a detailed approach to building a custom wood DIY dining table with a professional-grade finish:
Step 1: Gather Your Materials and Essential Tools
Before beginning any cutting or assembly, ensure you have all necessary materials and tools on hand. This prevents interruptions and allows for a smooth workflow. For a sturdy and beautiful dining table, you will need:
- For the Base: Approximately 3-4 sturdy 4×4 posts (select straight, knot-free lumber if possible).
- For the Tabletop: High-quality tabletop boards of your choice. Pine is an excellent, cost-effective option for beginners due to its workability, but oak, maple, or walnut offer increased durability and aesthetic appeal.
- For Tabletop Support: A sheet of plywood (3/4 inch thick is recommended) to provide underlying stability and prevent warping.
- Adhesives: High-quality wood glue for strong, lasting joints.
- Fasteners: Structural screws (1/4 inch diameter, varying lengths depending on joint thickness) for reinforcing glued connections.
- Sanding Supplies: A comprehensive set of sandpaper grits (50-grit for heavy stock removal, 80-grit for initial smoothing, 120-grit for refining, and 220-grit for final, ultra-smooth finish).
- Finishing Products:
- Pre-stain wood conditioner (crucial for even stain absorption, especially on softer woods like pine).
- Wood stain of your desired color and type (oil-based or water-based).
- Durable water-based polyurethane (a floor-grade product is highly recommended for maximum tabletop protection and longevity).
- Hardware: Z-clips (also known as tabletop fasteners or figure-8 fasteners) for attaching the tabletop to the base, allowing for natural wood movement.
- Power Tools:
- Belt sander (for aggressive stock removal and flattening large surfaces).
- Random orbital sander (for fine finishing and swirl-free results).
- Miter saw (for precise crosscuts and angled cuts).
- Cordless drill with various bits (Forstner bit for creating clean, flat-bottomed holes; 9/32 inch and 5/32 inch drill bits for pilot holes).
- Biscuit joiner (optional but highly recommended for strong, aligned stretcher-to-leg connections).
- Hand Tools & Measuring:
- Tape measure for accurate length measurements.
- Combination square for marking precise lines and checking squareness.
- A variety of clamps (bar clamps, pipe clamps) to hold pieces securely during glue-ups.
- Safety gear: safety glasses, ear protection, and dust mask.
Step 2: Precision Cutting of Your Wood Components
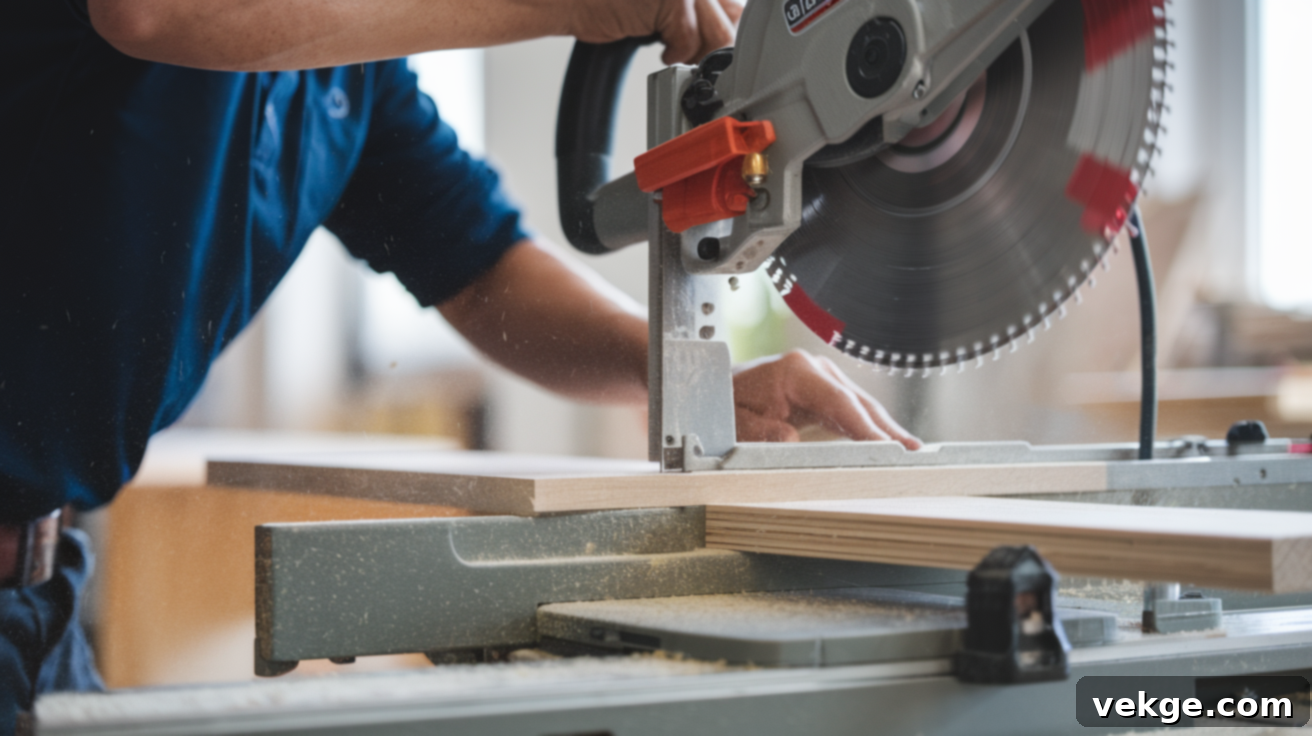
Accuracy in cutting is paramount for a professional-looking and sturdy table. Start by cutting your tabletop boards slightly longer than your intended final dimensions. This allows for trimming to exact size after glue-up. If you’re utilizing plywood for underlying support, position it approximately 3-4 inches inward from the final edges of your tabletop. Once your individual tabletop pieces are glued together and thoroughly dried, you will mark your precise final dimensions and then trim the entire panel to size using a circular saw with a guide or a table saw for straight, clean cuts.
For the table base, meticulous cutting is essential:
- Begin by cutting your four 4×4 posts to identical lengths. A height between 28-32 inches typically works well for most standard dining tables, but always confirm against your desired final table height.
- To construct strong, stable end frames for the base, cut precise 45-degree miters on both ends of two sets of 4x4s. These will form two identical square or rectangular frames. Ensure these angles are perfect to avoid gaps in your joints.
For connecting these end frames:
- Cut two stretchers (long horizontal pieces) to the appropriate length. This length, typically around 45-51 inches, will depend directly on your desired overall table length. Remember to account for the thickness of the 4×4 posts at each end.
- Critical Tip: When cutting multiple pieces that need to be identical (like the 4×4 posts or the stretchers), always use a stop block with your miter saw. This simple technique ensures every piece is the exact same length, which is absolutely vital for constructing a sturdy, wobble-free table that assembles squarely.
Step 3: Assembling the Tabletop and Base Framework
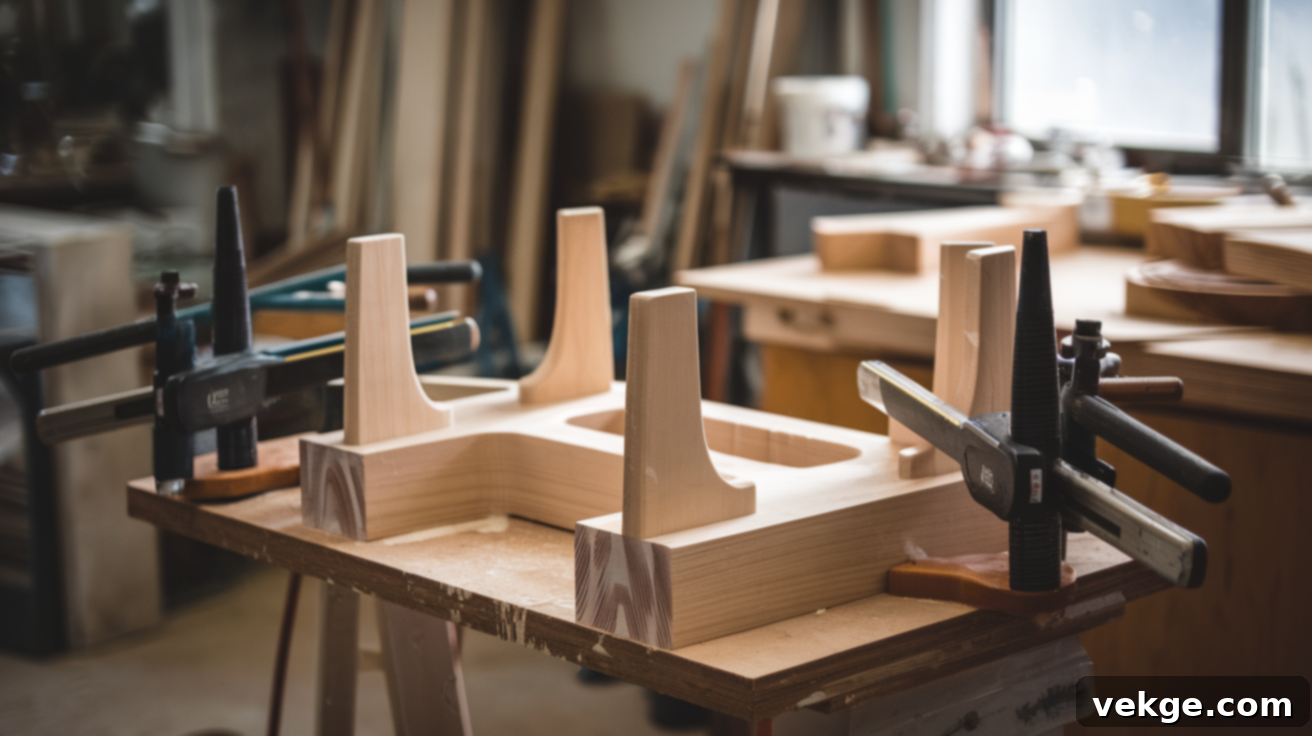
Assembly is where your table truly begins to take shape. Start by carefully gluing your tabletop boards side by side, ensuring the edges are perfectly aligned. Apply a generous, even layer of wood glue to each mating surface. Use a sufficient number of clamps (bar clamps or pipe clamps are ideal) to apply even pressure across the entire width of the tabletop, holding the boards tightly together while the glue dries completely. Wipe away any glue squeeze-out immediately with a damp cloth to prevent difficult-to-remove residue.
Once the tabletop glue has cured, attach the plywood support to the underside. Use wood glue and screws, ensuring the plywood is centered and securely fastened, adding significant stability and preventing future warping of the solid wood top.
For the table base:
- Begin by gluing the mitered corners of your 4x4s together to form your two identical end frames. Apply glue generously to each 45-degree surface.
- Securing the Miters: Ratchet straps with corner protectors are highly effective for applying consistent pressure and holding these mitered joints tightly while the wood glue sets. Allow ample drying time, typically 24 hours, for maximum strength.
- Reinforcement: After the glue has fully dried, strengthen each miter joint with two structural screws. Strategically place one screw from the top face and one from the bottom face of the joint. This hidden placement ensures robust connection without visible fasteners on the exposed surfaces.
Next, connect the two end frames with your pre-cut stretchers. For superior alignment and strength, utilize a biscuit joiner to create matching slots for biscuits where the ends of the stretchers meet the vertical 4×4 posts of the end frames. Apply wood glue into these slots, insert the biscuits, then apply glue to the stretcher ends and fit everything together. Use long clamps to pull the entire base structure tight and square, allowing it to dry completely. This method creates a highly stable and professional-looking joint.
Step 4: Achieving a Flawless Finish Through Strategic Sanding
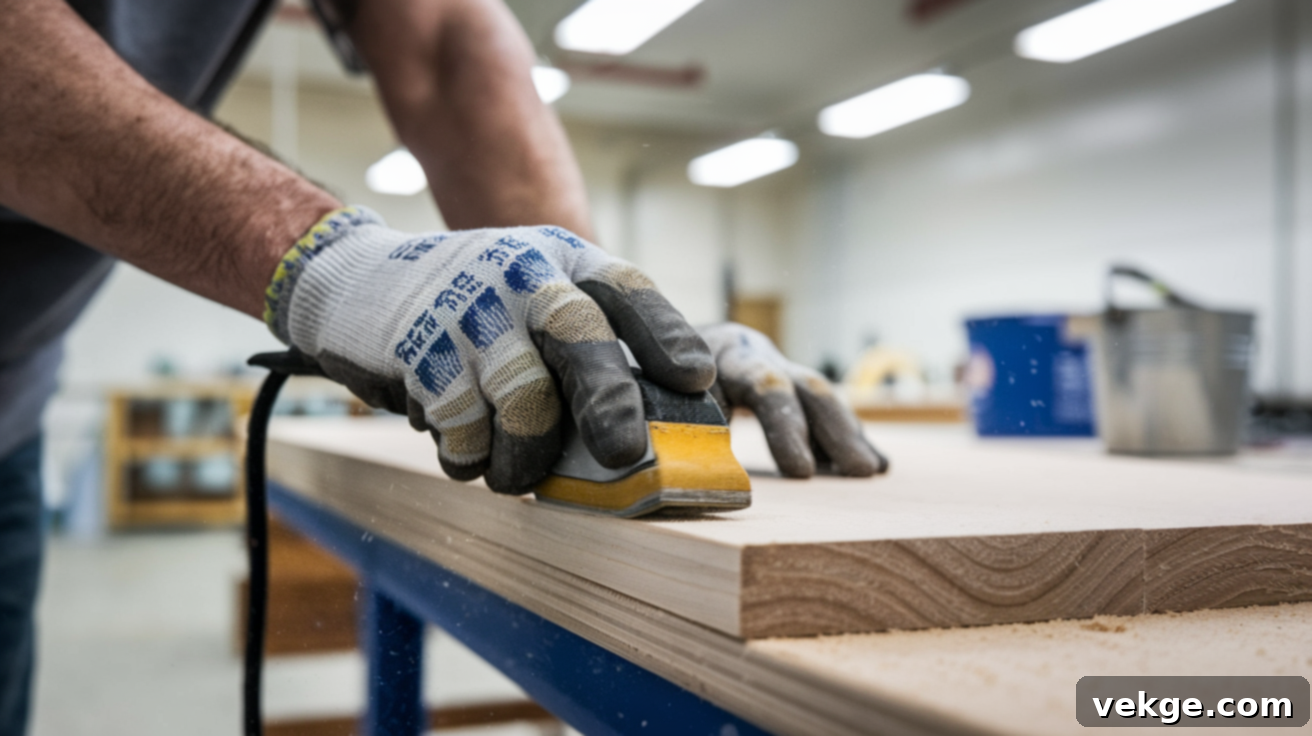
Sanding is arguably the most crucial step for a beautiful, professional-looking finish. Do not rush this process! Begin with an aggressive sanding pass using 50-grit sandpaper (typically with a belt sander for large, flat surfaces or a random orbital sander). This initial stage is designed to remove major imperfections, level any uneven glue joints, and flatten the entire surface. Pay particular attention to ensuring all glued seams are perfectly smooth and flush.
Next, switch to 80-grit sandpaper for your second pass. At this stage, your focus shifts to smoothing the surface further and ensuring any apron pieces (if your design includes them) are flush with the tabletop. The 80-grit will remove the deeper scratches left by the 50-grit paper.
For the third pass, move to 120-grit paper. Sand in the direction of the wood grain, applying light, even pressure. Use good lighting (like a raking light across the surface) to highlight any remaining gouges, scratches, or imperfections that still require attention. These are often invisible until the light catches them just right.
Conclude the sanding process with a final pass using 220-grit sandpaper. This fine grit will create an ultra-smooth, silky surface, preparing the wood perfectly for staining and finishing. Remove all dust thoroughly between each grit change using a vacuum and a tack cloth to prevent scratching the surface with trapped dust particles.
Essential Sanding Tips:
- Edges: Exercise caution when sanding near edges to avoid unintentionally rounding them, unless a softened edge is your desired aesthetic. Consistent, even pressure is key.
- Base Components: Whenever possible, sand the individual components of the base (legs, stretchers, end frames) *before* their final assembly. This provides easier access to all surfaces and ensures a more uniform finish.
- Imperfection Filling: Fill any visible knots, small holes, or minor imperfections with high-quality wood putty. For an almost invisible repair, mix fine sawdust from the same wood species with wood glue to create a custom filler that will take stain similarly to the surrounding wood. Allow any filler to dry completely before sanding it flush.
Step 5: Preparing the Wood for an Even, Beautiful Finish
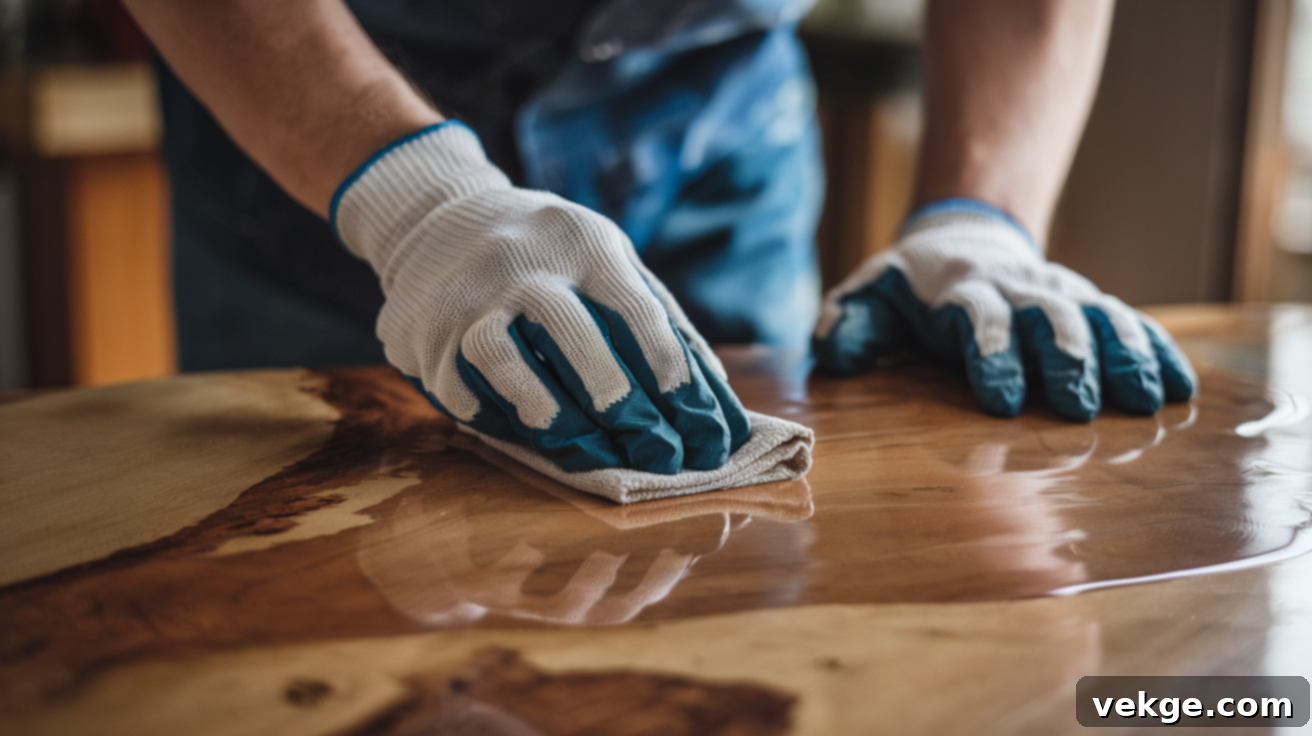
This critical preparatory step ensures your stain absorbs evenly and beautifully, preventing blotchiness and achieving a professional-grade appearance. Begin by applying a pre-stain wood conditioner to all surfaces that will be stained. This is especially vital for softer, more porous woods like pine, which are notorious for blotching without this essential step. The conditioner works by partially sealing the wood fibers, allowing for a more consistent and uniform absorption of the stain.
Apply the conditioner generously with a clean cloth or foam brush, working in the direction of the wood grain. Always follow the manufacturer’s instructions for specific drying times, as this can vary between products. Do not let the conditioner dry too long, or it may prevent proper stain absorption altogether.
While the conditioner is working its magic (or after it has absorbed according to instructions), take this opportunity to thoroughly inspect your table for any remaining small gaps, cracks, or minor imperfections. These can be filled with a custom mixture of wood glue and fine sawdust collected during your sanding process. This creates a filler that closely matches the wood’s color and texture. For larger knots or more significant holes, commercial wood filler or even a stronger solution like auto body filler (Bondo) can be very effective, especially if you plan to paint rather than stain. Once any filled areas are completely dry, sand them perfectly smooth with 220-grit sandpaper to create a seamless surface that will accept stain or paint uniformly.
Step 6: Applying Your Chosen Stain Color
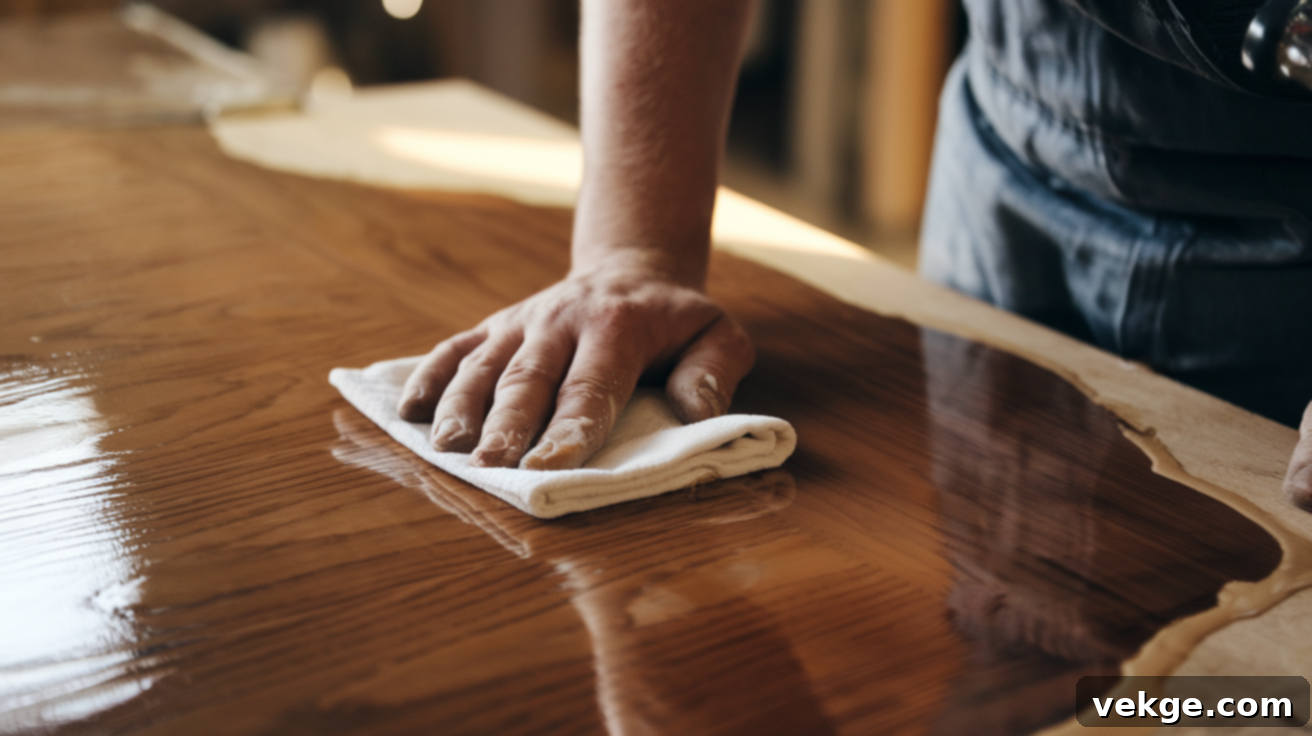
The staining process is where your table truly comes to life with color and depth. Choose your stain color with care, and always, always test it on scrap pieces of the same wood species you used for your table first. This allows you to see how the stain will truly look and provides an opportunity to experiment. You can even create custom colors by mixing different stains together to achieve a unique hue.
Apply the stain with a clean, lint-free cloth or a foam brush, again working consistently in the direction of the wood grain. Apply it liberally, ensuring good coverage. Allow the stain to penetrate the wood for a few minutes; the longer it sits, the darker and richer the color will be. Then, using a fresh, clean cloth, wipe off all excess stain. Over-wiping can lighten the color, so aim for an even, consistent wipe. If you desire a deeper color, you can apply a second coat, allowing the first to dry completely before reapplication.
For the table base, you might opt for a contrasting stain color or even a painted finish. If you choose to paint the base, it’s crucial to fill any knots first (using shellac-based primer or specific knot-filler primer), sand them smooth, and then apply a high-quality primer before proceeding with your chosen paint color. This ensures superior adhesion and a smooth, long-lasting painted surface.
Allow the stain to dry completely according to the manufacturer’s instructions. This typically requires at least 24 hours, and sometimes even longer in humid conditions, before you proceed to apply any protective coating. Rushing this step can lead to adhesion issues or a cloudy finish.
Step 7: Final Touches and Applying a Durable Protective Coating
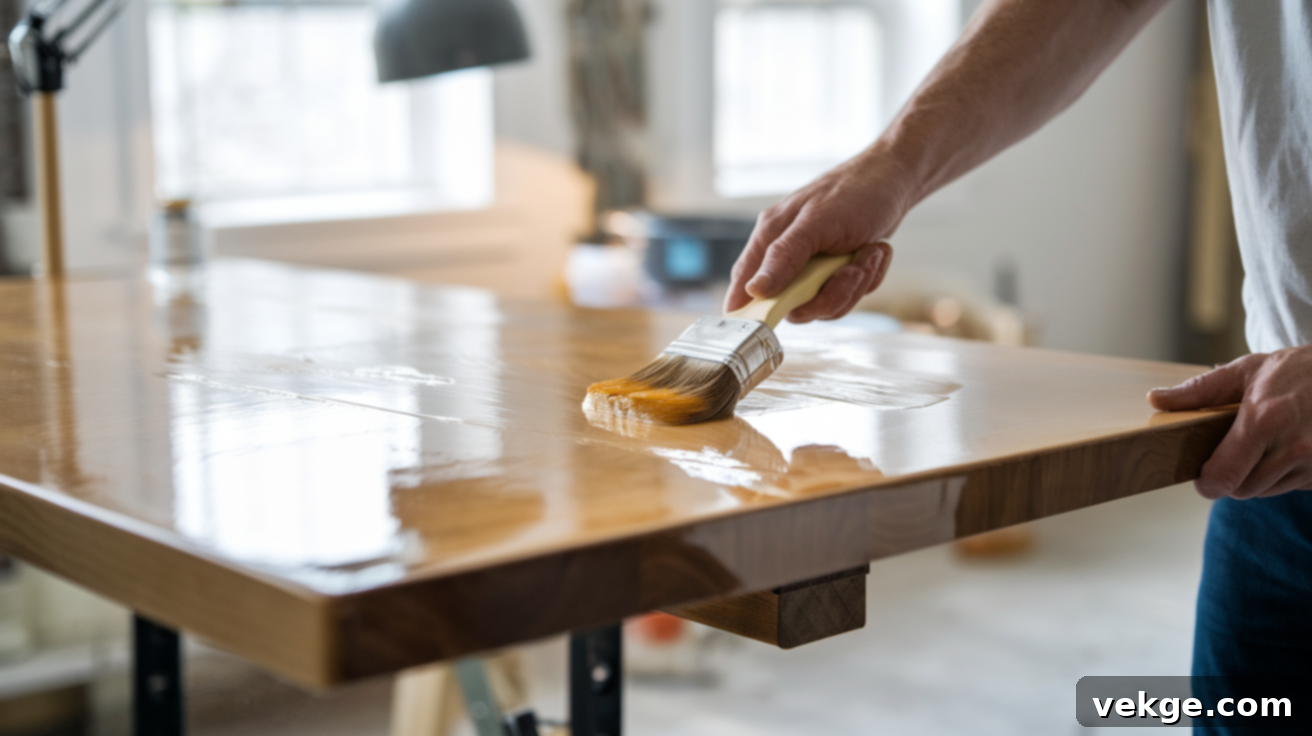
This final step is crucial for protecting your beautifully crafted tabletop from spills, scratches, and daily wear and tear. For the best and most durable protection, apply at least three coats of a high-quality water-based floor polyurethane to your tabletop. Water-based polyurethanes dry faster, are less yellowing, and are more environmentally friendly than oil-based versions. Use a high-quality foam brush for smooth, streak-free application. Apply thin, even coats.
After each coat of polyurethane has dried (check manufacturer’s instructions, usually 2-4 hours), lightly sand the entire surface with 220-grit sandpaper. This crucial “scuff sanding” creates a mechanical bond for the next coat, ensuring excellent adhesion and a super smooth final finish. Remove all dust with a tack cloth before applying the subsequent coat. Apply a minimum of three coats, and for exceptionally high-use areas, five or more coats are not uncommon.
Attaching the Tabletop: Securely attach the finished tabletop to the base using Z-clips (also known as figure-8 fasteners or tabletop fasteners). These specialized clips are designed to allow for the natural expansion and contraction of the wood tabletop throughout seasonal changes, preventing cracking or warping that can occur with rigid fasteners. Create small slots in the top edge of your base (using a biscuit joiner or chisel) where the Z-clips will sit, and then screw the clips to the underside of the tabletop. This creates a strong yet flexible connection.
Finally, ensure your completed table sits perfectly level by checking it with a spirit level on all sides. If necessary, minor shims can be added under the feet. Apply felt pads to the bottom of the table legs to protect your floors from scratches and allow for easy movement. Once the final coat of polyurethane is applied, it’s essential to let the finish cure fully for at least a week (and often longer, depending on humidity and product) before heavy use. While it may feel dry to the touch, the finish is still hardening during this time.
For a detailed visual demonstration of this entire process, including specific techniques for each step, be sure to watch the comprehensive tutorial from Stud Pack 2 on their YouTube channel. Their practical, step-by-step walkthrough will provide invaluable insights and help you visualize each stage before you even pick up your tools!
Maintaining and Caring for Your Handmade Dining Table
Your custom-built dining table is destined to become the central gathering point for countless family meals, celebrations, and everyday moments. To ensure its beauty and structural integrity endure for generations, consistent and mindful care is essential.
- Prompt Spill Cleanup: Always clean any spills immediately with a soft, slightly damp cloth. Liquids, especially acidic ones, can penetrate finishes and stain wood if left unattended.
- Gentle Cleaners: Avoid harsh chemical cleaners, abrasive pads, or furniture polishes containing silicone, as these can degrade the finish over time. A mild solution of soap and water is generally sufficient for daily cleaning.
- Occasional Deep Cleaning: For a more thorough cleaning or to restore shine, use products specifically formulated for finished wood furniture. Always test in an inconspicuous area first.
- Heat Protection: Protect the tabletop from direct heat by always using trivets, hot pads, or thick placemats under hot dishes, serving bowls, and warm beverage cups. Heat can cause permanent white marks or blistering of the finish.
- Surface Protection for Meals: Utilize tablecloths, placemats, and coasters during meals to create a barrier against food spills, minor scratches, and moisture rings.
- Finish Reapplication (As Needed): Depending on usage and the type of finish, you may need to reapply a fresh coat of polyurethane or other protective finish every few years to maintain optimal protection and appearance. Inspect the finish annually for signs of wear.
- Environmental Considerations: Avoid placing your dining table in direct, prolonged sunlight, as UV rays can cause wood to fade or change color. Maintain stable humidity levels in your home (ideally between 35-55%) to prevent the wood from expanding, contracting, or cracking.
Consistent, attentive care will significantly extend the life and preserve the exquisite beauty of your wood dining table. A little proactive upkeep goes a long way in ensuring it remains a stunning and functional centerpiece for decades to come.
Common Woodworking Mistakes to Avoid During Your Build
Avoiding these common woodworking pitfalls can make an enormous difference in both the final aesthetics and the long-term durability of your dining table. A meticulously planned approach, coupled with an awareness of potential errors, will lead to significantly smoother results, reduce frustration, and prevent costly regrets down the line.
- Ignoring Wood Movement: Wood is a hygroscopic material, meaning it naturally expands and contracts with changes in humidity. Failing to account for this movement (e.g., using rigid fasteners instead of Z-clips for the tabletop) can lead to severe issues like cracking, splitting, or warping of the tabletop over time. Always allow for wood movement in your design.
- Rushing Drying Times Between Finish Coats: Impatience during the finishing process is a common culprit for subpar results. Applying subsequent coats of stain or polyurethane before the previous layer is fully dry can lead to bubbling, cloudiness, poor adhesion, or an uneven, tacky finish. Always adhere strictly to manufacturer drying recommendations.
- Skipping Sanding Grits: Bypassing grits (e.g., going directly from 80-grit to 220-grit) leaves behind deeper scratches from the coarser paper that become glaringly obvious once stain or finish is applied. Each grit is designed to remove the scratches from the previous, coarser grit. Always progress systematically through the grits for a truly smooth surface.
- Using Restrictive Hardware: Similar to ignoring wood movement, using fasteners that rigidly lock the tabletop to the base will prevent the wood from naturally expanding and contracting. This builds stress within the wood, inevitably leading to cracks, warping, or fastener failure.
- Applying Stain to Poorly Prepped Wood: Stains will highlight every imperfection. Applying stain to a surface that hasn’t been properly sanded, conditioned, or cleaned of dust will result in a blotchy, uneven, and unprofessional-looking finish. Proper surface preparation is non-negotiable for a beautiful stain.
- Neglecting to Check for Level During Assembly: A wobbly table is not only annoying but also undermines the structural integrity of your build. Consistently checking for squareness and levelness throughout the assembly process, especially during glue-ups of the base, is crucial to prevent a rocking or uneven table.
- Inadequate Support Under the Tabletop: If the tabletop is not sufficiently supported by the base or if the chosen wood is too thin for its span, it may begin to sag or cup over time, especially with prolonged use or heavy items placed upon it. Ensure your base design provides ample support across the tabletop’s width and length.
By taking your time, exercising patience, and diligently following best practices in woodworking, your finished dining table will not only be stronger and sturdier but also far more aesthetically pleasing and immensely satisfying to showcase to everyone who enters your home.
Conclusion: Your Handcrafted Legacy Awaits
Building your own dining table is an incredibly rewarding undertaking—a project that not only offers significant cost savings but also culminates in a unique, custom-designed piece perfectly tailored for your home. With a selection of basic woodworking tools and the detailed, step-by-step guidance provided in this article, you possess everything needed to craft a functional and beautiful centerpiece that flawlessly integrates into your space and reflects your personal style.
Your handmade table will transcend mere utility; it will become a cherished stage for countless family meals, lively conversations, and milestone celebrations, intrinsically weaving itself into the fabric of your home’s story. Beyond the satisfaction of the finished product, the practical woodworking skills and confidence you gain from this project will undoubtedly empower you to tackle many other home improvement and DIY endeavors in the future.
Eager for more inspiration and hands-on projects? Be sure to explore our other comprehensive DIY guides tailored specifically for beginners and seasoned enthusiasts alike. We are genuinely excited to witness the incredible results of your hard work! We invite you to share a photo of your magnificent new dining table in the comments section below and tell us all about your personal journey and experiences in making it. Happy building!
I have rewritten the article, added an SEO-friendly `
