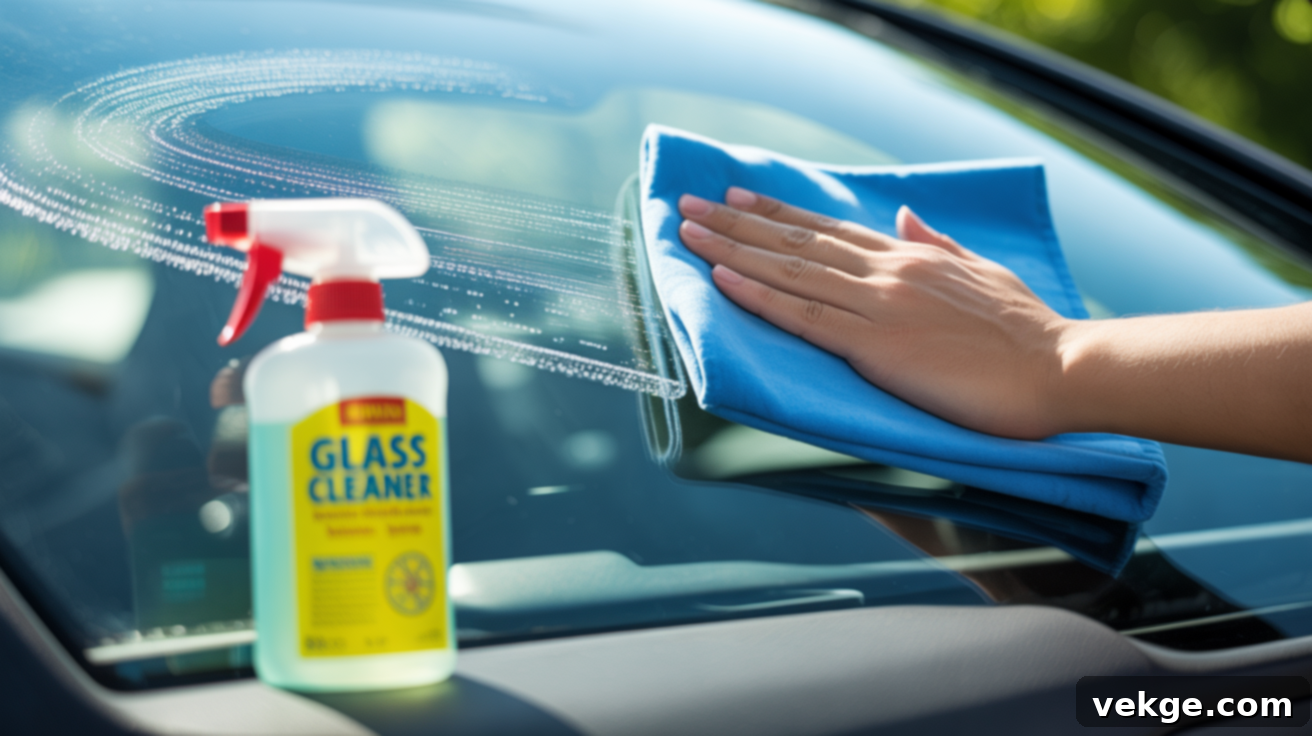
Achieve Crystal-Clear Vision: The Ultimate Guide to Cleaning Your Car’s Inside Windshield Streak-Free
Are you tired of that persistent, hazy film on your car’s windshield that seems impossible to get rid of? Many drivers struggle with reduced visibility, especially when driving at night, largely because the inside of their car’s glass accumulates dirt and grime surprisingly quickly. This isn’t just an aesthetic issue; it’s a significant safety concern that can impair your ability to react to road conditions.
While the task of cleaning the inside of a windshield might seem straightforward, achieving a truly streak-free, crystal-clear finish requires more than just a quick wipe. It demands the right approach, the correct tools, and a bit of knowledge about why that stubborn film builds up in the first place. Fortunately, with the right steps and expert tips, transforming your view from foggy to fantastic is a simple and rewarding process.
In this comprehensive guide, we’ll demystify the culprits behind that frustrating buildup, reveal the essential tools and effective cleaners that deliver real results, and walk you through the easiest, most efficient method to ensure your car’s interior glass is impeccably clean, free from any streaks or smudges. From budget-friendly DIY solutions to advanced treatments and invaluable pro tips, we’ve got every aspect covered to help you maintain optimal visibility and a safer driving experience.
Understanding the Haze: Why Your Car’s Interior Windshield Gets So Dirty
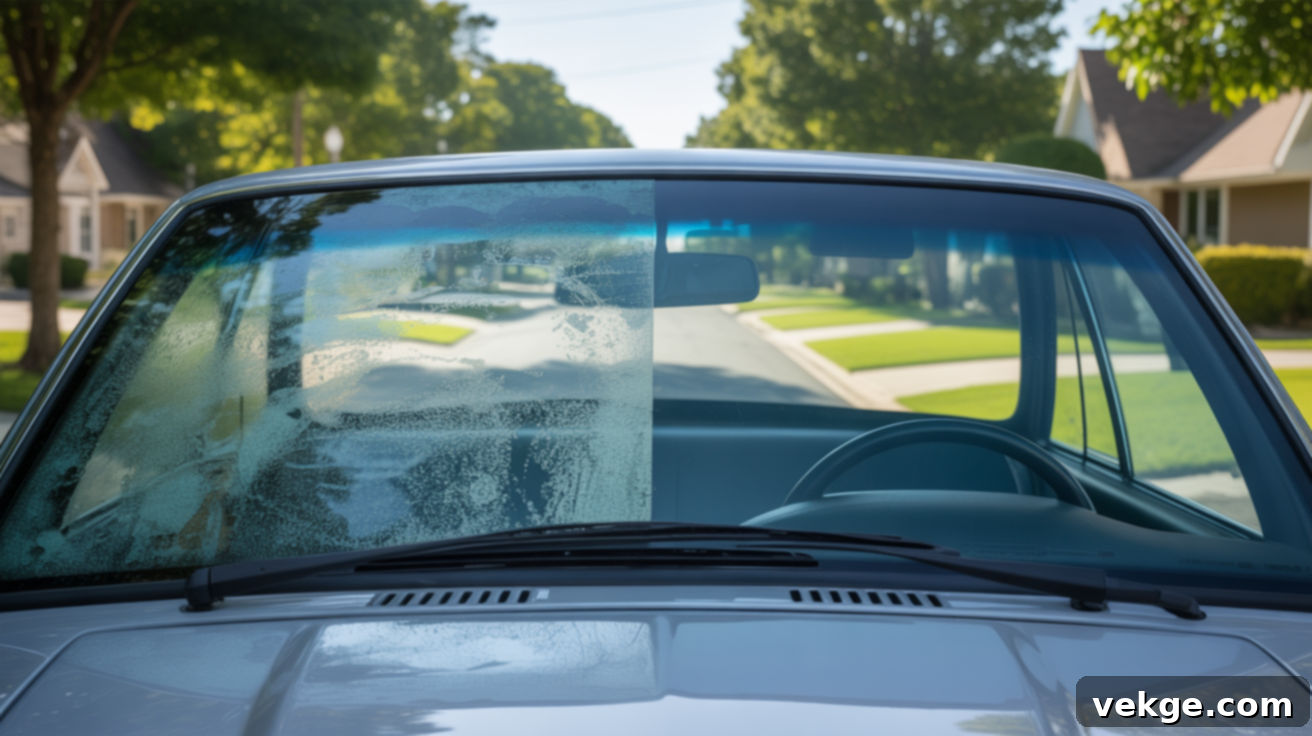
That annoying film isn’t just ordinary dust; it’s a complex mix of airborne particles and chemical residues. Understanding its origins is the first step toward effective cleaning:
The Phenomenon of Outgassing
Modern car interiors are rich with a variety of synthetic materials, including plastics, vinyl, and adhesives used in dashboards, door panels, and upholstery. Over time, and especially when exposed to heat (like sunlight hitting your parked car), these materials undergo a process called outgassing. During outgassing, volatile organic compounds (VOCs) are released into the car’s cabin in gaseous form. These invisible vapors then condense and settle on the coolest surfaces, primarily your windshield and other glass surfaces, forming a thin, oily, and incredibly stubborn film. This film is often difficult for ordinary household glass cleaners to penetrate and remove completely.
Impact of Smoking in Your Vehicle
For those who smoke inside their cars, the buildup of windshield film is dramatically accelerated and intensified. Tobacco smoke contains a vast array of chemicals and tar particles. These microscopic particles readily adhere to the glass surface, creating a sticky, yellowish-brown residue. This residue not only significantly reduces visibility, especially under low light conditions or at night, but it also traps other dust and pollutants, making the film even thicker and harder to clean. The distinct odor of stale smoke also embeds itself into the vehicle’s interior, making a thorough cleaning even more critical.
Everyday Contributors: Body Oils, Fingerprints, and Breath
Beyond outgassing and smoke, our daily interactions with the car’s interior contribute significantly to windshield grime. Each time you touch the glass—whether adjusting the rearview mirror, pointing something out, or even resting your hand on the dashboard—you transfer natural body oils, lotions, and dirt from your skin directly onto the surface. Fingerprints are obvious culprits, but even your breath, especially in colder weather, contributes moisture and microscopic particles that settle and add to the accumulating layers of residue over time. Dust from clothing, pet dander, and general environmental pollutants also find their way onto the glass, clinging to the existing film.
Environmental Factors and Vehicle Age
The age of your vehicle and the environmental conditions it’s exposed to also play a role in film development. New cars, in particular, experience more severe outgassing and film buildup during their first year or two as manufacturing chemicals “cure” and are released from fresh materials like plastics, fabrics, and glues. Over time, this outgassing generally subsides. However, environmental factors such as pollen, smog, and even the type of air fresheners used inside the car can continuously add new layers of film. High humidity can also exacerbate the condensation of these vapors on the glass, leading to faster buildup.
Cleaning the Inside of Your Windshield: Your Step-by-Step Guide for a Flawless Finish
Achieving a perfectly clean, streak-free interior windshield doesn’t have to be a frustrating ordeal. By following these easy and systematic steps, you can effectively remove even the most stubborn film without leaving unsightly streaks or creating a mess on your dashboard. Working in a specific order ensures comprehensive coverage and prevents drips and contamination.
Essential Materials You’ll Need
Using the right tools and cleaning agents is paramount for effective and effortless interior windshield cleaning. Gather these essential supplies before you begin to ensure a professional-grade, streak-free finish that lasts:
| Tool/Cleaner | Purpose | Why It Works Best |
|---|---|---|
| Waffle Weave Microfiber Cloths | Primary cleaning and initial wipe-down | The unique texture of waffle weave microfiber towels excels at trapping dirt, dust, and grime particles within its fibers instead of merely smearing them across the glass surface. This design ensures maximum absorption and superior cleaning power, reducing the effort needed to remove tough film. |
| Plush Microfiber Cloths | Buffing, polishing, and streak removal | These softer, thicker cloths feature a deep nap that is perfect for buffing and polishing. Their gentle yet effective fibers are designed to remove any residual streaks, haze, or cleaner residue without introducing new scratches, leaving behind a perfectly clear, mirror-like finish. |
| Automotive Glass Cleaner (Ammonia-Free) | Targeted cleaning for tough films | Unlike household glass cleaners that often contain ammonia, an automotive-specific glass cleaner is formulated to be safe for all car interior surfaces, including window tint and delicate plastics. Ammonia can damage tint adhesive and dry out vinyl. These specialized cleaners are effective at cutting through oily films without causing harm. |
| Isopropyl Alcohol (70%) | Removes stubborn grease and residue | When water-based cleaners struggle with oily films or heavy smoker’s haze, a light application of 70% isopropyl alcohol can be incredibly effective. It’s a powerful solvent that dissolves body oils, nicotine residue, and other greasy contaminants that often resist standard glass cleaners, making it an excellent spot treatment. |
| Windshield Reach Tool with Pivoting Head | Accessing difficult-to-reach areas | The deep angle where the dashboard meets the windshield can be notoriously difficult to clean. A specialized reach tool with an extendable handle and a pivoting head allows you to apply even pressure and thoroughly clean these challenging areas without straining or contorting your body, ensuring no spot is missed. |
| Foam Applicator Pads | Even cleaner application and added pressure | Foam applicator pads provide a uniform surface for applying cleaner. They help distribute the cleaning solution evenly and can be gripped firmly, allowing you to apply consistent and focused pressure to break down stubborn films without the cleaner dripping or oversaturating the surface. |
| Homemade Cleaning Solution | A cost-effective and safe alternative | A DIY blend of distilled water, white vinegar, and isopropyl alcohol (sometimes with a touch of cornstarch) offers a powerful, streak-free, and budget-friendly cleaning solution. This mixture effectively cuts through grease and film and is generally safe for tinted windows, provided the alcohol concentration isn’t excessive. |
Step 1: Dry Dust Removal – The Foundation of a Streak-Free Clean
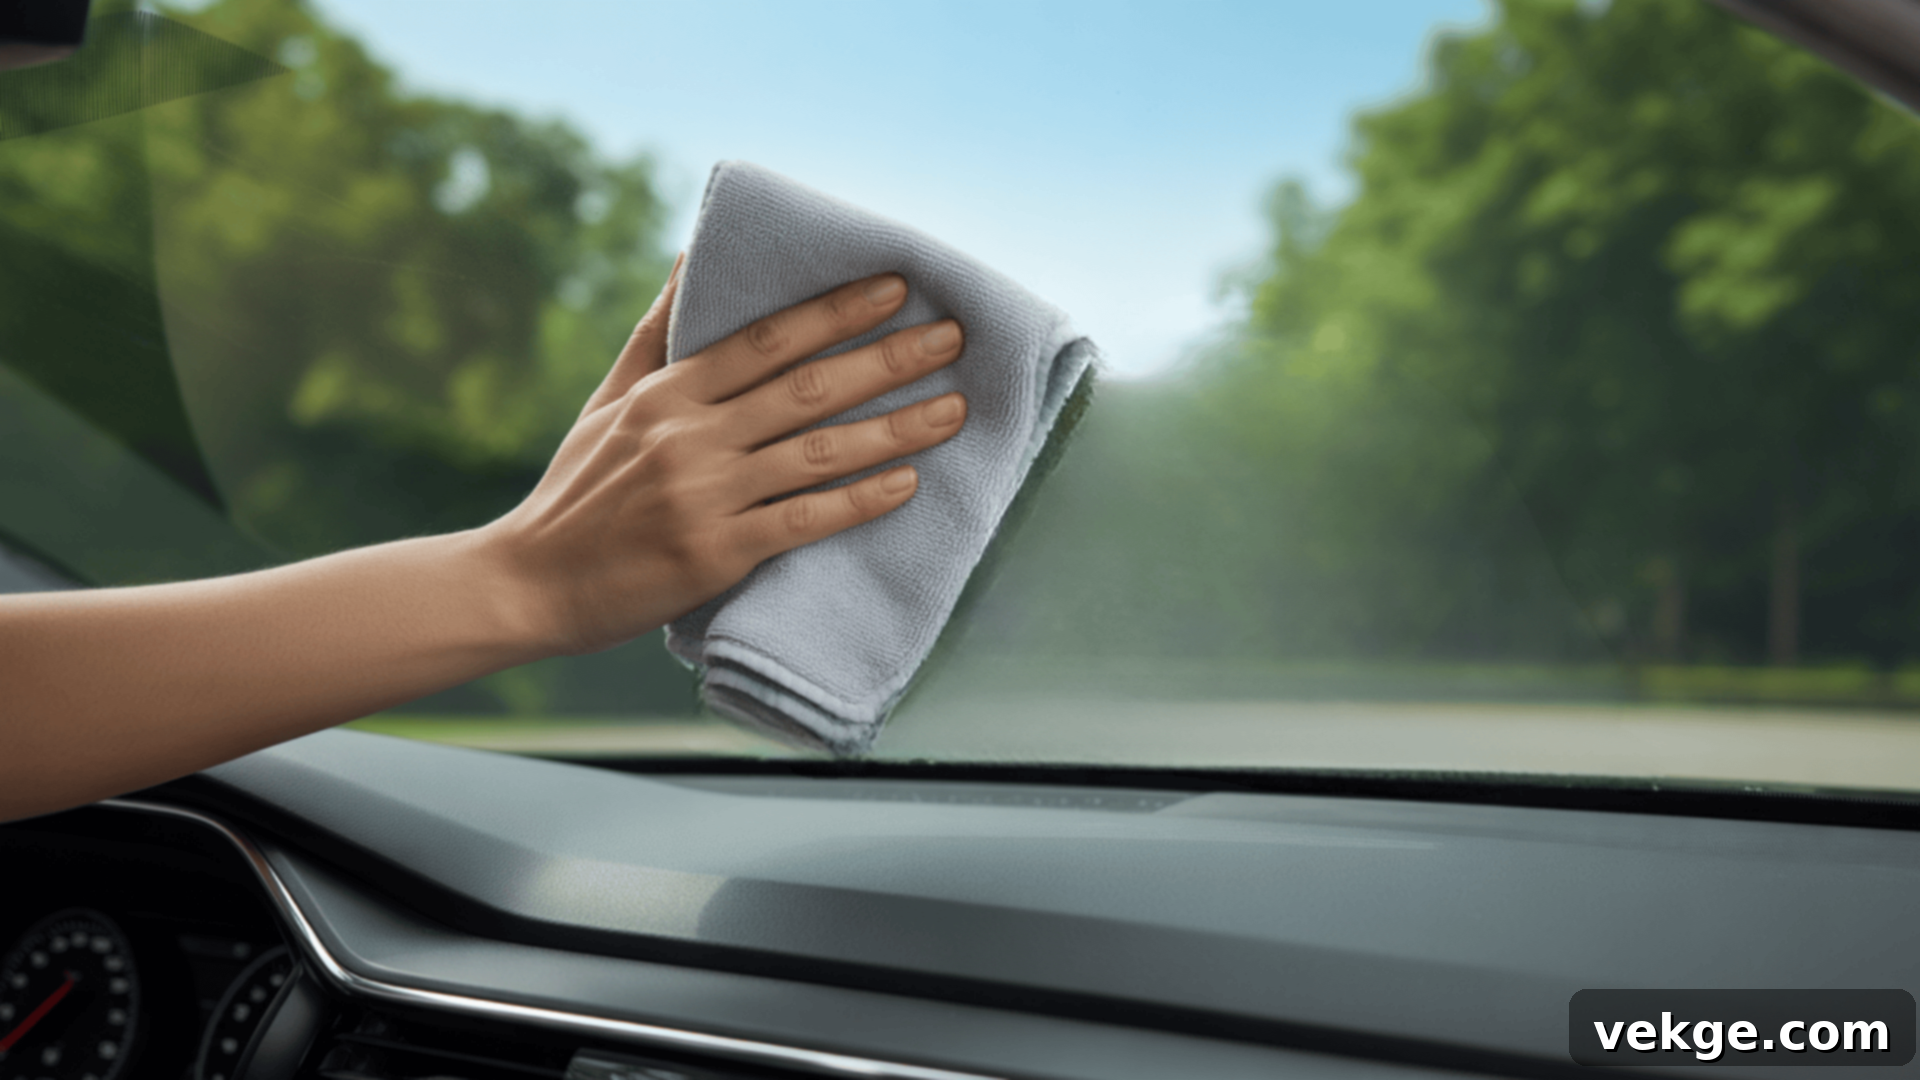
Before introducing any liquid cleaner, always start by giving the entire interior windshield a thorough wipe-down with a clean, dry waffle weave microfiber cloth. This crucial initial step serves to remove any loose dust, dirt, pet hair, or other debris that has settled on the glass. Skipping this step means you’d simply be mixing these abrasive particles with your cleaner, potentially creating muddy streaks or, worse, scratching the delicate glass surface as you rub.
Pay meticulous attention to the lower edge where the dashboard meets the windshield, as this area is a notorious collector of dust. Use gentle, sweeping motions, lifting the debris away from the glass. This preliminary dry wipe makes your subsequent deep cleaning far more effective, reducing the number of passes required and setting the stage for an impeccably clean finish.
Step 2: Apply Cleaner to Your Cloth, Not Directly to the Glass
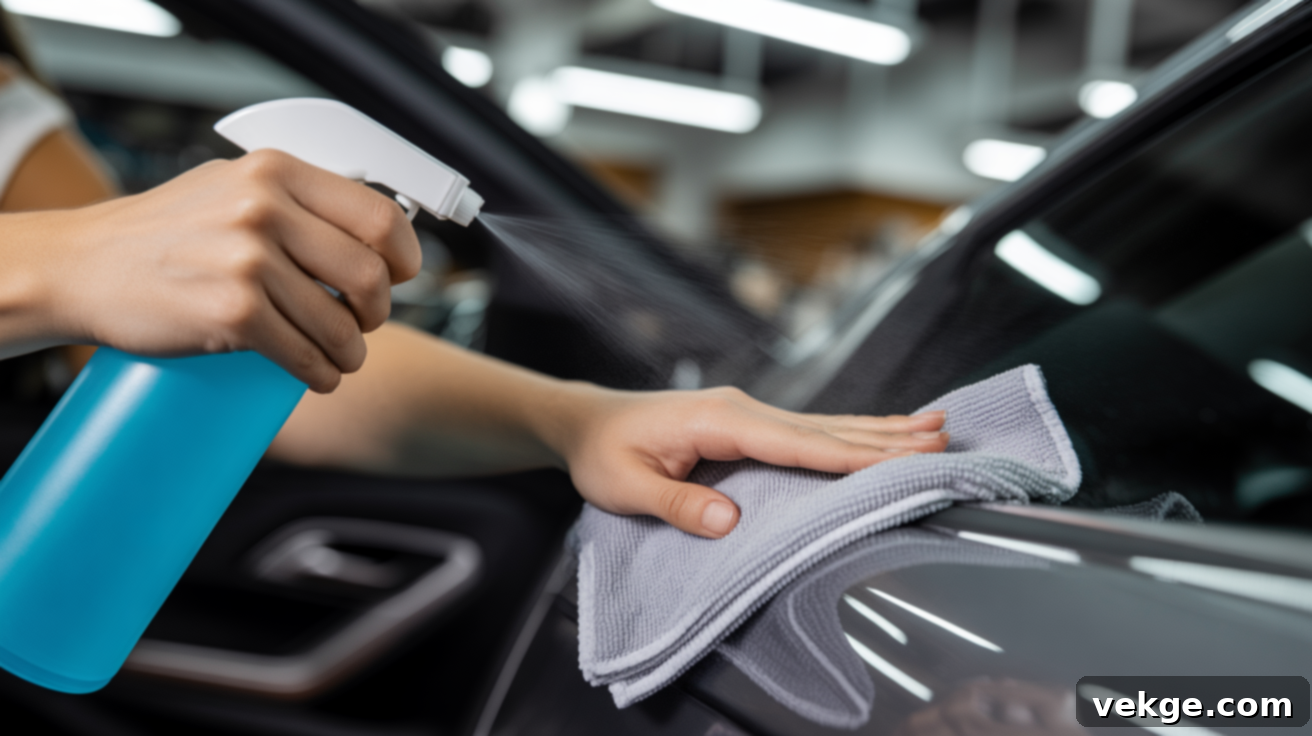
This is a golden rule for interior auto detailing: always apply your chosen glass cleaner directly onto a clean microfiber cloth or foam applicator pad, never spray it directly onto the windshield. Direct spraying carries a significant risk of overspray, which can easily land on sensitive dashboard electronics, delicate upholstery, or other interior trim. Such overspray can lead to permanent damage, discoloration, or leave unsightly residue that’s difficult to remove.
Dampen your cleaning cloth sufficiently so it’s moist but not saturated. An overly wet cloth will not only make it harder to achieve a streak-free finish but can also lead to cleaner pooling at the base of your windshield, potentially seeping into dashboard crevices. If you’re using a homemade solution, the application method remains the same. The goal is a controlled application that maximizes cleaning power while preventing any unintended mess or damage.
Step 3: Clean in Overlapping Circular Motions with Consistent Pressure
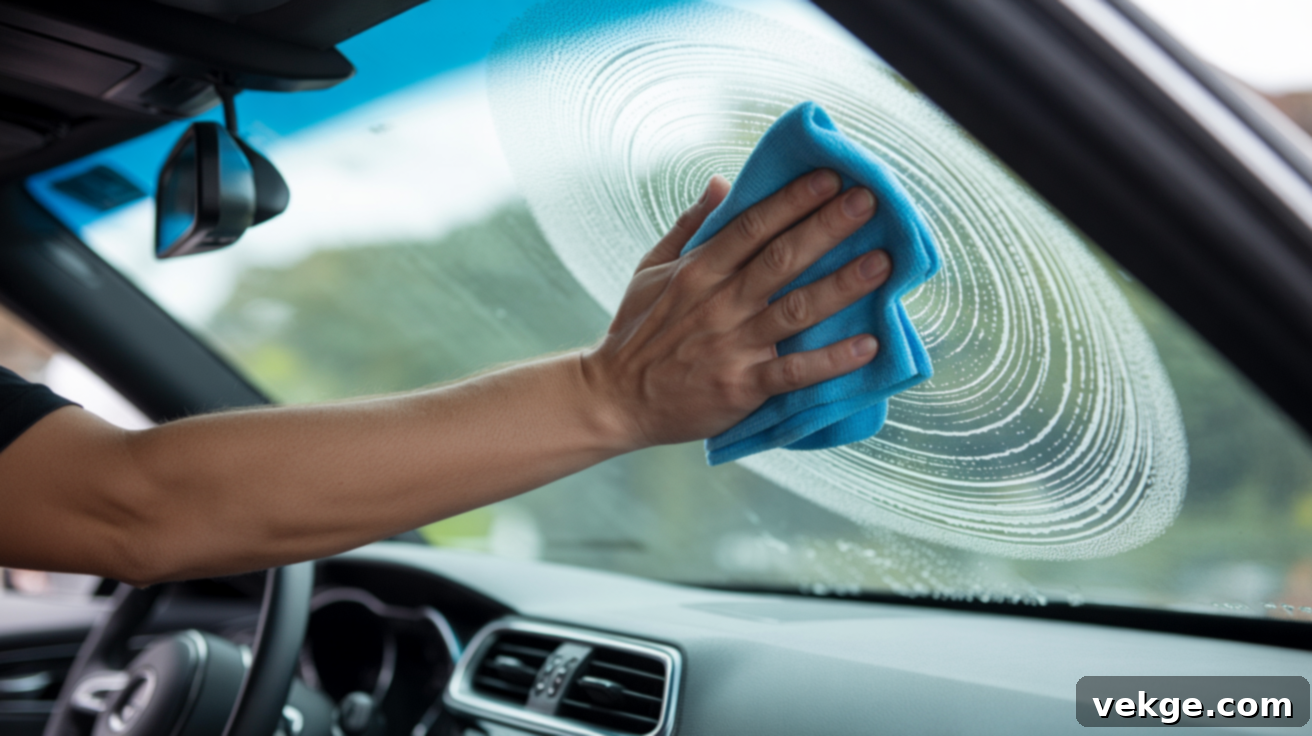
Once your cloth is prepared, begin cleaning the windshield in manageable sections, working from the top down. Use overlapping circular motions, applying moderate, consistent pressure. Many people tend to clean too gently, which isn’t enough to effectively break down and lift the stubborn, oily film that adheres to the glass. Microfiber cloths are designed to be used with firm pressure without scratching glass, so don’t be afraid to put a little elbow grease into it.
This circular technique ensures thorough coverage and helps to agitate and lift embedded grime. For a highly effective way to identify and eliminate streaks, use a “cross-hatch” method: clean the inside of the glass with horizontal motions and the outside with vertical strokes (or vice-versa). This makes it easy to pinpoint whether a streak is on the interior or exterior. For those tricky, hard-to-reach spots near the dashboard, utilize your reaching tool, or wrap a clean microfiber cloth around a spatula or flat detailing tool to apply pressure and clean thoroughly.
Step 4: Immediate Buffing for a Streak-Free Shine
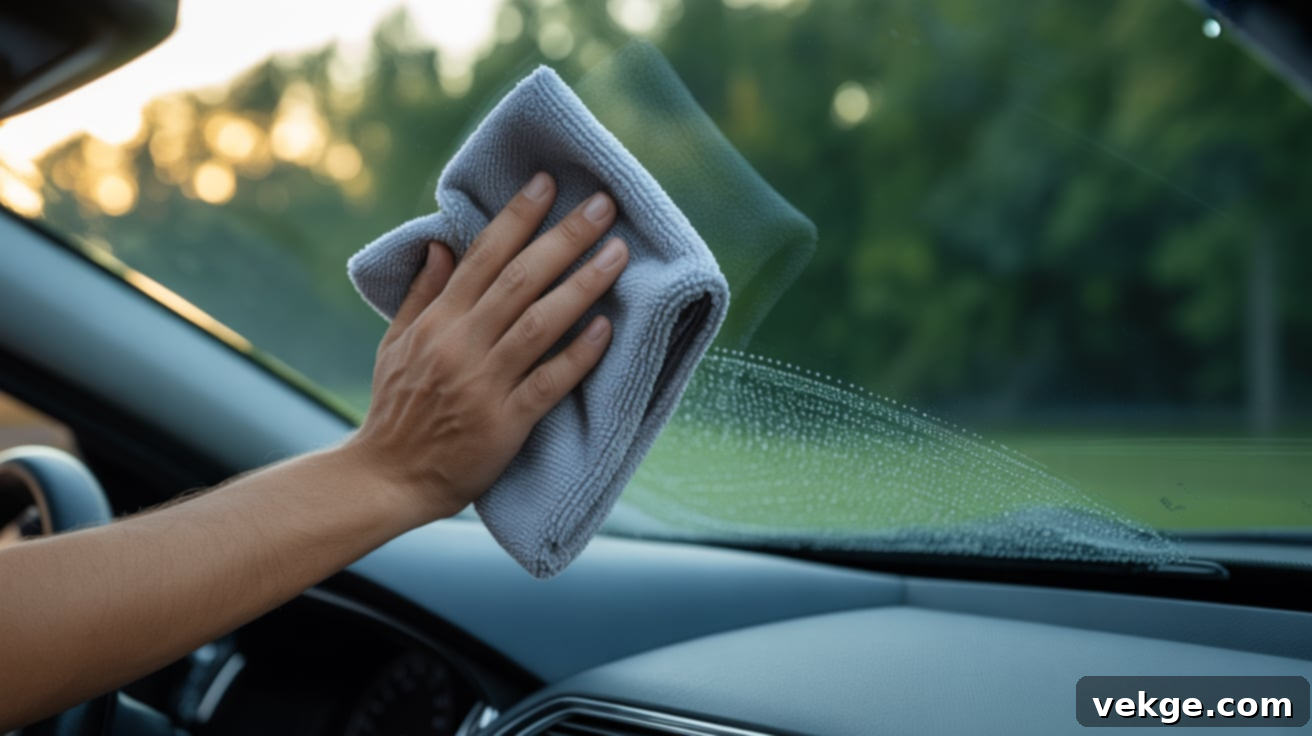
This is arguably the most critical step for achieving a truly streak-free finish. Immediately after cleaning a section, before the cleaner has a chance to air-dry, buff the entire area with a separate, clean, and completely dry plush microfiber cloth. This swift action prevents the cleaner from evaporating and leaving behind mineral deposits or residues that result in streaks and haze. The plush microfiber excels at picking up any remaining moisture or cleaning solution, leaving the glass pristine.
Use light, quick motions when buffing, ensuring you cover every inch of the cleaned section. If you spot any lingering streaks or haziness, simply turn your buffing cloth to a fresh, dry section and buff again until they vanish completely. To ensure absolute clarity, change your viewing position: bend, squat, or move around the car to inspect your work from different angles. Streaks often only become visible from certain perspectives, especially when illuminated by direct sunlight or overhead lighting, so a thorough inspection from various angles is key.
Optional Advanced Treatments for Ultimate Clarity and Protection
For persistent film or to add an extra layer of protection and clarity, consider these optional advanced treatments:
Isopropyl Alcohol for Stubborn Residue
If, after the initial cleaning, you still notice a fine film or stubborn spots, lightly dampen a fresh microfiber cloth with 70% isopropyl alcohol and give the glass a final, quick pass. Alcohol is excellent at dissolving oils, greases, and the waxy residues from outgassing that water-based cleaners might miss. However, exercise caution: test on an inconspicuous area first, especially if your windows are tinted, as frequent or heavy use of alcohol can potentially degrade some types of tint over extended periods. Use sparingly and only when necessary.
Magic Eraser for Extreme Buildup (Use with Extreme Caution!)
As a last resort for extremely tough, embedded film that defies all other methods, a dampened Magic Eraser can be used, but with extreme caution and minimal pressure. These melamine foam pads are mildly abrasive, acting like super-fine sandpaper. While effective at scrubbing away stubborn grime, their abrasive nature means they can easily scratch delicate surfaces. Therefore, avoid them entirely on tinted glass, as they will almost certainly damage the tint film. Use only on untinted glass, apply very light pressure, and follow up immediately with a thorough glass cleaner wipe and buff.
Anti-Fog and Water Repellent Treatments
To prevent future condensation and improve visibility, consider applying specialized treatments. Products like Rain-X Anti-Fog can be applied to interior glass surfaces to dramatically reduce condensation and fogging in humid conditions or cold weather. For exterior glass, a water repellent treatment (like traditional Rain-X) will cause rainwater to bead up and roll off, significantly improving visibility during heavy rain. Always follow the manufacturer’s instructions for application to ensure optimal performance and longevity of these protective coatings.
Pro Tips for a Lasting, Streak-Free Finish
Elevate your windshield cleaning routine from good to professional-grade with these expert techniques. They not only help you achieve superior results but also extend the cleanliness of your glass, reducing the frequency of future cleaning sessions.
Clean in the Shade: Timing is Everything
Always endeavor to clean your windshield when the glass is cool and in a shaded area or inside your garage. Direct sunlight or a hot windshield is the arch-nemesis of a streak-free finish. Heat causes glass cleaners to evaporate almost instantaneously upon application, often before you’ve had a chance to properly wipe or buff, leading to unsightly streaks and residue. Ideal conditions include moderate temperatures with minimal humidity, such as early morning or late evening hours. These times also often provide natural lighting that helps you spot any lingering streaks more easily without the glare of direct sun.
Use Fresh Microfiber Cloths Every Time
This tip cannot be stressed enough: replace your microfiber cloths regularly, even during a single cleaning session. Once a cloth has accumulated a significant amount of dirt, oils, or cleaning solution residue, it stops effectively cleaning and starts merely transferring contaminants back onto the glass surface. This leads to streaks and defeats the purpose of your efforts. Keep a generous supply of clean microfiber cloths on hand – ideally, one for initial cleaning, another for applying cleaner, and several dedicated solely for final buffing. Swapping out soiled cloths prevents cross-contamination and ensures each step is as effective as possible.
Work in Manageable Sections
Instead of attempting to clean the entire windshield at once, divide it into smaller, manageable sections, roughly two feet by two feet. Complete each area entirely – clean and buff – before moving on to the next. This methodical approach is particularly crucial when dealing with quick-drying cleaners or in slightly warmer conditions, as it prevents the cleaning solution from drying on the glass before you can properly buff it away. Start at the top, typically the driver’s side, and work across, then systematically move downwards, ensuring no edges or corners are missed.
Avoid Harsh Cleaners on Tinted Glass at All Costs
If your car has aftermarket window tint, it is absolutely imperative to never use ammonia-based products on the glass. Ammonia is a potent chemical that can react negatively with the adhesives used in window film, causing it to bubble, peel, discolor, or prematurely fail. Always opt for automotive-specific, ammonia-free glass cleaners. While most modern ceramic tints can occasionally handle mild alcohol, frequent exposure might still degrade their protective properties over time. When in doubt, always test any new cleaner on a small, inconspicuous area of your tinted glass first to ensure it causes no adverse reactions.
DIY Windshield Cleaner: Simple, Safe, and Surprisingly Effective
If commercial products aren’t readily available, or if you prefer to know exactly what chemicals are touching your car’s interior, creating your own highly effective glass cleaning solution is a fantastic alternative. This homemade mixture often outperforms expensive store-bought options and uses safe, common household ingredients that won’t harm tinted windows.
Step 1: Gather Your Ingredients. You will need one cup of distilled water (to avoid mineral deposits from tap water), one-half cup of white vinegar (a natural degreaser and deodorizer), and two tablespoons of 70% isopropyl alcohol (for its excellent drying and oil-cutting properties). For an extra boost against stubborn film and to help absorb residues, consider adding one teaspoon of cornstarch – it’s a surprising but effective addition.
Step 2: Mix and Combine. Carefully pour all the measured ingredients into a clean, empty spray bottle. Ensure the bottle is completely clean and free of any previous chemical residues. Shake the mixture thoroughly until all ingredients are completely combined. If you’ve added cornstarch, you’ll need to shake particularly vigorously, as it tends to settle at the bottom.
Step 3: Label and Store Safely. Clearly label your bottle as “Glass Cleaner” to prevent accidental misuse. Keep it out of the reach of children and pets. Store the solution at room temperature, and remember to shake well before each subsequent use, especially if you included cornstarch, to ensure the ingredients are evenly distributed for maximum effectiveness.
Step 4: Apply with Caution. Just like commercial cleaners, never spray this homemade solution directly onto the windshield. Always apply it first to your microfiber cleaning cloth. This controlled application prevents overspray from damaging dashboard electronics, upholstery, or other delicate interior trim from excess liquid. Wipe thoroughly, then buff with a separate, dry microfiber for a streak-free shine.
This simple yet powerful homemade solution is not only cost-effective but also provides excellent cleaning power. It’s safe for virtually all interior surfaces and will leave your windshield sparkling without the harsh chemicals found in some commercial cleaners.
Common Mistakes to Avoid for a Perfect Windshield Clean
Achieving a perfectly clear, streak-free windshield is often about avoiding a few common but easily made mistakes. Sidestepping these pitfalls will save you time, prevent damage, and ensure a superior result every time.
- Direct Overspray: Spraying cleaner directly onto the glass almost guarantees drips that will settle into dashboard crevices, leading to sticky residue and potential damage to electronics or surfaces. Always apply to your cloth first.
- Using the Wrong Materials: Household paper towels are too abrasive and will leave lint and microscopic scratches. Regular cotton rags often shed fibers and smear dirt. Always use high-quality microfiber cloths specifically designed for automotive glass.
- Cleaning in Direct Sunlight: The sun’s heat causes cleaning solutions to evaporate too rapidly, leaving behind residues and frustrating streaks regardless of your technique. Always work on a cool windshield in the shade or indoors.
- Reusing Dirty Cloths: A single dirty or saturated cloth will simply spread grime and cleaner residue back onto the glass, making streaks inevitable. Use multiple fresh, clean microfiber cloths and swap them out frequently.
- Harsh, Ammonia-Based Chemicals: Household glass cleaners containing ammonia can severely damage aftermarket window tint by breaking down the adhesive, leading to bubbling, peeling, or discoloration. They can also dry out and damage vinyl and plastic trim. Stick to ammonia-free, automotive-safe glass cleaners.
Best Glass Cleaning Tools for a Professional Finish
Investing in the right tools can transform your windshield cleaning experience, making it faster, easier, and consistently streak-free. These proven tools are essential additions to any car care kit.
1. Waffle Weave Microfiber Towels
These towels are my top recommendation for glass cleaning, and for good reason. The unique waffle texture isn’t just for show; it’s ingeniously designed to grab and hold onto dirt, dust, and oily residues, effectively lifting them away from the glass surface. Unlike flat microfiber or paper towels, waffle weave towels are less likely to smear contaminants or leave behind lint, making them incredibly efficient for the initial cleaning pass and ensuring a cleaner foundation for buffing.
Try this: The Rag Company – Drying Towels for Car
2. Reach-and-Clean Tool with Pivoting Head
The area where the dashboard meets the windshield is notoriously difficult to access, often leading to missed spots and frustrating streaks. A dedicated reach-and-clean tool is a game-changer for these challenging zones. Equipped with an extendable handle and a pivoting head, it allows you to apply even pressure to every corner and curve of your windshield without having to contort your body or strain your arms. This ensures thorough coverage and significantly reduces the effort required to achieve a complete clean.
Try this: Invisible Auto Glass Cleaner Kit
3. Automotive Glass Cleaner (Ammonia-Free)
While convenient, household glass sprays often fall short when it comes to the unique challenges of car windshields. Automotive-specific glass cleaners are specially formulated to tackle the oily haze caused by interior outgassing and other residues, cutting through them effectively. Crucially, they are ammonia-free, making them safe for all types of window tint and preventing damage to delicate plastic trim and vinyl surfaces found in your car’s interior. This specialized formulation ensures superior cleaning power without compromise.
Try this: Stoner Invisible Glass Premium Glass Cleaner
4. Microfiber Applicator Pads with Foam Center
For those instances where you encounter particularly stuck-on film or grime, microfiber applicator pads with a foam center provide an excellent solution. The foam core offers a firm yet gentle backing, allowing you to apply more focused pressure to stubborn areas without scratching the glass. The microfiber surface ensures even distribution of your cleaning solution and helps to agitate the film effectively, making them ideal for a targeted, thorough clean when a simple wipe isn’t enough.
Try this: Chemical Guys Premium Microfiber Applicator Pads
Conclusion: Drive Safer with a Crystal-Clear View
You now possess all the knowledge and techniques needed to banish that annoying windshield haze forever. By understanding the causes of interior windshield grime and diligently following these easy, step-by-step cleaning instructions, you can consistently achieve a streak-free, crystal-clear view that dramatically enhances both your driving safety and comfort. No more struggling with glare or impaired vision, especially during challenging night drives or adverse weather conditions.
Make these proven methods a regular part of your car care routine. The next time your car’s interior glass begins to look cloudy or foggy, confidently reach for your designated tools and apply these tips. You’ll not only see an immediate and remarkable difference but also experience the satisfaction of a job well done. Remember the key takeaways: always clean in the shade, prioritize fresh, clean microfiber cloths, and absolutely avoid harsh, ammonia-based cleaners, particularly if your windows are tinted.
Ready to discover more simple yet effective ways to keep your vehicle in pristine condition? Explore our other blog posts on the website for a wealth of easy car care ideas, detailing guides, and expert tips designed to help your car look and feel its absolute best, inside and out.
