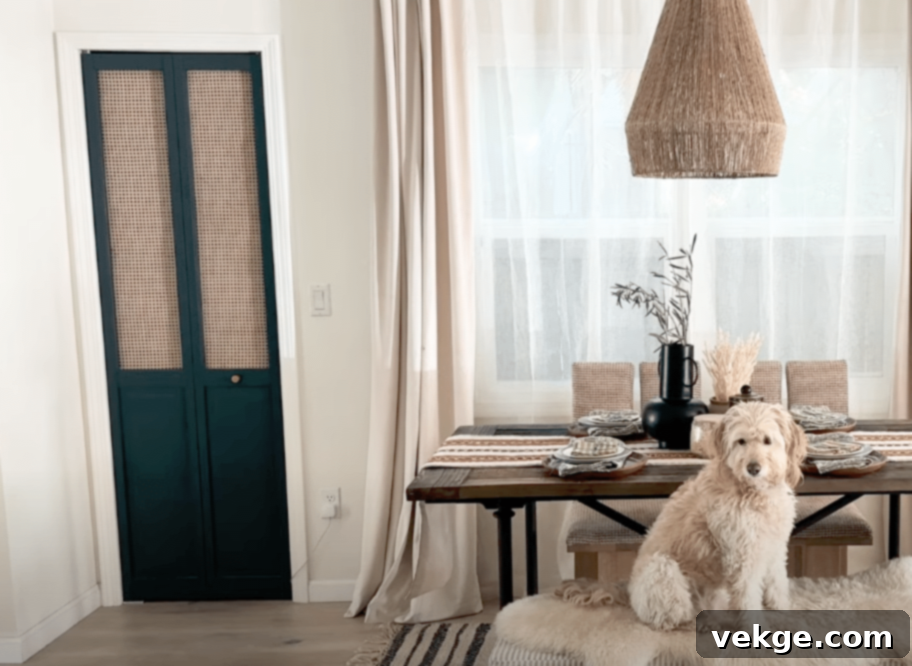
Transform Your Bifold Closet Doors: A DIY Cane Panel Makeover Guide for a Stylish Home
Are you tired of plain, uninspiring bifold closet doors that simply blend into the background? Imagine transforming them into captivating features that elevate the charm and character of your living space. This comprehensive guide will show you how to give your old bifold doors a spectacular fresh look, making your entire home feel brand new without a hefty renovation budget.
We’ll embark on an exciting journey, meticulously walking you through the process of converting standard, often overlooked bifold doors into exquisite, cane-paneled showstoppers. This project is not just a simple update; it’s an opportunity to infuse personalized style and texture into your home, perfect for anyone eager to undertake a rewarding DIY endeavor.
Whether you’re looking to revitalize a small pantry, upgrade the storage in a bedroom, or add a unique design element to any room, this bifold door makeover technique will work wonders. It’s a versatile and impactful project that promises significant aesthetic returns for your effort.
Are you ready to roll up your sleeves and dive into this fun and creative home improvement adventure? We’ll cover every essential detail, from selecting the right materials to applying those crucial final touches that bring your vision to life. By the time you finish this guide, you’ll possess all the knowledge and confidence needed to transform any bifold door in your house, adding value and beauty along the way. Let’s get started on your incredible door makeover journey!
Understanding the Basics of Bifold Closet Doors and Their Makeover Potential
Bifold doors are a common fixture in many homes, recognized by their hinged panels that fold neatly against each other when opened. They are primarily chosen for their space-saving functionality, making them ideal for closets, pantries, laundry areas, and even room dividers. Their ability to swing out of the way provides full, unhindered access to the contents within, a practical advantage over traditional swinging doors.
However, many standard bifold doors come with a rather plain, utilitarian design, often featuring simple flat panels or generic louvers. This lack of visual interest can sometimes make a room feel bland or dated. This is precisely where the immense potential of a bifold door makeover comes into play. By upgrading your door’s aesthetic, you can dramatically brighten up a room and transform a previously overlooked closet into a standout feature.
A stylish door makeover isn’t just about looks; it can also significantly improve your door’s overall functionality and longevity. Addressing minor wear and tear during the renovation process, combined with a fresh finish, can extend the life of your doors and ensure smoother operation. Before you even begin sanding or painting, take a moment to truly consider your desired outcome. Do you envision a modern, minimalist style, a classic and elegant look, or something more bohemian and textured?
For this specific project, we will be utilizing cane mesh – a timeless material that adds beautiful texture, visual interest, and a touch of organic elegance to any space. Cane can instantly elevate a door from ordinary to extraordinary, introducing a sophisticated, custom-crafted feel. As you plan, remember to carefully measure your existing door, not just its height and width, but also the dimensions of any areas you plan to modify or insert new panels into. Additionally, choose sturdy, high-quality materials that align with your budget and design aspirations. This makeover requires attention to detail and a commitment of time, but the stunning, personalized results will undoubtedly be worth every moment!
Essential Materials Needed for Your Bifold Door Transformation
Gathering all your tools and materials before you begin is a crucial step for a smooth and efficient makeover. Here’s a detailed list of what you’ll need to transform your bifold closet door into a cane-paneled masterpiece:
- Bifold door (e.g., 24 inch x 80 inch): Your existing door, or a new standard bifold door ready for customization. Ensure it’s structurally sound.
- Wood screen molding (1/4 inch x 3/4 inch x 96 inches, 3-4 pieces): This thin, decorative molding will create the frames for your cane panels, giving them a clean, finished edge. Purchase extra to account for cuts and potential mistakes.
- Cane mesh (at least 48 inches wide, length depends on your door openings): Opt for a good quality cane webbing. You might need to soak it before installation to ensure it tightens properly when drying. Consider a size that gives you enough material for all panels with a bit of overhang.
- Paint of your choice (primer, paint, and topcoat if desired): Select a durable paint suitable for doors, such as a semi-gloss or satin finish, in a color that complements your room’s decor. Don’t forget a good primer, especially if you’re changing the color drastically or painting over a slick surface.
- New door knob/pulls: Upgrade your hardware to match the new, refined look of your door. Choose a style and finish that enhances the cane and paint color.
- Paintable caulk: Essential for filling small gaps between the new molding and the door, creating a seamless, professional finish before painting.
- Wood filler: Used to patch nail holes, minor imperfections, or small damage on the door surface, ensuring a smooth canvas for paint.
- Electric sander and assorted sandpaper (80-grit, 120-grit, 220-grit): For efficiently preparing the door surface, ensuring proper paint adhesion and a smooth finish.
- Drill: For removing old hardware, making pilot holes, and installing new door pulls.
- Circular saw or jigsaw: Necessary for precisely cutting out existing louver panels and trimming the door if needed. A jigsaw offers more maneuverability for internal cuts.
- Miter saw or hand saw with miter box: For accurate angled cuts on the wood screen molding, ensuring tight, professional-looking corners.
- Nail gun (with appropriate nails) or hammer and finishing nails: For securely attaching the wood screen molding. A nail gun speeds up the process and provides a cleaner finish.
- Staple gun (with 1/4 inch or 3/8 inch staples): Crucial for firmly attaching the cane mesh to the back of the door.
- Utility knife or sharp scissors: For cutting the cane mesh precisely.
- Measuring tape and pencil: For accurate measurements and markings.
- Safety glasses and dust mask: Always protect your eyes and lungs when sanding and cutting.
- Drop cloths or old sheets: To protect your flooring and surrounding areas from paint and dust.
- Clean rags or tack cloth: For wiping away dust and debris.
- Paint brushes and rollers: For applying paint smoothly and evenly.
Step-By-Step Guide for Your Bifold Closet Door Makeover
Step 1: Prepare Your Workspace
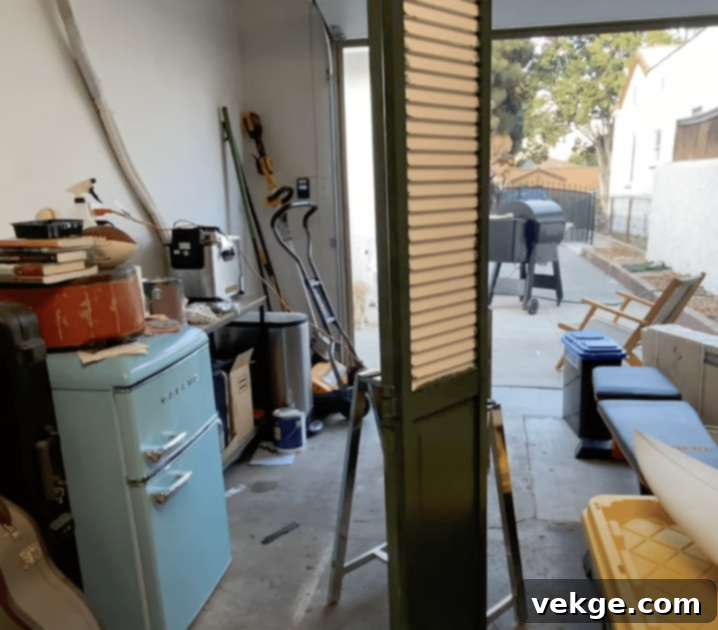
Begin by selecting a large, well-ventilated area for your project, preferably a garage or a spacious room with windows. Lay down drop cloths or old sheets to thoroughly protect your floor and any nearby furniture from dust, paint, or debris. Ensure you have ample lighting to clearly see your work. Arrange all your tools and materials within easy reach, creating an organized and efficient workflow. This initial setup is vital for safety and ensuring the project proceeds smoothly without interruptions.
Step 2: Sand the Door
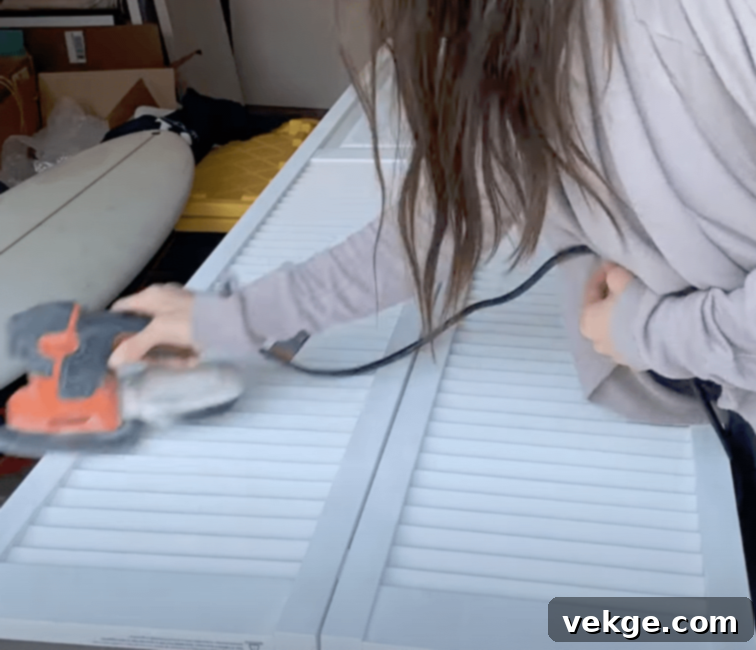
Using an electric sander, meticulously sand all sides and edges of your bifold door. Start with a coarse-grit sandpaper (e.g., 80 or 100 grit) to remove any existing finish, imperfections, or rough spots. Follow up with a medium-grit (120-grit) and finally a fine-grit sandpaper (220-grit) to achieve an exceptionally smooth surface. This creates the perfect adhesion for your new paint. After sanding, meticulously wipe away all dust with a damp cloth or a tack cloth to ensure a clean base.
Step 3: Check Door Fit
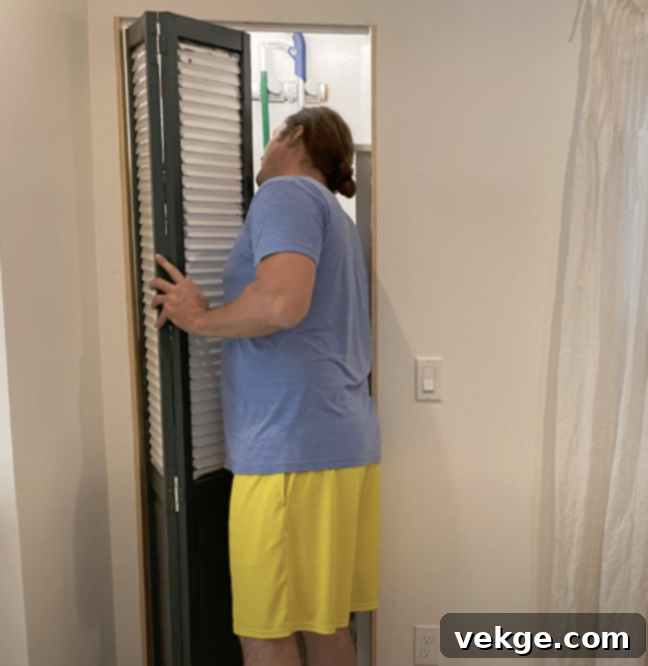
Before making any irreversible modifications, temporarily hang the bifold door in its opening. This allows you to verify it fits correctly and operates without binding. Pay close attention to the top, bottom, and side clearances. If the door is too tall or wide, carefully mark the exact areas where trimming is necessary using a pencil. Once you’ve confirmed the fit and made any necessary marks, take the door down for the subsequent steps, as it’s easier to work with it horizontally.
Step 4: Remove Louvers
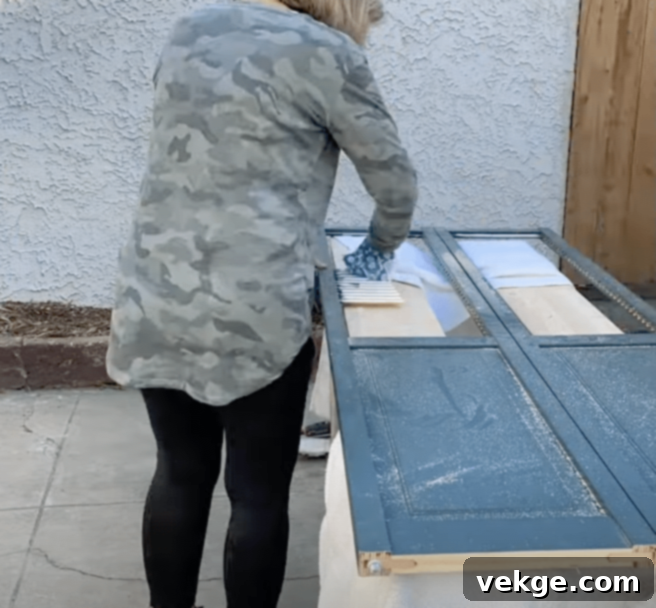
This step requires precision. If your bifold doors feature louvers, you’ll need to remove them to create openings for the cane mesh. Use a circular saw or a jigsaw to carefully cut down the middle of the louver panels, making sure to stay within the existing frame. Exercise caution to avoid damaging the main door frame itself. Once cut, gently pry out the louver pieces. This will leave clean rectangular openings, which are the cavities where your cane panels will be installed.
Step 5: Install Wood Screen Molding
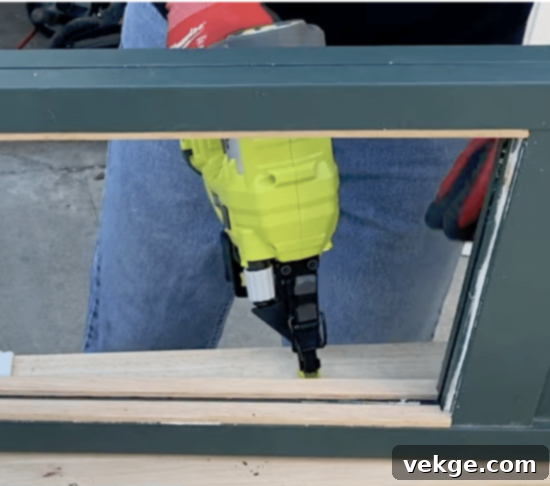
Now, it’s time to frame your future cane panels. Measure each opening precisely and cut your wood screen molding to fit these dimensions, creating mitered corners for a professional look. Apply a thin line of wood glue to the back of the molding pieces for extra security, then use a nail gun (with small finishing nails) to firmly nail these pieces in place around the edges of the louver holes. Once installed, lightly sand the newly added molding to ensure it blends seamlessly with the rest of the door, removing any sharp edges or unevenness.
Step 6: Fill and Smooth
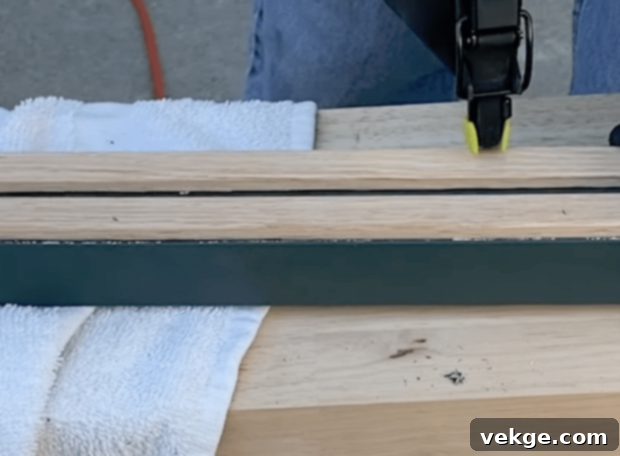
Achieving a professional finish relies on smooth surfaces. Apply paintable caulk to any tiny gaps between the newly installed wood molding and the main door frame. This step seals the seams and prevents paint from seeping into crevices. Next, use wood filler to meticulously cover all nail holes left by the nail gun. Allow both the caulk and wood filler to dry completely according to manufacturer instructions. Once dry, lightly sand these filled areas smooth, ensuring no bumps or ridges remain.
Step 7: Paint the Door
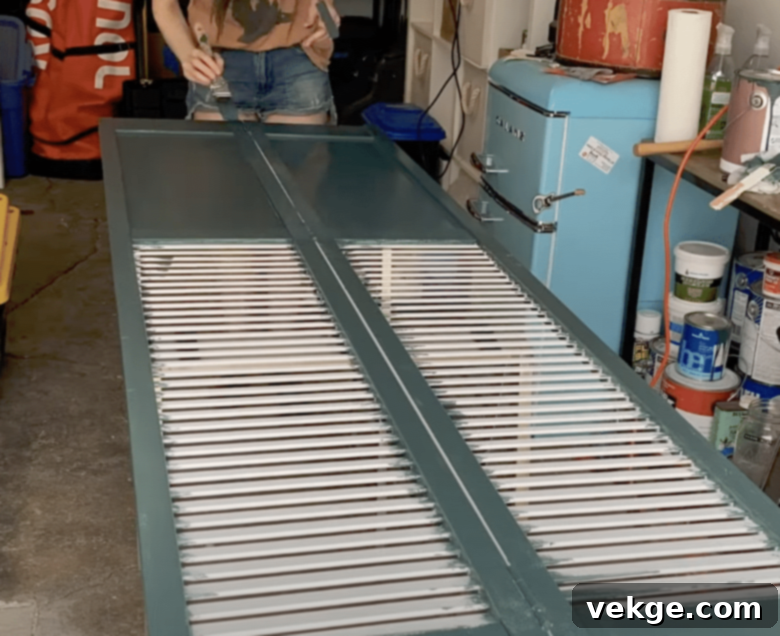
With the surface perfectly prepped, it’s time to apply your chosen paint color. Start with a high-quality primer, especially if you’ve done extensive filling or are changing the door’s color dramatically. Apply thin, even coats of paint, using a roller for large flat areas and a brush for edges and detailed molding. Avoid applying thick coats, as this can lead to drips and an uneven finish. Allow proper drying time between each coat, typically 2-4 hours, and apply 2-3 coats for optimal coverage and durability. Ensure you paint all visible sides, including the thin edges.
Step 8: Prepare the Cane Mesh
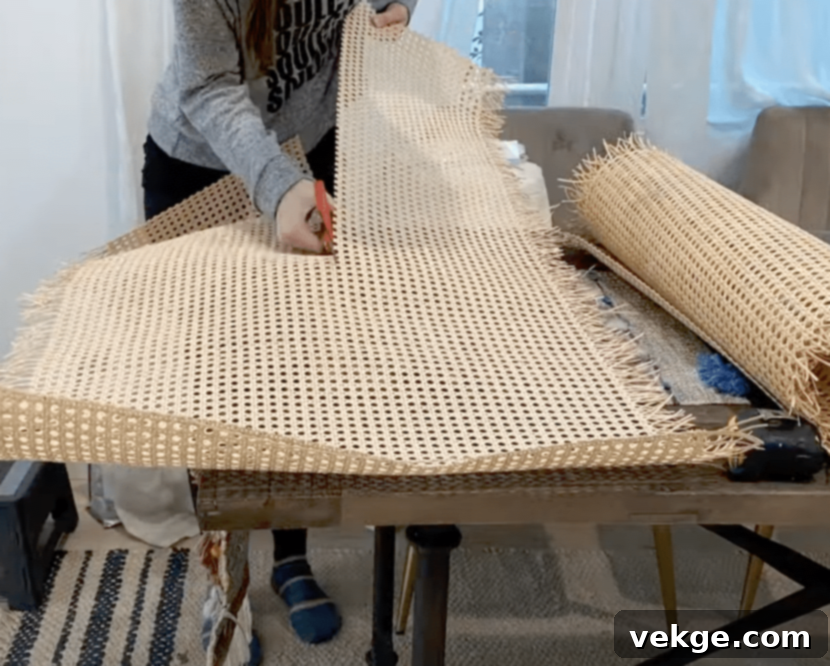
Cane mesh typically needs to be prepared before installation to achieve a taut, wrinkle-free finish. Unroll your cane mesh and submerge it in warm water for at least 30 minutes to an hour. This process makes the cane pliable and allows it to shrink as it dries, which will create natural tension once stapled. While the cane soaks, carefully measure the exact dimensions of each door opening you’ve created. Once the cane is pliable, cut it to size, leaving a small overlap (about 1/2 inch to 1 inch) on all sides for easy stapling to the back of the door frame.
Step 9: Install Cane Mesh
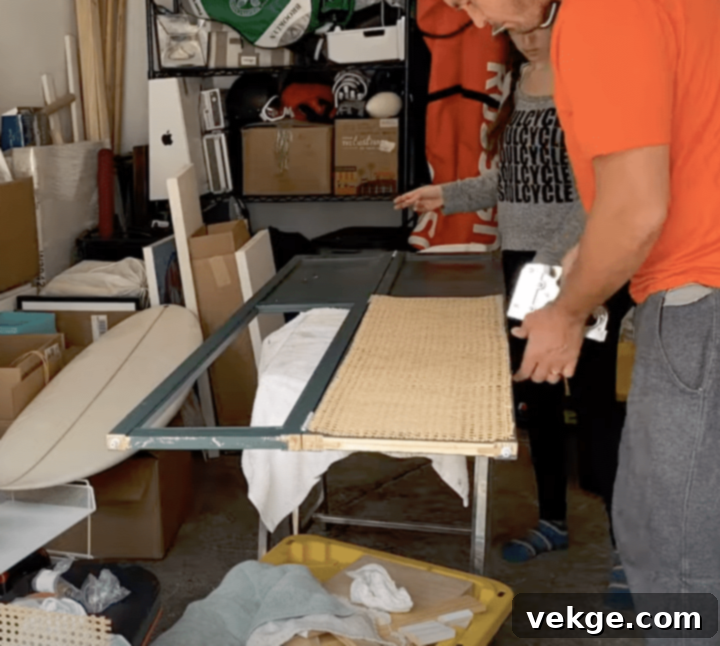
With the door lying flat, position the prepared, still damp cane mesh over one of the openings on the back side of the door. With the help of a second person, gently pull the cane mesh taut across the opening. It’s crucial to achieve even tension to prevent sagging. Starting from the center of one side, use a staple gun to staple the cane mesh in place, working your way outwards to avoid wrinkles and ensure a smooth, flat surface. Continue stapling all four sides, ensuring staples are close together for a secure hold. Repeat for all cane panels.
Step 10: Rehang the Door
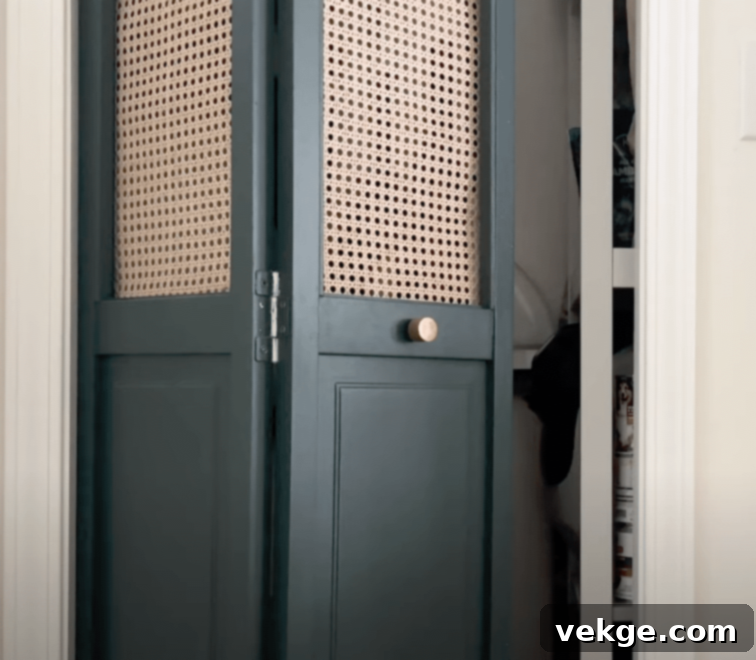
Once the cane mesh is securely installed and has dried (it will tighten further as it dries, creating a drum-like tautness), it’s time to rehang your transformed bifold door. Reattach all necessary door hanging hardware, including the pivot pins and track rollers, if you haven’t already. Carefully lift the door and guide the top pivot into the track, then insert the bottom pivot into its bracket. Test the door by opening and closing it repeatedly, ensuring it operates smoothly, without sticking or binding. Make any minor adjustments to the hardware as needed for perfect alignment.
Step 11: Add Finishing Touches
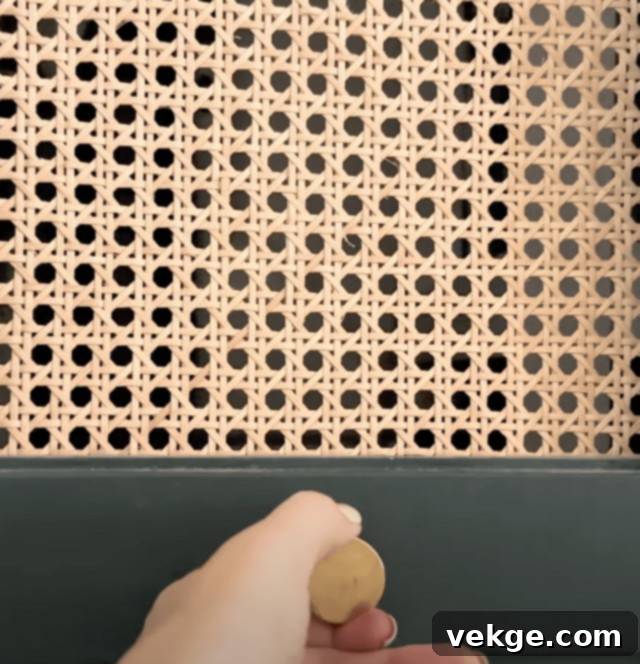
The final step is to install your brand-new door knob or pulls. Carefully mark the position for your hardware and use your drill to create any necessary holes. Secure the new knob or pulls firmly in place. Take a moment to inspect your entire door for any small areas that might need paint touch-ups, particularly around the hardware or edges that received heavy use during installation. Once everything is perfect, stand back and admire your beautifully transformed bifold door! Your hard work has resulted in a stunning, custom feature.
Final Touches, Troubleshooting, and Long-Term Maintenance for Your Bifold Door
With your bifold door makeover complete, a few final steps and ongoing maintenance practices will ensure its lasting beauty and functionality. After re-hanging, take a moment to thoroughly inspect the door’s operation. Does it open and close smoothly along its track? Is it perfectly aligned? Sometimes, minor adjustments to the top pivot bracket or bottom pivot pin are needed to achieve optimal alignment and prevent sticking or uneven folding.
To keep your newly enhanced door looking pristine, establish a simple cleaning routine. Dust the cane panels regularly with a soft, dry cloth or a brush attachment on your vacuum cleaner to prevent dust buildup. For the painted surfaces, a gentle wipe with a damp cloth and mild soap is usually sufficient. Avoid harsh chemical cleaners, as they can damage the paint finish or the cane material over time.
It’s also wise to periodically check the door’s hardware. Hinges can sometimes loosen over time with regular use; tightening them ensures stability. If you notice any squeaking, a small drop of lubricant or silicone spray on the hinge pins or rollers can provide immediate relief. Address any paint chips or scuffs promptly with a quick touch-up. This not only maintains the aesthetic but also protects the underlying wood from moisture damage.
Occasionally, new issues might arise. If the door starts to stick, examine the edges for any paint buildup that might be creating friction against the frame. Sanding these areas lightly and applying a thin coat of wax can often resolve the problem. If the door isn’t hanging straight or one panel appears lower than the other, you may need to adjust the height of the top pivot bracket or the position of the bottom pivot. For a door that won’t stay fully open or closed, the floor might not be perfectly level; a small shim placed under the bottom pivot bracket can often correct this. With a bit of attentive care and occasional minor adjustments, your updated cane-paneled bifold door will remain a beautiful and functional highlight in your home for many years to come.
Summing It Up: Enjoy Your Beautifully Transformed Bifold Doors
Congratulations! Your bifold door makeover, featuring elegant cane panels, has truly changed the feel of your room. What was once a dull, utilitarian closet is now a stunning, custom-designed feature that adds immense charm, texture, and style to your space. This project goes far beyond a simple aesthetic upgrade; it significantly enhances the visual appeal and perceived value of your home, demonstrating a keen eye for detail and design.
Taking on DIY projects like this is incredibly rewarding. You get to witness your hard work pay off every single time you walk by or open your beautifully transformed doors. Beyond the satisfaction of creating something with your own hands, you’ve also achieved a high-end look without the high-end cost of professional customization – a genuine win-win situation!
We’d absolutely love to see how your bifold door makeover turned out. Why not share a photo of your finished project? Your success story could inspire countless others to take on their own home updates, proving that a little creativity and effort can lead to remarkable transformations. Remember, every small change you make in your home contributes to a more personalized and enjoyable living space. Happy DIYing!
