The Ultimate DIY Guide to Easy Home Furniture Repair: Fix and Restore Like a Pro
Repairing furniture might seem like a daunting task reserved for experts, but the truth is, it’s much simpler than you think! Whether you’re dealing with a chair that has a loose leg, a table marred by an unsightly scratch, or a cherished dresser showing signs of wear and tear, there are straightforward methods to bring your pieces back to life right in your own home.
Instead of considering perfectly salvageable furniture as waste, you can embrace the rewarding process of DIY repair. This not only helps you save a significant amount of money that would otherwise be spent on new items or professional services but also allows you to infuse your furniture with a unique, personal touch. Each repair becomes a testament to your effort and care, making your possessions even more special.
In this comprehensive guide, we’ll walk you through a variety of essential furniture repair tips that anyone can tackle, regardless of their experience level. From simple fixes like mending minor scratches and filling annoying dents to more involved tasks such as re-gluing detached parts and revitalizing antique pieces, we’ve got you covered. Get ready to transform your worn-out furniture into cherished heirlooms!
Why Choose to Repair Your Furniture Instead of Replacing It?
Opting to repair your furniture rather than replacing it comes with a wealth of compelling advantages. It’s a choice that benefits your wallet, the environment, and even your personal development. Let’s explore these benefits in more detail:
- Significant Cost Savings: This is arguably one of the most immediate and impactful benefits. The cost of purchasing new furniture, especially well-made pieces, can be incredibly high. By contrast, most DIY furniture repairs require only a few affordable tools and supplies, making it a budget-friendly alternative. You’ll be amazed at how much you can save by simply investing a little time and effort.
- Environmental Responsibility: In an era where sustainability is paramount, repairing furniture is a powerful act of eco-consciousness. Every piece you repair and keep out of a landfill contributes to reducing waste and lessening the demand for new manufacturing, which often consumes considerable natural resources and energy. It’s a direct way to support a greener planet.
- Adds Personal Value and Character: Furniture often holds sentimental value, carrying memories and stories. When you repair a piece yourself, you’re not just fixing an object; you’re preserving its history and adding your own chapter to its story. This hands-on involvement creates a deeper connection to your belongings, making them feel more personal and irreplaceable.
- Develops New Skills and Boosts Confidence: Tackling furniture repair projects can be an excellent way to learn practical skills. You’ll gain familiarity with tools, learn about different materials, and understand basic construction techniques. Successfully completing a repair project provides a genuine sense of accomplishment and pride, building confidence for future DIY endeavors.
- Preserves Unique and Antique Pieces: Many older or antique furniture items possess a unique charm, craftsmanship, and quality that is hard to replicate in modern pieces. Repairing these items allows you to preserve their original beauty and functionality, ensuring they continue to be enjoyed for generations.
So, before you consider discarding that scratched-up coffee table, the wobbly dining chair, or the broken chest of drawers, remember the numerous benefits of repair. It’s a sustainable, economical, and deeply satisfying choice.
10 Common Furniture Repairs You Can Easily Do at Home
Don’t let minor damage diminish the beauty or functionality of your furniture. Here’s a list of common issues you can address with a bit of patience and the right tools:
- Scratches, Dings, and Dents
- Cracks and Gouges in Wood
- Burn Marks on Surfaces
- Damaged Veneer Surface
- Loose or Broken Furniture Hardware
- Wobbly or Detached Wooden Furniture Joints
- Tears or Damage in Upholstered Furniture
- Stubborn Stains on Furniture Surfaces
- Fixing Wobbly Furniture Legs and Frames
- Restoring and Refurbishing Antique Furniture
Essential Tools and Supplies for DIY Furniture Repair
Before diving into your repair projects, it’s crucial to have the right equipment on hand. A well-stocked toolkit will make these tasks much simpler and more effective. Here’s a list of common tools and supplies you’ll likely need:
- Screwdriver Set: Both Philips and Flathead for tightening and removing fasteners.
- Wood Glue: A strong adhesive for bonding wood, crucial for joints and cracks.
- Wood Filler/Putty: For filling gaps, holes, and deeper imperfections in wood.
- Hammer: Essential for minor adjustments, tapping nails, or light dismantling.
- Pliers: Useful for gripping, bending, or removing small objects.
- Clamps: Various sizes (bar clamps, C-clamps) to hold glued pieces firmly while they dry.
- Measuring Tape: For accurate measurements when cutting or assessing damage.
- Sandpaper: Assorted grits (fine, medium, coarse) for smoothing surfaces and preparing for finish.
- Utility Knife/Craft Knife: For precise cutting, trimming, or scraping.
- Paint, Stain, and Brushes: For matching existing finishes or giving a new look.
- Wax Sticks or Touch-Up Markers: Specifically designed for concealing minor scratches and blemishes.
- Fabric Glue: For repairing tears in upholstery without stitching.
- Needle & Thread: For more durable upholstery repairs or detailed stitching.
- Corner Brackets & Extra Screws: For reinforcing wobbly joints or securing loose parts.
- Drill with Drill Bits: For creating new holes or pilot holes, especially when reinforcing.
- Tack Puller: For removing upholstery tacks without damaging fabric.
- Cleaning Cloths & Sponges: For cleaning surfaces before, during, and after repairs.
- Safety Gloves: To protect your hands from chemicals, splinters, and minor injuries.
How to Repair Scratches, Dings, and Dents on Furniture
Minor surface imperfections are among the most common types of furniture damage, but thankfully, they’re also some of the easiest to fix. Here’s how to make them disappear:
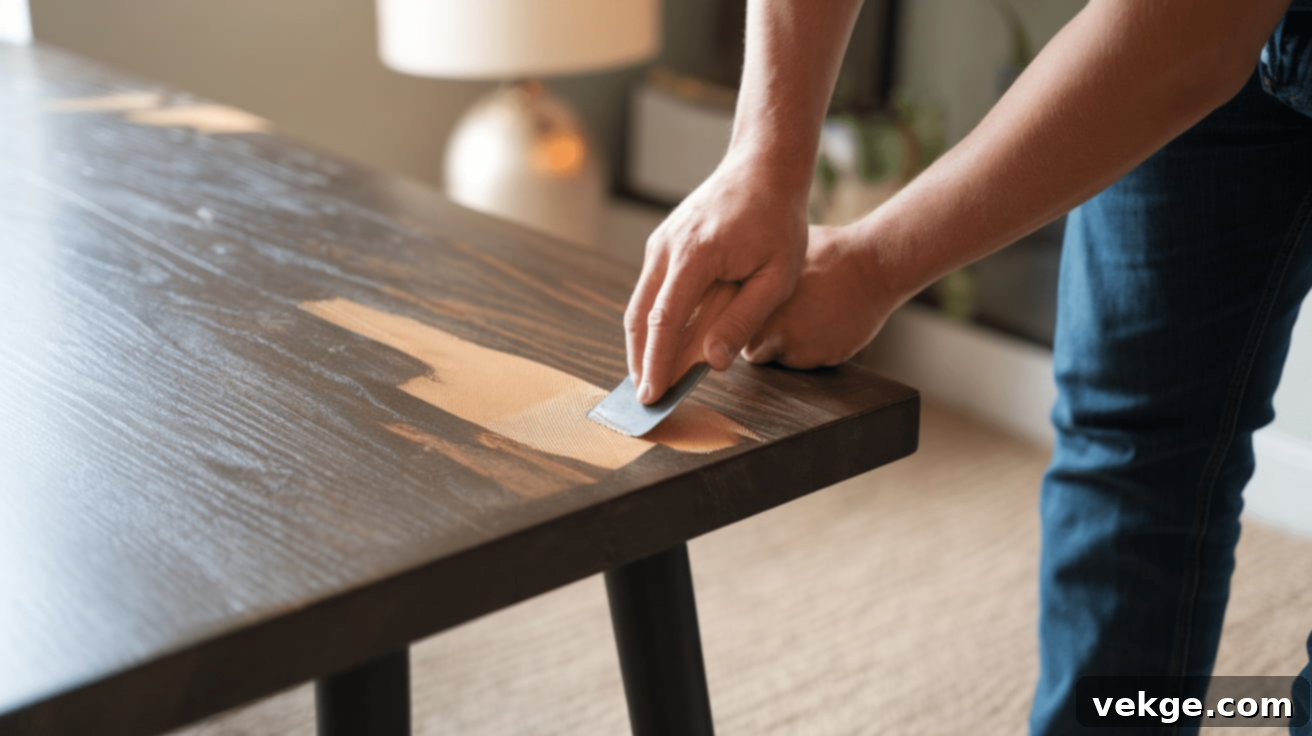
- Clean and Prepare the Area: Start by thoroughly cleaning the damaged spot with a soft, damp cloth to remove any dust, dirt, or debris. A clean surface ensures better adhesion for repair materials.
- Address Light Scratches with Wax Sticks or Markers: For superficial scratches that haven’t penetrated the finish too deeply, select a wax stick or touch-up marker that closely matches the wood’s color. Gently rub or apply the product into the scratch, then buff away any excess with a soft cloth. This fills the scratch and blends it with the surrounding finish.
- Fill Deeper Dents and Gouges with Wood Filler: For more noticeable dents or deeper gouges, wood filler is your best friend. Apply a small amount of wood filler to the damaged area using a putty knife, pressing it firmly into the dent. Overfill slightly to allow for shrinkage.
- Allow to Dry Completely: Let the wood filler dry thoroughly according to the manufacturer’s instructions. Drying time can vary, so patience is key for a durable repair.
- Sand Smooth for a Seamless Finish: Once the filler is completely dry, use fine-grit sandpaper (around 220-grit) to carefully sand the repaired area. Sand gently in the direction of the wood grain until the filler is flush and smooth with the surrounding surface.
- Match the Finish: To make the repair invisible, you’ll need to match the original finish. Apply wood stain or paint, carefully blending it until it seamlessly integrates with the rest of the furniture. Use a small brush for precision.
- Buff and Polish for Shine: Once the stain or paint is dry, apply a furniture polish or wax and buff the entire surface with a clean, soft cloth. This will restore the shine and further blend the repaired area.
How to Repair Cracks and Gouges in Wooden Furniture
Cracks and gouges can compromise both the appearance and structural integrity of your wooden furniture. Repairing them properly will extend the life of your pieces.
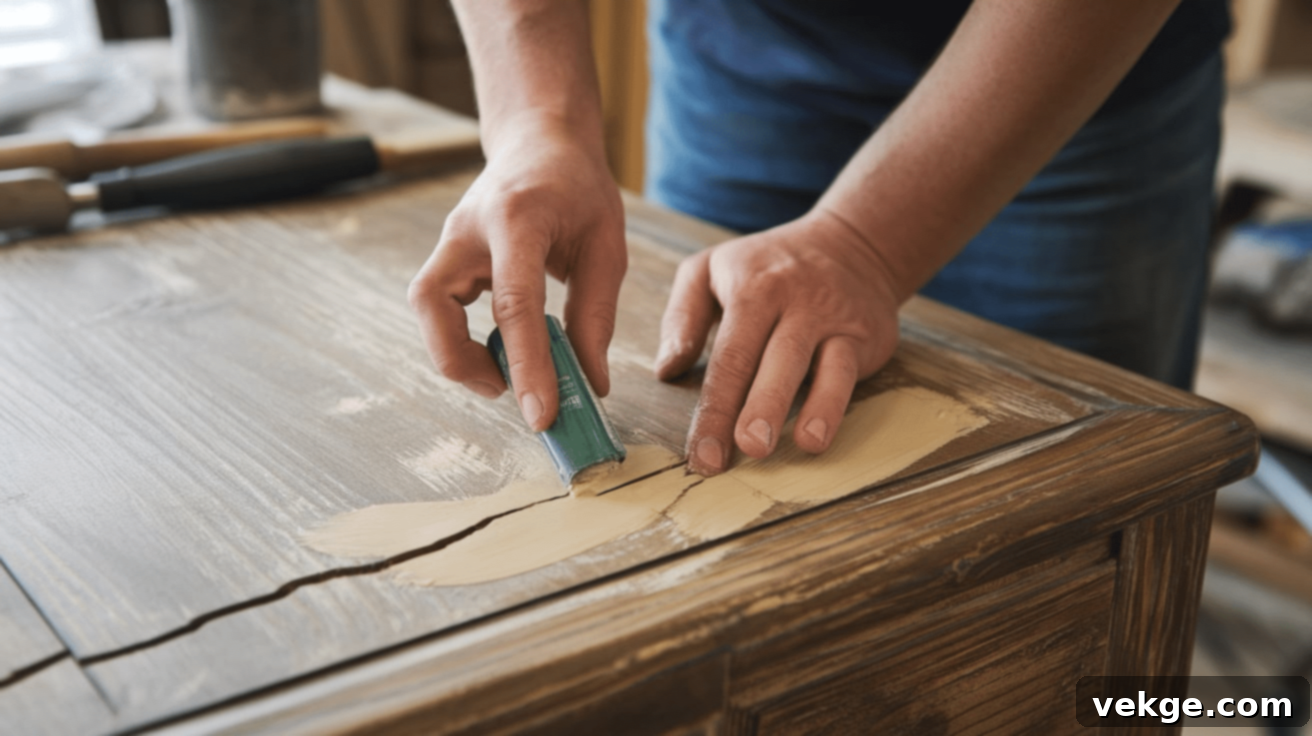
- Thoroughly Clean the Damaged Area: Use a stiff brush or a vacuum cleaner to remove all dust, debris, and loose wood particles from within the crack or gouge. A clean surface is vital for strong adhesion.
- Apply the Appropriate Filler: For hairline cracks, a high-quality wood glue can be gently squeezed into the crack. For wider cracks or deeper gouges, use wood filler. Apply it generously, ensuring it penetrates fully into the damaged area.
- Press and Clamp if Necessary: If you used wood glue on a crack, press the wood firmly together, wiping away any excess glue that squeezes out. For optimal strength, use clamps to hold the pieces tightly until the glue sets. For filler, simply ensure it’s packed tightly.
- Allow Ample Drying Time: Let the glue or filler dry completely. This step is critical; rushing it can lead to a failed repair. Refer to the product’s instructions for recommended drying times.
- Sand Smooth and Even: Once dry, use sandpaper (starting with medium-grit, then moving to fine-grit) to carefully sand the repaired area. Work in the direction of the wood grain to achieve a smooth, flush surface that matches the surrounding wood.
- Match the Furniture’s Finish: Apply a matching wood stain or paint to the repaired area. If necessary, you may need to apply a topcoat (like lacquer or varnish) over the entire surface to ensure a consistent finish and protection.
How to Repair Burn Marks on Furniture
Burn marks, whether from a hot mug or a stray cigarette, can be unsightly. The repair method depends on the severity of the burn.
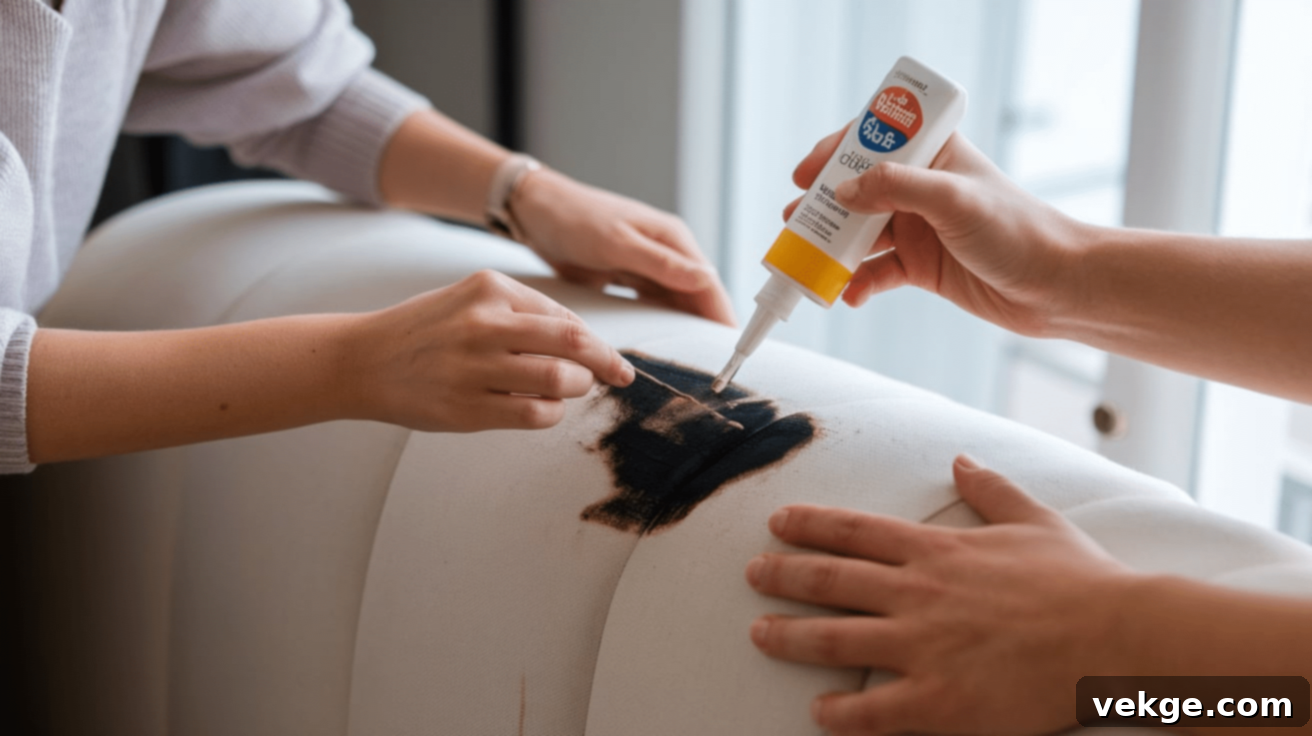
- Address Light Surface Burns: For very superficial burns (e.g., water rings from a hot glass), you might try a gentle steam method. Place a damp cloth over the burn and lightly press a warm (not hot) iron on top of the cloth for a few seconds. Check frequently, as excessive heat can cause further damage.
- Repair Deeper Burns with Sanding and Filler: For more significant burn marks that have charred the wood, you’ll need to remove the damaged material. Carefully sand away the burned area using fine-grit sandpaper until the charring is gone and the wood beneath is clean. If a divot remains, fill it with wood filler.
- Let the Filler Dry: Allow the wood filler to dry completely, following the product’s instructions.
- Sand for a Smooth Transition: Once dry, sand the filled area with fine-grit sandpaper until it is perfectly smooth and level with the surrounding surface.
- Re-finish to Blend: Re-stain or paint the repaired area to match the original wood finish. You may need to apply a protective topcoat over the entire surface for a uniform look.
How to Repair a Damaged Veneer Surface
Veneer, a thin layer of decorative wood, can peel or crack over time. Repairing it requires a gentle touch to preserve its delicate nature.
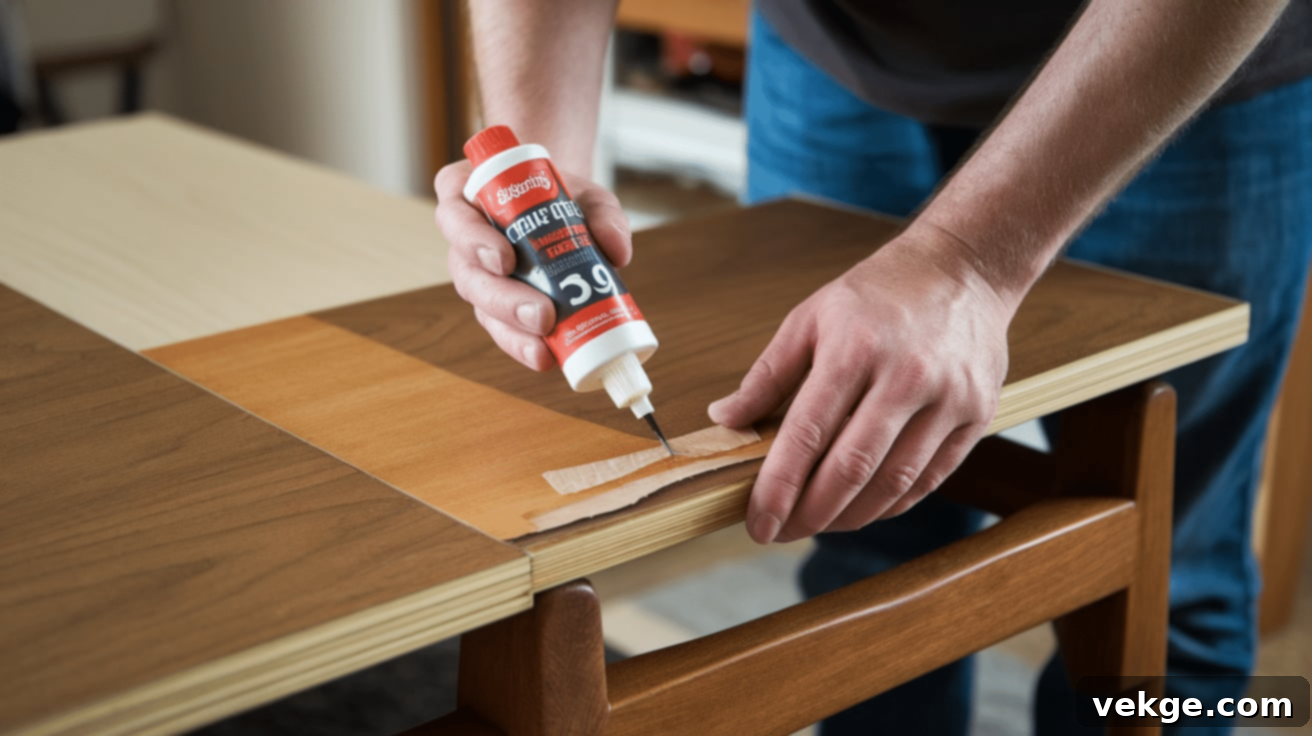
- Assess the Damage: Determine if the veneer is merely loose and lifting, or if it’s cracked, chipped, or missing pieces. This will guide your repair strategy.
- Re-glue Loose Veneer: For sections of veneer that are lifting but still intact, carefully lift the loose edges further and apply a small amount of wood glue (PVA glue works well) underneath with a thin applicator or syringe.
- Clamp and Secure: Press the re-glued veneer firmly back into place. Place a piece of wax paper over the repaired area (to prevent the clamp from sticking) and then use clamps (or even heavy books for flat surfaces) to hold it down securely until the glue dries completely.
- Fill Cracks or Missing Pieces: If the veneer has cracks or small missing chips, carefully fill these areas with wood filler. Allow it to dry, then gently sand smooth with very fine-grit sandpaper. For larger missing sections, you might need to cut and glue in a matching piece of veneer.
- Stain or Paint to Match: Once the glue is dry and the surface is smooth, carefully apply stain or paint to the repaired areas, blending it precisely with the surrounding veneer. A protective topcoat is often recommended for veneer.
How to Repair Loose or Broken Furniture Hardware
Handles, knobs, hinges, and drawer pulls are essential for furniture functionality. Loose or broken hardware can be both annoying and impact usability.
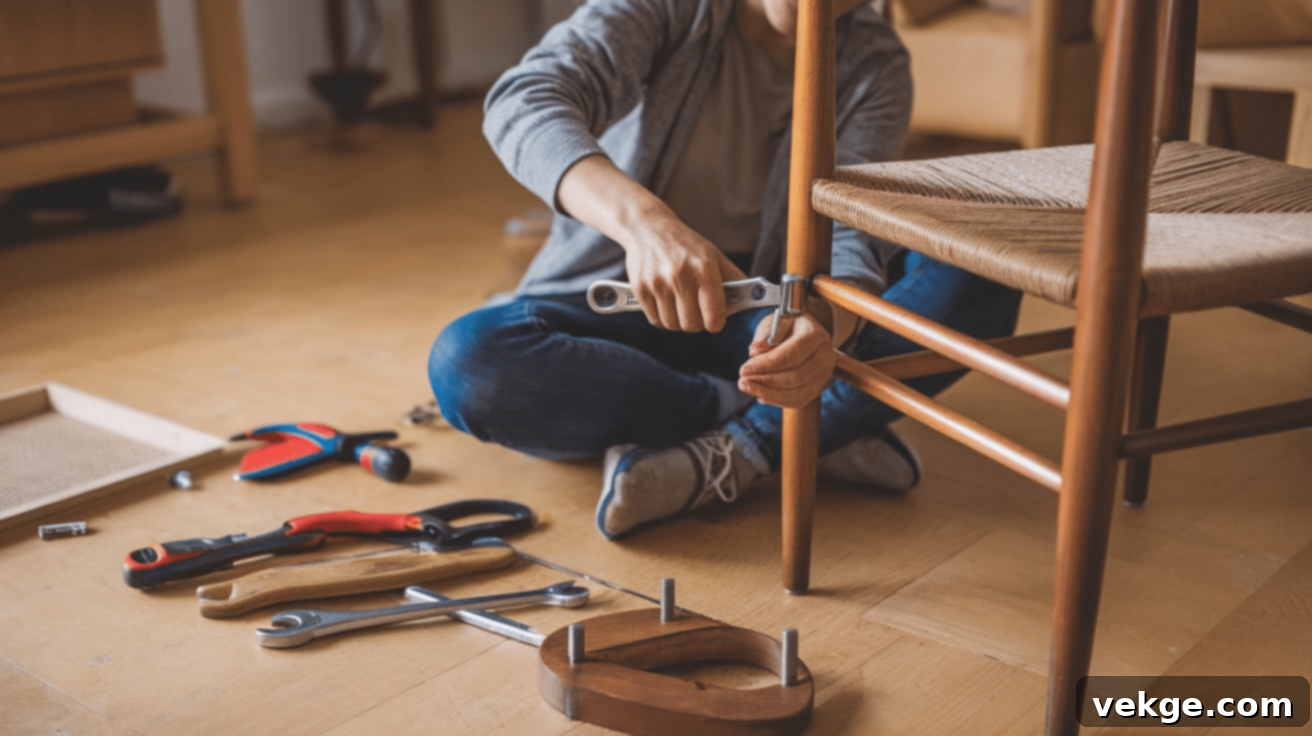
- Tighten Loose Screws: This is often the simplest fix. Using the correct screwdriver (Philips or flathead), check all screws holding the hardware in place. Tighten any that are loose, but be careful not to overtighten and strip the wood.
- Replace Stripped Screws or Enlarged Holes: If a screw spins freely, the hole might be stripped. Remove the screw, fill the hole with wood filler or a wood dowel (glued in place and trimmed), let it dry, then drill a new pilot hole before reinserting the screw. Alternatively, use a slightly larger or longer screw.
- Replace Broken Hardware: If a handle, knob, or hinge is cracked or broken beyond repair, simply remove the old piece. Take it to a hardware store to find a matching replacement, or choose a new style for an updated look. Install the new hardware, ensuring it fits snugly.
- Reinforce for Extra Strength: For hardware that experiences a lot of stress (like heavy drawer pulls), consider reinforcing the attachment point. You can use longer screws that go deeper into the wood, or add small corner brackets on the inside of the furniture if aesthetically acceptable.
How to Repair Wobbly or Detached Wooden Furniture Joints
A wobbly chair or table is not only annoying but can also be unsafe. Repairing loose joints typically involves re-gluing them for a strong, lasting bond.
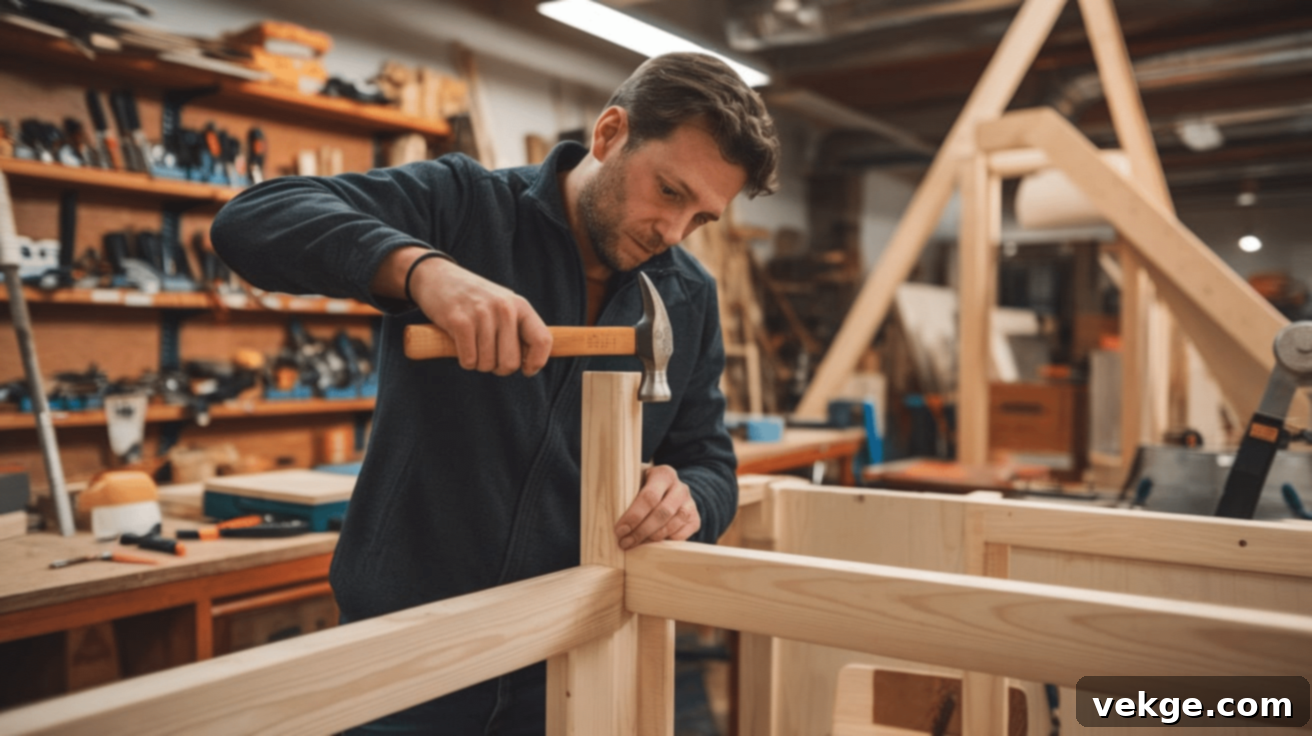
- Identify the Loose Joint: Carefully inspect the furniture to pinpoint exactly which joint (e.g., leg-to-frame, rung-to-leg) is causing the wobbling. You might need to gently wiggle the piece to find it.
- Disassemble (If Necessary): For severely loose or broken joints, it might be best to gently disassemble the affected parts. Carefully separate the joint, being mindful not to cause further damage.
- Clean the Joint Surfaces: Scrape away any old, dried glue from both mating surfaces of the joint. A utility knife or sandpaper can help here. A clean surface is crucial for the new glue to bond effectively.
- Apply Wood Glue Generously: Apply a good quality wood glue to both surfaces of the joint. Ensure the glue covers all mating areas for maximum strength.
- Reassemble and Press Together: Push the joint back together firmly. Wiggle the pieces slightly to ensure the glue spreads evenly and the joint is fully seated.
- Clamp the Joint Securely: Use clamps to hold the joint tightly together while the glue dries. For complex shapes, you might need creative clamping setups. Ensure the clamp pressure is firm but not so extreme that it dents the wood. Wipe away any excess glue that squeezes out with a damp cloth immediately.
- Allow Sufficient Drying Time: Let the glue dry completely for at least 24 hours, or as recommended by the glue manufacturer. Do not put any stress on the joint during this time.
- Reinforce for Added Durability (Optional): For extra strength, especially on high-stress joints, you can drill pilot holes and insert screws or wooden dowels through the joint after the glue has dried.
How to Repair Tears or Damage in Upholstered Furniture
Upholstery can suffer from rips, tears, or flattened cushions. These repairs can significantly improve the comfort and appearance of your fabric-covered pieces.
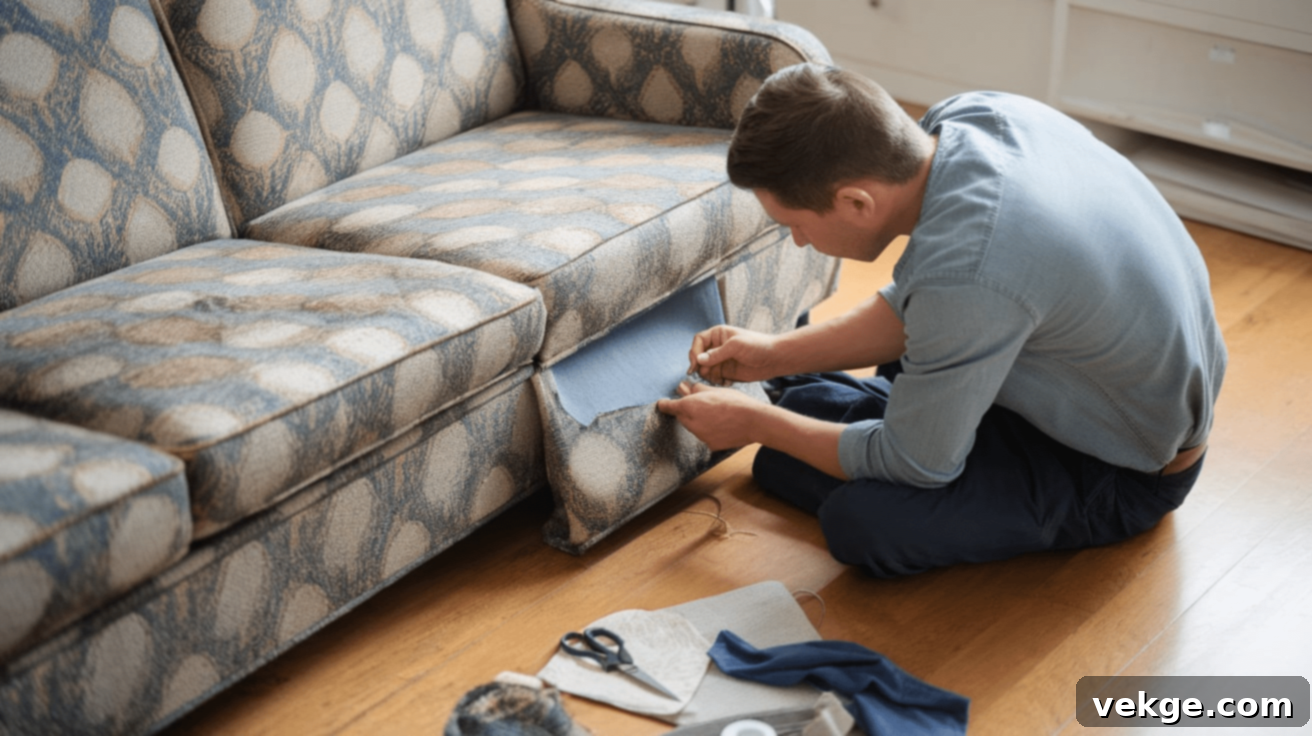
- Inspect the Damage Carefully: Examine the tear or rip. Is it a clean cut, a frayed edge, or a larger hole? This will determine the best repair method.
- Prepare a Matching Patch (if needed): For larger tears or holes, you’ll need a fabric patch. Cut a piece of matching fabric that is slightly larger than the tear, ensuring its edges are clean. If you can’t find an exact match, choose a complementary color or pattern, or take fabric from a hidden part of the furniture (e.g., under the cushion).
- Apply Fabric Glue or Stitch:
- For minor tears or quick fixes: Apply a thin line of fabric glue along the edges of the tear, then carefully press the edges together. For a patch, apply glue to the back of the patch and press it over the tear.
- For more durable repairs: If you’re comfortable with sewing, carefully hand-stitch the tear using a strong needle and matching thread. For a patch, hem the edges of the patch, then stitch it securely over the damaged area.
- Smooth and Secure the Repair: If using glue, ensure the patch or repaired edges are flat and smooth. You might place a heavy object on top while it dries. For stitching, ensure the stitches are tight and even.
- Refluff Sagging Cushions: If your cushions have lost their shape, carefully open the cushion cover (if removable). Add extra stuffing (polyester fiberfill, foam scraps, or a new pillow insert) to restore their fullness and comfort. Close the cover securely.
How to Repair Stains on Furniture Surfaces
Stains can be unsightly and diminish the beauty of your furniture. The key to successful stain removal is identifying the stain type and acting promptly.
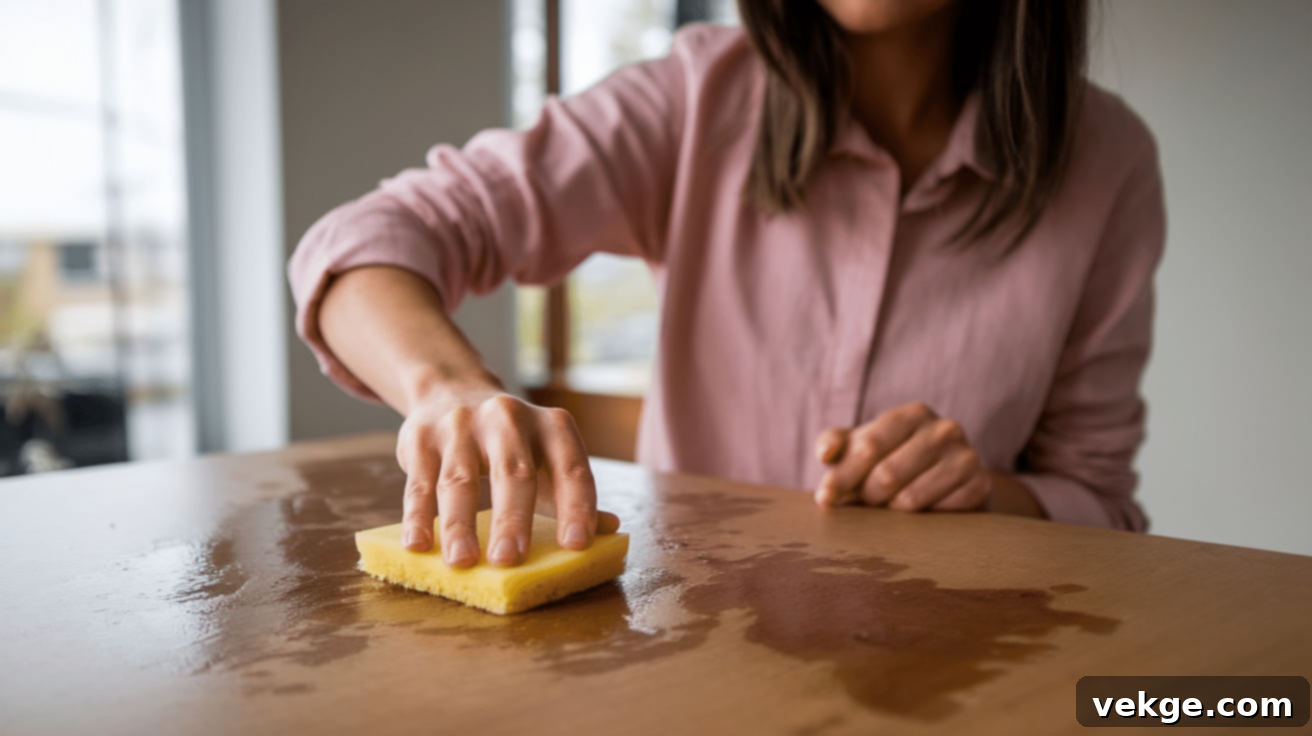
- Identify the Type of Stain: Knowing what caused the stain (water, oil, ink, food, etc.) is crucial, as different stains require different cleaning approaches.
- Choose the Right Cleaning Agent:
- For Water Stains/Rings: Rub the area gently with a damp cloth, or try a mixture of baking soda and toothpaste.
- For Grease/Oil Stains: Blot with a clean cloth, then apply a small amount of dish soap diluted in water.
- For Ink Stains: Try rubbing alcohol on a cotton swab.
- General Stains: A mild all-purpose cleaner diluted in water can often work.
- Apply and Scrub Gently: Apply the chosen cleaner to a soft sponge or cloth and gently scrub the stain. Avoid aggressive scrubbing, especially on delicate finishes, as this can cause further damage. Work from the outside of the stain inwards to prevent spreading.
- Use Baking Soda for Tough Stains (Optional): For very stubborn stains, sprinkle baking soda directly onto the damp stained area. Let it sit for a few minutes to absorb the stain, then gently rub it in with a damp cloth before wiping clean.
- Allow to Dry Completely: After cleaning, ensure the area is completely dry before proceeding. You can blot with a dry cloth.
- Polish or Refinish (if needed): If the cleaning process slightly dulled the finish or the stain was particularly stubborn and left a faint mark, you may need to apply furniture polish or, in extreme cases, lightly sand and re-stain/re-varnish the affected area to restore its original luster.
How to Repair Wobbly Furniture Legs and Frames
A wobbly table or chair can be frustrating and even dangerous. Addressing the instability quickly will make your furniture safe and enjoyable again.
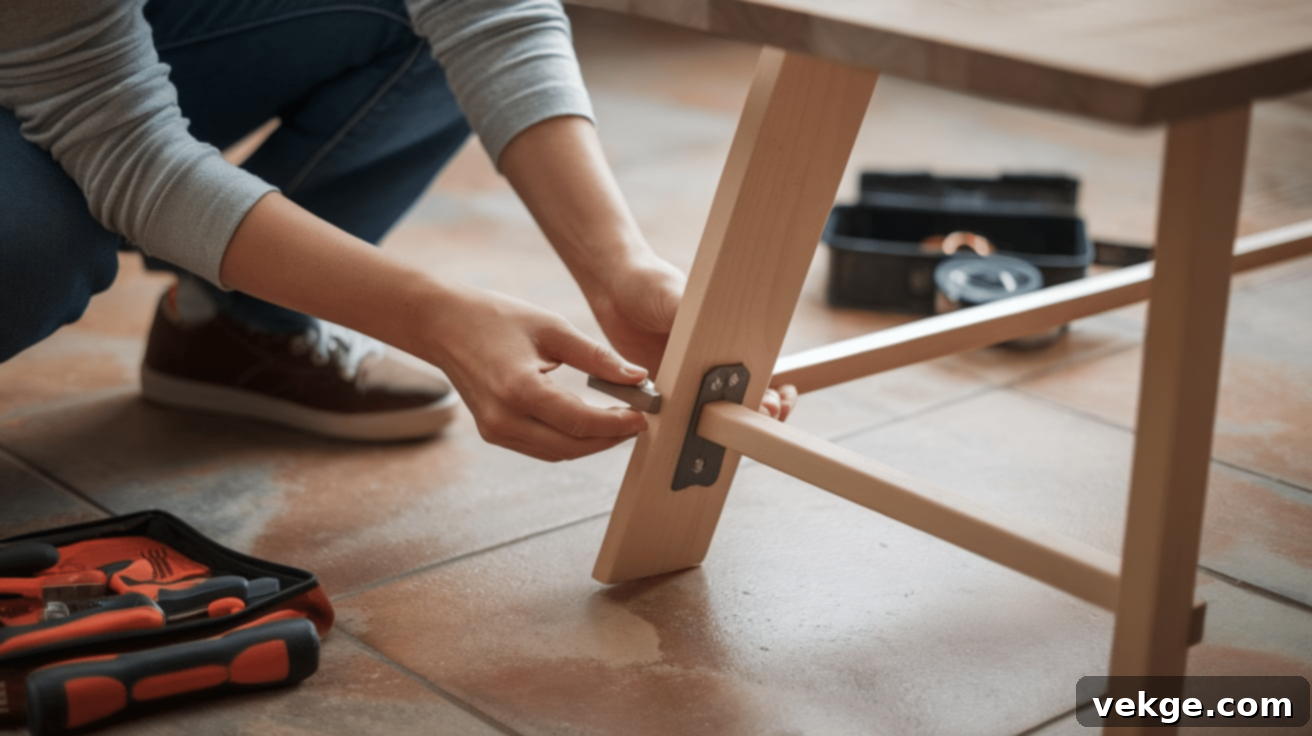
- Inspect the Cause of the Wobble: Carefully examine all legs and structural joints. Is a leg loose? Are screws missing or stripped? Is a joint coming apart?
- Tighten All Loose Screws: Often, wobbling is simply due to loose fasteners. Use a screwdriver to thoroughly check and tighten all screws connecting legs to the frame, or any other visible structural screws. Be firm but avoid overtightening.
- Re-glue Loose Joints: If tightening screws doesn’t resolve the wobble, or if a leg or joint feels visibly loose, it’s time for wood glue. If possible, gently separate the loose joint, clean out old glue, apply fresh wood glue to both surfaces, and reassemble.
- Clamp the Area Firmly: After applying glue and reassembling the joint or leg, use clamps to hold the pieces tightly together while the glue dries. Ensure the furniture is level and square before clamping to avoid drying in a crooked position. Let it dry for at least 24 hours.
- Reinforce with Brackets or Dowels (Optional): For furniture that experiences heavy use or has a history of wobbling, consider adding reinforcement. Small metal corner brackets can be screwed into the inside corners of leg-to-frame joints for extra stability. Alternatively, drilling through the joint and inserting a glued wooden dowel can provide significant strength.
How to Restore and Refurbish Antique Furniture
Restoring antique furniture is a rewarding process that brings old pieces back to their former glory, preserving their history and unique character.
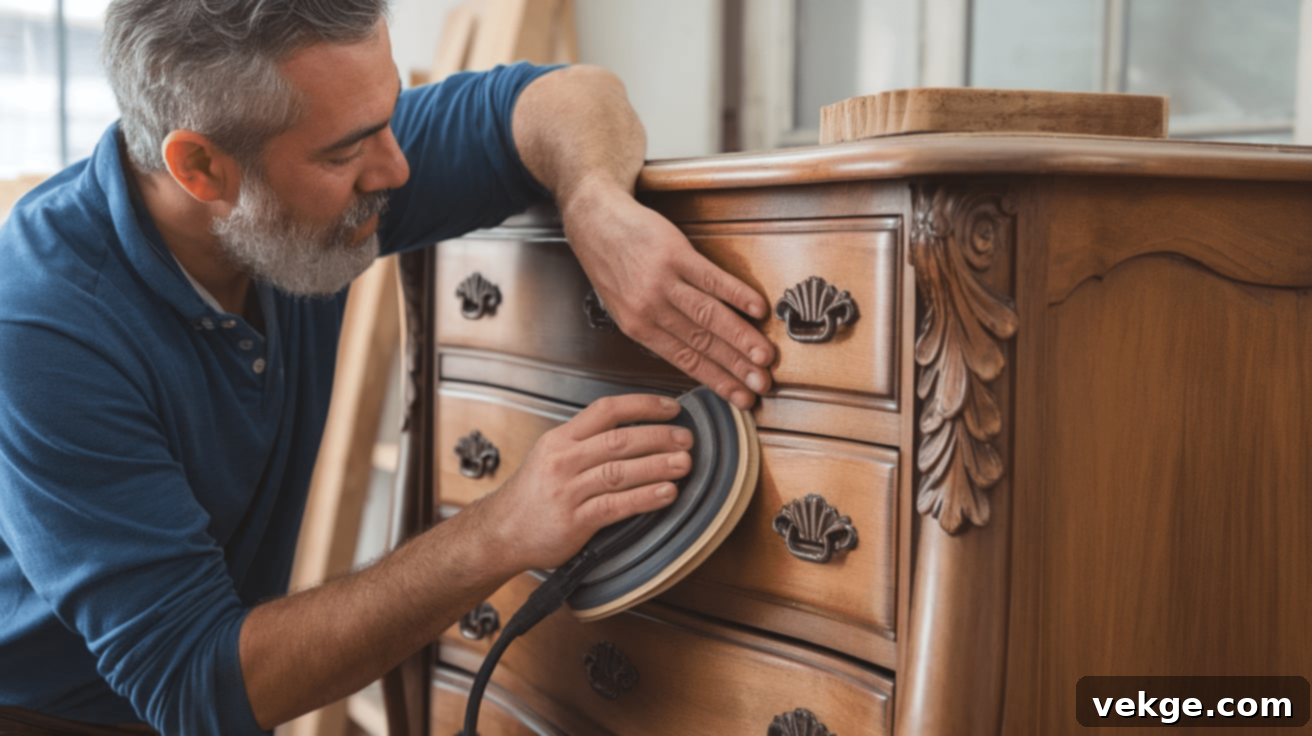
- Gentle Cleaning of the Piece: Begin by gently cleaning the entire antique piece. Use a soft cloth dampened with a mild, non-abrasive cleaner (or even just water with a tiny bit of dish soap) to remove accumulated dust, grime, and old polish. Avoid harsh chemicals that could damage delicate finishes.
- Address Scratches and Dents: Carefully fill minor scratches and dents using wax sticks, touch-up markers, or wood filler that matches the original wood as closely as possible. Follow the steps outlined in the “How to Repair Scratches, Dings, and Dents” section.
- Re-glue Any Loose Joints: Inspect all joints for wobbles or looseness. Disassemble, clean out old glue, apply fresh wood glue, and clamp securely until dry, as detailed in the “How to Repair Wooden Furniture Joints” section. Structural integrity is paramount for antiques.
- Refinish the Surface (if necessary): If the original finish is severely damaged, peeling, or heavily worn, you might need to refinish the surface. This involves lightly sanding the old finish to create a smooth base (use very fine-grit sandpaper and sand with the grain), then applying a new stain, varnish, or shellac that is appropriate for the period and wood type. Always test on an inconspicuous area first.
- Polish and Protect the Furniture: Once all repairs and refinishing are complete and fully dry, apply a high-quality furniture polish or wax. Buff it gently with a soft cloth to achieve a rich, protective shine that highlights the wood’s natural beauty and protects it from future damage.
Expert Tips for Successful Furniture Repairs
Beyond the step-by-step guides, keeping a few general principles in mind can ensure your furniture repair projects go smoothly and yield lasting results.
- Always Test First: Before applying any cleaner, glue, stain, or finish to a prominent area, always test it on a small, inconspicuous spot on your furniture. This ensures it won’t cause discoloration or damage, preventing bigger problems.
- Use the Right Tools for the Job: Having the correct tools, from specialized screwdrivers to various grit sandpapers and small artist brushes for detailed staining, makes repairs easier, more precise, and more effective. Don’t try to force the wrong tool for the task.
- Respect Drying Times: Whether you’re waiting for glue to set, filler to harden, or stain to dry, patience is critical. Rushing the drying process can compromise the strength and appearance of your repair, leading to early failure. Always follow manufacturer instructions.
- Keep Your Workspace Clean: A clean work area helps prevent dust and debris from interfering with glues or finishes. After each repair step, give your furniture a quick wipe-down. A clean surface promotes better adhesion and a smoother finish.
- Protect Your Furniture Proactively: To prevent future damage, consider applying felt pads to the bottom of chair and table legs to protect your floors and surfaces from scratches. Use coasters under drinks and placemats under dishes to guard against water rings and heat damage.
- Know When to Call Professionals: While many repairs are DIY-friendly, some damage can be too severe, structurally complex, or valuable (like certain antiques) for a beginner to tackle safely or effectively. Don’t hesitate to consult a professional furniture restorer if you’re unsure, or if the potential for further damage is high. Their expertise can save your cherished pieces.
Conclusion: Embrace the Art of Furniture Restoration
Furniture repairs don’t have to be complicated, intimidating, or expensive. With just a few basic tools, some common supplies, and a willingness to learn, you can effectively fix a wide array of common furniture problems right in your own home.
Embracing DIY repairs is a fantastic way to not only save money but also to infuse your furniture with a unique personal touch, knowing you brought it back to life with your own hands. Whether you’re addressing a minor scratch, reinforcing a wobbly joint, or giving an antique a complete refresh, taking the time to repair your furniture is a sustainable and deeply satisfying endeavor that can make your beloved pieces look and function as good as new.
Remember the golden rule: for severe damage, intricate pieces, or if you’re ever in doubt about performing a repair safely and effectively, it’s always wise to consult a professional furniture restorer. Their expertise ensures the repair is done correctly, preserving the value and safety of your furniture for years to come. So, roll up your sleeves and give your furniture the care it deserves!
Frequently Asked Questions About Furniture Repair
-
Can I repair furniture without professional help?
-
Absolutely! Many common furniture issues, such as scratches, loose joints, wobbly legs, and minor upholstery tears, can be successfully repaired at home using basic tools and readily available materials. This guide provides comprehensive steps for various DIY repairs.
-
How do I prevent my furniture from getting damaged again?
-
Prevention is key. Use felt pads on the bottom of furniture legs to protect floors and surfaces, utilize coasters and placemats to prevent water rings and heat damage, and clean surfaces regularly with appropriate cleaners. Regular maintenance also helps in spotting potential issues early.
-
Can I restore antique furniture at home?
-
Yes, you can. For many antique pieces, gentle cleaning, minor repairs of scratches and loose joints, and careful refinishing can significantly enhance their appearance and longevity. However, for extremely valuable or severely damaged antiques, consulting a professional conservator is advisable to ensure historical integrity and prevent accidental damage.
-
What kind of wood glue is best for furniture repairs?
-
For most general furniture repairs, a high-quality PVA (polyvinyl acetate) wood glue is an excellent choice. It offers strong bonds, is easy to clean up with water, and sets relatively quickly. For outdoor furniture or repairs requiring extreme strength or moisture resistance, epoxy or polyurethane glues might be more suitable, but they are generally more complex to work with.
-
How do I fix a loose cabinet door or drawer?
-
First, check and tighten all hinge screws for cabinet doors or runner screws for drawers. If the holes are stripped, remove the screws, fill the holes with wood filler or glued wooden matchsticks/dowels, let dry, then drill new pilot holes and reinsert the screws. For cabinet doors, also check the hinges themselves for damage and replace if necessary. For drawers, ensure the glides are clean and properly aligned.
