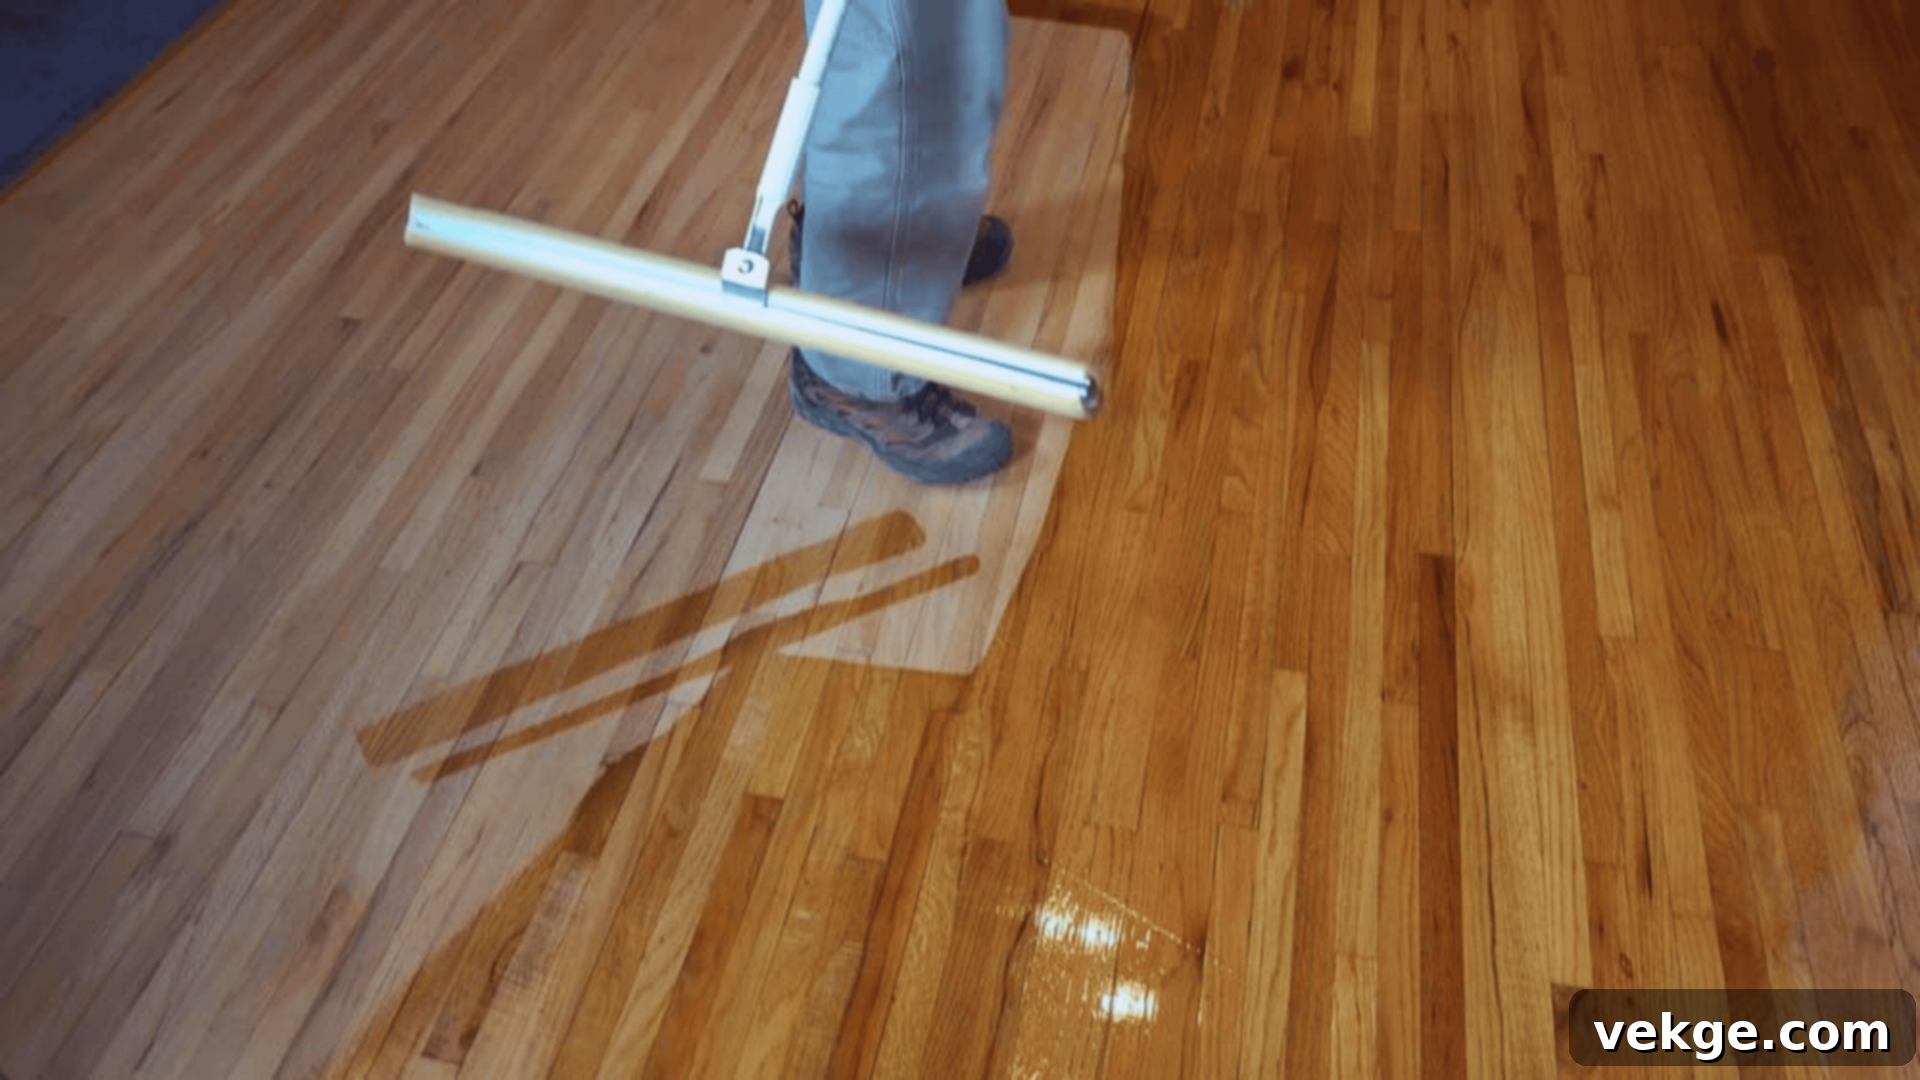
How Long Does It Take to Refinish Hardwood Floors? Your Complete Timeline & Guide
Hardwood floors bring undeniable warmth, beauty, and character into any home. They are a timeless feature, adding elegance and value. However, over time, even the most resilient hardwood takes a beating. Scratches, dull spots, scuffs, and general wear and tear from daily life inevitably begin to show, diminishing their original luster.
If your once vibrant floors are starting to look tired, faded, or simply worn out, refinishing them is an excellent way to restore their former glory. This transformative process can breathe new life into your living space, making your home feel fresh and inviting again. As you consider this significant home improvement, one of the first and most critical questions that often comes to mind is: “How long does it truly take to refinish hardwood floors?”
Having guided numerous homeowners through this exact journey, I understand that timing is paramount, especially when planning around family life, work schedules, and simply living in your home. A clear understanding of the timeline helps you prepare adequately and minimizes disruption.
In this comprehensive guide, we’ll walk you through every aspect of the hardwood floor refinishing process. You’ll discover what factors influence the overall timeline, how long each specific step typically takes, what to expect whether you choose a DIY approach or hire professionals, and practical tips to ensure the entire project goes as smoothly as possible. By the end, you’ll have a clear roadmap to a beautifully restored floor.
Understanding the Hardwood Floor Refinishing Timeline
Most standard hardwood floor refinishing projects typically span 3 to 5 days from initial preparation to the final coat application. However, the total process, including crucial curing time, can extend up to two weeks. More extensive or complex projects, such as those involving significant repairs, multiple stain coats, or larger surface areas, might require up to 14 days or even slightly longer for the finish to fully harden.
The duration can vary significantly based on factors like the size of the area, the current condition of your floors, whether you opt for staining, the type of finish used, and environmental conditions like humidity. For instance, a small, well-maintained room might be completed faster than a large, heavily damaged floor in multiple rooms.
Here’s a general overview of what you can expect for a typical hardwood floor refinishing project:
- Preparation and Repairs: ½ to 1 full day
- Sanding (Multiple Passes): 1 to 2 days
- Staining (Optional, including drying): 1 day
- Finishing Coats (Application & Drying): 1 to 2 days (for 2-3 coats)
- Curing Time (Before heavy use): Several days to 2 weeks
The Hardwood Floor Refinishing Process: A Step-by-Step Guide
To successfully refinish your hardwood floors, it’s incredibly helpful to understand each stage involved. Knowing what to expect at every turn allows for better planning, smoother execution, and a more predictable outcome. Here’s a detailed breakdown of the process from start to finish:
Step 1: Prep Work and Minor Repairs
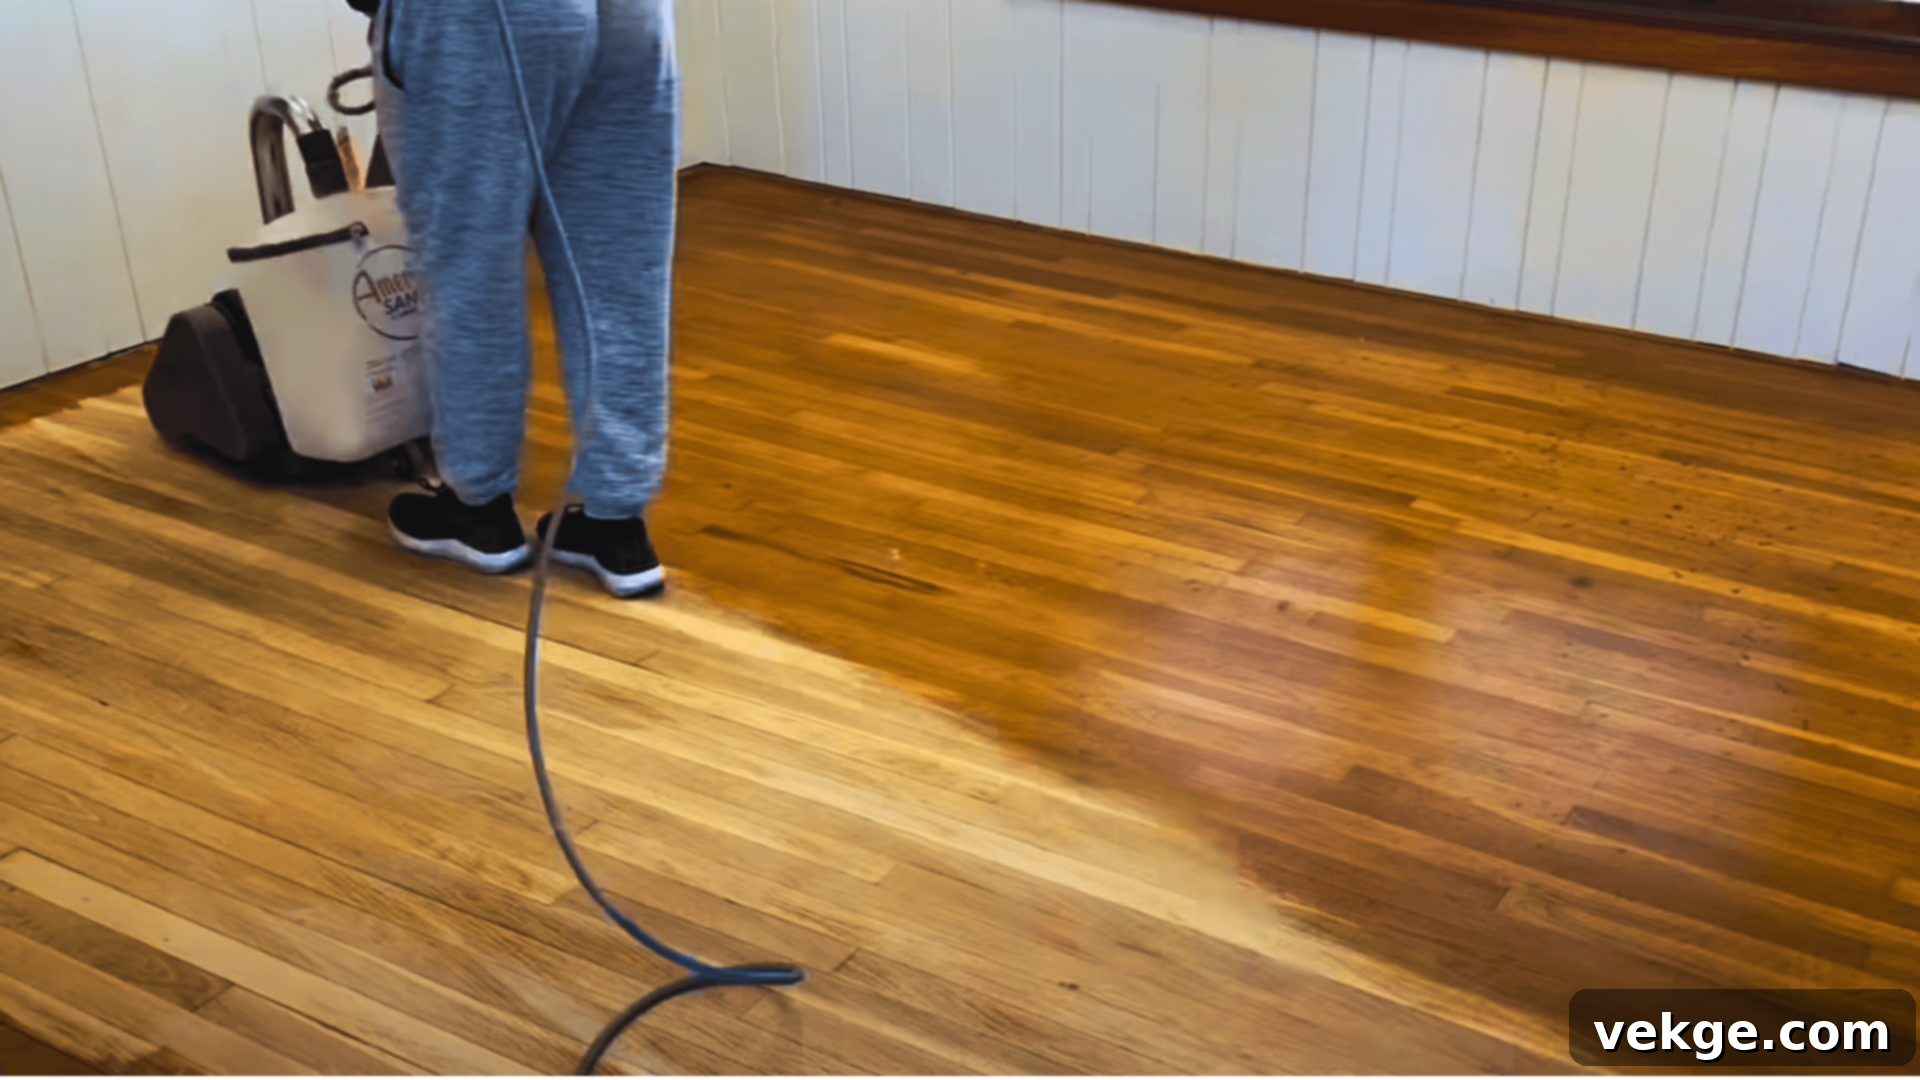
Before any heavy work begins, the room must be completely prepared. This crucial initial phase typically takes half a day to a full day, depending on the room’s size and the amount of furniture. It involves:
- Clearing the Space: All furniture, rugs, curtains, and any other items must be removed from the room. This ensures an unobstructed work area and prevents damage to your belongings.
- Thorough Cleaning: The floor needs to be meticulously cleaned to remove any surface dust, dirt, grime, or residues that could interfere with the sanding process.
- Minor Repairs: This is the time to address any loose boards, protruding nails (which must be countersunk), or small gaps. Larger repairs, like replacing severely damaged planks, should be done beforehand.
- Protection: Masking tape and plastic sheeting are used to protect baseboards, walls, cabinets, and air vents from dust and potential splashes during sanding and finishing. Sealing off doorways to other rooms also helps contain dust.
Proper preparation lays the groundwork for a successful and clean refinishing project.
Step 2: Floor Sanding
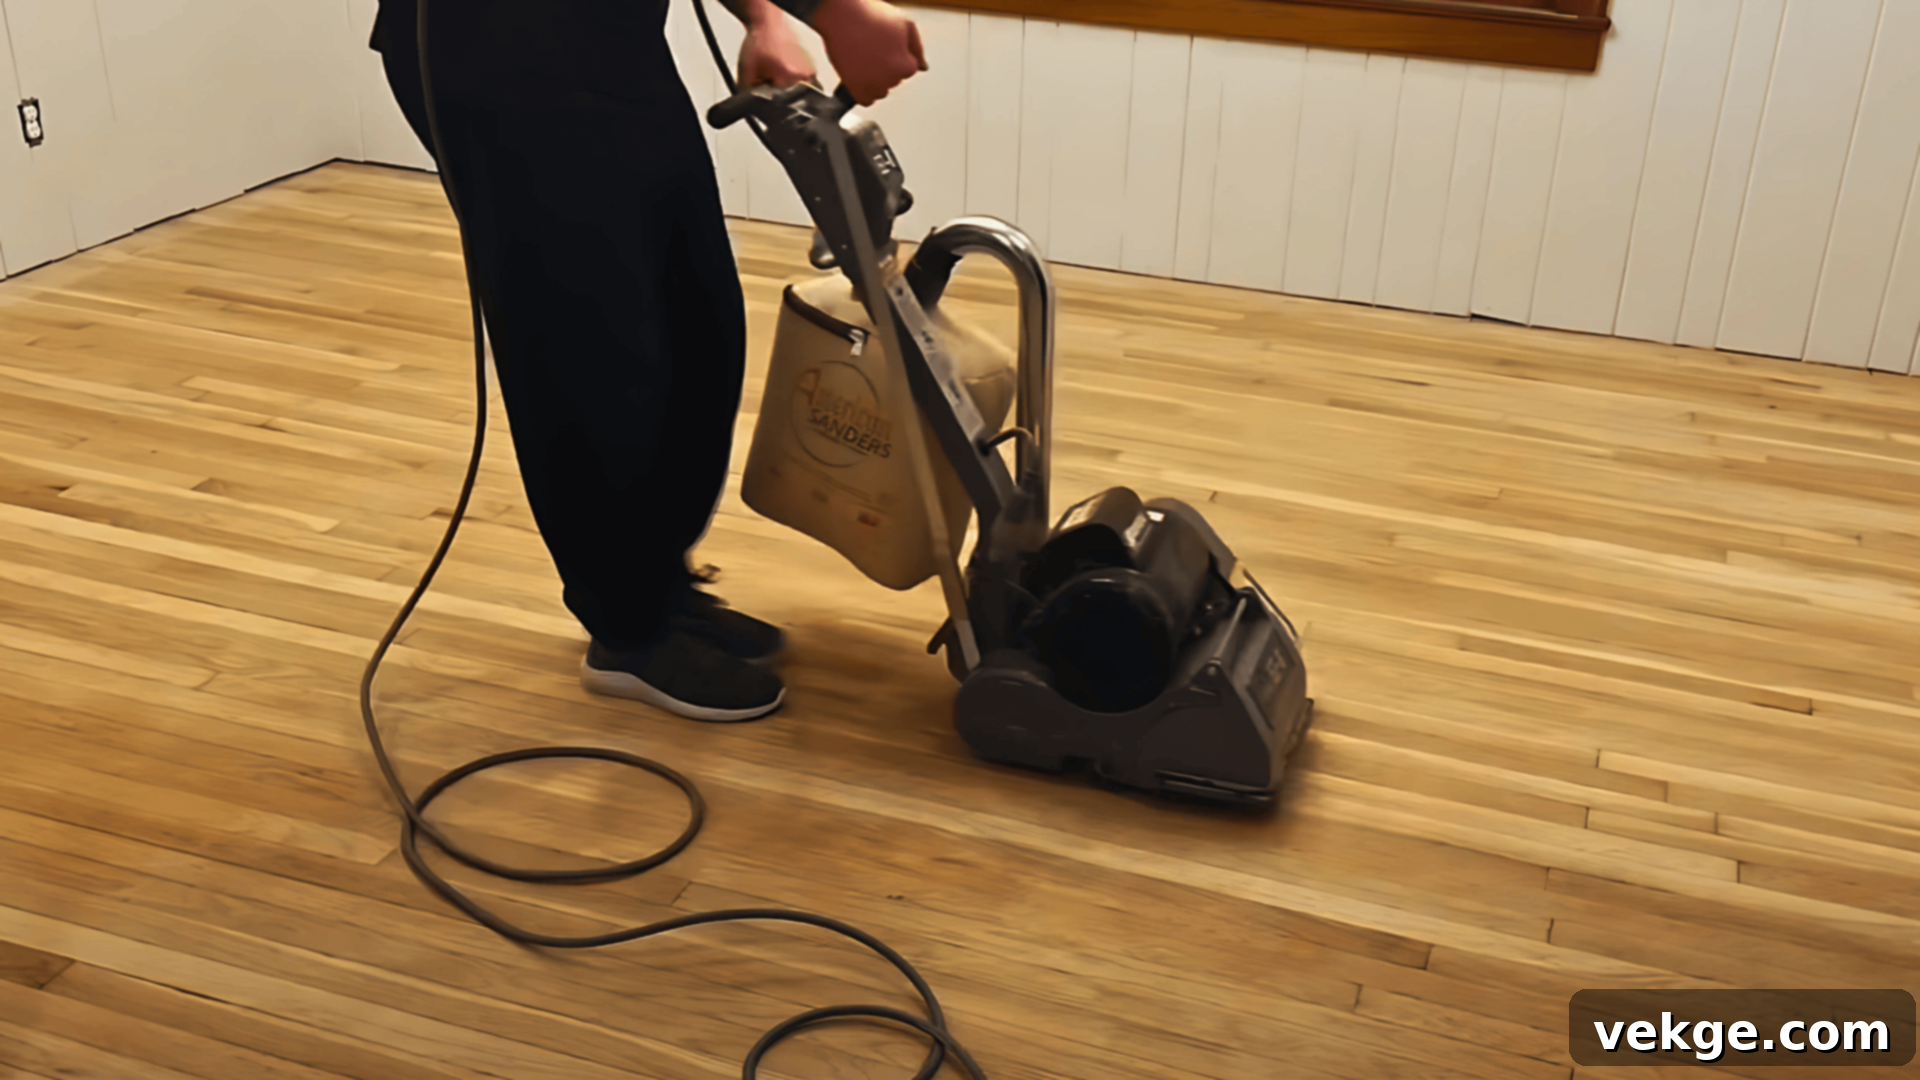
Sanding is arguably the most crucial step, where the true transformation of your floors begins. This process typically takes 1 to 2 days, depending on the area and condition. Its purpose is to:
- Remove Old Finish: The sanding process strips away layers of old stain, finish, and any accumulated dirt.
- Even Out Imperfections: It smooths out scratches, dents, and worn-down spots, creating a uniform and pristine surface.
- Prepare for New Coatings: A properly sanded floor provides a fresh, porous surface that is ready to absorb new stain and finish evenly.
Sanding typically involves multiple passes with different grits of sandpaper. Professionals use powerful drum sanders for the main floor area, edge sanders for perimeter work, and orbital or vibratory sanders for corners and detailed areas. The process usually starts with a coarse grit (e.g., 40-60) to remove the old finish and deep imperfections, followed by progressively finer grits (e.g., 80-100) to smooth the wood and prepare it for staining or finishing. Each pass requires thorough vacuuming to remove dust.
While powerful machines expedite the job for professionals, DIY projects can take considerably longer and require significant physical effort and attention to detail to avoid unevenness or swirl marks.
Step 3: Stain Application (Optional)
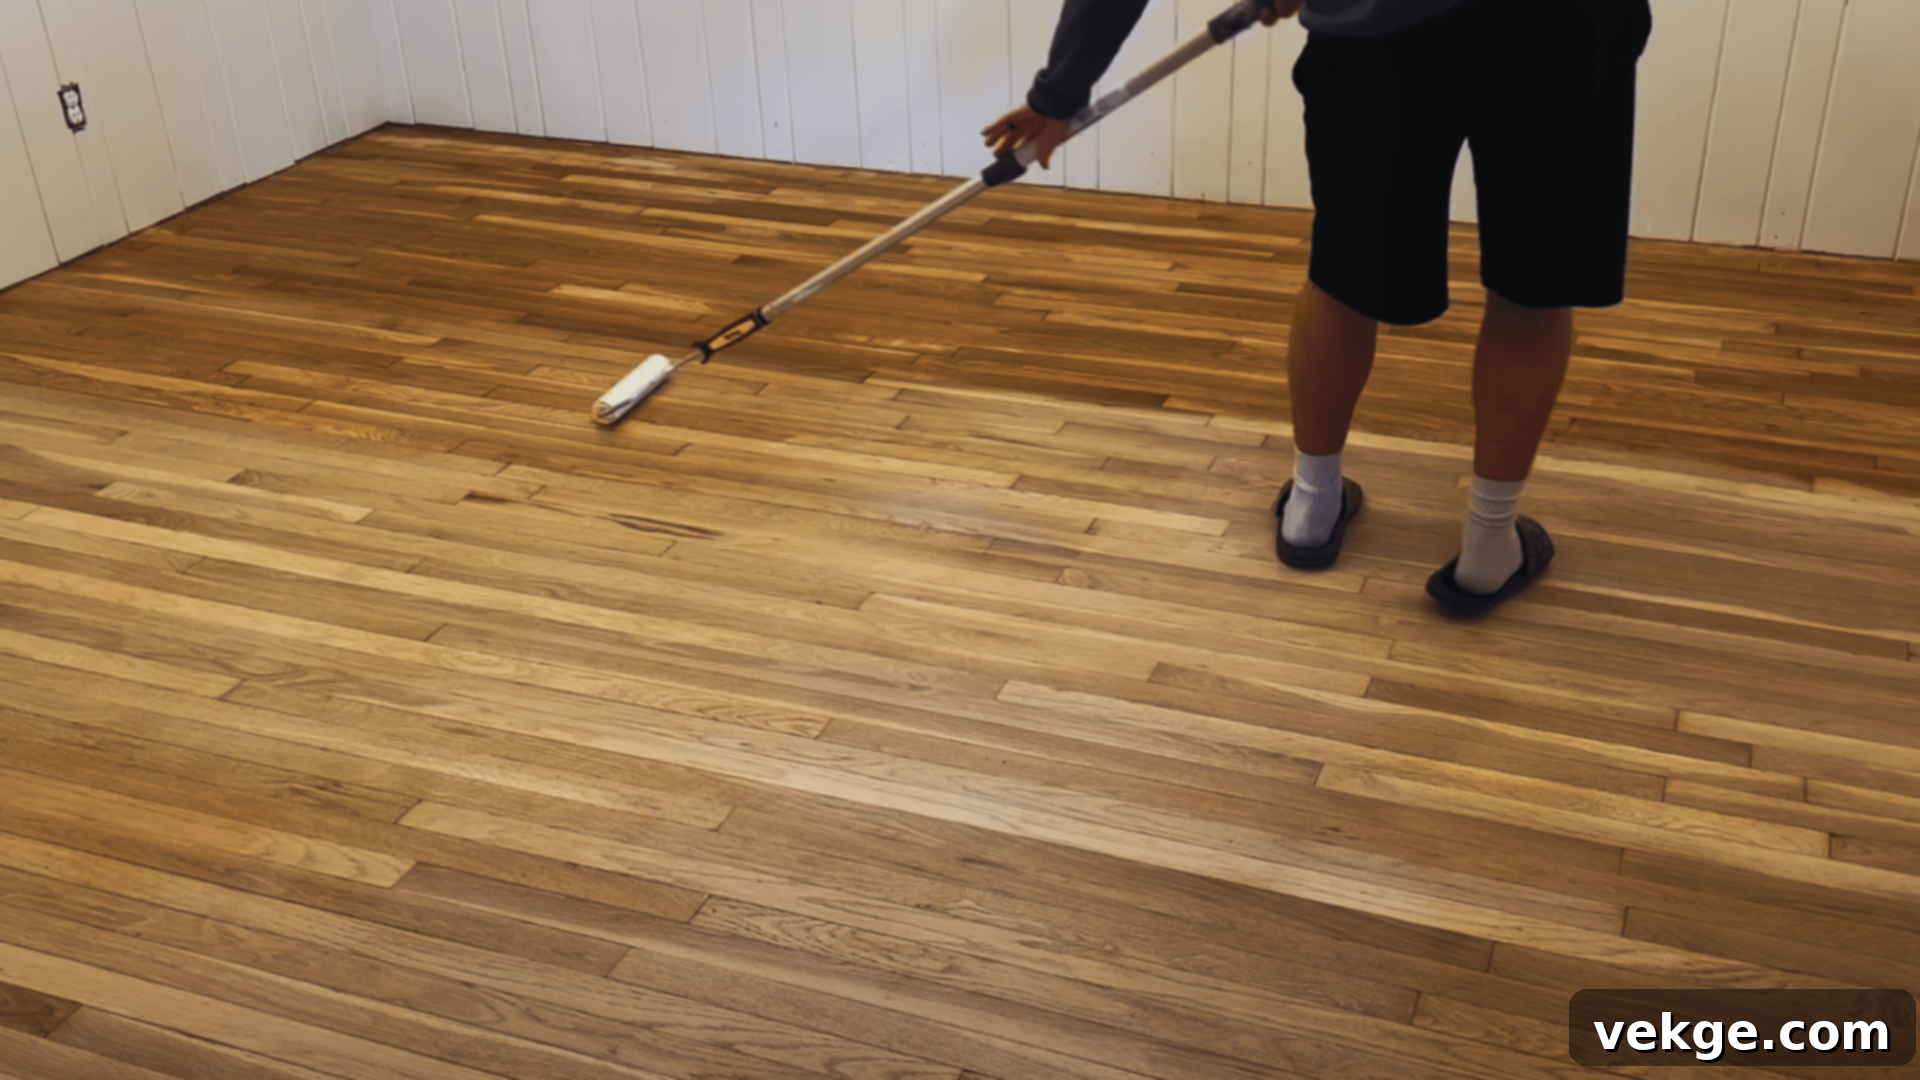
Staining is an optional step that can dramatically alter the appearance of your floors. If you’re content with your wood’s natural color or desire a lighter look, you can skip this and proceed directly to finishing. However, if you wish to change the tone or deepen the color, staining is performed after sanding and thorough dust removal.
This stage typically adds about 1 day to the timeline, primarily due to drying requirements. Staining allows you to:
- Add Warmth and Depth: Stains penetrate the wood, enhancing its natural grain patterns and adding rich color.
- Change Room Mood: From light, airy grays to dark, dramatic browns, stains can entirely shift the aesthetic and mood of a space.
- Customize Your Look: A wide array of stain colors are available, allowing for a truly personalized finish. Always test a stain in an inconspicuous area before applying it to the entire floor.
The drying time for stain varies significantly based on its type (oil-based stains generally take longer than water-based), the wood species, and ambient humidity levels. Some stains may dry within a few hours, while others might require up to 24 hours or more before they are ready for the next step, the application of the protective finish.
Step 4: Finish Coating Application
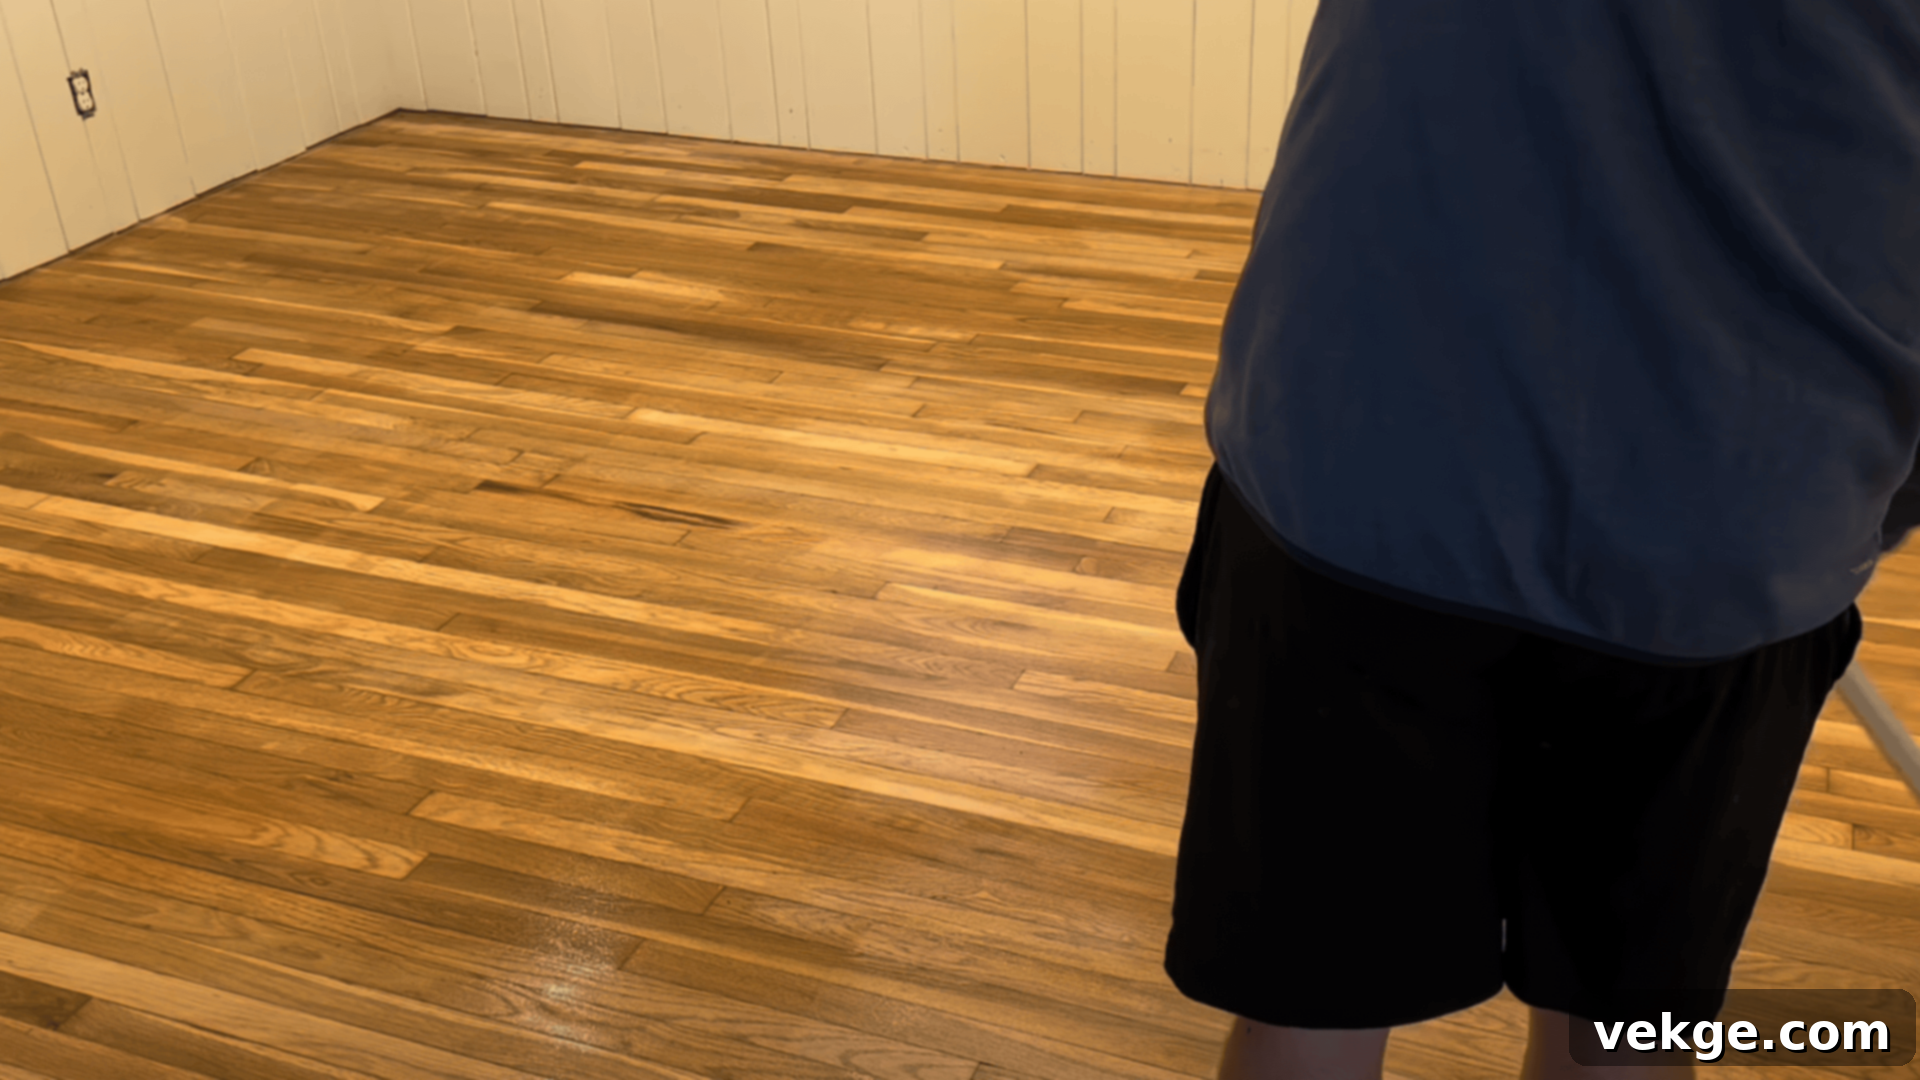
The finish is the protective layer that seals your hardwood floors, providing durability against daily wear, moisture, and giving them their final desired sheen. This stage typically takes 1 to 2 days for multiple coats, excluding the full cure time.
You’ll generally choose between two primary types of polyurethane finishes:
- Water-Based Polyurethane: Dries much faster (often 2-4 hours per coat), has a lower odor, and cures to a clearer, lighter finish. It’s an excellent choice if you’re sensitive to fumes or need quicker project completion.
- Oil-Based Polyurethane: Known for its rich amber tone that deepens over time, superior durability, and resistance to scratches. However, it has a stronger odor and much longer drying times (typically 6-10 hours per coat).
Most projects require two to three coats of finish to adequately seal and protect the wood. Each coat needs proper drying time before the next can be applied. In between coats, a light buffing or “screening” may be performed to ensure excellent adhesion and a smooth finish. Good airflow, achieved with fans or open windows (weather permitting), significantly helps speed up the drying process and dissipate fumes.
Applying the finish requires careful attention to detail and patience to achieve a smooth, even, and lasting shine.
Step 5: Curing Time
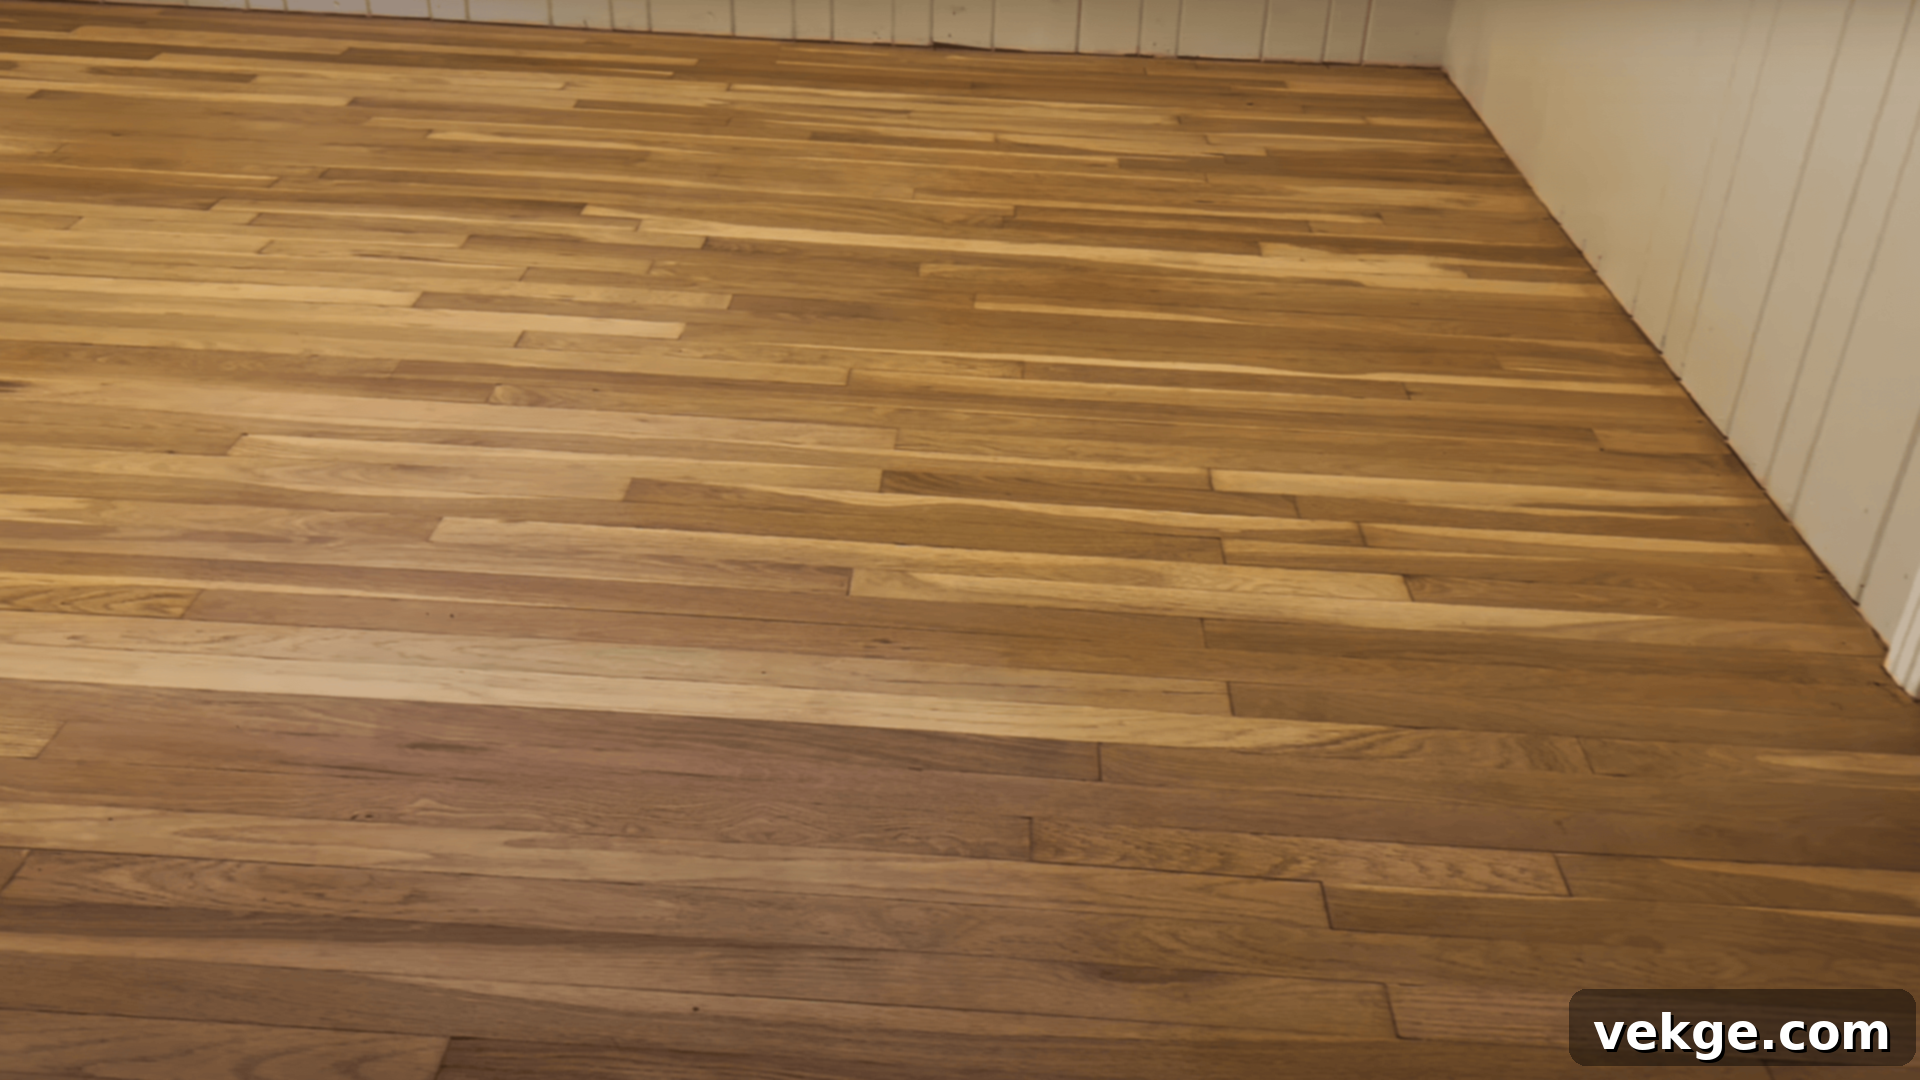
Even after the final coat of finish feels dry to the touch, your floors are not immediately ready for full, unrestricted use. The curing stage is a critical period when the finish fully hardens, reaching its maximum durability and bonding completely with the wood. This process is often misunderstood but essential for a long-lasting result.
While you can typically walk on the floors lightly (e.g., in socks) after 24 to 48 hours, caution is advised. For heavier use, such as moving furniture back, allowing pets on the floor, or placing down rugs, it’s highly recommended to wait at least 7 to 14 days, and sometimes even up to 30 days for oil-based finishes. This extended wait helps prevent dents, scratches, or smudges from marring the surface before the finish is completely set and hardened.
During this curing time:
- Avoid Heavy Objects: Do not drag or slide furniture. If you must move items, lift them carefully and place felt pads under all furniture legs.
- Protect from Water: Prevent spills or excessive moisture during the initial curing phase.
- Delay Rug Placement: While tempting, wait the full recommended curing time before laying down area rugs. This ensures proper air circulation and prevents moisture from getting trapped, which can cause discoloration or an uneven cure.
Patience during the curing phase is key to ensuring your beautifully refinished floors stand the test of time and provide years of enjoyment.
DIY vs. Professional: Choosing Your Hardwood Refinishing Path
When you decide to refinish your hardwood floors, you essentially face two primary paths: embarking on a do-it-yourself (DIY) project or entrusting the work to experienced professionals. Each option comes with its own set of advantages and disadvantages, and the best choice ultimately hinges on your budget, available time, level of experience, and desired outcome.
| Option | Pros | Cons |
|---|---|---|
| DIY Refinishing |
|
|
| Professional Refinishing |
|
|
If you possess strong DIY skills, have ample time, are comfortable operating heavy machinery, and are prepared for potential challenges, refinishing your floors yourself can be a rewarding and cost-effective endeavor. However, it’s crucial to thoroughly research the process and rent the right equipment.
For many homeowners, especially those with busy schedules, large areas to cover, or a desire for a flawless, long-lasting result, the peace of mind and polished outcome provided by professional hardwood floor refinishers is well worth the additional investment. Professionals bring expertise, efficiency, and specialized equipment that often leads to superior results and a much smoother overall experience.
Expert Tips for a Seamless Hardwood Refinishing Experience
To ensure your hardwood floor refinishing project runs as smoothly and efficiently as possible, consider these invaluable tips:
- Plan Around Your Lifestyle: Refinishing is a disruptive process. Schedule the project during a period when you and your family can comfortably be out of the specific room or even the entire house for several days. This is especially important during the staining and finishing stages due to fumes and drying times. Consider coordinating with a vacation or a stay with relatives.
- Choose the Right Finish Type for Your Needs: If time is a major constraint, water-based polyurethane dries significantly faster and has a much lower odor profile, allowing for quicker re-entry into the space. If ultimate durability, a rich amber hue, and resistance to heavy traffic are your top priorities, an oil-based polyurethane might be the better choice, provided you can accommodate its longer drying and curing times.
- Ensure Excellent Ventilation: Good airflow is essential. Use box fans or strategically open windows (if weather conditions permit and don’t introduce excessive humidity) to help with drying and to circulate strong fumes out of the working area. Proper ventilation not only speeds up drying between coats but also enhances safety by reducing the concentration of VOCs (Volatile Organic Compounds) in the air.
- Thoroughly Protect Non-Refinished Areas: Dust is an inevitable byproduct of sanding. Cover everything you don’t want coated in fine wood dust or stained. This includes taping off air vents, protecting baseboards and trim with painter’s tape, and draping plastic sheeting over nearby furniture, built-ins, and adjacent doorways to create a dust barrier. This preventative measure will save you hours of cleanup later.
- Test Stains on Your Actual Floor: Wood species and existing conditions can significantly affect how a stain appears. Always test your chosen stain color in an inconspicuous area (like a closet or under where a rug will sit) on a freshly sanded piece of your actual flooring. This ensures you’re happy with the color before committing to the entire room.
- Maintain Consistent Room Temperature: Ideal temperatures for applying and drying finishes are typically between 65-75°F (18-24°C). Avoid extreme temperatures, which can negatively impact drying and curing times and the overall quality of the finish.
Common Mistakes to Avoid When Refinishing Hardwood Floors
Avoiding these common pitfalls can save you time, money, and frustration during your hardwood floor refinishing project:
- Skipping Proper Cleaning: Failing to thoroughly clean and vacuum the floor before sanding, staining, or applying finish can trap dirt, dust, or debris under the new coating, leading to an imperfect finish.
- Using the Wrong Grit Sandpaper: Starting with too fine a grit won’t remove the old finish or deep imperfections, while using too coarse a grit for subsequent passes can leave deep swirl marks or permanent damage that’s difficult to remove. Follow the progressive grit sequence carefully.
- Not Testing Stain or Finish: As mentioned, always test stain colors. Similarly, if you’re experimenting with different finish types or brands, test them on a scrap piece of wood or in an hidden area to ensure compatibility and the desired appearance.
- Applying Finish Too Thickly or Too Fast: Rushing the finish application or applying coats too heavily can lead to bubbles, streaks, uneven drying, and an overall poor-quality, rough surface. Multiple thin coats are always superior to a few thick ones.
- Walking on Floors Too Soon: Impatience during the “dry to touch” and initial curing phases is a common mistake. Walking on floors or moving furniture back before the finish has adequately hardened can leave permanent marks, dents, or scuffs that compromise the entire job.
- Forgetting to Ventilate: Poor ventilation not only extends drying times but also traps strong, potentially harmful odors and fumes within your home, making the environment unpleasant and unsafe.
- Not Allowing Enough Cure Time Before Rugs/Heavy Furniture: Placing rugs down too early can inhibit proper air circulation and lead to uneven curing or discoloration. Similarly, sliding heavy furniture over a not-fully-cured floor can cause irreversible damage.
Final Thoughts on Your Hardwood Floor Transformation
Refinishing your hardwood floors might initially seem like a daunting task, but with the detailed information provided in this guide, you now have a clear and solid understanding of what to expect. You’ve learned about the typical timeline for refinishing hardwood floors, explored each crucial step from preparation to the final curing, and seen how your choices—whether DIY or professional, and the types of materials used—can influence the overall duration.
Whether you choose to tackle this project yourself with a confident spirit or decide to hire skilled professionals for a seamless experience, knowing the process thoroughly empowers you to make informed decisions and manage expectations, significantly reducing stress along the way.
I’ve personally witnessed the incredible difference a refinishing project can make; it truly revitalizes your home, bringing a renewed sense of beauty and warmth to your living spaces. By taking your time, planning meticulously, and executing each step with care, your floors will not only thank you but will also become a stunning focal point of your home for years to come.
For more inspiring ideas, detailed guides, or helpful tips for your next home improvement venture, don’t hesitate to explore some of the other blogs and resources I’ve put together. Happy refinishing!
