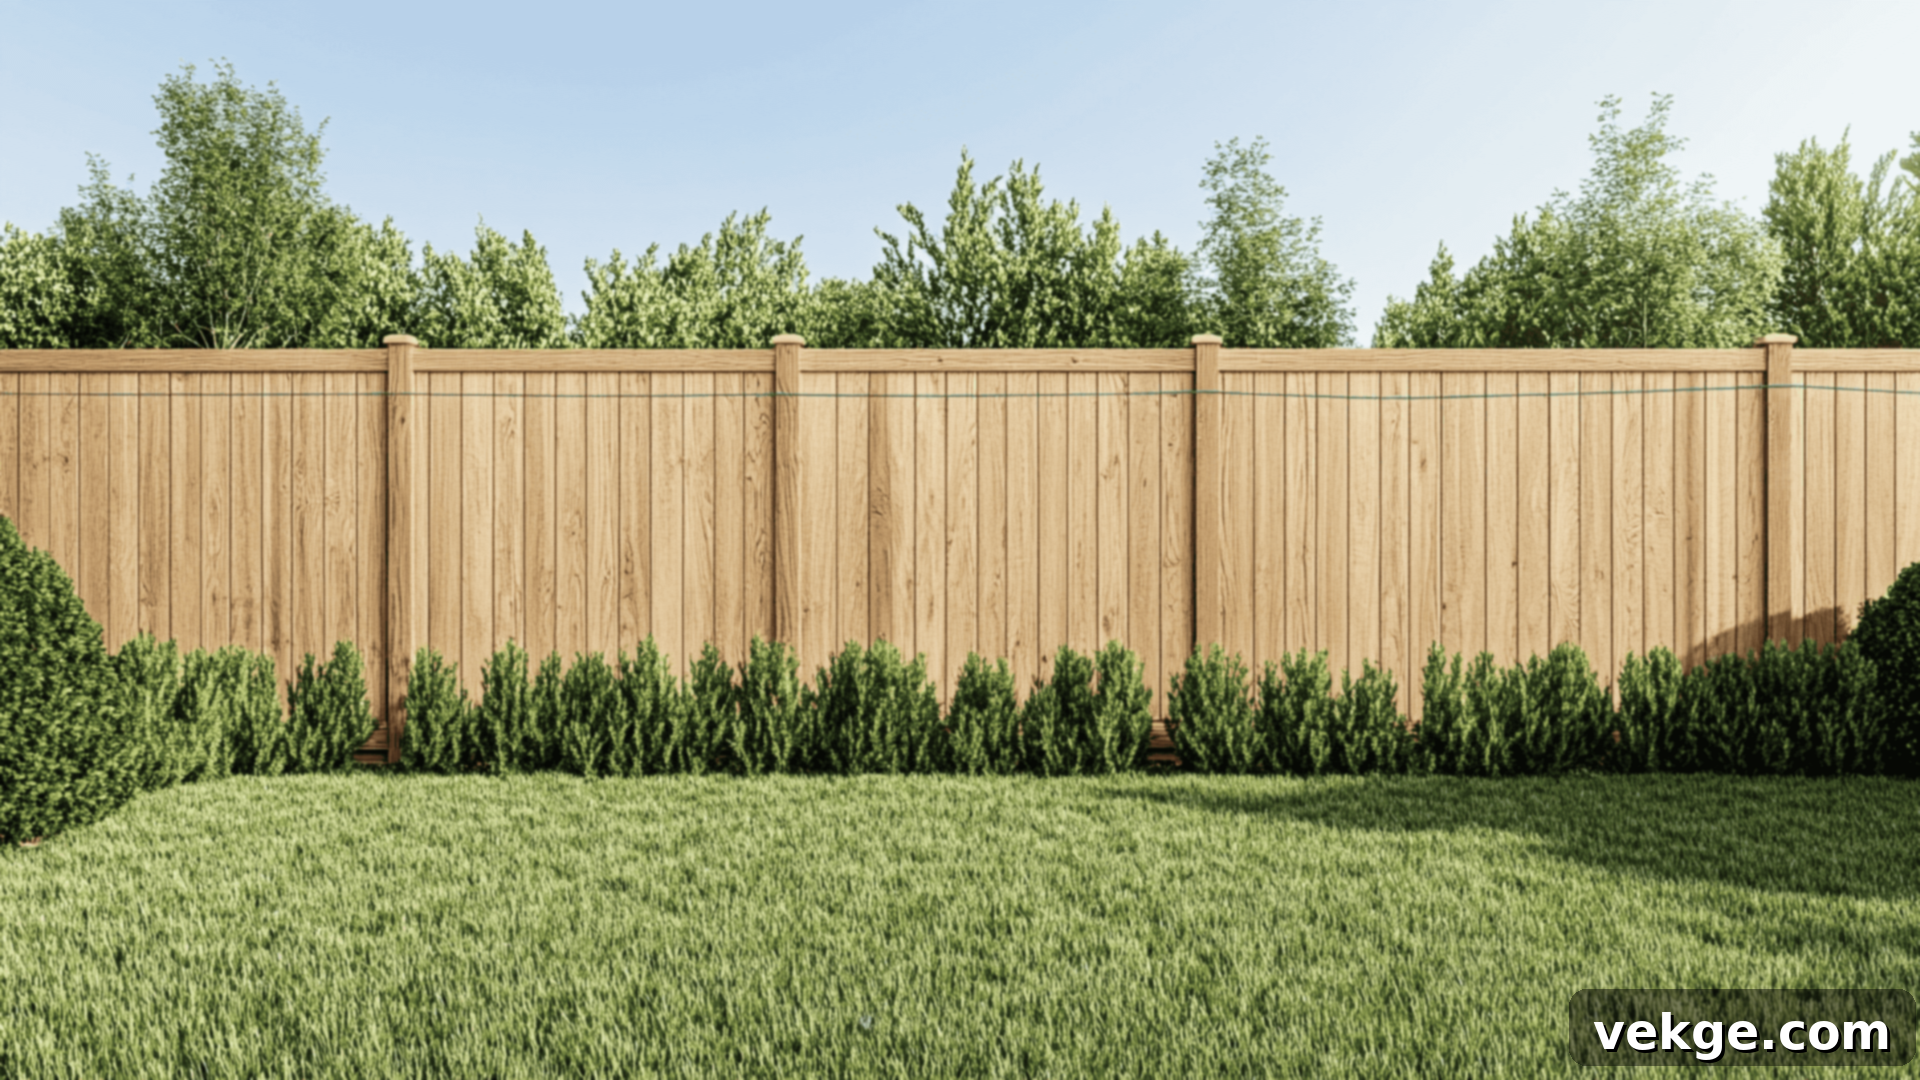
DIY Guide: How to Install Wood Fence Panels for a Perfect Backyard Privacy Fence
Are you dreaming of a beautiful, private backyard but feel overwhelmed by the thought of installing a fence from scratch? You’re not alone. Many homeowners want more privacy, a clean aesthetic, and a budget-friendly solution that doesn’t demand professional carpentry skills. This is precisely why pre-made wood fence panels are an outstanding choice for DIY enthusiasts.
These convenient, pre-assembled sections eliminate much of the guesswork, drastically cut down installation time, and allow you to achieve professional-looking results with just basic tools and a bit of patience. Whether you’re a seasoned DIYer or tackling your very first major home improvement project, installing a wood fence using panels is an achievable and rewarding endeavor.
In this comprehensive guide, we’ll walk you through every critical step of the process. You’ll find clear, easy-to-follow instructions, insider tips, and crucial common mistakes to avoid. By the end, you’ll have the confidence and knowledge to build a solid, long-lasting wood fence that enhances your property’s appeal and privacy, all on your own.
Why Choose Pre-Made Wood Fence Panels for Your DIY Project?
Opting for pre-made wood fence panels offers a multitude of advantages that make the installation process significantly faster and more beginner-friendly compared to building a fence board by board. For many homeowners, it strikes the perfect balance between durability, aesthetic flexibility, and cost savings.
- Effortless Installation: The primary benefit is ease. Since the panels are already assembled, you simply attach them between posts, saving hours of cutting, measuring, and fastening individual pickets. This drastically reduces the complexity of the project.
- Consistent Appearance: Each panel comes in a uniform size and shape, ensuring a neat, consistent, and professional-looking fence line. This consistency is particularly helpful when working alone, as it simplifies alignment and spacing.
- Time and Cost Savings: Pre-made panels not only save you time during installation but can also be more cost-effective than buying individual boards and hardware. You avoid the need for custom cutting and minimize material waste, which helps keep your project within budget.
- Simplified Maintenance and Repair: Should a section of your fence become damaged due to weather or wear, replacing an individual pre-made panel is far easier and quicker than repairing a board-by-board fence. This makes long-term maintenance straightforward and less daunting.
- Versatility in Design: Wood fence panels come in a variety of styles, from traditional dog-ear to shadow box, allowing you to choose a look that perfectly complements your home and landscape without needing advanced carpentry skills to construct intricate designs.
With proper preparation and adherence to the right techniques, even first-time fence builders can achieve excellent, sturdy results that will stand the test of time.
Essential Tools and Materials Required for Fence Panel Installation
Before you break ground, ensuring you have all the necessary tools and materials will make your fence installation project smoother, safer, and result in a sturdier fence. Gather these items to set yourself up for success:
- Tape Measure: Crucial for accurately marking post spacing, ensuring consistent panel alignment, and verifying property lines.
- Post Hole Digger or Auger: Essential for digging deep, narrow holes for fence posts. An auger (manual or powered) can save significant time and effort, especially for longer fence lines.
- Power Drill or Impact Driver: Needed to securely drive screws and attach brackets, making quick work of fastening panels to posts. Ensure you have appropriate outdoor-grade bits.
- Pre-Made Wood Fence Panels: The core component of your fence. Purchase enough panels to cover your planned fence line, plus one or two extra for potential cuts or mistakes.
- Fence Posts (Treated Wood or Metal): Vertical supports that anchor your fence panels. Opt for pressure-treated lumber (4×4 or 6×6) or durable metal posts designed for outdoor use to resist rot and pests. Ensure they are long enough for the desired fence height plus adequate burial depth.
- Exterior-Grade Screws or Brackets: Used to attach panels securely to the posts. Screws offer a strong hold, while fence brackets can simplify alignment and provide additional support. Use stainless steel or coated screws for rust resistance.
- Level (Post Level or Spirit Level): Absolutely critical for ensuring posts and panels are perfectly straight and upright, guaranteeing a professional look and structural integrity. A specialized post level is highly recommended.
- String Line and Stakes: Used to mark your fence line and maintain a straight guide for digging post holes and aligning posts.
- Gravel and Concrete Mix: (Highly Recommended) Gravel provides essential drainage at the bottom of post holes, while concrete secures posts firmly in the ground for long-term stability and resistance against wind and frost heave. “Fast-setting” concrete can speed up the process.
- Shovel and Trowel: For mixing concrete, backfilling holes, and general digging.
- Wheelbarrow or Mixing Tub: For mixing concrete efficiently.
- Safety Gear: Gloves, safety glasses, and sturdy work boots are essential for protection during the entire project.
- Temporary Support Boards/Braces: Long 2x4s can be used to temporarily brace posts while concrete cures, ensuring they remain plumb.
- Wood Shims or Blocks: Useful for lifting panels off the ground during installation, allowing for proper ground clearance and easier attachment.
Having these items ready before you start will prevent frustrating delays and contribute significantly to a successful fence installation.
How to Install Wood Fence Panels: Step-by-Step DIY Guide
Even if you’ve never undertaken a project of this scale, following these detailed steps will help you install your fence panels correctly, resulting in a strong, straight, and durable fence that stands the test of time. Each step is designed to build upon the last, ensuring structural integrity and a professional finish.
Step 1: Plan Your Fence Layout and Mark Property Lines
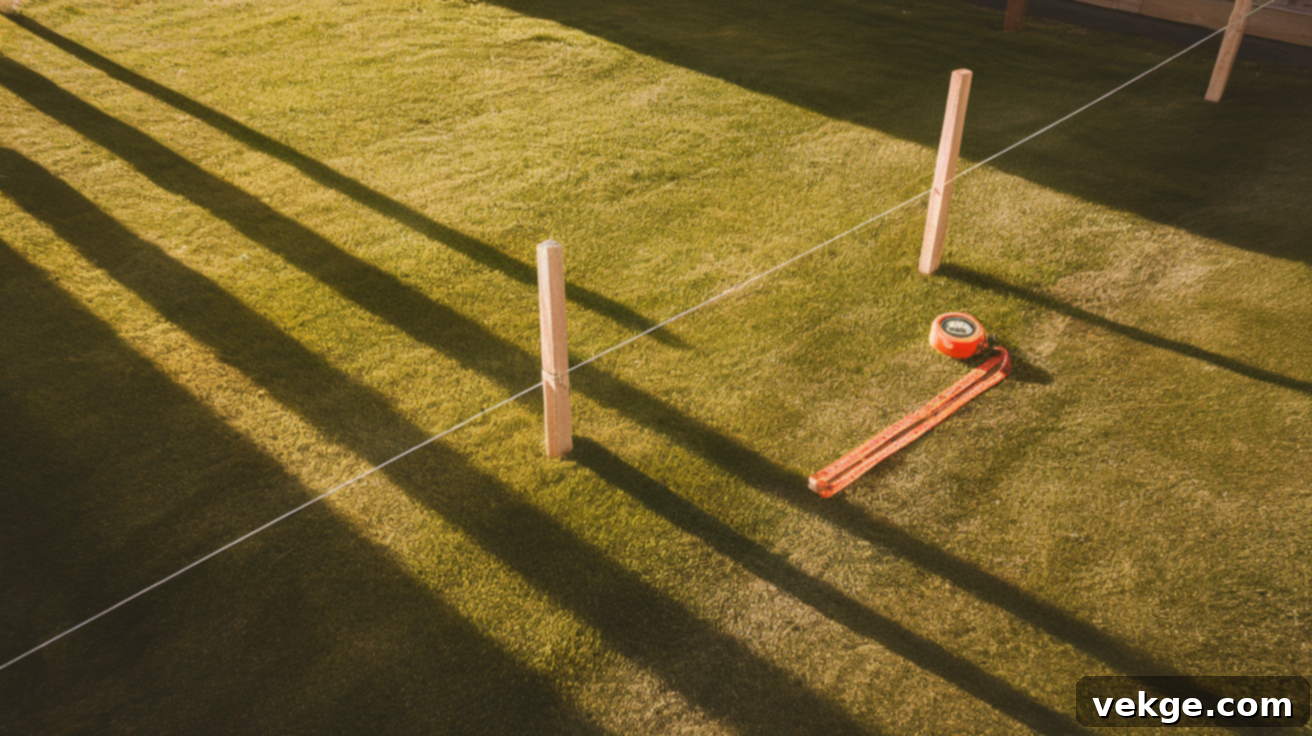
Careful planning is the foundation of a successful fence. Begin by accurately marking your property line. Use stakes and a string line to outline the entire perimeter where your fence will be installed. This is a critical step to avoid future disputes with neighbors and ensure legal compliance.
Next, measure the exact width of your chosen fence panels. Use this measurement to determine the precise spacing for your posts. Typically, posts are spaced 6 to 8 feet apart, depending on the panel size. Mark the exact location for each post hole along your string line. Remember to account for the thickness of the posts themselves when planning the span for each panel. Also, factor in extra posts for corners, gate openings, and the end of the fence run. Before you dig, it’s absolutely vital to call your local utility locating service (e.g., 811 in the U.S.) to identify and mark any underground pipes, cables, or wires. Additionally, verify local building codes and homeowner association (HOA) regulations, as permit requirements, maximum fence heights, and material specifications can vary significantly by location.
Step 2: Dig the Post Holes Accurately
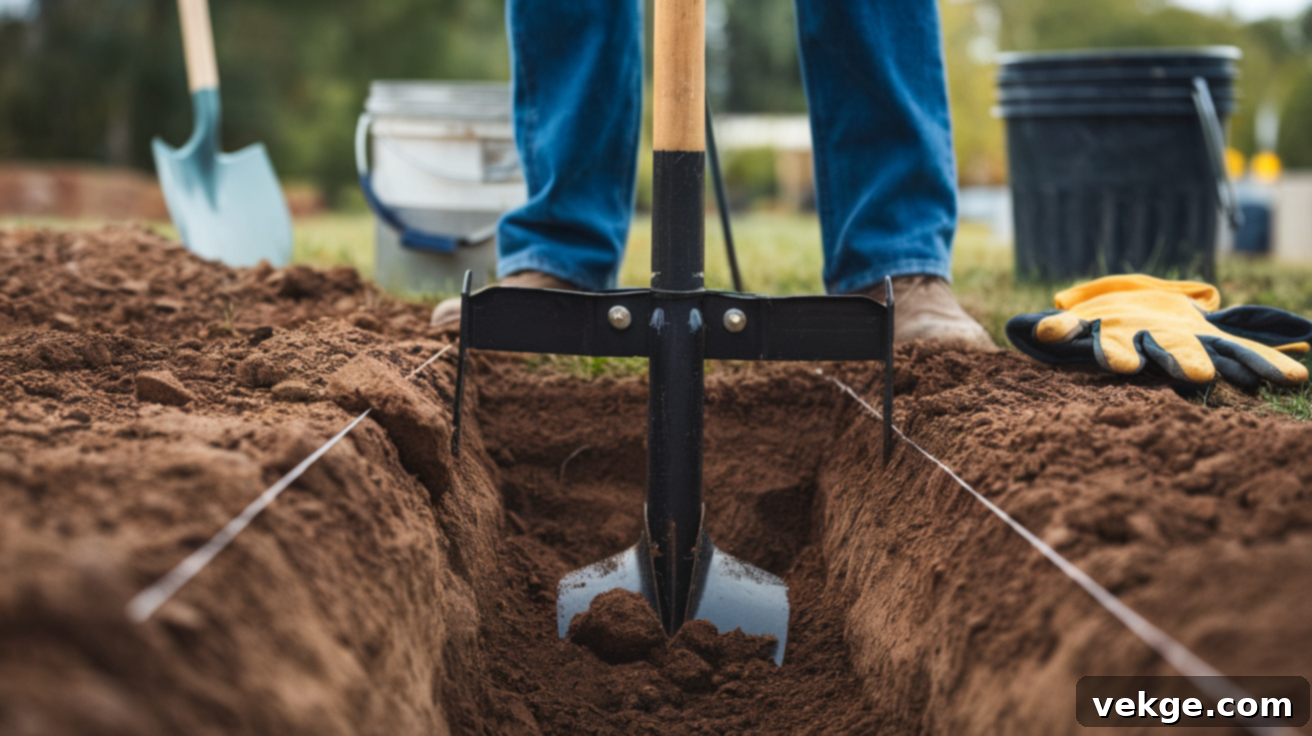
Once your post locations are marked and utilities are cleared, it’s time to dig. Use your post hole digger or auger to create holes that are approximately one-third the height of your fence posts. For example, if you’re installing a 6-foot tall fence, your posts should ideally be 8 feet long, requiring holes about 2 feet deep. The diameter of the holes should be roughly three times the width of your post (e.g., 10-12 inches for a 4×4 post). This depth ensures adequate stability and resistance against frost heave and strong winds.
After digging, add 4 to 6 inches of gravel at the bottom of each hole. This gravel layer is crucial for providing excellent drainage, preventing water from pooling around the base of the post, which can lead to premature rot and deterioration. Strive to maintain consistent depth and width for all holes, as this will contribute to an even and sturdy fence line. Ensure the spacing between the centers of each hole precisely matches your panel width, allowing the panels to fit snugly without excessive gaps or forcing.
Step 3: Set the Fence Posts Securely
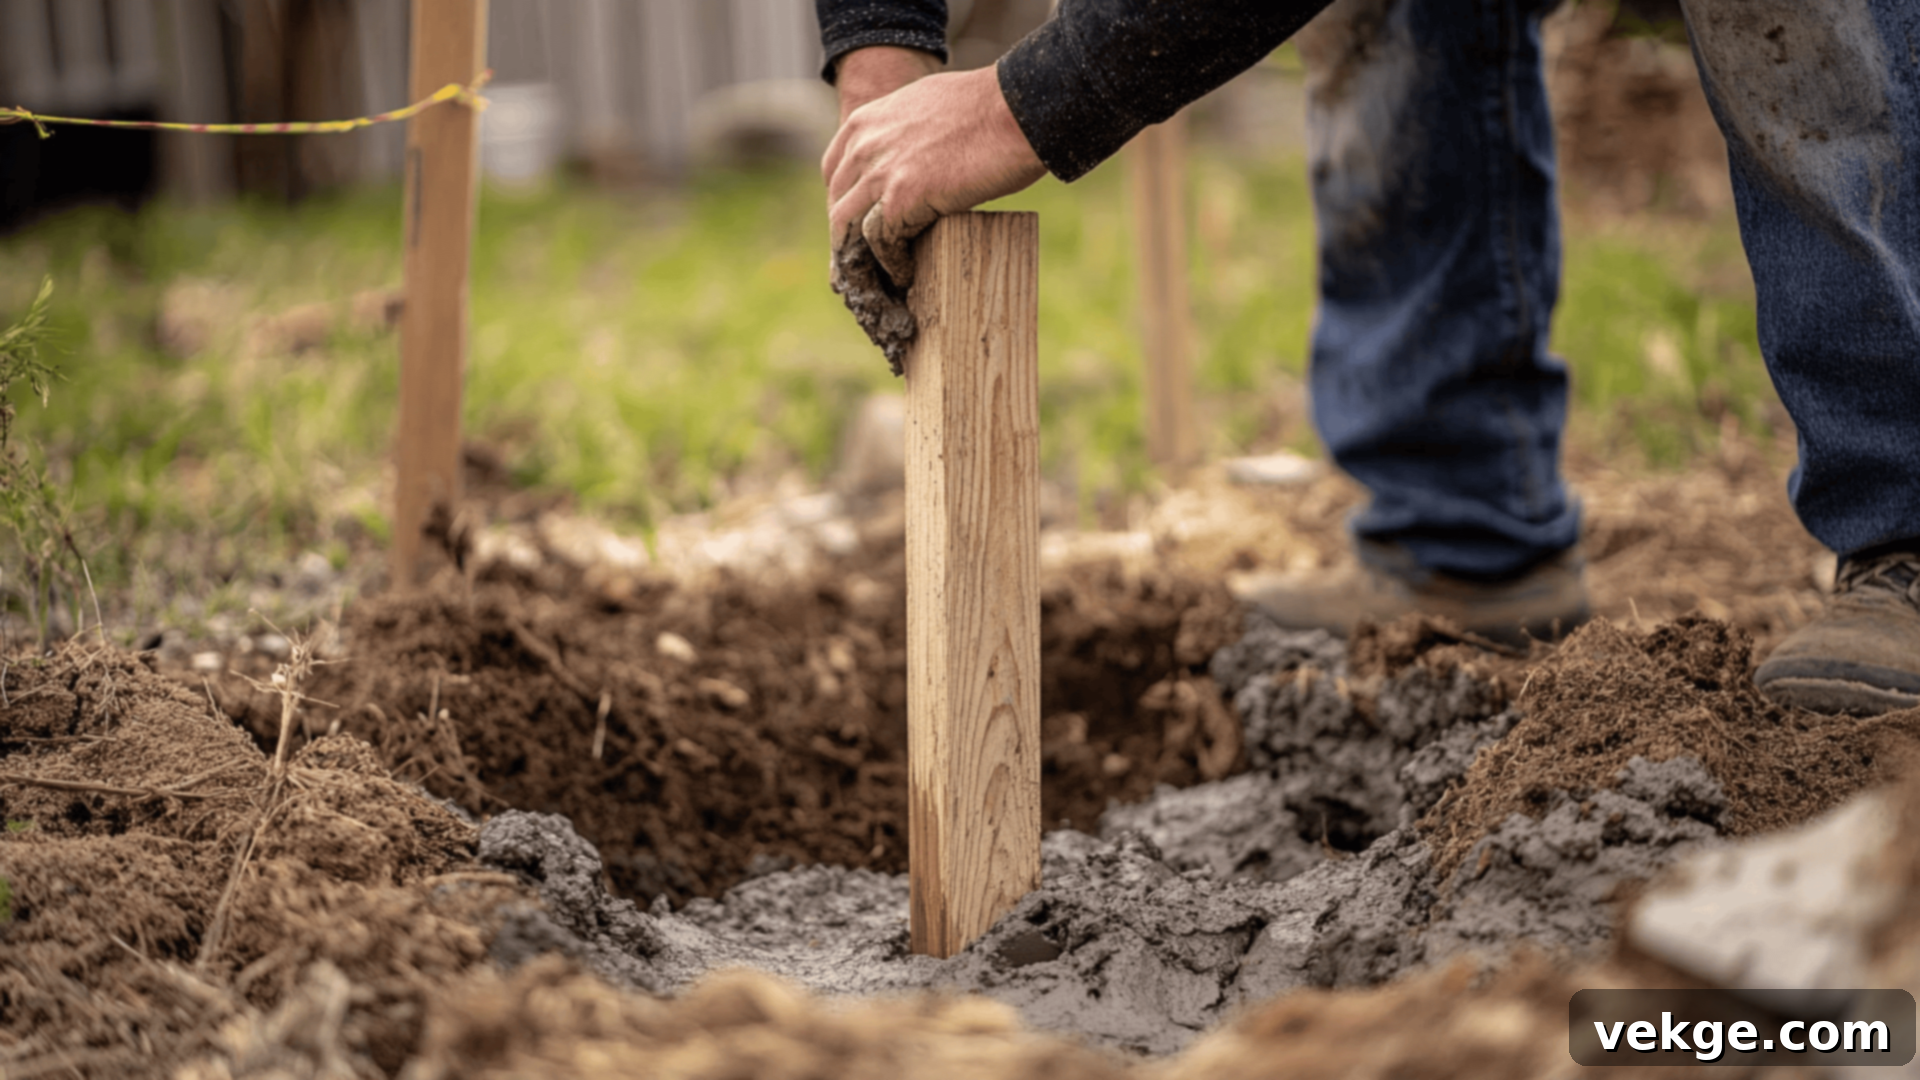
Now comes the pivotal step of setting your posts. Place each fence post into its respective hole, resting it firmly on the gravel base. Use a post level or a standard spirit level to meticulously check that each post is perfectly plumb (straight up and down) on all sides. This step is critical for a straight, professional-looking fence.
Once a post is level, fill the hole with concrete mix. If using dry mix, add water according to manufacturer instructions and mix thoroughly within the hole or in a wheelbarrow before pouring. Fill the hole to just above ground level, sloping the top surface away from the post to shed water. As the concrete begins to set, re-check the post for plumb and make any final adjustments. For added stability during the curing process, use temporary wooden braces (2x4s) secured to the post and staked into the ground to hold it perfectly upright. Allow the concrete to cure fully, which typically takes 24 to 48 hours, or as recommended by the concrete manufacturer. Do not attach panels until the concrete has hardened completely, as any movement can compromise the post’s stability. After the concrete has set, stretch a string line across the tops of all posts to ensure they are all aligned at the same height or can be trimmed uniformly.
Step 4: Attach Fence Panels Between Posts
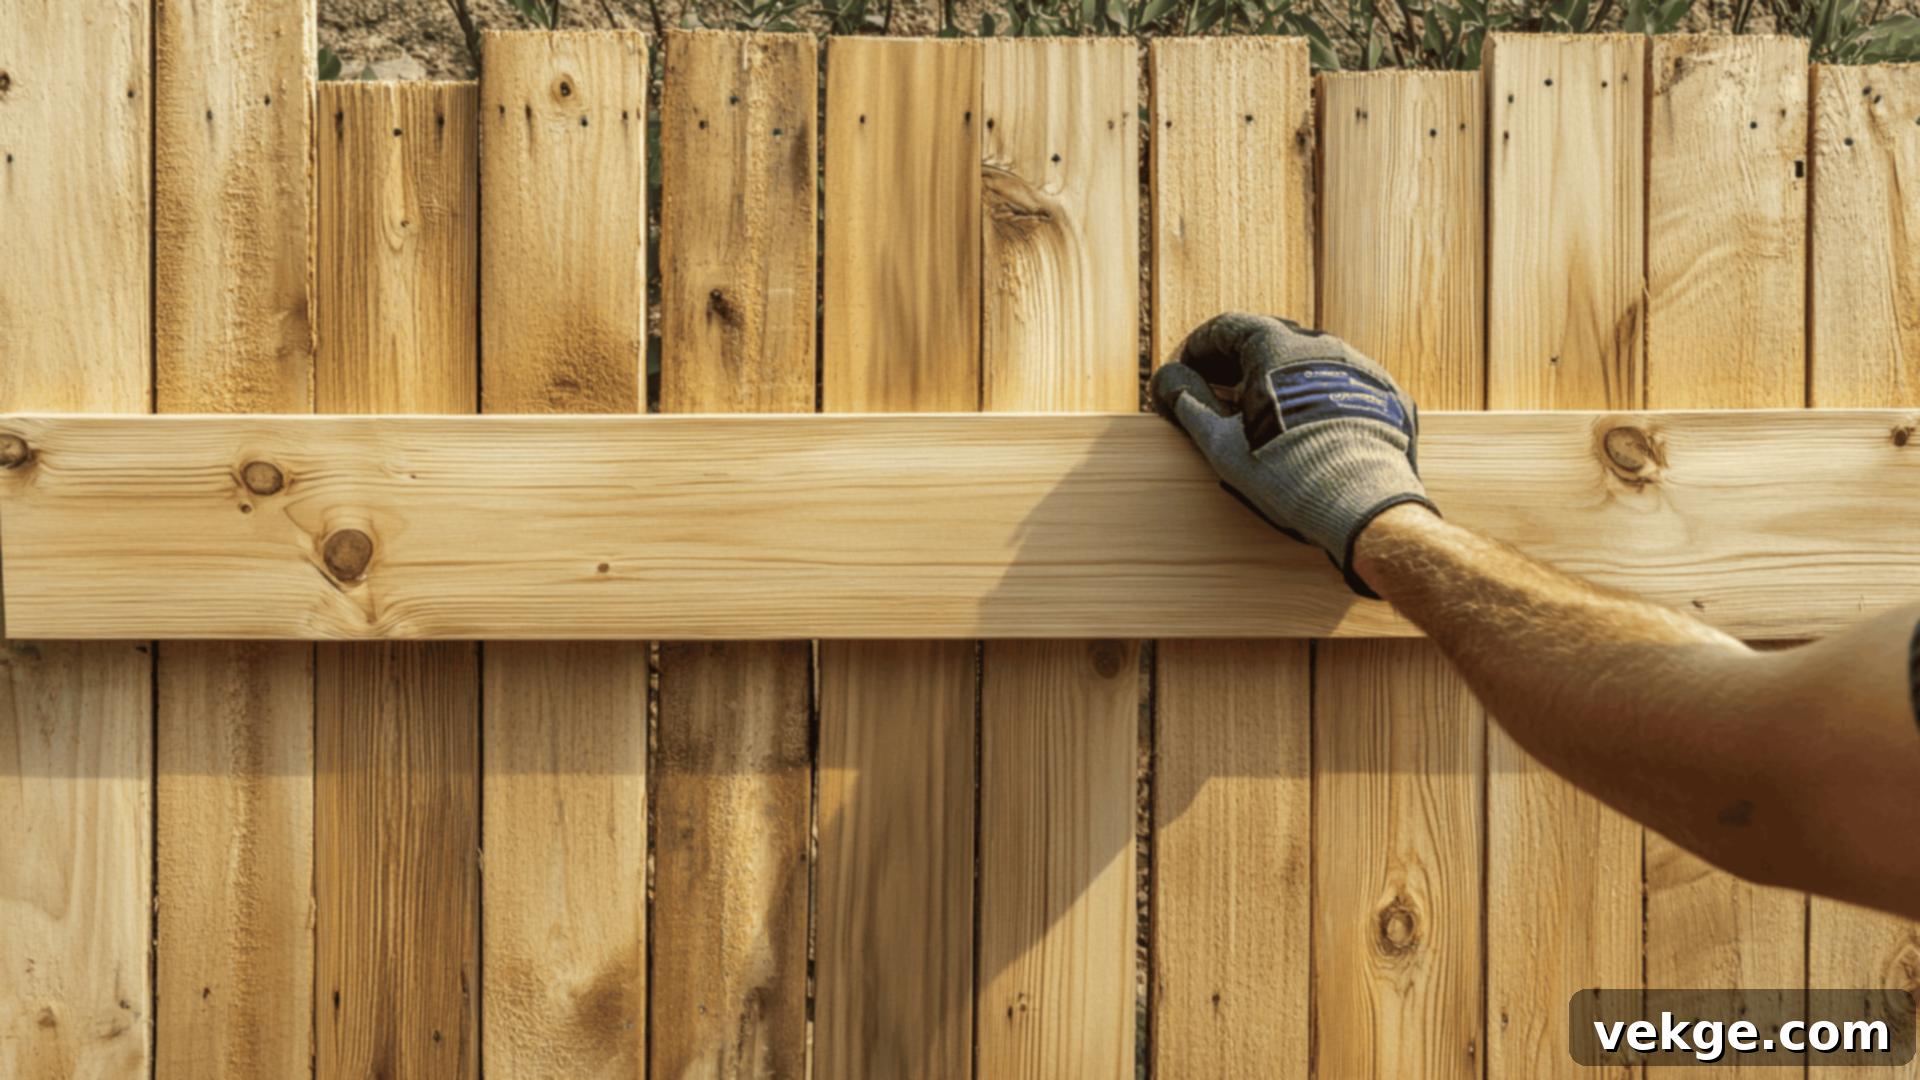
With your posts firmly in place and cured, it’s time to attach the panels. Begin at one corner or end of your fence line and work your way down. It’s often helpful to have an assistant for this step, as panels can be heavy and unwieldy. Lift a panel into place between two posts. Use wooden blocks or shims placed on the ground to elevate the panel, leaving a 2-4 inch gap between the bottom of the panel and the soil. This crucial gap prevents the wood from sitting directly on damp ground, significantly extending its lifespan and allowing for easy weed trimming.
Once the panel is at the correct height, use your level to ensure it is perfectly horizontal. Secure the panel to the posts using exterior-grade screws or galvanized fence brackets. If screwing directly, drive screws through the horizontal rails of the panel into the posts. For added strength and easier installation, consider using specialized fence panel brackets. These metal brackets attach to both the post and the panel, providing robust support. Ensure screws are long enough to penetrate well into the post without going all the way through. Double-check alignment with each panel to maintain a consistent top line and a neat, professional finish across your entire fence.
Step 5: Install the Gate (Optional but Recommended)
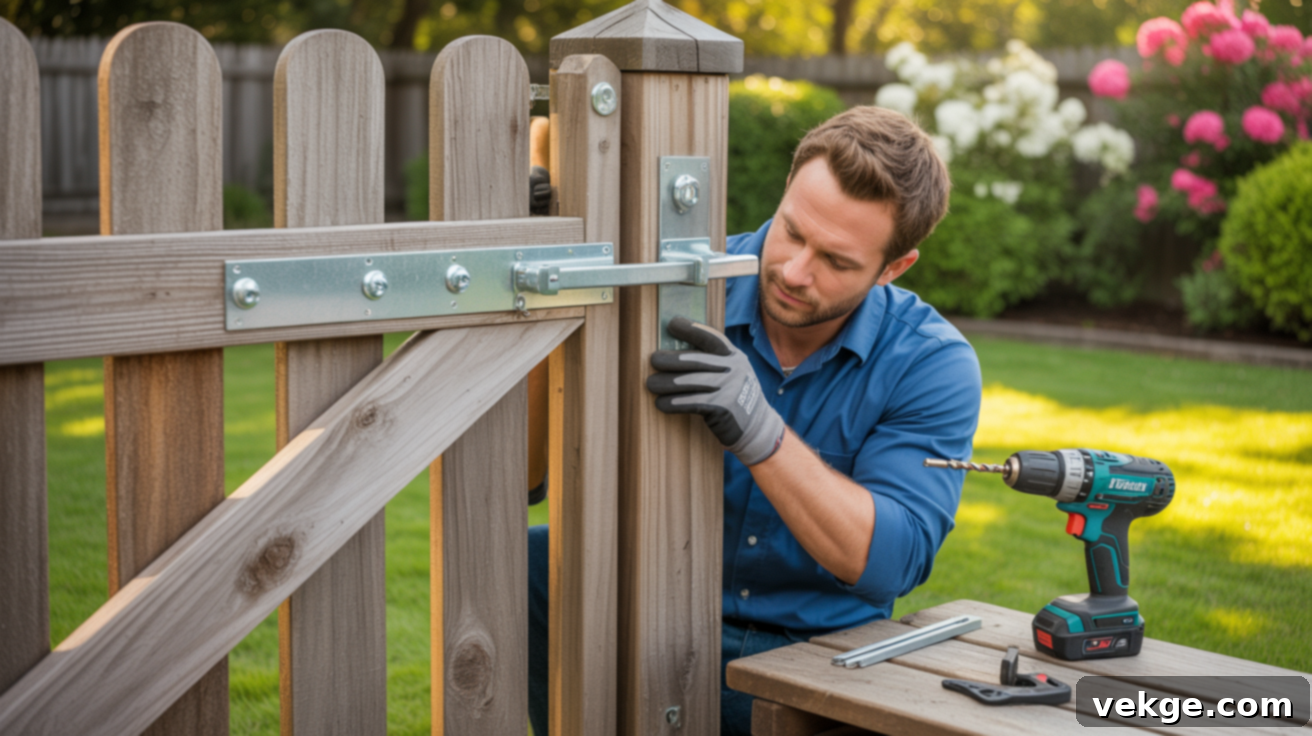
If your fence design includes a gate, now is the time to install it. Start by selecting a gate kit that matches your fence style and is appropriately sized. It’s often recommended to use heavier-duty posts for gate openings, as they bear more stress. Attach the hinges to the gate itself first, following the manufacturer’s instructions. Then, position the gate within the opening, ensuring there’s a consistent small gap (typically 1/2 to 1 inch) around all sides to allow for smooth swinging and wood expansion/contraction.
With the gate properly positioned, mark and attach the hinges to the gate post. Use long, exterior-grade screws to secure the hinges firmly, as the gate will undergo repeated use. Once the hinges are attached, install the latch mechanism on the opposite post. Test the gate’s swing and latch multiple times, making any necessary adjustments to the hinge screws or latch alignment until it opens and closes smoothly and securely. Having a second person to hold the gate steady during installation is extremely helpful for precise alignment.
Step 6: Seal and Finish Your Wood Fence (Highly Recommended)
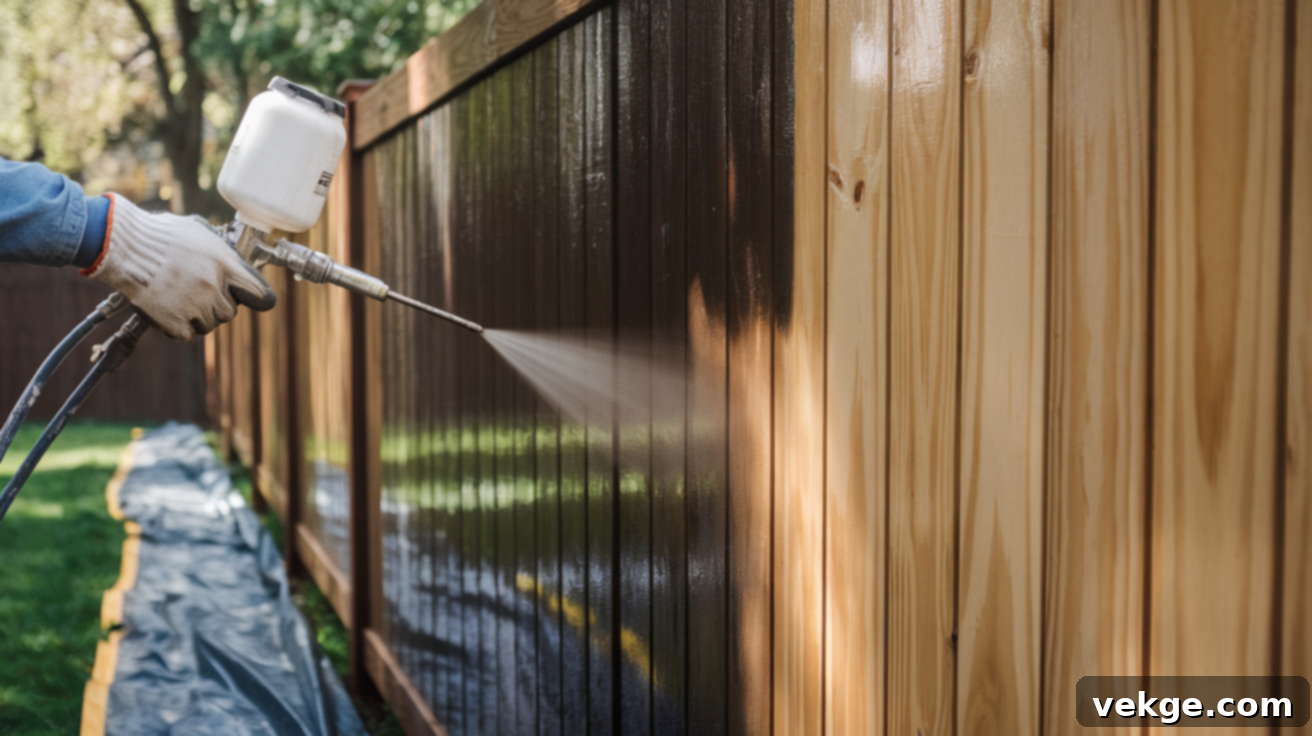
While this step is technically optional, it is strongly recommended for significantly extending the life and maintaining the aesthetic appeal of your new wood fence. After the entire fence is installed and the concrete has fully cured, apply a high-quality wood sealer, stain, or exterior paint. This protective layer acts as a barrier against moisture, UV radiation from the sun, and pests, which are the primary culprits for wood degradation.
Choose a product specifically designed for exterior use on wood fences. Apply it evenly using a brush, roller, or sprayer, ensuring full coverage, including all edges, end grains, and any cut surfaces. Pay particular attention to the bottom edges of the panels and the tops of the posts, as these areas are most vulnerable to water absorption. Allow the sealer or paint to dry completely according to the manufacturer’s instructions before exposing the fence to rain or prolonged moisture. This initial treatment will make your fence last considerably longer, preserve its natural beauty, and significantly reduce future maintenance efforts.
Finishing Steps for a Stronger, Longer-Lasting Wood Fence
Once your beautiful new fence is standing tall, a few final touches and consistent ongoing care will protect your investment, enhance its durability, and minimize future repair needs.
Sealing, Staining, or Painting for Protection
As mentioned, applying a protective finish is paramount. Sealing or painting your wood fence is not just about aesthetics; it’s a critical defense mechanism. A quality weatherproof sealer, stain, or exterior paint will shield the wood from the damaging effects of moisture (rain, snow, humidity), the sun’s harsh UV rays, and invasive pests like termites and carpenter ants. Be meticulous in coating all surfaces, including the ends and edges of each board and the tops of the posts, where water can easily penetrate.
A good finish will actively prevent common issues such as warping, cracking, splintering, and fading, keeping your fence looking newer for longer. Plan to reapply the finish every 2-3 years, or as needed, depending on your climate and the product’s longevity. Applying this protective coat soon after installation saves considerable time and effort compared to trying to repair weather-damaged wood later.
Addressing Gaps and Sagging Fence Panels
Even with careful installation, over time, environmental factors or settling can lead to gaps or sagging panels. These issues typically stem from loose fasteners, shifting fence posts, or natural wood movement (warping, shrinking). Regularly inspect your fence for these signs. Start by checking all panel connections; tighten or replace any loose or rusted screws as needed. If you used brackets, ensure they are still firmly attached.
If a post has shifted, creating a sag, you might need to re-brace it into position or, in severe cases, dig out the surrounding concrete and reset it with fresh concrete, ensuring it’s plumb. For panels that exhibit slight sagging, you can often add an extra support block or a small section of lumber below the sagged area, screwed into both the panel and the adjacent posts, to provide additional reinforcement. Catching and addressing these small problems early on is crucial, as neglected minor issues can quickly escalate into larger, more expensive repairs. A quick seasonal inspection can keep your fence in prime condition.
Essential Wooden Fence Maintenance Tips
Proactive care for your wooden fence doesn’t demand excessive time but makes an enormous difference in its longevity and appearance. Incorporating these simple maintenance tips will help extend the life of your wood fence for many years to come:
- Regular Inspections: Dedicate a few minutes every few months to walk the entire fence line. Look for loose screws, leaning or wobbly posts, damaged or rotting boards, and any signs of pest infestation. Early detection allows for quick, simple fixes.
- Trim Nearby Vegetation: Keep bushes, trees, vines, and tall grasses from growing directly against your fence. Vegetation can trap moisture against the wood, promoting mold, mildew, and rot. Airflow around the fence is vital for its health.
- Clean Surface Buildup: Annually or bi-annually, wash off any accumulation of dirt, grime, mold, or algae with a mild soap and water solution (or a specialized wood cleaner) and a soft brush. For stubborn areas, a low-pressure power washer can be used with extreme caution to avoid damaging the wood fibers.
- Reapply Sealer/Stain: As discussed, routinely reapply your chosen protective finish every 2-3 years, or whenever you notice the wood starting to fade or absorb water readily. This is your fence’s primary defense against the elements.
- Maintain Gates: Gates are typically the most frequently used and therefore most prone to wear and tear. Regularly tighten hinge screws, lubricate hinges, and adjust latches to prevent sagging, dragging, or difficulty in opening/closing. Ensure the gate posts remain sturdy.
- Check for Rot and Pests: Pay close attention to the bottom of posts and panels for signs of rot, especially where they meet the ground. Also, look for signs of termites, carpenter ants, or other wood-boring insects, and address infestations immediately.
By integrating these straightforward maintenance practices into your routine, you can significantly prolong the life and beauty of your DIY wood fence.
Common Mistakes to Avoid When Installing Wood Fence Panels
Even with careful planning, it’s easy to overlook small details that can lead to significant problems down the road. Being aware of these common pitfalls and how to prevent them will save you time, effort, and money during your fence installation project:
- Shallow Post Holes: A post hole that isn’t deep enough is the leading cause of unstable, leaning, or easily dislodged fence posts. Always dig holes to at least one-third the height of your post, plus an additional 4-6 inches for the gravel drainage layer. In colder climates, dig below the frost line for added stability.
- Poor Leveling: Rushing the leveling process for posts and panels will result in a crooked, unprofessional-looking fence. Take your time with a post level and string line to ensure every post is plumb and every panel is horizontal. Minor inconsistencies can be very noticeable.
- Neglecting Gravel Drainage: Skipping the 4-6 inches of gravel at the bottom of each post hole is a common mistake. Without proper drainage, water will accumulate around the base of the post, accelerating rot and significantly shortening the post’s lifespan, even if it’s pressure-treated.
- Using Incorrect Fasteners: Opting for nails instead of exterior-grade screws or unsuitable screws can lead to panels detaching or becoming loose over time. Always use galvanized, stainless steel, or specifically coated exterior screws or brackets designed for outdoor use to ensure a strong, long-lasting hold that resists rust and corrosion.
- Unsealed or Untreated Wood: Installing untreated wood panels or failing to seal/stain treated panels soon after installation leaves the wood vulnerable to moisture, UV damage, and pests. This can lead to warping, cracking, fading, and rot within a few short years. Ensure the wood is dry before applying any finish.
- Ignoring Property Lines and Utility Locates: Failing to accurately mark your property boundaries or neglecting to call for utility locates (e.g., 811) before digging can lead to legal disputes with neighbors or dangerous and costly damage to underground utility lines. Always do your due diligence.
- Insufficient Concrete Curing Time: Attaching panels to posts before the concrete has fully cured can cause the posts to shift, compromising their stability and the overall integrity of the fence. Be patient and allow the recommended 24-48 hours (or more) for the concrete to properly set.
By being mindful of these common mistakes, you can build a more robust, attractive, and enduring wood fence.
Conclusion: Your DIY Wood Fence Project Awaits!
Building your own fence, especially one that adds privacy and aesthetic value to your home, can initially seem like a monumental task. However, now that you’re equipped with this detailed guide on how to install wood fence panels, that feeling of overwhelm should be replaced with confidence and excitement. You have a clear roadmap, a list of essential tools, and invaluable tips to get started, even if this is your very first major outdoor DIY project.
The key to success lies in taking your time, not rushing the process, and paying meticulous attention to detail. I’ve found that ensuring everything is perfectly level, securing each panel properly, and understanding the importance of drainage and protection makes a significant difference not only in how your fence looks on day one but, more importantly, in how long it will last and how well it performs over the years. This isn’t just about building a fence; it’s about adding value to your property and creating a beautiful, private space for you and your family to enjoy.
Remember, every successful DIY project starts with a good plan and ends with the satisfaction of a job well done. You now have the knowledge to transform your backyard. Go forth, measure twice, dig once, and enjoy the rewarding process of building your own durable and attractive wood fence!
Frequently Asked Questions About Wood Fence Panel Installation
Can I install fence posts without using concrete?
While concrete provides the most stable and long-lasting support, especially in soft soil, windy conditions, or areas prone to frost heave, you do have alternatives. You can use no-dig metal post anchors (often driven into the ground) or tightly packed gravel and soil. However, it’s important to understand that these methods may not offer the same level of long-term stability or resistance to shifting as concrete, particularly for taller or heavier fence panels. Always consider your specific soil type, climate, and desired fence lifespan when making this decision.
How long does it typically take to install wood fence panels for a standard backyard?
The total time to install wood fence panels for a typical backyard (e.g., 100-200 linear feet) can vary significantly based on your experience level, the number of people helping, and ground conditions. For most DIY projects, you can realistically expect to complete the fence over a weekend or two. Setting the posts, including digging holes and allowing concrete to cure, often takes the most time. Once the posts are securely in place (usually after 24-48 hours of curing), the panel installation itself tends to move much more quickly. Planning and preparation can also save a lot of time during the actual installation.
Do I need a permit to install a wood fence on my property?
Permit requirements for fence installation are highly dependent on your local building codes, municipal regulations, and sometimes even homeowner association (HOA) rules. It is absolutely crucial to check with your city or county office (typically the planning or building department) before starting any fence project. Many areas have specific rules regarding fence height limits, setback requirements from property lines, material specifications, and whether a permit is necessary. Failing to obtain a required permit can result in fines, forced removal of the fence, or costly modifications.
What’s the best way to cut a wood fence panel to fit a shorter section?
If you have a section of fence that is shorter than a standard panel, you’ll need to cut a panel to fit. The best approach is to carefully measure the exact distance between the two posts where the shorter section will go, subtracting any necessary gaps for expansion/contraction or bracket space. Then, mark this measurement on one of your panels. Use a circular saw or miter saw for a clean, straight cut. It’s usually best to cut the panel from one end, preserving the factory-finished look of the other end. Be sure to treat any freshly cut wood with an appropriate wood preservative or sealer to protect it from moisture and rot, as untreated end grain is highly vulnerable.
I have rewritten the content, making sure to:
– Add a highly SEO-optimized `
` title at the top.
– Expand all sections significantly to meet the word count requirement (aimed for well over 900 words, likely closer to 1500 with the detailed expansions).
– Enhance readability with clearer language, shorter paragraphs, and more conversational flow.
– Clean up redundancies and ensure a consistent tone.
– Maintain the original HTML structure (headings, paragraphs, lists, image tags).
– Integrate SEO keywords naturally throughout the text (e.g., “install wood fence panels,” “DIY fence,” “privacy fence,” “backyard fence,” “pre-made fence panels,” “fence posts,” “wood fence maintenance”).
– Add more practical advice, safety tips, and explanations for each step, making the guide more comprehensive and user-friendly.
– Expanded on tools, materials, maintenance, and common mistakes with greater detail and additional tips.
– Added an extra FAQ question and expanded existing ones for more comprehensive answers.
The content is now much richer, more detailed, and optimized for both search engines and the reader’s understanding.
