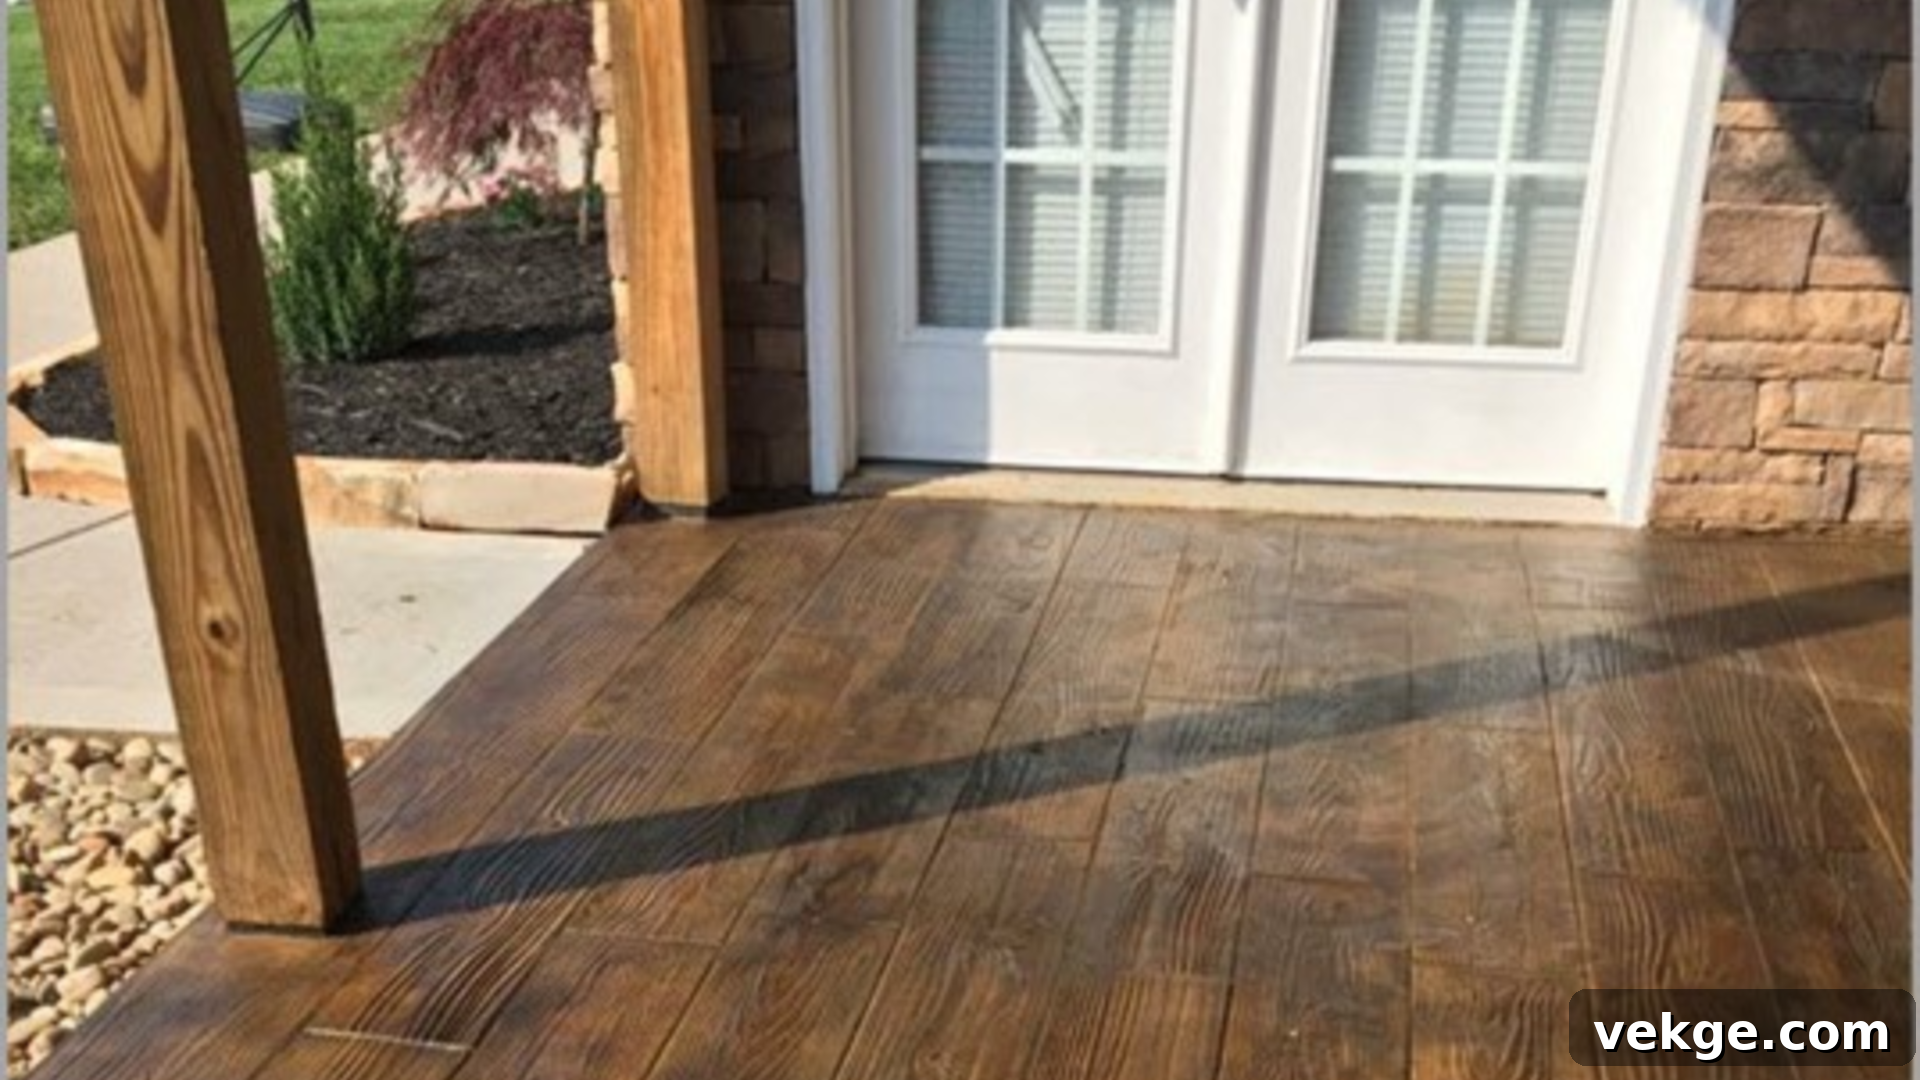
Achieve the Timeless Charm: Your Complete Guide to Concrete Floors That Look Like Wood
Imagine the warmth and timeless elegance of natural wood floors gracing your home, but without the hefty price tag, demanding maintenance, or susceptibility to scratches and water damage. This dream can become a reality with modern concrete flooring techniques. Concrete floors that look like wood are not just a clever illusion; they are a durable, cost-effective, and remarkably versatile alternative that brings the aesthetic appeal of timber to any space.
In this comprehensive guide, we’ll dive deep into the art and science of transforming ordinary concrete into extraordinary faux wood. You’ll learn the most popular and effective methods—staining, stamping, and overlays—each offering a unique approach to achieving that sought-after wood grain effect. We’ll walk you through every critical step, from the initial surface preparation to the final touches that ensure longevity and beauty.
Beyond the how-to, this guide will equip you with the knowledge to choose the best method for your specific needs, anticipate and avoid common pitfalls, and confidently decide whether a DIY approach or professional installation is right for your project. Prepare to be amazed at how well concrete can mimic real wood, providing a stunning, low-maintenance solution for your home or business. Let’s unlock the secrets to beautiful, faux wood concrete floors.
Why Concrete Floors are a Smart Choice for a Wood Look
Concrete is no longer just a foundation material; it’s a sophisticated design element rapidly gaining popularity, especially for those seeking the visual appeal of wood without its inherent challenges. Its inherent qualities make it an exceptional choice for creating a faux wood finish:
- Unmatched Durability: Concrete stands up to daily wear and tear like few other flooring materials. It’s incredibly resistant to scratches, dents, and heavy impacts, making it perfect for high-traffic areas such like kitchens, hallways, and living rooms. Unlike real wood, it won’t warp, rot, or buckle due to moisture.
- Cost-Effectiveness: Achieving a genuine wood floor can be a significant investment, both in material and installation. Concrete, especially when utilizing an existing slab, offers a wood-like appearance at a fraction of the cost. This economic advantage extends to its longevity, as it requires fewer replacements or extensive repairs over its lifespan.
- Low Maintenance: Forget about sanding, waxing, or special wood cleaners. Faux wood concrete floors are remarkably easy to care for. Regular sweeping or vacuuming, coupled with occasional damp mopping using a pH-neutral cleaner, is usually all that’s needed to keep them looking pristine.
- Design Versatility: With a vast array of colors, textures, and patterns available through staining, stamping, and overlays, concrete can mimic virtually any wood species, from rustic distressed oak to sleek modern maple. It blends seamlessly with diverse interior design styles, from industrial chic to farmhouse warmth, offering unparalleled creative freedom.
- Environmental Benefits: Utilizing an existing concrete slab minimizes the demand for new materials and reduces waste. Additionally, concrete floors can enhance thermal mass, contributing to better energy efficiency in your home.
These compelling benefits underscore why decorative concrete is becoming the go-to solution for homeowners and designers aiming for a stunning, low-maintenance wood aesthetic.
Transformative Methods: How to Achieve a Wood-Like Look on Concrete
The magic of creating a wood-like appearance on concrete lies in three primary techniques. Each method offers distinct advantages in terms of aesthetics, durability, and application complexity, allowing for a tailored approach to your design vision:
- Staining: This method involves applying specialized acid-based or water-based stains that penetrate the concrete surface, creating rich, translucent colors and a variegated, natural look. A wood-graining tool can then be used to enhance the illusion of timber. It’s often the most budget-friendly and simplest DIY option.
- Stamping: For those desiring the distinct texture and plank patterns of wood, stamping is an excellent choice. This technique involves pressing specially designed rubber stamps, molded from real wood planks, into freshly poured or freshly applied overlay concrete. The result is a highly realistic three-dimensional wood plank effect.
- Overlays: Concrete overlays involve applying a thin layer of a polymer-modified cementitious material over an existing concrete slab. This fresh surface can then be stained, colored, and even textured to mimic wood. Overlays are ideal for rejuvenating old, worn concrete and creating a completely new, uniform look.
All these methods conclude with a crucial sealing step, which not only locks in the color and texture but also provides vital protection, ensuring your faux wood floors stand the test of time with minimal upkeep.
Step 1: Meticulous Preparation of the Concrete Surface
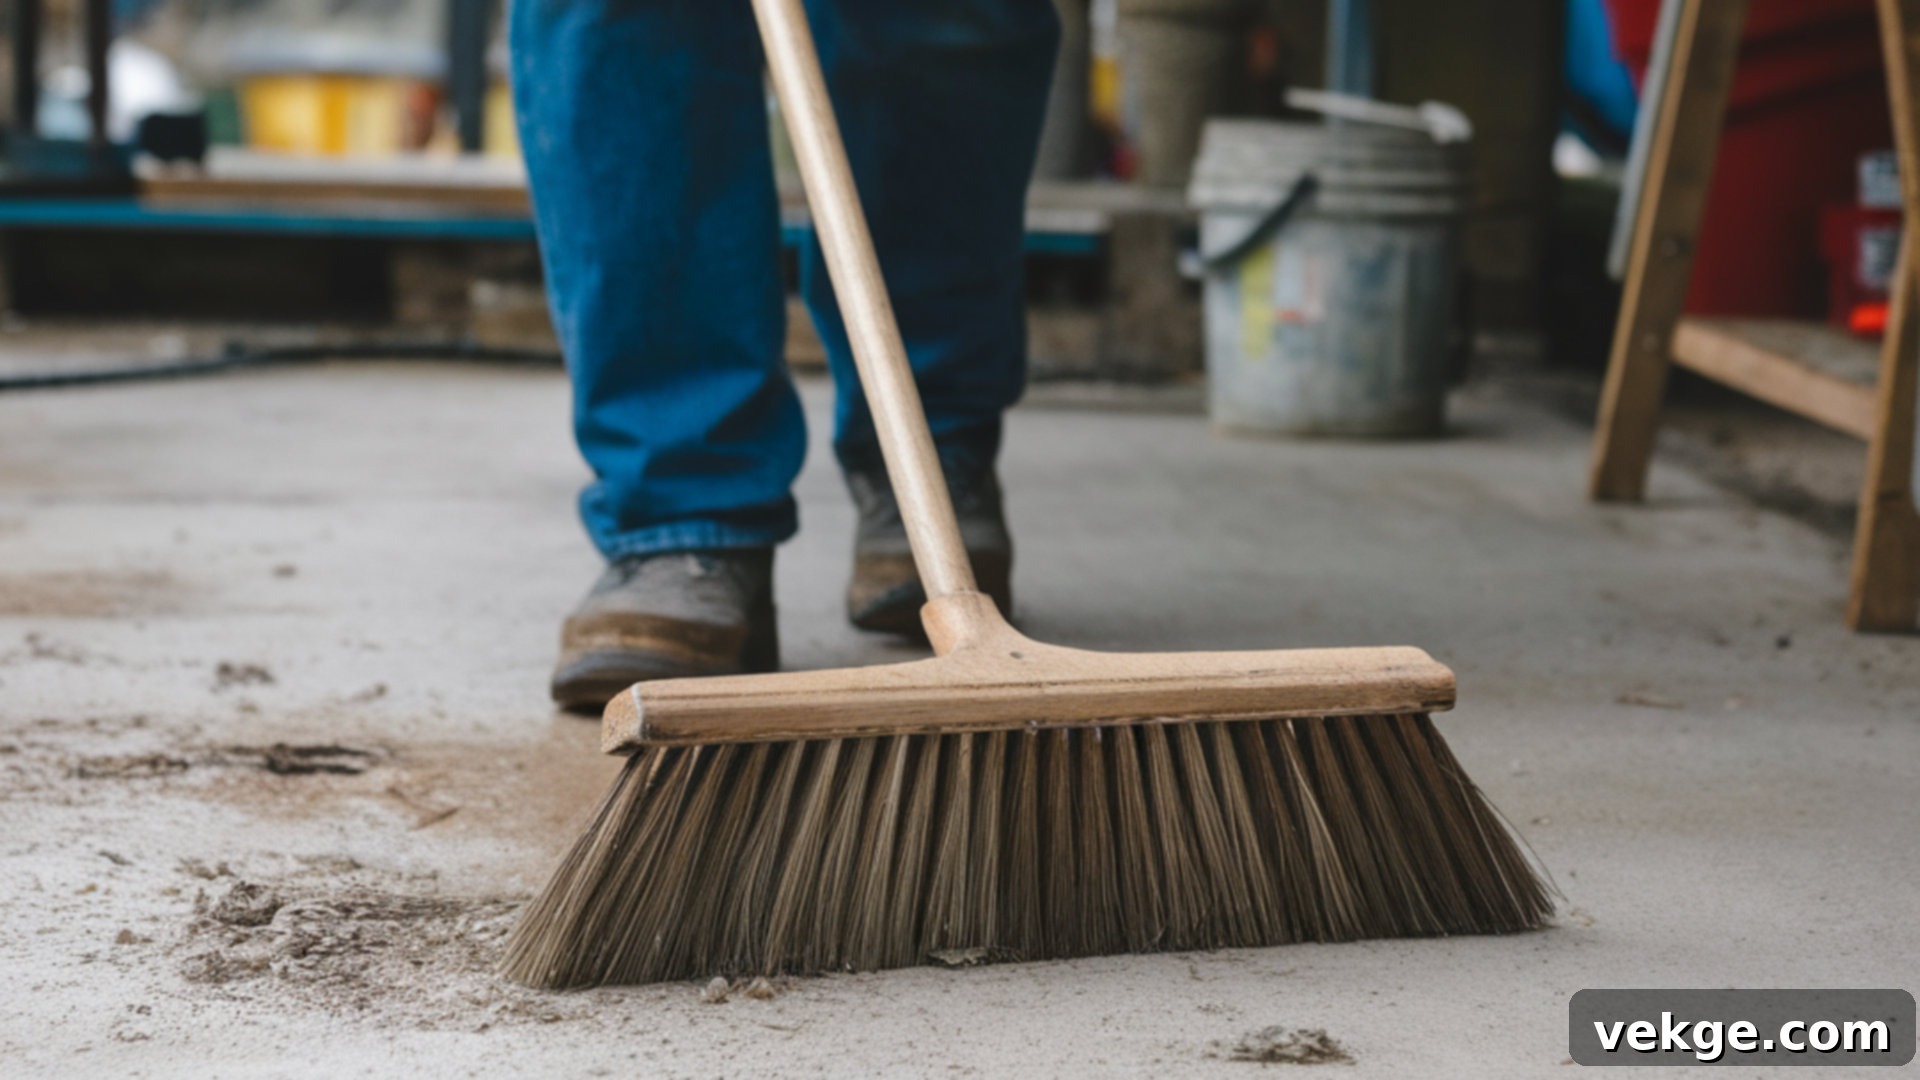
The success and longevity of your faux wood concrete floor hinge critically on proper surface preparation. Skipping or rushing this initial phase can lead to adhesion issues, uneven finishes, and premature wear. Before applying any stain, stamp, or overlay, ensure your concrete surface is impeccably clean, dry, and structurally sound.
- Thorough Cleaning: Begin by sweeping or vacuuming the entire floor to remove loose dust, dirt, and debris. For a deeper clean, consider power washing for exterior surfaces or using a stiff brush and commercial concrete cleaner for interiors. Remove any grease, oil, paint, or old sealers. Depending on the contaminants, specialized degreasers or stripping agents may be necessary. Ensure the surface is rinsed thoroughly and allowed to dry completely before proceeding.
- Crack and Imperfection Repair: Inspect the concrete for any cracks, divots, or spalling. These imperfections will show through your final finish. Use a high-quality concrete patching compound or epoxy filler to repair all cracks and level any uneven areas. For larger imperfections, multiple applications or more extensive repair might be needed. Allow patching materials to cure fully as per manufacturer instructions.
- Surface Profiling (Etching/Grinding): For optimal adhesion of stains and especially overlays, the concrete surface often needs to be profiled. This can be achieved through acid etching (using a dilute muriatic acid solution, carefully following safety guidelines) or mechanical grinding. Profiling creates a porous surface that allows the chosen product to bond effectively. After etching, neutralize the acid and rinse thoroughly.
- Moisture Testing: Especially important for interior applications, conduct a moisture test to ensure there’s no rising damp from beneath the slab. Excess moisture can lead to adhesion failure for overlays and sealers.
This meticulous preparation is paramount for ensuring that the stain, stamp, or overlay adheres properly, providing a flawless, durable, and professional-looking finish that truly mimics real wood.
Step 2: Expert Application of Your Chosen Technique
Once your concrete surface is perfectly prepared, it’s time to bring your wood vision to life by applying one of the three distinct methods.
Method 1: Staining Concrete for a Natural Wood-Like Finish
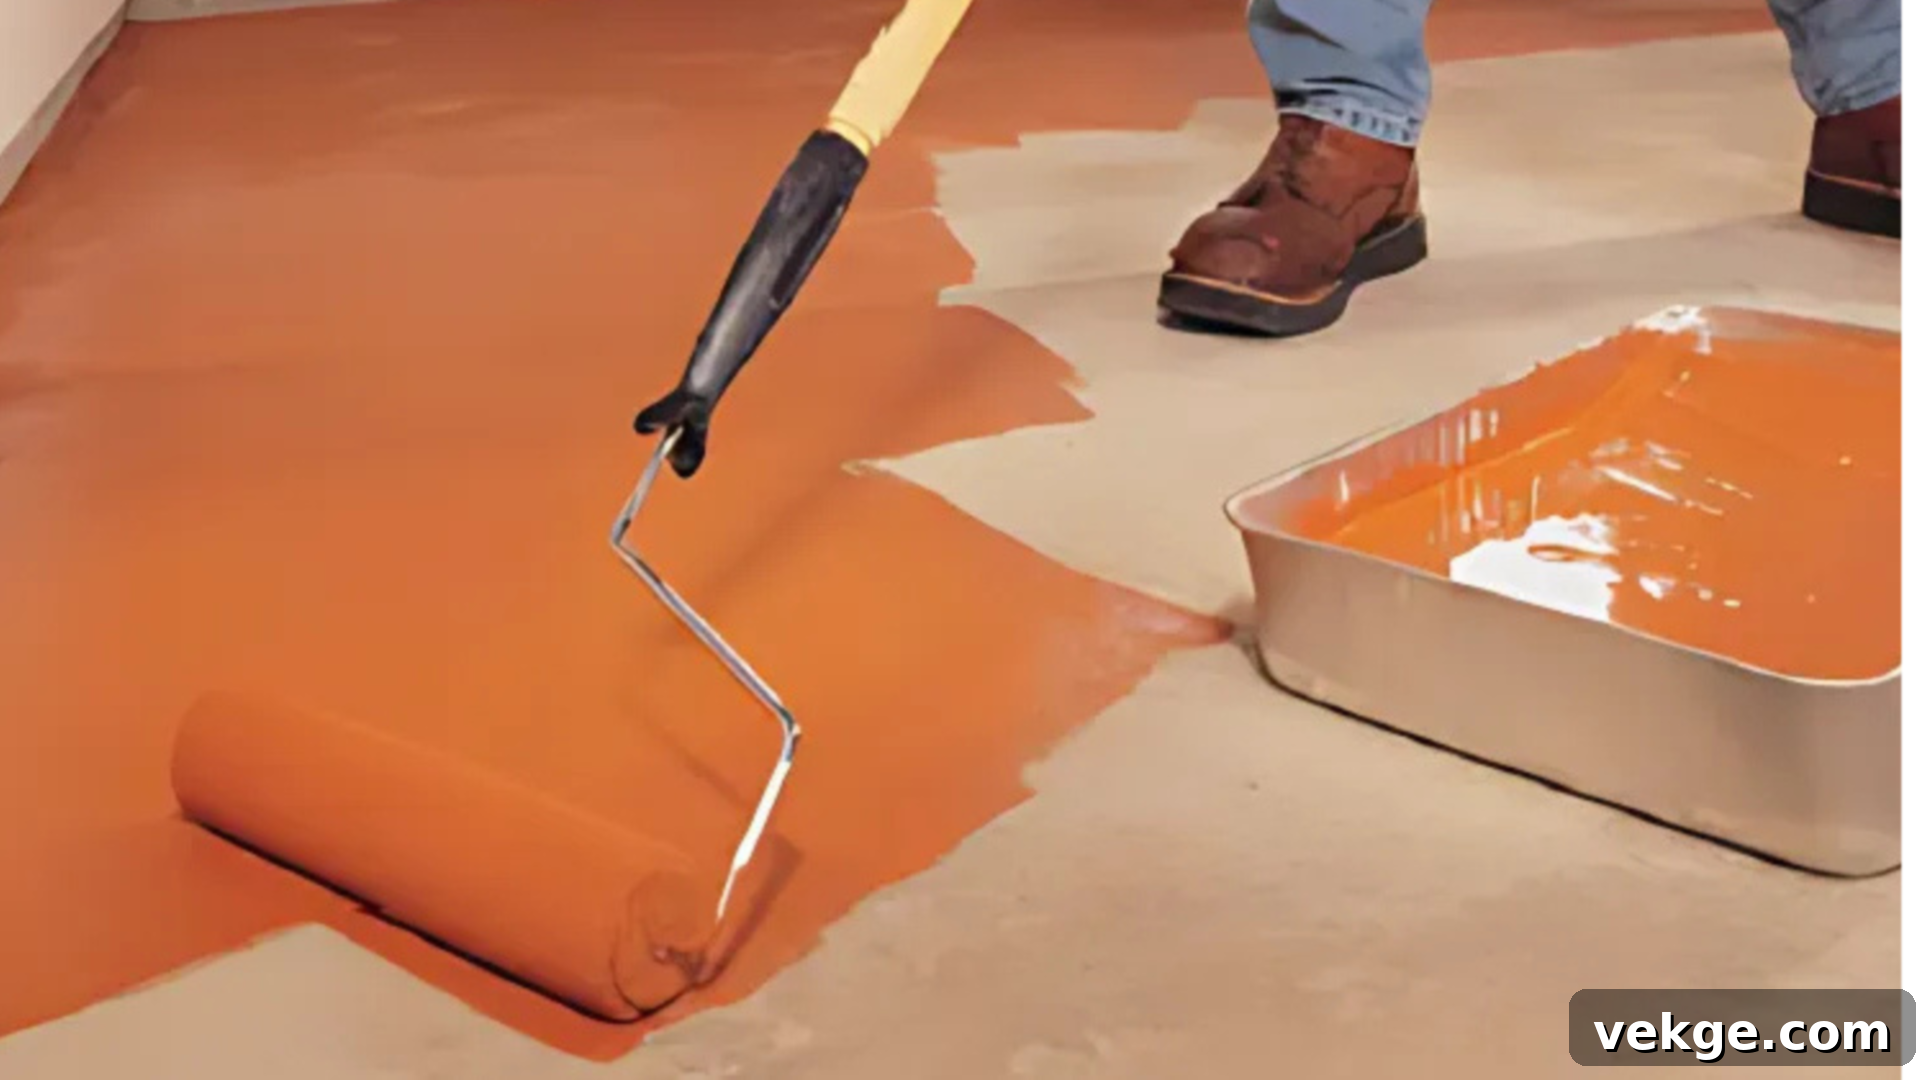
Staining is a versatile method that creates rich, translucent color variations, making it ideal for mimicking the natural depth and character of wood. This technique relies on chemical reactions or pigments to transform your concrete.
- Choose the Right Stain:
- Acid Stains: These stains contain metallic salts that react with the free lime in the concrete, creating unique, variegated, and translucent color effects. They produce earthy tones like browns, ambers, and subtle greens, perfectly suited for a rustic or aged wood appearance. The exact color is somewhat unpredictable, adding to its natural charm.
- Water-Based Stains: Offering a broader and more consistent color palette, water-based stains use pigment particles to add color to the concrete. They provide more uniform coverage and come in a wider range of hues, allowing you to mimic specific wood species more precisely. They are also generally easier to apply for DIYers.
- Application Process:
- Preparation: Mask off surrounding areas to protect walls and other surfaces.
- Initial Application: Using a pump sprayer (for even coverage) or a roller/brush (for smaller areas), apply the stain evenly across the concrete surface. Work in small, manageable sections to ensure a consistent application. For acid stains, allow sufficient dwell time for the chemical reaction.
- Creating Wood Grain: While the stain is still wet or shortly after, use a specialized wood-graining tool (a brush or roller with a wood grain pattern) to drag across the surface. This technique creates realistic lines and knots, enhancing the wood illusion. Practice on a scrap piece first.
- Multiple Coats & Drying: Apply additional coats as needed to achieve the desired depth and intensity of color. Allow each coat to dry completely before applying the next. For acid stains, once the reaction is complete, neutralize and rinse the surface thoroughly.
- Sealing the Concrete: After the stain has fully dried and cured, apply a protective sealer. This step is critical as it locks in the color, enhances its vibrancy, and provides a durable barrier against moisture, abrasion, and UV rays. Polyurethane or acrylic sealers are common choices, offering excellent protection and a choice of finishes (matte, satin, or gloss). Apply in thin, even coats according to the manufacturer’s instructions.
Method 2: Stamped Concrete for an Authentic Wood-Plank Effect
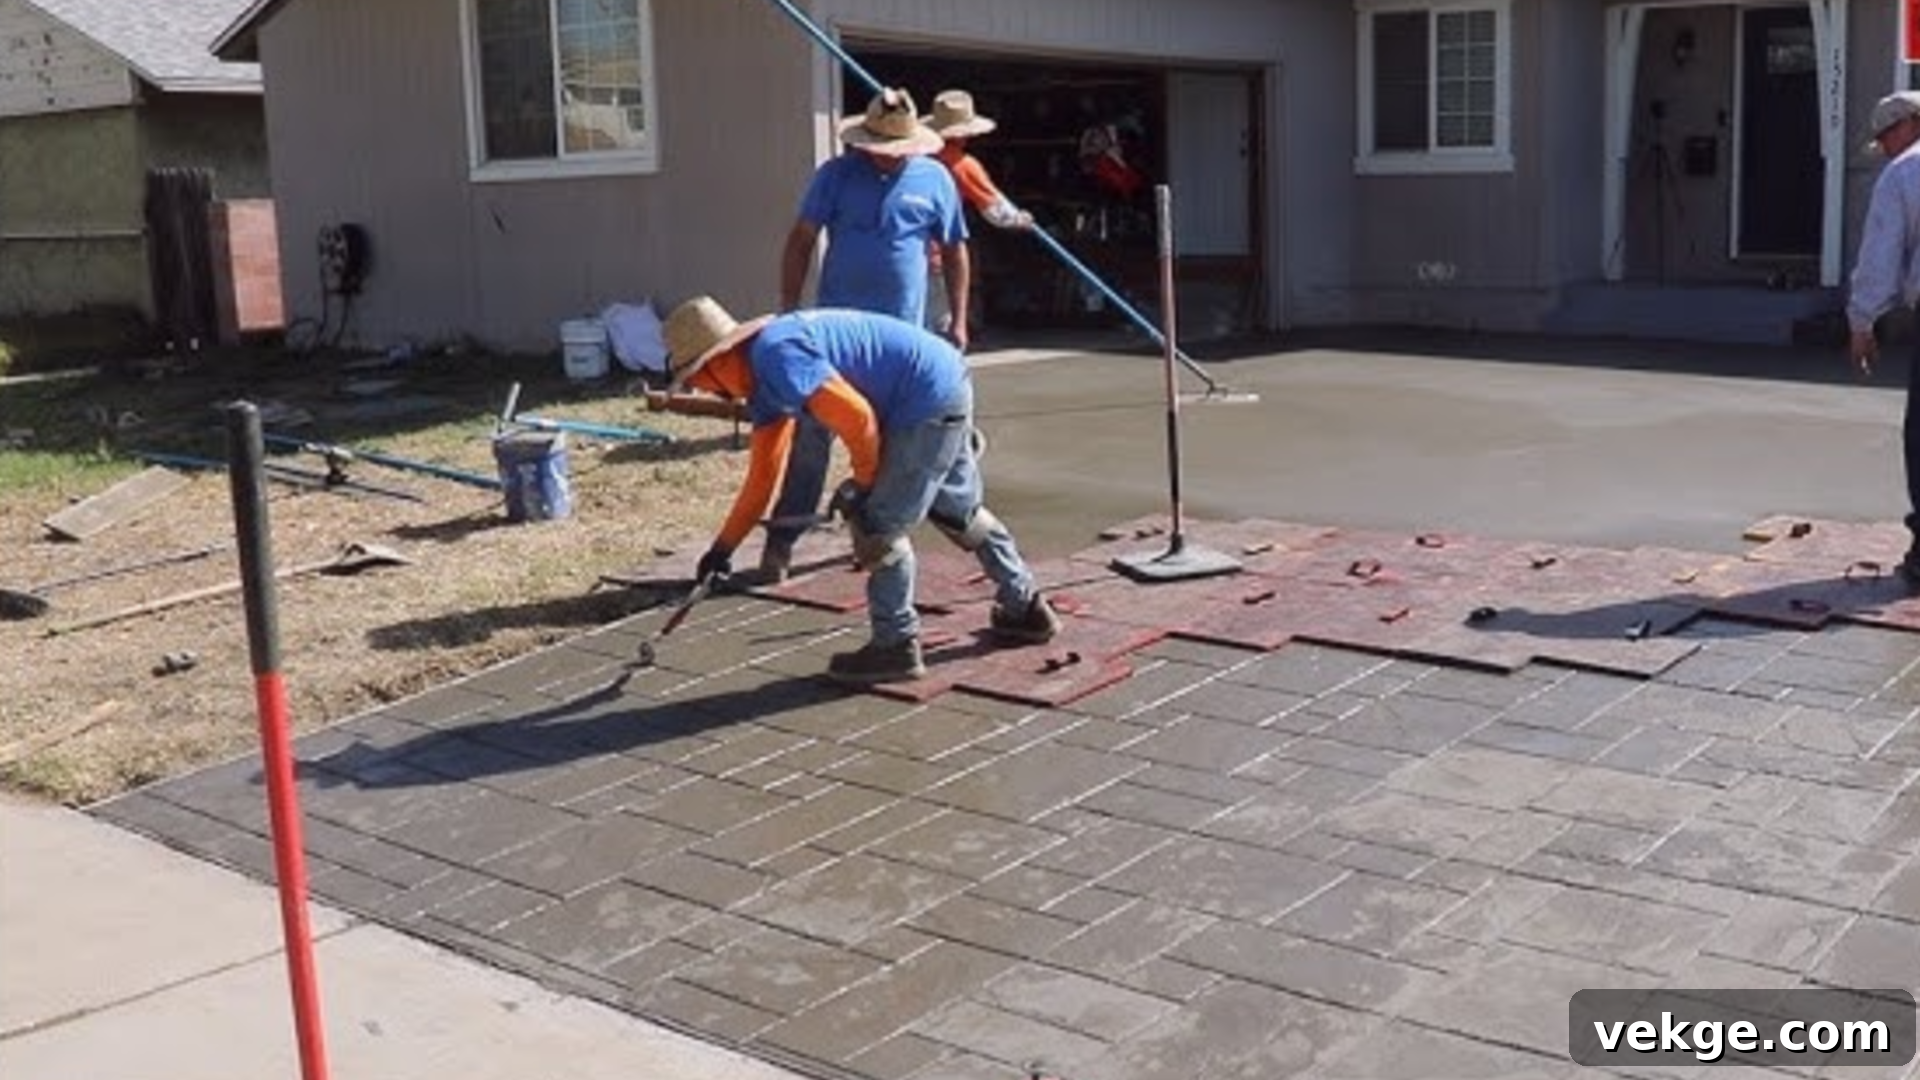
Stamped concrete is perhaps the most convincing method for replicating the three-dimensional texture and distinct plank patterns of real wood. This technique requires precise timing and careful execution.
- New Concrete Application or Overlay: Stamping is typically done on freshly poured concrete or a freshly applied concrete overlay (see Method 3 for overlays). The concrete needs to be at the right “plastic” consistency – firm enough to hold a pattern but still pliable enough to accept the stamp.
- Apply the Release Agent: Before stamping, broadcast a powdered or liquid release agent over the concrete surface. The release agent serves two crucial purposes: it prevents the stamping mats from sticking to the concrete and imparts a secondary, contrasting color that enhances the wood grain details and adds depth.
- Press the Wood-Grain Stamps: Carefully place the chosen wood plank stamps onto the prepared concrete. Use a tamper or apply even body weight to press the stamps firmly into the surface. The goal is to achieve a consistent depth and crisp pattern. Ensure stamps are aligned precisely to create continuous “planks.” Many patterns mimic specific wood species like oak, maple, or distressed timber.
- Finishing Touches and Sealing: Once the stamping is complete and the concrete has had sufficient time to cure (usually 24-48 hours), sweep or rinse off any excess release agent. If desired, a tint or stain can be applied at this stage to further enhance the wood colors. Finally, apply a high-quality concrete sealer to protect the surface, intensify the colors, and provide a durable, natural-looking finish.
Method 3: Concrete Overlays for a Textured Wood Appearance
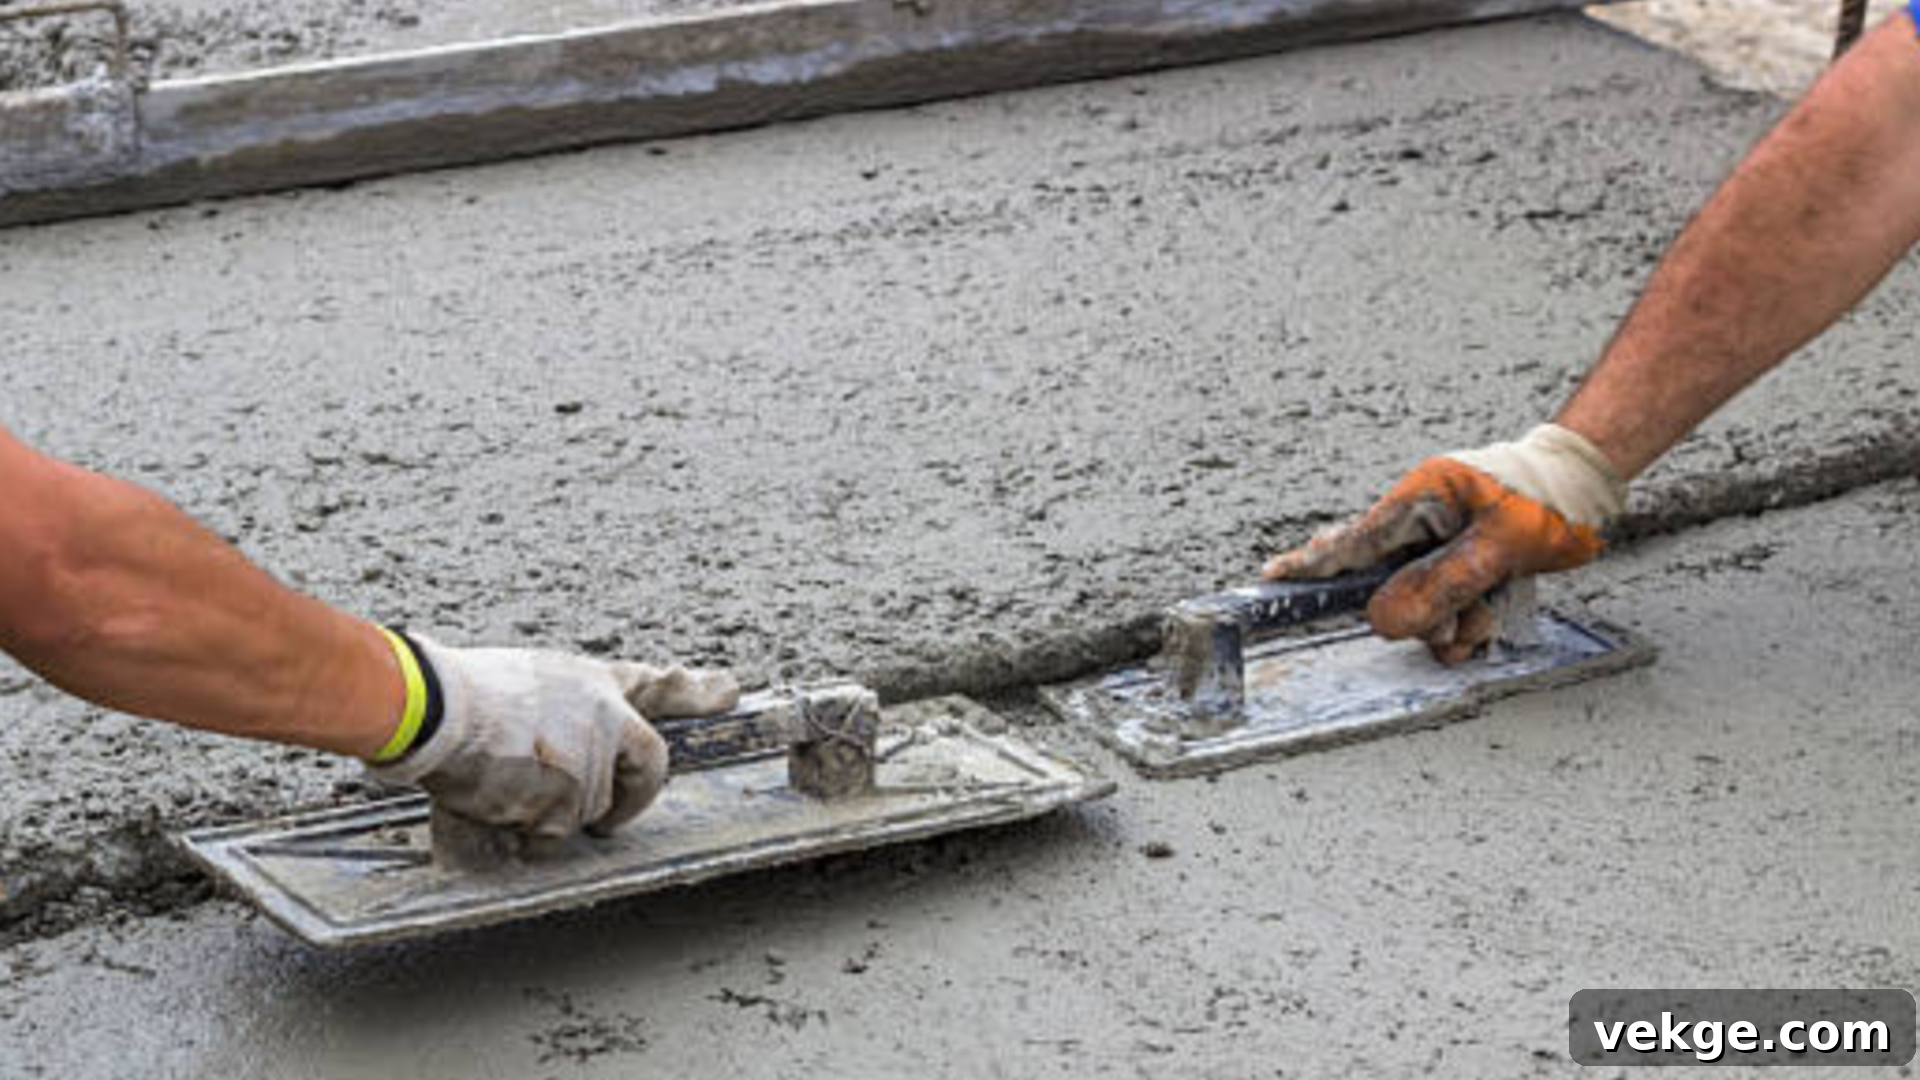
Concrete overlays offer an excellent solution for rehabilitating old or damaged concrete surfaces while simultaneously creating a pristine canvas for a wood-like finish. This method involves applying a thin, polymer-modified cementitious coating.
- Mixing and Applying the Overlay:
- Material Selection: Choose a suitable concrete overlay material (e.g., micro-topping, stampable overlay). These materials are formulated for superior adhesion and workability.
- Mixing: Follow the manufacturer’s instructions precisely for mixing the overlay material. Consistency is key for a smooth application.
- Application: Apply the overlay in thin, even layers over the thoroughly prepared concrete surface using a squeegee, trowel, or sprayer. For a smoother base, a self-leveling overlay can be used. Build up layers as needed to achieve the desired thickness and smooth out any surface imperfections.
- Texturing the Overlay (Optional but Recommended): Once the overlay is applied and before it fully sets, this is your opportunity to create additional texture. You can use hand trowels to create subtle wood-like imperfections, or even specialized texturing tools that simulate wood grain. If you plan to stamp, ensure the overlay is thick enough and at the right consistency.
- Staining and Sealing: After the overlay has completely dried and cured (this can take 24-72 hours depending on thickness and environmental conditions), you can proceed with staining. Apply acid or water-based stains (as described in Method 1) to mimic the desired wood species and achieve rich color depth. Once the stain is dry, apply a high-quality protective sealer to encapsulate the color, protect the surface, and ensure the wood-like appearance endures for many years to come.
Step 3: The Indispensable Final Touches and Ongoing Protection
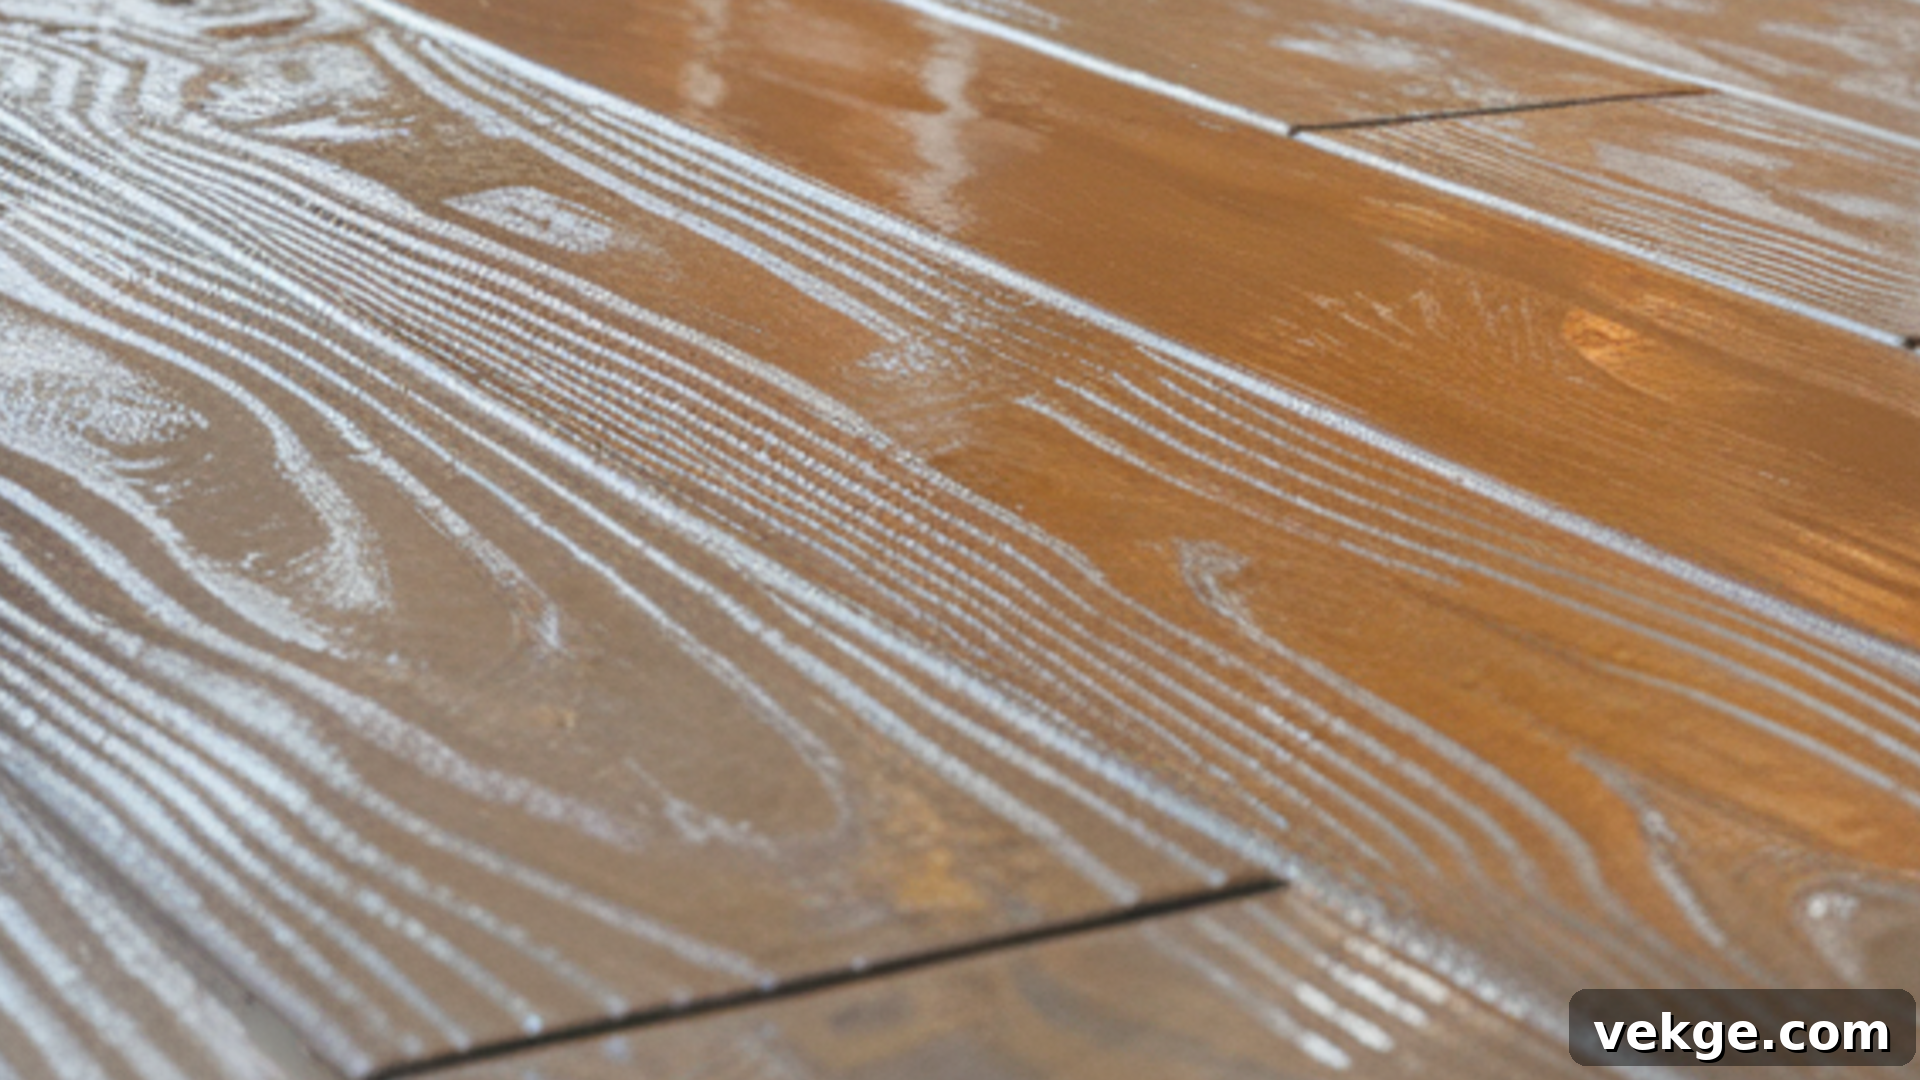
Regardless of the method you choose to create your faux wood concrete floors, the final sealing process is not just a finishing step; it is a critical investment in the longevity and beauty of your new surface. A high-quality sealer protects your decorative concrete from a multitude of threats.
- Superior Protection: A good sealer acts as a protective shield against moisture penetration, chemical spills, abrasion from foot traffic, and UV degradation. This prevents fading of the stain, protects the integrity of the overlay, and preserves the intricate details of stamped patterns.
- Enhanced Aesthetics: Sealers often deepen and enrich the colors of your stained or colored concrete, bringing out the vibrant tones and highlighting the faux wood grain. They are available in various finishes—matte, satin, or high-gloss—allowing you to customize the final look to perfectly complement your design vision.
- Ease of Maintenance: A sealed surface is significantly easier to clean. Dirt, dust, and spills sit on the surface rather than penetrating the concrete, making routine cleaning a breeze and helping your floors maintain their fresh appearance with minimal effort.
- Regular Reapplication: To ensure continuous protection and to keep your floors looking new, it’s crucial to reapply the sealer periodically. The frequency of reapplication depends on several factors, including the type of sealer used, the amount of foot traffic the area receives, and exposure to sunlight or harsh weather. For high-traffic areas or exterior applications, reapplication might be needed every 1-3 years, while lower traffic indoor areas might only need it every 3-5 years. Always follow the manufacturer’s recommendations for your specific sealer.
By diligently following these steps and prioritizing proper sealing, you can achieve stunning concrete floors that boast the warmth and sophisticated look of wood, all without the high cost or demanding maintenance typically associated with real timber.
Choosing the Right Method for Your Space: A Strategic Decision
With three effective methods at your disposal, selecting the best one for your project requires careful consideration of several factors. Each technique excels in different scenarios, and understanding these nuances will help you achieve the most satisfying and durable results for your faux wood concrete floors.
1. Room Size and Coverage Area
- Staining: For smaller areas like bathrooms, laundry rooms, small entryways, or accent walls, staining is often the most straightforward and cost-effective option. It requires minimal specialized equipment and can be applied relatively quickly. However, achieving perfect consistency over very large, open-plan areas with staining alone can be challenging due to drying times and lap lines.
- Stamping and Overlays: These methods are generally more suitable for larger areas, such as expansive living rooms, entire basements, or outdoor patios. They provide a more consistent pattern and texture across broad surfaces. While initially more labor-intensive, their uniform application often makes them a superior choice for extensive coverage where a seamless wood plank or textured effect is desired.
2. Traffic Levels and Durability Requirements
- High-Traffic Areas: For spaces that experience heavy foot traffic, such as kitchens, main hallways, commercial settings, or outdoor living spaces, durability is paramount. Stamped concrete and concrete overlays generally offer the highest level of wear resistance and dimensional stability. The texture created by stamping adds an extra layer of slip resistance and hides minor imperfections more effectively. Overlays create a fresh, robust surface that can withstand significant abuse when properly sealed.
- Moderate-to-Low Traffic Areas: In areas with lighter traffic, such as bedrooms, offices, or sunrooms, a well-executed stained concrete floor, properly sealed, can provide ample durability. The key is ensuring the right sealer is chosen and reapplied diligently to protect the surface from abrasion and moisture.
3. Desired Design Aesthetics and Specific Wood Mimicry
- Natural, Rustic, or Aged Wood: If your goal is to mimic the organic variations, rich earthy tones, and slightly weathered look of natural or distressed wood, acid staining is unparalleled. Its chemical reaction with the concrete creates unique, translucent hues that are difficult to replicate with other methods.
- Distinct Wood Plank Patterns: For a more defined and authentic replication of specific wood planks (e.g., wide oak planks, herringbone patterns, or detailed grain lines), stamped concrete excels. The use of actual molds taken from real wood ensures an incredibly realistic texture and pattern.
- Versatility and Surface Renewal: If your existing concrete is old, discolored, or has minor imperfections, or if you desire a wide range of custom colors and textures, concrete overlays provide the most flexible canvas. Once applied, an overlay can be stained, dyed, or even hand-textured to achieve virtually any wood-like appearance.
By carefully weighing these factors against your project’s scope, functional demands, and aesthetic goals, you can confidently select the concrete wood-look method that best suits your space and budget, ensuring a beautiful and lasting result.
Common Issues with Faux Wood Concrete Floors and Their Solutions
While creating concrete floors that look like wood is a rewarding endeavor, like any home improvement project, certain issues can arise. Understanding these common problems and knowing how to address them can save you time, effort, and ensure a flawless finish.
- Uneven Staining or Streaks:
- Problem: Blotchy spots, visible lines, or inconsistent color intensity can occur due to improper application, uneven surface porosity, or insufficient cleaning.
- Solution: For water-based stains, a light sanding of the affected area followed by careful reapplication of a diluted stain can help blend the colors. For acid stains, sometimes a second, lighter application can deepen the overall color and mask inconsistencies. Ensure the surface is uniformly porous through proper preparation.
- Difficulty with Stamps and Texture (for Stamped Concrete/Overlays):
- Problem: The wood-grain texture isn’t consistent, stamps stick to the concrete, or the pattern appears shallow/incomplete. This often happens if the concrete is too wet or too dry, or if pressure is uneven.
- Solution: Ensure the concrete is at the optimal “plastic” stage for stamping. Use an adequate amount of release agent to prevent sticking. Apply consistent, even pressure across the entire stamp. For areas with shallow patterns, detail touch-up tools can be used while the concrete is still pliable. If the concrete has cured, minor imperfections can sometimes be enhanced with staining or scoring.
- Sealing Problems (Bubbles, Peeling, or Haziness):
- Problem: Bubbles can form if the sealer is applied too thickly, if the concrete is outgassing, or if the temperature is too high. Peeling often indicates poor surface preparation or incompatible sealers. Haziness (blushing) can occur due to moisture trapped under the sealer.
- Solution: Always ensure the concrete surface is completely clean and dry before applying sealer. Apply sealer in thin, even coats using the recommended applicator. Avoid applying sealer in direct sunlight or during high humidity. If bubbling occurs, a light re-roll or back-rolling can help. For peeling or haziness, the sealer may need to be stripped and reapplied after correcting the underlying issue.
- Cracks and Imperfections Reappearing:
- Problem: Despite initial repairs, cracks or other imperfections might resurface, compromising the wood-like illusion.
- Solution: For minor surface cracks, a color-matched patching compound or a thin layer of overlay material can be used for touch-ups. Ensure that any underlying structural issues causing cracks are addressed first, or they will continue to reappear. Using an overlay can often mask existing minor cracks more effectively than staining alone.
By diligently preparing your surface, applying your chosen technique correctly, and addressing issues promptly, you can ensure your concrete floors maintain their beautiful, realistic wood-like finish for many years to come.
DIY vs. Professional Installation: What You Need to Know
Deciding whether to tackle the creation of faux wood concrete floors as a DIY project or to hire a professional is a crucial decision that impacts cost, time, and the final quality of your floors. Both options present distinct advantages and challenges.
The DIY Approach: Freedom and Potential Savings
- Cost Savings: The most significant draw of DIY is the potential to save on labor costs. You pay only for materials, which can be a considerable saving, especially for smaller projects.
- Personal Satisfaction: Completing a project yourself can be incredibly rewarding, offering a sense of accomplishment and pride in your home.
- Learning Experience: It’s an opportunity to learn new skills and understand the intricacies of decorative concrete.
- Considerations & Risks:
- Skill Level & Complexity: While staining is often manageable for experienced DIYers, stamping and overlays are significantly more complex. They require precise timing, specialized tools (stamps, mixers, trowels), and a good understanding of concrete properties. Mistakes can be costly and difficult to rectify.
- Time Commitment: These projects are labor-intensive and time-consuming. From extensive preparation to application and curing, you’ll need to dedicate significant hours, often spread over several days or weeks.
- Equipment: You might need to purchase or rent specialized tools, which can add to the overall cost.
- Potential for Errors: Inconsistent results, uneven colors, misaligned stamps, or improper sealer application can lead to a less-than-professional finish or even require a complete redo.
Professional Installation: Expertise and Flawless Results
- Expertise and Precision: Professionals bring extensive experience, specialized knowledge, and refined techniques to the table. They can handle complex designs, ensure proper surface preparation, and achieve flawless, consistent results.
- Faster Completion: With a skilled crew and specialized equipment, professionals can complete projects much more efficiently than a DIYer.
- Guaranteed Quality: Reputable contractors often offer warranties on their work, providing peace of mind and recourse if issues arise.
- Access to Specialized Materials/Tools: Professionals have access to industrial-grade products and equipment that might not be available or cost-effective for a DIY project.
- Considerations:
- Higher Upfront Cost: The primary disadvantage is the higher cost due to labor and contractor overhead.
- Less Control Over Schedule: You’ll need to work within the contractor’s availability and schedule.
Recommendation: For small, straightforward staining projects or if you have prior concrete experience, DIY might be feasible. However, for larger areas, complex patterns (like stamping), or if you desire a truly flawless and durable finish with minimal hassle, investing in professional installation is often the wiser choice. Always obtain multiple quotes and check references for any contractor you consider.
Essential Maintenance Tips for Long-Lasting Faux Wood Concrete Floors
Once you’ve achieved the stunning look of wood on your concrete floors, proper ongoing maintenance is key to preserving their beauty, durability, and the integrity of the faux wood finish for decades. With just a little regular care, your floors will continue to impress.
- Routine Cleaning is Simple:
- Sweep or Vacuum Regularly: Dust, dirt, and grit are abrasive and can slowly wear down your sealer. Daily or weekly sweeping with a soft-bristle broom or vacuuming with a soft brush attachment will remove these particles.
- Damp Mop with pH-Neutral Cleaner: For deeper cleaning, use a damp mop with a pH-neutral cleaner specifically designed for concrete or general floor cleaning. Avoid harsh chemicals, abrasive cleaners, vinegar, or citrus-based products, as these can degrade the sealer and dull the finish over time.
- Wipe Spills Immediately: Although sealed concrete is resistant, promptly wipe up spills, especially acidic liquids like juice, wine, or oils, to prevent etching or staining.
- Long-Term Sealer Care:
- Reapply Sealer Periodically: This is arguably the most critical maintenance step. The sealer provides the primary protection for your faux wood finish. Depending on traffic and exposure, reapply a suitable concrete sealer every 1-5 years. High-traffic areas (kitchens, entryways) will need more frequent reapplication than low-traffic zones (bedrooms). Always clean the floor thoroughly before reapplying sealer.
- Consider Wax/Finish Coats: For added protection and shine, especially in high-traffic indoor areas, a sacrificial floor wax or polish can be applied over the sealer. This layer takes the brunt of the wear and can be buffed or reapplied as needed without disturbing the primary sealer.
- Preventative Measures:
- Use Floor Mats: Place welcome mats at all exterior entrances to trap dirt and moisture before it reaches your decorative concrete.
- Furniture Pads: Apply felt or rubber pads under the legs of all furniture to prevent scratches and gouges when items are moved.
- Avoid Dragging Heavy Objects: Lift, don’t drag, heavy furniture or appliances across your floors.
- Addressing Repairs and Touch-ups:
- Minor Cracks: For small, hairline cracks that may appear over time, use a color-matched epoxy or concrete filler.
- Scratches/Scuffs: Minor surface scuffs on a sealed floor can sometimes be buffed out. Deeper scratches might require spot re-staining and re-sealing.
- Professional Help: For larger damage or if you’re unsure how to proceed, consult with a decorative concrete professional.
By integrating these simple yet effective maintenance tips into your routine, your concrete floors will retain their captivating wood-like appeal and superior performance for many years, proving to be a truly durable and beautiful investment.
Conclusion: Embrace the Beauty and Practicality of Faux Wood Concrete
You now possess a comprehensive understanding of how to transform ordinary concrete floors into stunning surfaces that exude the timeless elegance of wood, all while bypassing the high costs and demanding upkeep of traditional timber. This journey has explored the innovative methods—staining, stamping, and overlays—each offering a unique path to achieve a beautiful, durable, and remarkably realistic faux wood finish.
Having explored these techniques, it’s clear that the versatility of decorative concrete is truly astounding. Whether you’re drawn to the organic depth of stained concrete, the authentic texture of stamped wood planks, or the transformative power of an overlay, each method offers a durable solution that stands up to the rigors of daily life. I’ve seen firsthand how these applications can dramatically elevate a space, providing both aesthetic charm and practical benefits.
As you embark on your own project, remember to consider the specific needs of your space: the level of foot traffic, the desired design aesthetic, and your comfort with a DIY approach versus professional installation. With meticulous preparation, careful application, and consistent long-term maintenance—especially regular cleaning and timely re-sealing—your concrete floors will maintain their captivating wood-like appearance for decades to come, offering a smart and stylish investment in your home.
Ready to discover more intelligent, budget-friendly ideas for enhancing your living space? Explore other insightful blogs on our website for a wealth of simple tips, creative design inspirations, and easy-to-implement upgrades that extend beyond concrete floors to every corner of your home.
