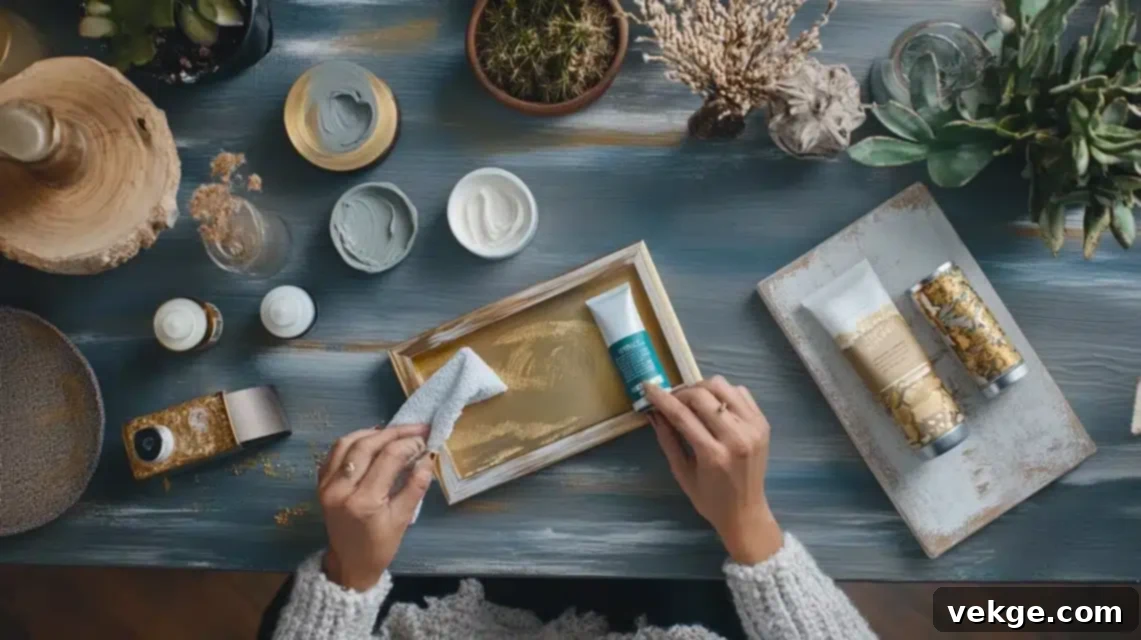
Rub ‘n Buff: The Complete Guide to Easy Metallic Finishes for Stunning Home Makeovers
Discovering Rub ‘n Buff was a revelation for anyone passionate about DIY and home decor. This unassuming little tube, packed with a unique wax-based formula combined with finely ground metallic powders and special colors, offers an incredibly simple yet powerful way to breathe new life into old, tired, or plain items. Unlike traditional paints that merely coat a surface, Rub ‘n Buff allows you to literally rub on a luxurious metallic finish, buff it to a radiant sheen, and watch your belongings transform before your eyes.
Its ease of application and stunning results make it a favorite among crafters, upcyclers, and interior design enthusiasts alike. Whether you’re aiming for a touch of vintage elegance, a modern metallic accent, or a deeply aged patina, this versatile product can help you achieve a professional-looking finish with minimal effort. It’s perfect for adding sophisticated metallic touches to almost anything, from furniture and picture frames to decorative accessories and even architectural details.
In this comprehensive guide, we’ll delve into everything you need to know about Rub ‘n Buff. We’ll explore the diverse palette of colors available, provide detailed application techniques tailored for various materials like metal, wood, and even patterned glass, and spark your imagination with a wealth of creative DIY project ideas for your home. We’ll also cover essential tips, common pitfalls to avoid, and even how to correct any mistakes. Ready to unlock the transformative power of Rub ‘n Buff and make your cherished items truly shine? Let’s embark on this exciting journey!
Explore the Dazzling Array of Rub ‘n Buff Colors
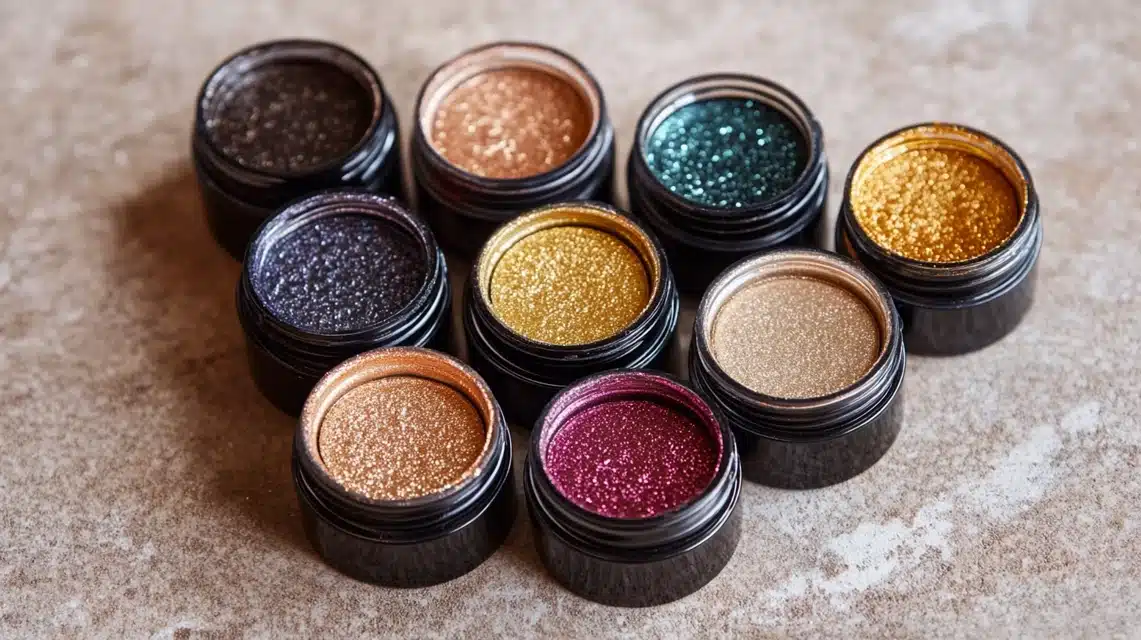
Rub ‘n Buff offers a carefully curated selection of nine distinct metallic shades, each capable of creating a unique aesthetic for your projects. Choosing the right color is crucial for achieving your desired look, whether it’s an antique heirloom feel or a sleek contemporary vibe. Here’s a closer look at each option:
- Antique Gold: This warm, subtly muted gold exudes a timeless elegance, making it ideal for replicating the look of aged brass or gilded antiques. It’s perfect for vintage-style items, picture frames, or ornate details.
- Autumn Gold: A richer, deeper gold with pronounced warmth, Autumn Gold adds a comforting, inviting glow to any piece. It’s fantastic for creating a luxurious yet understated metallic accent.
- Ebony: More than just a black, Ebony is a deep, rich shade with intriguing subtle metallic undertones. It can be used for a dramatic, industrial look, or layered to create depth and an aged patina over brighter metallics.
- European Gold: If you’re aiming for a bright, refined, and sophisticated gold, European Gold is your choice. Its lighter hue is perfect for modern designs, contemporary decor, or for providing a fresh, updated golden touch.
- Gold Leaf: This classic, vibrant gold shade beautifully mimics the appearance of traditional gold leafing. It’s excellent for achieving a truly authentic gilded finish on decorative items, carvings, or furniture details.
- Grecian Gold: A softer, paler gold, Grecian Gold is superb for subtle highlights and delicate metallic accents. It provides a gentle shimmer without overwhelming the piece, perfect for a more ethereal or understated look.
- Pewter: A cool, sophisticated silvery-gray, Pewter is the go-to for industrial, minimalist, or modern styles. It offers a contemporary metallic touch that pairs wonderfully with cooler color palettes.
- Silver Leaf: For a bright, crisp, and clean silver finish, Silver Leaf is unmatched. It instantly modernizes items, providing a brilliant, reflective surface that is perfect for contemporary pieces and accents.
- Spanish Copper: This warm, reddish-metallic shade brings a unique depth and richness. Spanish Copper is fantastic for adding an earthy, rustic, or even an exotic touch, reminiscent of aged copper artifacts.
These versatile shades can stand alone to make a bold statement or be combined to create custom finishes. For example, layering Pewter with hints of gold can achieve a beautifully aged, distressed effect. Similarly, applying a thin layer of Ebony over a gold finish can create intricate shadows and depth, giving your piece an ancient, time-worn character. Experimentation is key to discovering your favorite combinations!
Mastering Application Techniques for Rub ‘n Buff
Achieving truly professional results with Rub ‘n Buff is all about mastering the application technique. It’s a simple process, but attention to detail makes all the difference. Remember, less is almost always more when working with this potent product.
Before you begin, always protect your hands with a disposable glove. Rub ‘n Buff is designed to adhere well, and that includes to your skin! Squeeze out a minuscule amount – roughly the size of a pea – onto your gloved finger or a soft, lint-free cloth. Gently work this tiny amount onto your chosen surface using small, circular motions. Think of it like applying a nourishing cream; the goal is an even, thin spread. The golden rule here is to use very little product at a time. Over-application can lead to a messy, uneven finish and unnecessary waste. Once you’ve applied a thin, even layer, grab a separate clean, soft cloth and begin buffing the surface. The magic happens during the buffing stage: the more you buff, the more intense and brilliant the metallic shine will become. If certain areas require a deeper luster, simply focus your buffing efforts there. For projects requiring full, opaque coverage, allow the first layer to dry completely (which usually takes only a few minutes) before applying and buffing additional thin coats.
Precision Application for Metal Surfaces
Metal surfaces often require a little extra preparation to ensure optimal adhesion and a flawless finish. Start by thoroughly cleaning the metal with mineral spirits or a degreaser to remove any grime, oils, or even subtle fingerprints. These residues can act as a barrier, preventing Rub ‘n Buff from bonding properly. Once clean and dry, lightly abrade the surface with fine-grit sandpaper (around 220-400 grit). This creates microscopic “tooth” or tiny grooves that the wax-based product can grip onto, significantly improving adhesion and durability.
When applying, work in extremely thin coats. Metal’s smooth nature means it can easily reveal brush strokes or uneven application, so a light touch is paramount. Apply the product with your finger or a cloth, moving in a consistent direction. When buffing, maintain this same direction to help prevent streaks and achieve a uniform shine. For an authentic, aged metal finish, consider selectively buffing certain areas less vigorously. This variation in buffing creates natural light and dark spots, mimicking the charming patination that occurs on antique metal over time.
Transformative Technique for Wood
Applying Rub ‘n Buff to wood yields a distinct and beautiful effect. Begin by ensuring the wood surface is impeccably clean and free of dust. Even minute dust particles can result in an uneven, bumpy finish. If the wood has a pre-existing glossy finish or varnish, lightly sand it to create a receptive surface. This step is crucial for the product to adhere properly and prevent future peeling, especially on high-traffic items.
Apply thin layers of Rub ‘n Buff, always working in the direction of the wood grain. This technique helps the metallic finish blend seamlessly with the natural texture of the wood, making it appear as if the metallic color is an inherent part of the material. For carved areas, intricate details, or the natural grooves within the wood grain, use your finger to gently press the product in, ensuring full coverage and emphasizing these details. The beauty of Rub ‘n Buff on wood lies in its versatility: a single, thin layer can provide a subtle, elegant metallic whisper, while multiple layers can build up to a more pronounced, opaque metallic presence, allowing you to customize the intensity to suit your vision.
Delicate Application for Patterned Glass
Working with patterned or etched glass requires a gentle yet precise approach to highlight its unique textures. The first step is paramount: ensure the glass is immaculately clean and free of any smudges, fingerprints, or residue. Any imperfections will be magnified once the metallic finish is applied. Focus your efforts on meticulously applying the product directly into the etched or textured areas of the glass. It’s best to work in small, manageable sections, roughly the size of your palm. This prevents the Rub ‘n Buff from drying too quickly, giving you ample time to buff it to perfection.
Use your finger or a fine, small brush to carefully push the product into every groove and crevice of the pattern. Once the patterned areas are covered, swiftly wipe away any excess product from the flat, un-etched parts of the glass using a clean, soft cloth. This precise removal creates a striking contrast between the radiant metallic patterns and the clear, pristine glass, enhancing the decorative effect. Take your time during the buffing process; rushed work can lead to unevenness that is particularly noticeable on glass. When completed, the metallic finish should sit perfectly within the patterns, allowing the rest of the glass to retain its transparency and sparkle.
Inspiring DIY Ideas with Rub ‘n Buff for Your Home
Rub ‘n Buff is a powerhouse for creative home decor projects. Its ability to transform ordinary items into extraordinary pieces makes it an essential tool for any DIY enthusiast. Here are some inspiring ideas to get you started on your next home makeover:
Give a Fancy Look to Your Frames
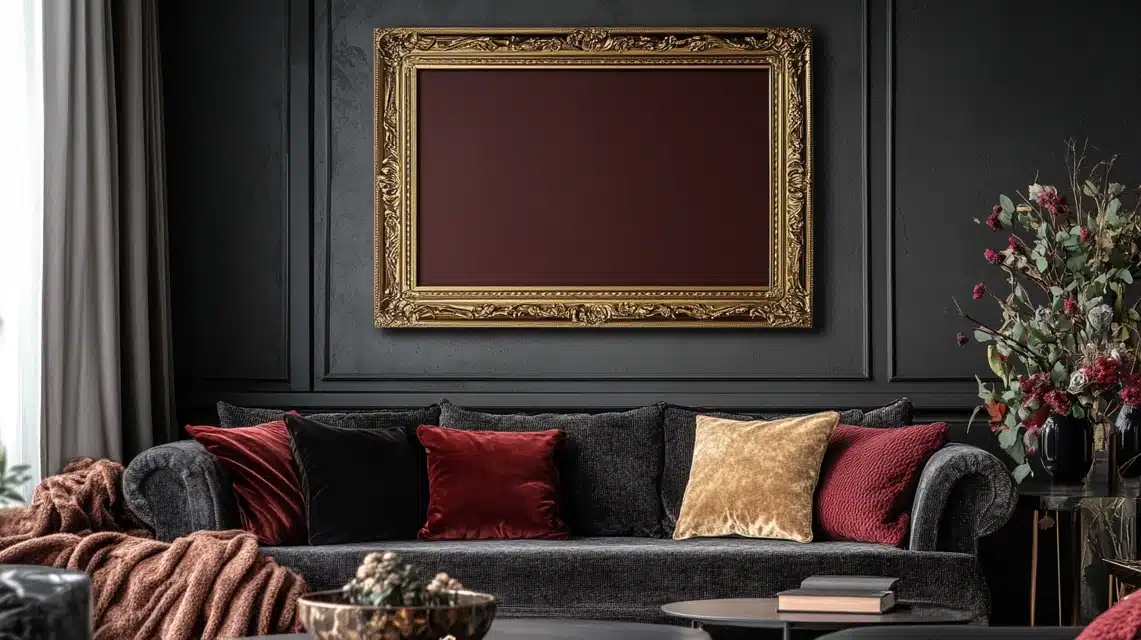
Picture frames are an ideal starting point for Rub ‘n Buff projects, offering immediate and dramatic results. Take any inexpensive, plain frame – whether it’s wood, plastic, or metal – and elevate it to a piece that looks like a high-end antique or a contemporary art piece. Focus on rubbing the product into the corners, carved embellishments, and any textured details; these areas naturally catch the light and truly showcase the metallic shine. For a timeless, classic look, European Gold or Gold Leaf can instantly impart a sense of grandeur. If your aesthetic leans more modern and minimalist, Silver Leaf will give your frames a crisp, clean, and updated appearance. Don’t shy away from creativity: you can even mix different shades of Rub ‘n Buff, or layer them, to create custom, bespoke finishes that perfectly match your home’s unique style. For instance, a base of Antique Gold with a subtle dry-brush of Ebony can create a beautifully distressed, aged effect.
Renovate Your Taps and Fixtures
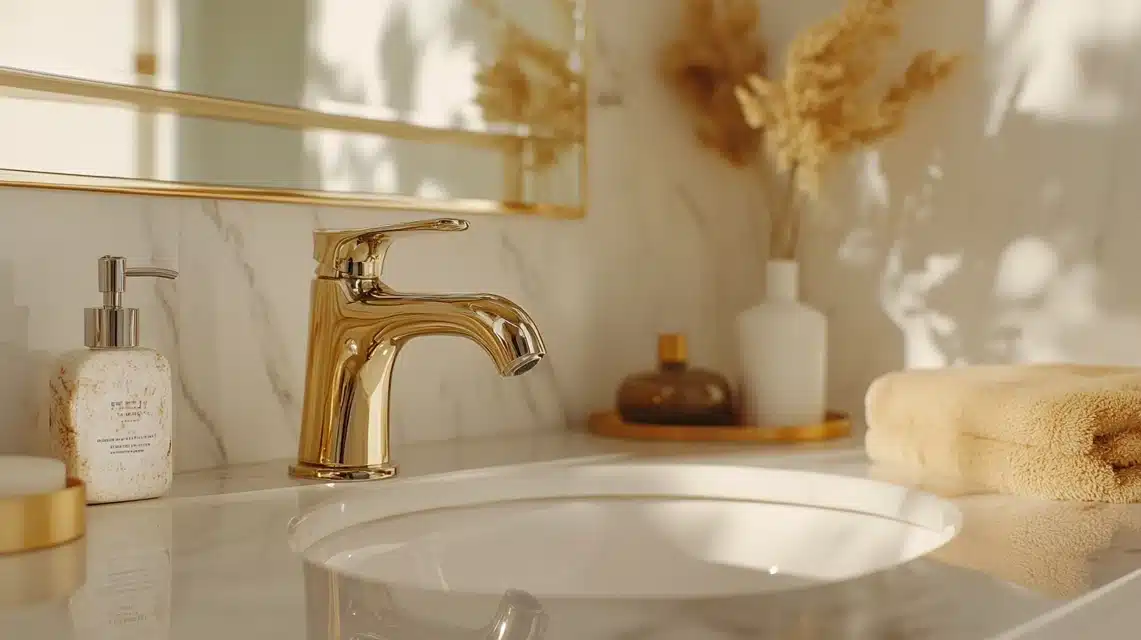
Outdated taps and bathroom fixtures can dramatically age the look of your entire space. Rub ‘n Buff offers a surprisingly effective and affordable solution for a quick refresh. Begin by meticulously cleaning your taps with mineral spirits or a strong degreaser to remove all soap scum, hard water stains, and built-up grime. This thorough cleaning is crucial for proper adhesion. Once sparkling clean and dry, apply very thin layers of your chosen Rub ‘n Buff color, taking care to work slowly and deliberately around the intricate curves, handles, and bases of the fixtures. The goal is even coverage without heavy build-up. After the desired metallic finish is achieved and completely dry, it’s highly recommended to apply a protective coat of oil-based clear polyurethane. This additional step significantly enhances the durability of the finish, which is paramount for high-touch items like taps, ensuring your refreshed look lasts. This technique can also be extended to shower door frames, towel racks, or cabinet hardware to create a perfectly coordinated and updated bathroom aesthetic.
Update Your Furniture Hardware
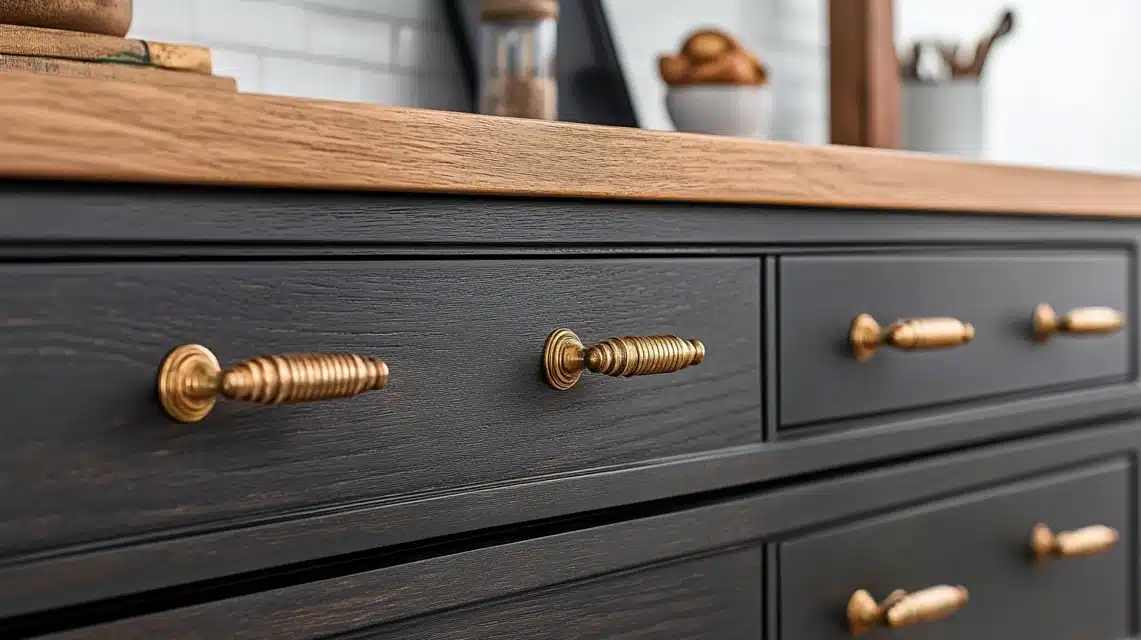
Never underestimate the transformative power of small details, particularly furniture hardware. The handles, knobs, and pulls on your dressers, cabinets, and chests are small elements that collectively make a substantial impact on a room’s overall aesthetic. Instead of replacing old brass pulls or painted knobs, give them a sophisticated new lease on life with Rub ‘n Buff. Start by thoroughly cleaning each piece of hardware, removing any dirt, grease, or old paint. Once dry, apply a very thin coat of your chosen metallic color. For a beautifully aged and sophisticated look, consider applying Antique Gold, then, while it’s still slightly tacky, gently dab or dry-brush tiny amounts of Ebony into select spots, especially in the recesses. This technique creates a rich, antiqued finish that makes the hardware appear as though it has acquired a natural, beautiful patina over many years. Ensure each layer of Rub ‘n Buff dries completely before adding another or applying any distressing techniques, to prevent smudging and ensure durability.
Let Your Decor Shine with Metallic Accents
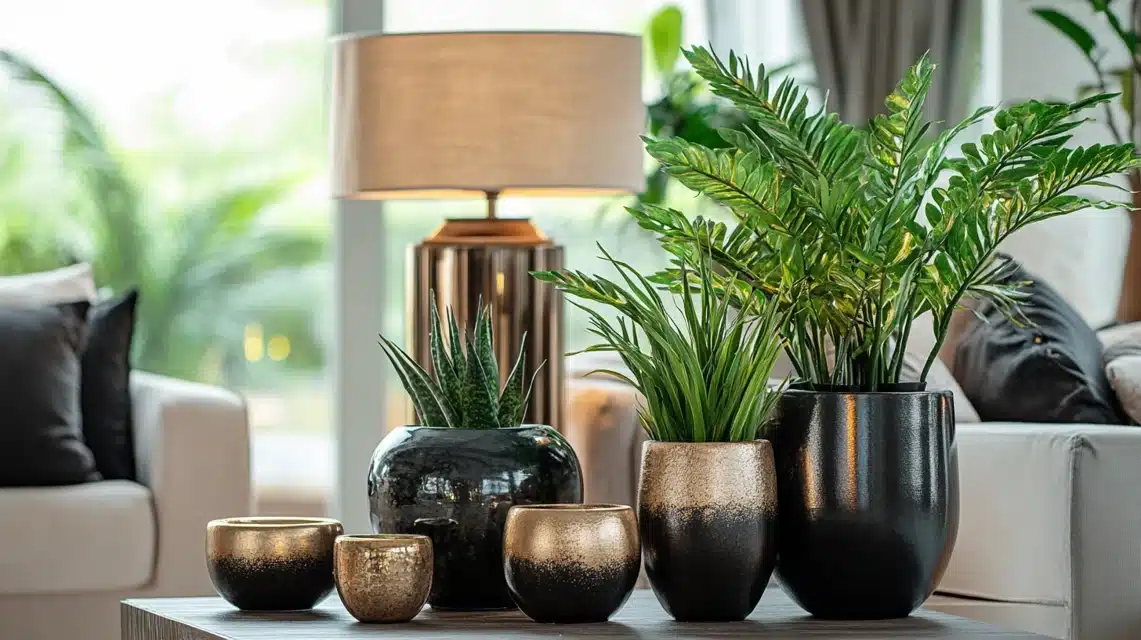
Take a fresh look around your home; countless plain, overlooked decorative items are waiting for their metallic transformation. That unassuming lamp base gathering dust can be revitalized to perfectly complement your room’s style with a sleek Silver Leaf finish. A dull ceramic planter can gain instant texture and visual interest with a touch of radiant Gold Leaf. For larger decorative items, a helpful tip is to work in small, manageable sections. This method allows you to maintain an even finish and prevents the product from drying prematurely before you can properly buff it. Rub ‘n Buff is surprisingly effective even on plastic items, giving them the convincing appearance of real metal once finished. Always remember the fundamental steps: thoroughly clean the item before application, and dedicate ample time to the buffing process to achieve that desirable, lustrous sheen.
Enhance Additional Styling Elements
Extend your creativity to various other styling elements throughout your home. Make seasonal items truly special by infusing them with metallic touches that catch the light and draw the eye. Plain glass ball ornaments can be transformed into elegant, shimmering holiday decorations. Old, tarnished bells can regain their former glory, or even adopt a brand new color, with a simple application. Actively seek out items with inherent patterns, carvings, or intricate textures; these details are where Rub ‘n Buff truly shines and adds depth. Work the product carefully into the deeper recesses and carved details, then, using a very light hand, wipe or buff the raised areas. This technique creates a beautiful contrast and shadow play, giving simple items a rich, multi-dimensional appearance that looks far more interesting and expensive than their original state.
Removing Rub ‘n Buff: A Challenging but Achievable Task
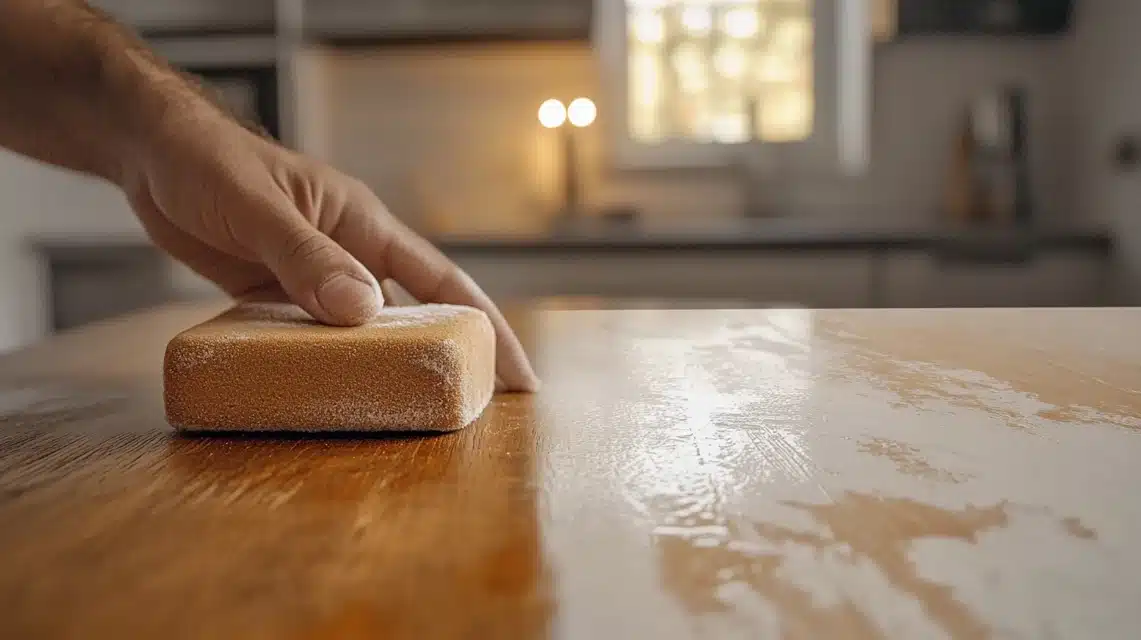
While Rub ‘n Buff is designed for long-lasting results, there might be instances where you need to remove it to start fresh or correct a mistake. It can be a bit challenging, but definitely possible with the right approach. Here’s a step-by-step guide to tackling removal:
Begin with the gentlest method: warm, soapy water and a soft, clean cloth. Lightly scrub the affected area. This can often be effective for freshly applied Rub ‘n Buff or very thin layers. If that doesn’t yield satisfactory results, move on to a “magic eraser” style cleaning pad. However, always test it first in an inconspicuous spot on your item to ensure it doesn’t damage the underlying surface, especially on delicate finishes or painted items.
For more stubborn or fully cured applications, mineral spirits are your next line of defense. Apply a small amount to a clean cloth and gently rub the area. Mineral spirits are a strong solvent, so exercise caution. Work in a well-ventilated area, and always wear protective gloves to prevent skin irritation. On wooden surfaces, using mineral spirits might also strip away any underlying finish or stain, meaning you may need to sand and re-finish the wood after removing the Rub ‘n Buff. It’s important to remember that removing the product from highly textured or porous surfaces, like unfinished wood or deeply carved items, will be significantly more difficult than from smooth, non-porous materials. Therefore, consider this challenge carefully before applying Rub ‘n Buff to such intricate areas.
Conclusion: Embrace the Transformative Power of Rub ‘n Buff
After personally using Rub ‘n Buff on countless items throughout my home, from small decorative accents to larger furniture pieces, I can wholeheartedly attest to its incredible value and transformative power. It’s more than just a craft product; it’s a gateway to easy and impactful home makeovers. The most appealing aspect is its remarkable accessibility – you absolutely do not need to be an experienced artist or a seasoned DIY expert to achieve stunning results. The process is straightforward and forgiving, encouraging experimentation and creativity.
The core technique is simple: ensure your item is clean, apply a very thin, even layer of the product, and then buff it until you’ve reached your desired level of metallic sheen and opacity. If you’re new to Rub ‘n Buff, I highly recommend starting small. A simple picture frame, a pair of old drawer pulls, or a forgotten decorative figurine makes for an excellent first project. Once you experience firsthand how easy it is to elevate these everyday items, you’ll undoubtedly start noticing countless other possibilities around your house that could benefit from a touch of metallic magic! Remember to pick colors that resonate with your personal style – perhaps Antique Gold for a touch of old-world charm, Silver Leaf for sleek, modern spaces, or Spanish Copper for a warm, inviting glow. With Rub ‘n Buff, the potential for creative expression and stunning home transformations is truly limitless.
Frequently Asked Questions About Rub ‘n Buff
Do I need to sand before using Rub ‘n Buff?
Sanding is not always required, but it is highly recommended for very smooth, glossy, or non-porous surfaces (like highly polished metal or varnished wood). Light sanding creates a microscopic “tooth” that helps the wax-based product adhere much better, preventing peeling and ensuring a more durable finish. For most other items, simply ensuring the surface is thoroughly clean, dry, and free of grease or debris is sufficient before you begin application. If you are unsure, a light scuff with fine-grit sandpaper is always a safe bet.
Why is my Rub ‘n Buff not sticking to metal?
If your Rub ‘n Buff isn’t adhering well to a metal surface, it’s most likely due to one of two common issues: either the metal surface is too smooth, or it has residual oils or dirt. Metal can be quite slick, and Rub ‘n Buff needs something to grip onto. To ensure proper adhesion, always start by thoroughly cleaning the metal with a strong degreaser like mineral spirits or rubbing alcohol. This will remove any oils (including fingerprints), grime, or residue that could create a barrier. After cleaning, lightly sand the metal surface with fine-grit sandpaper (around 220-400 grit). This slight abrasion will create the necessary texture for the product to bond effectively, leading to a beautiful and long-lasting metallic finish.
