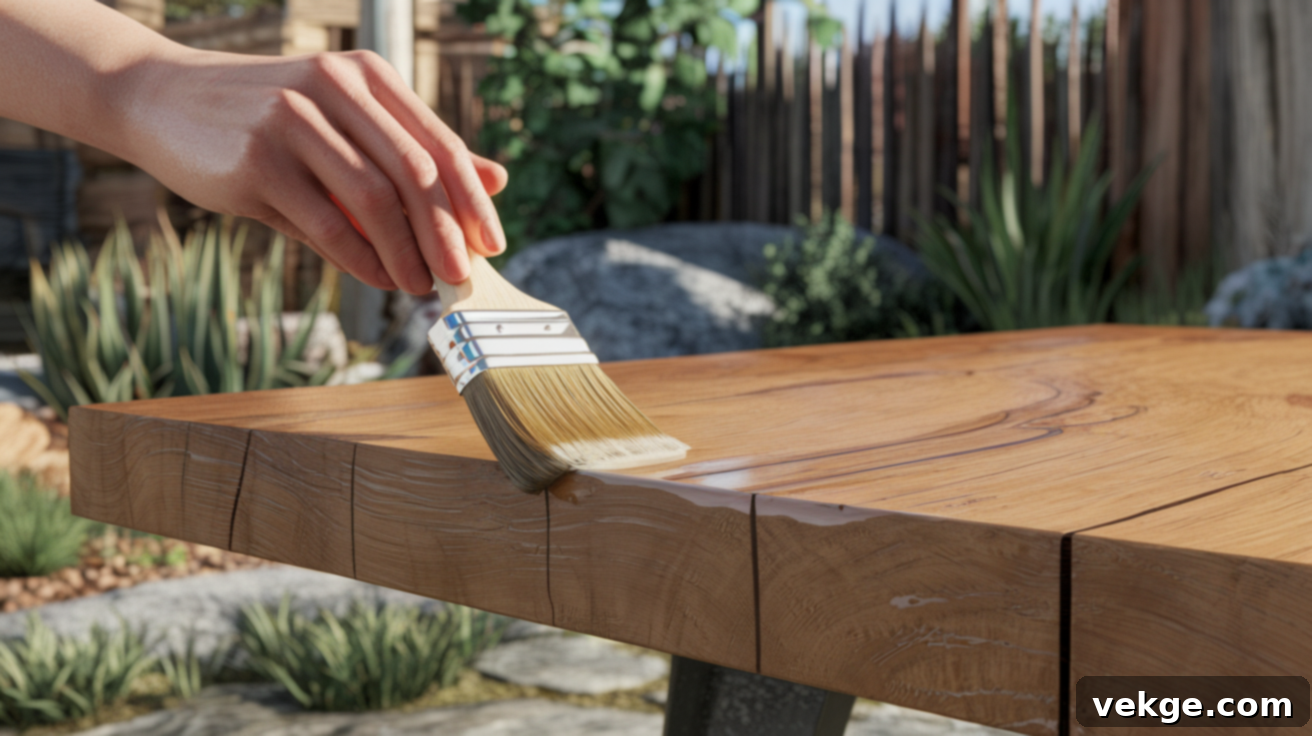
The Ultimate DIY Guide to Sealing Wood: Protect & Enhance Your Wooden Surfaces
There’s an undeniable charm that real wood brings into any space. Its natural warmth, unique character, and comforting presence can transform a house into a home. However, the beauty of raw wood is also its vulnerability. Without proper care and protection, natural wood can quickly show signs of wear, such as dry spots, unsightly water marks, or fading.
Unprotected wooden surfaces are susceptible to damage from moisture, sunlight, and everyday use, leading to faster deterioration than you might expect. This is where the crucial process of sealing comes into play, making a significant difference in the longevity and appearance of your cherished wooden items.
This comprehensive guide is designed to make the wood sealing process simple and stress-free for any DIY enthusiast. We’ll walk you through everything you need to know, from selecting the best wood sealant for your specific project to preparing your surface meticulously and following each application step with confidence. You won’t need fancy tools or expert skills—just a bit of patience and care. Let’s embark on this journey together to protect and enhance your wooden surfaces!
Why Sealing Wood Matters for Long-Lasting Protection
Natural wood, while inherently strong and beautiful, is also surprisingly sensitive to external elements. Moisture, intense sunlight, and daily wear and tear can take a heavy toll. Sealing wood creates a vital, thin protective layer on the surface, acting as a shield against these damaging factors. This protective barrier isn’t just about aesthetics; it’s about preserving the structural integrity and extending the life of your wooden pieces.
- Moisture Resistance: A quality wood sealant effectively repels water, preventing it from penetrating the wood fibers. This is crucial for avoiding common issues like warping, swelling, cracking, and even mildew growth, which can severely damage wood.
- Enhanced Durability: Sealing significantly increases the wood’s resistance to scratches, dents, and abrasions, making it more durable. This is especially important for high-traffic areas like flooring or frequently used furniture such as dining tables and countertops.
- Preservation of Natural Beauty: Sealants help the wood retain its natural grain patterns, rich color, and inherent luster. They also offer protection against harmful UV rays, which are notorious for causing wood to fade, bleach, or turn an undesirable gray over time.
- Easier Maintenance: A sealed surface is much easier to clean and maintain. Spills can be wiped away without staining, and dust or grime won’t cling as stubbornly, simplifying your regular cleaning routine.
- Resistance to Stains: Beyond water, sealants also provide a barrier against various liquids and food spills, preventing them from soaking into the wood and leaving permanent stains.
Skipping the sealing step can lead to your wood wearing out faster, losing its vibrant color, becoming susceptible to moisture damage, and generally diminishing in appearance and value. Investing a little time in sealing now will save you a lot of trouble and expense in the long run, ensuring your wood remains beautiful and functional for years to come.
How to Seal Wood: A Comprehensive Step-by-Step Guide
The idea of sealing wood might seem daunting at first glance, but it’s a straightforward process when approached systematically. The primary objective is to create a robust protective layer that enhances the wood’s natural beauty without obscuring it. Achieving this requires a meticulously clean surface, the correct sealing product, and a dedicated amount of time. With careful attention to each stage and a healthy dose of patience, you can achieve professional, long-lasting results. Let’s break down each step so you feel fully prepared to begin your wood sealing project.
Step 1: Gather Your Essential Materials
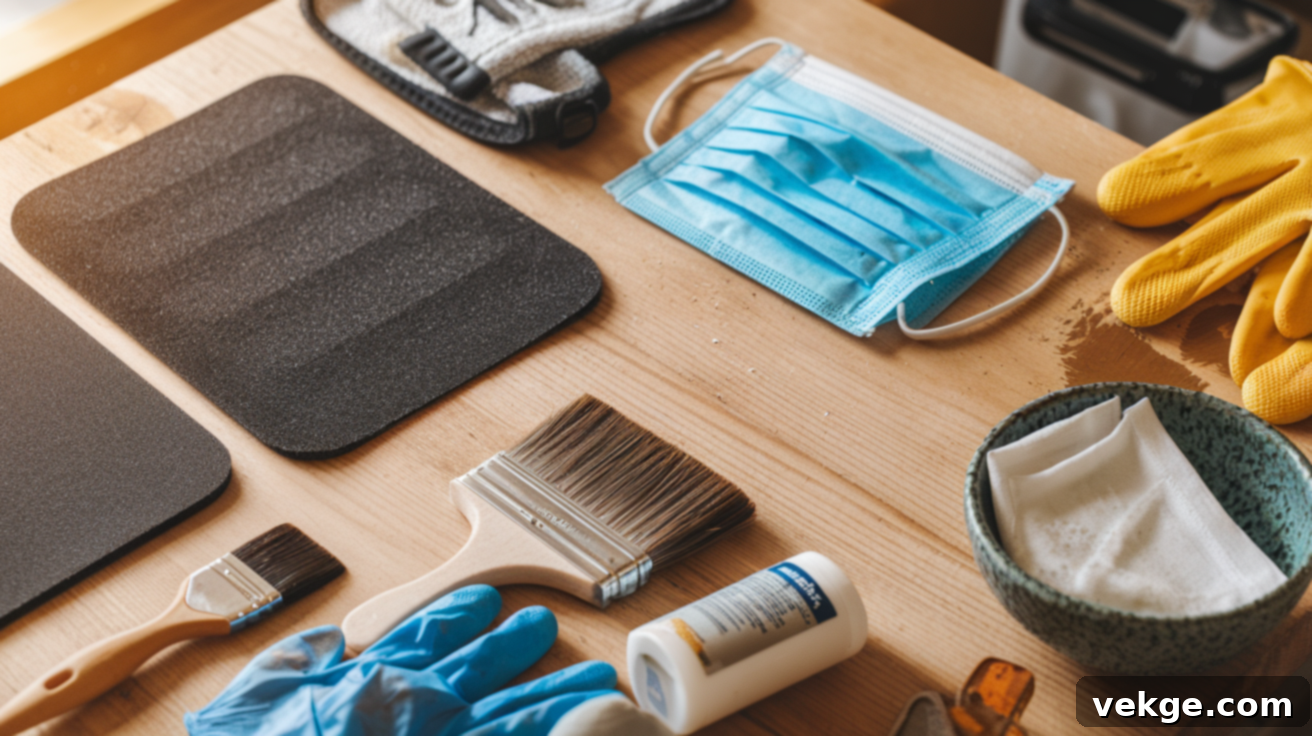
Before you even touch the wood, ensure you have all the necessary tools and materials at hand. Having everything organized will streamline the process and prevent interruptions. Here’s a detailed list:
- Damp Rag or Cloth: Essential for the initial cleaning phase to remove loose dust and superficial dirt. Choose a lint-free cloth to avoid leaving fibers on the wood.
- Mild Soap (e.g., Dish Soap) or Wood Cleaner: For deeper cleaning, especially if the wood is sticky, oily, or has old residue. A gentle, diluted solution is usually sufficient.
- Foam Sanding Pads or Fine-Grit Sandpaper (180-220 grit): Crucial for smoothing the wood surface and creating a profile that allows the sealant to adhere properly. Foam pads offer better flexibility for contoured surfaces.
- Tack Cloth or a Clean, Dry Microfiber Cloth: Absolutely vital for removing fine sanding dust. A tack cloth is specifically designed to pick up minute particles without redepositing them.
- Paintbrush, Foam Applicator, or Sprayer: The choice depends on the sealant type and the size/intricacy of your project. Brushes are good for details, foam applicators for smooth, even coats, and sprayers for large, flat surfaces.
- Your Chosen Wood Sealant: This is the star of the show! Select based on your project’s needs (e.g., polyurethane, polycrylic, wax, oil). Ensure you have enough for multiple coats.
- Gloves and a Safety Mask/Respirator: Non-negotiable for personal protection. Gloves protect your hands from chemicals, and a mask (especially a respirator for high-VOC products) protects your respiratory system from fumes and fine dust.
- Stir Stick: To thoroughly mix your sealant before application, ensuring a consistent finish.
- Drop Cloths or Plastic Sheeting: To protect your work area from spills and drips.
Step 2: Meticulously Clean the Wood Surface
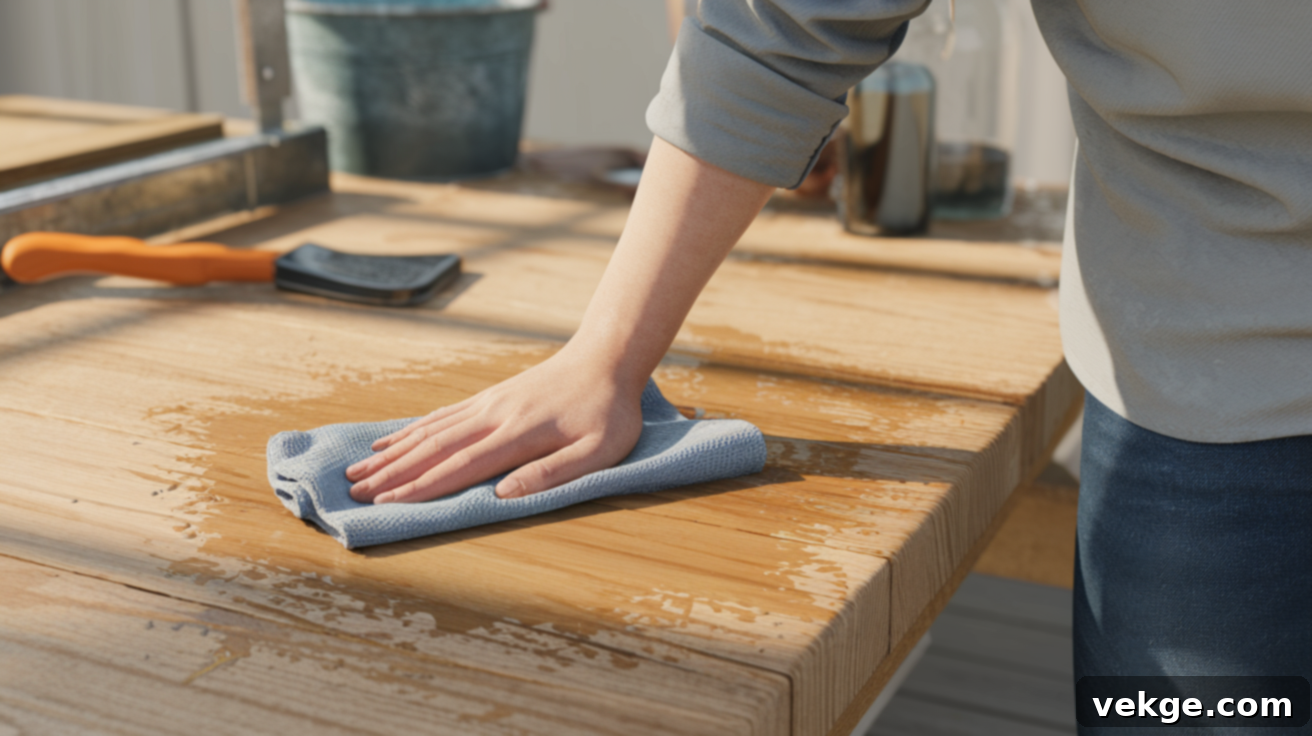
A pristine surface is paramount for a flawless finish. Begin by wiping the wood thoroughly with a soft, damp, lint-free cloth. This initial pass will effectively remove surface dust, loose dirt, and any lingering old residue. If the wood feels sticky, looks oily, or has stubborn grime, add a few drops of a gentle dish soap or a dedicated wood cleaner to your damp cloth. Work carefully, paying close attention to corners, crevices, and edges where dirt can accumulate.
After cleaning, allow the wood to dry completely and naturally in a clean, well-ventilated area. Do not rush this drying process. Any trapped moisture beneath the sealant can lead to an uneven finish, milky patches, or even promote mold growth over time, compromising both the appearance and integrity of your wood. Ensure the wood is completely dry to the touch and visually clear of moisture before proceeding to the next step.
Step 3: Gently Sand the Wood Surface
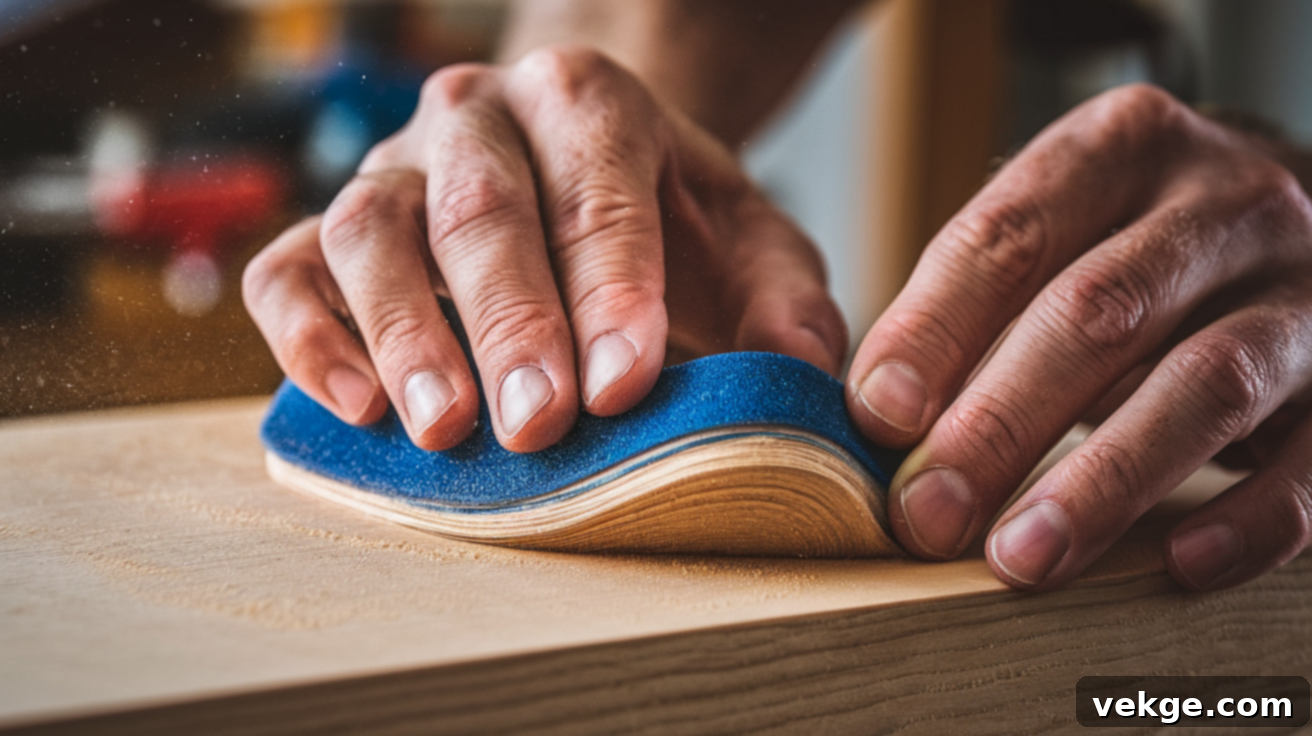
Once the wood is completely dry, sanding is the next critical step to prepare it for optimal sealant adhesion. Using a foam sanding pad or fine-grit sandpaper (typically 180-220 grit), gently rub the entire surface. The goal here isn’t to remove significant material, but to create a uniformly smooth texture and a slight “tooth” for the sealant to grip onto.
Always sand in the direction of the wood grain. This technique is crucial for maintaining the wood’s natural lines and preventing visible cross-grain scratches that will become glaringly obvious once the sealant is applied. Light, even sanding helps the sealant bond better to the surface, resulting in a more durable and longer-lasting finish. Be diligent but gentle; avoid sanding too hard or for too long in one spot, as this can create depressions or over-smooth the surface, which can hinder adhesion. The aim is a consistently smooth, slightly dull finish.
Step 4: Thoroughly Wipe Away All Dust
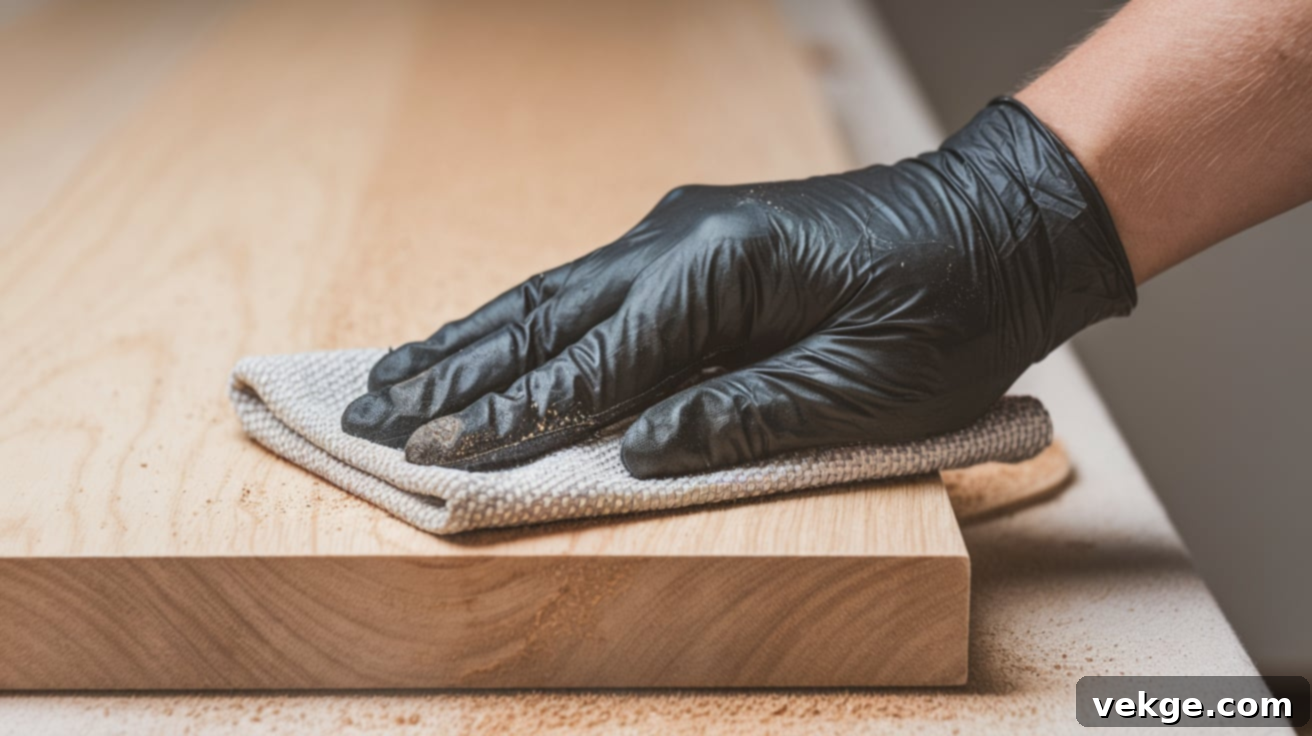
Sanding, even with fine grit, generates a considerable amount of minute dust particles. This dust must be entirely removed before you apply any sealant. Failing to do so is a common mistake that can lead to an inferior finish. Use a tack cloth or a clean, dry microfiber rag to meticulously wipe down the entire surface. A tack cloth is particularly effective as it has a slightly sticky resin that picks up fine dust rather than just pushing it around.
Move the cloth gently and deliberately across the wood, ensuring you lift every speck of dust. Pay special attention to corners, carved details, and any cracks or seams where dust loves to hide. Even the smallest bits of dust can become trapped under the sealant, resulting in a bumpy, uneven, and rough finish that detracts from the wood’s appearance and the sealant’s protective qualities. For larger projects, you might consider using a vacuum with a brush attachment first, followed by the tack cloth for the finest particles.
Step 5: Apply Sealant in Uniform Thin Layers
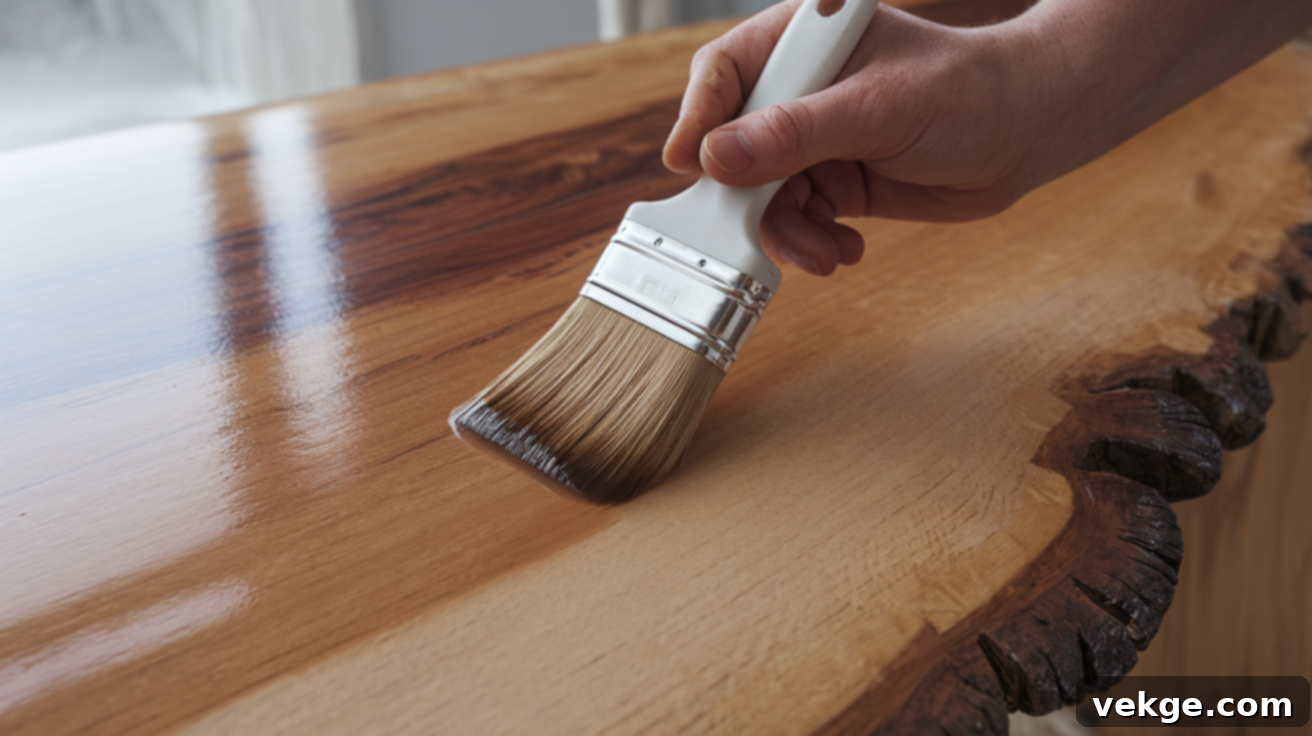
With a perfectly clean and dry surface, you’re ready to apply the sealant. Before starting, stir your sealant thoroughly (do not shake, as this can introduce bubbles). Choose your application tool: a high-quality paintbrush for intricate areas, a foam applicator for broad, smooth surfaces, or a sprayer for very large projects and a factory-like finish. Dip your brush or applicator lightly, ensuring it’s not overloaded with product. Spread a thin, even coat across the wood, always working in the direction of the grain.
Applying thin layers is absolutely crucial for achieving a smooth, even, and durable finish. A heavy coat might seem quicker, but it’s prone to drips, bubbles, uneven drying, and a sticky residue. Thin coats dry faster and cure more completely, providing better adhesion and a more professional look. Take your time with this step, focusing on smooth, consistent strokes without overworking the product. This patience will be amply rewarded with superior results.
Step 6: Allow Full Drying Time Between Coats and Lightly Sand
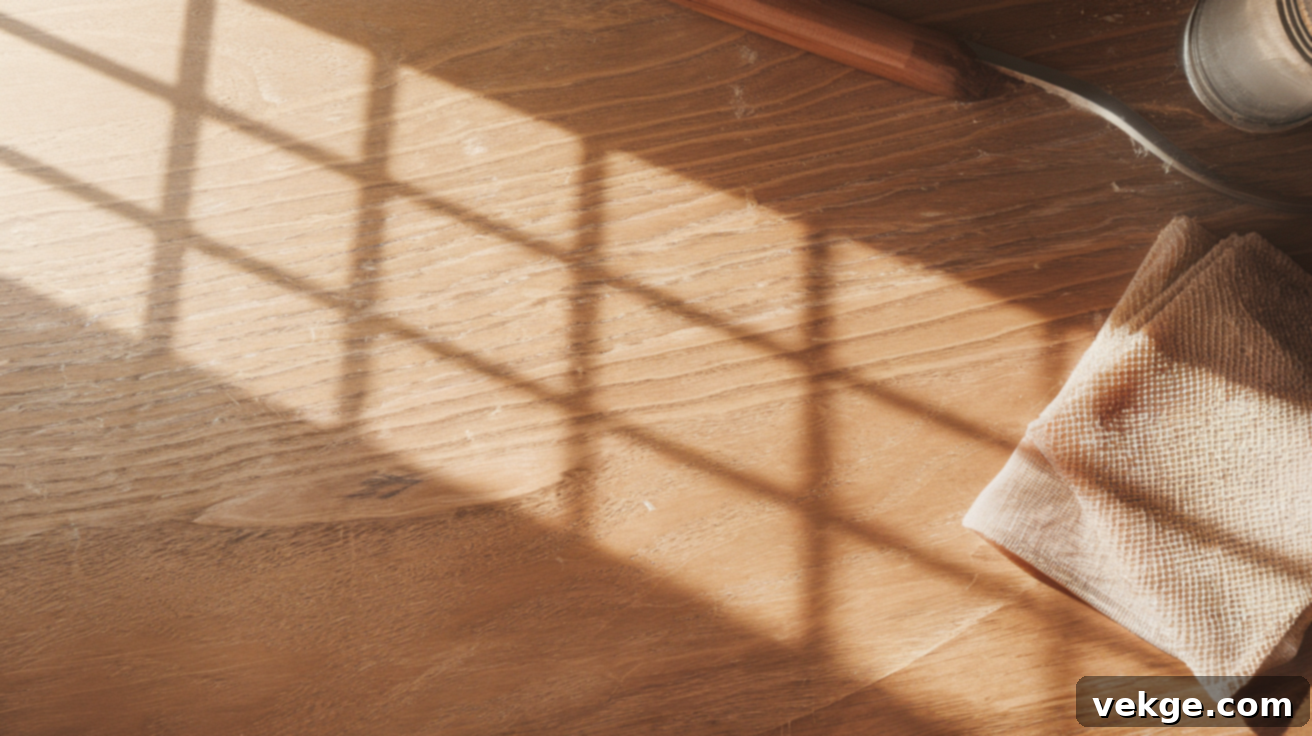
After applying the first coat, resisting the urge to immediately apply another is vital. Give the sealant ample time to dry completely according to the manufacturer’s instructions, which are typically found on the product label. Most sealants require several hours, and some even longer, depending on humidity and temperature. The wood surface should feel completely dry to the touch and no longer tacky before you proceed.
Once the first coat is fully dry, it’s beneficial to lightly sand the entire surface again with a very fine-grit sanding pad (e.g., 220-320 grit). This light “inter-coat abrasion” serves two purposes: it smooths out any minor imperfections, dust nibs, or brush strokes from the previous coat, and it creates a slightly scuffed surface that significantly improves the adhesion of subsequent coats. After sanding, meticulously wipe away all dust with a tack cloth before applying the next coat.
Then, apply the second coat using the same thin-layer technique, again working with the grain. Most indoor projects, especially those with moderate use, benefit greatly from two to three coats for optimal protection and appearance. For outdoor items, high-traffic areas like floors, or pieces subject to frequent moisture, you might need four or even five coats to ensure maximum durability and weather resistance. Always allow each layer to dry completely and sand lightly between coats.
Choose the Right Sealant for Your Project Needs
The vast array of wood sealants can be overwhelming, but selecting the right one is key to the success and longevity of your project. Different sealants offer varying levels of protection, aesthetic finishes, and suitability for specific environments. Here’s a breakdown to help you make an informed decision:
| Sealant Type | Best For | Pros | Cons | Notes |
|---|---|---|---|---|
| Polyurethane | High-traffic floors, dining tables, dark woods, outdoor furniture (oil-based) | Extremely durable, excellent protection against wear, moisture, and impact. Available in oil-based (very tough) and water-based (lower VOC, faster drying). | Oil-based can have a strong odor, slow to dry, may yellow over time. Water-based is less durable than oil, but clears up quickly. | Ensure good ventilation, especially with oil-based varieties. Multiple thin coats are essential for optimal durability. |
| Polycrylic | Light-colored woods, furniture, crafts, cabinets, indoor use | Low odor, water-based for easy cleanup, resists yellowing, quick drying. Ideal for preserving the natural look of light woods. | Less durable than oil-based polyurethane; not recommended for high-traffic floors or outdoor exposure. | Apply thin coats to avoid brush marks. Excellent for achieving a clear, non-yellowing finish on white or pastel woods. |
| Wax Finish | Decorative items, shelves, photo frames, low-use decor, antique furniture restoration | Provides a soft, lustrous shine; very low odor; easy to apply and buff. Enhances the natural feel of the wood. | Offers limited protection against water and scratches; requires periodic reapplication; not suitable for high-traffic or wet areas. | Best for aesthetic appeal rather than long-term durability. Often used over other finishes for added luster. |
| Hemp Oil | Small projects, cutting boards, wooden toys, eco-conscious homes, indoor use | Food-safe, non-toxic, safe around pets and children; deeply penetrates to nourish wood and enhance grain; easy to apply. All-natural option. | Requires frequent reapplication to maintain protection; offers limited surface protection compared to film-forming sealants. | Soaks into the wood rather than forming a hard surface coat. Best for bringing out natural wood beauty and light protection. |
| Spar Urethane | Decks, outdoor furniture, garden planters, marine applications, doors, window sills | Exceptional protection against UV radiation, water, moisture, and extreme temperature fluctuations. Designed for outdoor durability. | Can have a strong odor (often oil-based); typically requires multiple coats; longer drying times. | Specifically formulated to be flexible and withstand harsh outdoor elements. Crucial for any exterior wood project exposed to weather. |
Fixing Common Wood Sealing Mistakes
Mistakes are a natural part of any DIY learning curve, and sealing wood is no exception. The good news is that most common errors can be corrected with a bit of patience. Understanding how to troubleshoot will build your confidence and help you achieve better results.
- Too Much Sealant / Drips: If you apply too much sealant, it can pool, sag, or create unsightly drips. If the sealant is still wet, gently wipe away the excess with a clean brush or cloth. If it has dried, you’ll need to lightly sand the affected area with fine-grit sandpaper (e.g., 220-320 grit) until smooth, then clean thoroughly with a tack cloth and reapply a very thin, even layer.
- Bubbles: Bubbles can appear if the sealant is shaken vigorously before use, applied too quickly, or too thickly. If the bubbles are wet, gently brush over them to release the air. If they’ve dried, you’ll need to sand the area down until smooth, clean off the dust, and reapply a thinner, more controlled coat. Avoid shaking the can; stir gently instead.
- Streaks or Uneven Finish: These usually occur from uneven application, using a dirty brush, or not following the wood grain. For wet streaks, gently smooth them out with light brush strokes. For dry streaks, lightly sand the area with fine-grit sandpaper, clean meticulously, and reapply a smooth, consistent coat, ensuring you always brush with the grain.
- Dust Contamination: If tiny dust particles or fuzz get trapped in your wet sealant, you’ll see small bumps. Once dry, these areas will need to be sanded smooth, wiped clean with a tack cloth, and then recoated. This highlights the importance of thorough dust removal before application.
Remember, taking your time with each step and allowing adequate drying between coats gives you better control and leads to more consistent results. There’s no need to rush; it’s always okay to slow down and ensure the job is done right.
Project-Specific Wood Sealing Tips for Optimal Results
While the general steps for sealing wood remain consistent, certain projects may require special considerations or specific sealant types. Tailoring your approach ensures the best outcome for your particular item.
- Cutting Boards & Kitchen Utensils: For any wood that comes into contact with food, it is absolutely crucial to use food-safe finishes. Avoid polyurethane or other chemical sealants. Instead, opt for natural, food-grade oils like mineral oil, tung oil, or a beeswax/mineral oil blend. These penetrate and nourish the wood without forming a harmful film.
- Shelving & Bookcases: Choose a sealant that provides a durable, non-tacky finish. Polycrylic is an excellent choice as it dries clear, resists yellowing, and doesn’t get sticky, preventing items from adhering to the shelves or dust from clinging excessively.
- Wall Planks & Paneling: If you want to maintain the natural color of wall planks, especially lighter woods, polycrylic is ideal as it won’t yellow over time. For high-moisture areas like bathrooms, a spar urethane might be considered for added protection, though proper ventilation is also key.
- Vintage Furniture: Always test your chosen sealant on an inconspicuous area first, such as the underside of a leg or inside a drawer. Older wood can sometimes react unpredictably to modern sealants, and you’ll want to ensure the finish and color are what you expect before committing to the entire piece. Use a gentle approach to preserve its character.
- Outdoor Furniture & Decks: These require robust protection against the elements. Spar urethane is the top choice due to its superior resistance to UV rays, moisture, and temperature changes. Ensure multiple coats are applied and reapplied periodically as part of a regular maintenance schedule.
- Wood Floors: Durability is paramount for flooring. Oil-based polyurethane is often favored for its extreme hardness and resistance to heavy foot traffic, though water-based options are popular for faster drying and lower VOCs. Professional application is often recommended for large floor areas.
Important Safety Tips When Sealing Wood
Working with wood sealers often involves strong-smelling chemicals and can pose health risks if proper precautions aren’t taken. Your safety should always be the top priority.
- Ensure Ample Ventilation: Always work in a well-ventilated area. Keep windows open, use exhaust fans, or work outdoors if possible. Proper airflow helps dissipate harmful fumes and reduces the risk of inhalation.
- Wear Personal Protective Equipment (PPE): Protect your hands with chemical-resistant gloves and wear a safety mask or, preferably, a respirator, especially when working with high-VOC (Volatile Organic Compound) sealants like oil-based polyurethane. Safety glasses are also advisable to prevent splashes.
- Avoid Heat and Open Flames: Many sealants are flammable. Never use heat sources, open flames, or smoke near where you are working or storing sealants. Ensure your workspace is free from ignition sources.
- Read Product Labels Carefully: Every sealant product has specific instructions and safety warnings. Read and follow these guidelines meticulously for application, drying times, ventilation requirements, and first aid information.
- Proper Disposal and Storage: Dispose of used rags, brushes, and leftover sealant according to local regulations. Some oil-soaked rags can spontaneously combust, so they should be soaked in water and disposed of safely. Store sealants in a cool, dry place, tightly sealed, and out of reach of children and pets.
Even low-odor or “eco-friendly” sealants can produce fumes that might irritate your lungs or cause discomfort in a closed room. Prioritizing safety will ensure a smooth, healthy, and successful wood sealing experience.
Conclusion: Empowering Your Wood Sealing Journey
By now, you should possess a much clearer understanding of how wood sealing works, what products to use, and precisely why this process is so vital for the longevity and beauty of your wooden items. We’ve journeyed through the foundational reasons for sealing, explored the diverse choices in sealants, provided a detailed step-by-step guide for preparation and application, and even offered solutions for common mistakes. This comprehensive information is designed to empower you to approach your next wood project with newfound clarity, confidence, and significantly less stress.
If you’ve followed along this far, you are already well on your way to becoming a skilled wood finisher. Remember that mastery comes with practice. Keep learning, keep trying, and never be afraid to slow down and meticulously execute each step. The beauty and durability of your finished pieces will be a testament to your careful efforts.
Should you have found this guide helpful and inspiring, we encourage you to explore other practical blogs and resources available on our website. There’s always another simple and rewarding project waiting for you to discover and tackle next!
