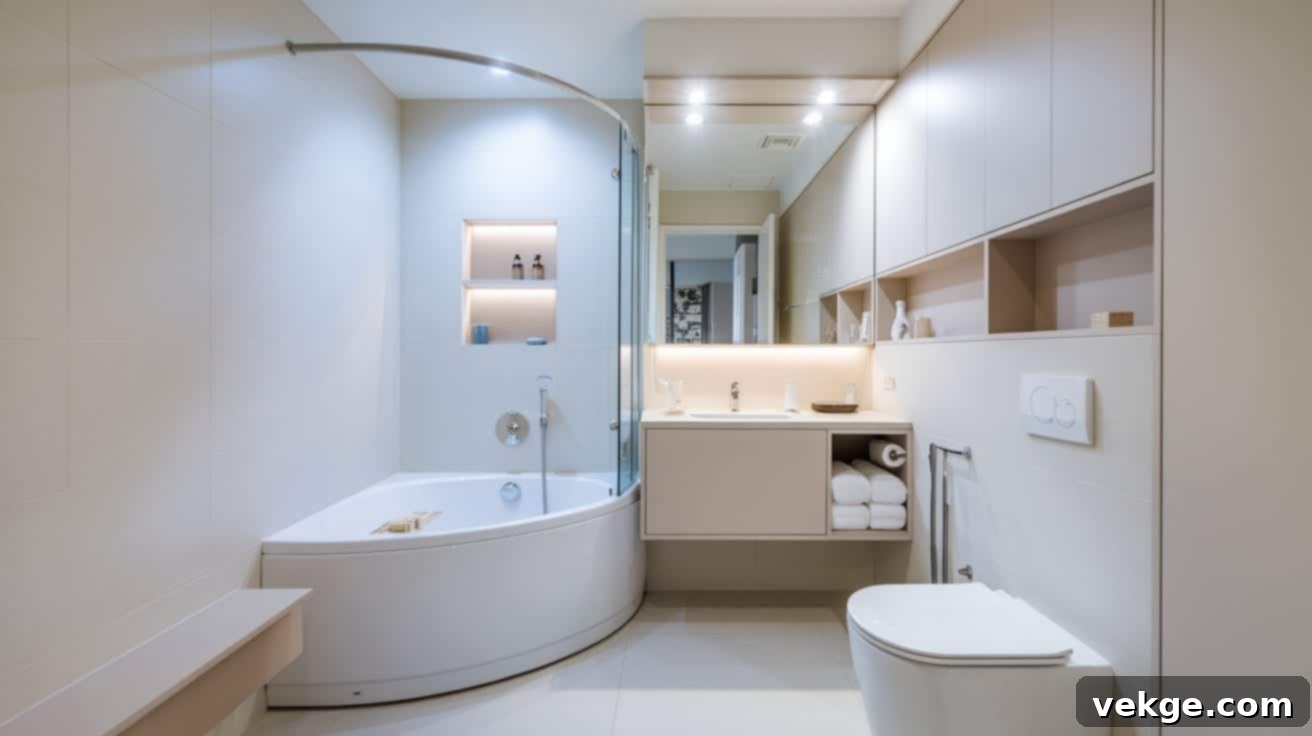
Transform Your Compact Bathroom: Innovative Tub and Shower Solutions
Embarking on a bathroom renovation can be both an exciting dream and a daunting challenge, especially when dealing with limited space. Many homeowners yearn for the luxury of both a refreshing shower and a relaxing bath, yet believe it’s an impossible feat in a smaller bathroom. Good news: you don’t have to choose! Creative and smart solutions exist for almost any bathroom size, transforming your compact space into a functional and stylish sanctuary.
This comprehensive guide is your ultimate resource for navigating the complexities of small bathroom design. We’ll delve into everything from understanding essential space requirements and adhering to building codes, to exploring 19 versatile layout options specifically engineered to maximize even the most limited square footage. Beyond layouts, we’ll cover crucial material choices, practical maintenance tips, and ingenious storage ideas that will help you create a comfortable and highly functional bathing space without the need for major expansions. Get ready to discover how to seamlessly combine the blissful comfort of a bath with the everyday convenience of a shower, making your small bathroom feel remarkably spacious and luxurious.
Fitting a Tub and Shower in a Small Bathroom: Practical Considerations
The desire to include both a shower and a bathtub in a limited space is a common aspiration for many homeowners planning a bathroom renovation. While it might seem challenging, it’s often achievable with careful planning and an understanding of your bathroom’s specific dimensions. The feasibility ultimately depends on your available floor space and your willingness to consider compact or multi-functional fixtures.
Standard full bathrooms in American homes typically span anywhere from 40 to 100 square feet. For a clearer perspective, a very small bathroom might measure 5×8 feet (40 sq ft), whereas a more comfortably sized bathroom could be 8×10 feet (80 sq ft). To successfully integrate both a tub and a shower without feeling cramped, you generally need a minimum of 40 square feet of usable floor space, after accounting for the essential toilet and sink. However, even smaller spaces can benefit from clever design choices. Consider these space-saving options:
- Combination Shower-Tub Units: These all-in-one units are a popular and efficient choice, typically measuring around 60 inches long by 30-32 inches wide, making them ideal for standard small bathrooms.
- Compact Soaking Tubs: Designed for comfort in tight spaces, some models of soaking tubs can be as small as 48 inches long, providing a relaxing bath experience without consuming excessive space.
- Corner Tubs: These uniquely shaped tubs are perfect for maximizing awkward or underutilized corner areas, making them a smart solution for optimizing layout efficiency.
- Wet Room Designs: For the ultimate open-concept solution, a wet room where the shower isn’t fully enclosed creates a seamless, spacious feel, often incorporating the tub within the waterproofed area.
It’s crucial to remember that local building codes mandate specific clearances around fixtures for safety and accessibility (typically 21-24 inches in front of a tub, toilet, and sink). Therefore, precise measurements and consulting with a professional are absolutely essential before finalizing your design decisions. In exceptionally small bathrooms, particularly those under 40 square feet, you might face the difficult choice of prioritizing either a shower or a tub, rather than comfortably accommodating both. However, with the right approach, many compact bathrooms can indeed host both amenities.
Popular Layout Ideas for Small Bathrooms: Maximizing Every Inch
You don’t have to compromise on comfort or style just because you have a small bathroom. With innovative design and smart planning, you can create a functional and appealing space. Here are 19 popular layout ideas that can help you seamlessly integrate both a tub and a shower, making your compact bathroom feel surprisingly spacious and luxurious.
1. Standard Bathtub/Shower Combo Layout
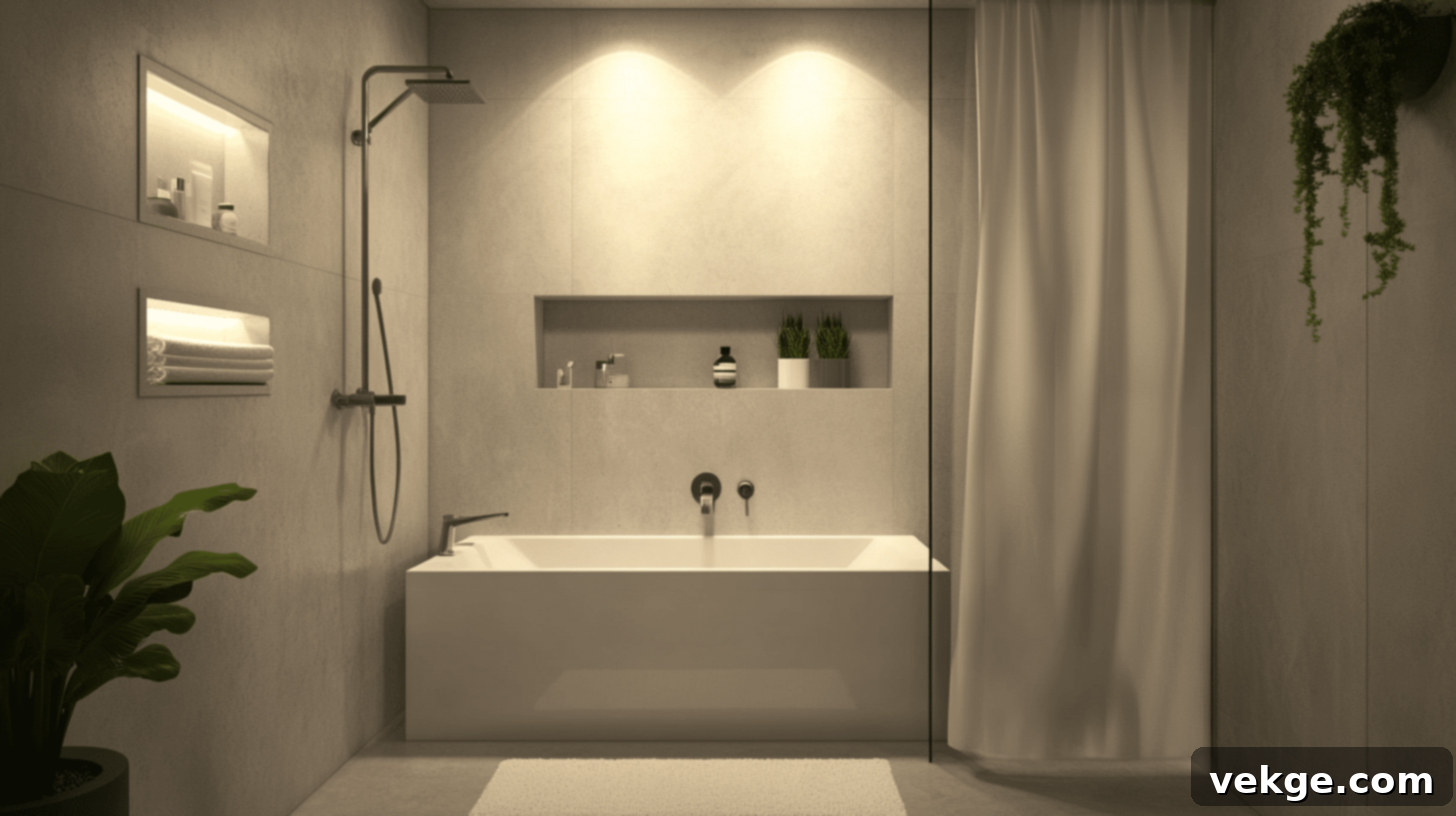
The classic standard bathtub with an overhead shower is arguably the most common and space-saving design, perfectly fitting along one wall, typically measuring 60×30 inches. This layout is an excellent choice for families, offering the versatility of both bath time for children and quick showers for adults. Its ease of installation and cost-effectiveness make it a practical solution for many small bathrooms. This combo unit not only maximizes limited linear space but also provides crucial flexibility in daily use, ensuring you don’t have to sacrifice either bathing option.
2. Walk-In Shower with Tub Combo
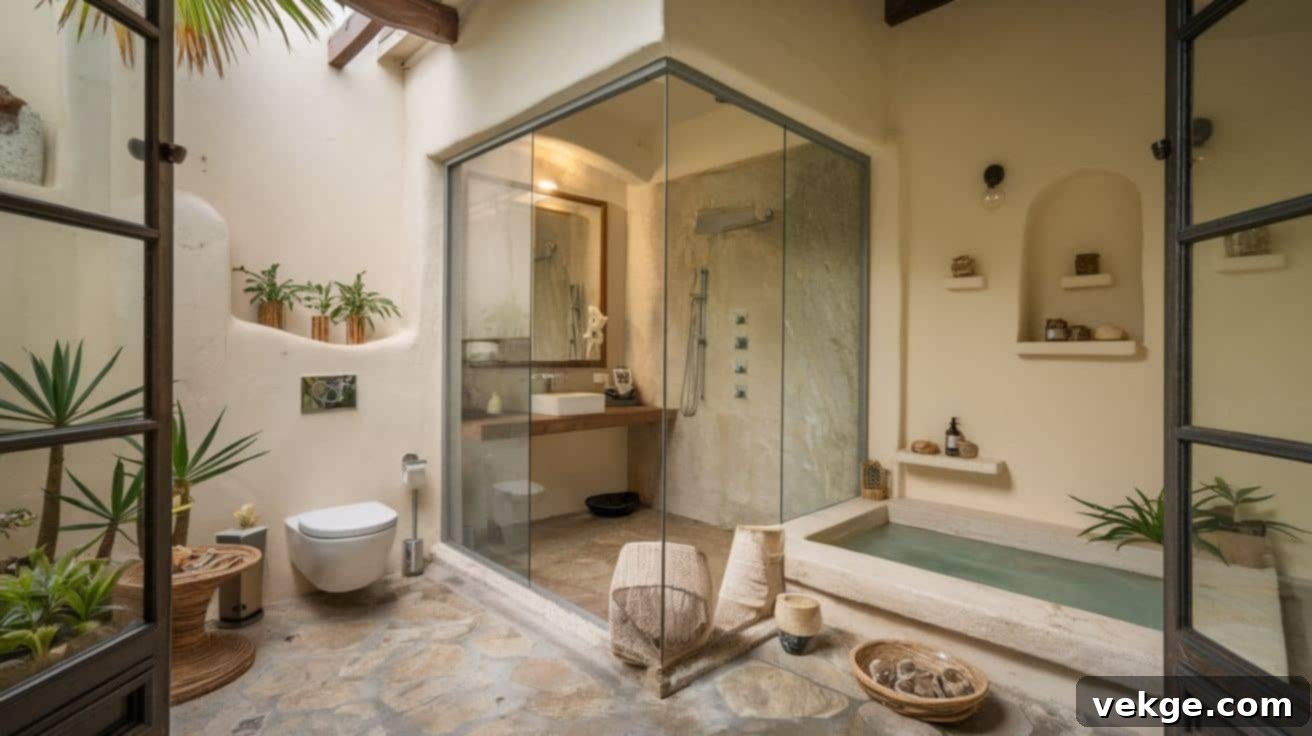
For those who crave a touch of luxury and don’t mind dedicating a bit more space, the walk-in shower with a nearby smaller bathtub combines elegance with functionality. This layout often features a separate, glass-enclosed shower, creating a sleek and modern aesthetic. The no-threshold design of the walk-in shower ensures easy access, making it a wise choice for future-proofing your home or for those with mobility considerations. It truly offers the best of both worlds: the spacious feel and convenience of a walk-in shower alongside the traditional comfort of a tub for unwinding. This layout is ideal for contemporary small bathrooms that aim for versatility and a sophisticated style.
3. Corner Tub and Shower Setup
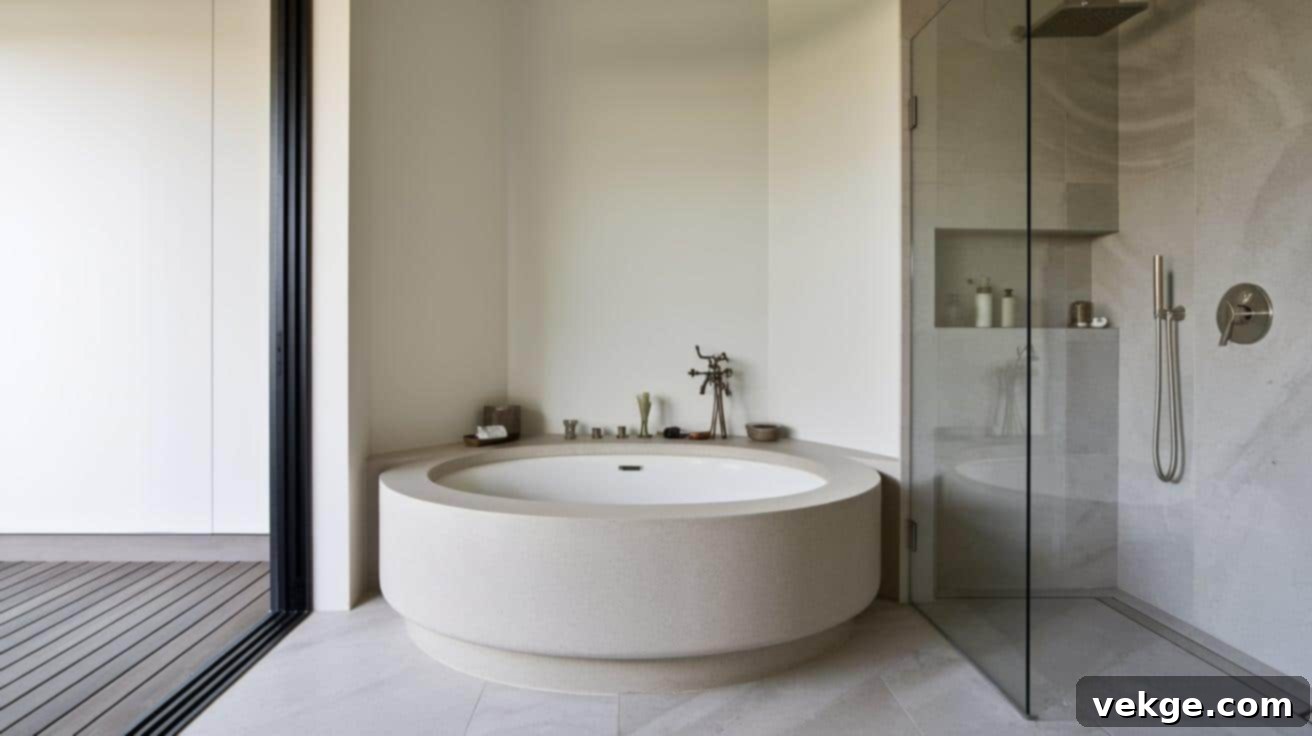
A brilliant strategy for optimizing bathroom space, the corner tub and shower setup intelligently utilizes otherwise wasted corner areas. By placing a triangular or rounded tub in the corner, with the shower either directly above or immediately adjacent, this layout makes the entire bathroom feel larger and more open. Its unique shape fits neatly, creating a distinct focal point while maintaining an open and airy atmosphere. This setup is particularly effective in smaller bathrooms, adding a modern and space-efficient touch to the overall design.
4. Long and Narrow Layout (Galley Style)
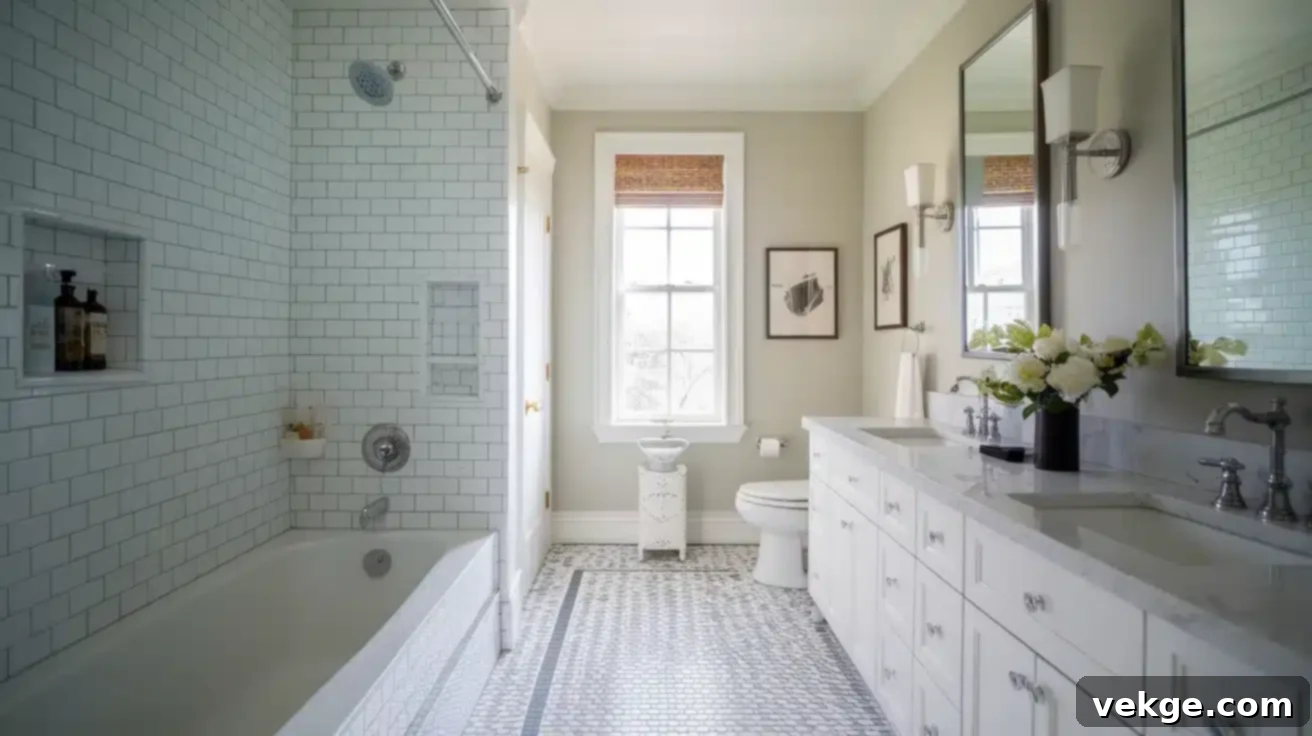
In bathrooms characterized by a long and narrow footprint, a “galley” style layout proves highly effective. This design aligns all fixtures along one wall, typically placing the tub-shower combo at one end, followed by the toilet and sink. This arrangement leaves the opposite wall entirely open, facilitating easier movement and preventing a cramped feeling. It’s a pragmatic solution for maximizing available space in narrow bathrooms, keeping the area open and highly functional. Thoughtful lighting is essential to prevent the room from feeling like a tunnel, ensuring it maintains an inviting and spacious vibe.
5. Wet Room Design: Open Concept Bathroom
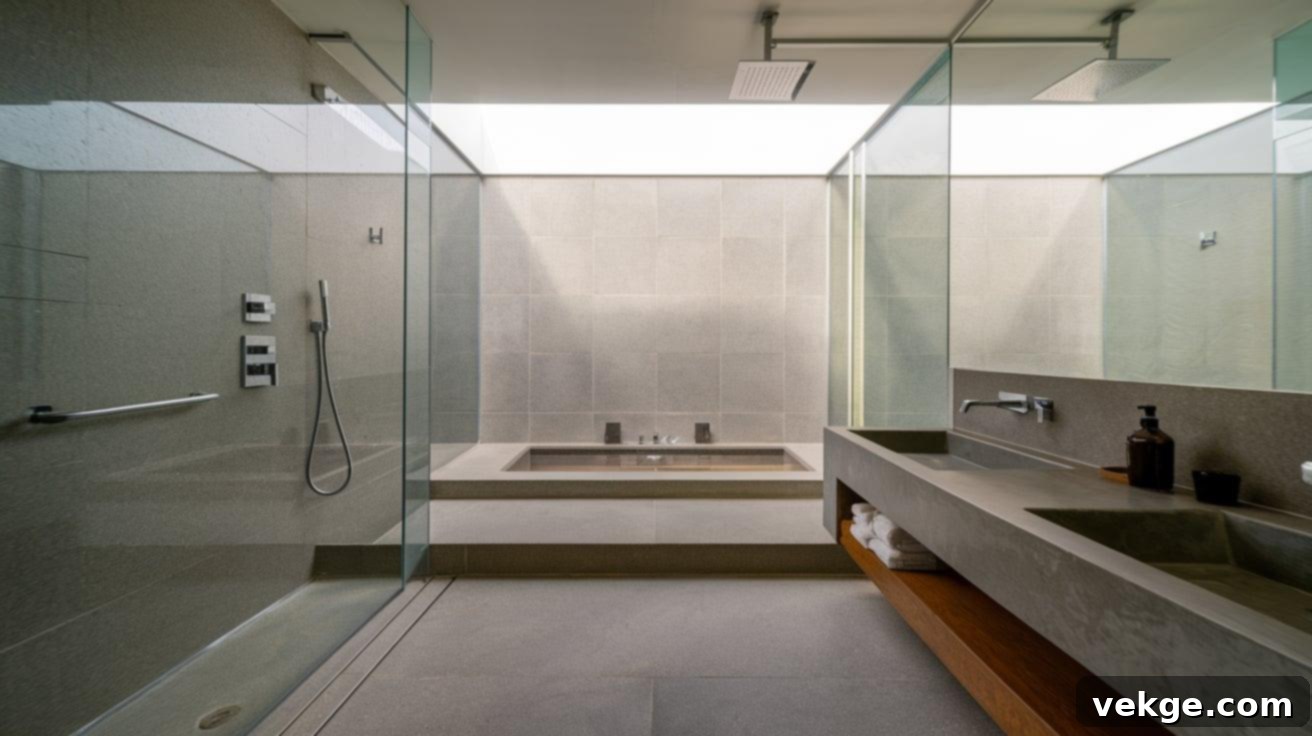
Embracing a fully waterproofed environment, a wet room design allows the tub and shower to reside in one open, expansive space. This innovative concept eliminates the need for doors or curtains, creating an incredibly spacious and minimalist feel, making it an excellent choice for truly small bathrooms. A wet room provides a sleek, modern, and open-concept layout that enhances the perception of space. However, it necessitates professional installation and superior waterproofing to prevent moisture damage. This layout offers a compelling blend of style and practicality, particularly beneficial in very tight spaces.
6. L-Shaped Layout
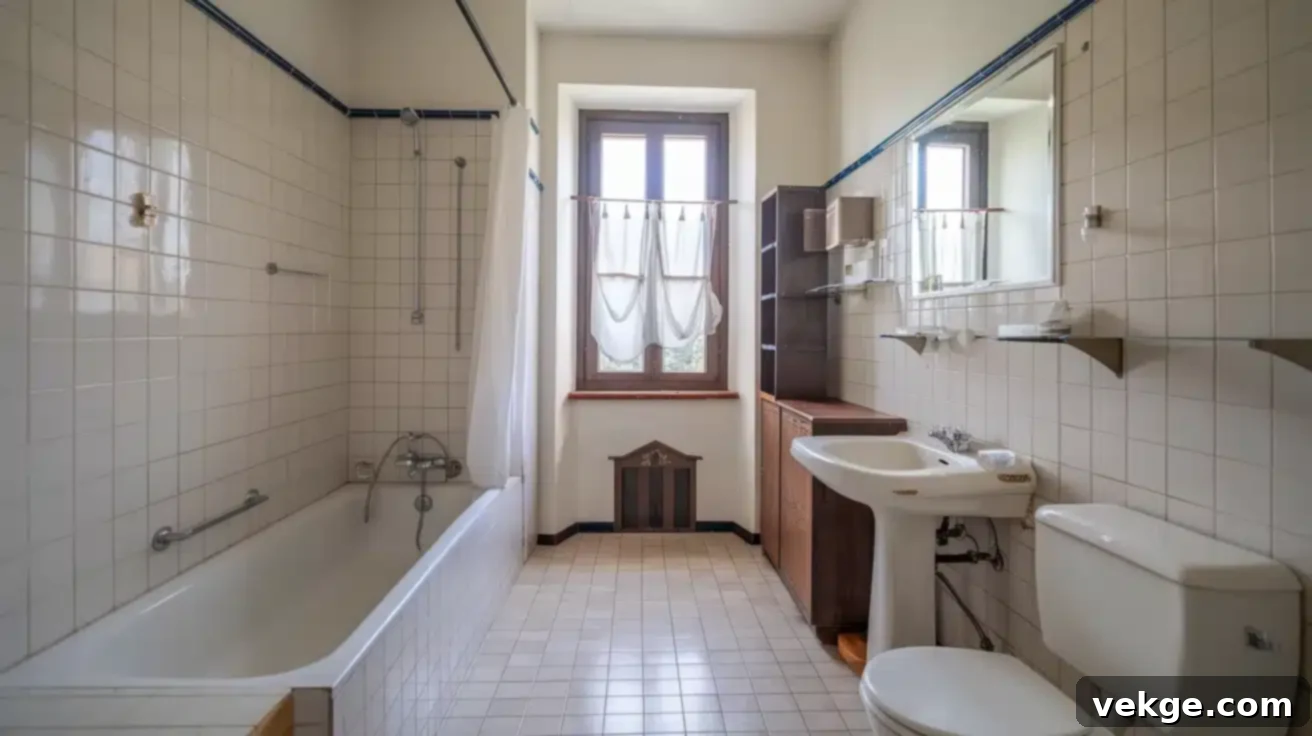
An L-shaped layout cleverly positions the tub-shower on one wall and the sink and toilet on a perpendicular wall. This configuration naturally creates distinct zones within the bathroom, enhancing privacy and facilitating smoother movement. The open middle area generated by this layout provides ample space for walking, significantly contributing to the room’s feeling of openness. While more suitable for slightly larger small bathrooms, this design allows for a clear division of space while maintaining a simple and functional flow. It also introduces visual interest, breaking up monotonous linear arrangements.
7. Window Wall Setup: Natural Light Bathing
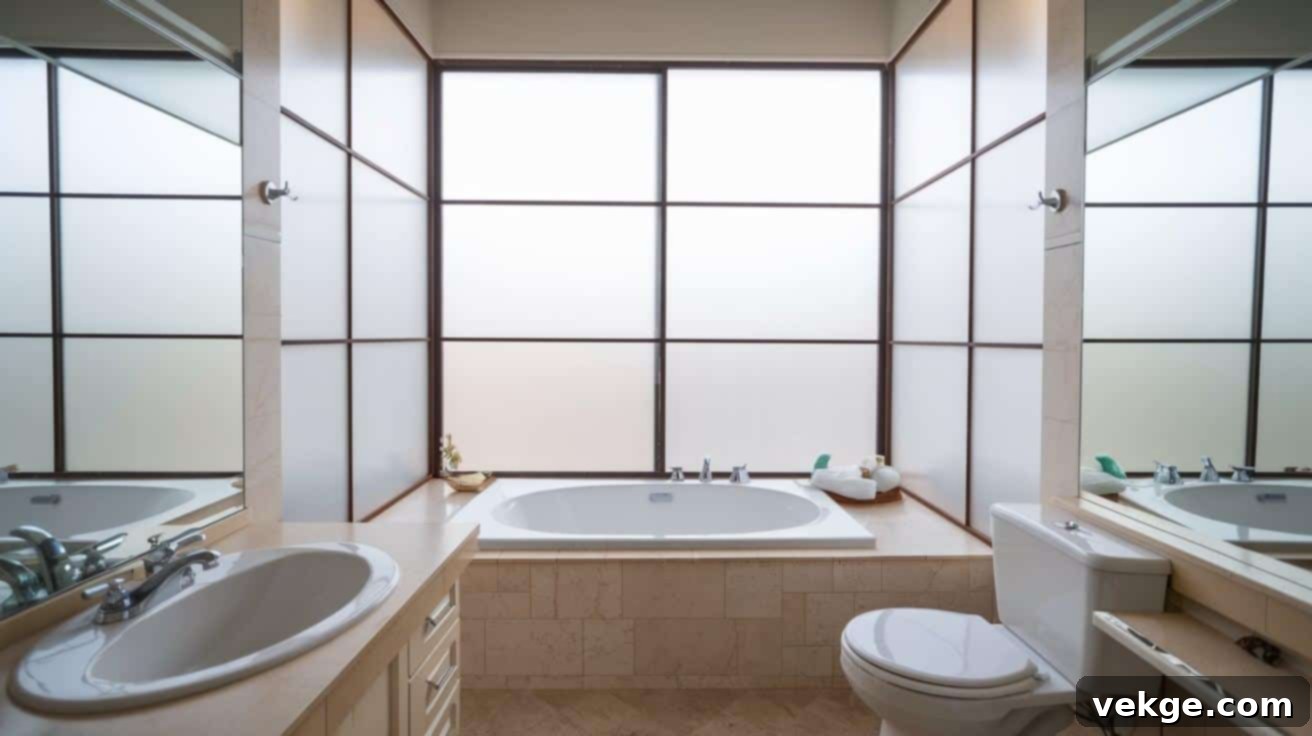
Placing the tub or shower beneath a window allows abundant natural light to flood the bathroom, creating a remarkably spacious and airy ambiance during your bathing experience. This design is perfect for those who cherish natural light and wish to make their room feel expansive. Privacy is a key consideration here, so options like frosted glass, smart film, or elegant window treatments are crucial to block views without sacrificing light. The main challenge lies in ensuring impeccable waterproofing around the window, but with meticulous design and installation, this setup can be breathtakingly beautiful and highly effective in a compact space.
8. Back-to-Back Fixtures: Plumbing Efficiency
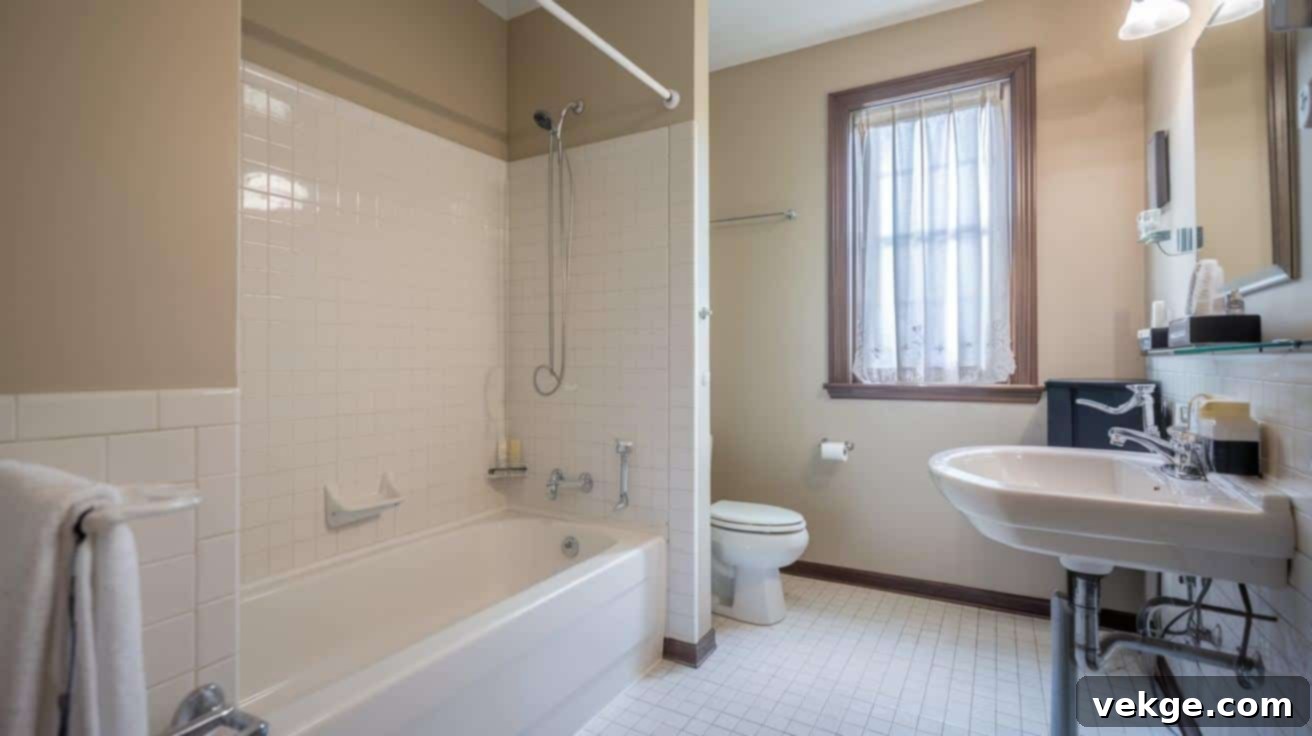
The back-to-back fixtures layout is a smart and cost-effective approach where plumbing fixtures share a common “wet wall”—for instance, a tub-shower combo positioned opposite a sink. This configuration significantly reduces plumbing costs by centralizing water lines and maximizes usable space by allowing for a more open floor plan. It’s an efficient and budget-friendly design that creates more room for movement, making it ideal for small to medium-sized bathrooms. The shared plumbing wall simplifies installation and minimizes the need for extensive pipework, presenting an excellent solution for modern, efficient bathroom layouts.
9. Split Bathroom Design: Dual Functionality
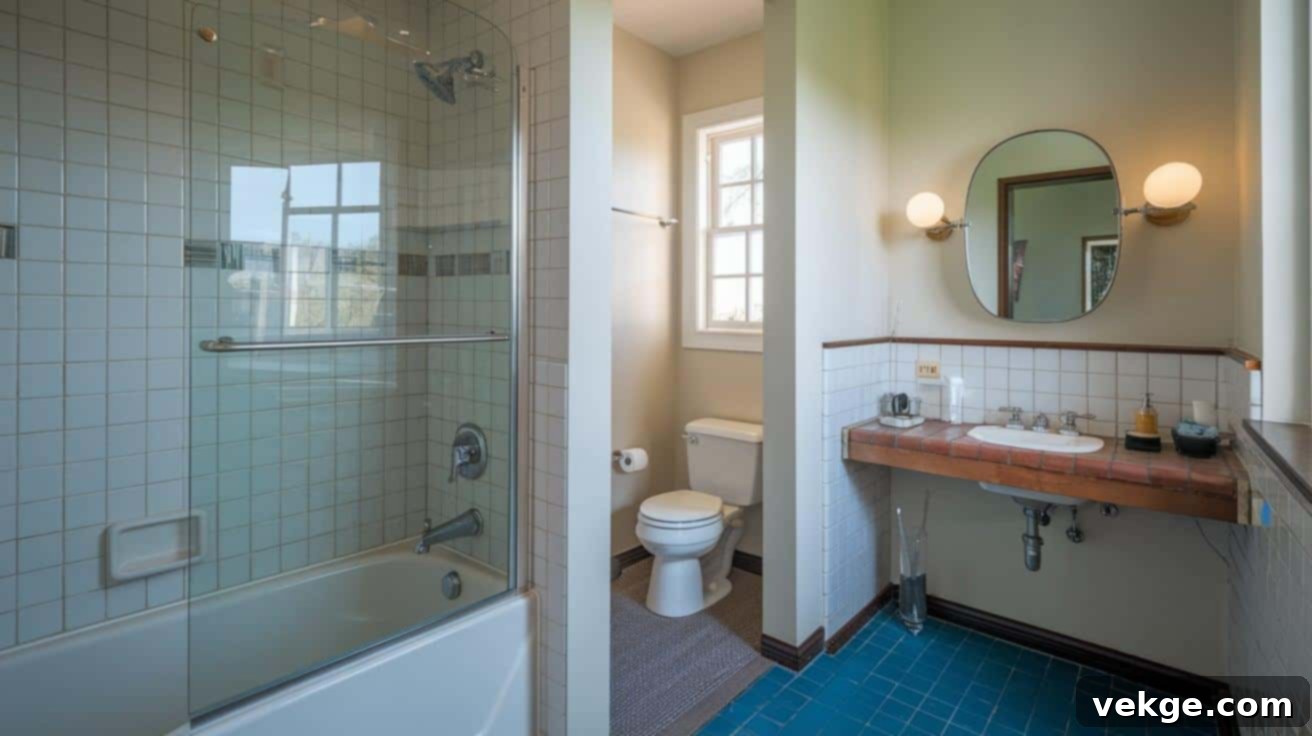
A split bathroom design divides the overall space into distinct zones: one area dedicated to the tub or shower, and another for the sink and toilet. This innovative layout allows two people to use different parts of the bathroom simultaneously, offering enhanced privacy and convenience. It’s an ideal choice for shared family bathrooms or guest bathrooms, where multiple individuals might need access at the same time. This design substantially improves the functionality and efficiency of the bathroom, creating a more harmonious use of space while maintaining individual privacy.
10. Tub-in-Shower Combo: Luxurious Spa Feel
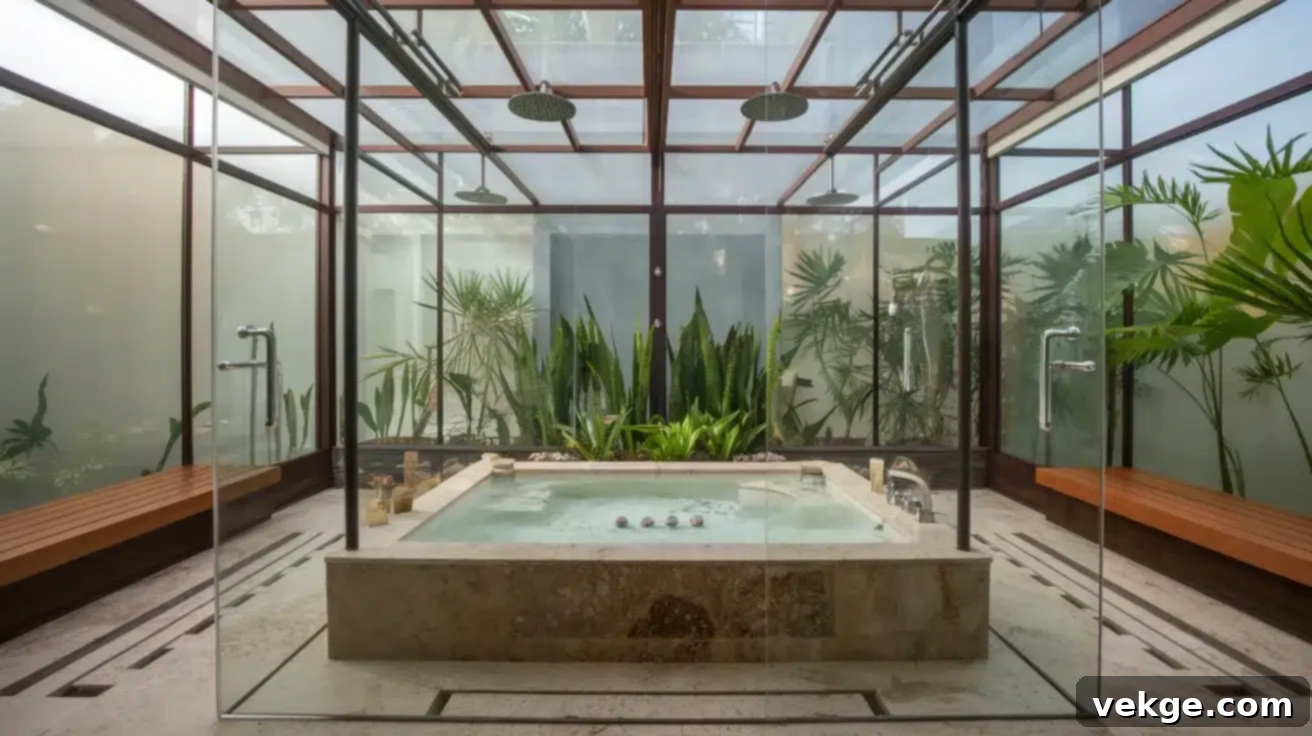
For a truly luxurious and spa-like experience that also saves space, the tub-in-shower combo features a freestanding bathtub elegantly placed within a larger, enclosed shower area. A single glass enclosure surrounds both the tub and the shower, creating a remarkably open, cohesive, and sophisticated look. This is an exceptional choice for those who desire the deep relaxation of a freestanding tub alongside the practical utility of a daily shower. Paramount to this design’s success are superior waterproofing and proper drainage to ensure its beauty and functionality endure over time, even in a smaller footprint.
11. Offset Tub Design: Adding Visual Interest
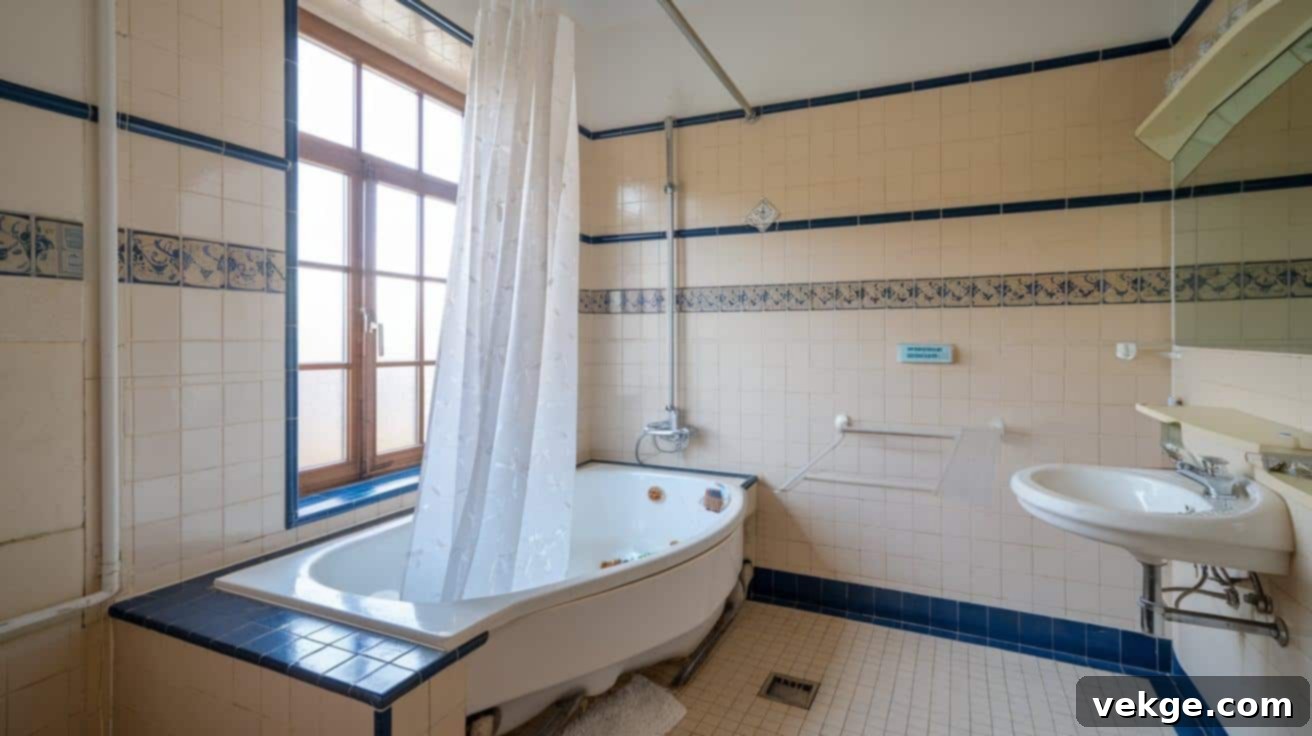
An offset tub design introduces a unique aesthetic by placing the tub at an angle to the room’s walls. This not only creates significant visual interest but also cleverly maximizes floor space by opening up walking paths. This layout often pairs the angled tub with a corner sink, further enhancing the sense of spaciousness and establishing a stylish focal point. The angled placement lends a contemporary flair to an otherwise traditional rectangular bathroom, making the most of a standard layout without requiring extensive structural changes. It’s perfect for those seeking a fresh, modern look in a typical small space.
12. Platform Tub with Overhead Shower: Statement Piece
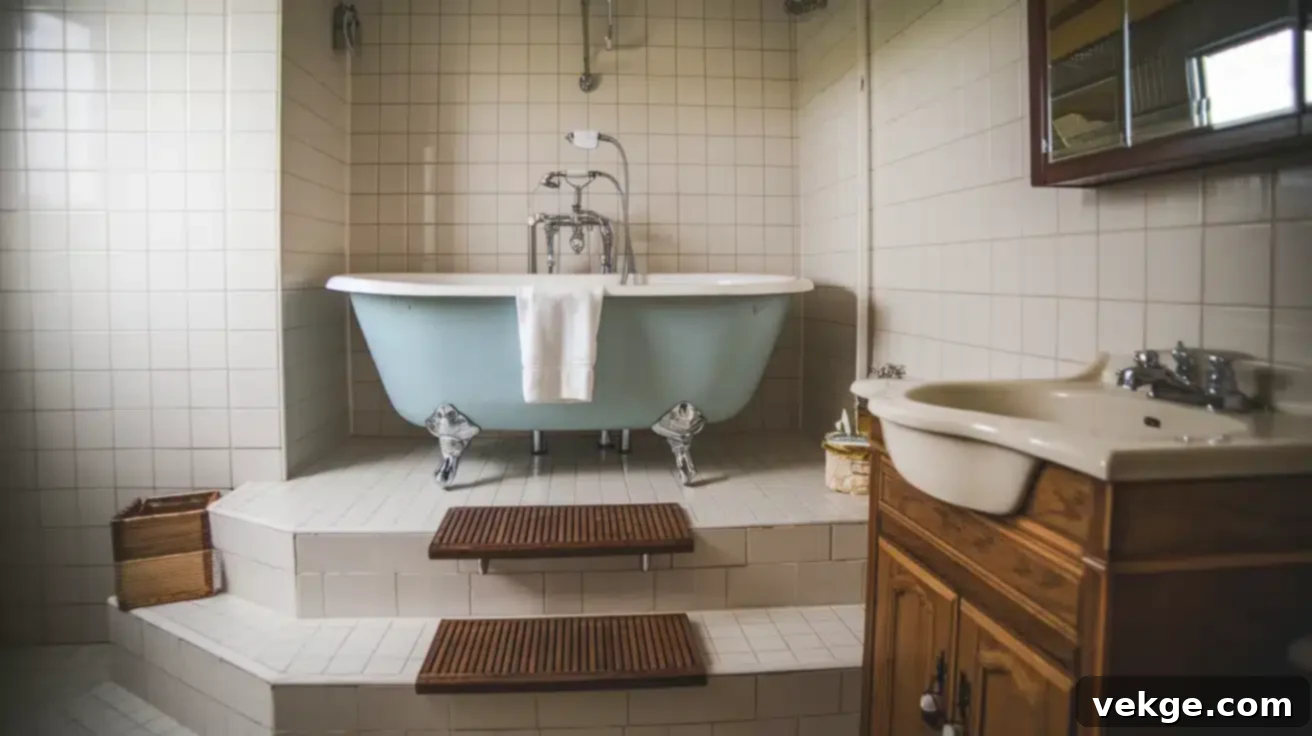
A platform tub with an overhead shower creates a striking visual centerpiece in any bathroom. Whether sunken into the floor or dramatically raised on a platform, this design integrates a shower directly above. The surrounding platform often doubles as convenient seating or provides shelf space for bath products, combining form and function beautifully. This layout is ideal for making a bold design statement while maintaining practicality. It offers a luxurious, custom feel, perfect for homeowners who desire an elevated aesthetic and robust functionality within their small bathroom.
13. Pocket Door Solution: Reclaiming Floor Space
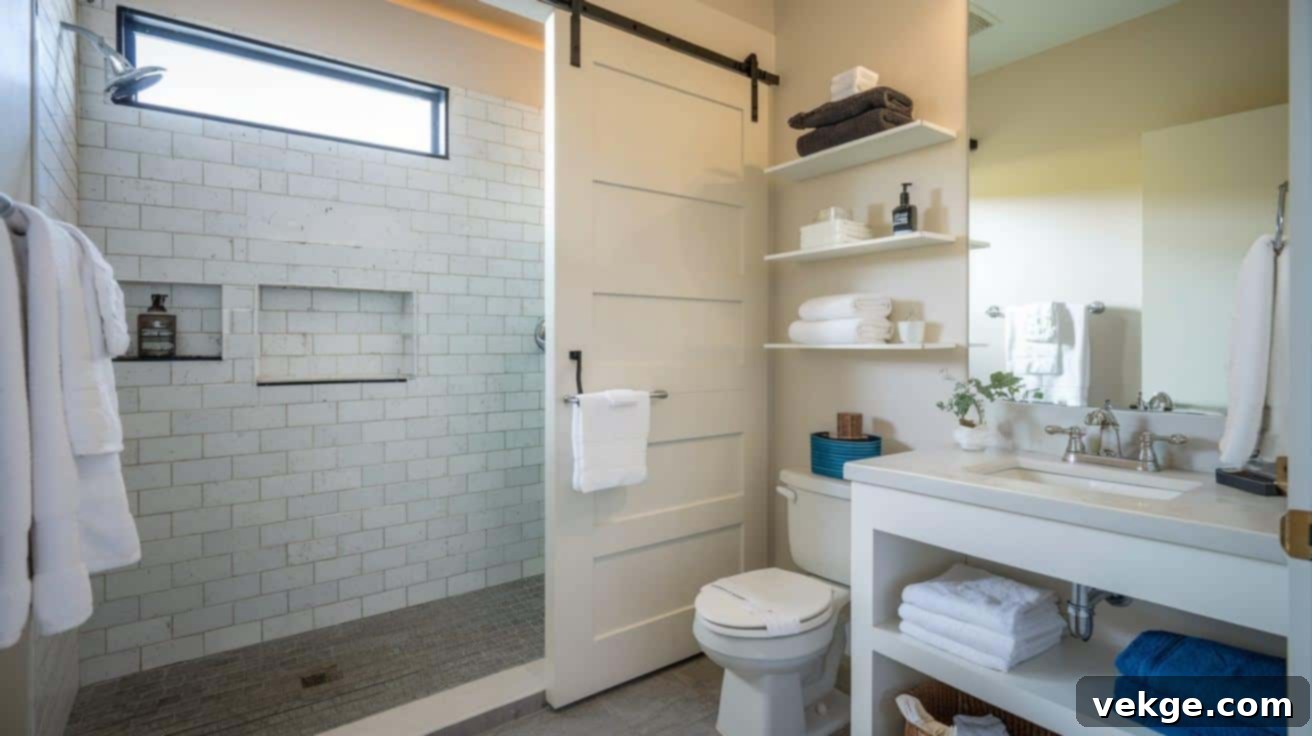
One of the simplest yet most effective space-saving strategies is implementing a pocket door solution. By replacing a traditional swinging door with one that slides seamlessly into the wall, you can reclaim an invaluable 8-10 square feet of usable floor space. This extra room allows for more flexible fixture placement and instantly makes the bathroom feel more open and accessible. It’s an excellent option for genuinely small bathrooms or tight corridors where every inch is critical. A pocket door maximizes available floor area, significantly improves traffic flow, and lends a modern, sleek appearance to any compact layout, proving both functional and stylish.
14. Half-Wall Divider: Defining Zones with Light
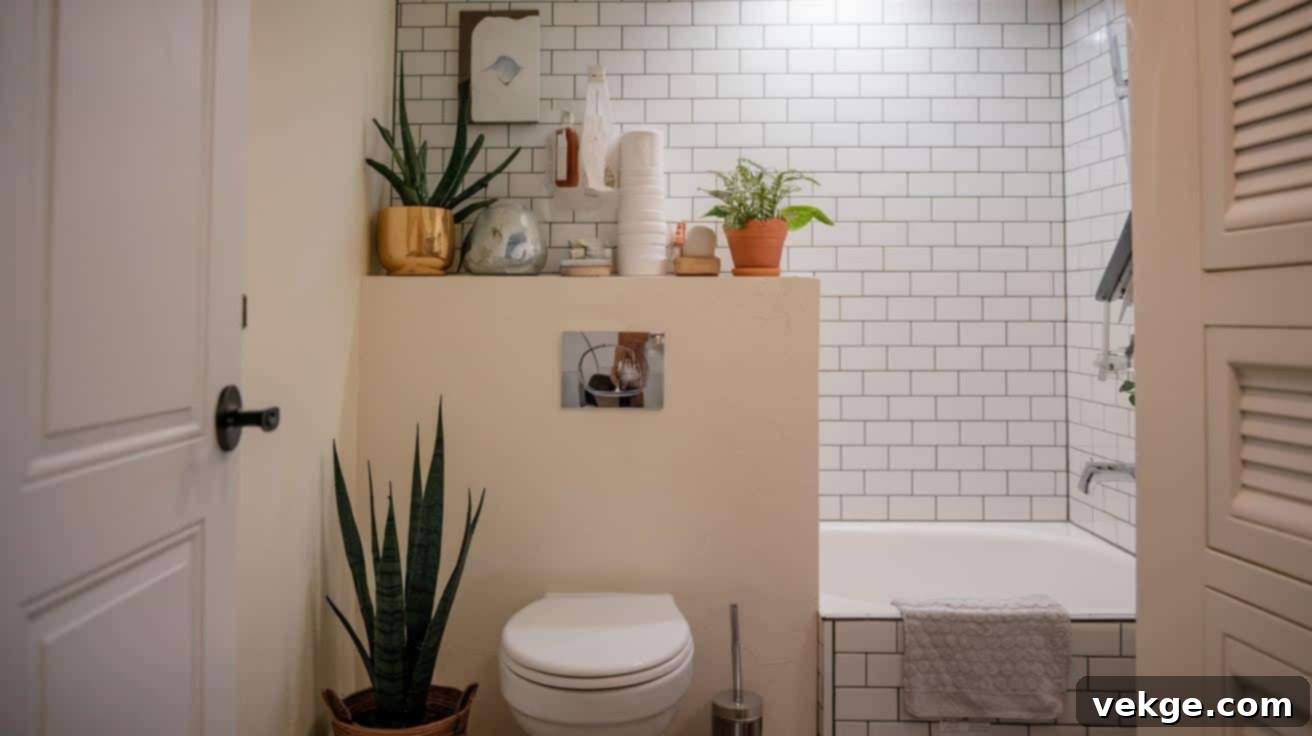
A half-wall divider, typically 3-4 feet high, offers a smart way to subtly separate the toilet area from the tub/shower without obstructing natural light or views. This partial wall provides a sense of privacy and can even offer structural support for shower fixtures, effectively defining distinct zones within the bathroom. The top surface of the half-wall can be utilized as a shelf for decorative items, plants, or essential bathroom supplies. This layout is ideal for creating functional separation while preserving an open, airy feel, making it a simple yet highly effective design solution for better space management in small bathrooms.
15. Pass-Through Shower: Openness and Accessibility
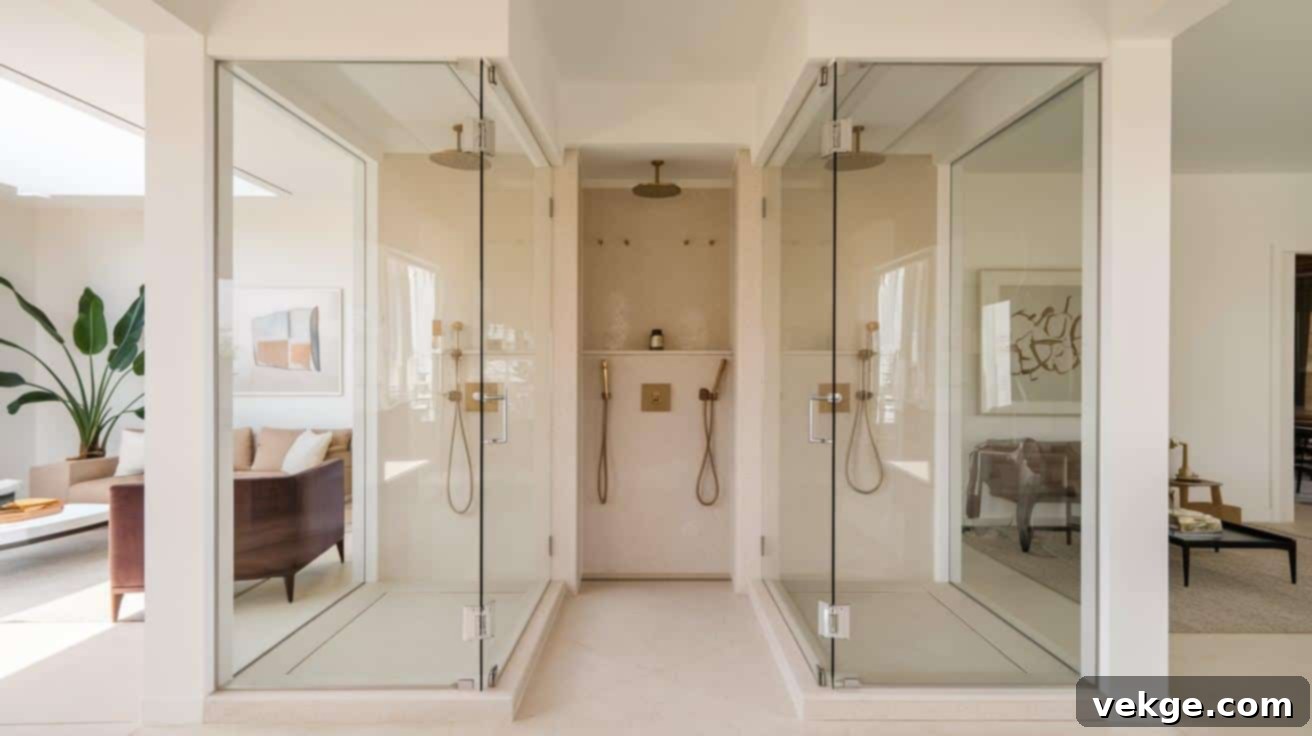
A pass-through shower features entrances on two sides, allowing easy access and a seamless flow from different ends of the room. This design cultivates a remarkably open feel, enhancing sightlines and promoting better circulation through the bathroom space. Encased in glass, the shower allows light to pass unhindered, contributing to the perception of a more expansive environment. It’s an excellent choice for those seeking to create a luxurious, spa-like experience while maintaining an open and highly functional space. Ideal for larger small bathrooms, this design makes the layout more accessible and inviting, blending practicality with a modern aesthetic.
16. Pedestal Sink Strategy: Freeing Up Floor Space
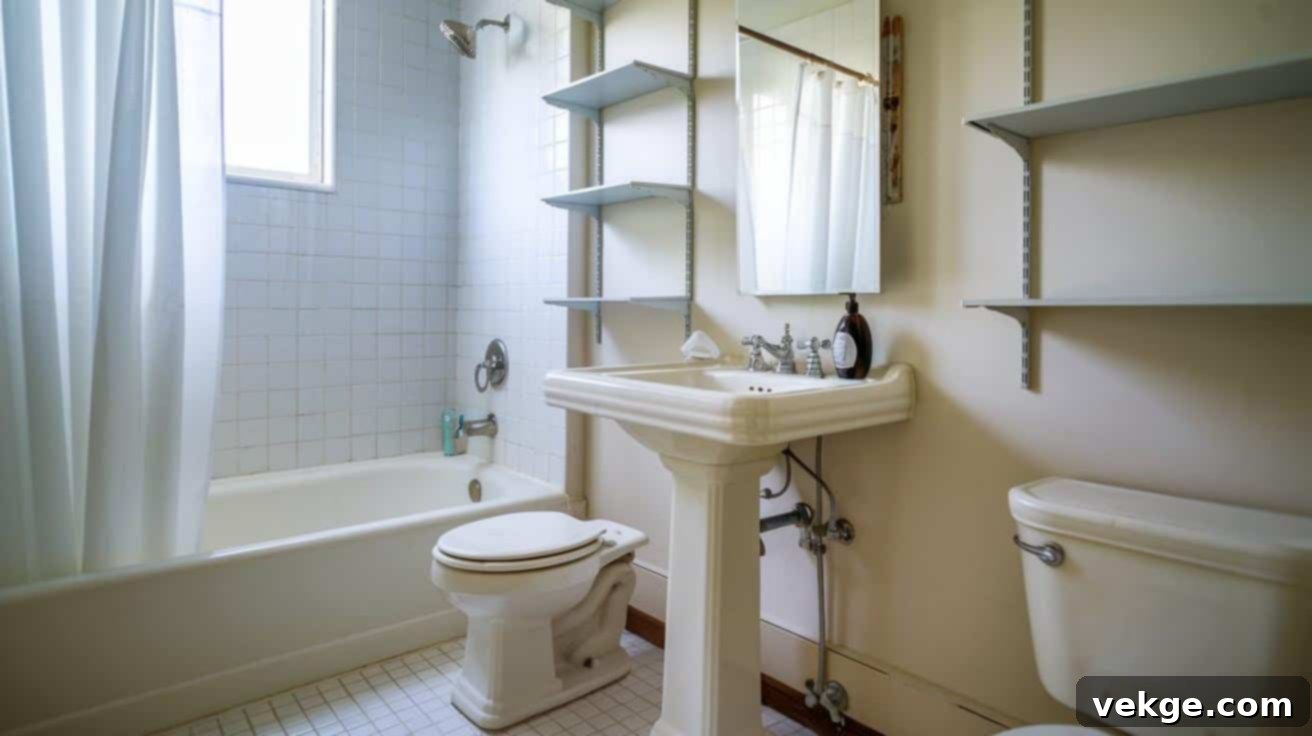
Replacing a bulky vanity cabinet with an elegant pedestal sink is a classic and effective strategy for freeing up valuable floor space in smaller bathrooms. This design significantly reduces visual clutter, creating an airy, open, and less confined feeling. While sacrificing cabinet space, this can be mitigated by incorporating wall-mounted storage or shelves above the sink for essentials. The pedestal sink is a simple, yet stylish solution for those prioritizing space-saving without compromising on a functional sink. This design works exceptionally well in tight bathrooms, adding a touch of timeless charm and modern functionality.
17. Nested Fixtures Approach: Overlapping Zones
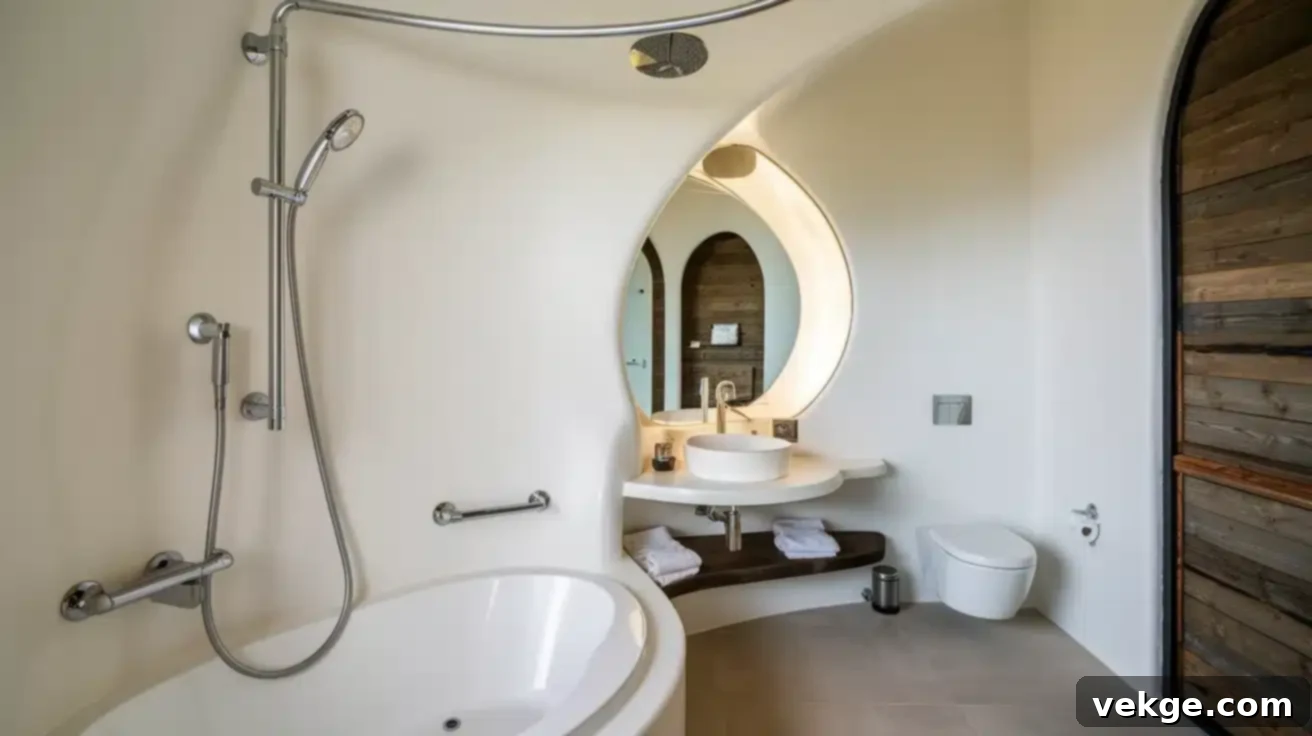
The nested fixtures approach is an ingenious method to maximize every inch of a small bathroom without creating a cramped sensation. This involves using a curved shower curtain rod that extends over the end of the tub, providing more elbow room during showering. The sink is strategically placed near this curved section, allowing functional zones of the bathroom to subtly overlap. This layout optimizes space by integrating functions where possible. It’s ideal for homeowners seeking to make a small bathroom feel more expansive while still providing all necessary functionality, creating a practical design that doesn’t compromise comfort or usability.
18. Alcove Tubs with Showers: Classic Efficiency
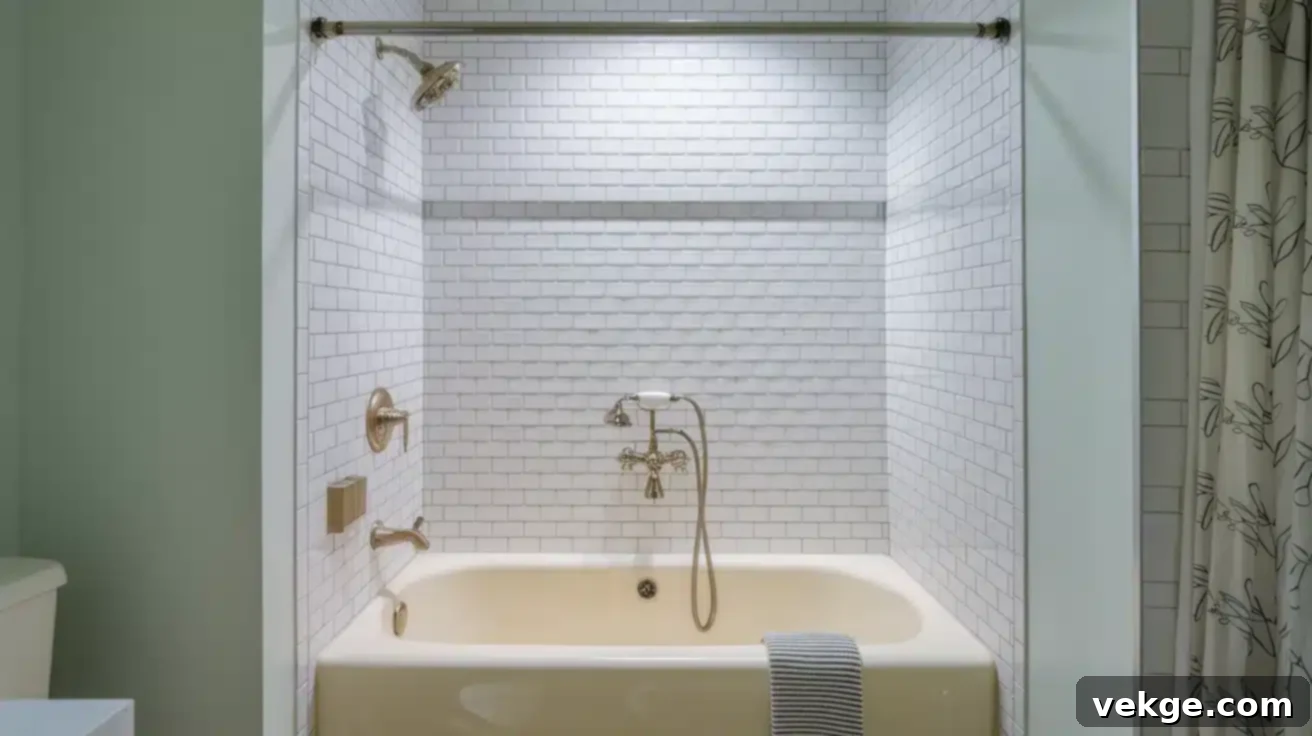
Alcove tubs are a highly cost-effective and space-efficient choice, making them the most common bathtub option for standard small bathrooms. These tubs are designed to fit snugly into a three-walled recess, making them incredibly space-saving. A shower can be easily integrated by adding a simple curtain rod or a stylish glass door. Available in a wide range of sizes and styles, alcove tubs are remarkably versatile for various bathroom designs. Many models come with built-in shower walls or can be effortlessly paired with wall surrounds, creating a clean, functional, and uncluttered look without occupying unnecessary space.
19. Corner Tubs with Showers: Smart Angled Solutions
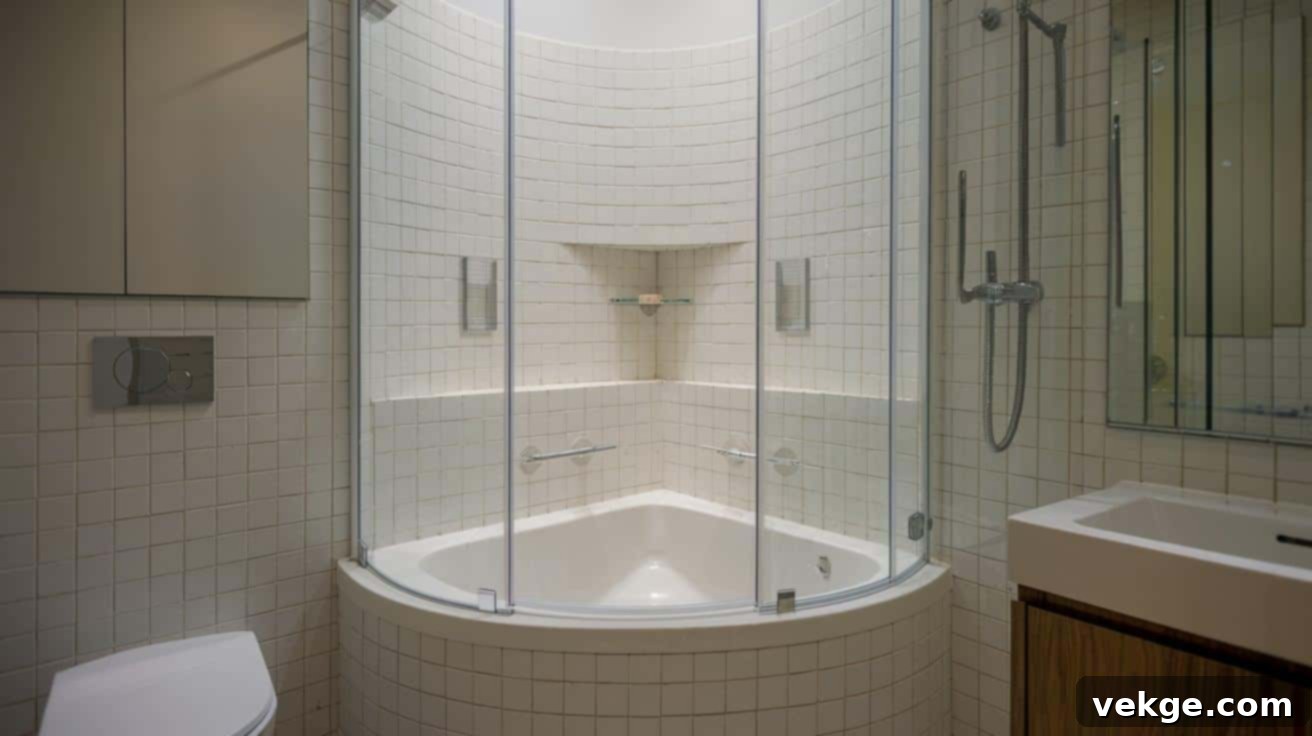
Corner tubs are excellent for fitting neatly into challenging small spaces, particularly bathrooms with limited square footage that struggle with traditional rectangular layouts. These triangular or rounded tubs are strategically placed in a corner, often requiring a custom glass enclosure or a curved curtain rod to incorporate a functional shower. This innovative layout maximizes available space by utilizing an often-underused area, while still providing a comfortable bathing and showering experience. It’s perfect for those looking to save precious wall space and add a stylish, unique touch to their bathroom, representing a practical and space-efficient solution for compact designs.
20. Drop-in and Freestanding Tubs (with Shower Capability)
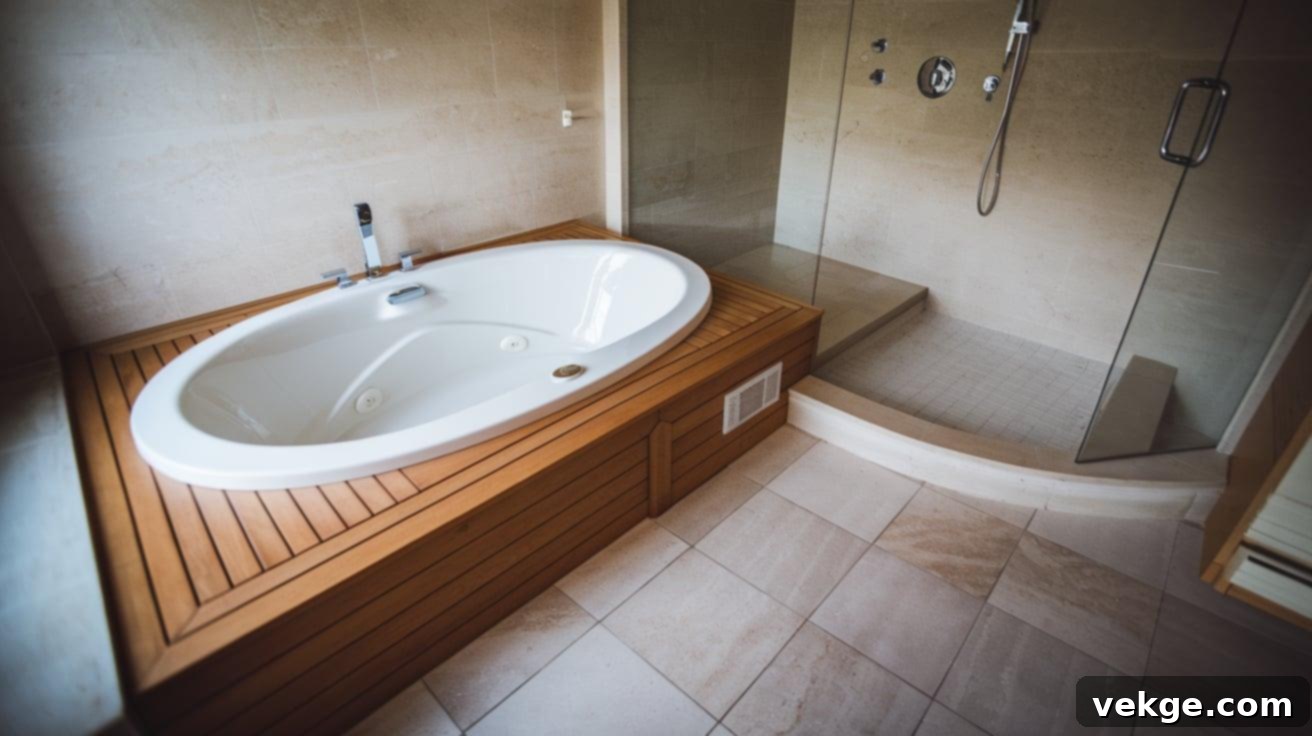
While often associated with larger bathrooms, drop-in and freestanding tubs can still be integrated into thoughtful small bathroom designs, usually by pairing them with a shower. Drop-in tubs are custom-fitted into a built deck or platform, offering a seamless, architectural look, while freestanding tubs stand independently, providing a dramatic aesthetic focal point. Both types can be paired with an adjacent walk-in shower, or a handheld shower attachment can be installed for direct showering within the tub. These designs are ideal for larger small bathrooms seeking a luxurious, spa-like feel, prioritizing visual impact and a premium bathing experience.
Materials and Considerations for Your Tub/Shower Combo
Selecting the right materials for your bathroom tub and shower combination is crucial, impacting both aesthetics and long-term durability. Each material offers distinct benefits and considerations:
- Fiberglass and Acrylic Units: These are highly popular for their affordability, lightweight nature, and ease of installation. Often available as one-piece designs, they significantly reduce the risk of leaks and are generally simple to clean. While less durable than other options, modern acrylics offer good resistance to chipping and fading.
- Cast Iron Tubs: For those prioritizing exceptional durability and a classic feel, cast iron tubs are unparalleled. Their substantial weight means they retain heat well, providing a longer, warmer soak. However, their considerable weight necessitates reinforced flooring, which can add to renovation costs and complexity.
- Cultured Marble and Solid Surface: These materials strike an excellent balance between upscale style and impressive durability. They offer a luxurious appearance, often mimicking natural stone, with good resistance to stains, mildew, and general wear. Their non-porous surface makes them relatively easy to maintain.
When it comes to enclosures, several options are available to suit various bathroom layouts and budgets. Shower doors come in sliding, pivoting, or folding configurations, providing a sleek and permanent barrier. For more budget-conscious renovators or those needing maximum flexibility, shower curtains remain the most economical solution, conveniently preserving valuable open space when not in use.
Smart Tips and Ideas for Saving Space in Small Bathrooms
Small spaces don’t have to mean sacrificing style or storage. With clever design choices, your compact bathroom can have a significant positive impact. Here are some indispensable tips for maximizing every inch:
1. Vertical Shelving: Utilize Wall Height
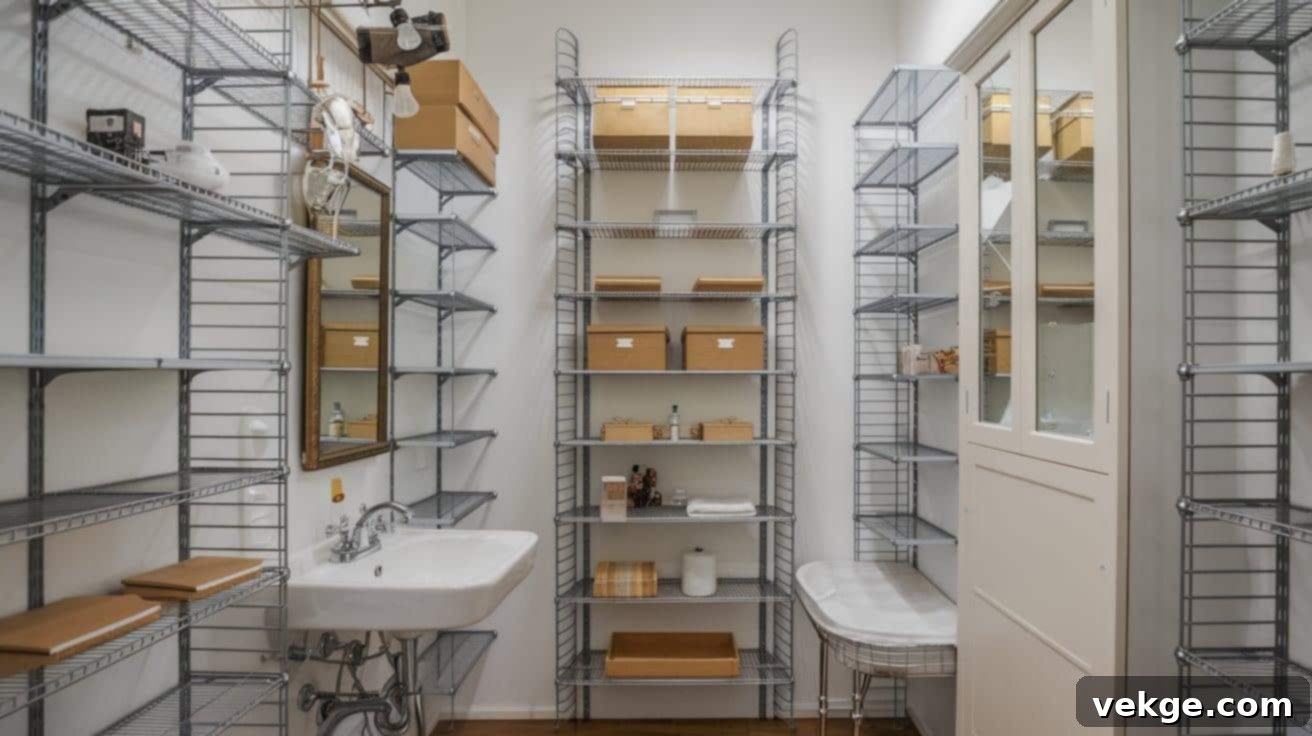
Embrace the power of vertical space by installing tall, narrow shelving units that draw the eye upwards and make the most of your wall height. Floor-to-ceiling shelves with slim profiles can accommodate a surprising number of bathroom essentials without encroaching on precious floor space. Open shelving works wonderfully for items you use frequently, while closed cabinets conceal less attractive supplies, maintaining a tidy appearance. Consider placing shelves in otherwise unused corners or above doorways where they won’t impede movement. Opt for wire or glass shelves; their transparent nature makes small rooms feel less bulky and more open.
2. Over-the-Toilet Storage: Unused Potential
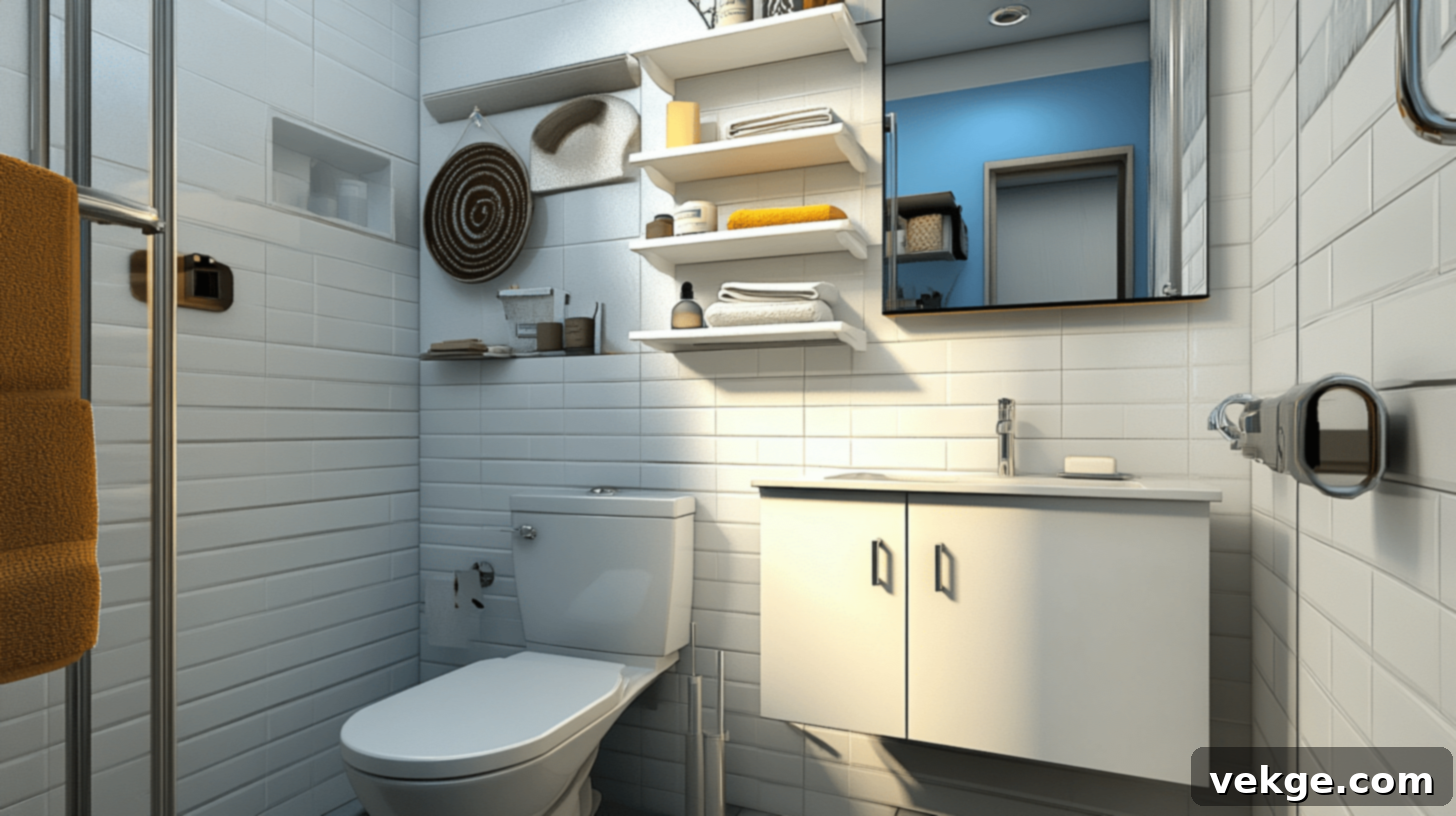
The often-overlooked space above your toilet is prime real estate in a small bathroom. Purpose-built toilet toppers or etageres provide excellent shelving without consuming any additional floor space. Options range from simple open shelves for easy access to elegant cabinet-style units with doors for a more concealed look. Some models even include integrated towel bars on the sides, adding extra functionality. When selecting a unit, ensure it extends no wider than your toilet to maintain clear and unobstructed pathways through the bathroom, preventing any cramped feelings.
3. Niche Shelves in the Shower: Built-In Convenience
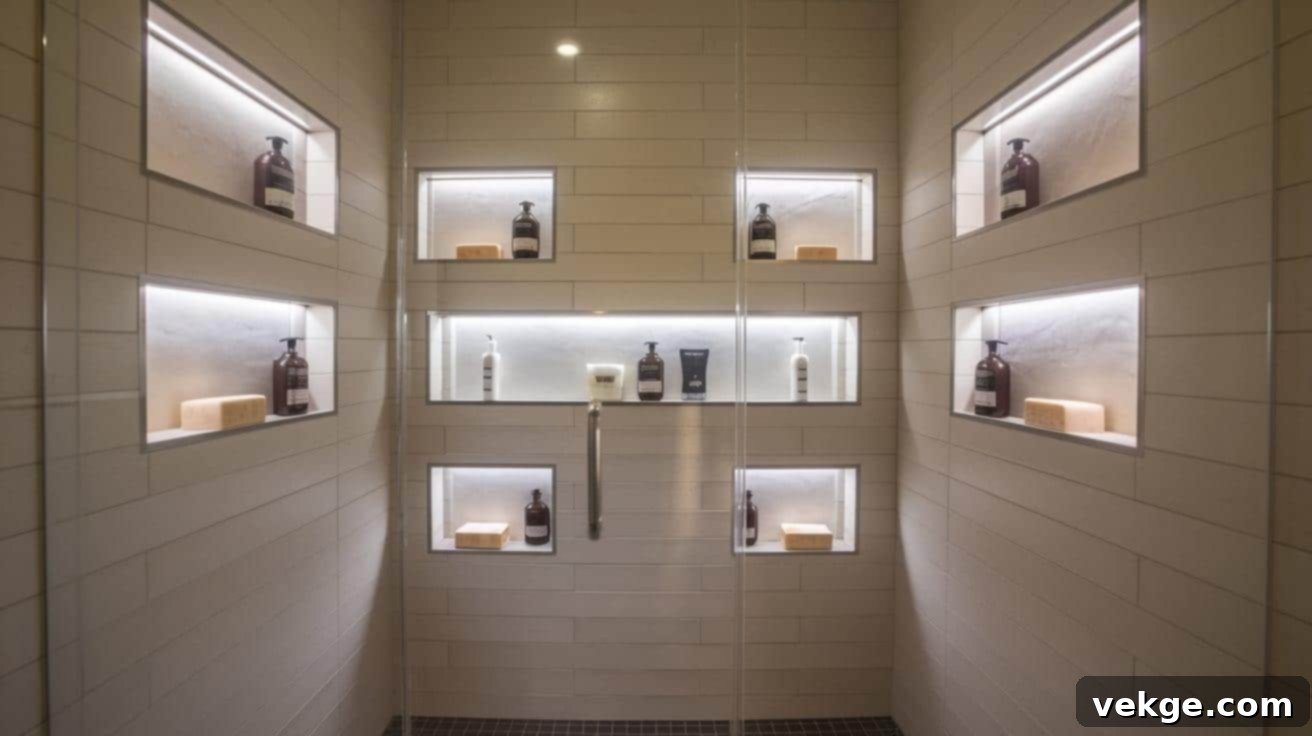
During a renovation, built-in wall niches are an indispensable feature for creating storage that doesn’t intrude into your shower space. These recessed shelves are cleverly installed between wall studs, providing a perfect home for shampoo, conditioner, and soap, keeping them off tub edges and shower floors. Installing them during the initial renovation phase is best, as it requires opening the wall. Instead of one large niche, multiple smaller ones often provide better organization and visual balance. Ensure these niches are completely waterproofed, and consider adding subtle LED lighting for both practical illumination and a touch of modern style.
4. Floating Vanities and Towel Racks: Visual Lightness
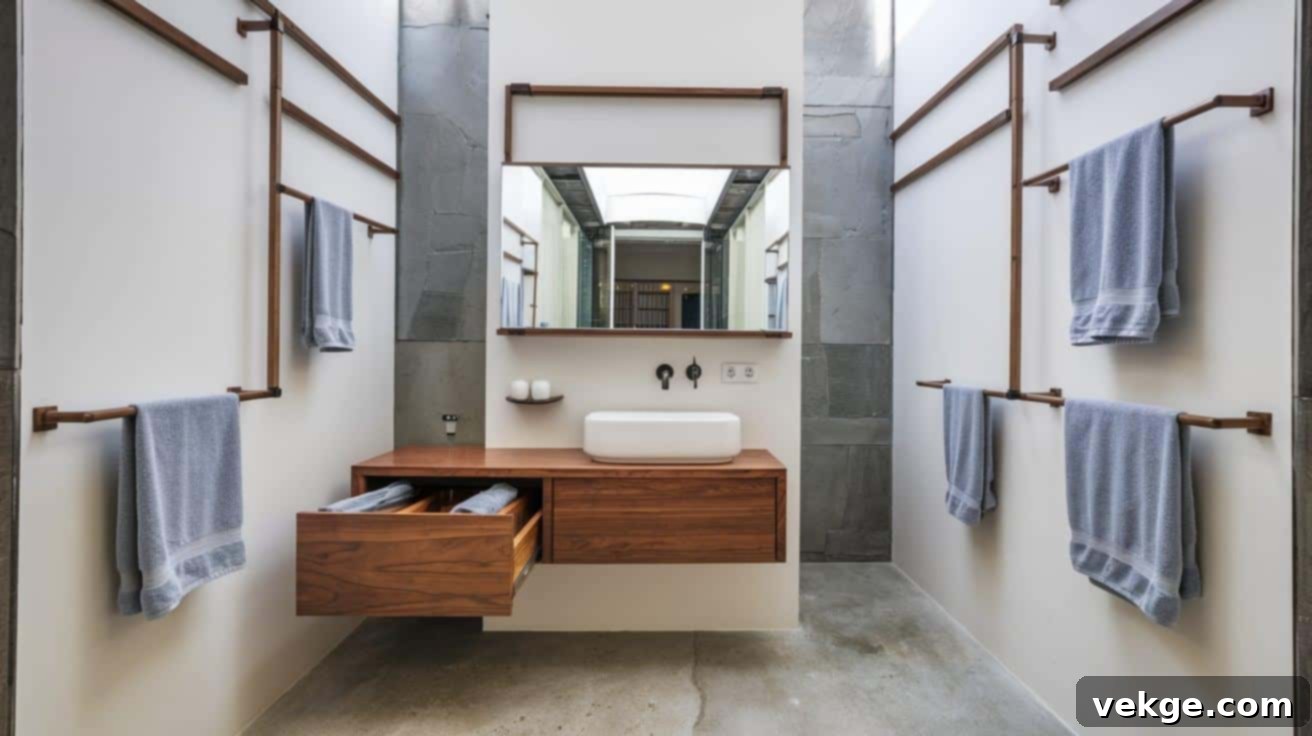
Wall-mounted fixtures are a game-changer for creating the illusion of more space. Floating vanities, by lifting off the floor, reveal more visible floor area, making the entire bathroom feel significantly larger and easier to clean underneath. When choosing a floating vanity, opt for models with built-in drawers rather than doors, as drawers often provide more efficient and organized storage. Similarly, wall-mounted towel bars, rings, and hooks can be strategically placed at various heights to maximize wall use. Consider innovative solutions like magnetic strips for small metal items like tweezers and nail clippers, keeping your countertop clear.
5. Door-Mounted Storage: Hidden Organization
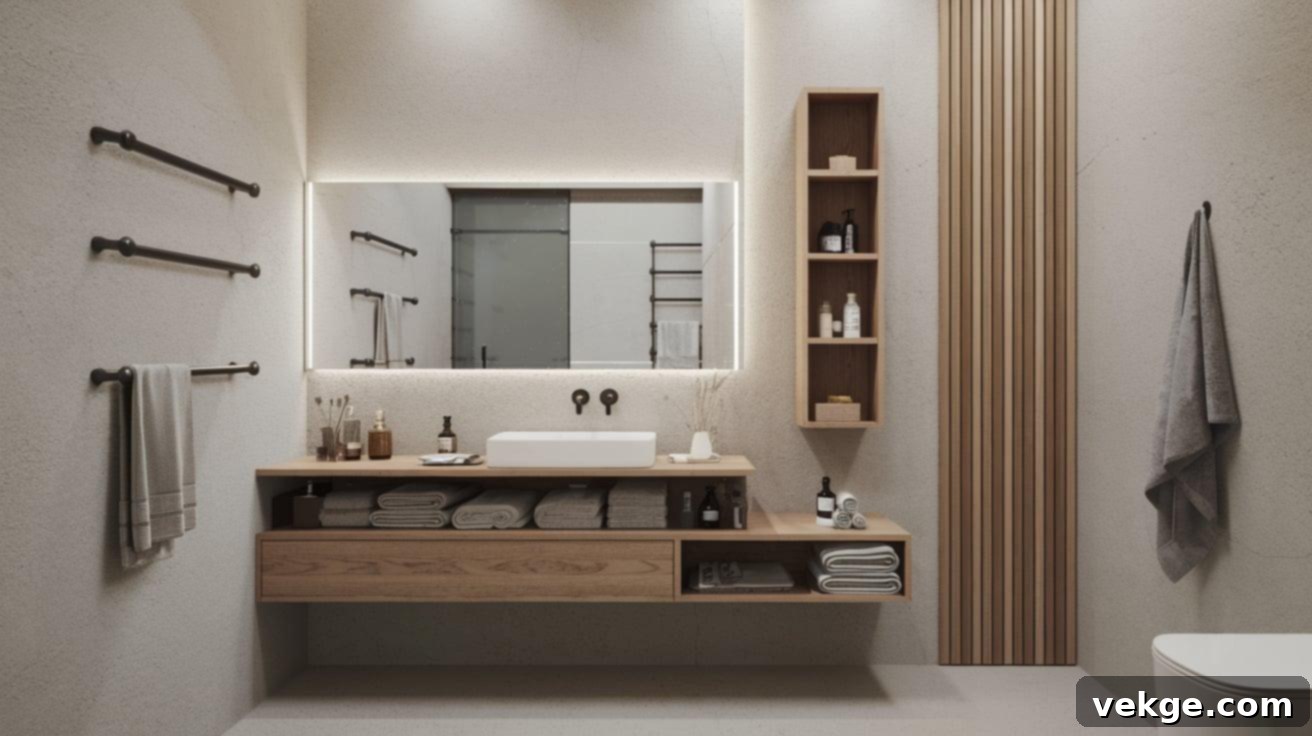
The often-underutilized back of your bathroom door presents incredible hidden storage potential. Over-door organizers, equipped with pockets or hooks, can neatly hold hair tools, toiletries, or cleaning supplies, keeping them out of sight but easily accessible. Slim wire racks mounted directly to the door can store rolled towels, extra toilet paper, or even magazines. This approach keeps essential items organized and off counters or shelves, contributing to a clutter-free environment. Always ensure any door-mounted solution is securely fastened to prevent rattling or movement when the door is opened or closed.
Maintenance Tips for Shower/Tub Combos: Keeping Your Space Pristine
Maintaining the cleanliness and functionality of your tub/shower combo is essential for extending its life and protecting your renovation investment. Simple, consistent habits can make a significant difference:
- Daily Wipe Down: After each use, wipe down shower walls and the tub with a squeegee or a microfiber cloth. This crucial step prevents soap scum and hard water stains from building up, significantly reducing the effort needed for deeper cleaning.
- Regular Cleaning: Commit to cleaning weekly using a cleaner specifically formulated for your surface type (e.g., acrylic, tile, fiberglass). Using the wrong product can damage finishes.
- Grout Care: For tiled areas, pay close attention to grout lines. Clean them regularly with a baking soda paste to tackle mildew and discoloration. Apply a high-quality grout sealer annually to protect against moisture and stains.
- Glass Door Treatment: If you have glass shower doors, treat them with a rain repellent product designed for glass. This causes water to bead up and run off, preventing water spots and mineral buildup.
- Shower Curtain Maintenance: Wash fabric shower curtains monthly according to their care instructions, or replace vinyl curtains as needed to prevent mildew and odors.
- Choose Low-Maintenance Materials: During renovation, prioritize materials like solid surfaces or large format tiles with fewer seams, as they are inherently easier to clean and maintain over time.
- Caulk Inspection: Regularly inspect caulk lines for signs of discoloration, cracking, or peeling. Replace discolored or damaged caulk every 1-2 years to prevent water penetration and maintain a fresh look.
- Ensure Proper Ventilation: Always run your bathroom fan during and for at least 15-20 minutes after showering. This dramatically reduces moisture and humidity, which are primary contributors to mold and mildew growth.
Conclusion: Your Dream Small Bathroom Awaits
Creating a truly functional and comfortable bathroom with both a tub and a shower in a limited space is not just possible—it’s an exciting opportunity for thoughtful design and innovation. As this guide has shown, with careful planning and smart choices, you can achieve the best of both worlds for your daily routine, combining the luxury of a relaxing bath with the efficiency of a refreshing shower, without needing to move any walls.
By exploring the diverse layout options presented—from classic standard combo units and space-saving corner installations to modern wet room concepts and ingenious fixture placements—you can confidently select a design that perfectly suits your needs and aesthetic preferences. Remember that crucial material selection will impact both the long-term maintenance requirements and overall costs, with options ranging from budget-friendly fiberglass and acrylic to premium, custom tile work or durable cast iron.
Furthermore, integrating consistent cleaning habits and implementing strategic storage solutions are key to keeping your compact bathroom functioning beautifully and feeling spacious for many years to come. With the wealth of ideas and practical advice shared in this comprehensive guide, you are now equipped to transform even the smallest bathroom into a practical, comfortable, and stylish oasis that effortlessly meets all your bathing needs while maintaining a desirable sense of openness and luxury.
