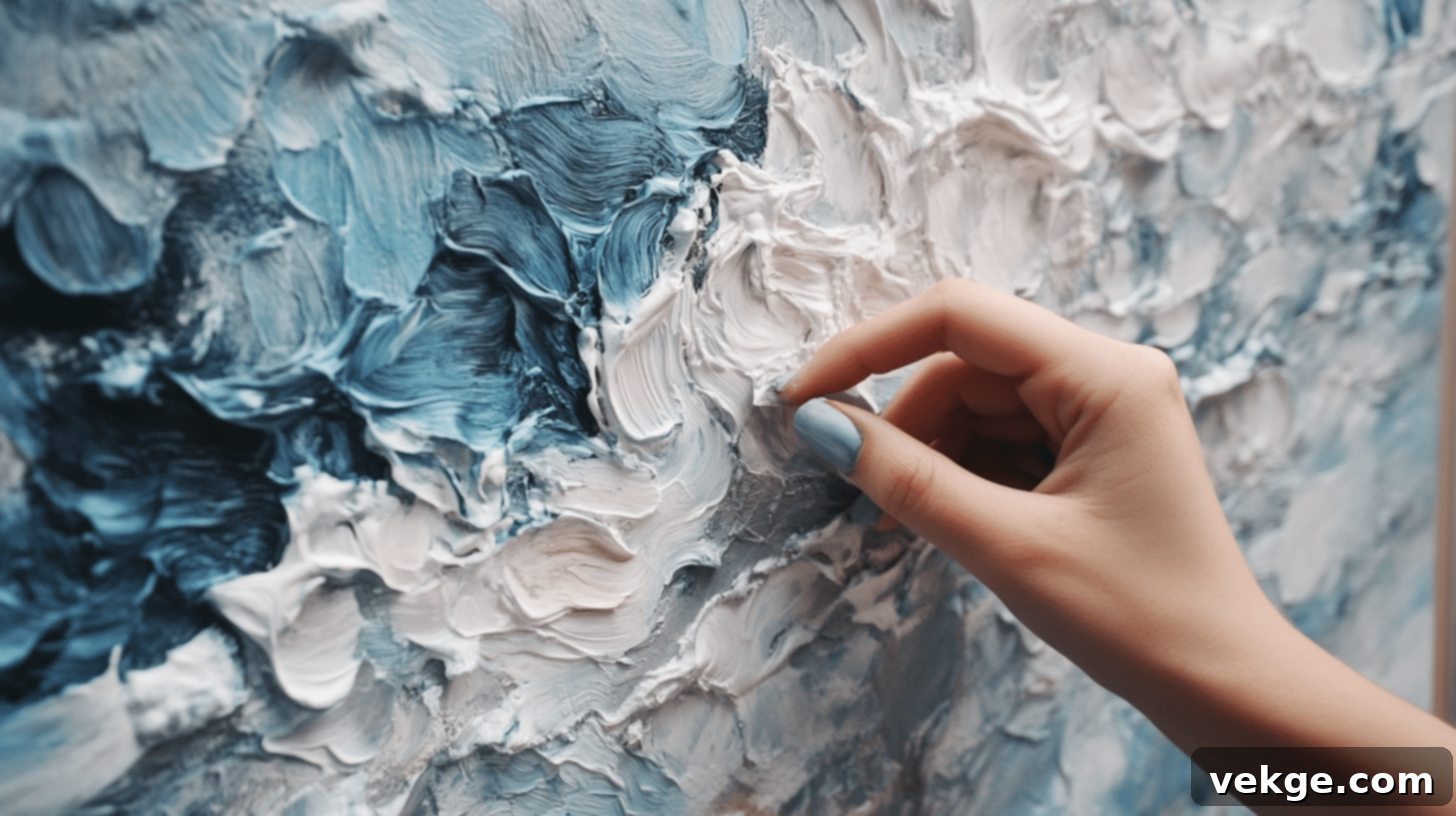
DIY Textured Wall Art: Create Stunning, Unique Pieces on a Budget – Your Complete Guide
Are your walls looking a little plain, perhaps even a bit uninspiring? I certainly felt that way about mine. Every time I glanced at the vast, empty spaces, I longed for something truly unique and expressive. However, the price tags on store-bought art, especially textured pieces, often felt prohibitive. Finding something that perfectly matched my personal style and budget seemed like an impossible task.
The good news is, crafting your own textured wall art is far simpler and more accessible than you might imagine. Over time, I’ve explored various creative avenues, from applying simple paint techniques to experimenting with mixed media, and I’ve discovered incredibly effective ways to produce beautiful, high-end looking pieces without breaking the bank. This journey has not only filled my home with unique decor but also given me immense satisfaction.
In this comprehensive guide, I’m excited to share a foundational method for creating stunning textured wall art right in your own home. You’ll gain insights into selecting the most effective and affordable materials, learn practical tips for planning your design, and receive clear, step-by-step instructions for completing your very first project. This method is designed to be approachable for beginners while still yielding professional-looking results.
Beyond the basics, I’ll also provide valuable advice on choosing the perfect colors and textures that will seamlessly complement your room’s existing aesthetic, ensuring your handmade art becomes a harmonious and cherished part of your living space.
Step-by-Step Guide to Creating Textured Wall Art
Embark on your creative journey with this detailed step-by-step process. Each stage is crucial for ensuring a durable, visually appealing, and high-quality piece of textured wall art.
Materials & Tools Required
Gathering the right materials and tools before you begin will make the creative process smooth and enjoyable. Most of these items are readily available at craft stores or hardware shops and many can be reused for multiple projects, making your initial investment go further.
- Canvas: Choose a sturdy canvas of your desired size. Stretched canvases are ideal as they provide a pre-prepared frame.
- Construction-Grade Wood Glue: This is key for creating a strong, flexible texture. Standard craft glues are often too weak for this purpose.
- Fabric: Cotton or linen are excellent choices due to their absorbency and ability to hold shape when wet with glue. Avoid overly stretchy or slippery fabrics.
- Acrylic Paint: Versatile and fast-drying, acrylics are perfect for coloring your textured surface.
- Paint Brushes: A selection of sizes will be useful for applying glue, primer, and paint.
- Scissors: For cutting fabric to size.
- Staple Gun: Essential for securely attaching the fabric to the canvas frame.
- Wall Primer: Creates an ideal surface for paint adhesion and helps seal the fabric, preventing discoloration over time.
- Spray Bottle: Used for misting water onto the fabric and for applying diluted primer.
- Water: For diluting glue and primer, and for wetting fabric.
- Protective Covering (Newspaper or Plastic Sheet): Crucial for keeping your workspace clean from glue and paint spills.
- Gloves: Protect your hands from glue, primer, and paint.
- Canvas Wedges: Small wooden pieces used to tighten the canvas. (Often included with stretched canvases).
- Hammer: For gently tapping in the canvas wedges.
Step-By-Step Process to Create This
1. Canvas Preparation
A well-prepared canvas forms the foundation of your artwork. I always begin by ensuring the canvas itself is as sturdy and taut as possible.
- Take the canvas wedges (usually small wooden pieces found in the canvas packaging) and place one firmly into each corner slot on the back of the canvas frame.
- Using a hammer, gently but firmly tap each wedge further into its slot. The goal is to expand the frame slightly, pulling the canvas fabric tighter across the front.
- This vital step keeps your canvas perfectly taut and prevents any future sagging, providing a firm base for your textured design. A tight canvas ensures your artwork maintains its pristine look over time.
2. Workspace Setup
Before diving into the messier, more creative stages, setting up an organized and protected workspace is paramount. This will save you significant cleanup time later.
- Completely cover your work table or floor with newspaper, old towels, or a plastic sheet. This creates a barrier against spills.
- Put on protective gloves to shield your hands from glue, primer, and paint.
- Arrange all your materials and tools within easy reach. This prevents frantic searching mid-project when your hands might be sticky.
- Fill a spray bottle with clean water. This will be indispensable for making the fabric pliable during the texturing phase.
3. Glue Preparation
The success of your textured art heavily relies on the consistency of your glue mixture. It needs to be just right to properly saturate the fabric and hold its shape.
- Pour a generous amount of construction-grade wood glue into a separate container.
- Add small amounts of water gradually, stirring continuously. This allows you to control the thickness precisely.
- Mix thoroughly until you achieve a smooth, spreadable paste. The mixture should be thick enough to hold its form but fluid enough to brush on easily and absorb into the fabric.
- Avoid making the mix too runny, as this will weaken its holding power, and too thick, which will make it difficult to spread and shape the fabric. A consistency similar to thick pancake batter or heavy cream is often ideal.
4. Fabric Setup
With your glue ready, it’s time to prepare the fabric, which will become the textured surface of your art.
- Carefully lay your chosen fabric over the canvas, ensuring it’s centered and covers the entire front surface.
- Leave approximately 2-3 inches of extra fabric extending beyond each edge of the canvas. This excess is crucial for wrapping around the frame and securing the fabric without distorting the design.
- Cut the fabric to size, keeping these extra margins in mind.
- Begin by stapling just one side of the fabric to the back of the canvas frame. Place staples every few inches.
- As you staple, gently pull the fabric snug across the canvas, but avoid pulling it too tightly, which could distort the weave or make it difficult to shape later. The goal is a smooth, even surface on the front.
5. Creating the Texture
This is truly where the magic happens and your artistic vision takes shape! This step allows for immense creativity and personal expression.
- Brush the prepared wood glue mixture onto a section of the canvas surface. Work in smaller, manageable sections (e.g., a quarter of the canvas at a time) to prevent the glue from drying prematurely.
- Lightly spray water onto the fabric that will cover the glued section. This makes the fabric more pliable and helps it absorb the glue evenly, allowing for better shaping.
- Carefully place the moistened fabric over the glued area on the canvas.
- Now, using your gloved hands, begin to shape and mold the fabric into your desired pattern. You can gather it, pleat it, create soft waves, sharp peaks, or abstract folds. This is your chance to experiment and let your creativity flow.
- As you work, keep an eye on the fabric; if it starts to feel stiff or dry, lightly spray it with water to maintain its pliability and ensure good glue absorption.
- Make sure every part of the fabric, especially within the textured areas, is thoroughly coated and saturated with the glue mixture. This ensures the texture will hold its form permanently once dry.
- Continue shaping and refining your design until you are completely happy with the aesthetic. Don’t rush this stage – thoughtful shaping makes all the difference.
6. Drying Phase
Patience is not just a virtue here; it’s a necessity! Proper drying is critical for the structural integrity and longevity of your textured art.
- Once you’re satisfied with your design, resist the urge to move or disturb your artwork. Let your creation dry for a full 24 hours. This allows the construction-grade wood glue to fully cure and harden.
- Keep the canvas flat and undisturbed in a location where it won’t be accidentally bumped or altered.
- Ensure it’s in a well-ventilated area. Good airflow aids in the drying process and helps prevent any lingering moisture or potential for mold.
- After the 24-hour drying period, carefully inspect your piece. Once completely dry and rigid, you can trim any excess fabric from the back edges of the frame.
- Staple the remaining, previously unsecured sides of the fabric to the back of the frame, pulling gently to ensure an even finish.
7. Priming Stage
Priming is an often-overlooked but essential step that prepares your textured surface for paint, ensuring vibrant colors and long-lasting results.
- In your spray bottle, mix wall primer with a small amount of water. Check the primer’s instructions for recommended dilution ratios. The goal is a consistency that can be evenly sprayed without clogging the nozzle.
- Spray the entire fabric surface evenly with the diluted primer. Make sure to get into all the crevices and textured areas to ensure complete coverage. This layer acts as a sealant, preventing the fabric from absorbing too much paint and ensuring consistent color.
- Allow a full 8 hours for the primer to dry completely. This might seem long, but it’s crucial for the primer to create a stable, non-absorbent base for your paint. A well-primed surface will make your paint colors pop and adhere beautifully.
8. Painting Process
The painting process is your final opportunity to infuse your artwork with color and bring your textured masterpiece to life. This is where the overall mood and aesthetic of your piece are finalized.
- Mix your acrylic paints to achieve your desired base color. If you’re aiming for a gradient effect, it’s often easiest to start with your darkest shade, as you can gradually lighten it.
- For lighter shades and highlights, slowly add white paint to your base color. This allows you to create a range of tones from a single color.
- Apply the first coat of paint evenly across the entire textured surface. Ensure the paint gets into all the depths and crevices of your design.
- Let the first coat dry thoroughly for approximately 5 hours. This prevents smudging and ensures subsequent layers adhere correctly.
- Add a second coat of paint for better coverage and richer color saturation. Depending on your chosen colors and desired intensity, you might even opt for a third thin coat.
- Throughout the painting process, pay close attention to the texture details. Use your brush to enhance the peaks and valleys, ensuring the paint highlights the three-dimensional quality of your artwork. Make sure paint reaches all the deep crevices for a professional, finished look.
Approximate Cost to Create a Basic DIY Textured Wall Art
One of the most compelling reasons to create your own textured art is the significant cost savings compared to purchasing similar pieces from a gallery or home decor store. While there’s an initial investment in tools, these are often one-time purchases that will serve you for many future projects.
| Item | Description | Price Range | Notes |
|---|---|---|---|
| Canvas (16×20 inches) | Standard stretched canvas | $10 to $15 | Look for sales at craft stores, especially when buying in bulk or during promotional periods. |
| Construction Wood Glue | 16oz bottle, durable and flexible | $5 to $8 | A single bottle typically contains enough glue to create 2 to 3 textured pieces. |
| Fabric | Cotton or linen per yard | $3 to $6 | Approximately half a yard of fabric is generally sufficient for one 16×20 inch piece. |
| Acrylic Paint | Basic colors per tube | $3 to $4 | Depending on your color scheme, you might need 2-3 tubes for distinct colors. |
| White paint | $3 to $4 | Essential for lightening colors and creating gradients. | |
| Total paint cost | $12 to $15 | Estimate for a multi-color piece, could be less for single-color designs. | |
| Tools (one-time investment) | Reusable tools for multiple projects | These costs are spread out over time. | |
| Paint brushes set | $5 to $8 | A basic set provides various sizes for different applications. | |
| Staple gun | $10 to $15 | A practical tool for many DIY projects beyond just art. | |
| Scissors | $5 | A good pair of fabric scissors will last for years. | |
| Spray bottle | $2 | An inexpensive item with multiple uses. | |
| Wall Primer | Small bottle, seals fabric and enhances paint adhesion | $5 to $7 | A small bottle of primer is usually enough for several art projects. |
| Total Cost Breakdown | Initial project (including tools) | $55 to $75 | This estimate includes purchasing all necessary tools for the first time. |
| Each additional piece | $25 to $35 | Subsequent projects are significantly cheaper as you already own the tools. |
As you can see, after the initial investment in tools, the cost per piece drops dramatically, making this an incredibly economical way to adorn your home with unique, handmade art.
Benefits of Creating Your Own Textured Art
Diving into DIY textured wall art offers a wealth of advantages, extending beyond just saving money. It’s a journey of personal growth, creative expression, and practical home improvement. The satisfaction of looking at a piece you’ve made yourself, knowing it perfectly reflects your taste, is truly unmatched.
Personal Creative Benefits
Beyond the tangible product, the act of creation itself provides profound personal rewards.
1. Express Your Style
- You have complete artistic control, allowing you to pick your exact colors, patterns, and textural forms. This ensures that each piece perfectly reflects your unique aesthetic and personality.
- The ability to customize means your art will flawlessly integrate with your existing decor, matching your room’s exact color theme and overall style, whether it’s minimalist, bohemian, industrial, or classic.
- Your wall art becomes a true extension of yourself, telling a story that mass-produced pieces simply cannot.
2. Learn New Skills
- Engaging in this DIY project helps you build a range of basic art techniques, from canvas preparation to fabric manipulation and painting.
- You’ll master working with different materials like glue, fabric, and paint, understanding their properties and how they interact.
- Successfully completing a project boosts your overall confidence in making things with your own hands, potentially inspiring you to tackle even more ambitious creative endeavors.
3. Personal Achievement
- There’s an undeniable sense of pride and accomplishment that comes from creating something beautiful and functional entirely by yourself. Your handmade creation becomes a conversation starter.
- You can proudly share your newfound skills and creations with family and friends, perhaps even inspiring them to try their hand at art.
- This project can be the gateway to starting a new fulfilling hobby, providing a creative outlet and a sense of purpose.
Practical Benefits
Beyond the joy of creation, there are clear practical advantages that make DIY textured art an intelligent choice for any homeowner.
1. Save Money
- Crafting your own art is significantly more cost-effective than purchasing similar, high-quality textured pieces from art galleries or home decor stores.
- Many of the tools required are a one-time investment that can be used for multiple pieces, further reducing the cost of each subsequent project.
- Your handmade pieces also make thoughtful and affordable gifts for others, allowing you to spread your creativity without stretching your budget.
2. Perfect Fit For Your Space
- You have the freedom to choose the exact size of your canvas, ensuring the artwork perfectly fits those tricky narrow walls or fills a grand focal point.
- Complete control over colors and design means you can create pieces that are precisely tailored to your room’s dimensions and existing palette.
- You can even design multiple pieces that work together as a cohesive set, something often difficult and expensive to find off-the-shelf.
3. Quality Control
- By making your own art, you get to pick and choose the quality of your materials, ensuring durability and a professional finish that meets your standards.
- If any issues arise during the creation process, you can fix them right away, guaranteeing a flawless end product.
- The ability to make changes or touch-ups anytime means your art can evolve with your taste or be easily refreshed.
Home Improvement Benefits
Integrating DIY textured art into your home enhances its aesthetic appeal and functionality in several ways.
4. Better Than Store Options
- Your creations will be truly unique pieces that no one else has, adding character and individuality to your home. They become conversation starters and reflections of your personal journey.
- You can custom-design art for odd-shaped spaces or challenging wall dimensions where standard store-bought frames simply won’t fit.
- As your style and taste evolve, you can easily change designs or create new pieces, keeping your home decor fresh and current without significant expense.
5. Easy Maintenance
- Since you made the piece, you’ll know exactly what materials were used, allowing you to clean it properly and safely, preserving its beauty for years.
- Should any minor wear or tear occur, you’ll be able to easily touch up or make small repairs yourself, extending the life of your artwork.
- Understanding its construction means you can fix any accidental damage with confidence, rather than needing to replace the entire piece.
Common Mistakes to Avoid While Creating
Even with a clear guide, it’s easy to fall into common pitfalls that can affect the quality and longevity of your textured art. Being aware of these mistakes beforehand can save you time, effort, and materials.
Material-Related Mistakes
The foundation of your art lies in your materials. Choosing and preparing them incorrectly can lead to a less-than-perfect outcome.
1. Wrong Glue Mix
- Making glue too watery: A thin glue mix won’t properly saturate the fabric, leading to weak texture that crumbles or doesn’t hold its shape.
- Not mixing glue well enough: Lumps and inconsistencies in the glue will result in uneven texture and poor adhesion in spots.
- Using regular craft glue instead of wood glue: Craft glues typically lack the strength and flexibility needed for durable textured art, often leading to cracking or detachment.
2. Poor Fabric Choice
- Using fabric that’s too thin: Very thin fabrics may tear easily when manipulated or become overly translucent, showing the canvas beneath.
- Picking stretchy materials: Stretchy fabrics (like jersey or certain synthetics) are difficult to control and may sag or lose their shape as they dry, leading to unpredictable textures.
- Not having enough fabric for edges: Failing to leave sufficient overhang means you might struggle to staple the fabric securely to the back of the canvas frame, resulting in an untidy finish.
3. Paint Problems
- Using too little primer: Insufficient priming can lead to uneven paint absorption, patchy colors, and the fabric potentially bleeding through the paint.
- Applying paint too thick: Thick layers of paint can obscure fine texture details, prolong drying times significantly, and increase the risk of cracking as the paint dries.
- Not letting layers dry fully: Rushing between coats of paint can lead to smudging, mixing of colors you didn’t intend, and an uneven final finish.
Process Mistakes
The steps you take, and the order in which you take them, are crucial for a successful outcome.
4. Rushing the Steps
- Not letting the glue dry completely: This is a critical error. Moving to the next step before the glue is fully cured can cause your texture to collapse, shift, or become weak, leading to a damaged piece.
- Painting too soon: Applying paint to wet or damp glue/primer will result in poor adhesion, color blending issues, and potentially mold growth.
- Skipping the primer step: Omitting primer can lead to the fabric absorbing paint unevenly, requiring many more paint coats, and compromising the vibrancy of your colors.
5. Poor Work Setup
- Not covering workspace well: A small spill can quickly become a large, messy problem without adequate protection, potentially damaging your furniture or floor.
- Not wearing gloves: Glue and paint can be difficult to remove from skin and can cause irritation for some individuals. Gloves are a simple, effective protective measure.
- Working in small, cramped spaces: Limited space can lead to accidental bumps, spills, and makes it difficult to step back and assess your design effectively.
6. Shaping Issues
- Making shapes too deep: Extremely deep folds might hold moisture longer, increasing drying time, or create weak points prone to cracking.
- Not wetting fabric enough: Dry fabric will be stiff, difficult to mold, and won’t properly absorb the glue, leading to a fragile texture.
- Over-working the design: Constantly reshaping can lead to the fabric breaking down, losing its integrity, or creating an overly messy, undefined texture.
Planning Mistakes
Even before you touch a material, mistakes in planning can impact your project.
7. Size Issues
- Wrong canvas size for space: An artwork that’s too small gets lost on a large wall, while one that’s too big overwhelms a small space.
- Not measuring fabric right: Incorrect fabric measurements can leave you with too little to secure or too much to manage, wasting material.
- Making patterns too small or intricate: On a large canvas, tiny details might get lost, while overly ambitious patterns can become overwhelming or difficult to execute for a beginner.
8. Time Management
- Not planning for drying time: Underestimating drying times can force you to rush, leading to the process mistakes mentioned above.
- Rushing the paint job: Hasty painting often results in streaks, missed spots, and an uneven finish.
- Working when tired or rushed: Creative projects require focus. Starting when fatigued increases the likelihood of errors and reduces enjoyment.
How to Fix The Issues with Simple Solutions
Don’t be discouraged if you encounter a problem! Most issues during the textured art creation process are easily fixable with a bit of patience and the right approach. Here’s a guide to troubleshooting common problems:
| Category | Problem | Solution |
|---|---|---|
| Fixing Material Issues | Glue Problems | Too watery: Slowly add more construction-grade wood glue to the mixture until it achieves a thick, paste-like consistency suitable for shaping. |
| Not mixed well: Stir the glue and water mixture for a longer period, ensuring all lumps are completely dissolved for a smooth, consistent paste. | ||
| Wrong glue: If you’ve used an unsuitable glue (e.g., craft glue), it’s best to start fresh with construction-grade wood glue to ensure durability and proper texture. | ||
| Lumpy spots on dried texture: If caught early (while still somewhat pliable), spray water on the area and gently smooth it out. If fully dry, consider adding more texture over it or carefully sanding. | ||
| Fabric Issues | Too thin fabric: To add structure and prevent transparency, consider doubling or tripling your fabric layer in the desired areas. | |
| Stretchy fabric: For future projects, switch to non-stretch fabrics like cotton or linen. If already applied, try to work quickly and avoid over-stretching during shaping. | ||
| Not enough fabric for edges: If you’re short on material, carefully join additional fabric pieces at the back of the canvas, ensuring the seam is hidden and securely stapled. | ||
| Torn fabric during shaping: If a tear is significant and affects the aesthetic, it’s often best to remove the torn piece and start over with a new section of fabric to ensure a pristine finish. | ||
| Process Fixes | Timing Problems | Glue not dry: Always check glue dryness with a gentle touch; it should be completely hard and rigid before proceeding. Waiting the full 24 hours is non-negotiable for proper curing. |
| Rushing drying phases: Set reminders or mark your calendar with specific drying times (24 hours for glue, 8 hours for primer, 5 hours per paint coat) to avoid premature progression. | ||
| Not enough drying time for primer: Patience is key. The primer needs to cure fully to create an optimal surface. A good practice is to set a timer for each drying phase to ensure adherence. | ||
| Workspace Solutions | Cramped space: If possible, move to a bigger, more open workspace. Even a cleared floor space can provide more room to work comfortably and safely. | |
| Inadequate covering: Always add extra protective covering beyond just the immediate work area to catch accidental drips or splashes. | ||
| Lack of organization: Keep cleaning supplies (wet rags, paper towels) ready at hand for immediate wipe-ups. Work in good, bright light to clearly see what you’re doing. | ||
| Design Corrections | Shape Problems | Shapes too deep: If the glue is still wet, gently push back and reshape the fabric to reduce the depth. If dry, you might need to add more fabric/glue to build up surrounding areas. |
| Fabric not wet enough for shaping: Spray more water onto the fabric. This will re-moisten it, making it pliable again for easier reshaping and molding. | ||
| Over-worked design: If you’ve manipulated the fabric too much, let it dry slightly for a few minutes. This can make it less responsive, allowing you to reshape with a lighter touch. | ||
| Uneven texture or flat spots: Apply additional glue mixture to low spots or areas lacking texture. Gently add small fabric pieces or reshape existing ones to build up the desired dimension. | ||
| Paint Solutions | Patchy color: Apply another thin, even coat of paint, ensuring complete coverage. Avoid thick coats, as they can obscure texture. | |
| Paint too thick/streaky: If paint is still wet, gently smooth it with a slightly damp brush. For future applications, thin your paint with a small amount of water to improve flow and coverage. | ||
| Missed spots: Use a small, fine-tipped brush for touch-ups, carefully dabbing paint into hard-to-reach crevices or small areas. | ||
| Wrong color choice: Once dry, the simplest solution is to apply a new, thin coat of your desired color over the existing one. Acrylics are quite forgiving in this regard. | ||
| Planning Fixes | Size Corrections | Unsure about size/pattern: Create a paper template or sketch your design first. Test your pattern on scrap fabric to get a feel for how it will look. |
| Measuring errors: Always measure twice, and cut once. Keep extra materials (fabric, canvas) handy just in case mistakes happen during cutting or shaping. |
Some Creative Variations & Ideas to Explore
Once you’ve mastered the basic technique, the possibilities for creative expression are virtually endless. Don’t limit yourself to just one style; experiment with different patterns, colors, and even material combinations to create truly bespoke pieces that reflect your evolving taste.
Pattern Variations
The way you manipulate the fabric creates the core visual interest of your textured art. Here are some popular patterns to inspire your next project.
1. Wave Patterns (Basic Cost Range – $45 – $65)
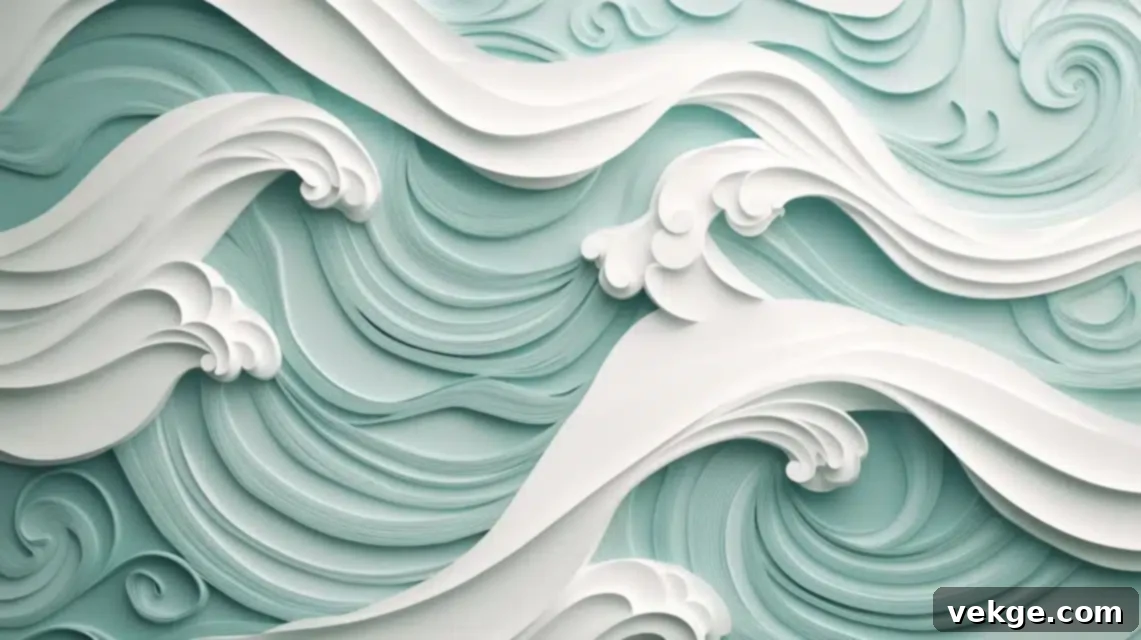
- Gently gather and pleat the fabric to create flowing, organic lines that mimic the movement of water across the canvas.
- Vary the height and depth of your waves, mixing high, dramatic crests with low, subtle ripples to add visual complexity.
- Experiment with creating ripple effects by gently pressing down on the fabric in concentric circles while it’s still wet with glue.
- Introduce soft, gentle curves across the canvas, avoiding harsh angles to maintain the fluid, natural feel of waves.
2. Mountain Ranges (Basic Cost Range – $45 – $65)
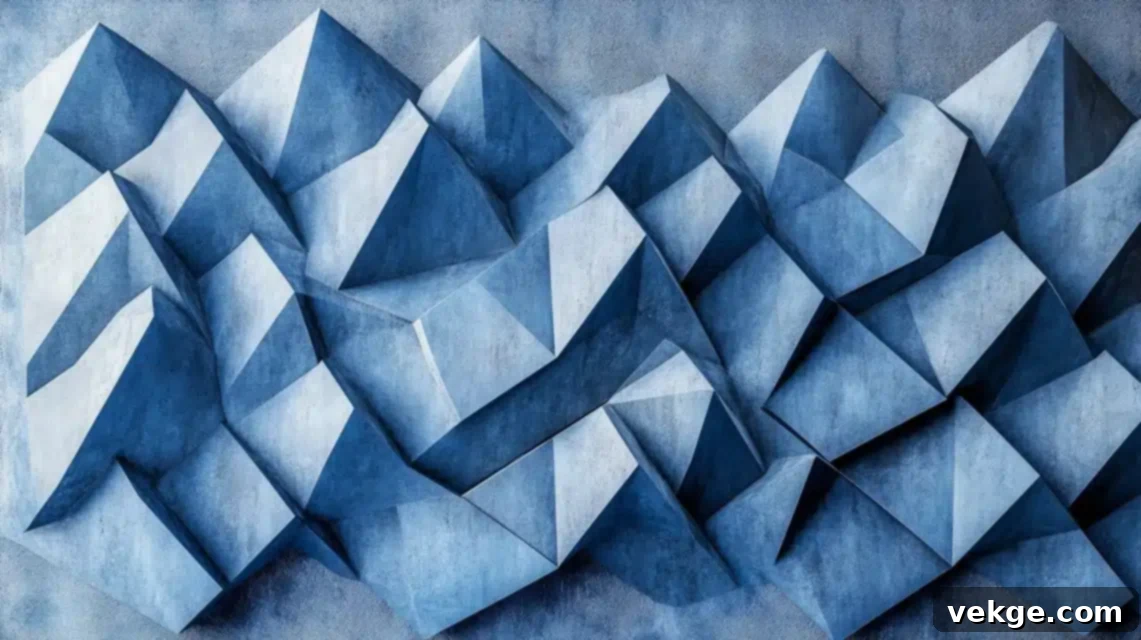
- Carefully fold and pinch the fabric to build distinct peaks and valleys, mimicking rugged mountain topography.
- Layer different heights and sizes of “mountains” to create a sense of depth and perspective within your landscape.
- Experiment with making sharp, dramatic angles for a more imposing range, or create soft, rolling slopes for a gentler, more serene vista.
- Consider using a palette of grays, blues, and whites to enhance the mountainous effect, especially at the “snow-capped” peaks.
3. Geometric Shapes (Basic Cost Range – $45 – $70)
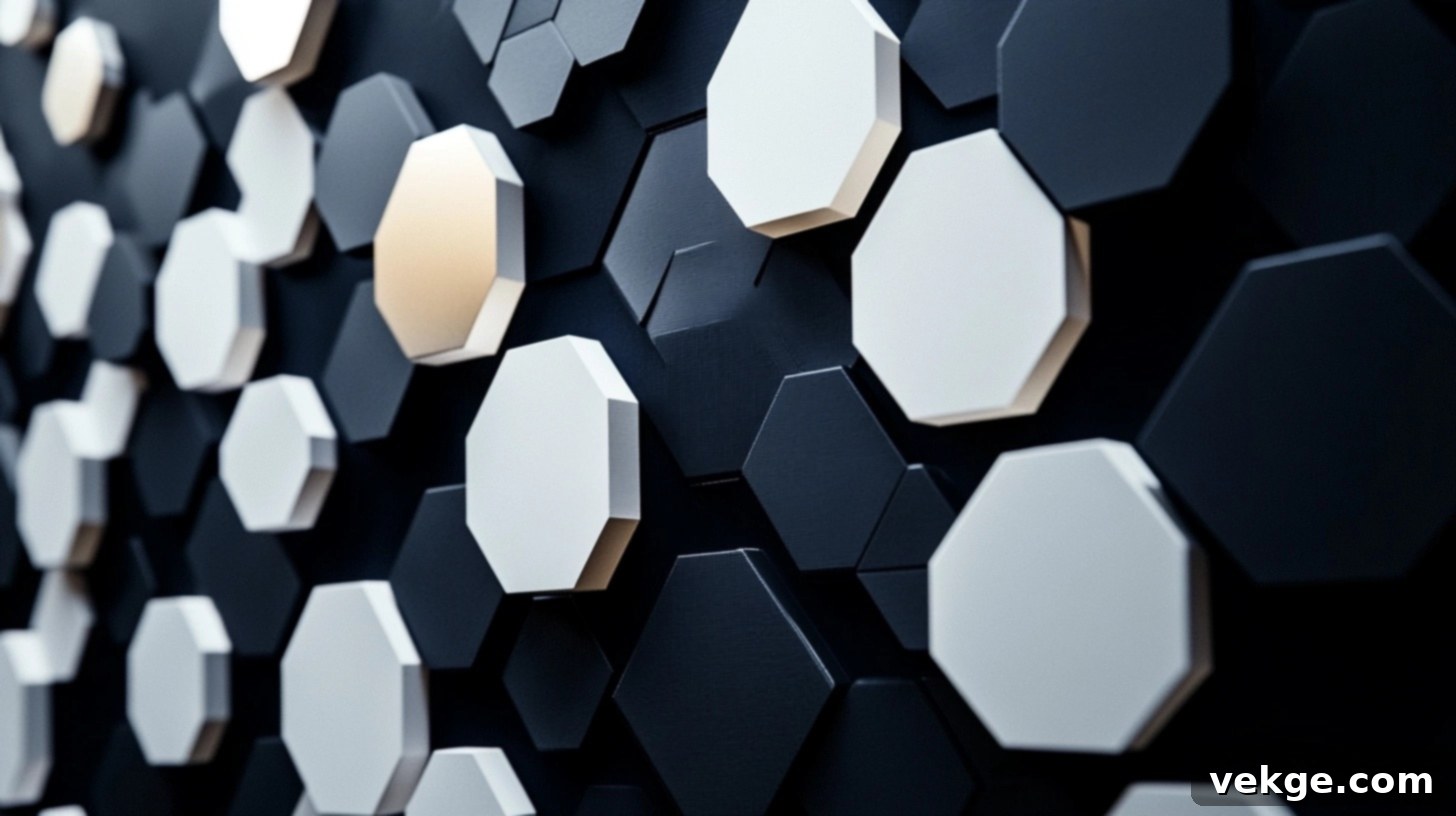
- Precisely fold and crease the fabric to form crisp squares, triangles, or rectangles, offering a modern, structured aesthetic.
- Create circular patterns by gently gathering the fabric and spiraling it outwards from a central point, or make hexagon clusters for an intriguing mosaic effect.
- Form sharp, clean diamond shapes or other polygons for a sophisticated and contemporary look.
- Use masking tape (removed before the glue dries) to help define clean edges for your geometric patterns, adding precision to your design.
Color Ideas
Color is where your personality truly shines. The right palette can transform a textured piece into a captivating focal point.
1. Single Color With Shades (Basic Cost Range – $40 – $60)
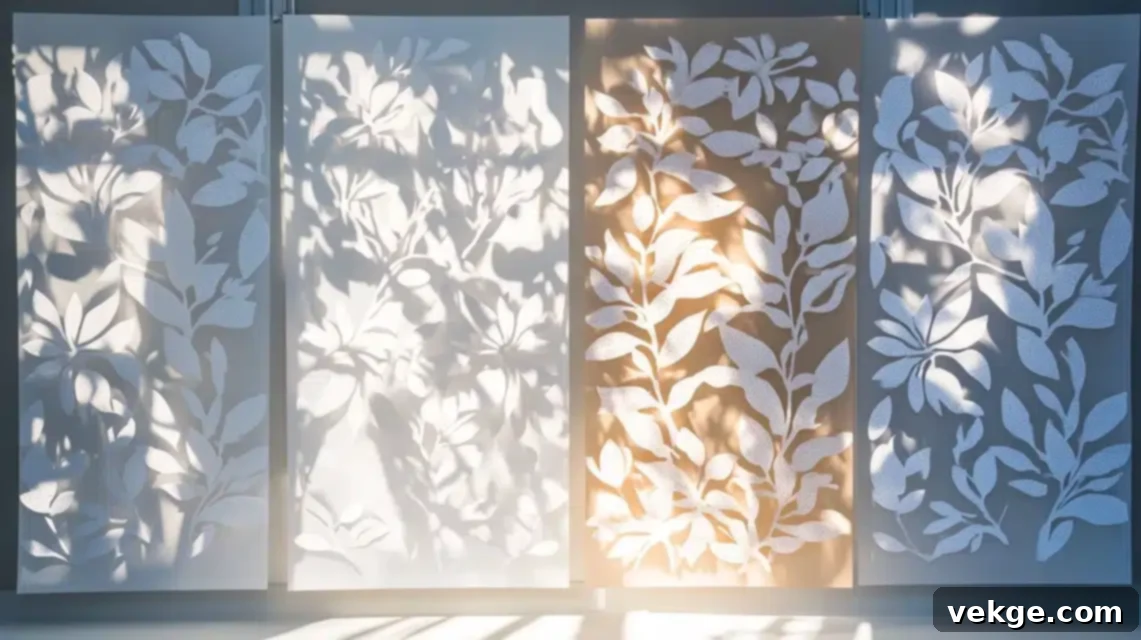
- Choose one core color and create a stunning monochromatic piece by using its various tones – from deep, rich hues to airy, pale tints.
- Achieve beautiful light-to-dark shifts by gradually adding white or black paint to your base color, creating a subtle yet impactful gradient.
- Strategically apply darker shades in the recesses of your texture to create natural shadow effects, enhancing the depth and dimension of the piece.
- Add delicate white highlights to the highest points of your texture, catching the light and making the forms pop.
2. Color Blending (Basic Cost Range – $50 – $70)
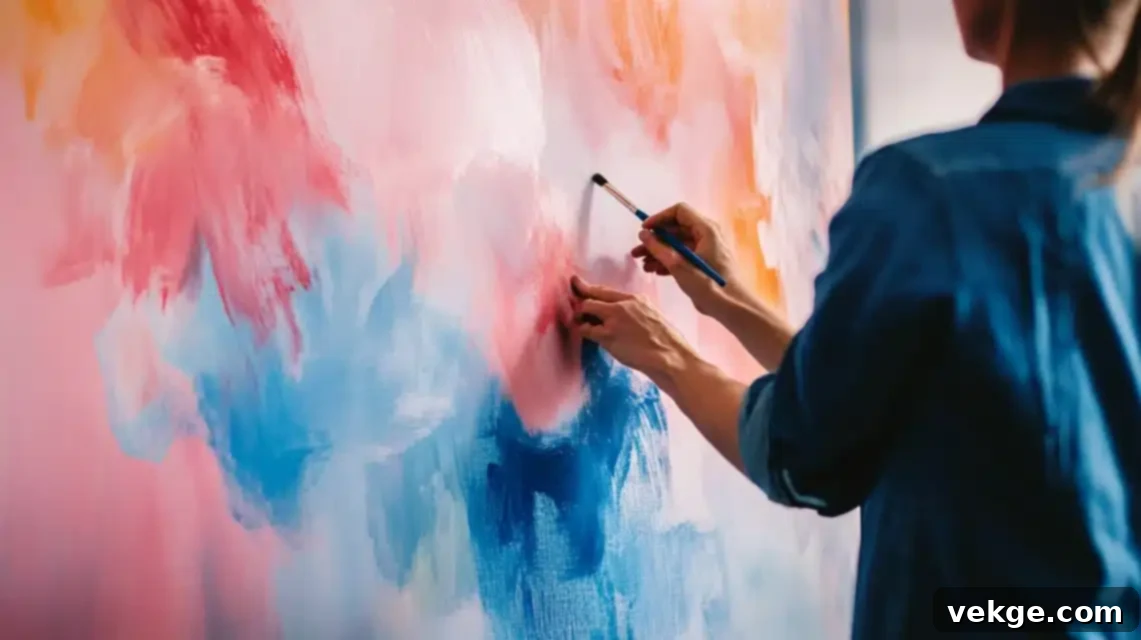
- Select two or three closely related colors (e.g., blues and greens, or warm earth tones) and blend them seamlessly on the canvas for a harmonious effect.
- Achieve soft, gradual color shifts across the textured surface, allowing colors to naturally melt into one another without harsh lines.
- Focus on blending colors at the texture points, using the folds and curves of the fabric to facilitate a natural transition between hues.
- Employ the dry brush technique with a very small amount of paint on your brush to gently feather colors together, especially for subtle transitions or highlights.
Material Mix
Beyond the primary fabric and glue, introducing other elements can add another layer of complexity and visual interest to your art.
1. Texture Combos (Basic Cost Range – $50 – $70)
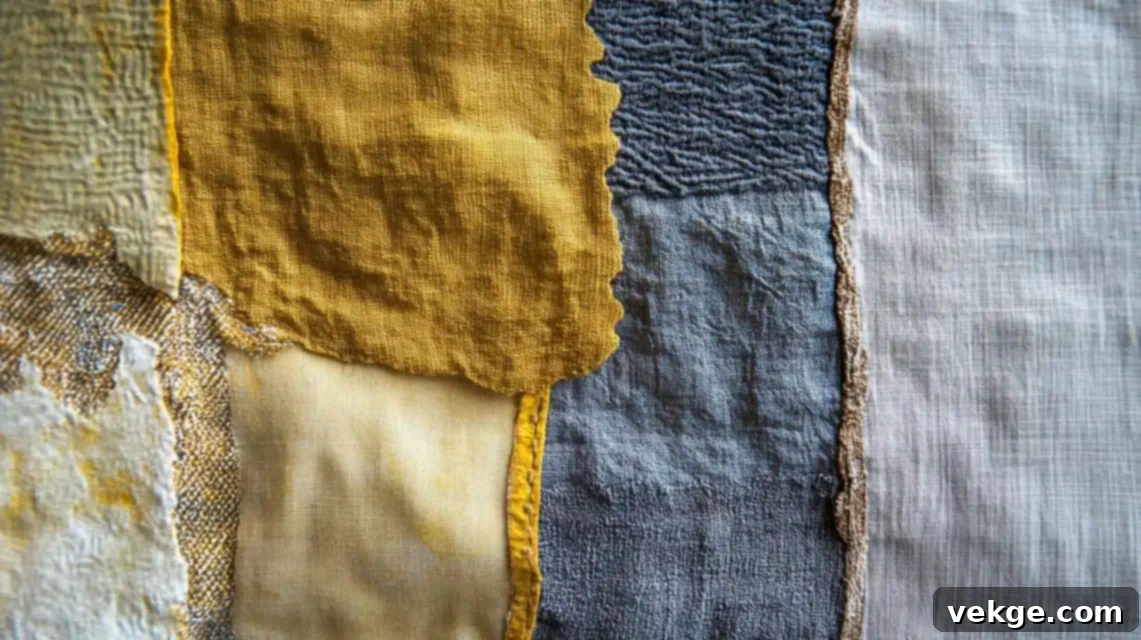
- Experiment with mixing fabrics of different weights and weaves, such as combining smooth cotton with rough burlap or delicate lace, for contrasting textures.
- Layer thin, sheer fabrics over thicker, more opaque ones to create subtle depth and intriguing visual effects.
- Combine different weaves within the same piece, for instance, a tightly woven cotton with a looser linen, to add tactile variety.
- Incorporate fabric strips or even yarn into your design, gluing them down to create linear textures or specific patterns.
2. Surface Effects (Basic Cost Range – $55 – $80)
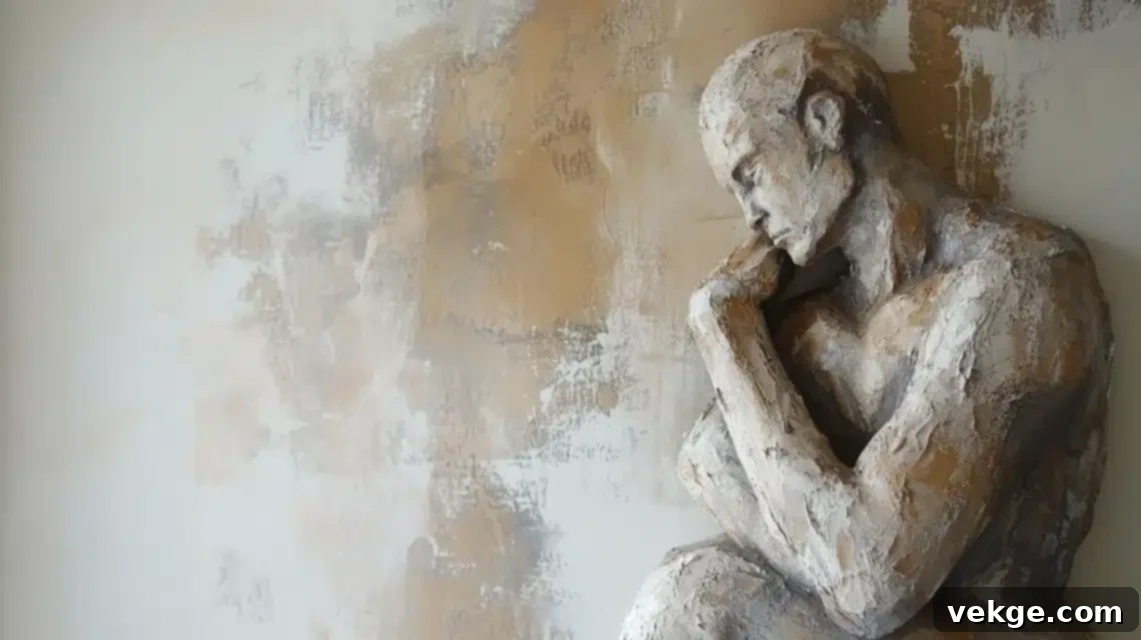
- Refine the appearance of your painted texture by trying the dry brush technique, where you apply paint with a nearly dry brush to highlight peaks and create subtle color transitions.
- Apply multiple thin coats of paint rather than one thick one. This builds depth and allows the underlying texture to remain crisp and visible.
- Add metallic touches, such as a light dry brushing of gold, silver, or copper paint, to catch the light and add an element of luxury.
- Experiment with creating contrasting matte and glossy areas using different paint finishes or a matte/gloss varnish applied strategically after the paint is dry.
Size Options
The scale of your artwork can dramatically impact a room. Consider multi-panel designs for a grander statement or to fill larger wall spaces.
1. Multi-Panel Designs
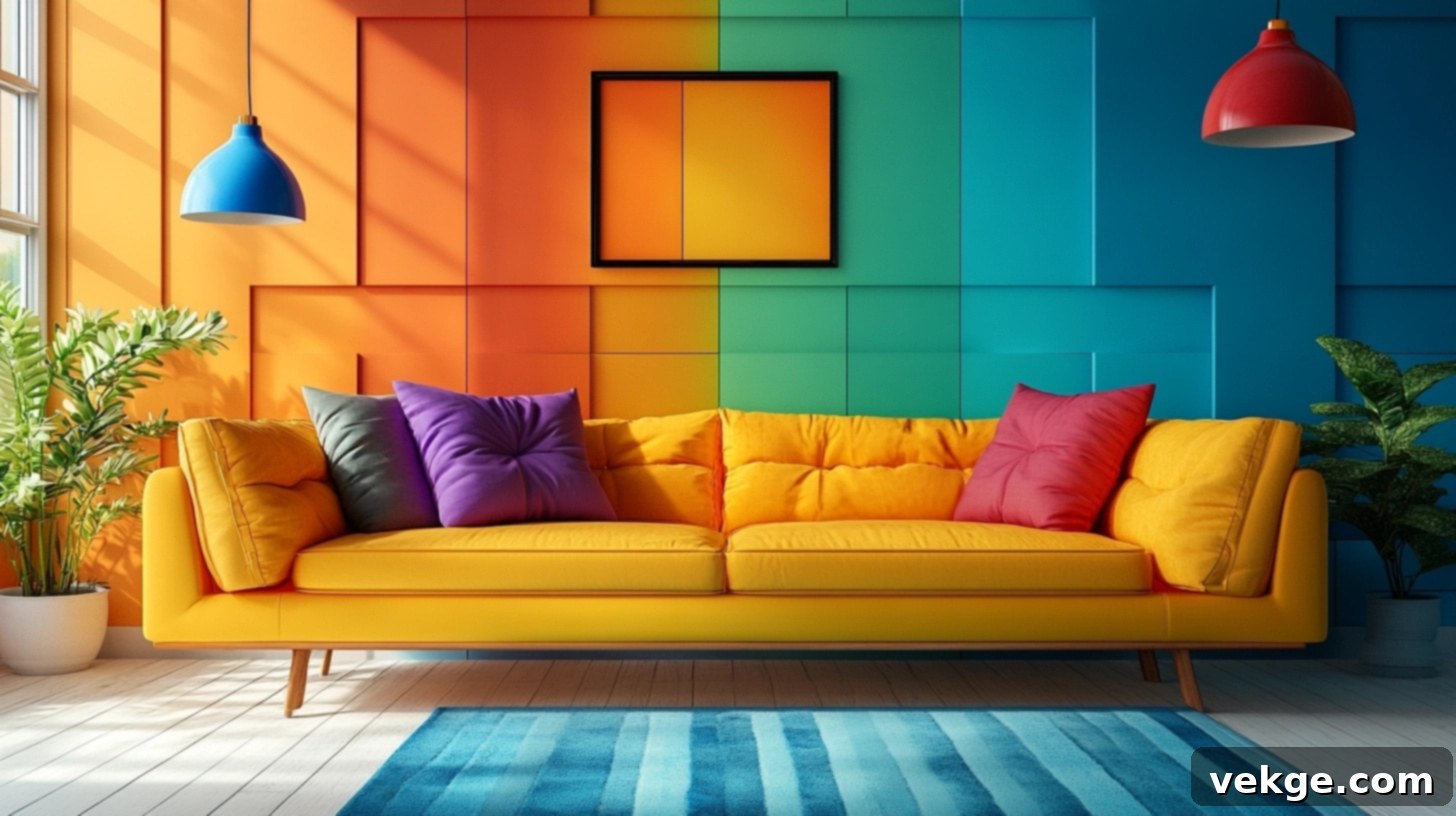
Instead of a single canvas, consider creating a series of two, three, or even more panels that together form a cohesive art installation. This can create a powerful visual impact, especially on larger walls.
| Design Type | Total Cost Range | Best For |
|---|---|---|
| Two-Panel Sets (Diptych) | $55 to $75 | Ideal for smaller walls, above a bedside table, or as an entry point for beginners to multi-panel art. |
| Three-Panel Small Size (Triptych) | $65 to $85 | Perfect for narrow spaces, creating a vertical flow, or adding visual interest to a specific zone. |
| Three-Panel Medium Size | $85 to $105 | A classic choice for standard-sized walls, such as above a sofa or console table, providing a balanced focal point. |
| Large Statement Set (4+ panels) | $120 to $150 | Designed for big walls or main rooms, creating a dramatic, gallery-like effect and serving as a central design element. |
- Create three or more matching pieces, perhaps with a consistent color palette but slightly varied textures, for a cohesive gallery wall effect.
- Design split images where a single, larger image is continued across multiple canvases, requiring careful planning and execution.
- Ensure patterns line up perfectly across panels, or strategically create patterns that flow from one canvas to the next for a dynamic visual.
- Mix sizes and orientations in your groups for an asymmetrical and modern arrangement, adding visual interest and depth to your display.
Conclusion
Creating your own textured wall art is an incredibly rewarding endeavor that brings immense joy – both in the process of creation and in proudly displaying the finished piece. I still find myself smiling every time I look at my first textured artwork hanging in my living room, a tangible reminder of a creative journey and a unique personal touch.
By diligently following these comprehensive steps and remaining mindful of the common mistakes to avoid, you are well-equipped to create beautifully textured art that not only perfectly fits your personal style but also adds depth, character, and sophistication to any room in your home.
The best part? You’ll achieve this high-end look and feel while significantly saving money compared to purchasing similar pieces from a retail store. The initial investment in tools pays off quickly, allowing you to create multiple unique artworks for a fraction of the cost.
So, are you ready to unleash your inner artist and start your own textured wall art project? Begin with simple patterns and basic color schemes to build your confidence. And once you’ve completed your masterpiece, please take pictures of your creation – I’d absolutely love to see what unique pieces you bring to life!
Leave a comment below sharing which design idea you plan to try first, or feel free to ask me if you need any help picking the perfect materials for your vision.
Remember, even the smallest spaces can truly shine with personal touches that reflect your individuality. Happy creating!
