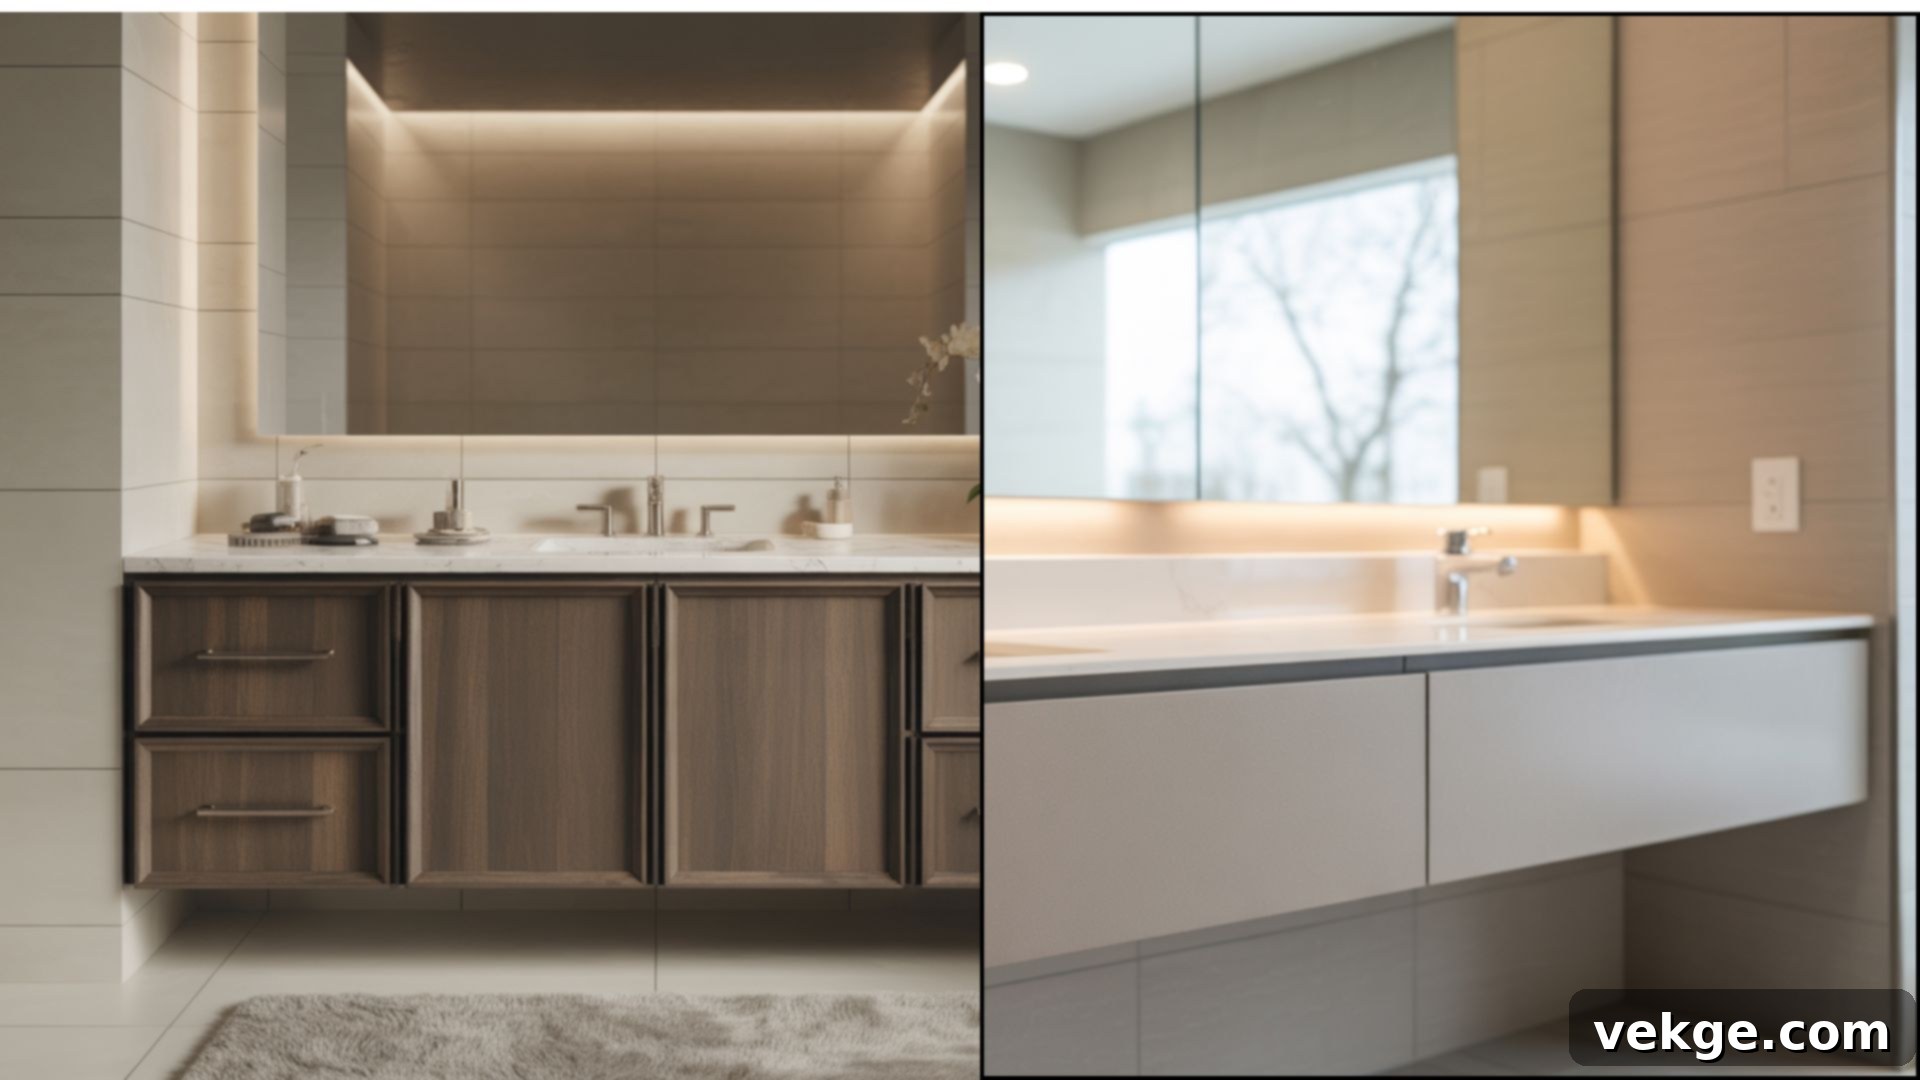
The Ultimate Guide to Choosing Your Perfect Bathroom Vanity Height for Optimal Comfort and Functionality
Finding the ideal bathroom vanity height is a critical step in creating a comfortable and highly functional bathroom. It’s more than just an aesthetic choice; it directly impacts your daily routine, posture, and overall bathroom experience. Whether you’re planning a full renovation or simply looking to upgrade, understanding the nuances of vanity heights can prevent common discomforts like back pain from constant bending or straining to reach the faucet.
Imagine starting your day at a sink that perfectly accommodates your height, allowing you to brush your teeth or wash your face without any awkward stretching or stooping. This comprehensive guide is designed to empower you with all the information you need to make an informed decision. We’ll explore various standard and modern vanity height options, delve into the specifics of ADA compliance, provide practical DIY tips for adjusting your current setup, and offer tailored advice for selecting the best height to suit your family’s unique needs.
Let’s dive into the world of bathroom vanity dimensions and discover how to achieve a blend of ergonomic comfort, accessibility, and sophisticated style in your home.
Understanding Bathroom Vanity Height: The Foundation of Comfort
The term “bathroom vanity height” refers to the vertical measurement from the finished floor to the top surface of your vanity countertop. This seemingly simple dimension is profoundly important as it dictates your comfort level and ease of use every single time you approach the sink and mirror.
A vanity that is too low forces users to bend excessively at the waist, leading to poor posture and often resulting in back pain, neck strain, and general discomfort over time. This is especially true for taller individuals or those who spend more than a few minutes at the vanity during their daily routine.
Conversely, a vanity that is too high can make tasks like washing hands or face feel strenuous. Shorter adults, children, or individuals with mobility challenges will struggle to reach the sink basin or faucet comfortably, potentially leading to splashes and an uncomfortable experience. In a multi-user bathroom, this can become a significant inconvenience for certain family members.
The goal is to achieve an ergonomic setup where the vanity height aligns naturally with your body’s posture. The ideal height allows you to stand upright, with your elbows comfortably bent at approximately a 90-degree angle when your hands are in the sink, without needing to strain your back, shoulders, or arms. This ensures a relaxed and efficient interaction with your bathroom space.
Comparing Popular Bathroom Vanity Height Choices
The market offers several distinct vanity height options, each designed to cater to different user preferences, physical needs, and aesthetic styles. Understanding these variations is crucial for selecting the perfect fit for your household.
1. Standard Vanity Height (32-34 inches)
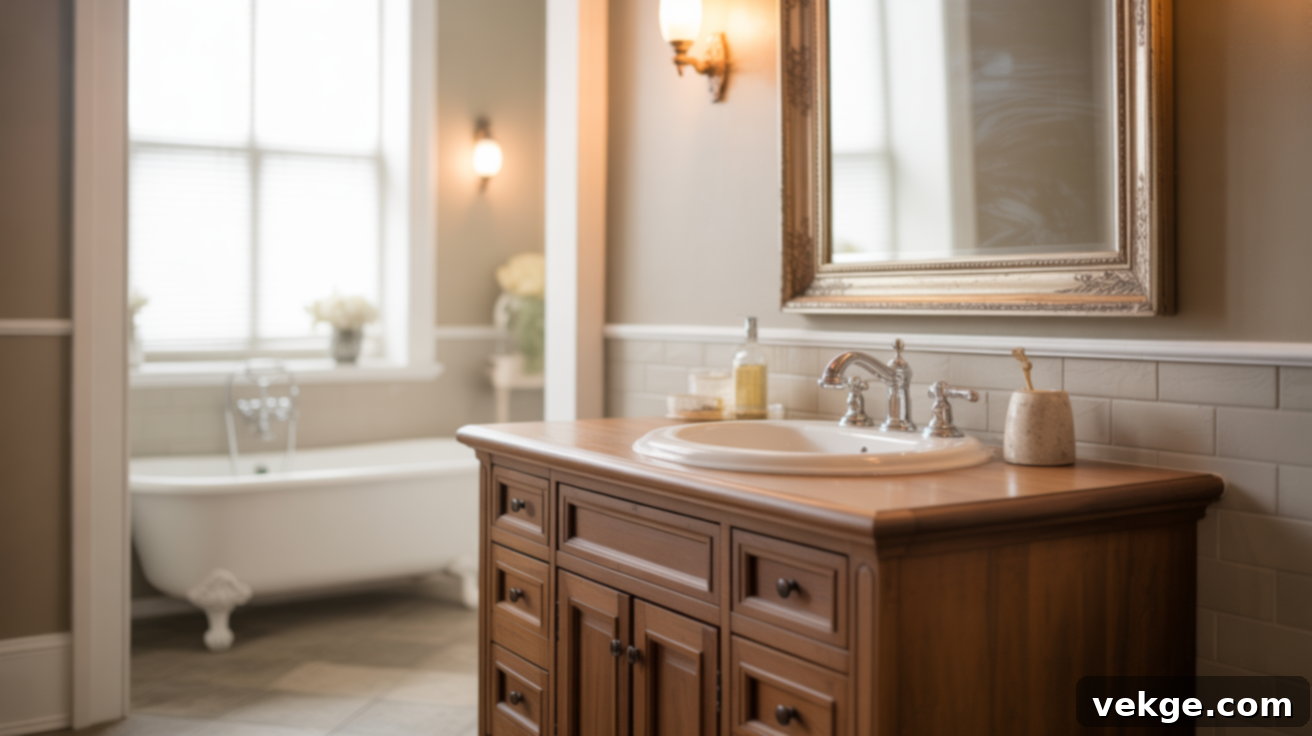
For decades, traditional bathroom vanities were typically manufactured with a height ranging from 32 to 34 inches. This measurement was established as the norm, primarily because it comfortably accommodated the average adult height of previous generations, particularly those between 5’4″ and 5’8″ tall.
Many older homes and existing bathrooms still feature vanities at this standard height. While suitable for some, individuals who are taller might find themselves leaning or bending more than desired, potentially leading to discomfort over time. It’s a classic choice but may not offer optimal ergonomics for everyone in today’s households.
2. Comfort Height Vanity (36 inches)
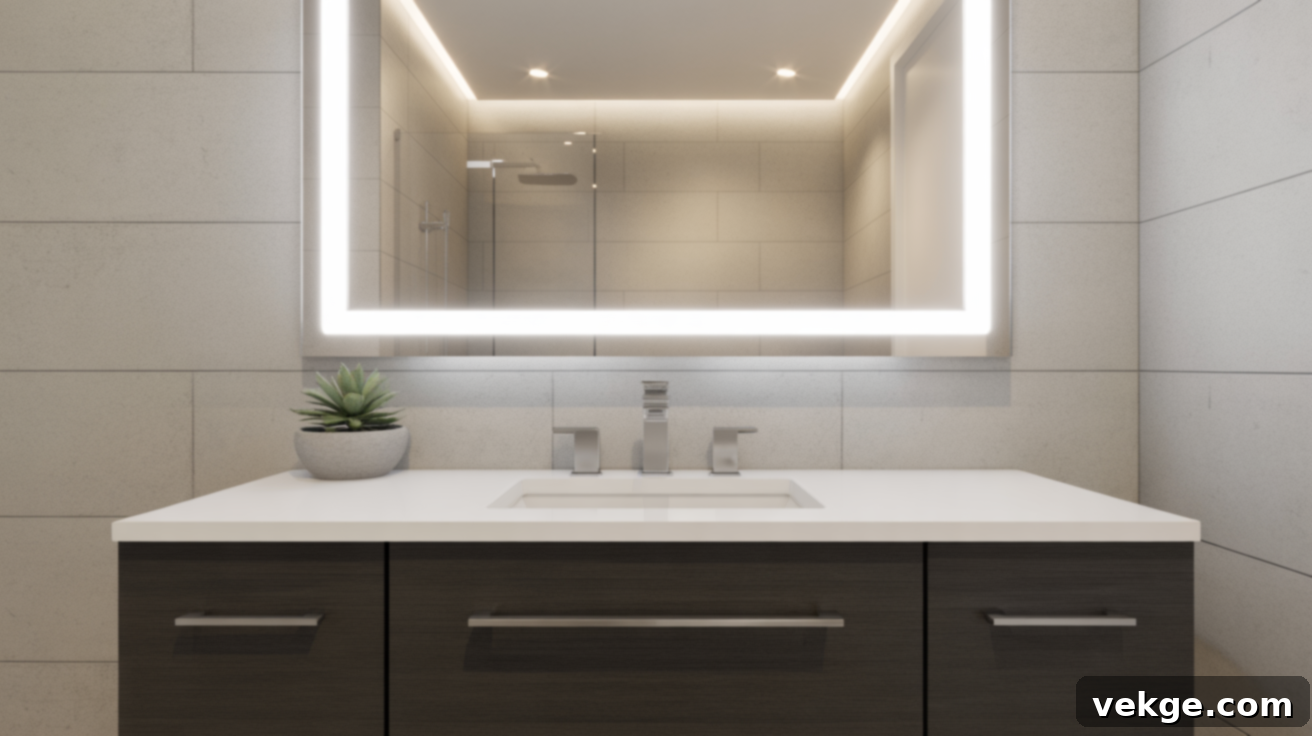
The “comfort height” vanity, standing at 36 inches tall, has rapidly grown in popularity over recent years, becoming the preferred choice for many modern bathrooms. This height aligns with the standard height of kitchen counters, making it feel familiar and naturally comfortable for many adults.
For taller individuals, a comfort height vanity significantly reduces the need to bend, effectively preventing back strain and promoting a more ergonomic posture during daily use. It offers a more comfortable and luxurious feel, especially in master bathrooms where adult comfort is paramount. While it might be a bit high for very short adults or young children, step stools can easily bridge this gap, making it a highly versatile option for many households.
3. Floating Vanity Height (Customizable, 30-36 inches)

Floating vanities are unique in that they are mounted directly to the wall, leaving the floor space beneath clear. This design offers a sleek, modern aesthetic and can make a small bathroom feel more spacious and open. The beauty of a floating vanity lies in its customizable installation height, allowing for a truly personalized setup.
While there isn’t a strict “standard” floating vanity height, common mounting ranges from 30 to 36 inches from the floor to the top of the counter. When installing, it’s essential to consider the visual impact of the empty space below. Often, installers might mount them 2-4 inches higher than a traditional floor-standing vanity to account for this open space and achieve a balanced look. The ultimate decision on height should be based on the primary users’ comfort and the overall design objectives for the bathroom.
ADA Compliance and Accessibility: Designing for Everyone
For many homeowners, ensuring accessibility is a crucial consideration, whether for personal needs, future planning, or simply a desire for universal design. The Americans with Disabilities Act (ADA) provides specific, legally mandated guidelines for accessible bathroom vanities, ensuring that facilities can be used comfortably and safely by individuals with disabilities, particularly those using wheelchairs.
ADA Height Requirements: To be ADA-compliant, a vanity must have a clear floor space of at least 30 inches by 48 inches in front of it, allowing for a parallel or forward approach by a wheelchair. The countertop height itself must not exceed 34 inches from the floor to the top surface. This maximum height is critical for allowing wheelchair users to comfortably reach the faucet, counter, and any necessary toiletries without overstretching or straining.
Essential Knee and Toe Clearance Standards: Beneath the sink, ADA-compliant vanities require specific clearances. There must be a minimum of 27 inches of vertical knee clearance from the floor to the bottom of the apron or counter. This clearance needs to extend at least 8 inches back from the front edge of the counter. Additionally, a toe clearance of at least 9 inches from the floor and 6 inches deep from the front is necessary for wheelchair footrests. The total width of this clear space for knees and toes must be at least 30 inches, providing ample room for maneuverability and comfortable access to the sink basin.
Meeting these ADA standards ensures that your bathroom is inclusive, functional, and safe for all users, reflecting a commitment to thoughtful and accessible design.
DIY Tips: How to Adjust Your Existing Vanity Height
While purchasing a new vanity offers the most straightforward path to your desired height, it’s not always necessary. For handy homeowners, adjusting the height of an existing vanity is a feasible DIY project that can save significant money and give new life to your current bathroom fixture. Remember that these modifications require careful planning, precise measurements, and a degree of comfort with basic plumbing and carpentry.
Raising a Vanity: Adding Those Crucial Inches
Increasing the height of your existing vanity involves structural modifications. Here’s a general outline of the steps:
- Prepare and Disconnect: First, ensure your safety by turning off the main water supply to the bathroom and disconnecting all plumbing fixtures (faucet lines, drain trap). This often involves loosening nuts on P-traps and supply lines.
- Carefully Detach: Gently remove the vanity from the wall. This may involve locating and unscrewing mounting brackets or screws that secure it to wall studs. If the vanity is heavy, enlist help to prevent injury or damage.
- Install New Supports: The most common method involves adding sturdy wooden blocks, a custom-built base, or adjustable vanity legs to the bottom of the existing vanity cabinet. Ensure these additions are made from moisture-resistant wood or materials.
- Secure and Reinforce: Use heavy-duty screws and appropriate anchors to firmly attach the new supports to the vanity base. The goal is a stable, wobble-free foundation at your desired new height.
- Reinstall and Reconnect: Carefully place the vanity back into position, securing it to the wall studs. Reconnect all plumbing, ensuring all connections are tight and leak-free. Test the water flow thoroughly.
Important Note: Before starting, carefully assess if raising the vanity will affect existing plumbing lines. You might need to extend supply lines or drain pipes, which could involve additional plumbing work and parts.
Lowering a Vanity: Creating a More Accessible Space
Reducing the vanity height is generally more challenging than raising it, as it involves cutting structural components. However, it is certainly doable for those with carpentry skills:
- Plumbing Disconnection: As with raising, begin by turning off the water supply and disconnecting all plumbing connections, including the faucet and drain.
- Remove Vanity Top: Carefully detach the vanity countertop. This often involves cutting caulk seals and unscrewing brackets from underneath. Set the top aside on a protected surface to prevent damage.
- Precise Cutting: Using a saw (circular saw, jigsaw, or hand saw, depending on precision needed), carefully cut the legs or the base frame of the vanity cabinet to your desired lower height. Measure multiple times before making any cuts. Remember, you can always cut more off, but you can’t add it back!
- Finish Edges: Sand all newly cut edges smooth to remove splinters and ensure a clean, professional finish.
- Reassembly and Installation: Reassemble the vanity base, reattach the vanity top, and then carefully reinstall the entire unit, securing it to the wall. Finally, reconnect all plumbing lines, checking for any leaks.
Safety First: If you are unsure about any steps or uncomfortable with plumbing/carpentry, it’s always advisable to consult or hire a professional. Incorrect adjustments can lead to structural instability or costly water damage.
How to Choose the Right Bathroom Vanity Height for You
Selecting the perfect bathroom vanity height is a personal decision influenced by several practical and ergonomic factors. Thoughtful consideration of your family’s unique needs, physical characteristics, and the bathroom’s intended use will lead to the most satisfactory outcome.
Based on User Height and Ergonomics
The primary factor in determining the ideal vanity height is the height of the primary users. An ergonomic setup allows for comfortable use without strain:
- For Users Under 5’4″: A vanity height between 32 and 34 inches (standard height) is generally most comfortable, allowing for natural posture without excessive reaching or bending.
- For Users Between 5’4″ and 5’8″: Both standard height (34 inches) and comfort height (36 inches) can work well. Many in this range appreciate the slightly taller comfort height for reduced bending, especially if they prefer a more modern feel.
- For Taller Individuals (Over 5’8″): A comfort height vanity (36 inches) is highly recommended. For those significantly taller, a custom height between 36 and 38 inches can offer unparalleled comfort, mirroring the feel of a kitchen counter.
- For Children: In bathrooms primarily used by children, a lower vanity (even 30-32 inches or a floating vanity adjusted lower) might be considered, or a sturdy step stool can be provided.
Pro Tip: To find your ideal personal height, stand naturally at a counter or table. Bend your elbows to a 90-degree angle, as if washing your hands. Measure the distance from the floor to your bent elbow. Your ideal vanity height should be roughly 4-6 inches below this measurement to account for the depth of the sink basin.
Sink Type Considerations: Impact on Effective Height
The type of sink you choose plays a significant role in the overall effective working height of your vanity:
- Vessel Sinks: These sinks sit entirely on top of the countertop. They add considerable height, typically 4-6 inches, to your overall working surface. If you choose a vessel sink, you might need a lower vanity cabinet (e.g., 28-32 inches) to achieve a comfortable final rim height.
- Undermount Sinks: Installed directly underneath the countertop, undermount sinks maintain the counter height as your primary working surface. This is a popular choice for its seamless look and easy cleaning, as water can be wiped directly into the sink. The overall height is simply the vanity cabinet height plus the countertop thickness.
- Drop-in (Self-rimming) Sinks: These sinks are dropped into a cutout in the countertop, with their rim resting on top. They create a slight elevation (usually 0.5-1 inch) above the main counter level, but generally, the effective working height remains very close to the countertop height.
Master Bathrooms vs. Guest Bathrooms: Tailoring to Use
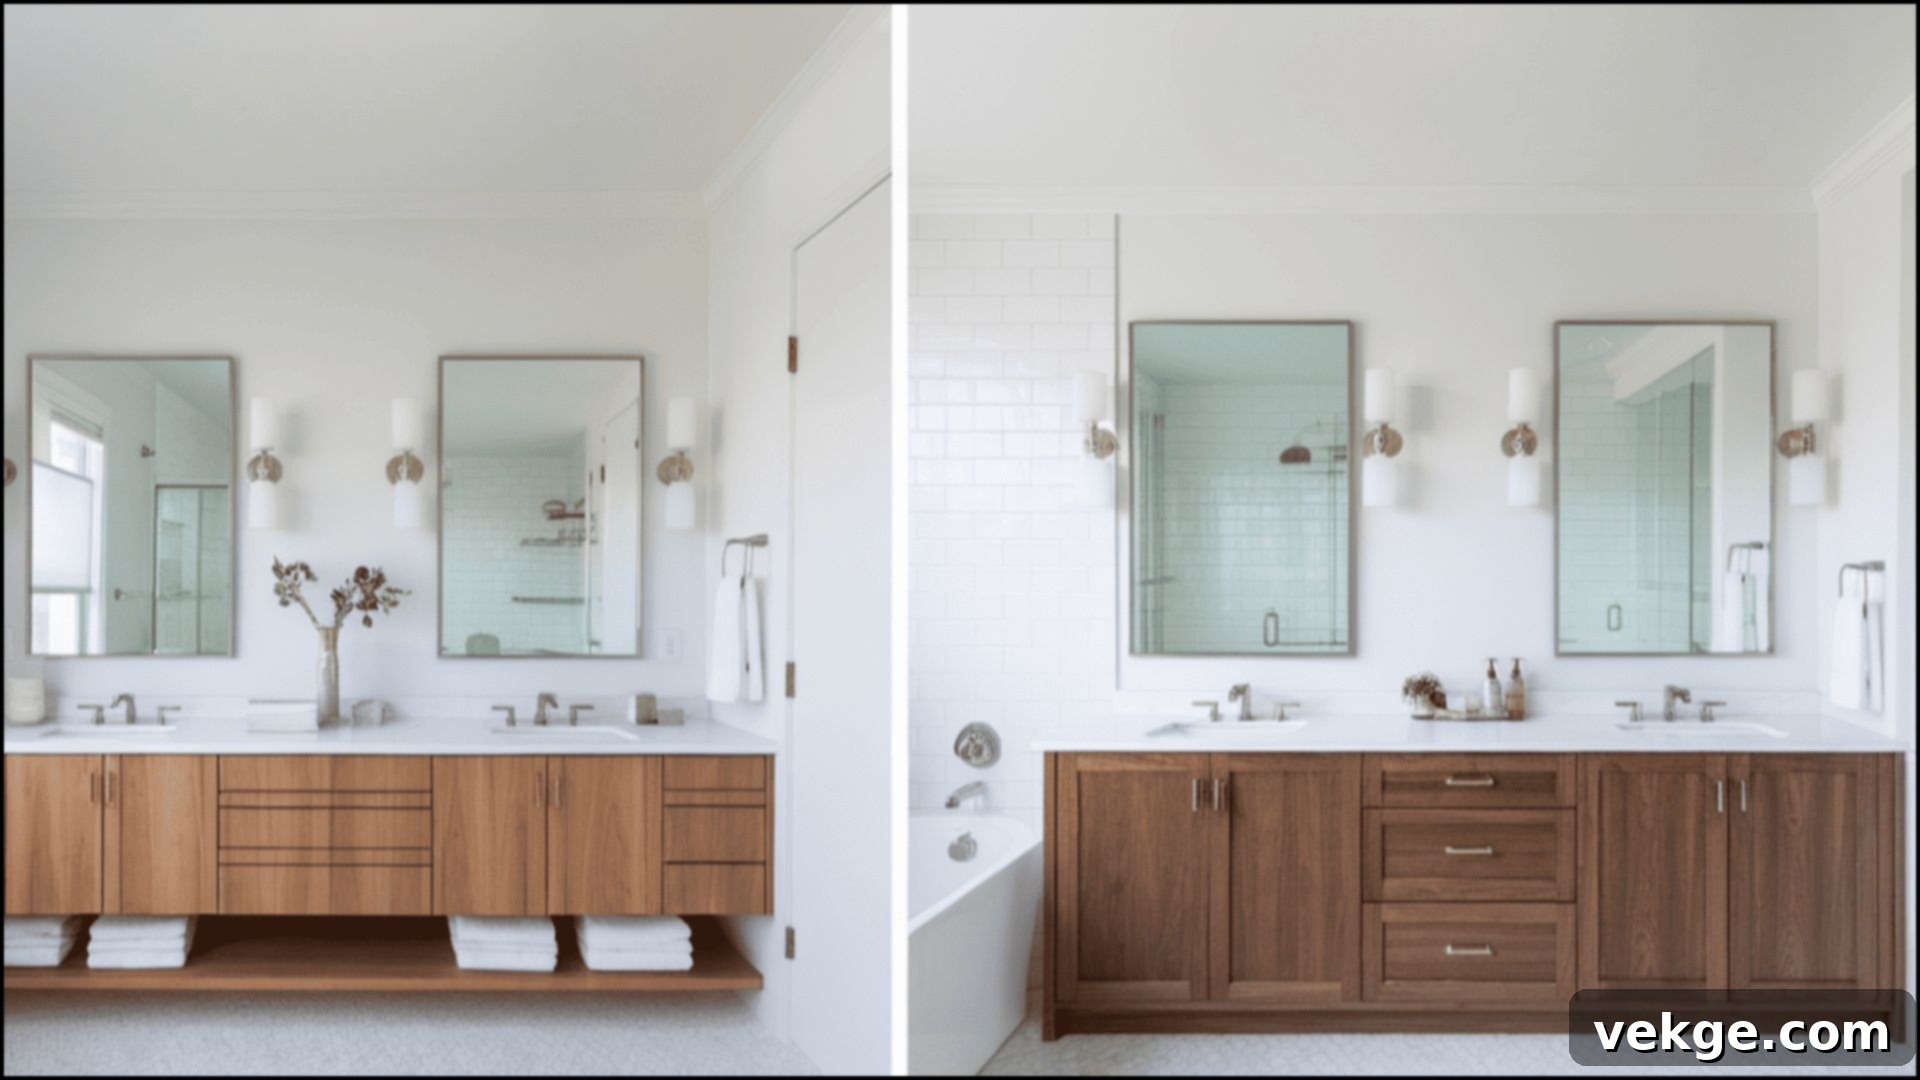
The function and primary users of a bathroom should heavily influence your vanity height decision:
| Bathroom Type | Height Recommendation | Key Considerations |
|---|---|---|
| Master Bathroom | Custom height based on primary users (e.g., comfort height for taller adults) | This is your personal space, so prioritize the comfort of you and your partner. If there’s a significant height difference, consider a double vanity with different heights or a universally adaptable height like 34-36 inches. |
| Guest Bathroom / Powder Room | Standard 34-36 inches (or comfort height for wider appeal) | These bathrooms are used by a variety of visitors. A more universally accommodating height ensures most guests will feel comfortable. Comfort height (36 inches) is increasingly popular and often preferred. |
| Children’s Bathroom | Lower height (e.g., 30-32 inches) or standard height with a sturdy step stool | Focus on accessibility for young users. If it’s a shared family bathroom, a standard height with a safe, integrated or removable step stool is a practical solution. |
| Accessible Bathroom (ADA-compliant) | Maximum 34 inches, with specified knee/toe clearance | Strict adherence to ADA guidelines is essential for bathrooms intended for individuals with disabilities. |
Maintaining Your Vanity for Lasting Comfort and Stability
Once you’ve achieved the perfect vanity height, consistent maintenance is key to ensuring it remains stable, functional, and aesthetically pleasing for many years. Regular care helps prevent common issues like structural weakening, water damage, or loosening components that could compromise its integrity and height.
- Daily Care: After each use, quickly wipe down the vanity countertop and sink basin. This prevents water spots, soap residue, and potential moisture penetration, especially around seams and edges, which can lead to swelling or erosion of the surface over time.
- Weekly Checks for Stability: Gently lean on your vanity or give it a slight nudge weekly to check for any wobbling or instability. A stable vanity indicates that its mounting and support structures are sound. Address any movement promptly.
- Bi-weekly Hardware Tightening: Periodically check and tighten any visible screws on cabinet hinges, door handles, drawer pulls, and especially mounting brackets if it’s a floating vanity. Loose hardware can lead to misalignment and weaken the overall structure.
- Monthly Inspection for Leaks: Dedicate a few minutes each month to inspect underneath the vanity. Look for any signs of water leaks or dampness around the plumbing connections, pipes, and the base of the cabinet. Early detection of leaks can prevent significant water damage to the vanity structure and the bathroom floor.
- Annual Professional Assessment: Consider having a professional inspect your vanity, particularly if it’s a custom installation, a floating unit, or if you performed DIY adjustments. A professional can identify potential issues that might not be obvious, ensuring the vanity’s long-term stability and height integrity.
By integrating these simple yet effective maintenance tasks into your routine, you can significantly extend the lifespan of your bathroom vanity, ensuring it continues to provide optimal comfort and functionality without unexpected height-related problems.
Wrapping It Up: Your Journey to the Perfect Vanity Height
Choosing the right bathroom vanity height is an investment in your daily comfort, health, and the overall functionality of your home. It’s a decision that, when made thoughtfully, enhances your bathroom experience for years to come. We’ve explored the critical distinctions between standard, comfort, and floating vanity options, highlighting how each can cater to different needs and design preferences.
Remember that factors such as the primary users’ height, the type of sink chosen, and the specific function of the bathroom (master, guest, or accessible) all play a pivotal role in guiding your selection. For those seeking to refresh an existing space, adjusting your current vanity height through DIY methods is a manageable project, provided you approach it with careful planning and safety in mind.
By applying these comprehensive guidelines and considering your unique circumstances, you are now well-equipped to select or create a bathroom vanity that is not only aesthetically pleasing but also ergonomically sound and perfectly suited to you and your family.
Elevate your bathroom’s comfort and style today! For more home improvement insights and design inspiration, explore our extensive collection of related articles and guides.
