DIY Entryway Bench with Storage: The Ultimate Guide to Home Organization
Are you constantly tripping over shoes, bags, and coats near your front door? Does your entryway feel like a chaotic landing strip rather than a welcoming space? If so, a custom-built DIY entryway bench is the perfect solution to transform your home’s first impression. This simple yet incredibly functional piece of furniture provides a dedicated spot to sit while putting on or taking off shoes, neatly stores everyday essentials, and instantly elevates the aesthetic of your entryway, mudroom, or hallway.
This comprehensive guide will walk you through every step of building your very own entryway bench. From selecting the right materials and making precise cuts to assembling the frame and adding stylish finishes, we’ll cover it all. We’ll also explore various design styles, from rustic farmhouse to sleek modern, ensuring you can create a bench that perfectly complements your home’s décor. Even if you’re new to woodworking, our clear, step-by-step instructions and helpful tips will empower you to complete this rewarding project.
Get ready to say goodbye to clutter and hello to a beautifully organized and inviting entryway. Let’s gather our tools and begin crafting a functional masterpiece that reflects your personal style!
Why an Entryway Bench is an Essential Home Upgrade
Beyond simply providing a place to sit, an entryway bench offers a multitude of benefits that enhance daily living and improve the overall functionality and appearance of your home. It’s more than just a piece of furniture; it’s a strategic investment in organization and comfort.
- Instant Organization: A bench with integrated storage, such as cubbies, drawers, or a lift-top, is a game-changer for keeping shoes, bags, backpacks, and other daily necessities off the floor. This immediate clutter control creates a cleaner, more inviting atmosphere the moment you step inside.
- Enhanced Comfort and Convenience: Having a dedicated seat makes the routine task of putting on or taking off footwear significantly easier and more comfortable, especially for children, seniors, or anyone with mobility challenges. It’s also incredibly handy when you’re juggling groceries or a busy schedule and need a quick spot to set things down.
- Protects Floors: By providing a place to remove dirty shoes, an entryway bench helps prevent dirt, mud, and moisture from being tracked further into your home, thus protecting your floors and carpets from premature wear and tear.
- Defined Space: It creates a clear demarcation for the “drop zone” in your home, encouraging family members and guests to use the designated area for coats, bags, and shoes, rather than scattering them throughout the house.
- Adds Aesthetic Value: A well-designed entryway bench can be a beautiful focal point, adding character, warmth, and a touch of personalization to an often-overlooked area of the home. It contributes significantly to your home’s curb appeal from the inside.
- Versatility: Depending on its design, an entryway bench can double as an additional seating option for guests, a display surface for decorative items, or even a compact workspace in a pinch.
This simple addition can dramatically improve your daily routine, make your home feel more welcoming, and keep the busiest transition point in your house neat and tidy.
Your Comprehensive Step-by-Step Guide to Building a DIY Entryway Bench
Creating a custom entryway bench is a rewarding project that allows you to tailor a piece of furniture perfectly to your space and needs. Follow these detailed steps to construct a sturdy and stylish bench that will serve your home for years to come.
Materials Required for Your Bench Project
Before you begin, gather all the necessary materials and tools. Having everything on hand will ensure a smooth and efficient building process. Here’s a detailed list:
- Plywood (3/4 inch thick): This will form the main structure of your bench – the top, sides, and any internal dividers. Opt for good quality, cabinet-grade plywood for a smoother finish and greater durability.
- Wood Glue: Essential for strong, lasting joints. Choose a strong, water-resistant wood glue for interior use.
- Pocket Hole Screws: These are crucial for creating strong, concealed joints, especially if you’re using a pocket hole jig (highly recommended!).
- Wood Screws (various lengths): For general assembly and attaching specific components. Have a variety on hand, typically 1 1/4 inch and 2 inch.
- Paint or Stain: To finish and protect your bench. Consider colors and finishes that complement your existing décor. Don’t forget primer if you’re painting.
- Wood Filler: For filling screw holes, gaps, and imperfections to achieve a seamless finish.
- Sandpaper (various grits): From coarse (80-100 grit) for initial smoothing to fine (180-220 grit) for final preparation before finishing.
- Coat Hooks (Optional): If you plan to add a back panel with hooks for coats and bags.
- Wood Clamps: Indispensable for holding pieces securely in place while glue dries or screws are driven.
- Heavy-duty Screws or L-brackets: For securing the bench to the wall, especially if it’s tall or heavy, to prevent tipping.
- Trim (Optional): For decorative edges or base molding to give your bench a more finished, custom look.
Tools you’ll also need: Measuring tape, pencil, safety glasses, hearing protection, circular saw or miter saw, drill/driver, pocket hole jig (recommended), level, square, putty knife, sander (orbital sander is best), paint brushes/rollers.
1. Plan Your Bench Design and Measure Your Space
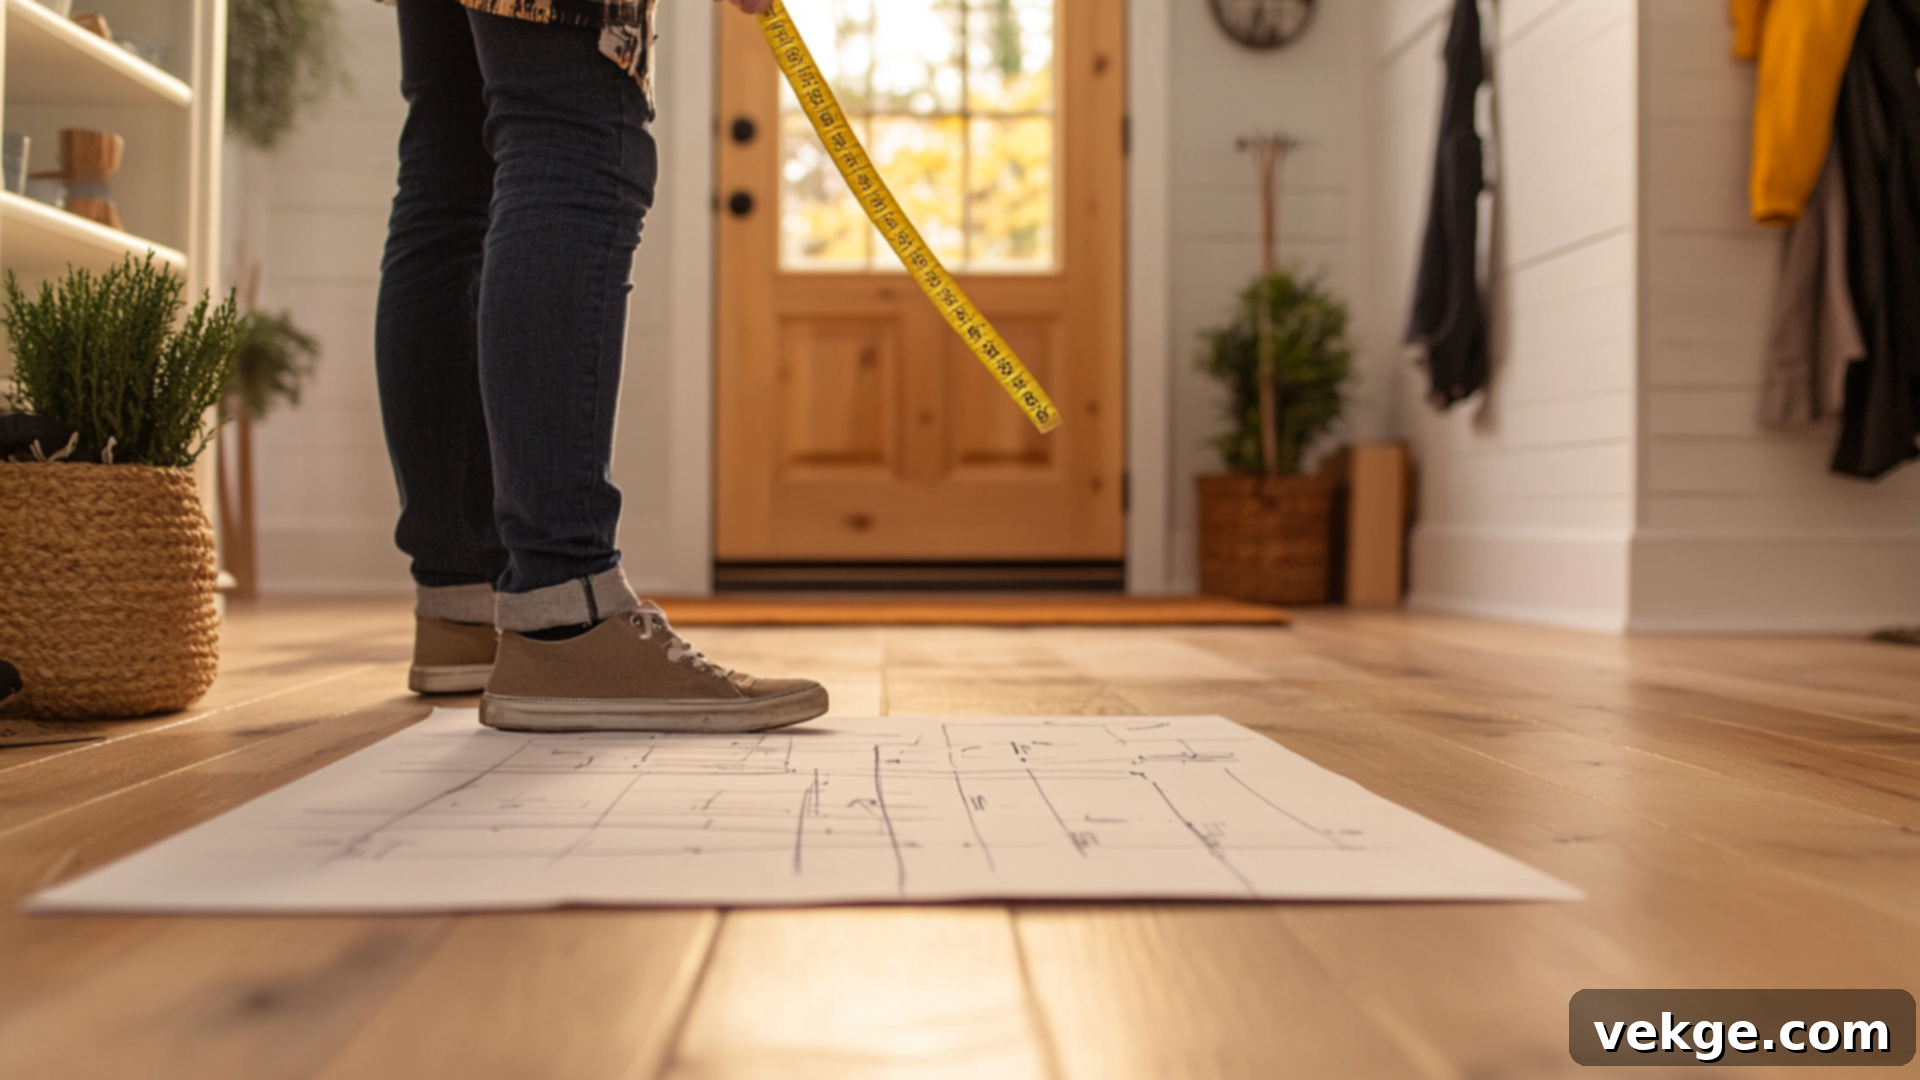
The first and most critical step is careful planning. Begin by thoroughly assessing your entryway or the designated space for your bench. Use a measuring tape to determine the exact width, depth, and height that will fit comfortably without obstructing pathways or doors. Consider factors like nearby outlets, light switches, and heating vents.
Next, think about the functionality and aesthetics. What style best suits your home – simple, rustic country, sleek modern, or something else? Do you need integrated storage for shoes, bags, or other items? How many cubbies or shelves would be ideal? Sketch a detailed diagram of your bench, including all dimensions for each piece. This blueprint will be invaluable for purchasing materials accurately and simplifying the cutting process. Don’t forget to account for the thickness of your plywood in your calculations.
2. Precisely Cut Your Wood Pieces
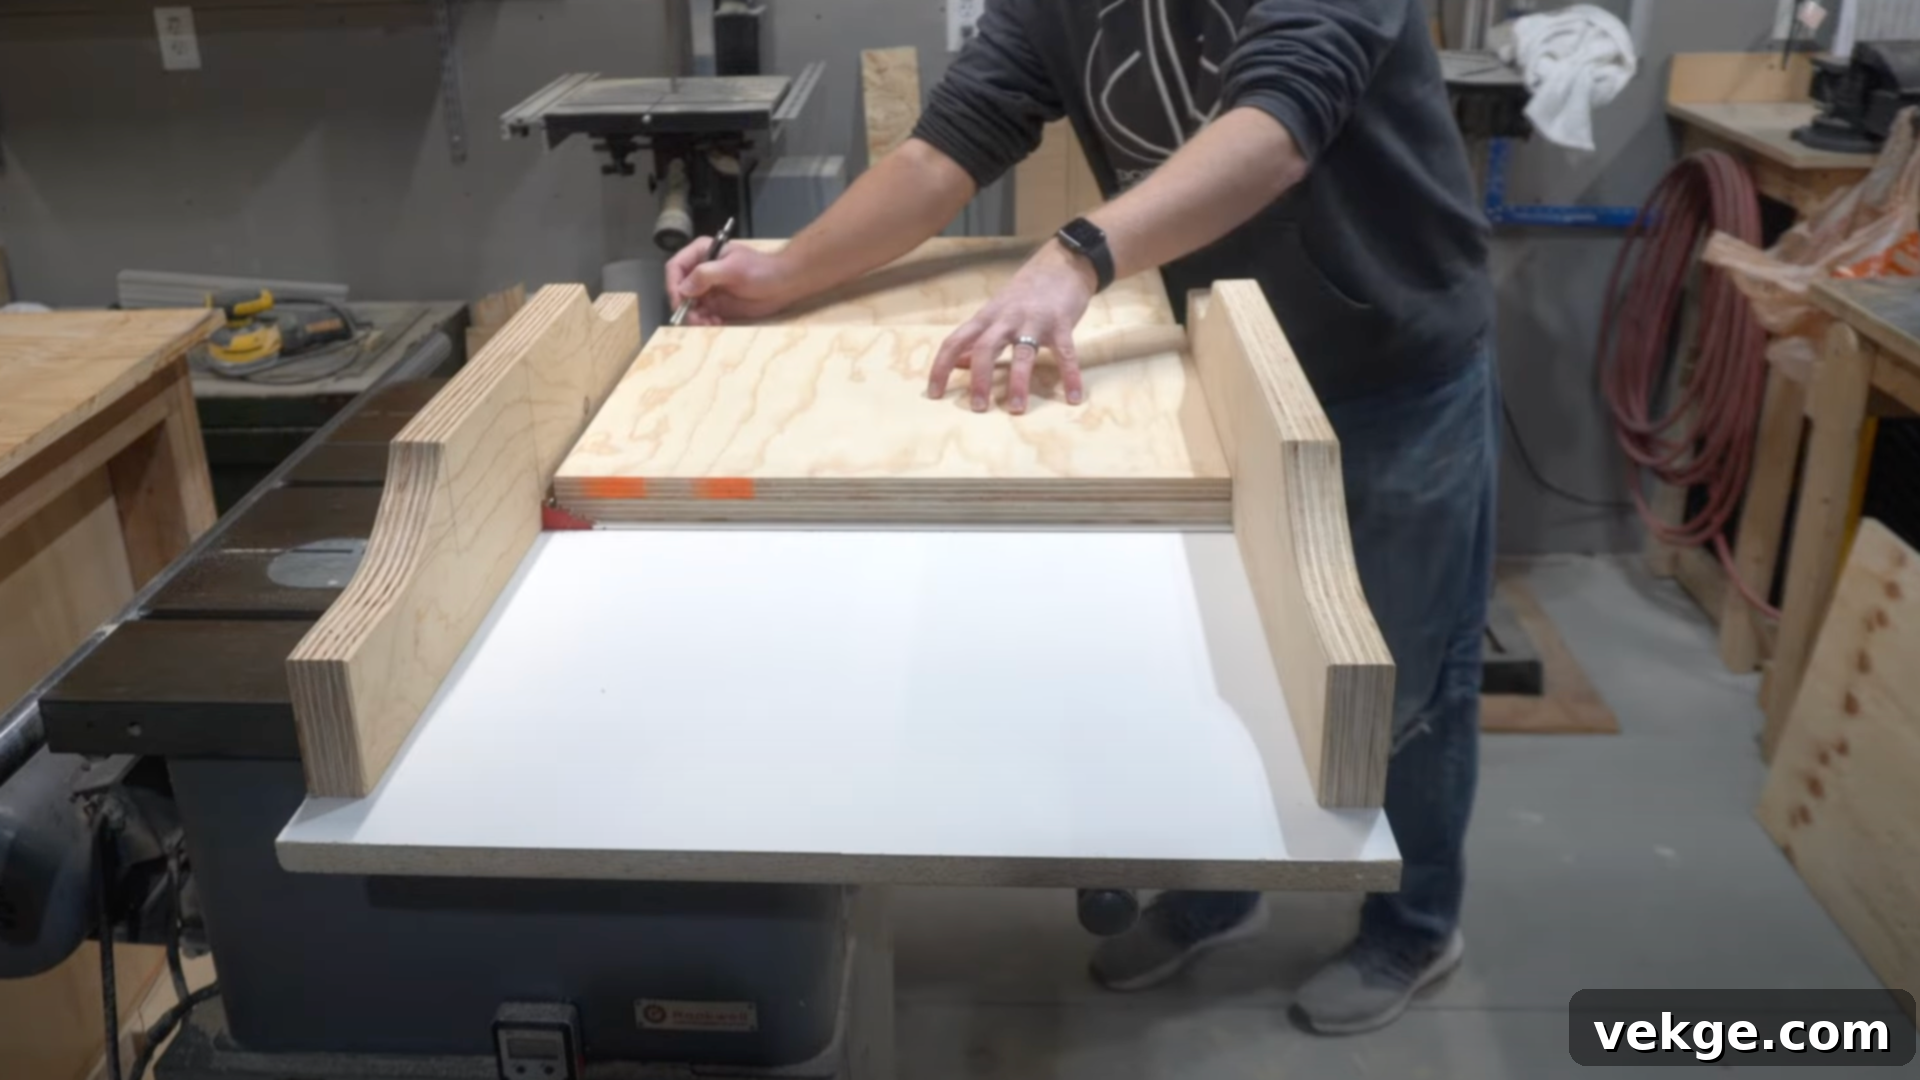
With your detailed plan in hand, it’s time to cut your plywood. Carefully mark all the dimensions for the top, side panels, bottom, and any internal dividers (for cubbies) onto your plywood sheets using a pencil and a reliable measuring tape. Accuracy here is paramount, as even small errors can affect the final assembly and stability of your bench.
Using a circular saw with a straight-edge guide, or a table saw if you have access to one, make your cuts slowly and deliberately. Always wear safety glasses and hearing protection. After each cut, double-check the dimensions against your plan. It’s a good practice to label each cut piece (e.g., “Top,” “Side A,” “Divider”) to avoid confusion during assembly. Precise cuts lay the foundation for a professional-looking and sturdy bench.
3. Assemble the Base Structure
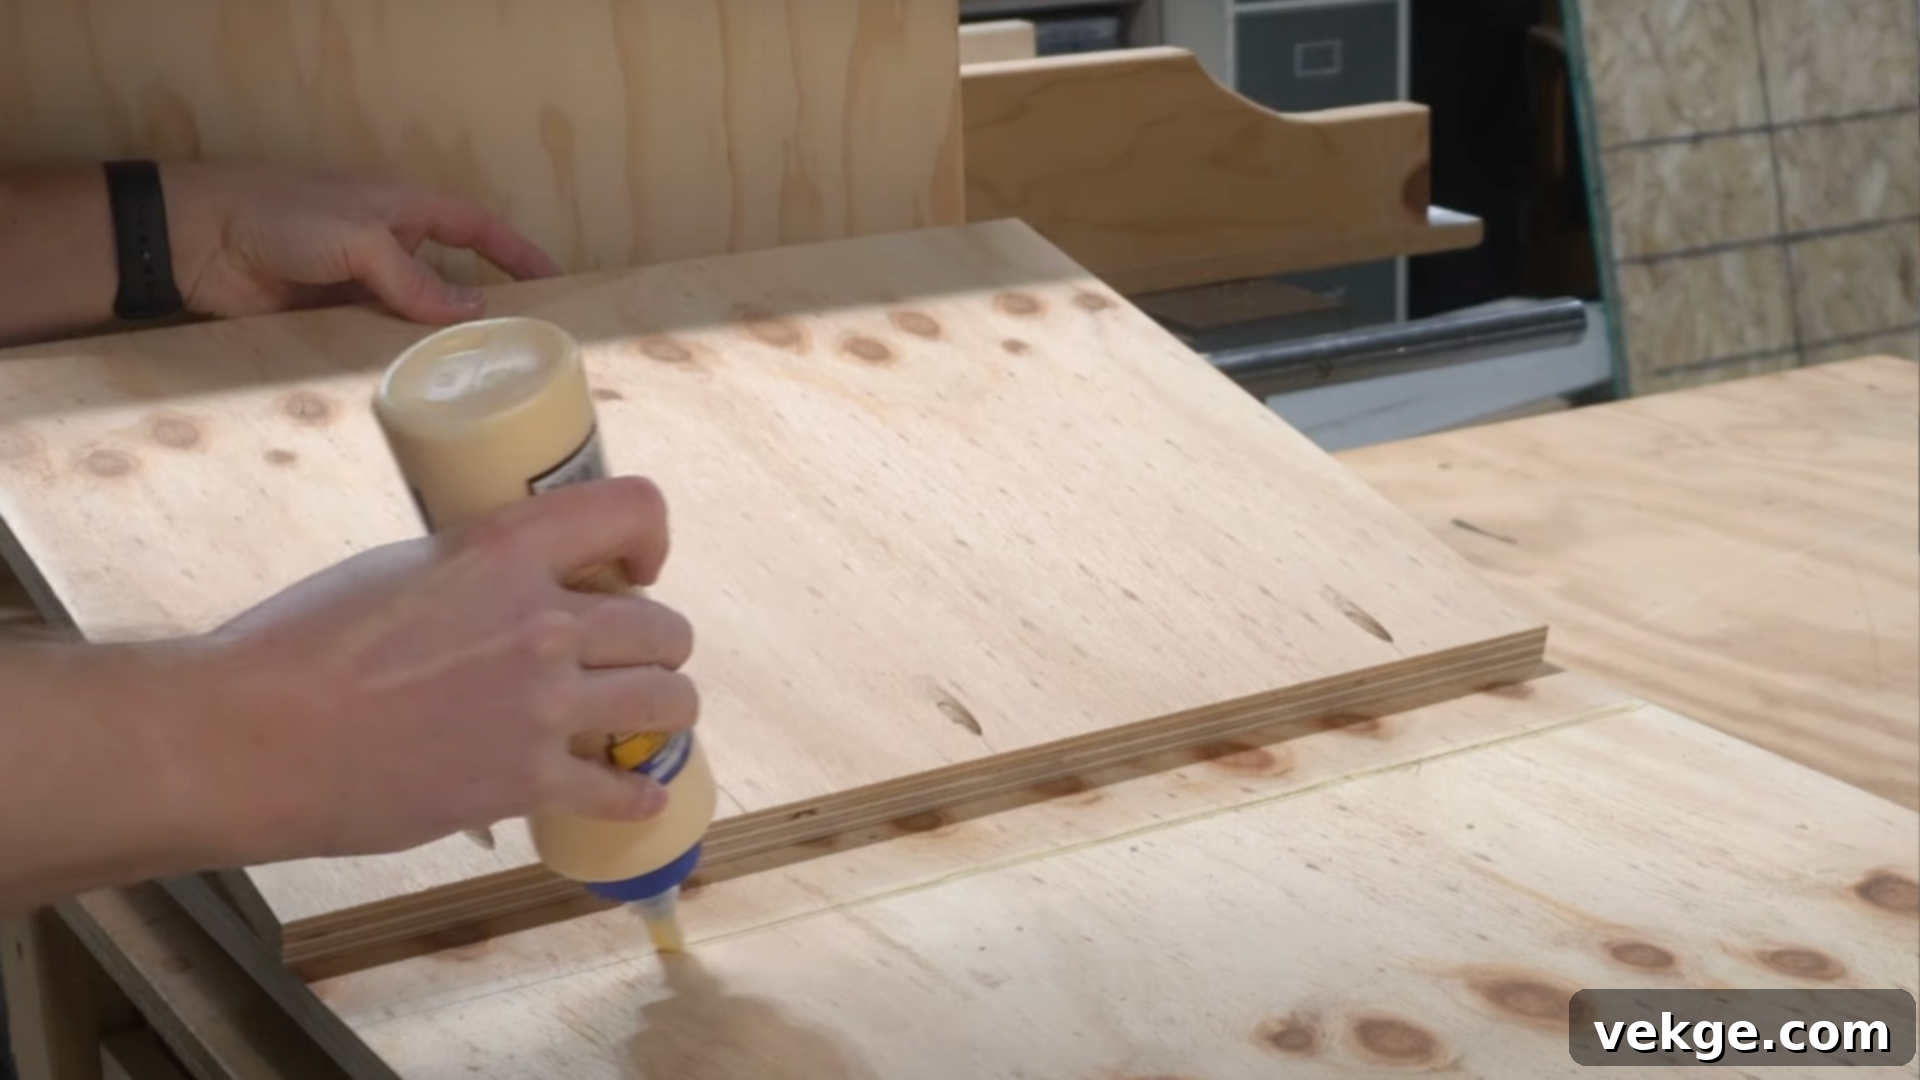
Begin assembling the main frame of your bench. Apply a liberal but even amount of wood glue to the edges where your pieces will join. For strong and concealed joints, we highly recommend using a pocket hole jig. Drill pocket holes into the appropriate edges (e.g., the ends of the side panels where they will attach to the top and bottom pieces).
Position the side panels against the top piece, ensuring they are flush. Use clamps to hold the pieces firmly in place. Drive pocket hole screws through the pre-drilled holes to secure the connection. Use a carpenter’s square to ensure all corners are perfectly at right angles before tightening the screws fully. This step is crucial for the structural integrity and squareness of your bench. Allow the glue to dry completely according to the manufacturer’s instructions before proceeding to the next step.
4. Integrate Storage Cubbies or Shelves
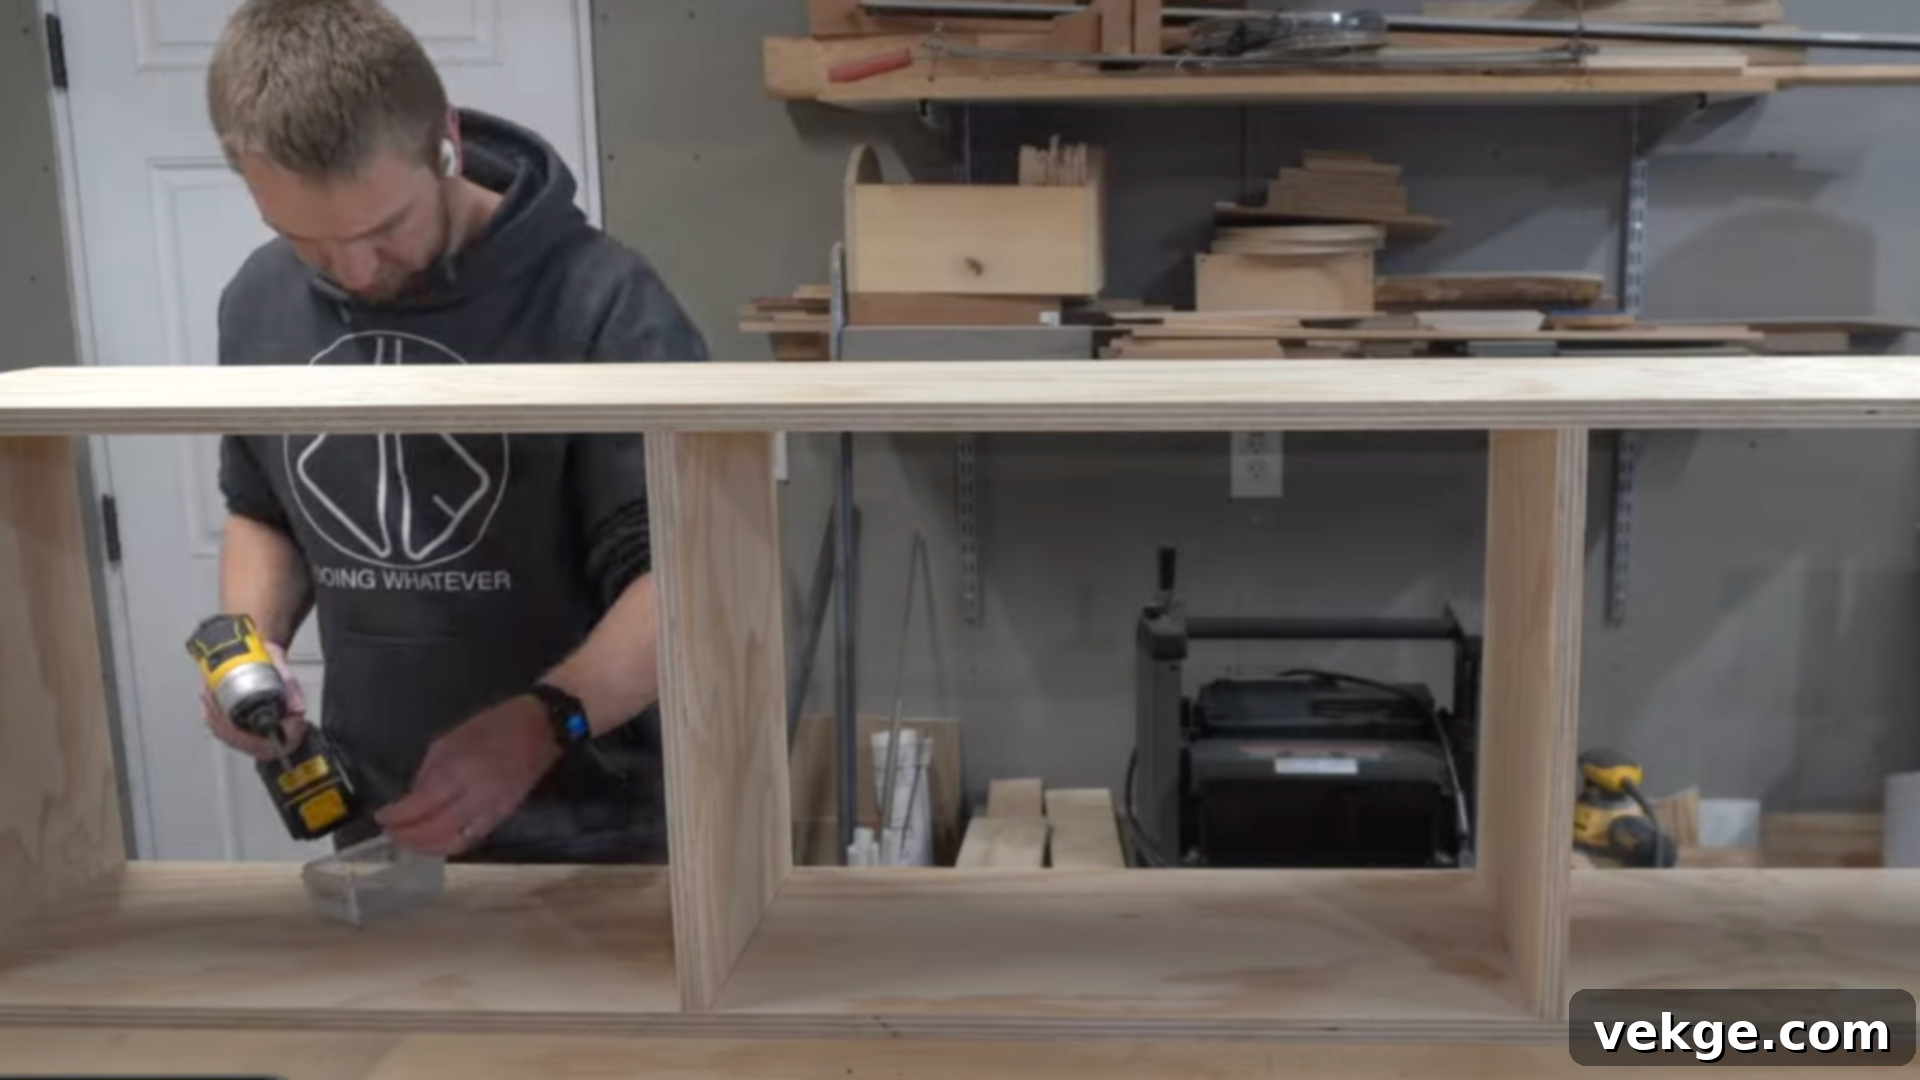
If your design includes storage cubbies, now is the time to add these functional dividers. Cut the pieces of wood for your dividers to the correct dimensions. Apply wood glue to the edges that will make contact with the bench’s top and bottom panels (or existing shelves).
Carefully position the dividers evenly under the bench top (or within the base structure), ensuring they are plumb and level. Secure each divider using screws driven from underneath the bench top or from the side panels into the divider edges. If you’re using pocket holes, they can also be used here for a clean finish. Ensure the spacing of your cubbies is practical for the items you intend to store, such as shoe sizes, storage bins, or backpacks. This step dramatically enhances the bench’s utility, keeping your entryway tidy and organized.
5. Fill Imperfections and Sand for a Smooth Finish
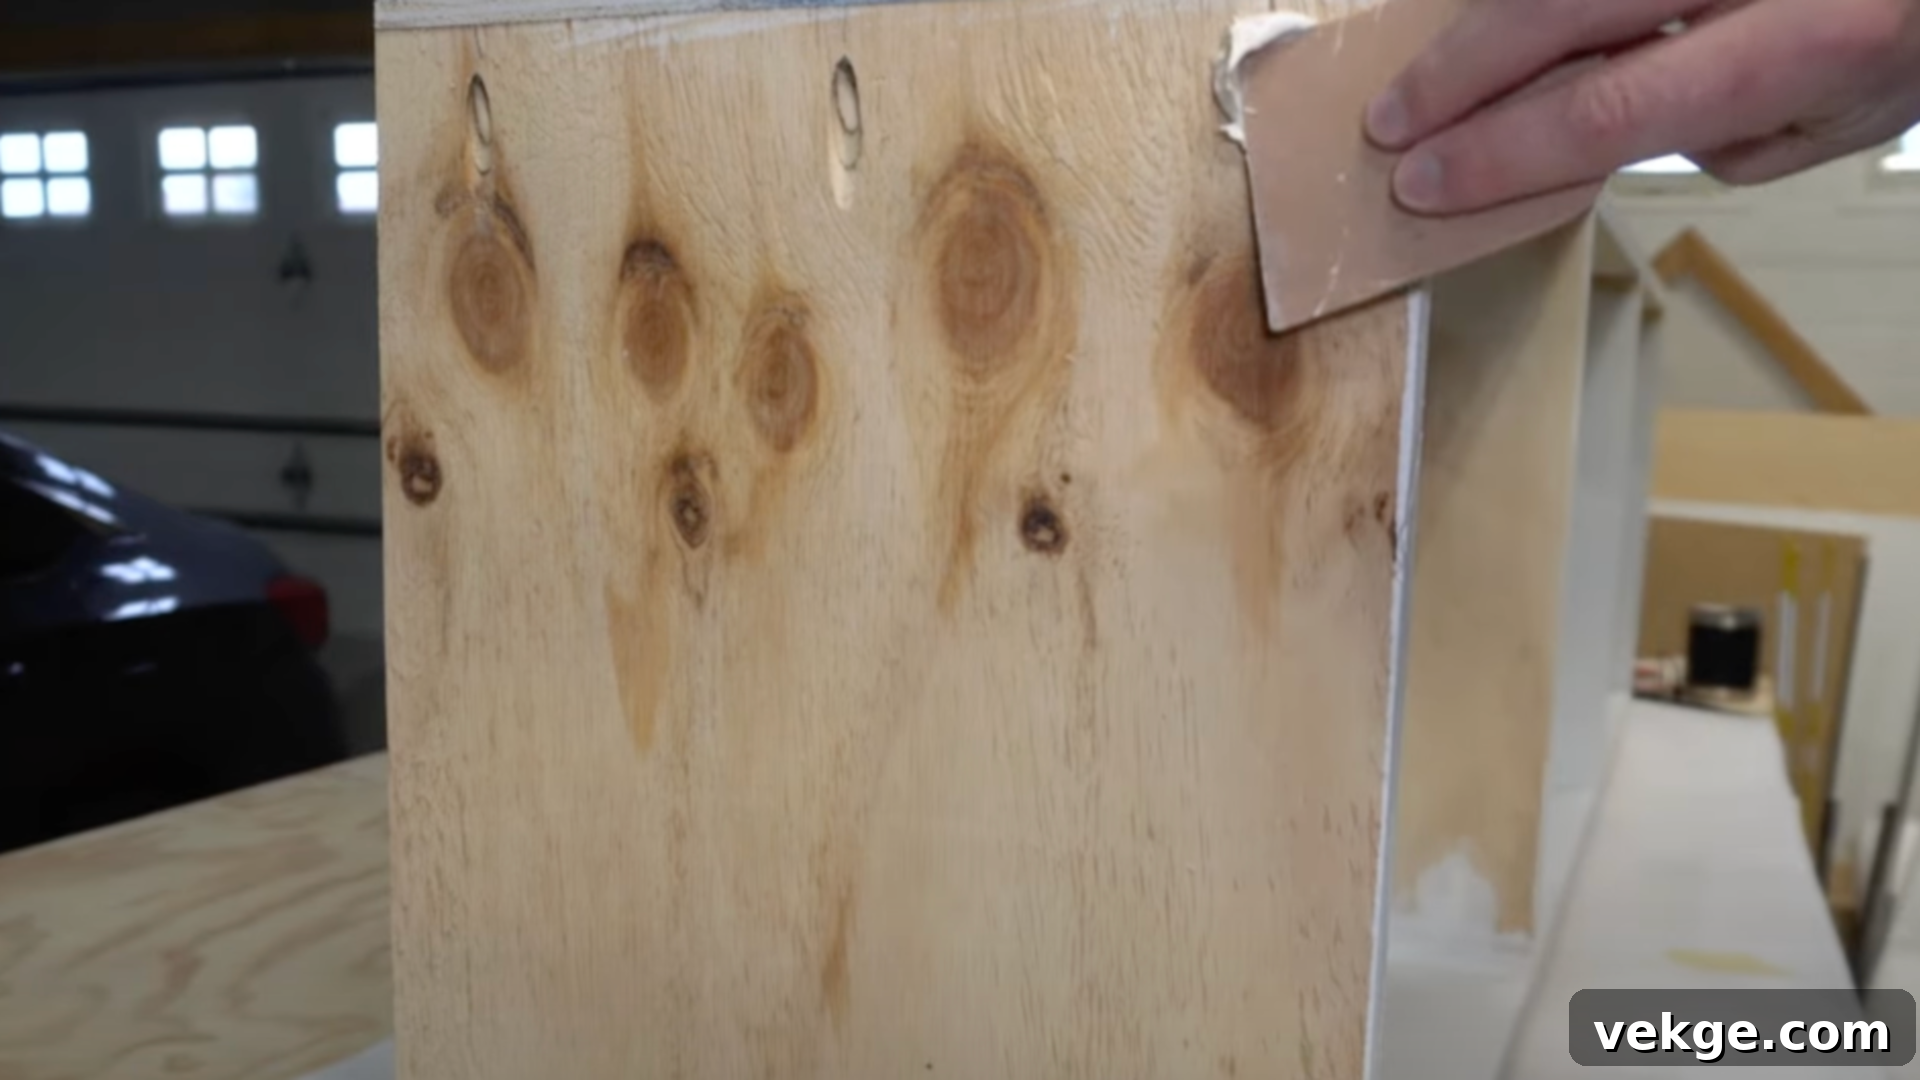
Once the assembly is complete and all glue has dried, thoroughly inspect your bench for any gaps, cracks, screw holes, or minor imperfections. Using a small putty knife, apply wood filler to these areas, pressing it firmly into the voids. Allow the filler to dry completely as per product instructions, which may take several hours.
After the filler is dry and hard, begin the sanding process. Start with a medium-grit sandpaper (around 100-120 grit) to smooth out the filler and any rough spots. Gradually move to finer grits (150-180, then 220 grit) for a super-smooth finish. Always sand in the direction of the wood grain to avoid visible scratches. This step is laborious but essential for a professional-looking final product. Run your hand over every surface to ensure it’s perfectly smooth and ready for finishing. A well-sanded surface ensures that paint or stain adheres evenly and looks flawless.
6. Apply Paint or Stain for Protection and Style
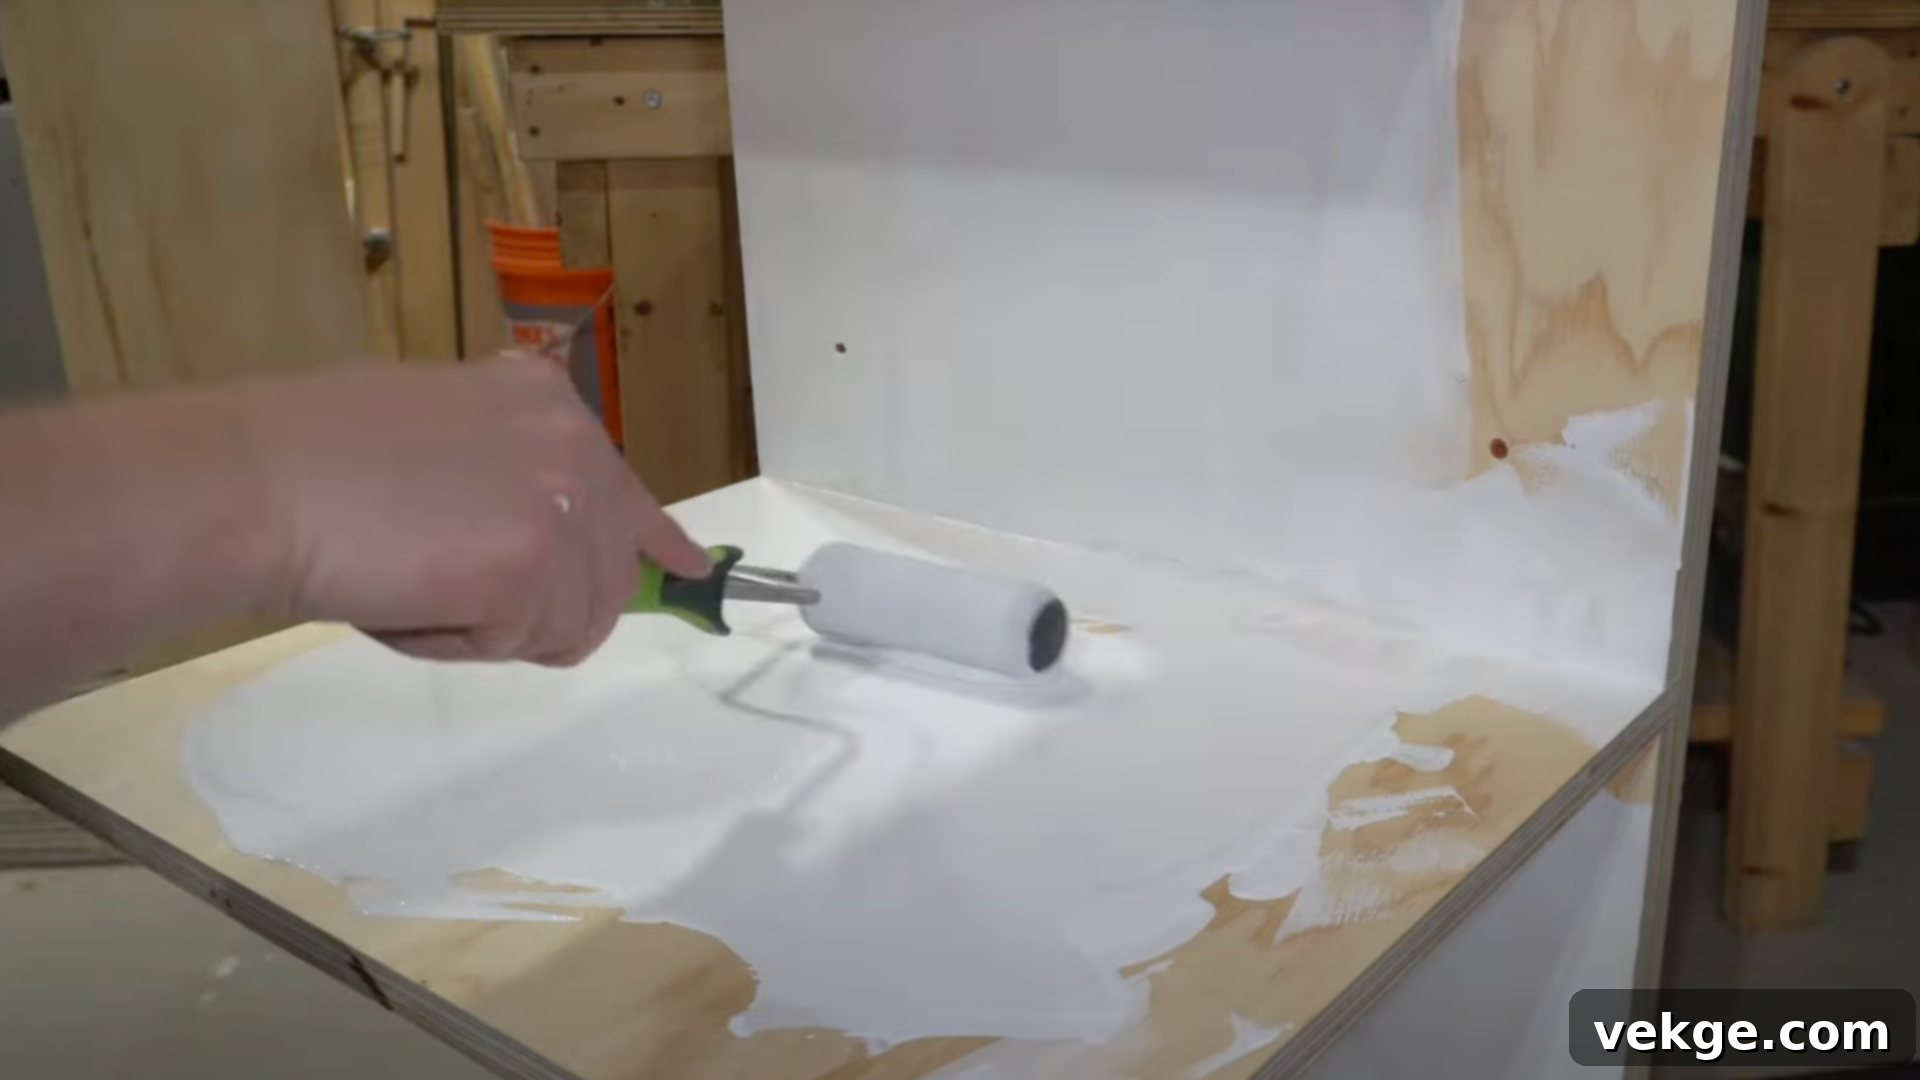
Before applying any finish, thoroughly clean the entire bench with a tack cloth or a slightly damp rag to remove all sawdust and debris. For painting, apply a high-quality primer first. Primer helps the paint adhere better, provides a more uniform color, and seals the wood. If you’re staining, skip the primer and consider a wood conditioner for even stain absorption, especially on plywood.
Apply your chosen paint or stain in thin, even coats using a good quality brush or roller. Work in small sections, always following the wood grain. Allow each coat to dry completely before applying the next, typically 2-3 coats are needed for full coverage and durability. If painting, lightly sand with a very fine-grit sandpaper (220-320 grit) between coats for a smoother finish. A clear protective topcoat (like polyurethane or a water-based polycrylic) is highly recommended, especially for benches in high-traffic areas, to protect against scuffs and spills.
7. Install Optional Coat Hooks for Added Functionality
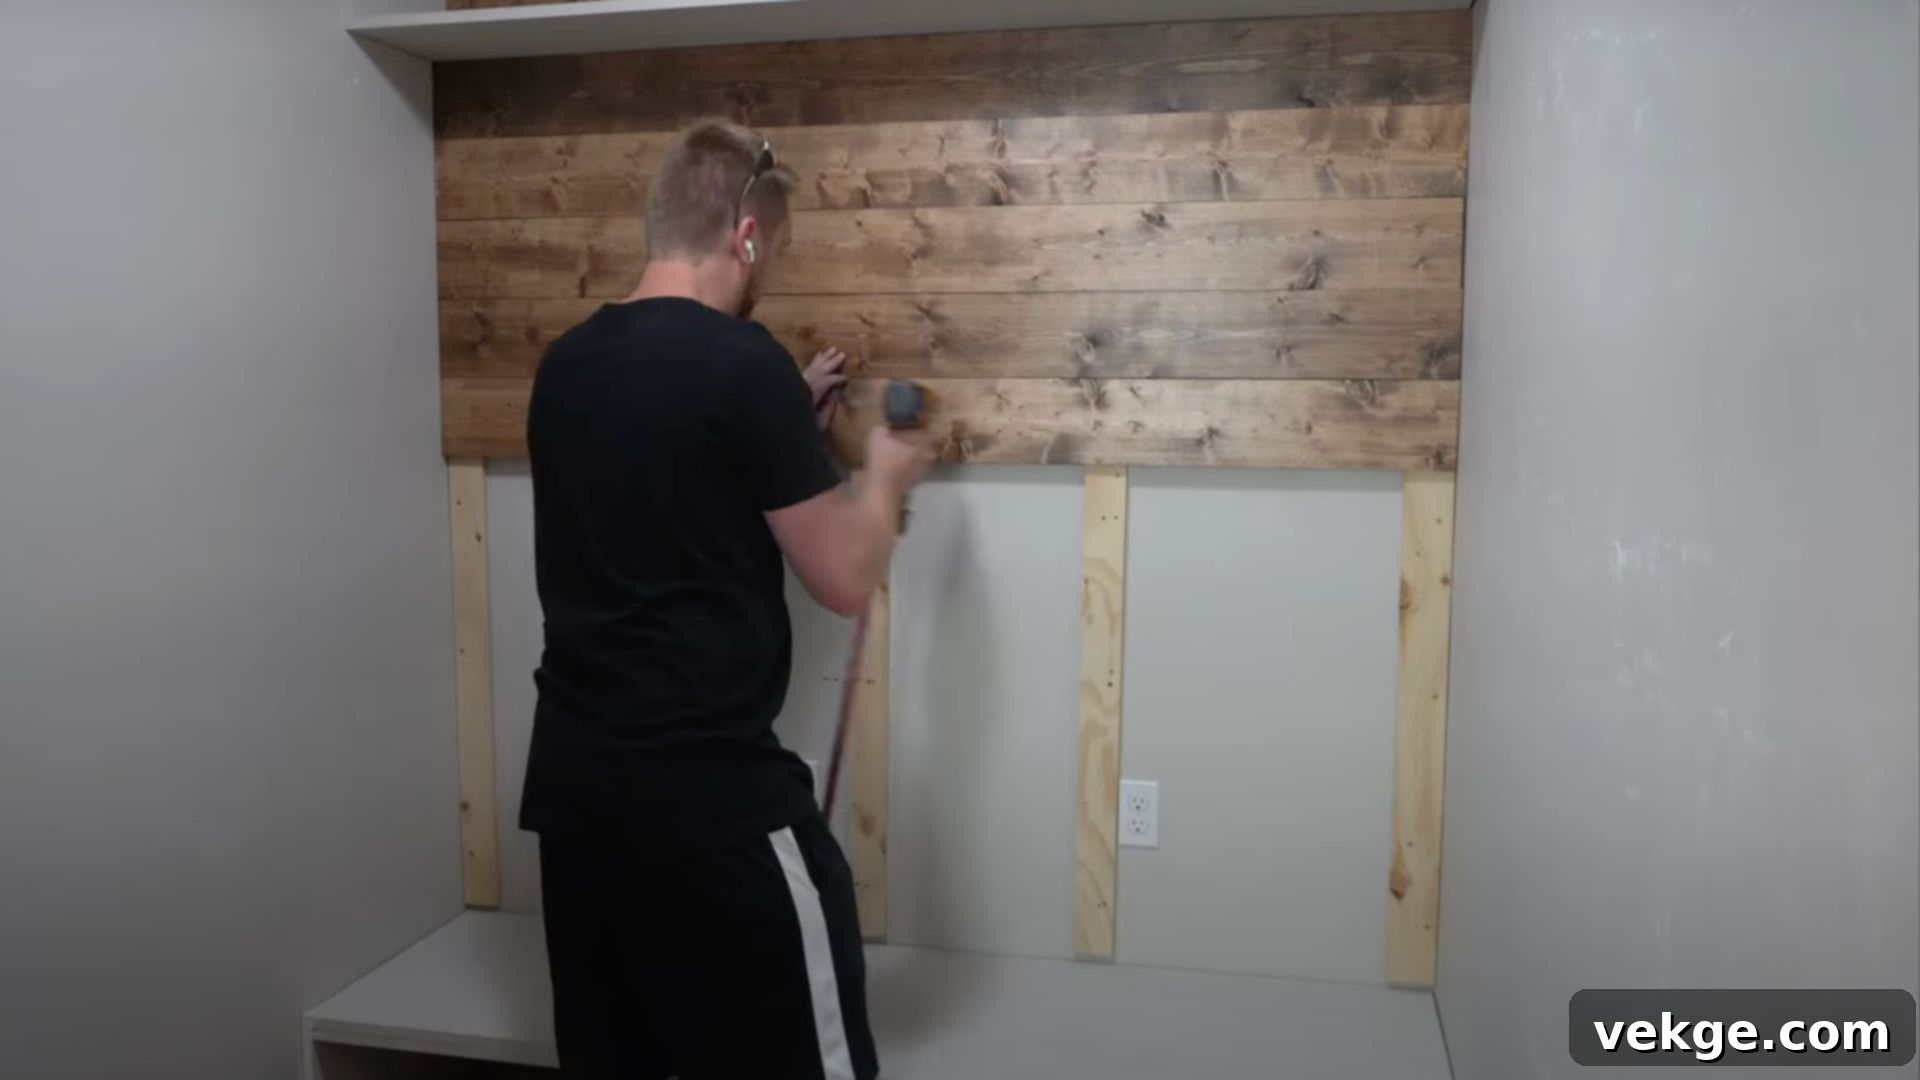
If your design includes a back panel for hanging coats and bags, now is the time to attach your coat hooks. Select hooks that complement your bench’s style – classic metal, modern minimalist, or rustic farmhouse. Determine the ideal height for the hooks, ensuring coats won’t drag on the floor. Mark the precise locations for each hook with a pencil, paying attention to even spacing and alignment.
Drill small pilot holes slightly smaller than your screw diameter. This prevents the wood from splitting and makes screwing easier. Carefully screw in each hook until it is snug and secure, but avoid over-tightening. These hooks will significantly increase the utility of your entryway area, providing a designated spot for outerwear, hats, scarves, and bags, keeping them easily accessible and off chairs or floors.
8. Secure the Bench and Add Final Touches
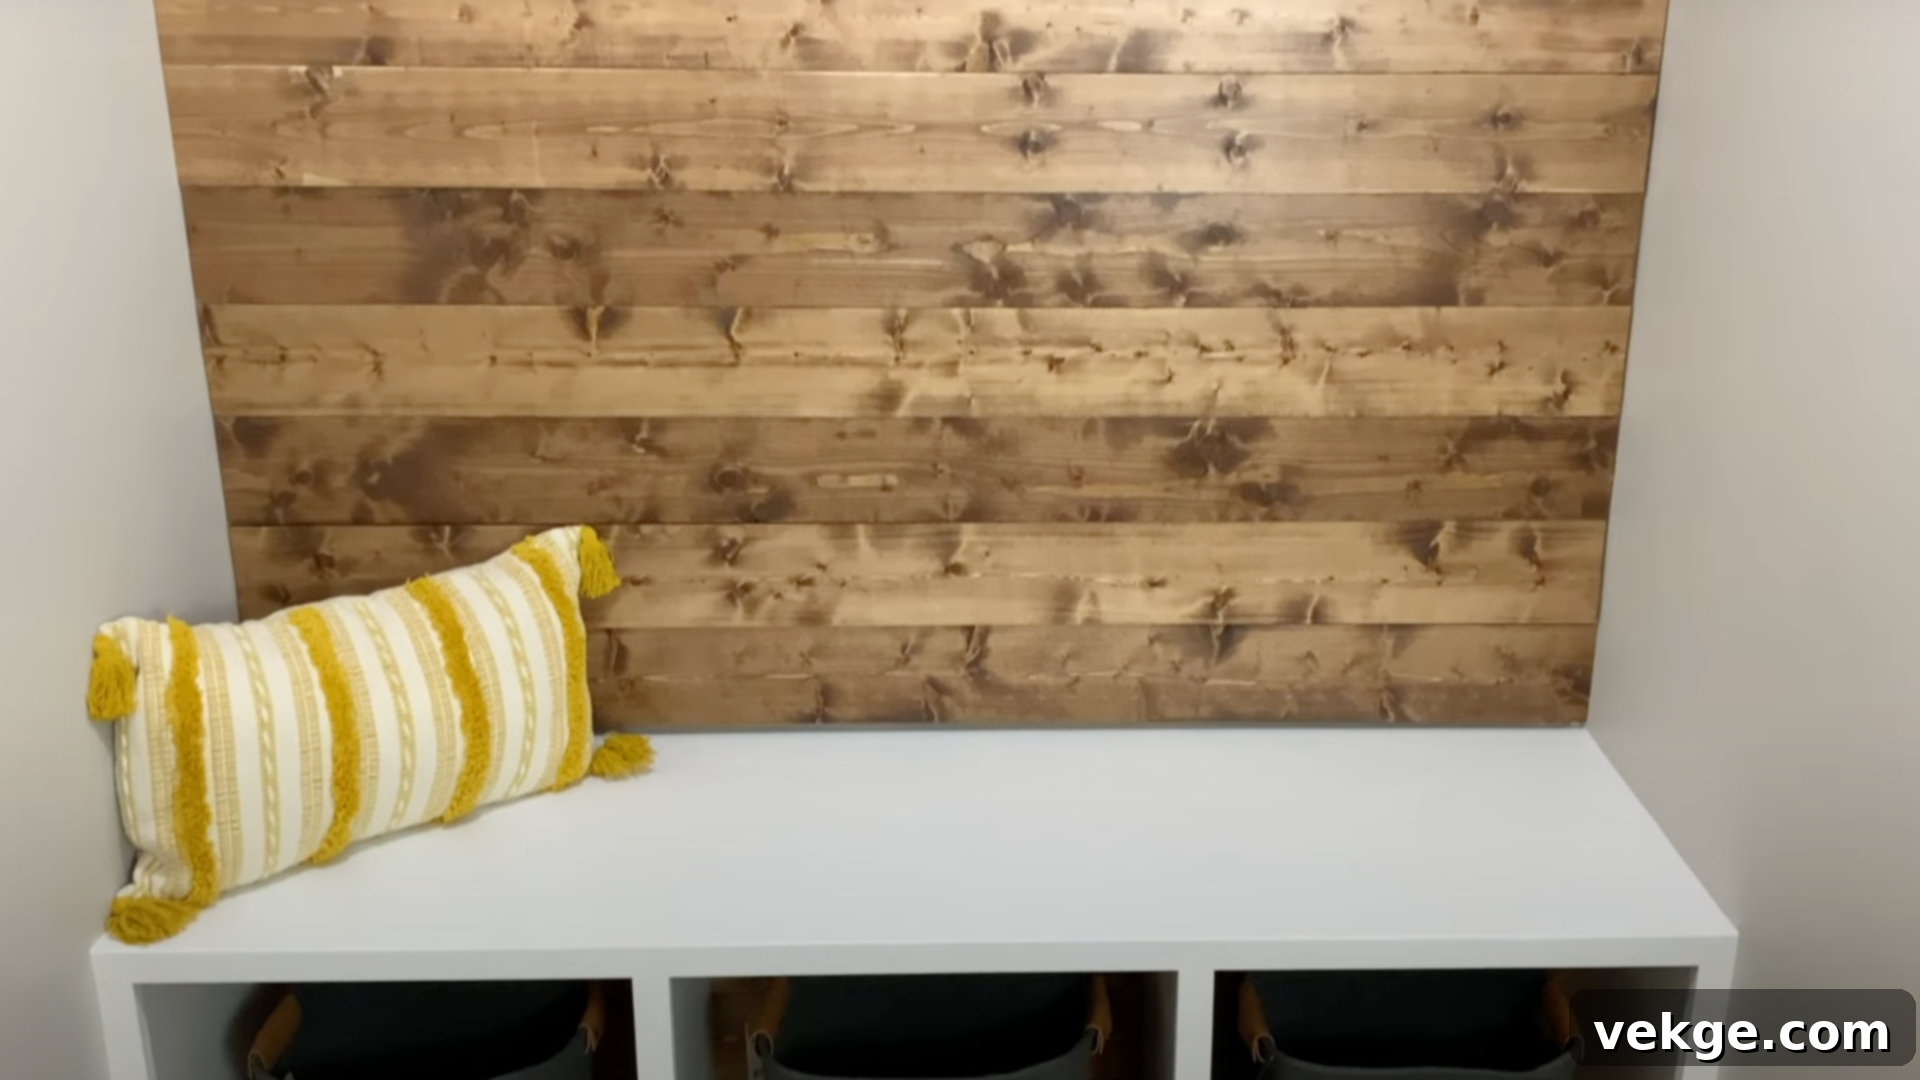
Place your newly built entryway bench in its designated spot. For safety, especially if the bench is tall, narrow, or will be used by children, it’s highly recommended to secure it to the wall. Use L-brackets or heavy-duty screws driven directly into wall studs. This prevents any accidental tipping.
Now, it’s time for the final styling touches. Consider adding a comfortable cushion to the top for extra seating comfort and a pop of color or texture. Place a durable mat underneath or nearby for wet or muddy shoes. Arrange a few carefully selected decorative items, such as a small plant, a decorative bowl for keys and mail, or a framed photo, to personalize the space and make it feel welcoming. Your new custom-built bench will now proudly serve as a functional and beautiful centerpiece, keeping your entryway organized and inviting.
For a visual demonstration and additional tips on building a DIY entryway bench, you can watch Doing Whatever’s helpful YouTube video below:
Design Variations and Customization Options for Your Entryway Bench
One of the greatest advantages of a DIY project is the ability to tailor it precisely to your unique style and needs. Your entryway bench can be customized in countless ways to match your home’s aesthetic, adding a personal touch that store-bought furniture often lacks. Explore these popular design variations:
1. Crafting a Charming Farmhouse-Style Bench
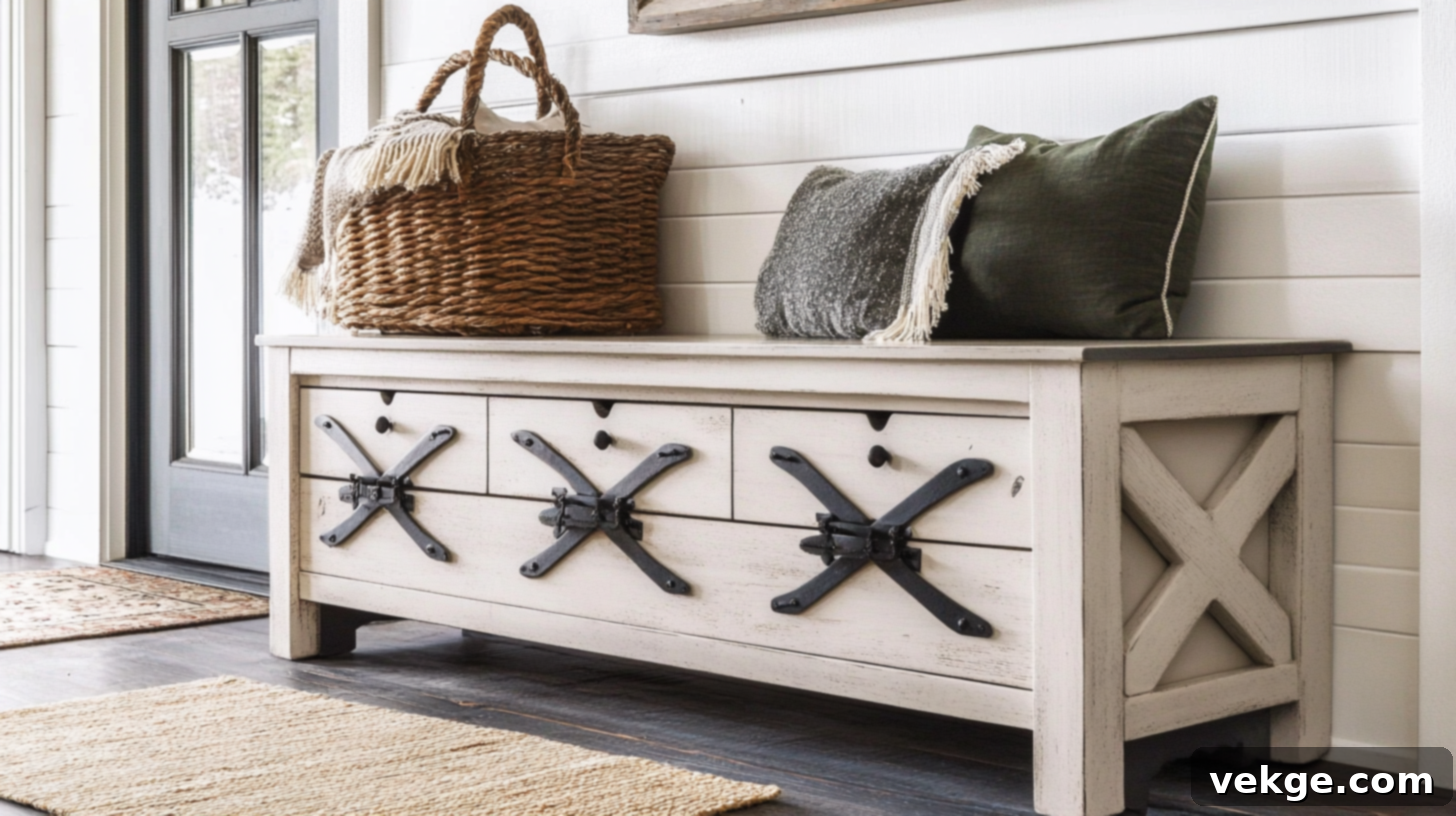
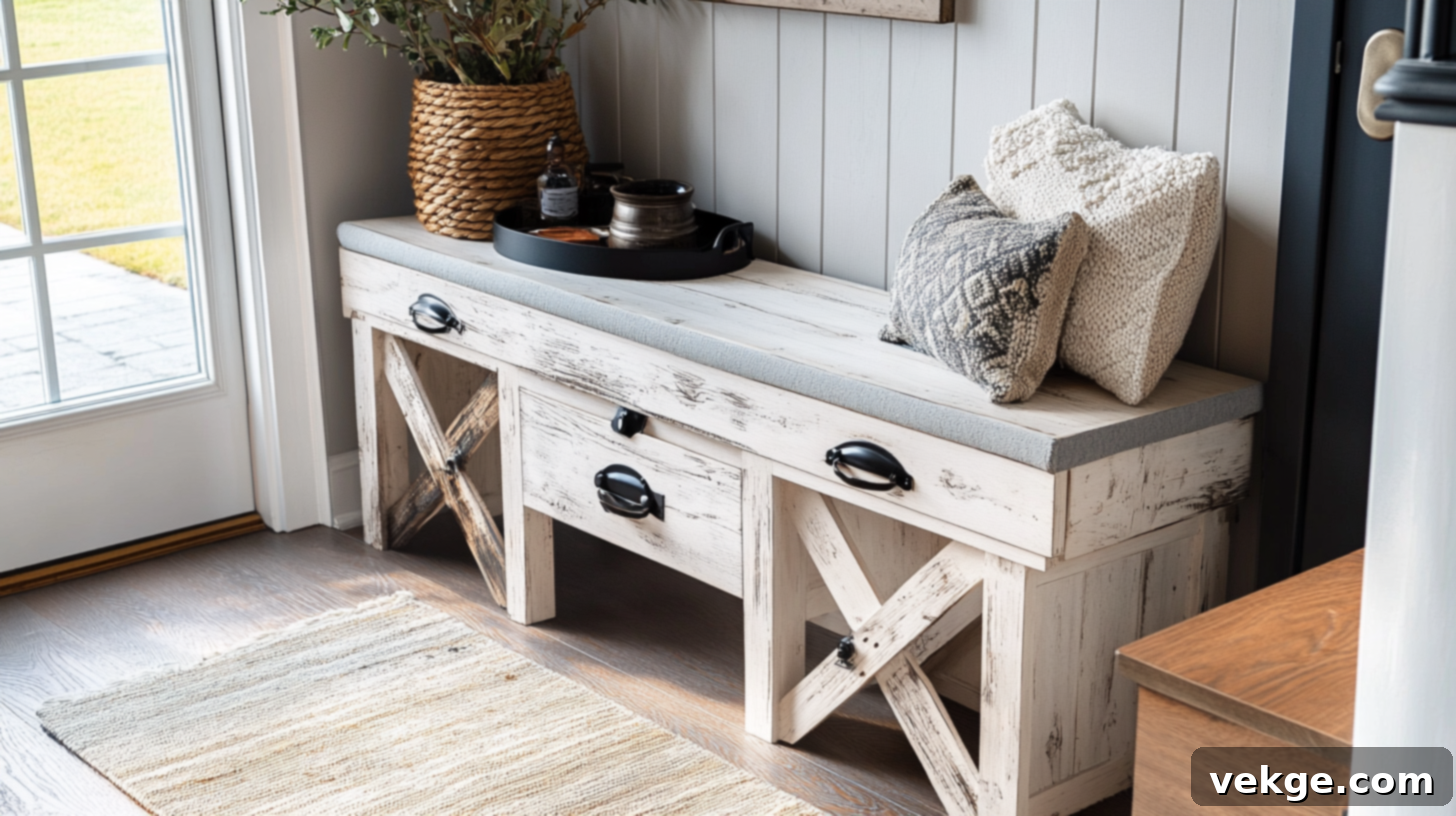
To achieve a cozy, country-inspired look, focus on natural textures and distressed finishes. Use substantial wooden boards, allowing the natural wood grain and imperfections to show through. A popular finish involves painting the bench with chalk paint in shades of white, cream, or light blue, then lightly sanding the edges and corners to create a “distressed” or “shabby chic” effect, revealing the wood underneath. This adds character and an aged feel.
Incorporate hardware like matte black cup pulls or hinges for drawers, or rustic cast iron hooks for coats. You might also consider adding decorative elements like X-shaped cross-bracing on the sides or a beadboard back panel for an authentic farmhouse vibe. This style pairs beautifully with homes featuring warm, earthy color palettes and natural materials.
2. Building a Sleek Modern and Minimalist Bench
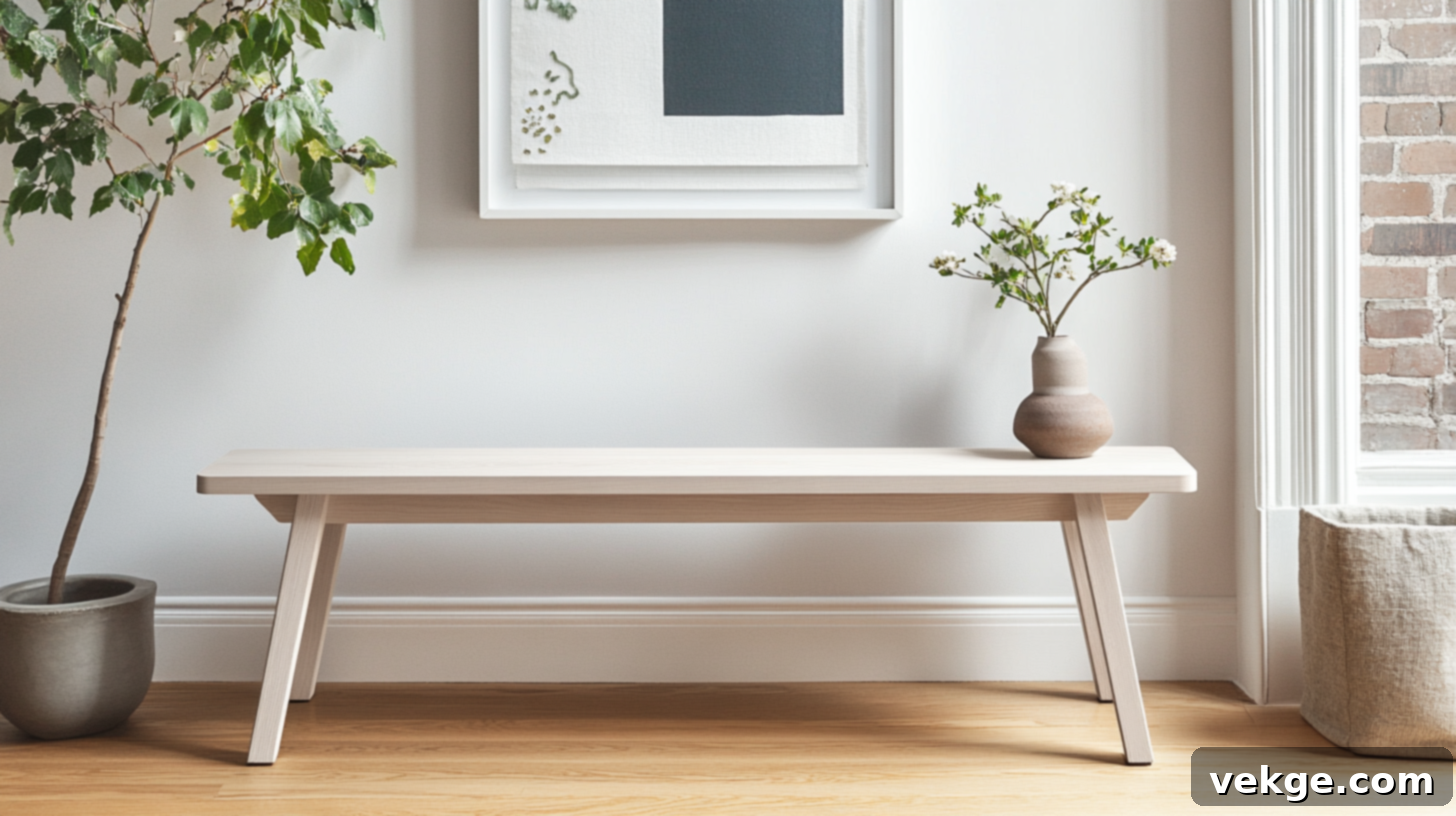
For a contemporary and uncluttered aesthetic, emphasize clean lines, geometric shapes, and a simple color palette. Choose smooth, unadorned wood, avoiding ornate details or carvings. Paint the bench in sophisticated neutral tones such as crisp white, charcoal gray, or matte black. Alternatively, a clear satin finish can highlight the natural beauty of a light-colored wood like birch or maple.
Keep the legs slender and straight, or opt for a floating bench design where the bench appears to be suspended from the wall. Integrated storage should be seamless, perhaps using push-to-open doors or drawers without visible handles. The key is to prioritize function and form, letting the quality of the craftsmanship speak for itself. This design is perfect for smaller spaces or homes with a modern, Scandinavian, or industrial interior style.
3. Adding Upholstery for Enhanced Comfort and Style
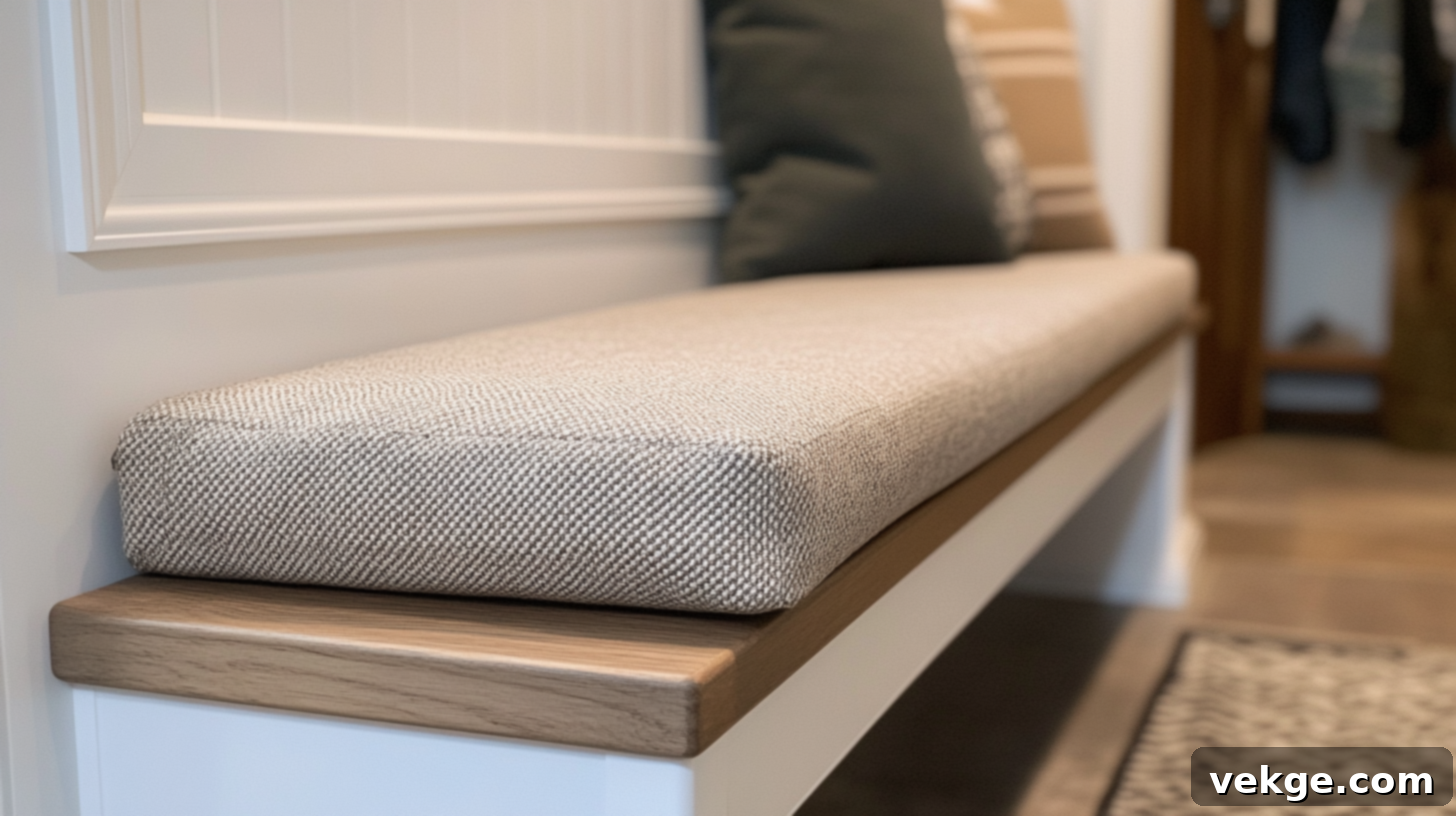
Transform your entryway bench into an even more inviting and comfortable seating area by adding a custom upholstered cushion. Start by purchasing high-density foam from a craft or upholstery supply store; a thickness of 2-4 inches is generally ideal for comfort without being overly bulky. Cut the foam precisely to match the dimensions of your bench top.
Next, select a durable and attractive fabric that complements your home’s decor. Consider performance fabrics that are resistant to stains and wear, especially for a high-traffic area like an entryway. Wrap the foam tightly with batting, then with your chosen fabric, pulling it taut and smooth. Secure the fabric to a thin piece of plywood (cut slightly smaller than the bench top) using a staple gun. Finally, attach this upholstered board to the top of your bench using screws driven from underneath, ensuring no hardware is visible. This addition not only increases comfort but also allows you to introduce color, pattern, and texture to your entryway.
Maintenance and Care for Your DIY Entryway Bench
To ensure your custom-built entryway bench remains a beautiful and functional piece of furniture for many years, consistent maintenance and care are essential. Regular cleaning and periodic inspections can prevent minor issues from becoming major problems, preserving both its appearance and structural integrity.
Here are some helpful tips to keep your bench in top-notch condition:
- Regular Cleaning: Dust your bench weekly with a soft, dry cloth to prevent dirt and grime buildup. For painted or stained surfaces, a slightly damp cloth can be used for deeper cleaning, followed immediately by a dry cloth. Avoid harsh chemical cleaners, which can damage the finish.
- Immediate Spill Cleanup: Accidents happen. Wipe up any spills immediately with a clean, dry cloth. Liquids left to sit can warp wood or stain finishes and upholstery.
- Check for Loose Fasteners: Periodically (e.g., monthly or quarterly), inspect all screws and joints. Tighten any fasteners that may have loosened due to regular use and movement. This is crucial for maintaining the bench’s stability and preventing wobbles.
- Protect from Direct Sunlight: If possible, position your bench away from direct, prolonged sunlight. UV rays can cause wood finishes to fade and upholstery fabric to deteriorate over time.
- Use Protective Pads: If you place decorative items, trays for keys, or heavy bins on your bench, consider adding felt pads or rubber feet underneath them to prevent scratches and scuffs on the bench’s surface.
- Address Scratches and Dents: For minor scratches, wood touch-up pens or furniture markers can be used. Deeper dents might require a bit of wood filler and re-finishing of the affected area.
- Upholstery Care: If your bench has an upholstered cushion, vacuum it regularly to remove dust and crumbs. Spot clean any stains according to the fabric manufacturer’s instructions, typically using a mild detergent and water solution.
- Seasonal Inspection: Once or twice a year, give your bench a thorough inspection. Check for any signs of wear, moisture damage, or structural weakness. Reapply a clear protective topcoat every few years if the original finish starts to show signs of wear, especially in high-contact areas.
By following these simple care tips, your DIY entryway bench will continue to be a source of pride and a highly functional asset to your home’s organization system.
Wrapping Up Your DIY Entryway Bench Project
Congratulations! You’ve now completed a comprehensive journey through building your very own DIY entryway bench. From the initial spark of an idea to the final decorative touches, you’ve gained the knowledge and confidence to create a functional and stylish piece of furniture that perfectly suits your home.
Remember the core principles: thoughtful planning, precise measurements, careful cutting, and patient assembly. Even if you encountered a minor hiccup along the way, the beauty of DIY is that many small errors can be easily corrected with wood filler, a bit of sanding, and a fresh coat of paint or stain. Don’t be afraid to experiment with different finishes, hardware, or upholstery fabrics to truly make the bench an extension of your personal style.
Imagine walking into your home and being greeted by an organized, welcoming entryway, free from clutter, with a beautiful bench you crafted with your own hands. This project is not just about building furniture; it’s about reclaiming your space, enhancing your daily routine, and experiencing the immense satisfaction of creating something durable and useful from scratch.
So, gather your materials, trust the process, and get ready to enjoy the lasting benefits of your handmade entryway bench. It’s an upgrade that will bring both practicality and pride to your home for years to come!
