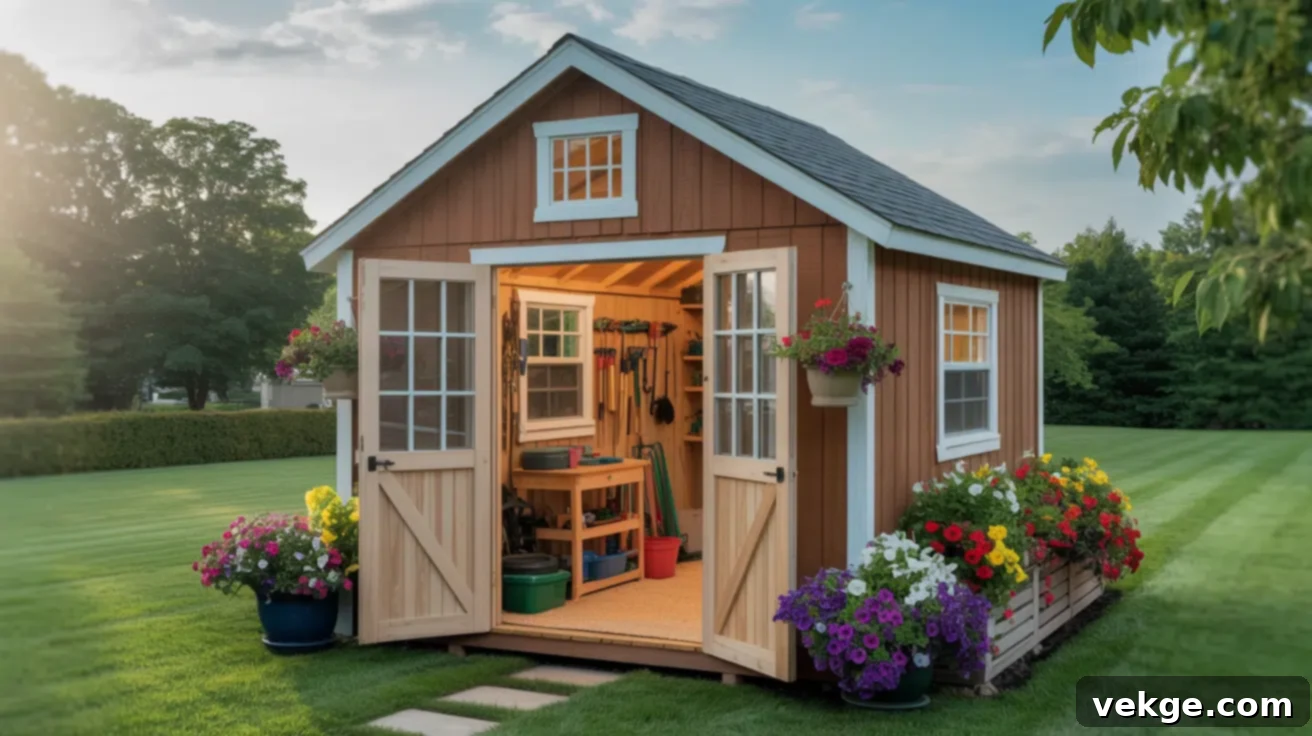
Unlock Your Backyard’s Potential: The Ultimate Guide to 12×20 Shed Plans
Are you constantly looking for more space? Perhaps your garage is overflowing with tools and equipment, or you dream of a peaceful retreat where you can work or pursue hobbies without interruption. Many homeowners face similar challenges, and that’s precisely where a well-planned 12×20 shed comes into its own. This versatile structure offers an ideal solution, providing significant extra room without the complexity or cost of a home extension.
In this comprehensive guide, we’ll walk you through every aspect of building or acquiring the perfect 12×20 shed. We’ll cover everything from selecting the right style and designing an efficient interior layout to a detailed step-by-step construction process, essential tool lists, and even innovative ways to customize your shed to perfectly match your needs. By the time you finish reading, you’ll feel confident and well-prepared to transform that empty spot in your yard into a highly functional and valuable asset. So, let’s dive in and start planning your new 12×20 shed!
Choosing the Ideal 12×20 Shed Layout and Its Benefits
A 12×20 shed strikes a perfect balance between ample storage and manageable footprint, making it an incredibly popular choice for backyards of all sizes. This dimensions provides 240 square feet of usable space, offering a smart and effective way to expand your property’s utility without committing to major construction. It’s large enough to accommodate a wide range of needs, from housing garden equipment and bulky outdoor gear to serving as a dedicated workspace or a creative studio.
The beauty of a 12×20 shed lies in its inherent flexibility. The generous dimensions allow for diverse layout options. You can easily divide the space into distinct zones – perhaps a storage area on one side and a workbench on the other. Adding shelving units, pegboards, and overhead storage is straightforward, helping you maximize vertical space and maintain organization. Unlike smaller sheds that can quickly feel cramped, a 12×20 model ensures you have plenty of room to move around, access items, and comfortably carry out tasks. Whether you’re decluttering your garage, setting up a new woodworking shop, or creating a private office, this size provides the necessary room to stay organized, productive, and comfortable.
Explore Popular 12×20 Shed Styles and Designs
When planning your 12×20 shed project, the style you choose is a critical decision. It not only dictates the aesthetic appeal of your new structure but also significantly influences how you can best utilize the interior space and how well it integrates with your existing home and landscape. Let’s explore the most popular shed styles to help you decide which one is the perfect fit for your specific requirements and personal taste.
1. Gable Shed: The Timeless Classic
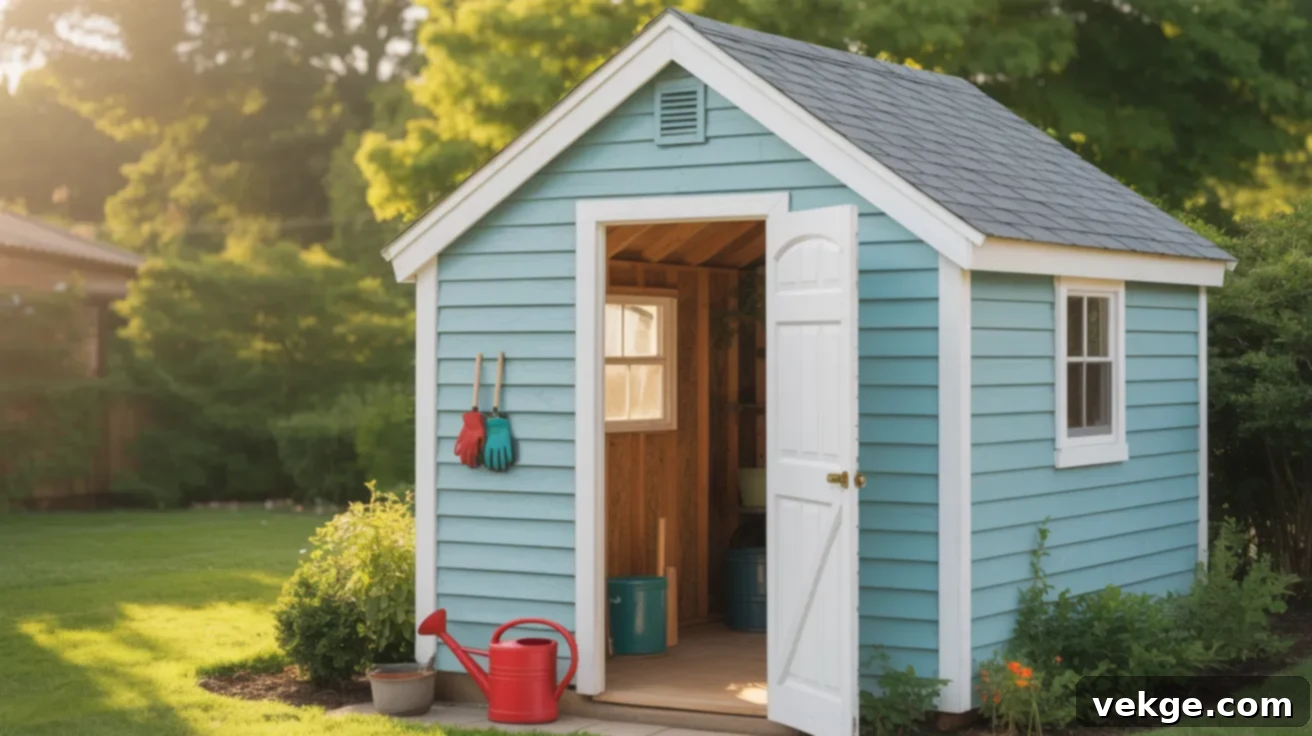
The gable shed is arguably the most common and widely recognized shed design, making it a solid and reliable choice for many homeowners. Characterized by its classic peaked roof with two slopes meeting at a central ridge, this style is both functional and aesthetically pleasing. The sloped roof design is excellent for shedding rain and snow, reducing the risk of water accumulation and potential damage, making it ideal for various climates. Inside, the gable roof provides significant overhead space, which is perfect for storing taller items, hanging bikes, or installing robust overhead shelving units. Its traditional look means it can easily complement most existing home architectures, blending seamlessly into your backyard. This design is highly versatile, equally effective for simple storage needs or as a functional workspace.
2. Lean-To Shed: Space-Saving and Simple
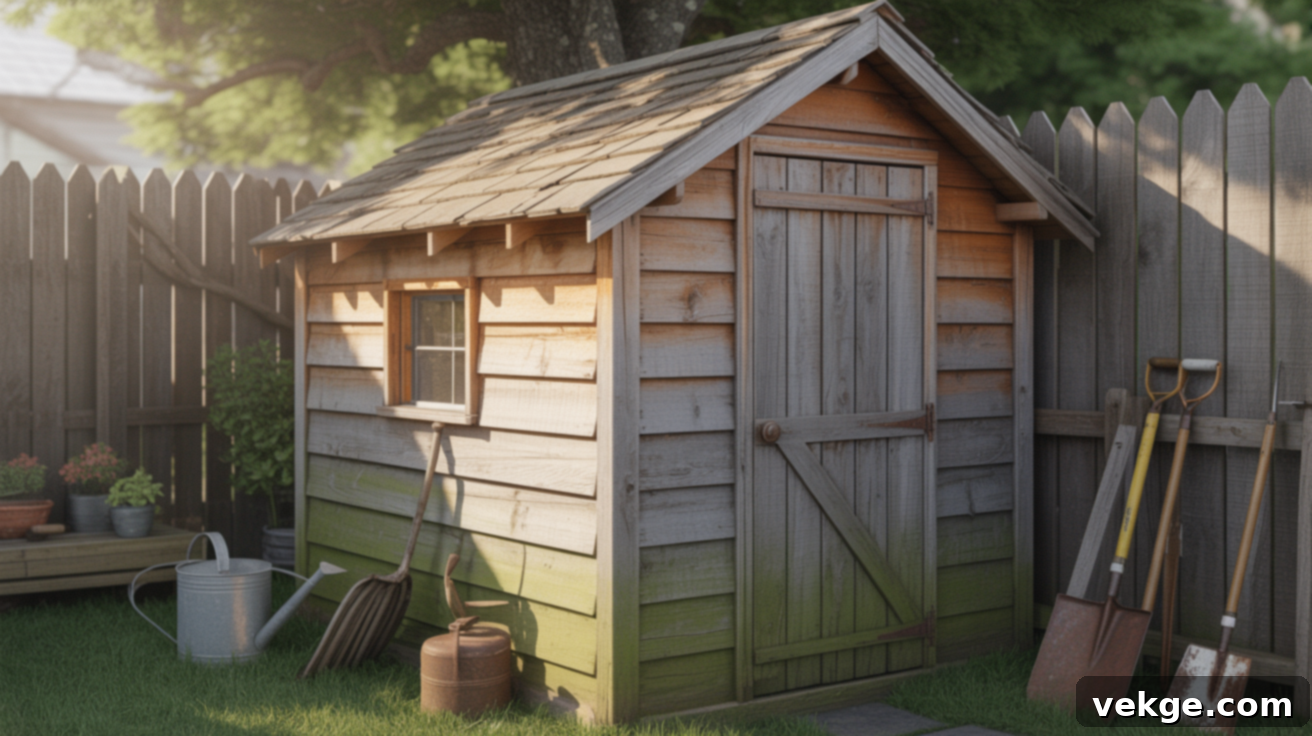
When space is at a premium or you prefer a shed that integrates closely with an existing structure or fence, the lean-to shed is an excellent choice. This design features a single-sloped roof that typically pitches away from the taller back wall, which can be built against a house, garage, or property boundary. The straightforward roof design simplifies water drainage, directing runoff away from the main structure. From a construction perspective, lean-to sheds are often considered one of the easiest styles to build, making them an ideal project for first-time DIYers. Their compact footprint and efficient use of space make them perfect for storing garden tools, bicycles, firewood, or other gear where a minimalist yet functional setup is desired. If you appreciate a basic layout with fewer complex cuts and framing, the lean-to could be your perfect match.
3. Barn-Style Shed: Maximizing Vertical Storage
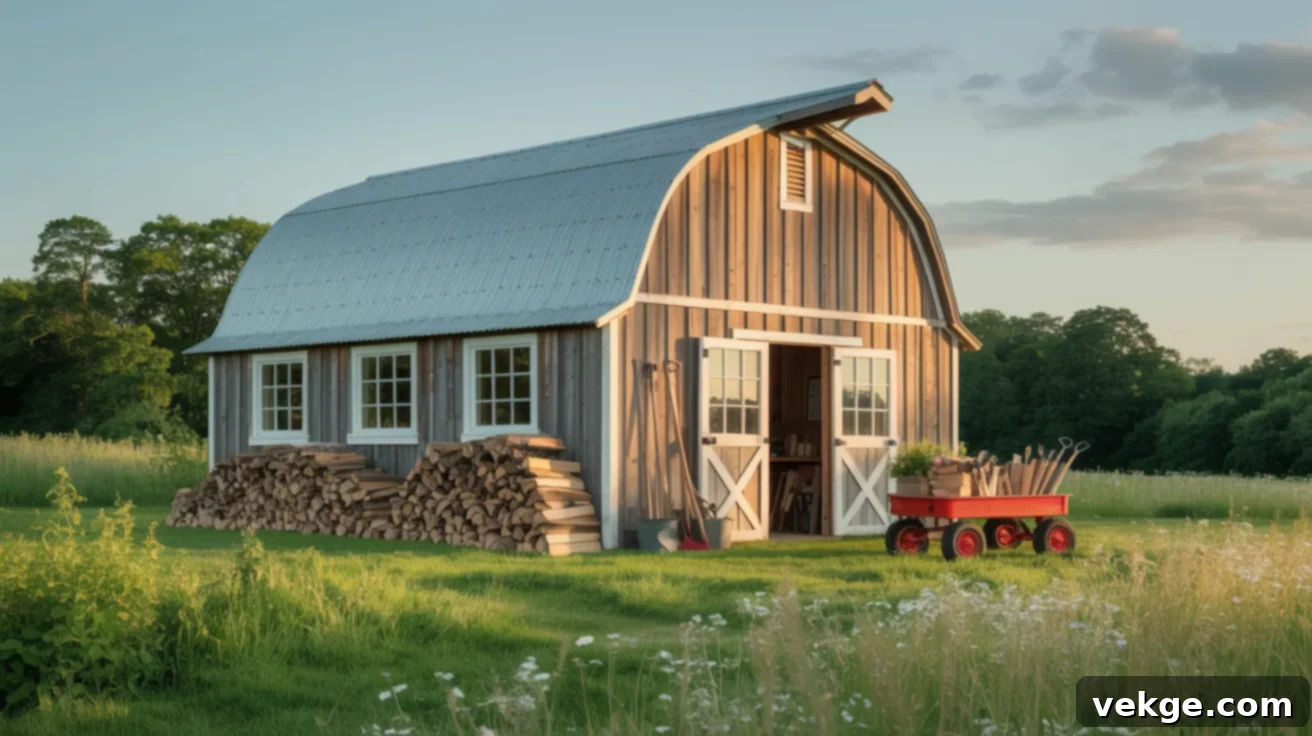
For those who need to maximize internal volume, particularly vertical storage, the barn-style shed is an unbeatable option. This distinctive design features a gambrel roof, characterized by two different slopes on each side, with the lower slope being steeper than the upper. This unique roof shape not only adds a charming, rustic aesthetic but, more importantly, creates significantly more headroom and allows for the easy addition of a loft or second-level storage area. You’ll find ample space for tall items like ladders, bulky equipment, or numerous storage bins. The barn-style shed provides that coveted “larger feel” without requiring additional ground space, making it perfect for those aiming for a workshop, an expansive storage unit, or simply a structure that stands out with its classic country appeal.
4. Modern/Flat Roof Shed: Sleek and Contemporary
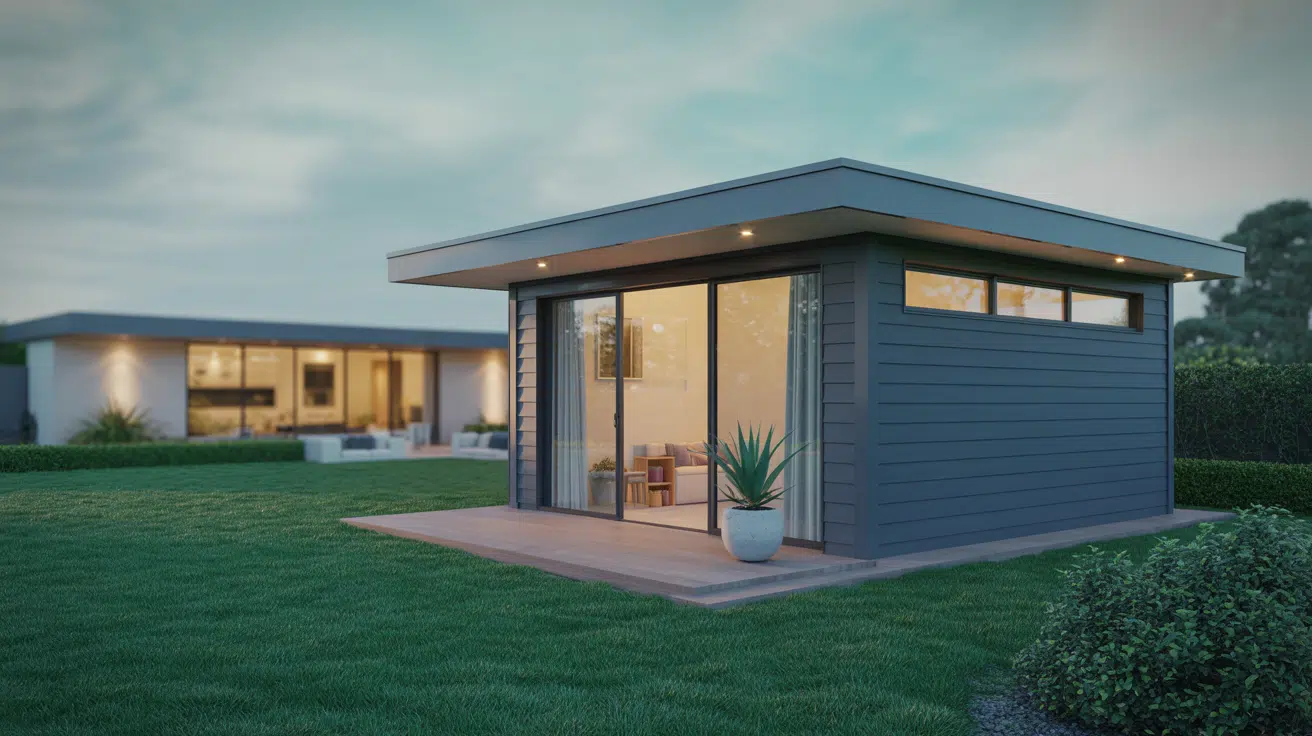
If your aim is a clean, contemporary, and updated look that complements modern home designs, the flat-roof shed is an excellent choice. This style provides a minimalist and neat appearance to your yard, making it particularly suitable if you envision your shed as a chic backyard office, an art studio, or a sleek lounge area. While referred to as “flat,” these roofs typically incorporate a subtle pitch to ensure proper water runoff and prevent pooling. Their streamlined design works exceptionally well in tighter spaces and allows for creative architectural details. You can enhance its modern appeal with large windows for abundant natural light, sliding glass doors, or even a small attached deck for added comfort and outdoor living space.
How to Build a 12×20 Shed: A Step-by-Step Guide
Building a 12×20 shed can be a rewarding DIY project, adding significant value and utility to your property. By following these detailed steps, you can construct a sturdy, weather-resistant, and highly functional shed from the ground up. Each phase of the build plays a crucial role in ensuring the longevity and stability of your structure.
Essential Tools & Materials Checklist for Your 12×20 Shed
Before you even make the first cut, preparing your workspace and gathering all necessary tools and materials is paramount. This pre-planning will save you countless hours, prevent frustrating delays, and ensure your project proceeds smoothly. Below is a comprehensive list of tools you’ll likely need, along with general categories for material budgeting. Remember, material costs can vary widely based on your chosen quality, regional pricing, and specific design elements.
- Measuring Tools: A reliable tape measure (25-30 ft), a chalk line for long, straight markings, and a speed square for accurate angle checks.
- Cutting Tools: A circular saw with a sharp blade for cutting plywood and framing lumber. A miter saw (optional but highly recommended) will significantly speed up and improve the accuracy of repetitive cuts.
- Fastening Tools: A heavy-duty hammer, a cordless drill/driver with various bits for screws, and a framing nailer (optional, but a major time-saver for wall and roof framing).
- Leveling & Squaring Tools: A 4-foot level (or longer) for ensuring walls and floors are perfectly straight, and a framing square to verify right angles.
- Access: A sturdy step ladder or extension ladder for safe work on the roof and upper framing.
- Safety Gear: Always prioritize safety! This includes work gloves, safety glasses, hearing protection, and appropriate work boots.
- Miscellaneous: Utility knife, pry bar, clamps, and pencils.
Sample Materials Budget Categories:
- Foundation: Concrete blocks, gravel, treated lumber for skids or piers, rebar (for concrete slab).
- Framing Lumber: Treated lumber for the floor frame (2×6 or 2×8), untreated lumber for walls and roof (2×4 or 2×6).
- Sheathing: Plywood or OSB for floor decking, wall sheathing, and roof decking.
- Roofing Materials: Roofing felt (underlayment), shingles or metal roofing, drip edge, ridge caps.
- Siding: T1-11 plywood, lap siding, vinyl siding, or desired exterior finish.
- Doors & Windows: Pre-hung units or materials to build your own, hinges, latches, handles.
- Fasteners: Nails (common, roofing, siding), screws (deck screws, exterior wood screws), joist hangers, hurricane ties, anchors.
- Finishing: Exterior paint or stain, caulk, trim boards, flashing.
Step 1: Floor Framing – The Foundation of Stability
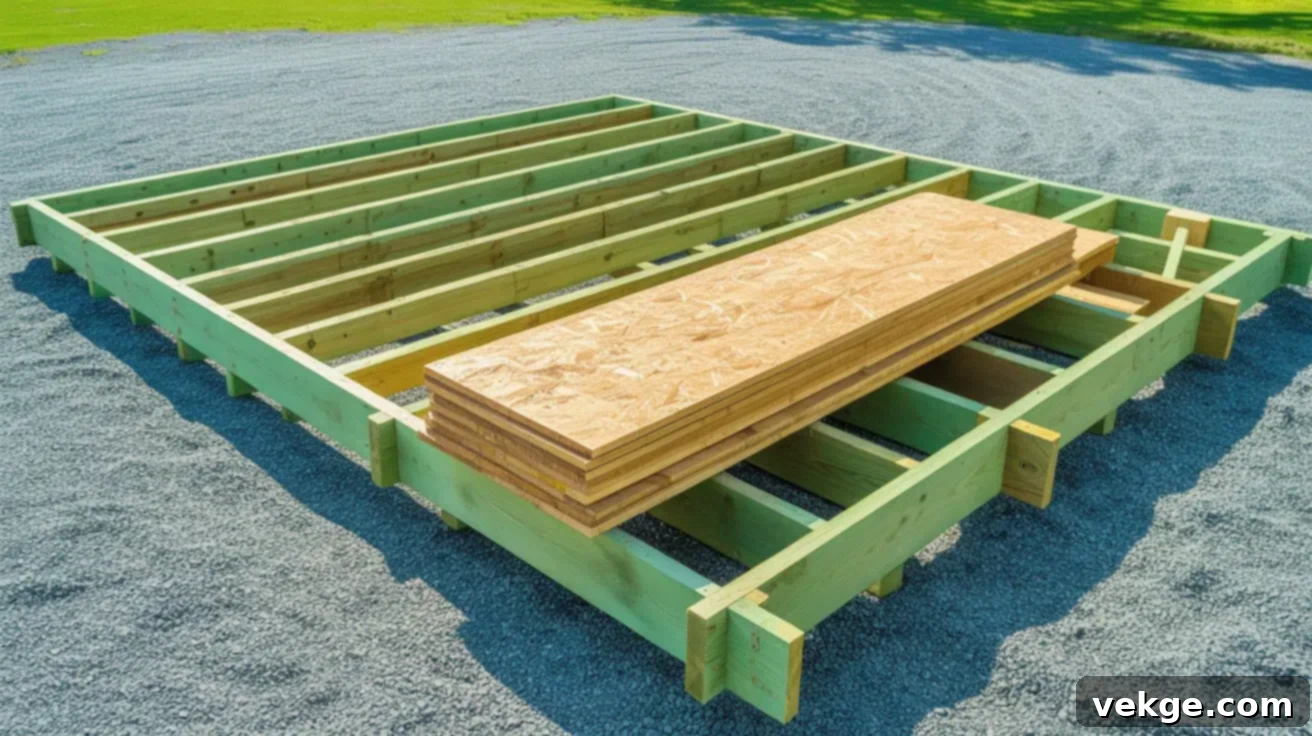
Begin by constructing the perimeter frame of your floor using pressure-treated lumber (typically 2×6 or 2×8 boards) to resist moisture and rot. Cut the rim joists and end joists to size and assemble them into a rectangular box. Next, cut and install the floor joists, spacing them evenly (usually 16 inches on center) between the rim joists. Secure all connections using appropriate screws or nails and joist hangers for added strength. Crucially, ensure the entire frame is perfectly square and level before proceeding; any deviation here will impact the entire structure. Once the sub-frame is complete and checked, lay down the plywood or OSB panels for the floor deck, fastening each sheet securely to the joists below. This robust base is the literal foundation of your shed, providing critical support and stability for every subsequent step of the build.
Step 2: Wall Framing – Defining Your Space
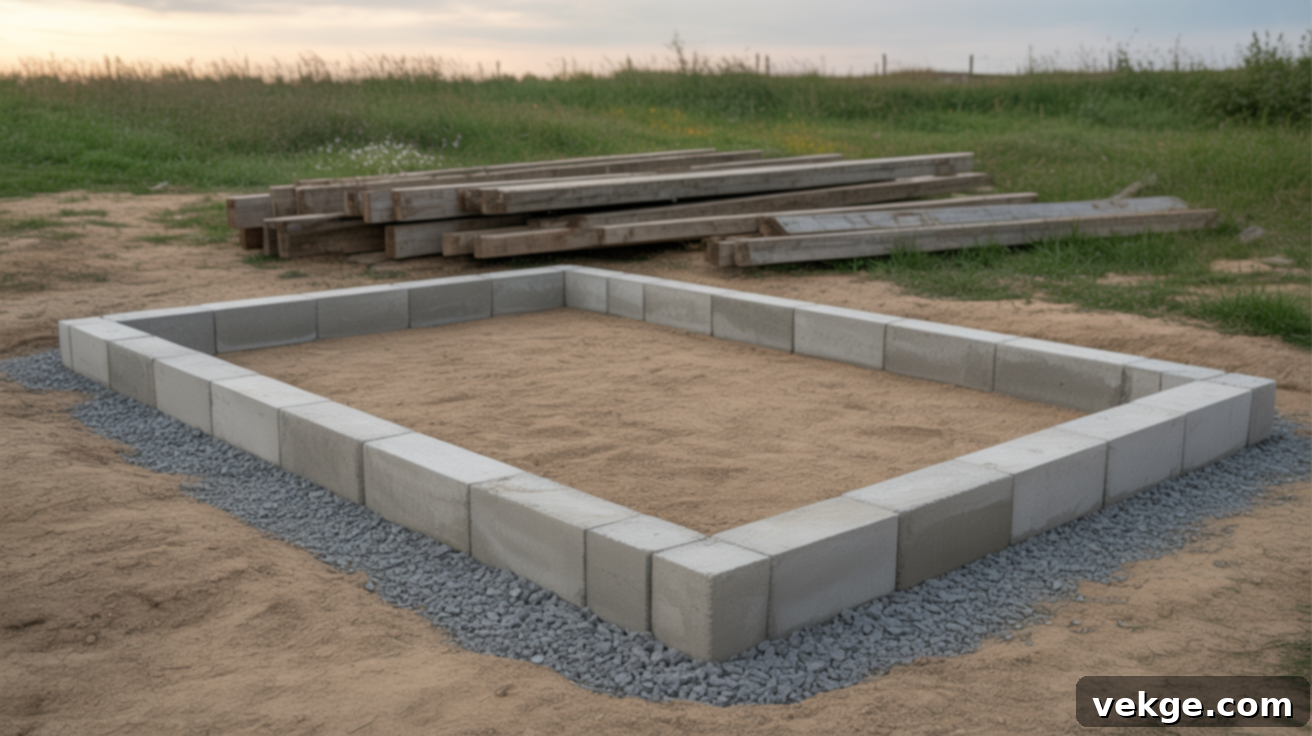
With your floor established, it’s time to frame the walls. Working on a flat surface (like your completed shed floor), cut your vertical wall studs to the correct height. Assemble each wall panel individually using a top plate, a bottom plate, and the studs spaced typically at 16 or 24 inches on center. Remember to frame out openings for any doors and windows according to your plans. Once each wall section is framed, carefully lift it into place on the floor deck and secure it to the floor frame with construction screws or nails. Repeat this process for all four walls, ensuring they are plumb (vertically straight) and square to each other. Temporarily brace the walls with diagonal supports if needed to maintain their position and stability until the roof structure is in place.
Step 3: Roof Assembly – Your Shed’s Protective Cap
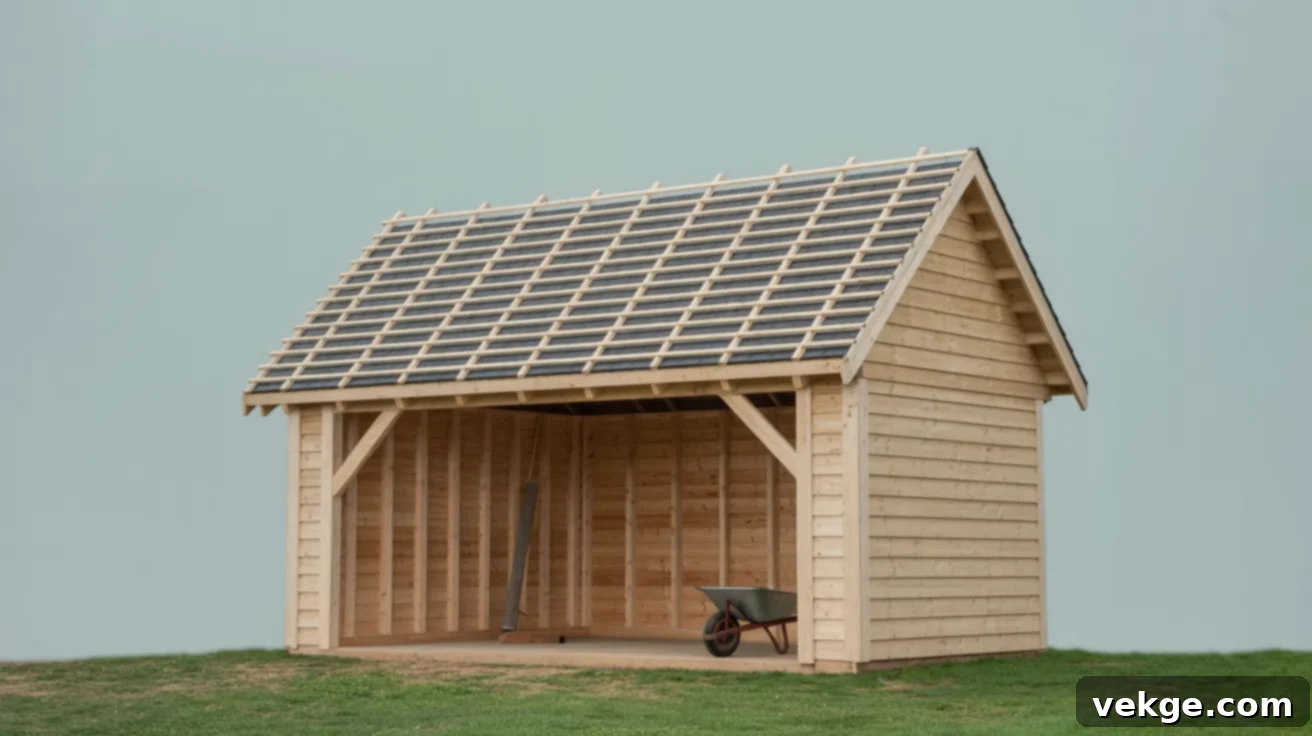
The roof is your shed’s primary defense against the elements, so careful assembly is key. Based on your chosen style (gable, lean-to, barn, or flat), you will either build roof trusses (for gable/barn styles) or cut individual rafters. Space these roof support members evenly across the top plates of your walls and secure them firmly using metal hurricane ties or strong fasteners. Once the roof frame is in position, cover it with plywood or OSB sheathing boards, ensuring each sheet is securely fastened. Install roofing felt (underlayment) over the sheathing, followed by drip edge along the perimeter. Finally, apply your chosen roofing material – asphalt shingles, metal panels, or even rolled roofing – ensuring proper overlap and sealing to create a watertight seal. A well-constructed roof is vital for protecting the shed’s contents from rain, wind, and snow for years to come.
Step 4: Doors, Windows & Trim – Functionality and Finish
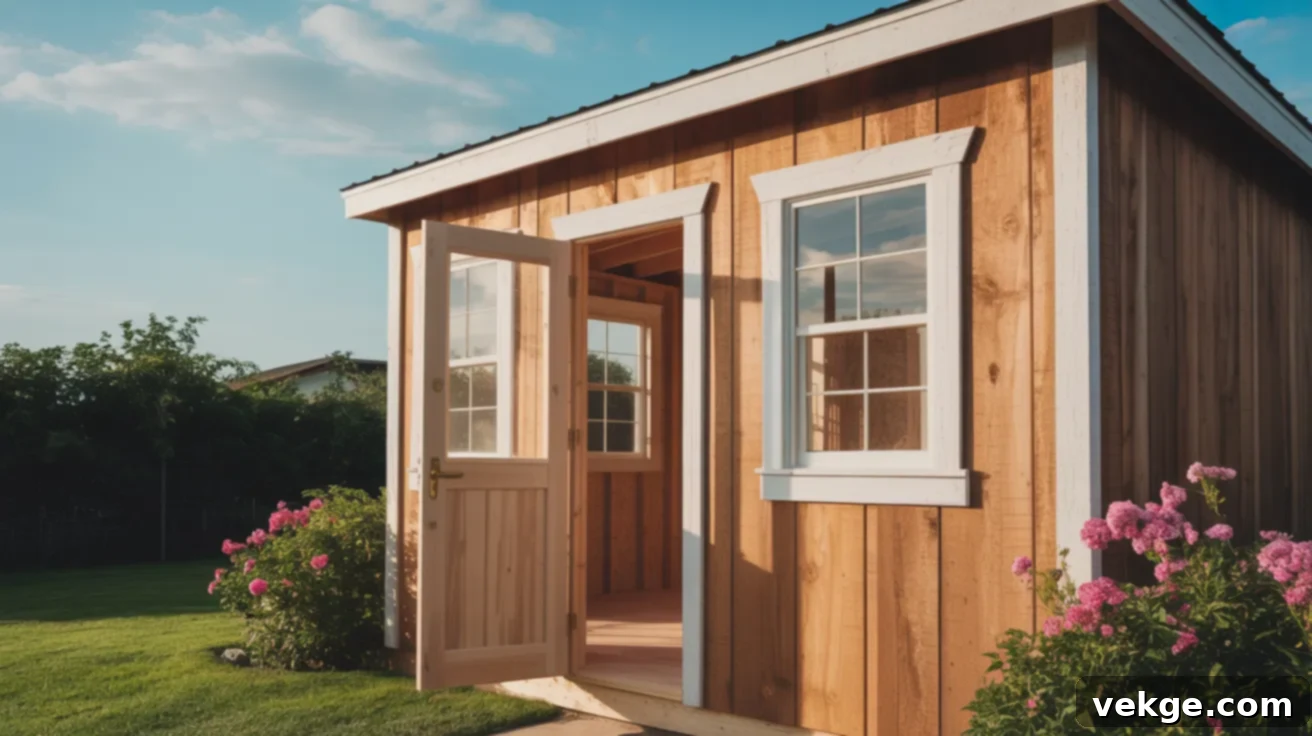
With the main structure complete, it’s time to add the functional elements. Install your door frame into the prepared opening and hang the shed doors, using sturdy, exterior-grade hinges that can withstand frequent use and weather. If your design includes windows, carefully fit them into their pre-framed openings. Ensure they are level and plumb, then seal around the edges with exterior-grade caulk to prevent moisture infiltration. Afterward, add trim boards around the doors, windows, and all exterior corners of the shed. This step not only gives your shed a clean, finished appearance but also helps to cover and protect exposed joints from weather damage. Double-check that all doors and windows open and close smoothly and latch securely.
Step 5: Painting or Finishing – Protection and Personalization
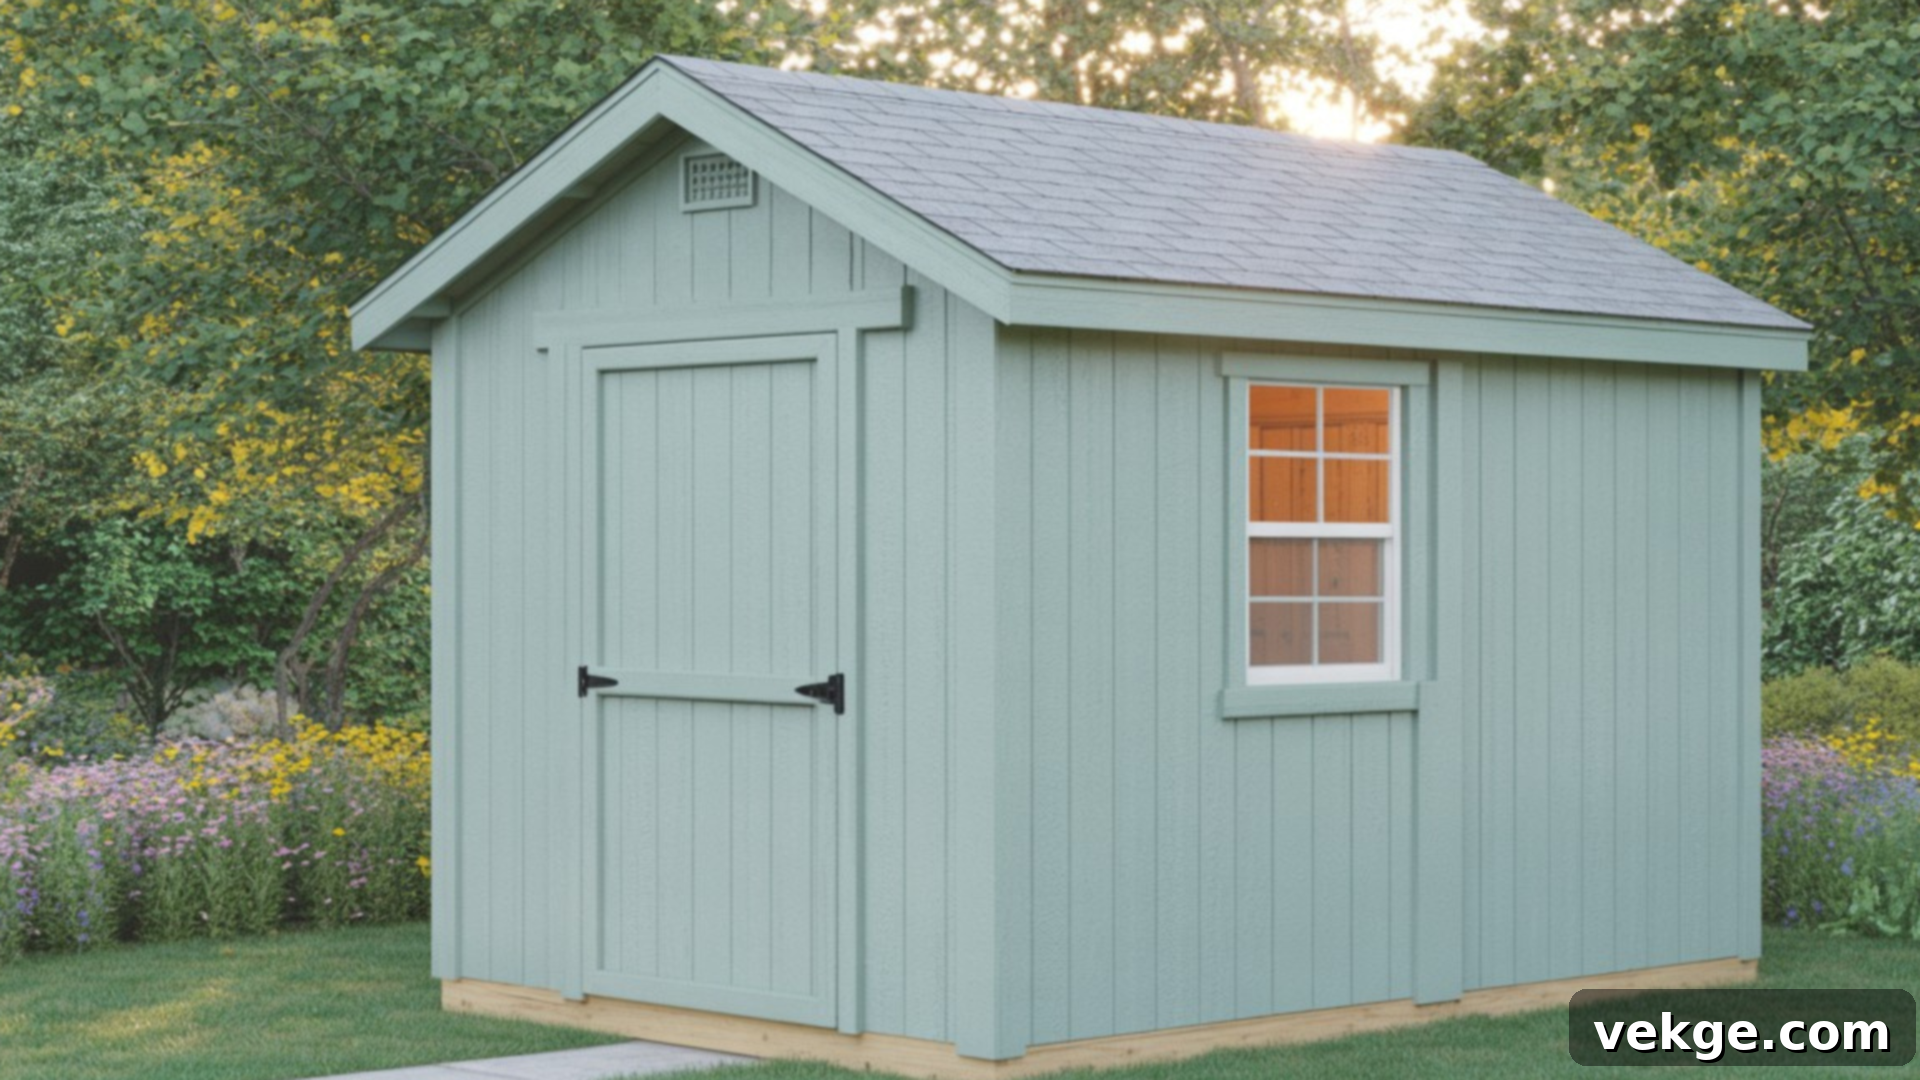
The final step in constructing your 12×20 shed is to protect and personalize it. Apply a high-quality exterior paint or stain to all exposed wooden surfaces. Choose products specifically designed for outdoor use to provide maximum protection against moisture, UV rays, and rot. Selecting a color that harmonizes with your home or garden can significantly enhance your property’s curb appeal. Don’t forget to seal any remaining gaps with caulk and ensure all exposed hardware is weather-resistant. Inside the shed, consider adding shelves, hooks, or a workbench to optimize your storage and workspace immediately. A proper finish not only makes your shed look great but is essential for its long-term durability and preservation.
What to Look for in Quality 12×20 Shed Plans
Investing in high-quality 12×20 shed plans is arguably the most important decision you’ll make before cutting the first piece of lumber. A well-designed plan acts as your comprehensive roadmap, guiding you seamlessly from conception to completion. Before you commit to any plans, ensure they include these essential components. They are designed to save you time, prevent costly mistakes, and make your building experience far more enjoyable and efficient.
Detailed Framing Diagrams
Excellent framing diagrams are the backbone of any good shed plan. They visually illustrate exactly how to construct each structural component of your shed – the floor, walls, and roof. These diagrams meticulously outline the precise placement of every stud, beam, joist, and support. They are crucial for ensuring your frame is not only strong and stable but also perfectly square and level, providing a robust foundation for the entire structure. Think of them as the skeletal system of your shed; without clear guidance, the integrity of your build could be compromised.
Comprehensive Floor and Roof Trusses Layouts
Beyond basic framing, detailed plans should include specific diagrams for your floor and roof trusses or rafter layouts. For the floor, these layouts guide you on the correct spacing and attachment methods for joists, preventing future sagging, shifting, or warping of your shed’s base. For the roof, truss diagrams are vital for correctly positioning support pieces, whether you’re building a flat, gable, or barn-style roof. Proper roof support ensures structural integrity, enabling your shed to safely withstand heavy snow loads, strong winds, and other weather conditions, protecting your investment for years.
Exact Materials Checklist
A truly professional shed plan will feature a comprehensive, itemized shopping list. This list goes beyond just generic “lumber” and provides precise quantities and dimensions for every component. Here’s what a good materials checklist should cover in detail:
- Lumber: Specific types and quantities of boards for framing (floor, walls, roof), flooring, wall sheathing, roof decking, and exterior trim.
- Roofing: Detailed quantities of shingles, metal sheets, roofing felt (underlayment), drip edges, and ridge caps.
- Siding: Your chosen exterior wall coverings, whether T1-11 plywood panels, lap siding, or other options, with precise coverage amounts.
- Fasteners: An accurate count of various nails (framing, roofing, finish), screws (decking, exterior wood), specialized brackets, joist hangers, and foundation anchors.
- Doors & Windows: Specifications for pre-hung units or detailed cut lists if you’re building them yourself, along with hinges, latches, and handles.
- Flooring Materials: Beyond the subfloor, specify any desired finished flooring such as plywood, treated boards, or composite panels.
- Finishing Supplies: Recommendations and quantities for exterior paint or stain, primer, caulk, and sealants for weather protection and aesthetic finish.
- Hardware: Any other small but essential parts like vents, foundation shims, or security features.
Some advanced plans even organize materials by construction stage, allowing you to purchase supplies incrementally and manage your budget more effectively, rather than buying everything at once.
Precise Cut Lists and Hardware Callouts
Two often-overlooked but incredibly valuable features in quality shed plans are precise cut lists and hardware callouts. Cut lists provide the exact length and quantity for every piece of lumber you’ll need, minimizing waste and saving you money on materials. These lists allow you to pre-cut many pieces before assembly, streamlining the building process. Hardware callouts, on the other hand, explicitly indicate which type of screws, nails, bolts, or hangers to use at specific connection points. This eliminates guesswork and ensures you’re using the correct fasteners for structural integrity. Both features are indispensable for clear instructions, fewer building delays, and a safer, more robust shed, especially if you’re working alone or with a limited range of tools.
Creative Add-Ons and Uses for Your 12×20 Shed
Once your robust 12×20 shed is constructed, its journey as a simple storage unit has just begun. With a little creativity and a few smart upgrades, you can transform it into so much more than just a place to stash garden tools. These creative add-ons can dramatically change how you utilize the space, enhancing its functionality and making it perfectly tailored to your lifestyle and needs.
Add a Loft for Maximized Storage
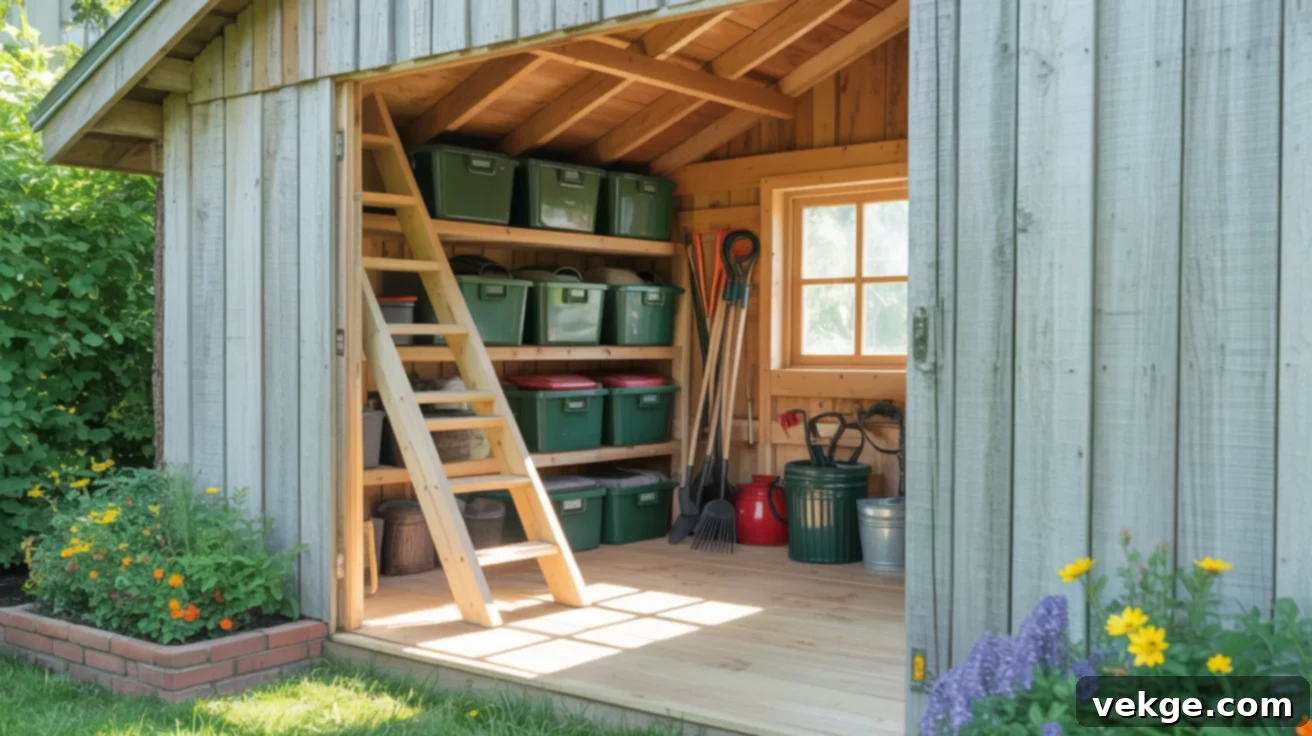
If you find yourself needing even more storage capacity while keeping the main floor clear and accessible, adding a loft is an exceptionally clever solution. This utilizes the upper cubic space of your shed, creating an elevated platform perfect for seasonal items, holiday decorations, rarely used tools, or bulky storage bins. A loft significantly contributes to overall organization by freeing up valuable floor space below. Ensure you use strong joists and sturdy construction for the loft platform, and consider a permanent ladder or pull-down stairs for safe and easy access. It’s an efficient way to expand your storage capabilities without increasing the shed’s footprint, maximizing every inch of your 12×20 structure.
Convert into a Dedicated Workshop
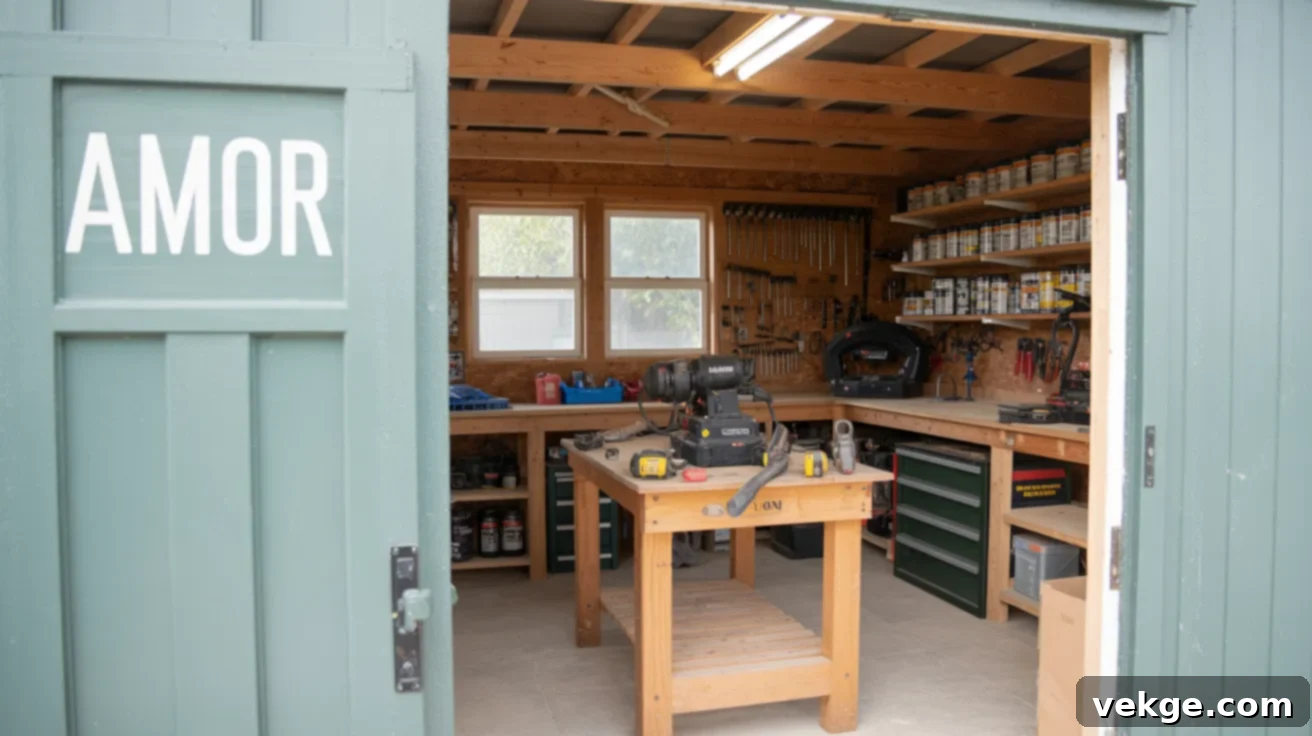
Transform your 12×20 shed into a fully functional workshop – a dedicated space for building, repairing, or creating. Start by installing a heavy-duty workbench, durable shelving units for tool storage, and pegboards to keep smaller items organized and within reach. Essential upgrades for a workshop include reliable electrical wiring for power tools and ample lighting (both overhead and task lighting) to ensure safe and precise work. Consider insulation for comfort during all seasons and good ventilation to manage dust and fumes. With ample space to move around and a structured layout, your shed becomes a productive hub where you can focus on projects year-round, keeping noisy or messy activities out of the main house and garage.
Utilize as a Serene Garden Office
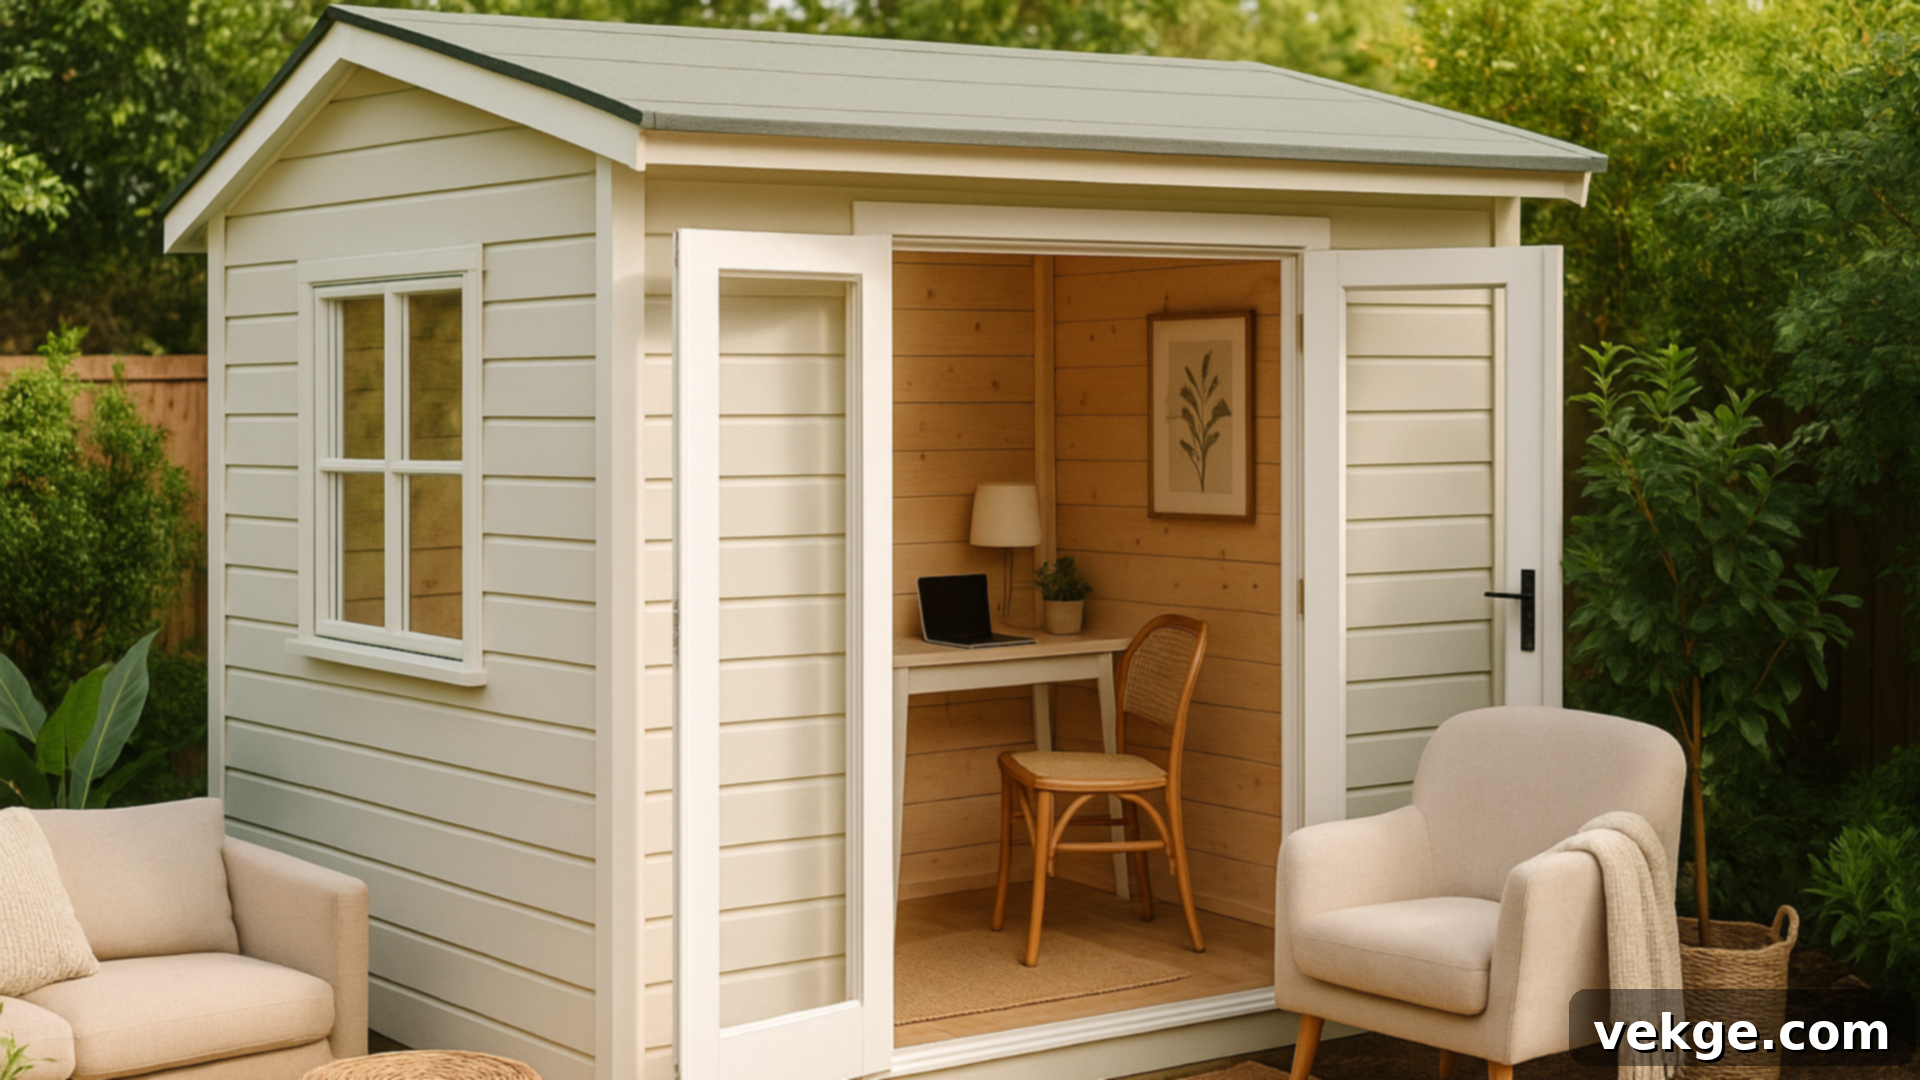
Escape the distractions of your home by converting your shed into a tranquil garden office, a personal studio, or a quiet retreat. Key to this transformation is comfort and connectivity. Begin by adding insulation to regulate temperature and sound, and consider installing a small HVAC unit or space heater/fan for climate control. Furnish it with a comfortable desk, ergonomic chair, and cozy seating. Maximize natural light with larger windows or French doors with glass panels to create an open and airy feel. Ensure stable internet access and sufficient electrical outlets for your devices. Decorate it to reflect your personal style, creating a calm and inspiring environment for focused work, reading, or simply unwinding. It’s a simple yet impactful way to gain more usable space without significant home renovations.
Enhance with a Porch or Dormer
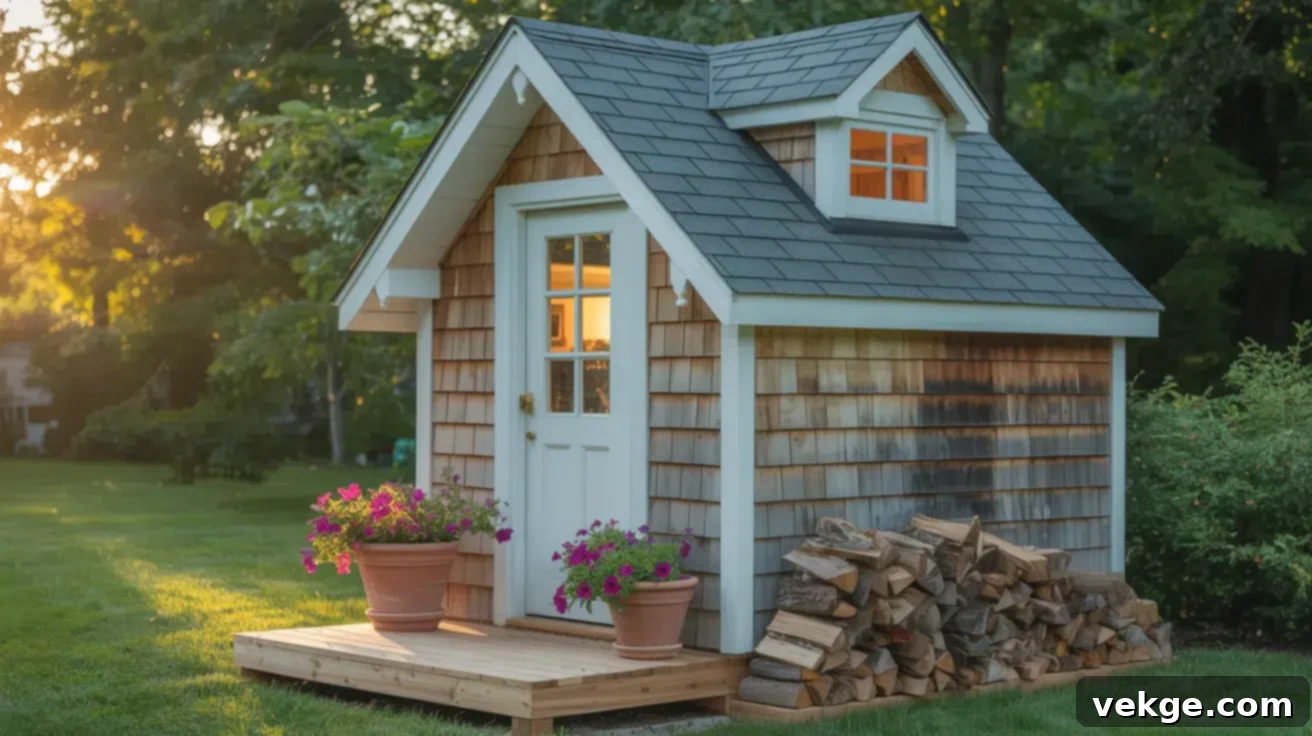
To truly elevate the appeal and functionality of your 12×20 shed, consider adding architectural enhancements like a small porch or a dormer. A porch, even a shallow one, provides a welcoming entry point, a shaded area to sit, a spot for potted plants, or convenient storage for firewood, keeping it dry. It also offers protection from rain at the doorway. A dormer, on the other hand, is a structural element that projects vertically from the sloped roof, creating additional headroom and significantly increasing natural light inside the shed. This is particularly beneficial if you’ve added a loft or plan to use the shed as a living or working space, making it feel more spacious and inviting. Both upgrades not only add practical value but also greatly enhance the aesthetic integration of your shed into your backyard, making it feel more like a charming extension of your home rather than just a utilitarian box.
Foundation Types and Permit Requirements for a 12×20 Shed
Before you even think about framing the walls of your 12×20 shed, two critical considerations must be addressed: the type of foundation it will rest upon and the local regulations regarding building permits. Laying the groundwork correctly, both literally and legally, will prevent significant headaches and costs down the line.
Choosing the Right Foundation
A stable and level foundation is crucial for the longevity and structural integrity of your shed. The right choice depends on your budget, local soil conditions, and how you plan to use the shed. Here are the most common foundation types for a 12×20 shed:
- Skid Foundation: This is one of the simplest and most cost-effective options. It involves placing pressure-treated skids (typically 4×4 or 6×6 timbers) directly on a prepared, level gravel base. The shed floor frame is then built directly on these skids. Skids allow for some air circulation and make the shed somewhat movable. It’s often suitable for smaller sheds or those that may not require a permit.
- Concrete Block (Pier and Beam): This method involves setting concrete blocks (solid or filled with gravel/concrete) on a leveled gravel pad or concrete footings at strategic points under the shed’s floor joists. Pressure-treated beams are then laid across these piers, and the shed floor is built on top. This provides excellent air circulation, preventing moisture issues, and helps distribute the shed’s weight.
- Concrete Slab: A concrete slab offers the most durable and permanent foundation. It involves pouring a reinforced concrete pad that matches the footprint of your shed. This provides a perfectly level, impenetrable base, ideal for workshops or sheds housing heavy equipment. While more expensive and labor-intensive, it offers superior stability and moisture protection.
Regardless of the type, ensure the ground beneath is properly prepared, level, and well-drained to prevent settling and water issues.
Navigating Local Permit Requirements
It’s absolutely essential to consult with your local building office or town planning department before starting any construction. Most jurisdictions have specific rules and ordinances regarding building size, placement, and type of construction that require a permit. A 12×20 shed, due to its size (240 square feet), very often falls within the permit-required threshold, especially if it’s:
- Considered a permanent structure.
- Wired for electricity or plumbed for water.
- Located within a certain distance of property lines, other structures, or septic systems.
- Used for commercial purposes or as a habitable space.
While some areas might allow smaller sheds (e.g., under 100 or 120 sq ft) without a permit, a 12×20 shed usually exceeds these limits. Failing to obtain the necessary permits can lead to fines, forced removal of the structure, or difficulties when selling your property in the future. It’s always better to ask first and build with peace of mind than to face costly consequences later. Additionally, if you live in a community with a Homeowners’ Association (HOA), you will likely need to obtain their approval as well, as they often have specific rules regarding outbuildings’ size, style, and placement.
Types of 12×20 Shed Plans to Consider for Your Project
When you’re ready to embark on building your 12×20 shed, one of the first decisions you’ll face is choosing the right type of plans. Should you opt for free resources, invest in detailed blueprints, or perhaps go for the convenience of a ready-to-build kit? Each option offers distinct advantages and disadvantages, making it important to understand which approach aligns best with your skills, budget, and time commitment.
Free Plans Available Online
The internet is a treasure trove of free resources, and you can certainly find numerous free 12×20 shed plans on DIY blogs, woodworking forums, and YouTube channels. These plans often provide basic framing steps, some general measurements, and a rough materials list. If you possess a good level of confidence with tools, have prior construction experience, and are comfortable filling in potential gaps or making your own calculations, free plans can be a good starting point to save on initial costs. However, a word of caution: the accuracy and completeness of free plans can vary significantly. Some may lack detailed diagrams, specific cut lists, or crucial structural information, potentially leading to errors, material waste, or a less sturdy shed. Always cross-reference multiple sources and exercise due diligence if you choose this route.
The Value of Paid Plans & What You Get
For those seeking clarity, precision, and a smooth building experience, investing in high-quality paid 12×20 shed plans is often well worth the cost. These plans are typically developed by professional designers or engineers and come packed with comprehensive details. You can expect to receive professional layouts, accurate materials lists, detailed cut sheets for every piece of lumber, and step-by-step diagrams that make complex steps easy to understand. Paid plans often include foundation options, roofing details, and even suggestions for interior finishing. By providing exact measurements and clear instructions, they significantly reduce the likelihood of costly mistakes, save you valuable time, and ensure a more robust and aesthetically pleasing finished product. If you’re looking for a stress-free build and a superior end result, especially if you’re not an experienced builder, this option offers immense peace of mind.
Should You Buy a Pre-Cut Shed Kit?
For the ultimate in convenience and speed, a pre-cut 12×20 shed kit is an excellent option. With a kit, the vast majority of the lumber is already measured, cut to size, and sometimes even pre-drilled. The kit is delivered to your site with detailed instructions, eliminating much of the guesswork and heavy-duty tool work associated with cutting lumber. This is a fantastic choice if your primary goals are to save time, minimize construction complexity, or if you’re new to building and prefer a more guided assembly process. However, this convenience comes at a higher price point compared to buying raw materials and building from scratch. Additionally, while some customization might be possible, kits generally offer less flexibility in terms of design modifications. If you’re short on time, prefer a “lego-like” assembly experience, or want to bypass the most tool-intensive parts of the job, a pre-cut kit can make your shed dream a reality faster and with less effort.
Conclusion: Your Journey to a Perfect 12×20 Shed Starts Now
Congratulations! You’ve navigated through the ultimate guide to 12×20 shed plans, arming yourself with invaluable knowledge, practical steps, and creative inspiration. By now, you should feel more confident and prepared to tackle the exciting project of building, buying, or customizing your ideal backyard shed. We’ve covered everything from selecting the perfect style and understanding the benefits of a spacious 12×20 layout, to a detailed step-by-step construction process, essential tools, and critical considerations like foundations and permits. You’re also equipped with insights into choosing quality plans and transforming your shed into a functional loft, workshop, or serene garden office.
The information, tools, and ideas are now at your fingertips; it’s just a matter of putting them into action. Remember that planning is key – take your time to visualize your space, gather your resources, and prepare thoroughly. Don’t rush the process, and enjoy the satisfaction of creating a valuable addition to your home. And as you continue to plan and build, here’s a final tip: explore the other blogs on our website for more backyard projects, building insights, and helpful tips. We’re here to support you every step of the way on your DIY journey. Happy building!
