Transform Your Attic: The Ultimate Guide to Renovation & Conversion
Imagine your dusty, forgotten attic not as a storage graveyard, but as a vibrant, functional extension of your home. This often-overlooked space holds immense potential, waiting to be unearthed and transformed into something truly special. Whether you dream of a serene master suite, a productive home office, a lively playroom for the kids, or a cozy reading nook, an attic renovation can unlock incredible value and comfort within your existing property.
Converting an attic is more than just clearing out old boxes; it’s a comprehensive home improvement project that requires careful planning, attention to detail, and often, professional expertise. From the initial spark of an idea to the final decorative touches, each step plays a crucial role in ensuring a successful and safe transformation. This guide will walk you through the entire process of how to renovate an attic, helping you navigate the journey of turning that rough diamond above into a beautifully polished, livable, and downright cozy sanctuary.
Step 1: Declutter and Inspect Your Attic Space

The very first, and arguably most crucial, step in any attic conversion project is a thorough decluttering and inspection. Begin by ruthlessly clearing out all accumulated items. Say goodbye to those ancient holiday decorations, boxes of forgotten memories, and mystery containers that haven’t seen the light of day in a decade. A clear space isn’t just tidy; it’s essential for a comprehensive assessment of your attic’s structural integrity and overall condition.
Once the space is empty, you can begin your detailed inspection. Look for signs of water damage, such as stains on the wood or dampness, which could indicate roof leaks. Check for mold growth, which often points to moisture problems and poor ventilation. Don’t be surprised if you stumble upon evidence of pests, from rodents to insects or even a wasp nest; these quiet, undisturbed spaces are prime locations for unwanted guests. If you encounter pests, especially something like a wasp nest, it’s always safest to call in an affordable wasp nest removal team to handle it safely and effectively before proceeding with any construction.
Beyond pest control, focus your inspection on the existing insulation and ventilation. Effective insulation is paramount for keeping your new attic area comfortable year-round, preventing energy loss, and reducing utility bills. Evaluate its condition and R-value – you’ll likely need to upgrade or add more for a conditioned living space. Equally important is proper attic ventilation, which prevents moisture accumulation, wards off mold and mildew, and helps regulate temperature. Addressing these potential issues, such as structural weaknesses, leaks, poor insulation, or inadequate ventilation, upfront saves you significant trouble, time, and money later in the attic renovation process. Consider hiring a structural engineer or a licensed contractor for a professional assessment, especially if you notice any significant concerns.
Step 2: Design the Layout and Plan Your Vision
With a clean, inspected attic, your imagination can now take flight. This is where you fiddle around with ideas and truly define what this new attic space will become. What purpose will it serve? A cool new bedroom, a slick home office, a cozy reading nook, a playful den, or perhaps a creative studio? Sketch out different layouts, considering where you would want walls, doors, and windows to go. This non-committal phase is crucial for fine-tuning your plan, ensuring everything fits just right, and visualizing the flow of the space before you begin any heavy lifting.
Take a good, hard look at the existing structural elements like beams, rafters, and especially the ceiling height. These will significantly influence your design options, particularly for meeting building code requirements for habitable spaces. Explore smart storage tricks to maximize every inch, which is especially important in attics often characterized by sloped ceilings and awkward corners. Think about built-in shelves, custom cabinets, window seats with storage, or clever cubbies tucked into knee walls.
If your vision includes a bathroom, kitchenette, or a wet bar in your finished attic, this means additional plumbing and electrical work. These additions require careful planning regarding water supply, drainage, and venting. It’s highly advisable to consult with an architect or a professional designer during this stage. They can help you optimize the layout, navigate complex structural considerations, ensure compliance with local building codes and zoning regulations, and help you pull all your ideas into a cohesive, functional plan. Securing necessary permits is also a critical step that often begins during the design phase.
Step 3: Structural Enhancements, Framing, and Insulation

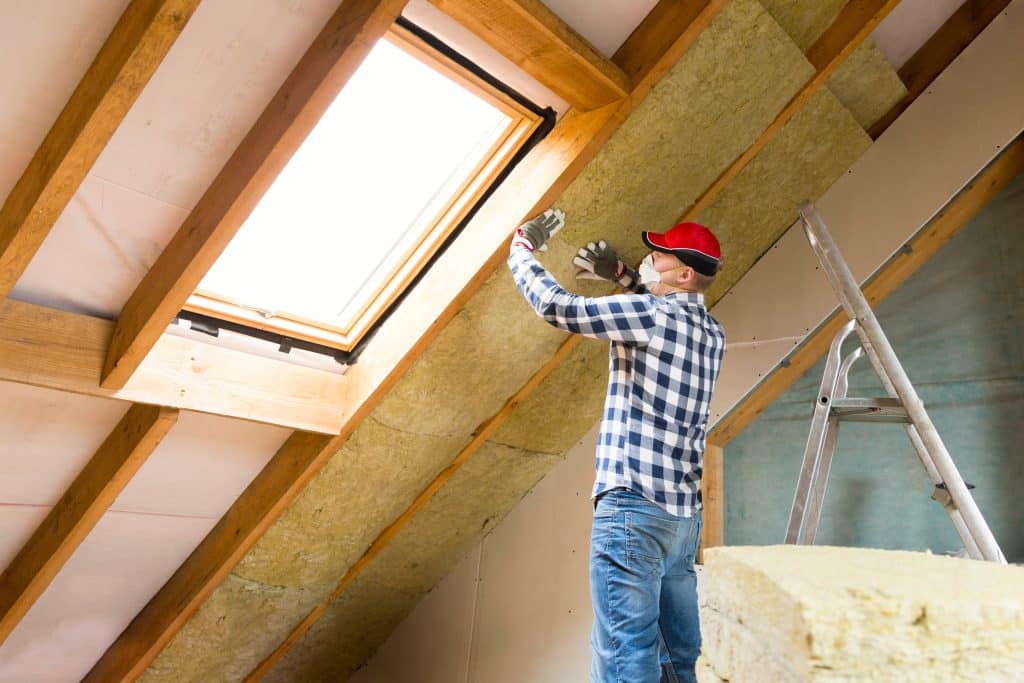
Now, it’s time to get your hands dirty and bring your design to life. This stage involves structural enhancements and framing. You may need to reinforce existing floor joists to support the added weight of a finished room, furniture, and occupants. Once the foundation is solid, you’ll start framing out new walls, creating doorways, and installing or enlarging window openings. If your design includes dormers or skylights, these are installed now to flood the space with natural light and expand usable head height. Always ensure compliance with local building codes and regulations; these are non-negotiable to guarantee the safety, stability, and legality of your attic remodel.
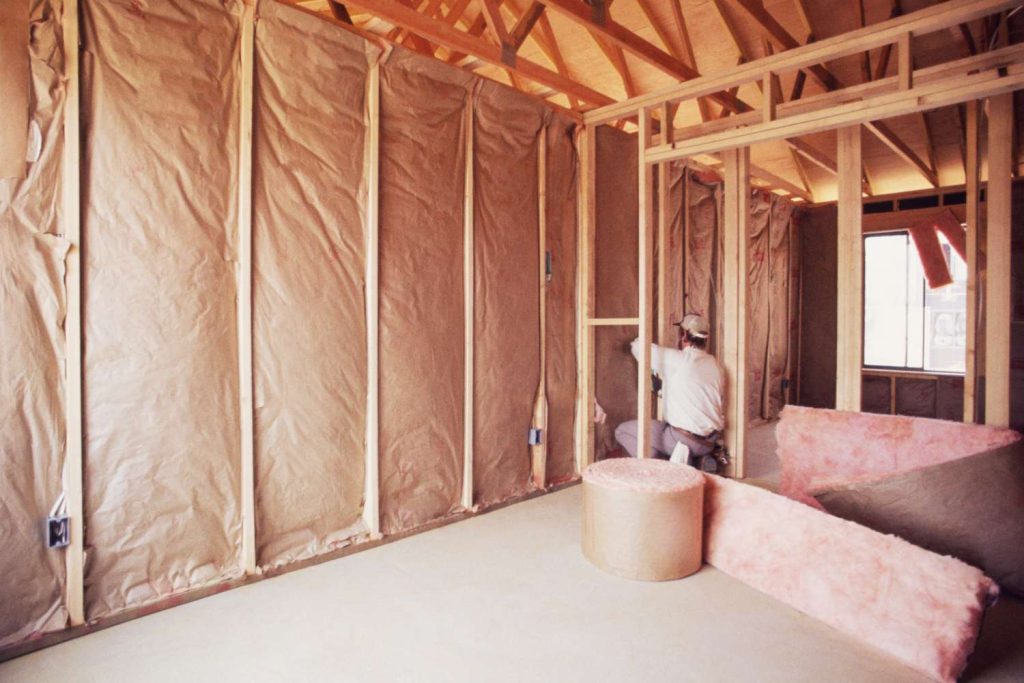
As previously mentioned, insulation is another critical aspect of how to renovate an attic. A well-insulated attic will keep the room comfortable year-round, significantly reducing energy costs for heating and cooling, and enhancing the overall comfort and usability of your new space. There are several types of attic insulation available, including fiberglass batts, blown-in cellulose, spray foam, and rigid foam boards. The best choice depends on your climate, budget, and home structure. Consider the R-value requirements for your region and ensure proper air sealing to prevent drafts and moisture infiltration. A vapor barrier may also be necessary depending on your climate to manage moisture.
If you’re considering turning your attic into a workspace, bedroom, or media room, think deeply about soundproofing. The right insulation materials, combined with specialized sound-dampening drywall or acoustic panels, can drastically reduce noise transfer from the outside or from other parts of the house, creating a calm, quiet environment perfect for work, rest, or entertainment. Don’t forget proper ventilation, especially if you’ve added spray foam insulation that completely seals the roof deck. Continuous ridge vents, soffit vents, and possibly gable vents are essential for maintaining good airflow and preventing heat and moisture buildup.
Step 4: Wiring, Plumbing, and HVAC Installation
With the structural skeleton in place, the next vital step is installing all the hidden infrastructure: electrical wiring, plumbing, and HVAC systems. This part of an attic conversion almost always requires a professional touch from licensed electricians and plumbers to ensure everything is safe, up to code, and functions correctly. Planning is key here: meticulously map out the placement of all attic lighting (recessed, task, ambient), electrical outlets, switches, and any specialized wiring for ceiling fans or entertainment systems, based on how you envision using the living space.
Adding plumbing for a new bathroom, kitchenette, or even just a wet bar significantly raises the complexity. This involves running new water supply lines, drainage pipes, and vent pipes, all while ensuring proper water pressure and waste removal. Doing it right is paramount to avoid future leaks, water damage, and costly repairs. Consider the hot water needs; you might need to upgrade your water heater or install a dedicated tankless heater for the attic space.
Beyond electricity and water, climate control is crucial for any habitable attic. You’ll need to plan for heating and cooling. This might involve extending existing HVAC ducts into the attic, installing a separate mini-split system, or using electric baseboard heaters and window AC units as a simpler (though less efficient) solution. Allow every installation, from electrical panels and outlets to water lines and HVAC vents, to be checked and approved by professional eyes and local building inspectors. This step is not just about functionality; it’s crucial for your peace of mind, ensuring the safety and long-term durability of your new attic living space.
Step 5: Add the Finishing Touches and Personalize Your Space
Now comes the truly enjoyable part of how to renovate an attic: bringing your vision to life with the finishing touches. This is where painting, decorating, and furnishing transform the raw construction into a personalized, inviting haven. Choose colors and wallpapers that reflect your style and desired mood for the room. Do you envision a light and airy retreat, a dark and cozy sanctuary, or something vibrant and energetic? The right color palette can dramatically alter the feel of the space.
The choice of attic flooring will largely depend on the intended use and your aesthetic preferences. Plush carpet can add warmth and coziness, making it ideal for a bedroom, lounge, or playroom. Hardwood flooring or a durable laminate is an excellent choice for a home office, gym, or studio, offering easy maintenance and a sophisticated look. For added comfort and style, layer area rugs over hard flooring to define zones and introduce texture. Ensure the subfloor is properly prepared and sound-dampening underlayment is used, especially if the room below will be occupied.
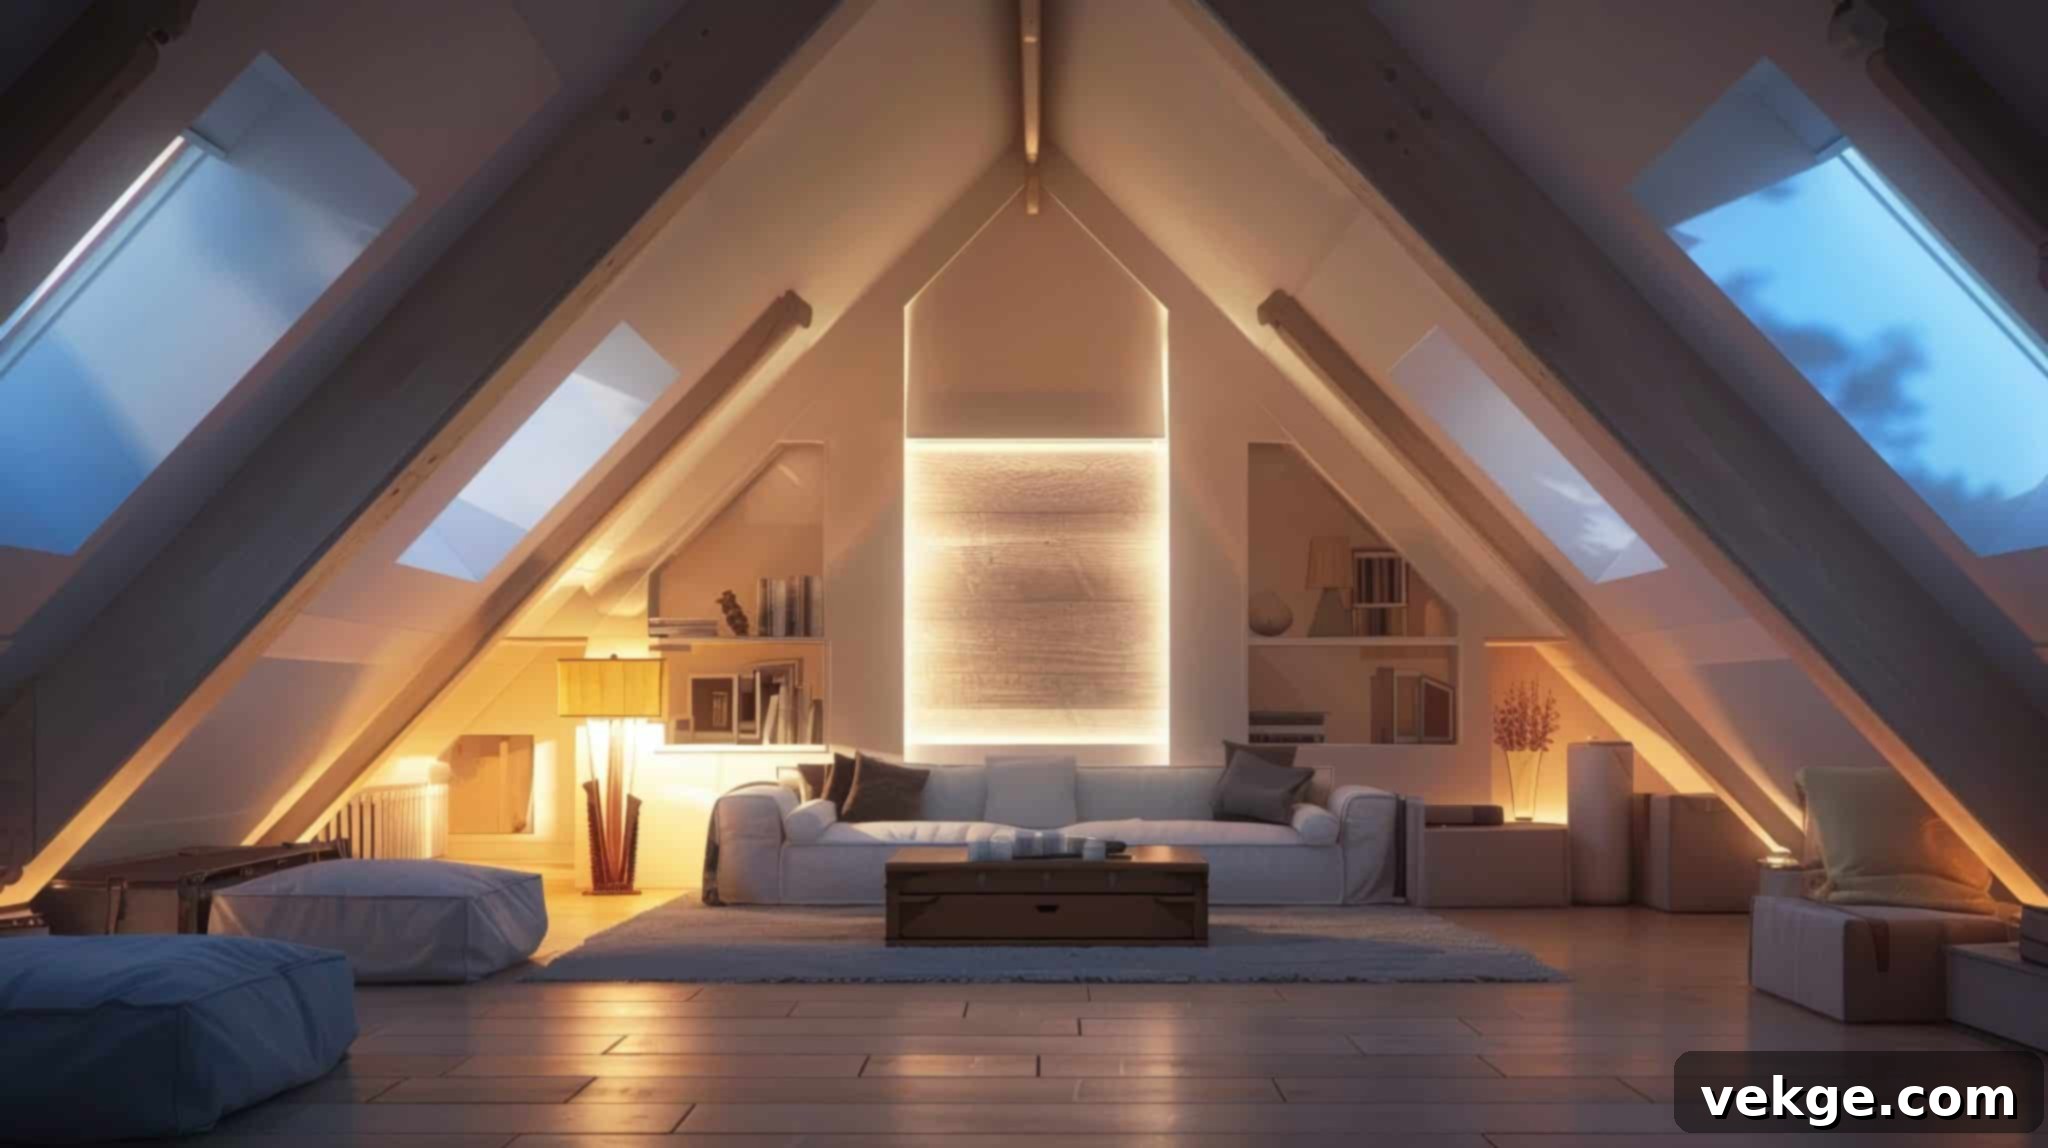
Select furniture that fits the scale of the room and serves its purpose effectively. Due to sloped ceilings and unique architectural features, custom or multi-functional pieces often work best in attics. Don’t skimp on attic lighting; it’s a critical design element. Maximize natural light with strategically placed windows, skylights, or even light tubes. For artificial lighting, layer different types: ambient lighting (recessed lights, ceiling fixtures), task lighting (desk lamps, reading lights), and accent lighting (picture lights, strip lighting) to create a welcoming and functional atmosphere, even after dark. Finally, personal decor items like artwork, plants, mirrors, and textiles will infuse your personality and complete the transformation of your attic bedroom or whatever dream space you’ve created.
The Bottom Line: Unleash Your Attic’s Full Potential
An attic remodel is more than just a home improvement project; it’s an investment that can significantly add both to the functionality, aesthetic appeal, and overall value of your home. By thoughtfully planning each stage—from the initial decluttering and inspection to the detailed design, structural work, crucial utility installations, and the final decorative flourishes—you can transform an otherwise completely forgotten space into a cozy, highly useful, and cherished living area. Now that you have a clear roadmap on exactly how to renovate an attic, turning it into a delightful sanctuary is well within your reach.
Embrace the challenge and the immense rewards of this transformation. Whether it becomes a serene retreat, a bustling workspace, or a vibrant creative hub, your newly converted attic will quickly become a favorite spot for everyone in the family. So, go ahead, roll up your sleeves, gather your resources, and start turning that underused attic access into the dream spot you’ve always envisioned for your home.
