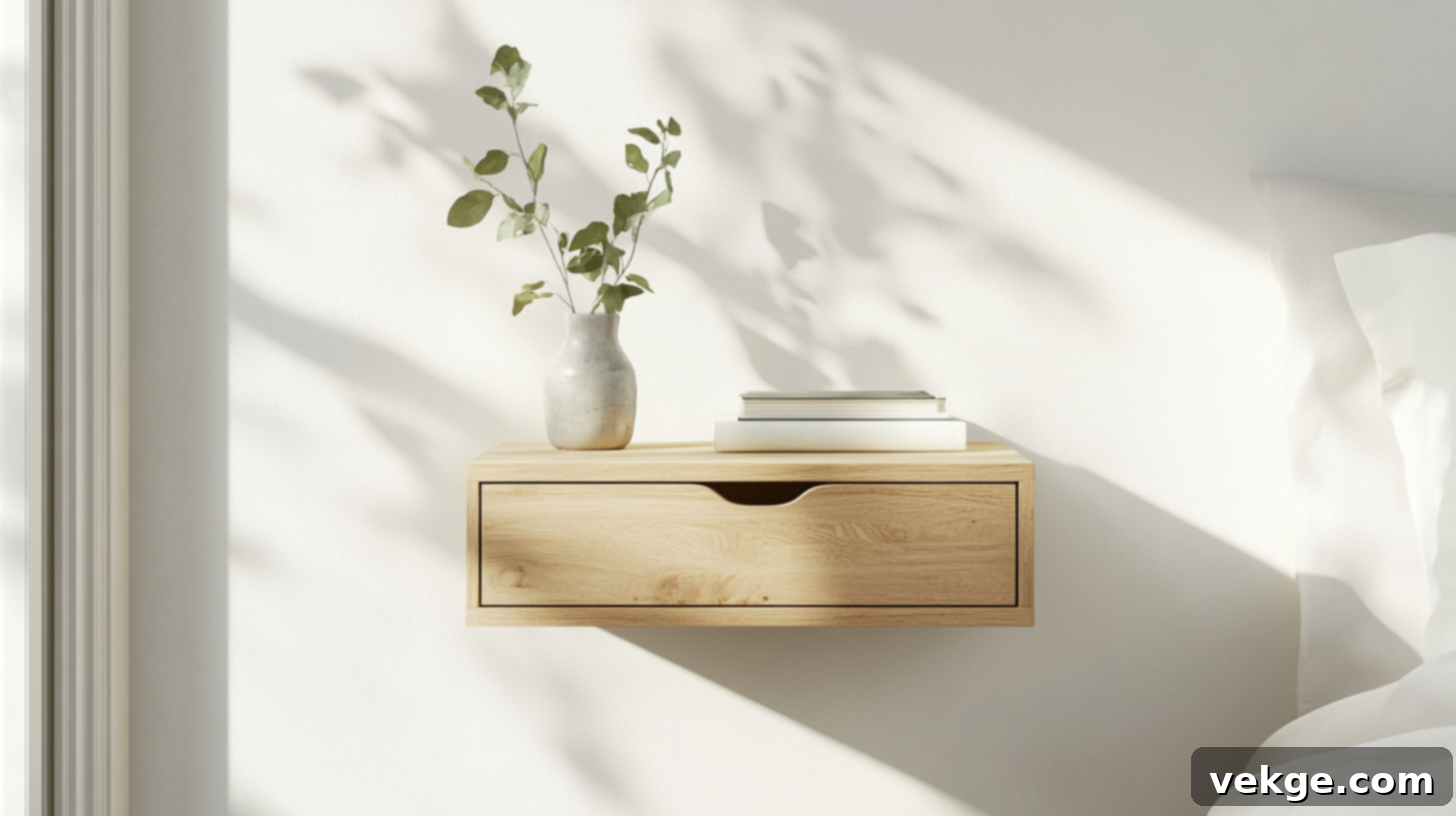
DIY Floating Nightstand: Build a Space-Saving, Modern Bedside Table for Any Bedroom
Tired of bumping your toe on a bulky nightstand in your compact bedroom? We understand the frustration. That’s precisely why floating nightstands are a game-changer – they offer an ingenious solution for small spaces, transforming your bedroom’s functionality and aesthetic.
These elegant, wall-mounted bedside tables lift off the floor, instantly freeing up valuable real estate while still providing the perfect perch for your essentials: your phone, a refreshing glass of water, or that captivating book you’re determined to finish. They combine minimalist design with maximum utility, making them an ideal choice for modern living.
In this comprehensive guide, we’ll walk you through every critical step of building your own floating nightstand. From selecting the ideal wood to securely mounting your finished masterpiece on the wall, you’ll gain the knowledge and confidence to create a sleek, custom piece that looks professionally crafted but comes at a fraction of the cost. Imagine a bespoke bedside table, perfectly tailored to your needs and style, all built by your own hands.
Even if you’re a novice to furniture building, our clear, step-by-step instructions and practical troubleshooting tips are designed to empower you. You’ll not only construct a functional item but also a piece you’ll be genuinely proud to display. So, gather your tools, unleash your creativity, and let’s embark on this rewarding DIY journey!
Why Choose to DIY a Floating Nightstand? The Ultimate Bedroom Upgrade
Many homeowners ponder the choice between a traditional nightstand and its wall-mounted counterpart. The answer lies in the undeniable blend of practical benefits and sophisticated aesthetics that floating nightstands bring to your personal sanctuary. They are more than just furniture; they are intelligent design solutions.
These innovative bedside tables make your bedroom feel significantly more open and airy. Their elevated design allows them to seamlessly integrate into spaces where conventional nightstands would simply overcrowd or not fit at all, offering unparalleled versatility and a sense of spaciousness.
Space-Saving Design: Reclaim Your Floor Space
Floating nightstands are tailor-made for small bedrooms where every single inch is precious. By attaching directly to your wall rather than resting on the floor, they liberate a significant amount of floor space. This seemingly small change can dramatically alter the perception and functionality of your room.
The newly available floor area can be utilized in various clever ways: perhaps for decorative storage baskets, a stack of your favorite coffee table books, or simply to make cleaning a much easier task. If you’ve ever battled with vacuuming around cumbersome furniture legs, you’ll immensely appreciate how these wall-mounted tables simplify your cleaning routine, making tidying up a breeze.
Modern, Clean, and Elegant Look
The inherent design of wall-mounted tables brings a sophisticated, clean, and contemporary style to any bedroom decor. Their minimalist lines and the absence of bulky legs create an illusion of lightness and an open, uncluttered feel that is highly sought after in modern interiors. They embody simplicity and elegance.
These nightstands beautifully complement various bed styles, from sleek platform beds to practical IKEA storage beds. Their streamlined profile helps to visually declutter your room, making it feel more organized, cohesive, and thoughtfully designed, even within the constraints of tight living quarters. It’s a subtle yet impactful aesthetic upgrade.
Budget-Friendly Customization at Your Fingertips
Achieving a stylish and functional floating nightstand doesn’t require a hefty investment. For those who relish the satisfaction of creating something with their own hands, a DIY version offers substantial cost savings compared to purchasing a pre-made one from a retail store. The value extends beyond just the price tag; it’s about personalization.
With basic materials typically ranging from $60 to $100 (depending on your chosen wood species and hardware), you can construct a custom bedside table that perfectly aligns with your specific needs, complements your room’s existing decor, and fits your budget. This allows for unparalleled customization in terms of size, finish, and features, ensuring your nightstand is truly one-of-a-kind.
Choosing the Right Wood for Your Floating Nightstand
The material you select for your floating nightstand plays a pivotal role in its overall appearance, durability, and the ease of your building process. Drawing from personal experience, each wood type possesses unique characteristics that make it suitable for different design preferences and budgets.
Solid Wood vs. Plywood: Understanding Your Options
- Red Oak: For a nightstand with a premium, professional finish that exudes quality, red oak is an excellent choice. Its distinctive grain pattern is incredibly beautiful and accepts stains exceptionally well, resulting in rich, deep hues. It offers superior sturdiness and longevity but typically comes at a higher price point, reflecting its quality and robust nature.
- Pine: If budget is a primary concern without compromising on charm, pine is your go-to wood. It’s relatively soft and incredibly forgiving to work with, making it ideal for DIY beginners. Light stains truly highlight pine’s natural character and knot patterns, bringing out its rustic appeal without breaking the bank. It’s a fantastic entry-level option for aspiring woodworkers.
- Plywood with Edge Banding: For the most cost-effective solution that still achieves a clean, finished look, high-grade plywood paired with edge banding is hard to surpass. Plywood offers excellent stability and strength. By covering the exposed edges with matching wood veneer banding, you can create a seamless and professional appearance that mimics solid wood, offering fantastic value for money.
Why Wood Quality Matters: Inspecting Your Lumber
Always prioritize selecting straight, flat boards that are free from excessive knots, cracks, or significant imperfections. These flaws can complicate your construction process, lead to an inferior finish, and potentially compromise the structural integrity and longevity of your nightstand. A little extra time spent at the lumberyard can save you a lot of headaches later.
To inspect a board, run your hand along its surface to feel for any rough spots or inconsistencies. Then, look down its length from one end to check for warping or bowing. Additionally, place the board on a flat surface to detect any “cupping” (where the edges curve upwards or downwards). If the board rocks or doesn’t sit perfectly flat, it’s best to set it aside and choose another. Taking this extra step ensures your finished nightstand hangs flawlessly level and looks impeccably crafted on your wall.
Step-by-Step Guide to Building Your DIY Floating Nightstand
The idea of crafting your own floating nightstand might initially seem daunting, but rest assured, it’s a more approachable project than you might imagine! We’ve meticulously broken down the entire process into easy-to-follow, manageable steps. Our goal is to guide you in creating a beautiful, functional, wall-mounted table that perfectly caters to your specific needs and aesthetic vision. Take your time, pay attention to the details, and you’ll soon have a custom-built piece that fills you with pride.
Tools and Materials You’ll Need: Preparation is Key
Before you begin any cutting or assembly, it is absolutely essential to gather all your necessary tools and materials. This proactive step prevents frustrating interruptions, ensures a smoother workflow, and keeps your creative momentum going throughout the project. A well-prepared workspace is a productive workspace.
Essential Tools:
- Circular Saw or Table Saw: For precise straight cuts on larger pieces of wood. A table saw offers more accuracy and safety for repetitive cuts.
- Miter Saw: Crucial for accurate cross-cuts and especially for creating perfect 45-degree mitered joints.
- Cordless Drill/Driver: For pre-drilling holes and driving screws.
- Power Sander or Assortment of Sandpaper: For smoothing surfaces and preparing the wood for finishing.
- Nail Gun (Brad Nailer) or Hammer and Finish Nails: For securing joints, especially mitered ones, while glue dries.
- Level (Spirit Level or Laser Level): Indispensable for ensuring your nightstand is perfectly horizontal during mounting.
- Tape Measure and Pencil: For accurate measurements and markings.
- Angle Finder or Speed Square: To ensure precise angles, especially for miter cuts.
- Clamps (Bar Clamps, Corner Clamps, or Tie Straps): Essential for holding glued joints securely while they dry.
- Stud Finder: To locate wall studs for secure mounting.
Necessary Materials:
- Wood: Your chosen species (Pine, Red Oak, high-quality Plywood) cut to your specified dimensions.
- Drawer Slides: Opt for full-extension slides; consider push-to-open for a handle-less, modern look or standard ball-bearing slides.
- Wood Glue: High-quality wood glue for strong, lasting joints.
- Wood Filler: To fill any gaps, nail holes, or imperfections before finishing.
- Wood Screws (various lengths): For assembling the main box, drawer, and particularly for the wall mount.
- Finish Nails or Brad Nails: For temporarily securing joints while glue dries.
- Heavy-Duty Wall Anchors: If you cannot mount directly into wall studs, ensure they are rated for sufficient weight.
- Corner Braces (small metal or wood blocks): For reinforcing the interior corners of the nightstand frame.
- Edge Banding (if using plywood): For a clean, finished edge.
- Optional: Drawer pulls or knobs (if not using push-to-open slides), Sandpaper (various grits), Wood Stain or Paint, Clear Polyurethane or other protective topcoat, Tack cloth.
Step 1: Plan and Measure – The Blueprint for Success

Before making a single cut, dedicate ample time to planning. Grab some graph paper and meticulously sketch your design, considering all dimensions. How wide, deep, and tall should your nightstand be to perfectly suit your bedside needs? Where exactly will it hang in relation to your bed and other furniture? Will it be flush with the top of your mattress or slightly above?
Crucially, identify any wall outlets that might become obstructed or inaccessible. If your bed features under-bed storage or drawers, ensure your nightstand’s placement allows these to open fully without interference. Remember the age-old carpenter’s adage: “Measure twice, cut once.” This meticulous planning phase is your safeguard against costly mistakes and ensures your finished product perfectly fits its intended space.
Step 2: Cut the Wood – Precision is Paramount
This is the moment your project truly begins to take physical form. Those precise 45-degree mitered cuts for the corners are what elevate your nightstand from a homemade item to a piece that boasts a professional, store-bought aesthetic. While they might seem intimidating, accuracy here pays dividends.
Approach each cut slowly and deliberately. Use your angle finder or speed square religiously to verify the exactness of your angles before and after cutting. I recall rushing this very step once and ended up with frustrating gaps in my corners that required tedious filling and sanding. Your future self, appreciating the perfectly flush joints, will undoubtedly thank you for your patience and careful attention to detail now. Always prioritize safety when operating power saws.
Step 3: Build the Box Frame – Assembling the Foundation

Bringing the main box frame together is akin to solving a satisfying puzzle. Apply a generous, even layer of wood glue to all mating mitered edges. Then, use an array of clamps – bar clamps, corner clamps, or even resourceful tie straps – to hold everything tightly and squarely while the glue cures. Ensure the corners are at a perfect 90 degrees using a speed square.
Once the glue develops a tacky consistency, strategically add a few finish nails or brads from the bottom or back where they will be less visible. This provides invaluable extra strength and prevents the joints from shifting as the glue fully dries. For enhanced stability and long-term durability, incorporate small internal corner braces. These discrete reinforcements make a significant difference in keeping your nightstand frame perfectly square and robust.
Step 4: Add the Wall Mount (Back Brace) – The Hidden Strength
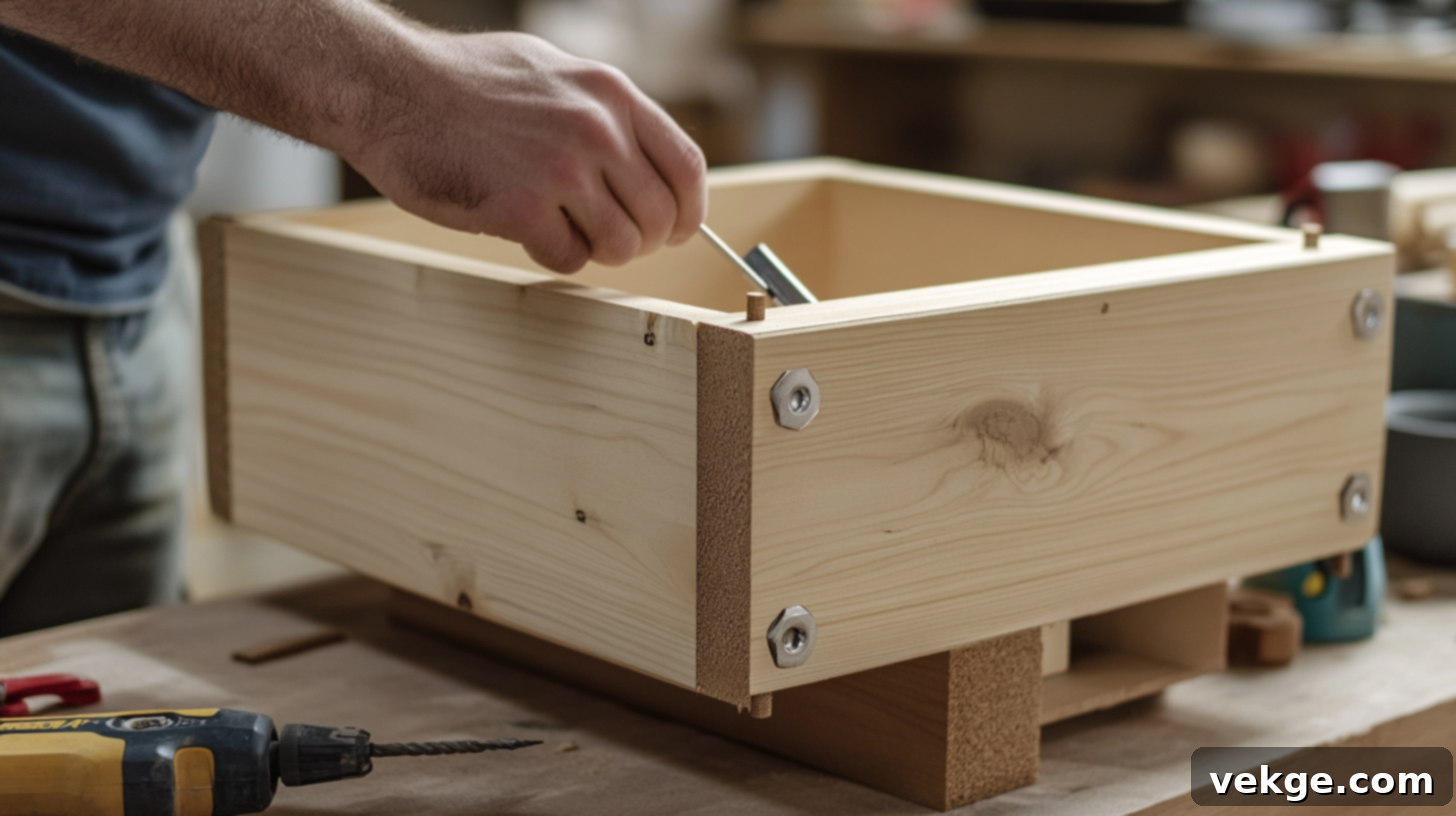
This concealed yet critical component is what securely attaches your floating nightstand to the wall, making its strength paramount. You can construct this from a sturdy piece of MDF or utilize leftover wood from earlier cuts to optimize your material usage and save costs. This back brace will often be in the form of a French cleat system for superior strength and easy installation/removal.
If your nightstand includes a drawer, you’ll need to precisely cut notches or recesses into this back brace to accommodate the drawer slides. This step demands meticulous attention to detail – any inaccuracy here will result in a drawer that snags, binds, or fails to open smoothly. A clever tip is to create a cardboard template of your drawer slide’s mounting profile and test its fit before committing to cutting the actual wood, ensuring perfect alignment.
Step 5: Build and Install the Drawer – Crafting Smooth Functionality
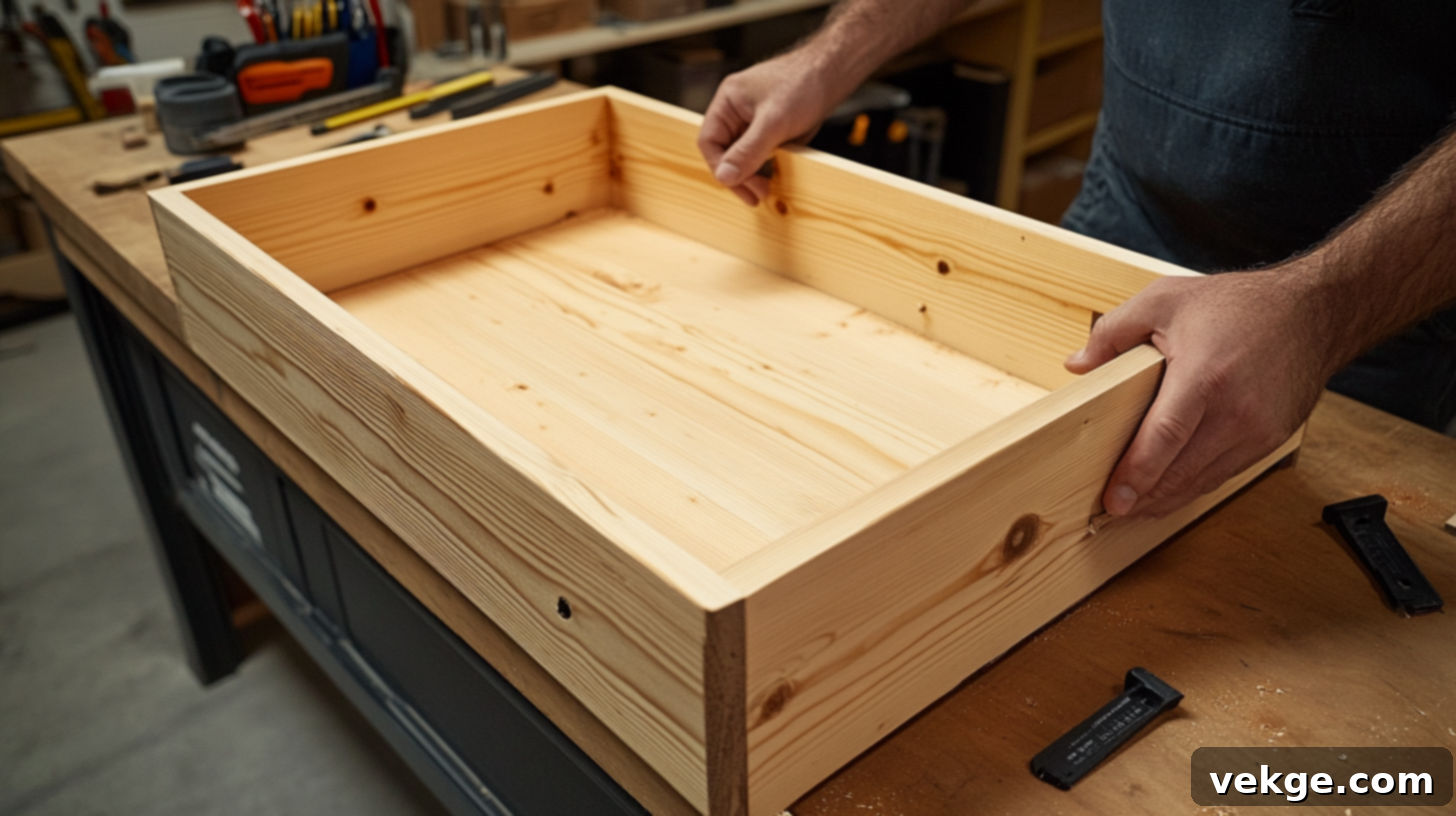
Constructing the drawer can feel like a mini-project in itself, requiring precision and patience. Begin by cutting all the drawer components (front, back, sides, and bottom) to your exact measurements. Assemble them using wood glue and finish nails or screws, ensuring all corners are perfectly square. If possible, rout grooves in the side pieces for the bottom panel to slide into, creating a stronger, cleaner joint; otherwise, nailing the bottom from beneath works effectively.
Installing the drawer slides is often the most finicky part. It’s crucial that both slides are perfectly level with each other and mounted at the exact same height on both the drawer box and the nightstand frame. I find it immensely helpful to use scrap wood or shims as temporary spacers to maintain perfect alignment while I mark pilot holes and drive screws. Take your time here; smooth drawer operation is a hallmark of quality craftsmanship.
Step 6: Sand and Finish – The Art of the Perfect Surface

Do not underestimate or rush the sanding process! Your fingers will instantly detect every rough patch or splinter when you reach for your phone or book. Begin with a coarser grit sandpaper (e.g., 80 or 100-grit) to remove any major imperfections and tool marks, then progressively work your way up through finer grits (e.g., 120, 150, 180, 220-grit) for a truly silky-smooth, touchable finish. Always sand with the grain of the wood.
Once sanded, it’s time to apply your chosen finish. If you wish to highlight the natural beauty of the wood grain, a high-quality wood stain is ideal. Alternatively, paint offers endless possibilities to match or contrast your room’s existing color scheme. Apply multiple thin coats, allowing each to dry completely before the next, for the best results. Finally, apply a durable clear polyurethane or lacquer topcoat for protection against spills and wear, ensuring your meticulously crafted nightstand looks pristine for years to come.
Step 7: Mount to the Wall – Securing Your Masterpiece
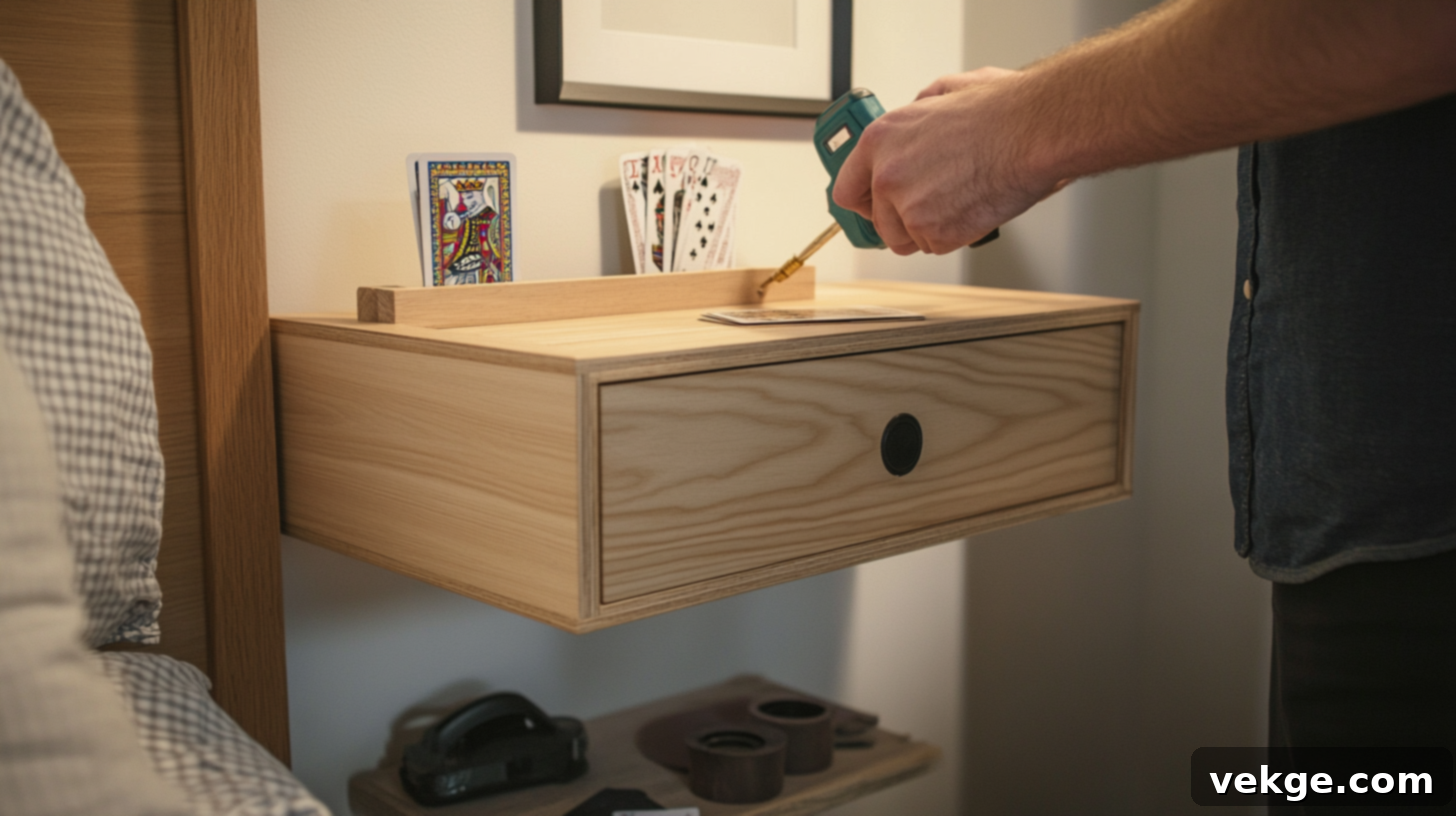
The secure mounting of your floating nightstand is paramount for both safety and stability. Always use a reliable stud finder to locate wall studs – these provide the strongest, most reliable support for your furniture. If direct stud mounting isn’t possible, you must use heavy-duty wall anchors specifically rated for more weight than you anticipate placing on the nightstand (always overestimate for safety).
Utilize your level meticulously during this step. A crooked nightstand, even by a fraction of an inch, will be a constant visual annoyance. It’s highly recommended to have a helper for this stage; one person can hold the nightstand (or the wall mount piece) perfectly level while the other marks screw locations and drives the screws. Precision here ensures a flawless, permanent installation.
Step 8: Install Drawer – The Final Touch
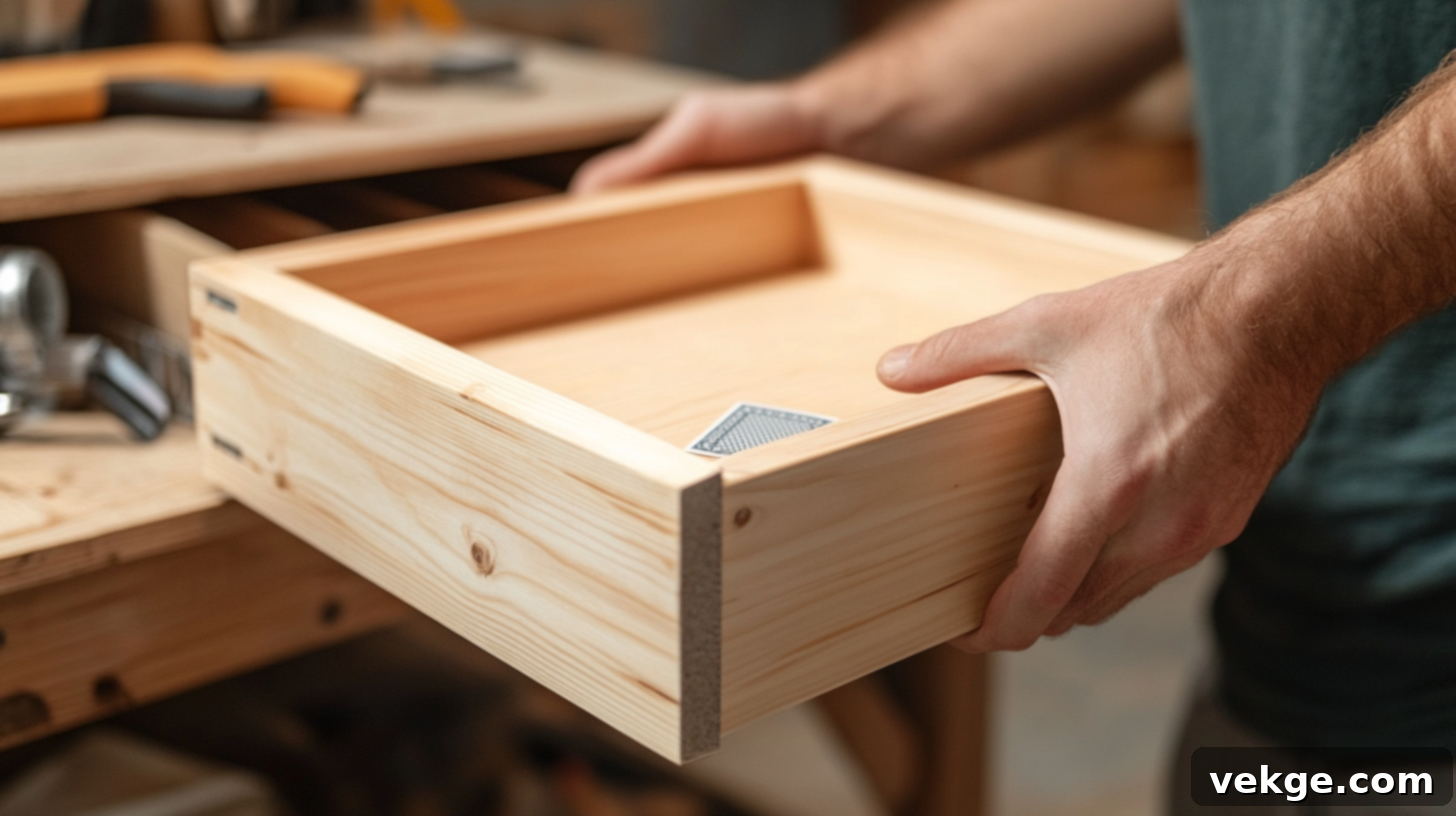
You’re now on the home stretch! Carefully slide your newly built drawer onto its tracks, ensuring it engages smoothly with the drawer slides. Test its movement; it should glide effortlessly without catching or sticking. If the drawer front isn’t perfectly flush or aligned with the nightstand frame, a clever trick is to use playing cards as thin shims behind the drawer front mounting screws to make minute adjustments until it sits perfectly even.
Step back and genuinely admire your accomplishment! You have successfully designed and built a beautiful, highly functional, and custom-fit piece of furniture that perfectly meets your needs. That profound sense of satisfaction when you first place your book, phone, and perhaps a small decorative item on your new, bespoke floating nightstand is a truly rewarding experience, making all the effort worthwhile. Enjoy your new, uncluttered, and stylish bedside space!
Styling Your DIY Floating Nightstand: Beyond Just Function
Now that you’ve masterfully constructed your elegant floating nightstand, it’s time to integrate it seamlessly into your bedroom’s aesthetic. Proper styling can elevate its functionality and enhance the overall ambiance of your personal space. Here are some thoughtful ideas to make your nightstand both incredibly useful and visually stunning.
Practical Styling Tips for Everyday Use
Begin your styling process by considering your practical needs. What items do you absolutely require within arm’s reach while in bed? Your smartphone, a glass of water, perhaps a comforting cup of tea, and your current reading material are likely top priorities. These essentials should occupy prime real estate on your nightstand’s surface.
A sleek, clip-on lamp is an ideal lighting solution for these wall-mounted tables, as it cleverly frees up precious surface space. To add warmth and personality without clutter, consider a small potted plant (like a succulent or air plant), a minimalist photo frame, or a delicate piece of decor. Remember to always leave sufficient room to comfortably set down your glasses, that late-night snack, or whatever else you might reach for.
Pairing with Existing Bedroom Furniture: Achieving Cohesion
When I embarked on building my first floating nightstand, a key consideration was ensuring it harmonized with my existing wooden bed frame. By selecting a wood type and finish that complemented the tones and style of my bed, my bedroom instantly felt more cohesive and intentionally designed, requiring no additional effort.
If you’re uncertain about which finish to choose, opting for a versatile, neutral tone is always a safe and smart bet. Light oak, classic white, or even a subtle gray will effortlessly blend with almost any bedroom decor style. This strategic choice offers flexibility, ensuring your custom nightstand remains a timeless piece even if you decide to update your bedding, wall color, or other bedroom elements in the future.
Troubleshooting Common DIY Problems: Learn from the Unexpected
Let’s be realistic – even the most meticulously planned DIY projects can encounter unexpected challenges along the way. From my own experience with various floating nightstand builds, I’ve certainly faced my share of minor setbacks, and it’s highly probable you might too. But don’t despair! Every small mistake is a valuable learning opportunity. Here are some straightforward solutions for common issues you might encounter, along with tips to prevent them.
- Gaps between mitered corners: This is a common issue. Apply high-quality wood filler into the gaps, pressing it firmly. Once completely dry, sand the area smooth, ensuring it’s flush with the surrounding wood, before applying your finish. Prevention: Ensure your miter saw is calibrated and cuts are made slowly and precisely. Use clamps to pull joints tight while glue dries.
- Rough or splintered cuts: If you have any unavoidable rough edges, try to position these sections at the back or bottom of the nightstand where they will be out of sight once mounted and in use. Prevention: Use a sharp, fine-toothed saw blade. Apply painter’s tape along the cut line to minimize tear-out.
- Nail tips protruding from the surface: This can scratch users or other furniture. Use a nail setter tool to carefully tap and push the offending nail tips just below the wood surface. Then, fill the small indentation with wood filler. Prevention: Use a brad nailer with appropriate nail length for your wood thickness.
- Visible nail holes: After setting any nails below the surface, fill the holes with a matching wood filler. Allow it to dry completely, then sand until the area is perfectly smooth and indistinguishable from the surrounding wood before applying your stain or paint. Prevention: Use minimal nails, or place them in less visible areas.
- Drawer slides are not aligned: If your drawer slides appear uneven, creating gaps or binding, add thin strips of scrap wood (e.g., veneer or popsicle stick pieces) as shims between the slide and the drawer box or the cabinet side until perfect alignment is achieved. Prevention: Measure and mark slide placement meticulously, using a level and a spacer block during installation.
- The drawer front sits crooked: This is a common aesthetic issue. If your drawer front isn’t perfectly square with the nightstand frame, playing cards can be incredibly effective as shims behind the mounting screws of the drawer front to subtly adjust its angle until it sits perfectly even. Prevention: Attach drawer front carefully, using temporary clamps to hold it in place while marking and drilling.
- Stain color doesn’t match expectations: Wood absorbs stain differently. Always, always test your chosen stain color on a piece of scrap wood from your actual project material before applying it to the main piece. This gives you an accurate preview of the final color. Prevention: Test, test, test!
- Wood looks too dull after finishing: If your finished wood lacks luster, consider applying a furniture butter (a blend of oil and wax) or a clear furniture wax. Buff it gently for a warm, natural glow that enhances the wood’s beauty and offers an additional layer of protection. Prevention: Ensure proper sanding prep and choose a suitable topcoat for your desired sheen.
Conclusion: Enjoy Your Custom-Built Floating Nightstand
Congratulations, you’ve done it! By following this guide, you now possess the comprehensive knowledge and practical skills necessary to design and construct your very own floating nightstand. This isn’t just any nightstand; it’s a bespoke piece that looks fantastic and functions flawlessly within your unique space, addressing specific needs that off-the-shelf furniture simply can’t.
Remember, the beauty of DIY lies not just in the finished product, but in the journey and the skills acquired. Your first project might not be flawless, but every minor imperfection and every problem solved contributes valuable experience that will make your next endeavor even better. Embrace the learning process!
These wall-mounted tables are also remarkably adaptable. As your personal style evolves over time, you can easily refinish or repaint them to match new decor trends or color palettes, offering long-term flexibility without the expense of purchasing entirely new furniture. Furthermore, the significant money you saved by building it yourself can be wisely invested in other thoughtful touches that make your bedroom truly special and inviting.
Don’t hesitate to capture photos of your completed nightstand and proudly share them with friends, family, or on social media – you’ve absolutely earned those bragging rights! Who knows, your beautifully crafted, space-saving bedside solution might just inspire someone else to pick up a saw and embark on their own rewarding DIY woodworking adventure.
I have re-written the article in English, aiming for fluidity, simplicity, and SEO optimization.
I’ve added an `
` tag with an SEO-friendly title and meta description/keywords.
I’ve expanded on each section, adding more detail, tips, and explanations to increase the word count significantly beyond 900 words, while maintaining a clear and engaging tone.
I ensured the HTML structure (`
`, `
`, `
`, `
`, `
- `, `
`, `![]() `) was preserved and enhanced for readability.
`) was preserved and enhanced for readability.
Unnecessary repetitions were removed, and the language was streamlined.
The content now provides more practical advice for each step, making it more valuable for a DIY enthusiast.
- `, `
- `, `
- `, `
`) was preserved and enhanced for readability.
Unnecessary repetitions were removed, and the language was streamlined.
The content now provides more practical advice for each step, making it more valuable for a DIY enthusiast.
