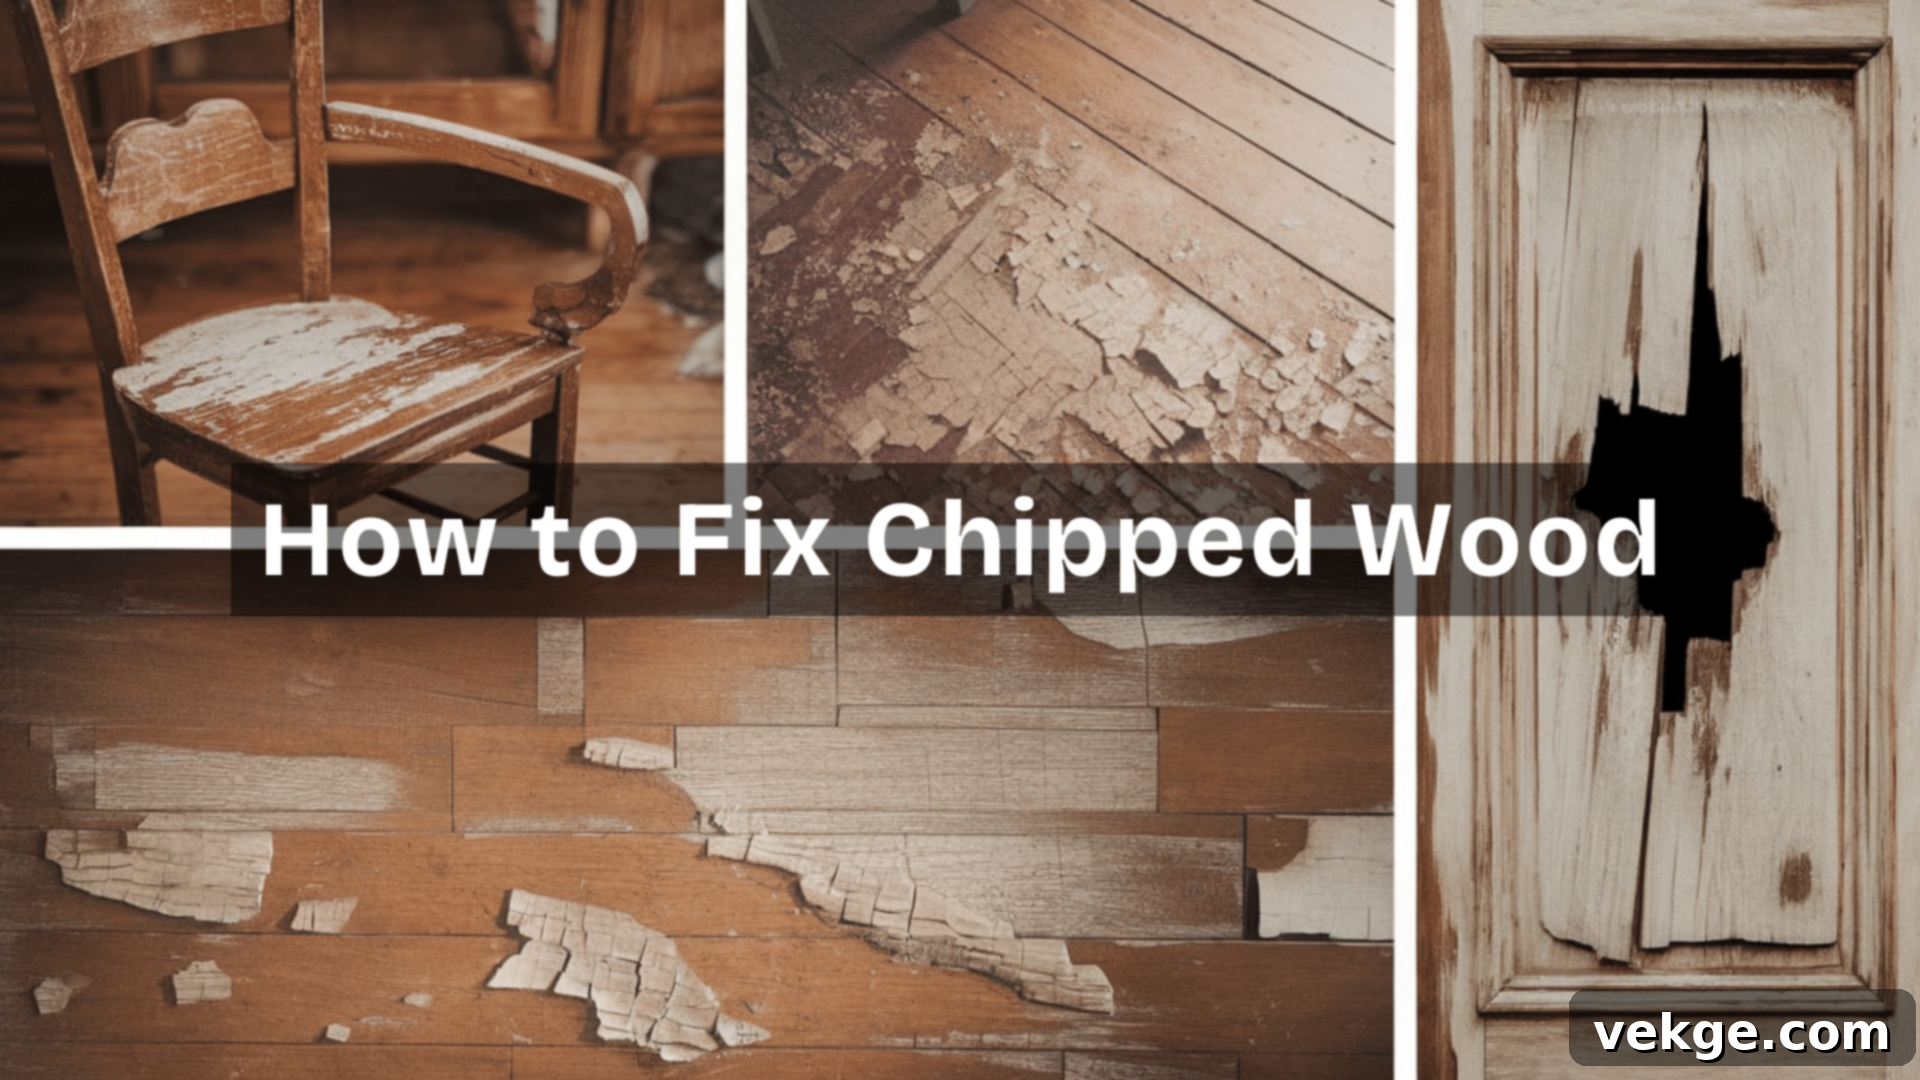
Chipped wood can be incredibly frustrating, whether it mars the smooth surface of your cherished furniture, detracts from the clean lines of your door frames, or creates an unsightly blemish on your wooden floors. But don’t let a small imperfection turn into a major headache! The good news is, repairing chipped wood is often much simpler than you might imagine, and it’s a highly satisfying DIY project.
You don’t need to be a seasoned woodworking expert or possess a workshop full of specialized tools to achieve professional-looking results. With just a few basic, readily available materials like wood filler, sandpaper, and a touch of paint or stain, you can restore your damaged wooden items to their former glory, making them look as good as new. This guide will empower you to tackle common wood imperfections with confidence and ease.
In this comprehensive guide, we’ll walk you through the entire process of fixing chipped wood, from thoroughly assessing the damage and preparing the area to expertly applying filler and achieving a smooth, seamless finish. We’ll cover techniques for both small and larger chips, ensuring you have the knowledge to handle various types of repairs.
You’ll discover quick, effective, and budget-friendly methods to restore your wood, saving you money on professional repairs and giving you the satisfaction of a job well done. Let’s transform those annoying chips into forgotten flaws!
How to Check the Damage Before Fixing Your Chipped Wood
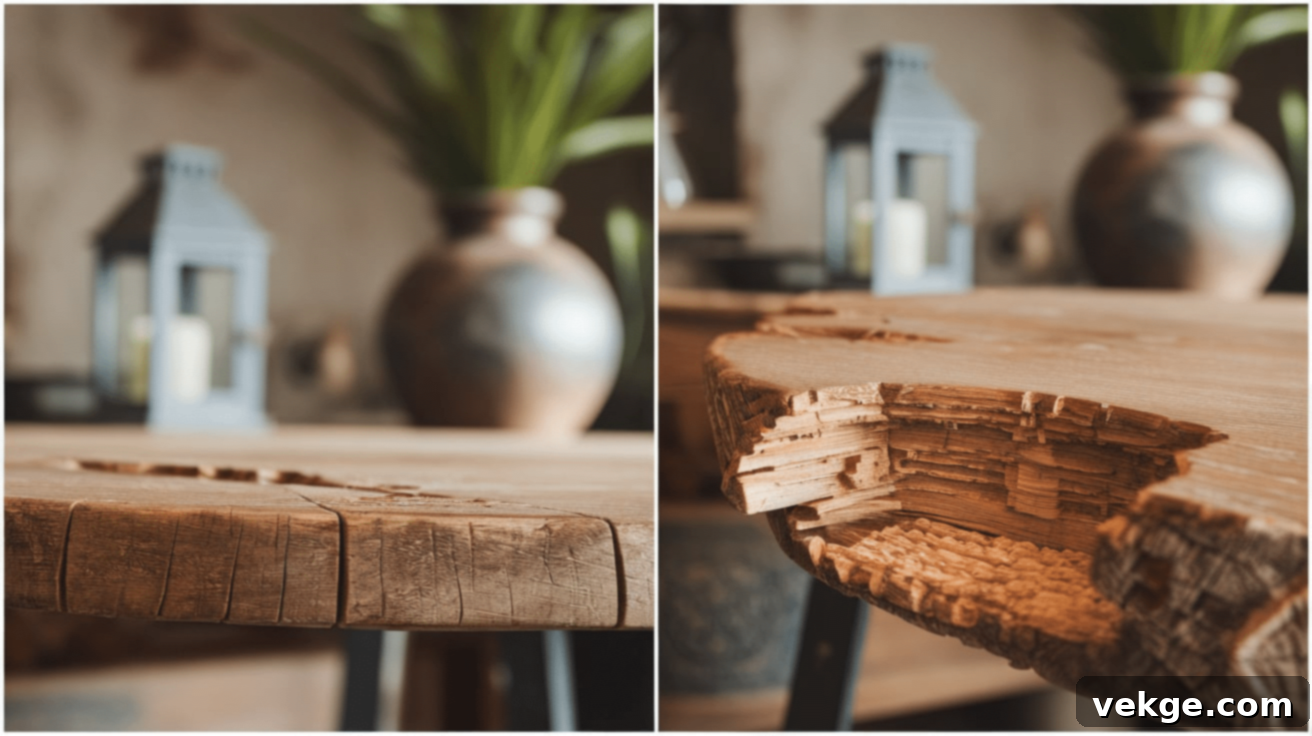
Before you dive into the repair process, it’s crucial to accurately assess the extent and nature of the damage. This initial step is vital because it helps you determine the most appropriate tools, materials, and techniques for a successful repair. A thorough inspection will save you time and ensure the best possible outcome for your chipped wood.
- Look at the Size of the Chip: Is the damage a minor imperfection, perhaps a tiny dent or a superficial scratch? Or are you dealing with a more significant chunk of wood missing? Small, shallow chips are typically straightforward to fix with standard wood filler. Larger chips, however, especially those with detached pieces, might require a more robust approach, potentially involving wood glue to reattach fragments or building up layers of filler.
- Check How Deep It Is: Gently press around the chipped area. Does the surrounding wood feel solid, or is there any softness or give? If the wood feels soft, or if you can see deeper cracks extending beyond the immediate chip, the damage might be more extensive than just a surface flaw. Deeper chips will inevitably require more filler and potentially multiple applications to achieve a level surface.
- Evaluate the Location and Function: Consider where the chipped wood is located. Is it on a decorative piece, a high-traffic floor, or a structural component like a stair tread? Repairs on high-wear areas will need to be more durable and might benefit from a harder wood filler and a protective topcoat.
- Decide if It’s a DIY Job: For most minor to moderate chips, you can confidently undertake the repair yourself. However, if you observe signs of wood rot, severe cracking that compromises the wood’s integrity, or if the damage affects a heavy load-bearing structure, it’s always best to consult a professional. They can provide expert advice and ensure the safety and longevity of the repair.
Essential Tools and Supplies You’ll Need to Fix Chipped Wood
Having all your tools and supplies prepared before you begin will make the wood repair process much smoother and more efficient. Gathering everything beforehand prevents interruptions and ensures you can work continuously. Here’s a comprehensive list of what you’ll typically need for a successful chipped wood repair:
- Wood Filler or Wood Putty: This is your primary material for filling the chipped area and creating a smooth, even surface. Wood fillers come in various types (e.g., water-based, solvent-based, epoxy). Water-based fillers are easy to clean up and dry quickly, while solvent-based fillers are more durable and ideal for outdoor or high-moisture areas. Wood putty is often oil-based, remains flexible, and is typically used after staining, as it doesn’t absorb stain uniformly. Choose one that’s suitable for your project and intended finish.
- Putty Knife: An indispensable tool for scooping, applying, and spreading the wood filler evenly. A flexible putty knife will help you achieve a smooth, feathered edge, while a stiffer one can be useful for packing filler into deeper cavities.
- Sandpaper (Various Grits): You’ll need fine-grit sandpaper (around 120-220 grit) for smoothing the dried filler and blending it with the surrounding wood. For larger repairs, you might start with a slightly coarser grit (e.g., 80-100) to quickly level the initial fill, then progressively move to finer grits for a flawless finish.
- Wood Glue (for Bigger Chips or Reattaching Pieces): If you have a larger piece of wood that has cleanly broken off, wood glue is essential for reattaching it. High-quality PVA wood glue offers a strong bond. For extreme durability or outdoor applications, consider epoxy wood glue.
- Clean Cloths or Rags: Essential for wiping away dust, dirt, and debris before and after the repair, ensuring that your filler and finish adhere properly. Lint-free cloths are recommended, especially before applying stain or paint.
- Paint or Wood Stain (and Applicators): To match the repaired area with the rest of the wood. Ensure you have the right brushes, foam applicators, or rags suitable for your chosen finish.
- Protective Gear (Highly Recommended): Always prioritize safety. Gloves will keep your hands clean and protect them from chemicals. A dust mask is crucial when sanding to prevent inhaling wood dust and filler particles. Safety glasses are also advisable to protect your eyes.
- Optional but Helpful Tools:
- Tack Cloth: For picking up fine dust particles after sanding, ensuring a perfectly clean surface for finishing.
- Small Artist’s Brush: Useful for applying stain or paint precisely to small areas, especially if you’re trying to blend colors.
- Wood Conditioner: If you’re staining softwood or highly porous wood, a pre-stain wood conditioner helps ensure a more even stain application and prevents blotchiness.
Preparing the Wood Before Fixing Your Chipped Area
Proper preparation is the cornerstone of any successful wood repair. By taking the time to prepare the damaged area correctly, you ensure that your repair materials adhere strongly, blend seamlessly, and result in a durable, long-lasting fix. Skipping these crucial steps can lead to a repair that quickly fails or looks unprofessional. Here’s how to prepare your chipped wood:
-
Clean the Damaged Area Thoroughly: Use a clean, lint-free cloth or a brush to meticulously wipe away all dust, dirt, grime, and any loose wood fibers or old paint flakes. For tougher grime, a slightly damp cloth with a mild cleaner (like a degreaser or mineral spirits, depending on the existing finish) can be used, but ensure the area is completely dry afterward. A clean surface is paramount for the wood filler or glue to bond properly and create a strong, lasting repair.
-
Gently Sand the Edges of the Chip: Using fine-grit sandpaper (around 120-180 grit), carefully sand the immediate edges around the chip. The goal here is not to enlarge the chip but to slightly feather the edges, removing any splinters or sharp points. This step helps create a smoother transition between the original wood and the filler, allowing the filler to blend more seamlessly and adhere better to a slightly roughened surface. Sanding also helps remove any loose particles that might prevent proper adhesion.
-
Ensure the Area is Completely Dry: Before applying any wood filler, glue, or finishing products, it is absolutely essential that the entire damaged area is bone dry. Moisture can prevent proper adhesion, leading to a weak bond and a repair that quickly detaches or crumbles. If you’ve used any liquids for cleaning, allow ample time for the wood to air dry completely, or use a hairdryer on a low setting for a quicker solution. Proper drying ensures optimal bonding and durability for your repair.
Repairing the Chips: Step-by-Step Guide
1. For Small Chips and Minor Imperfections
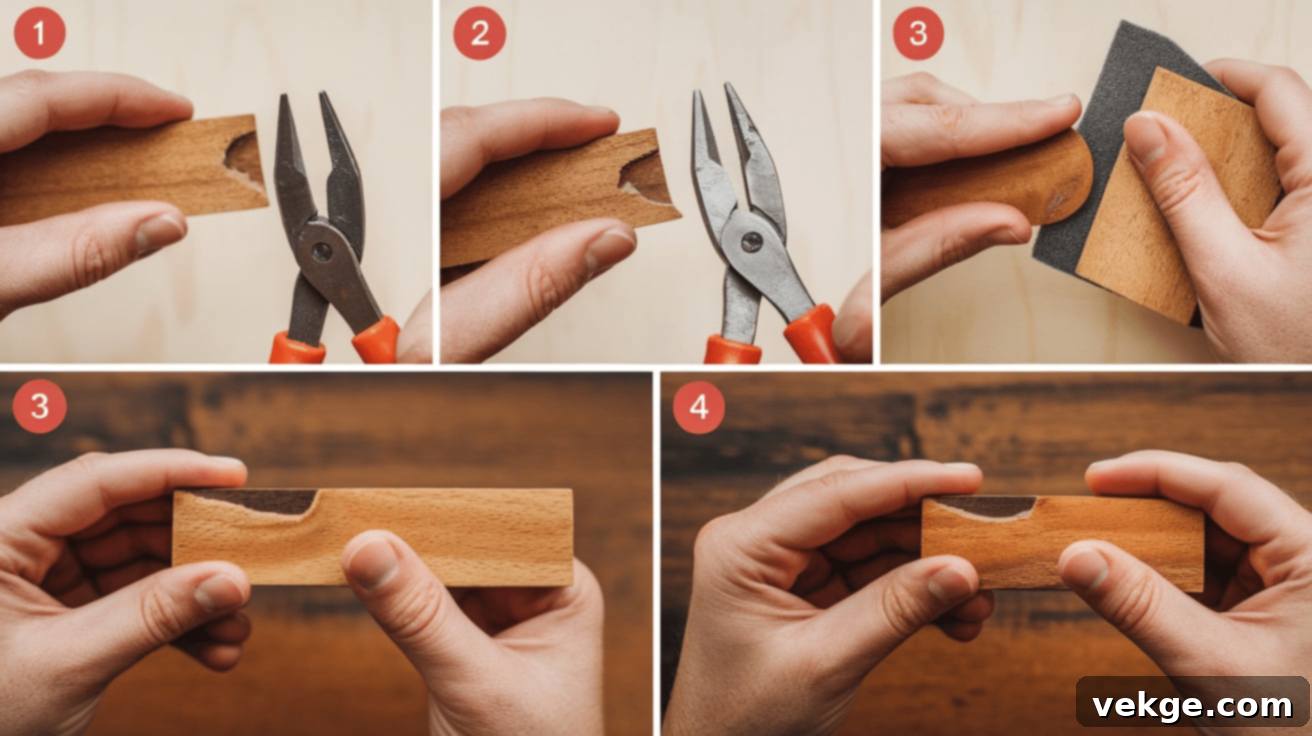
For minor chips, dents, and surface scratches, wood filler is your easiest and most effective solution. It’s designed to fill small voids and create a smooth, paintable or stainable surface.
Apply Wood Filler
Using a clean putty knife, scoop out a small amount of wood filler. Gently but firmly press the filler into the chipped area, ensuring it completely fills the void. Work the filler deeply into all corners and edges of the chip to eliminate any air pockets and ensure maximum adhesion. You can apply a little extra filler, creating a slight mound above the surrounding wood surface. This “overfilling” accounts for any minor shrinkage that may occur as the filler dries and ensures you have enough material to sand down to a perfectly flush finish. Avoid applying excessively thick layers all at once; if a deeper fill is required, it’s better to apply multiple thin layers, allowing each to dry partially before adding the next.
Smooth the Surface
Immediately after applying the filler, use your putty knife to carefully smooth the surface. Drag the knife across the filled area, removing any excess and trying to make it as level as possible with the surrounding wood. A slight mound is fine, as it will be sanded later. For the best results, hold the putty knife at a shallow angle and use smooth, even strokes. If the filler still looks a bit higher than the surrounding wood, don’t worry—most wood fillers tend to shrink slightly as they cure. Allow the filler to dry completely according to the manufacturer’s instructions, which typically takes about 1-2 hours for thin applications but can vary depending on thickness, humidity, and temperature.
Light Sanding for a Smooth Finish
Once the wood filler is thoroughly dry and hard to the touch, it’s time for sanding. Use fine-grit sandpaper (around 220 grit is ideal) and gently sand the repaired area. The goal is to make the filled area perfectly smooth and level with the rest of the wood surface. Use light pressure and sand in the direction of the wood grain to avoid creating noticeable scratches. Be cautious not to sand too aggressively or too much, as this could remove too much filler or damage the surrounding original wood. Regularly run your hand over the surface to check for an even, seamless feel. Once smooth, wipe away all sanding dust with a clean cloth or tack cloth.
2. For Larger Chips and Missing Wood Sections
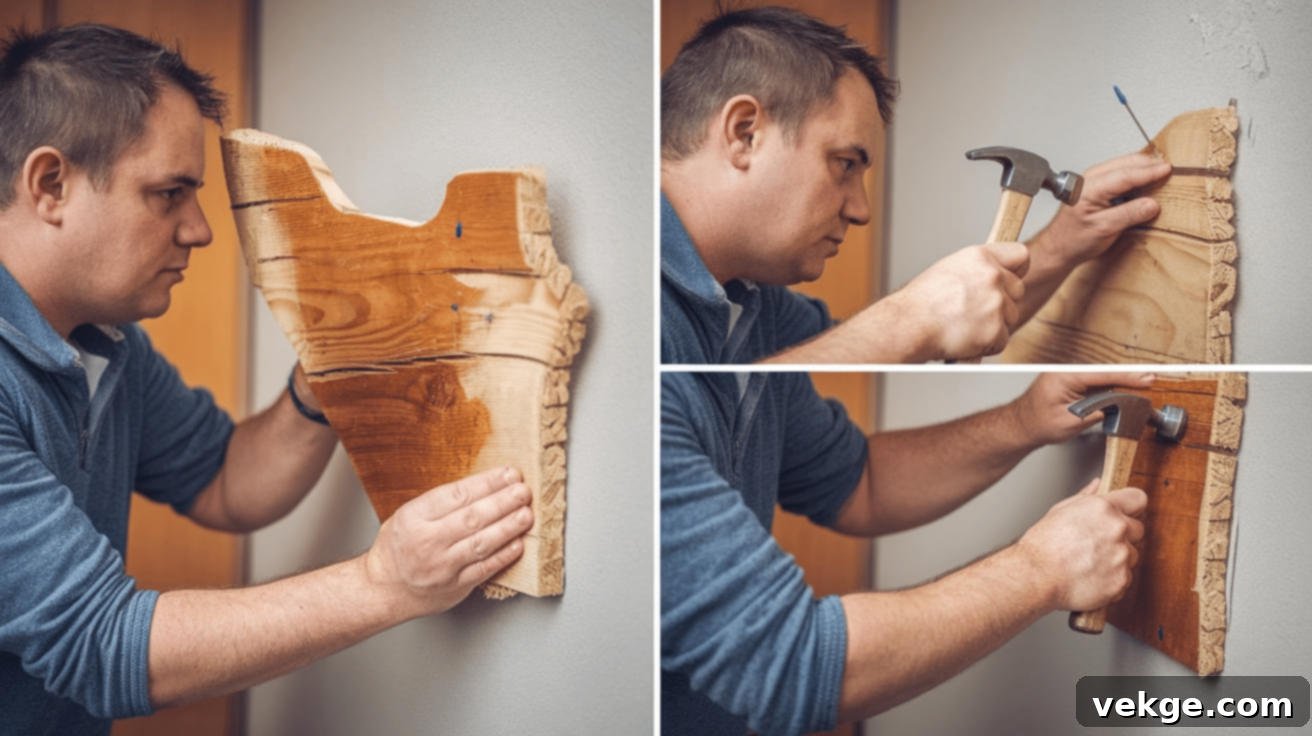
For more substantial chips or areas where a significant piece of wood is missing, a stronger, more substantial filling material is often required. Creating a custom wood paste can provide the necessary bulk and strength.
Make a Custom Wood Paste
For larger voids, a highly effective solution is to create a custom wood paste using wood glue and sawdust. Ideally, use sawdust from the same type of wood you are repairing, if available. This helps with color matching, especially if you plan to stain the wood. If you don’t have suitable sawdust, you can often purchase fine wood dust from a hardware store, or even create some by sanding a piece of scrap wood of the same type. Mix a strong wood glue (PVA glue is excellent for this) with the sawdust in a small, disposable container until you achieve a thick, workable paste. The consistency should be similar to peanut butter—spreadable but not runny. Adjust the ratio of glue to sawdust as needed to reach the desired consistency.
Fill the Chip with Paste
Carefully apply the custom wood paste to the chipped area using a putty knife or a similar application tool. Ensure you firmly press the paste into every part of the void, filling it completely and eliminating any air pockets. It’s important to overfill the chip slightly, creating a small mound above the surface of the original wood. This overfill is crucial because wood paste, like many fillers, can shrink a little as it dries and the moisture evaporates from the glue. Don’t worry if it looks a bit messy at this stage; the excess will be smoothed out during the sanding phase. For very deep chips, you may need to apply the paste in layers, allowing each layer to partially dry before adding the next to ensure a strong, uniform fill.
Allow Adequate Drying Time
Patience is key when dealing with wood paste for larger repairs. Allow the paste to dry thoroughly and cure completely. This process can take several hours, or even overnight, depending on the size and depth of the chip, the amount of paste applied, and the specific type of wood glue used. Higher humidity can also extend drying times. The paste must feel completely firm and hard to the touch before you proceed to the next step. Rushing the drying process can lead to a weak repair that cracks or crumbles later. Once it’s fully cured, you can move on to shaping and sanding the repair.
Once your chip is repaired and fully dried, you’re ready for the finishing touches, which will make the area seamlessly blend with the rest of the wood, bringing your project to a beautiful conclusion!
Sanding and Smoothing the Repair for a Seamless Finish
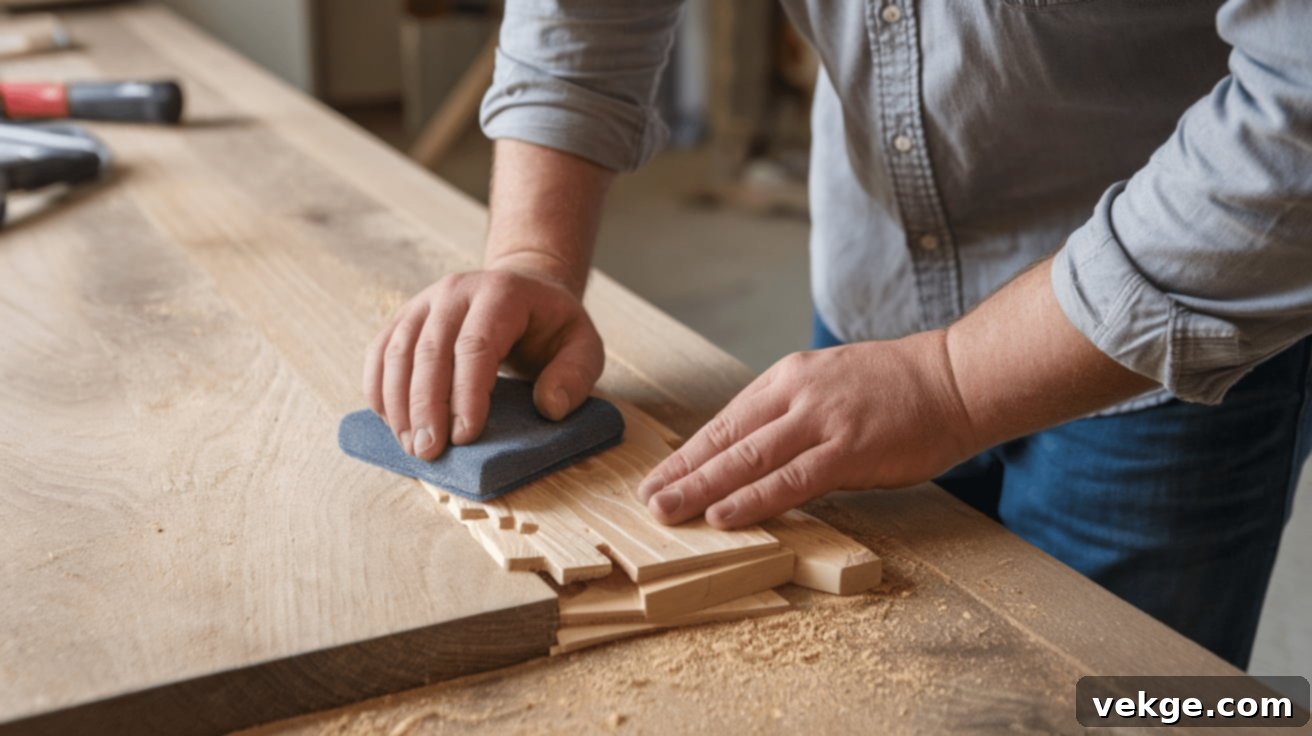
Once the wood filler or custom paste has completely dried and cured, the next critical step is to sand and smooth the repair until it is perfectly flush and seamless with the surrounding wood. This stage is where the magic happens, transforming a filled void into an invisible repair.
-
Begin Sanding with Appropriate Grit: For most repairs, starting with fine-grit sandpaper (around 120-180 grit) is a good choice if there’s a slight mound of filler to level. For a perfectly smooth finish, then move to 220 grit. If you had a significant overfill or a very large, lumpy repair, you might carefully start with a slightly coarser grit (e.g., 80-100) to quickly remove the bulk, but always follow up with progressively finer grits to eliminate scratch marks. Sand gently, using a sanding block for flat surfaces to ensure even pressure. Always sand in the direction of the wood grain to prevent creating cross-grain scratches that will be visible later.
-
Continuously Check for Smoothness: As you sand, frequently run your hand over the repaired area and the surrounding wood. Your fingertips are excellent tools for detecting even the slightest imperfections or unevenness that your eyes might miss. The goal is to make the repaired area feel perfectly flush and smooth with the rest of the wood, with no noticeable bumps, ridges, or depressions. If it feels uneven, continue sanding gently, focusing on the higher spots. You can also hold a bright light at a low angle across the surface; any shadows will highlight imperfections.
-
Thoroughly Clean the Dust: Once you are completely satisfied with the smoothness and levelness of the repair, it’s crucial to meticulously clean away all sanding dust. Use a clean, dry cloth, a soft brush, or preferably a tack cloth to pick up every particle. Any remaining dust can interfere with the adhesion and appearance of your stain or paint, leading to a blotchy or uneven finish. A perfectly clean surface is essential for the next step: staining or painting.
How to Stain or Paint Your Wood Repair for a Perfect Match
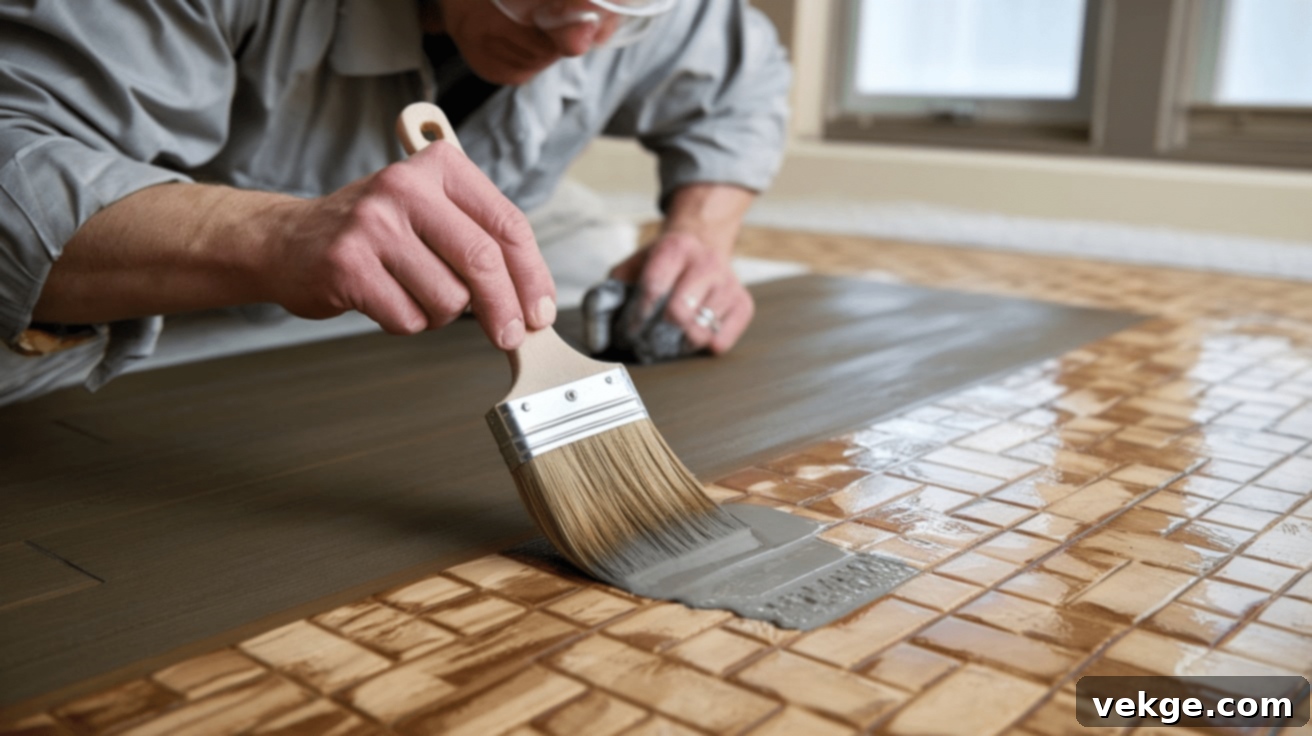
Now that your repair is perfectly smooth and clean, it’s time for the final touch: blending the area seamlessly with the rest of the wood. This step is crucial for making your repair truly disappear.
-
Choose the Right Stain or Paint for Color Matching: Selecting the correct color is paramount. If you’re staining, try to find a wood stain that closely matches the existing wood’s tone and grain. It’s always a good idea to test a small amount of your chosen stain or paint on an inconspicuous area of the wood (like the underside or a hidden edge), or on a piece of scrap wood of the same type, to ensure a perfect match before applying it to your repair. Remember that wood filler often absorbs stain differently than natural wood, so practice blending if necessary.
-
Apply the Stain or Paint Carefully: Using a brush, foam applicator, or clean cloth, carefully apply the chosen stain or paint to the repaired area. For stains, always apply in the direction of the wood grain to mimic the natural look and ensure even absorption. Work slowly and precisely, aiming to cover the wood filler or paste completely and blend it outward slightly onto the surrounding original wood. If using paint, apply thin, even coats to build up coverage without creating noticeable texture differences. For stains, you might apply a wood conditioner beforehand to help with even absorption, especially on softwoods.
-
Allow for Proper Drying and Layering: Allow the stain or paint to dry thoroughly according to the manufacturer’s instructions between coats. Rushing this step can lead to a sticky finish or uneven color. You may need to apply multiple thin coats to achieve full coverage and a consistent color match with the surrounding wood. After each coat, assess the color and depth; it’s easier to add more stain/paint than to remove it.
-
Finish with a Protective Topcoat: For added durability, especially if the repaired wood is in a high-traffic area or subject to frequent handling (like furniture or flooring), consider applying a clear protective topcoat. Options include polyurethane, lacquer, varnish, or even wax. This topcoat will help protect the repaired area from future scratches, moisture, and wear, ensuring your diligent work lasts longer. Apply the protective coat evenly over the entire surface of the wood, not just the repaired section, to ensure a uniform sheen and protection.
Helpful Tips for a Flawless Wood Repair Every Time
Achieving a perfect wood repair requires attention to detail and a little patience. Here are some invaluable tips to ensure your efforts result in a seamless, professional-looking finish:
-
Use the Right Sandpaper, and in Progression: Never jump straight to fine grit if significant leveling is needed. Start with a medium-fine grit (e.g., 120 or 150) to remove bulk and shape the filler, then progressively move to finer grits (like 220) for the final smoothing. This progression eliminates scratch marks and prepares the surface beautifully for finishing. Always sand with the grain!
-
Always Test Your Stain or Paint: Color matching can be tricky, as wood fillers absorb stains differently than natural wood. Before applying your chosen stain or paint to the actual repair, test it on a hidden area of the furniture or a piece of scrap wood that closely matches your project. This small step can prevent major color mismatches and the need for rework.
-
Thorough Cleaning is Non-Negotiable: Dust, dirt, and even natural oils from your hands can compromise adhesion and finish quality. Before applying any fillers, glues, stains, or paints, meticulously clean the area. Use a tack cloth after sanding to pick up the finest dust particles, ensuring a pristine surface.
-
Patience is Your Best Tool: Rushing any step, especially drying times, is the most common cause of poor repairs. Allow fillers, glues, and finishes ample time to cure completely according to manufacturer instructions. Forcing the drying process can lead to cracking, shrinking, or a weak bond.
-
Protect the Repaired Area: Especially for high-traffic items or frequently used surfaces, applying a durable protective topcoat (like polyurethane, varnish, or even a good quality wax) over the entire surface will significantly extend the life and appearance of your repair. This shield protects against future scratches, moisture, and general wear and tear.
-
Work in a Well-Ventilated Area: Many wood fillers, glues, and finishes contain strong fumes. Ensure good airflow by opening windows or using fans. This protects your health and helps with faster, more even drying.
-
Read Manufacturer Instructions: Always take a moment to read the specific instructions for your wood filler, glue, stain, and topcoat. Different products have different drying times, application methods, and environmental recommendations.
Conclusion: Restore Your Wood with Confidence
Fixing chipped wood doesn’t have to be an intimidating task. With the right materials, a clear understanding of the steps, and a touch of patience, you can effortlessly restore your wooden furniture, flooring, and other surfaces to a condition that looks as good as new. This DIY skill is incredibly rewarding, allowing you to breathe new life into beloved items and maintain the beauty of your home without the expense of professional help.
Whether you’re dealing with a tiny, almost unnoticeable chip or a more significant piece of missing wood, the process remains straightforward and accessible. The key to success lies in a methodical approach: start by carefully assessing the damage to choose the right strategy, gather all your essential materials beforehand, and then meticulously follow each step from preparation to finishing.
Taking your time during the crucial sanding and smoothing phases will make an enormous difference in the final outcome, ensuring a repair that is not only strong but also visually seamless. And once you apply the stain or paint with care, your repair will blend in perfectly, becoming virtually undetectable.
Keep these expert tips in mind for every project, and you’ll find yourself confidently tackling wood repairs, ensuring your wooden surfaces remain beautiful and well-maintained for many years to come. Embrace the satisfaction of DIY and enjoy the renewed elegance of your wood!
