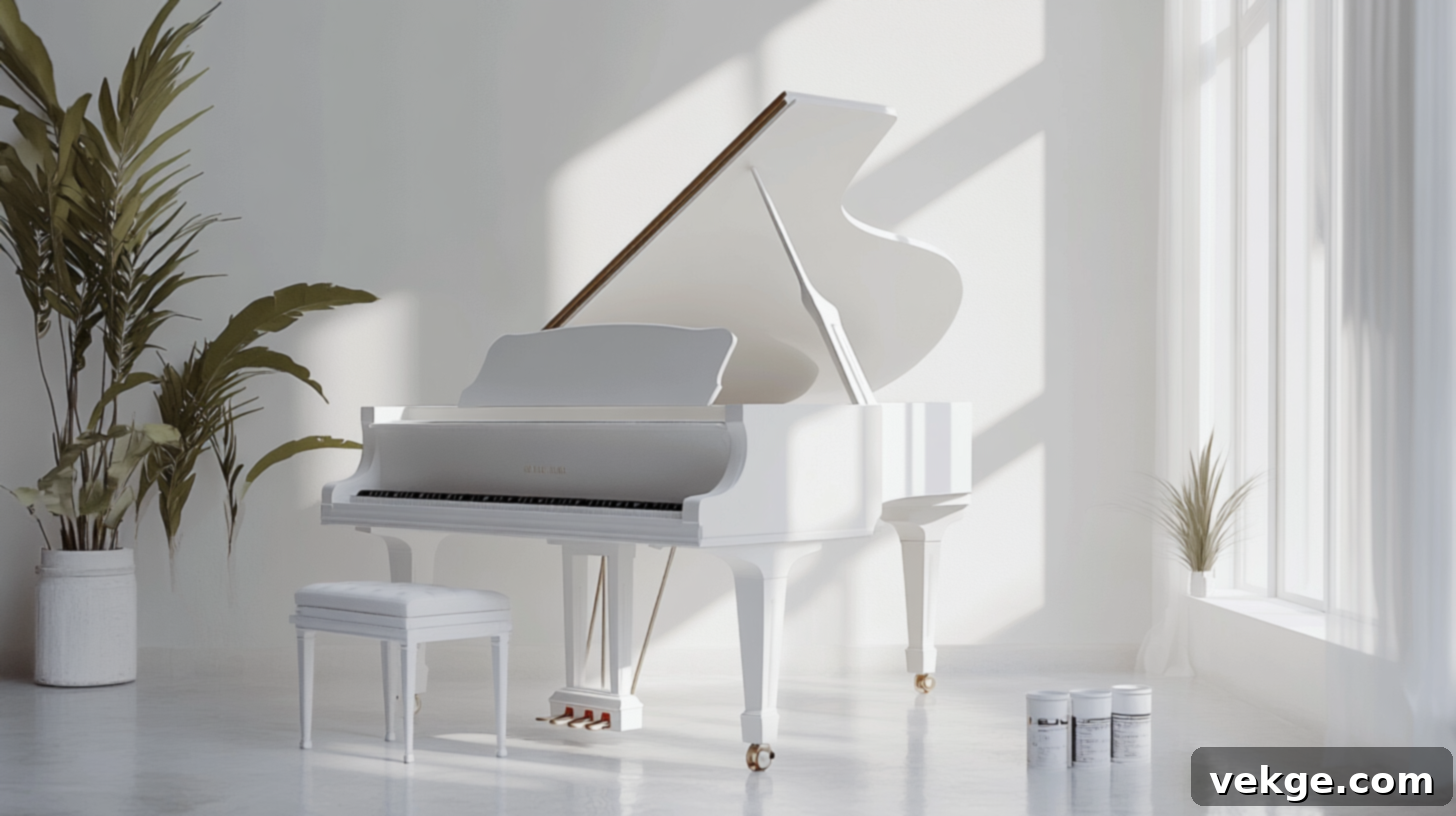
The Ultimate Guide to Painting Your Piano: A DIY Makeover for a Stunning Transformation
Is your beloved piano looking a bit worn, dated, or simply out of sync with your home’s evolving decor? Don’t despair! While the idea of painting a piano might seem daunting, conjuring images of ruined finishes or muffled sounds, the truth is quite the opposite. With the right approach, carefully selected materials, and a bit of patience, you can transform your piano into a beautiful, personalized centerpiece that perfectly complements your living space, all without compromising its musical integrity.
This comprehensive guide will walk you through everything you need to know about painting a piano the right way. We’ll delve into selecting the best paint types that offer both aesthetic appeal and acoustic consideration, meticulously prepare your instrument for a flawless finish, provide detailed step-by-step instructions for paint application, and offer essential tips for maintaining your newly painted piano for years to come.
You don’t need to be a professional painter or a seasoned DIY expert to achieve impressive results. Just follow our clear, easy-to-understand instructions and practical tips. By the end of this guide, you’ll be equipped with the knowledge and confidence to turn that tired, worn-out piano into a stunning piece of furniture that reflects your style and brings renewed joy to your home. Ready to embark on this rewarding journey and give your piano a spectacular new lease on life? Let’s get started!
Choosing the Right Paint for Your Piano: A Balance of Aesthetics and Acoustics
The success of your piano painting project hinges significantly on choosing the correct type of paint. The right choice will not only dictate the final look and durability of your piano but can also subtly influence its sound. Understanding the properties of different paints and their potential impact is crucial for a satisfying outcome.
Best Paint Types for Pianos: Durability and Finish
When it comes to painting a piano, certain paint types stand out for their adhesion, finish, and ease of use. Here are the most popular and recommended options:
- Chalk Paint: This has become a favorite among DIY enthusiasts for its exceptional adhesion and minimal prep requirements. Chalk paint provides a beautiful, velvety matte finish that lends itself perfectly to distressed or vintage looks. While incredibly easy to apply and forgiving, it is porous and absolutely requires a protective top coat (like clear wax or polycrylic) to ensure durability and resistance to wear and tear.
- Latex Paint (Water-Based): Offering a smooth, durable finish, modern latex paints are an excellent choice for a more contemporary look. They are water-based, meaning easier cleanup, lower odor, and faster drying times compared to oil-based options. Look for high-quality, self-priming latex paints designed for furniture or cabinetry, as these offer enhanced adhesion and a harder finish. They come in a vast array of colors and sheens, from matte to high-gloss.
- Acrylic Paint: Similar to latex in its water-based nature, acrylic paint dries very quickly and offers great color retention. It’s known for its versatility and durability, making it another solid option for pianos. Like latex, choose formulations specifically designed for furniture or high-traffic surfaces to ensure longevity. Acrylics are less prone to yellowing over time, which is a significant advantage for lighter colors.
How Paint Affects the Piano’s Sound: A Crucial Consideration
A common concern when painting a piano is whether it will dampen or alter the instrument’s sound. This is a valid concern, as the wood’s ability to vibrate is key to sound production. Here’s what you need to know:
- Weight and Thickness: The primary factor affecting sound is the addition of weight and thickness. Too many heavy layers of paint can indeed muffle the vibrations of the wood, particularly on the soundboard or crucial structural elements. This is why applying thin, even coats is paramount.
- Paint Composition: Water-based paints (latex and acrylic) are generally preferred because they add less mass and remain more flexible than oil-based alternatives. Their lighter composition means they are less likely to impede the wood’s natural resonance.
- Strategic Application: It’s critical to keep paint extremely thin on any parts directly involved in sound production, or ideally, avoid painting them altogether. This includes the soundboard (usually inside and out of sight), tuning pins, and internal mechanisms. Focusing your paint efforts on the piano’s exterior casing, legs, and lid will minimize any acoustic impact.
- Finish Type: Even the sheen can play a minor role. Glossy finishes tend to reflect sound waves differently than matte finishes, though the acoustic difference is often negligible for the average listener.
If you have significant concerns about sound changes, especially with a valuable or antique instrument, consulting with a professional piano technician or restorer beforehand is always a wise step.
Recommended Products: Quality for a Lasting Finish
Investing in quality materials will pay off with a more professional-looking and durable finish. For excellent results on your piano:
- Paints: Consider Rust-Oleum Chalked Paint for a rustic, matte aesthetic, or Behr Premium Plus Latex Paint for a smooth, resilient finish. These brands are known for their quality and ease of use on furniture.
- Brushes and Rollers: High-quality brushes with soft, synthetic bristles (like an angled 2-inch brush) are essential for cutting in edges and painting detailed areas without leaving prominent brush marks. For larger, flat surfaces, a good quality foam roller or a short-nap microfiber roller will help achieve an incredibly smooth, even finish.
- Clear Coats: If you opt for chalk paint, a protective topcoat is non-negotiable. Minwax Polycrylic Protective Finish is an excellent water-based choice for its durability and non-yellowing properties. For latex or acrylic paints, a clear topcoat might not be strictly necessary if you’ve chosen a durable furniture-grade paint, but it can add an extra layer of protection and depth of sheen.
Most of these recommended items are readily available at major hardware stores or paint suppliers. Always consider purchasing small paint samples to test colors on a hidden part of the piano or a scrap piece of wood to ensure you love the shade before committing to the entire project.
Step-by-Step Instructions for Painting Your Piano: From Prep to Perfection
Successfully painting your piano requires methodical preparation and careful application. Follow these detailed steps to achieve a professional and lasting finish. Gather all your materials before you begin to ensure a smooth workflow.
Essential Materials for Your Piano Painting Project
Before you dive in, make sure you have all the necessary tools and supplies within reach. Quality materials are key to a quality finish:
- Cleaner: A gentle, all-purpose cleaner (e.g., mild soap and water or a specialized degreaser) to thoroughly clean the piano’s surface.
- Damp Rags/Microfiber Cloths: For cleaning and wiping away dust.
- Sandpaper/Sanding Blocks: 120-180 grit for initial scuffing, and potentially 220-grit for light sanding between coats if aiming for an ultra-smooth finish.
- Painter’s Tape: High-quality, low-tack painter’s tape for delicate surfaces to mask off areas you don’t want painted.
- Masking Paper or Plastic Sheeting: For covering larger areas like the keys, pedals, and internal components.
- Primer (Optional but Recommended): A high-adhesion, stain-blocking primer, especially if changing color drastically or painting over a slick finish. If using an all-in-one paint+primer, a separate primer might not be needed.
- Paint: Your chosen paint (e.g., Behr Ultra, Rust-Oleum Chalked) in your desired color and finish.
- Angled Paintbrush (2-inch): For cutting in and detailed areas.
- Small Paintbrush: For intricate touch-ups.
- Foam Roller or Short-Nap Microfiber Roller: For smooth, even application on flat surfaces.
- Drop Cloths or Protective Floor Covering: To protect your workspace from spills and drips.
- Paint Tray or Container: For loading paint onto your roller and brush.
- Gloves: To protect your hands from paint.
- Plastic Wrap: Useful for protecting odd-shaped or internal components.
- Screwdriver/Basic Tools: For disassembling removable parts (hinges, panels, music stand, etc.).
Now, let’s begin with the transformation!
1. Prepare the Piano and Workspace: The Foundation of a Great Finish
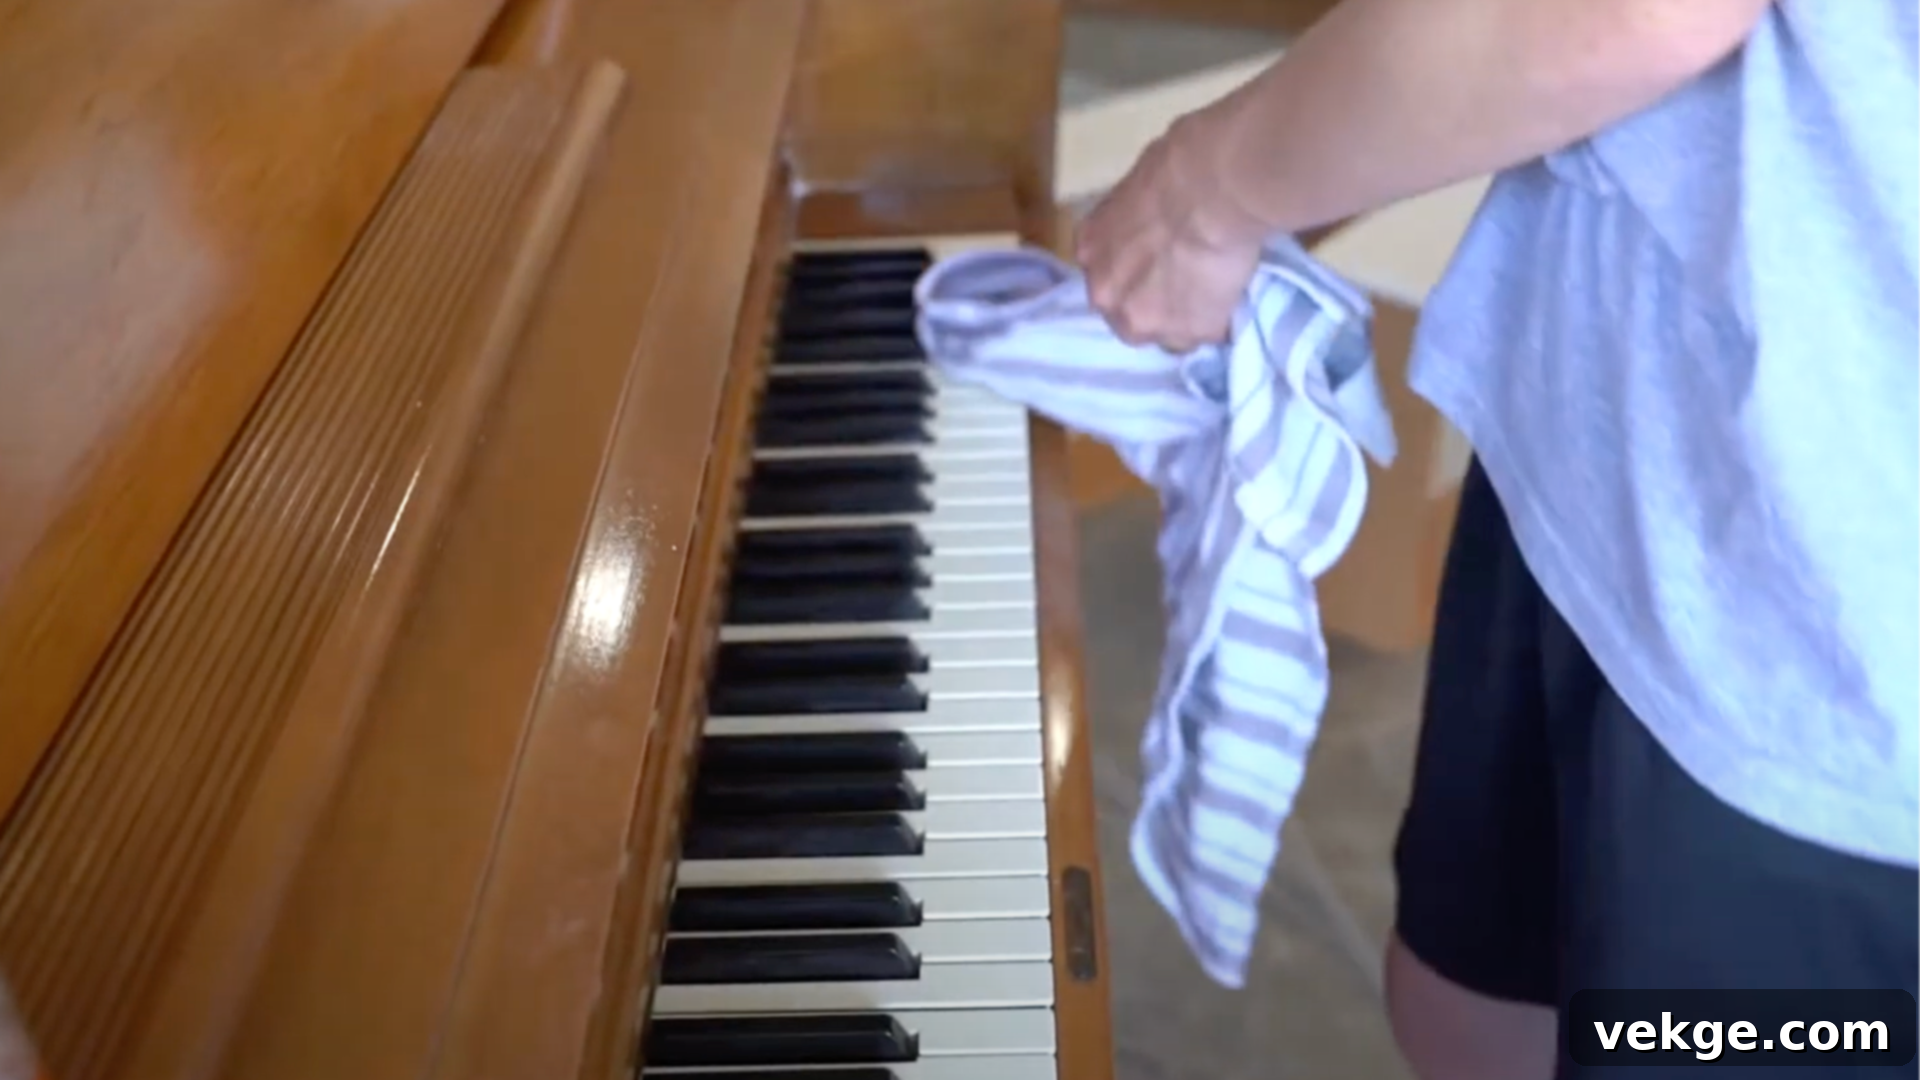
Thorough preparation is the most critical step and accounts for a significant portion of your project’s success. Begin by carefully removing any removable hardware such as hinges, pedals, the music stand, and any panels that can be easily detached. This allows for cleaner edges and a more professional finish. Store these parts safely.
Next, clean your piano meticulously with a mild, all-natural cleaner or a solution of gentle soap and water. The goal is to remove all dirt, grime, oil, and wax buildup. Use a damp cloth to wipe down every surface you intend to paint, paying close attention to crevices and decorative elements. Rinse with a clean, damp cloth to remove any soap residue, then allow the piano to dry completely.
Once clean, gently scuff the entire surface with 120-180 grit sandpaper. You don’t need to strip the existing finish entirely; the aim is to create a slightly rough surface (known as “tooth”) that allows the new paint to adhere properly. Sand lightly and evenly, following the grain of the wood where possible. After sanding, use a clean microfiber cloth (and possibly a tack cloth) to remove all dust particles. Any dust left behind will result in a bumpy finish.
Finally, set up your workspace. Choose a well-ventilated area, preferably outdoors or in a garage with open windows and fans. Good lighting is essential to spot imperfections. Lay down drop cloths or plastic sheeting generously to protect your floors and surrounding items from any accidental paint drips or overspray. Maintain a comfortable room temperature (65-75°F or 18-24°C) with moderate humidity, as extreme conditions can affect paint drying and adhesion.
2. Mask Off Areas: Precision for Clean Lines
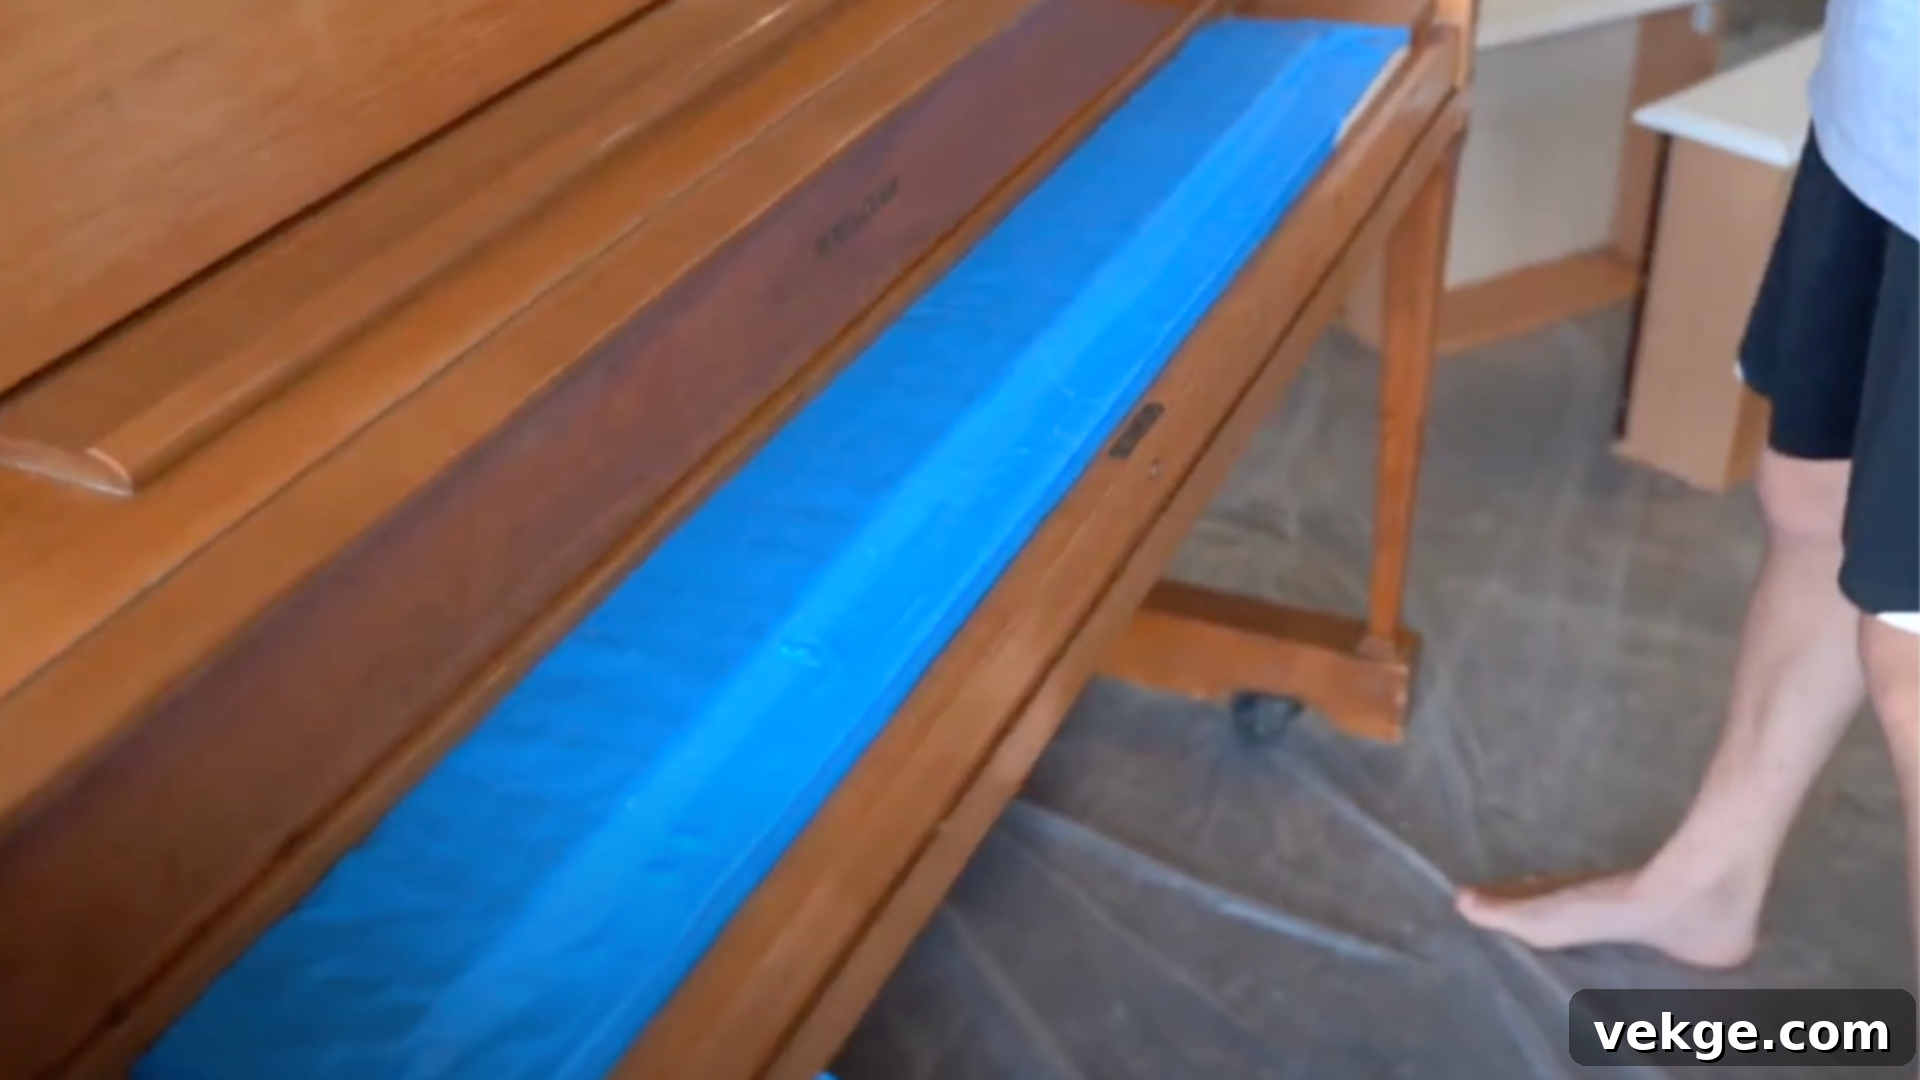
This step requires patience and precision, but it is vital for achieving crisp, clean lines and protecting parts you don’t want painted. Use high-quality painter’s tape (preferably one designed for delicate surfaces) to cover all areas that should remain paint-free. This includes the piano keys, pedals, hinges, metal accents, and any intricate carvings or details you wish to preserve in their original state.
Completely cover the keys with painter’s tape and then layer masking paper or plastic sheeting over them for extra protection. Wrap the pedals thoroughly. Don’t forget to mask off any internal components or parts of the soundboard that might be exposed if you’ve disassembled panels. Press the edges of the tape down very firmly to create a tight seal, preventing paint from seeping underneath. Take your time with this step; a well-masked piano makes the actual painting process smoother and greatly reduces post-painting cleanup. Double-check all masked areas for any missed spots or loose edges. For unusually shaped areas, plastic wrap can be a flexible alternative to tape and paper.
3. Paint the Piano: Layer by Layer Transformation
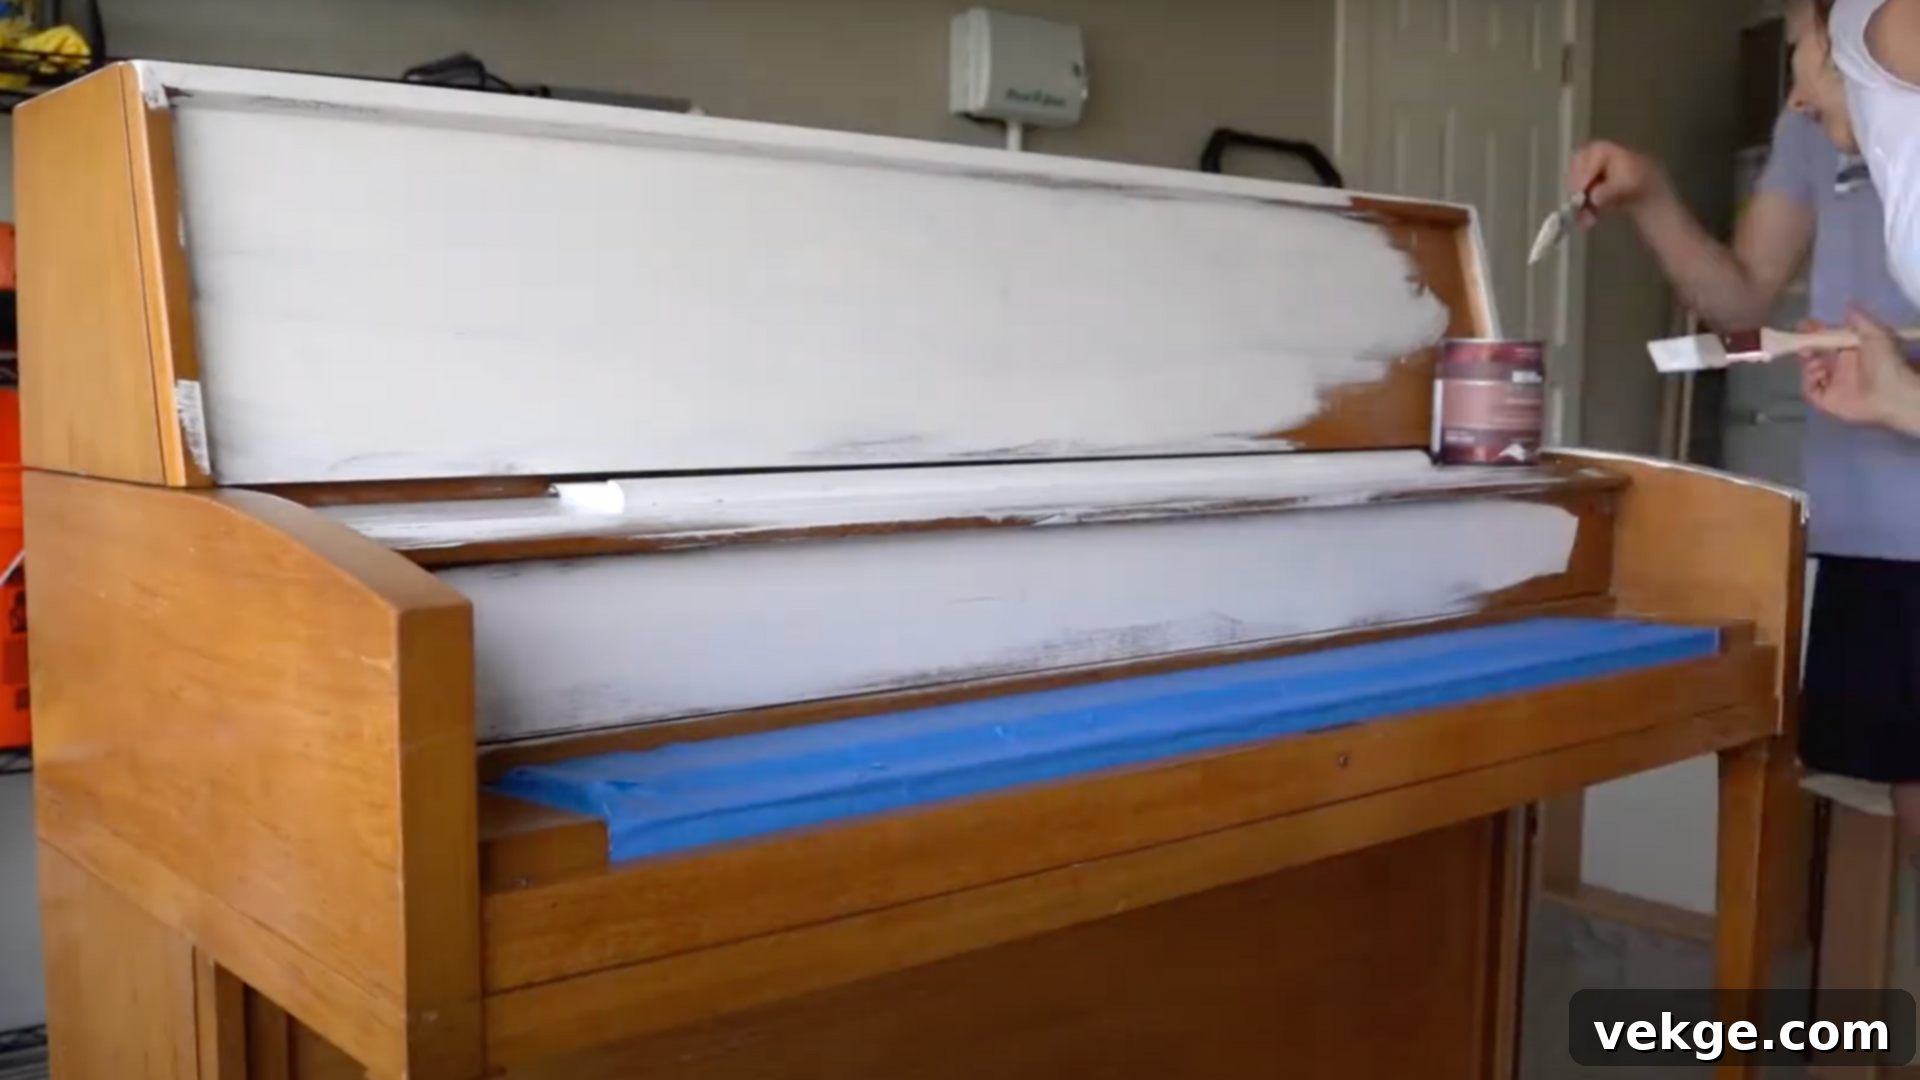
Now for the exciting part! If your chosen paint requires a separate primer, apply one thin, even coat of primer first. Allow it to dry completely according to the manufacturer’s instructions, which is typically 2-4 hours. Primer helps with adhesion, provides an even base color, and can block stains from bleeding through.
Once primed (or if using an all-in-one paint), begin applying your chosen paint. Start by using your angled paintbrush to tackle hard-to-reach spots, detailed carvings, and edges. Then, switch to your foam roller for the larger, flat surfaces. The key to a smooth, professional finish is to apply paint in thin, even layers rather than one thick coat. Thick coats are prone to drips, uneven drying, and an “orange peel” texture.
Work in small sections, applying paint smoothly and consistently. Always maintain a “wet edge” to avoid lap marks. After completing your first coat, allow it to dry for at least 4 hours, or as recommended by your paint’s manufacturer. Depending on your desired coverage and the original color of the piano, most projects require 2-3 coats for full, opaque coverage. If you’re aiming for an ultra-smooth finish, you can lightly sand between coats with 220-grit sandpaper, then wipe away dust before applying the next layer.
Ensure your workspace remains as dust-free as possible during the drying periods. Good lighting will help you spot any missed areas or potential drips as you work. Move slowly and deliberately, fixing any drips or imperfections immediately while the paint is still wet. Each coat should be uniform before proceeding to the next.
4. Touch-Up: The Details Make the Difference
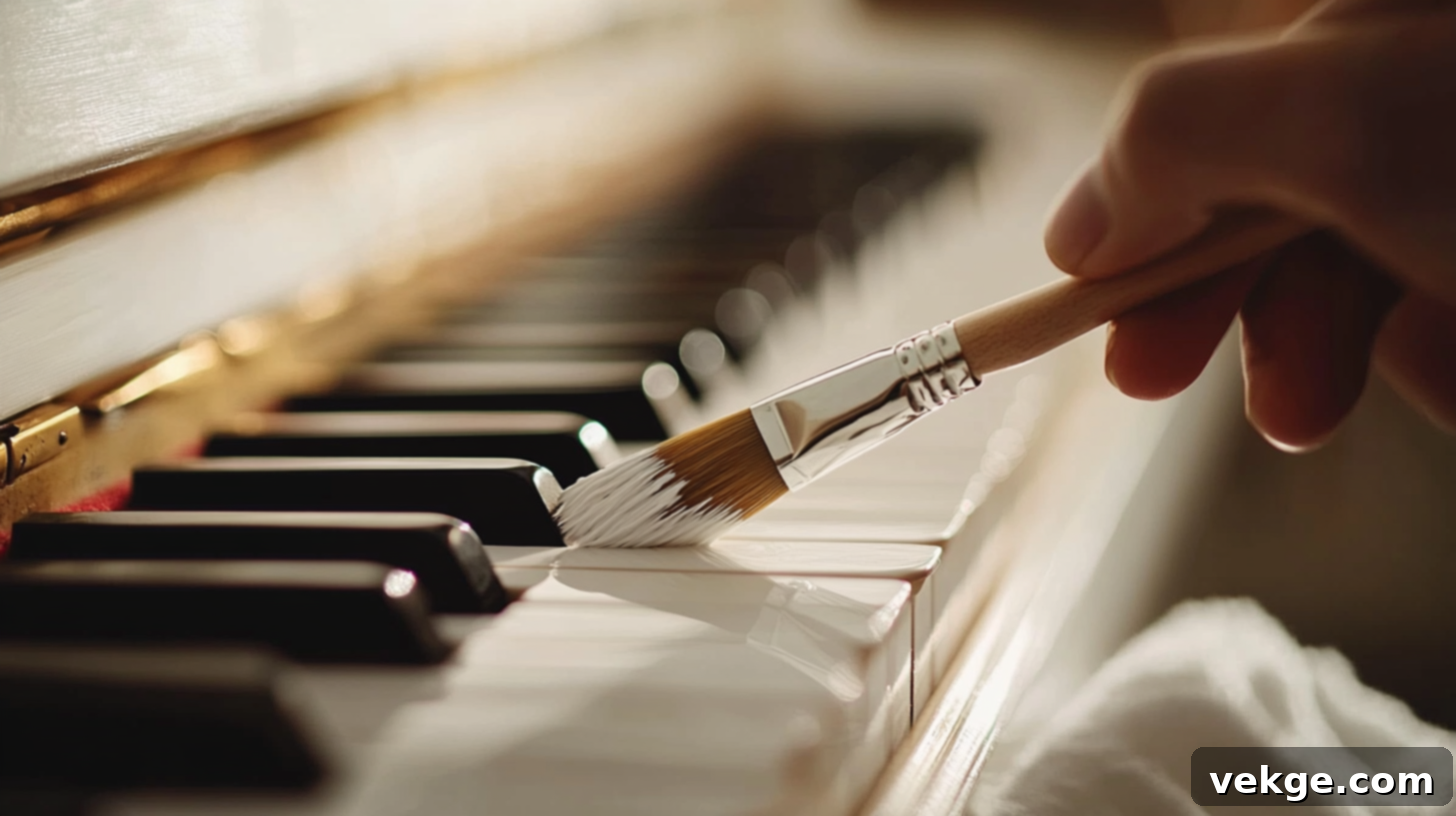
After your final coat of paint has thoroughly dried, it’s time for a detailed inspection. Position a bright light source (a work light or natural daylight) to shine across the piano’s surfaces at an angle. This “raking light” will highlight any areas you might have missed, spots where the paint is too thin, or minor imperfections.
Using a small, fine-tipped paintbrush, carefully apply paint to these areas. Pay particular attention to corners, edges, and recessed details. Take your time with this step; rushing can undo the careful work you’ve already put in. Keep a damp cloth handy to quickly wipe away any accidental smudges while the paint is still wet.
Ensure all parts have even and consistent coverage, stepping back frequently to view the piano from different angles. This broader perspective helps you identify areas that might need a bit more attention. Good touch-ups are what elevate a good paint job to a truly great one. Allow these small fixes to dry completely before proceeding to the final steps.
5. Final Touches and Drying: The Curing Process
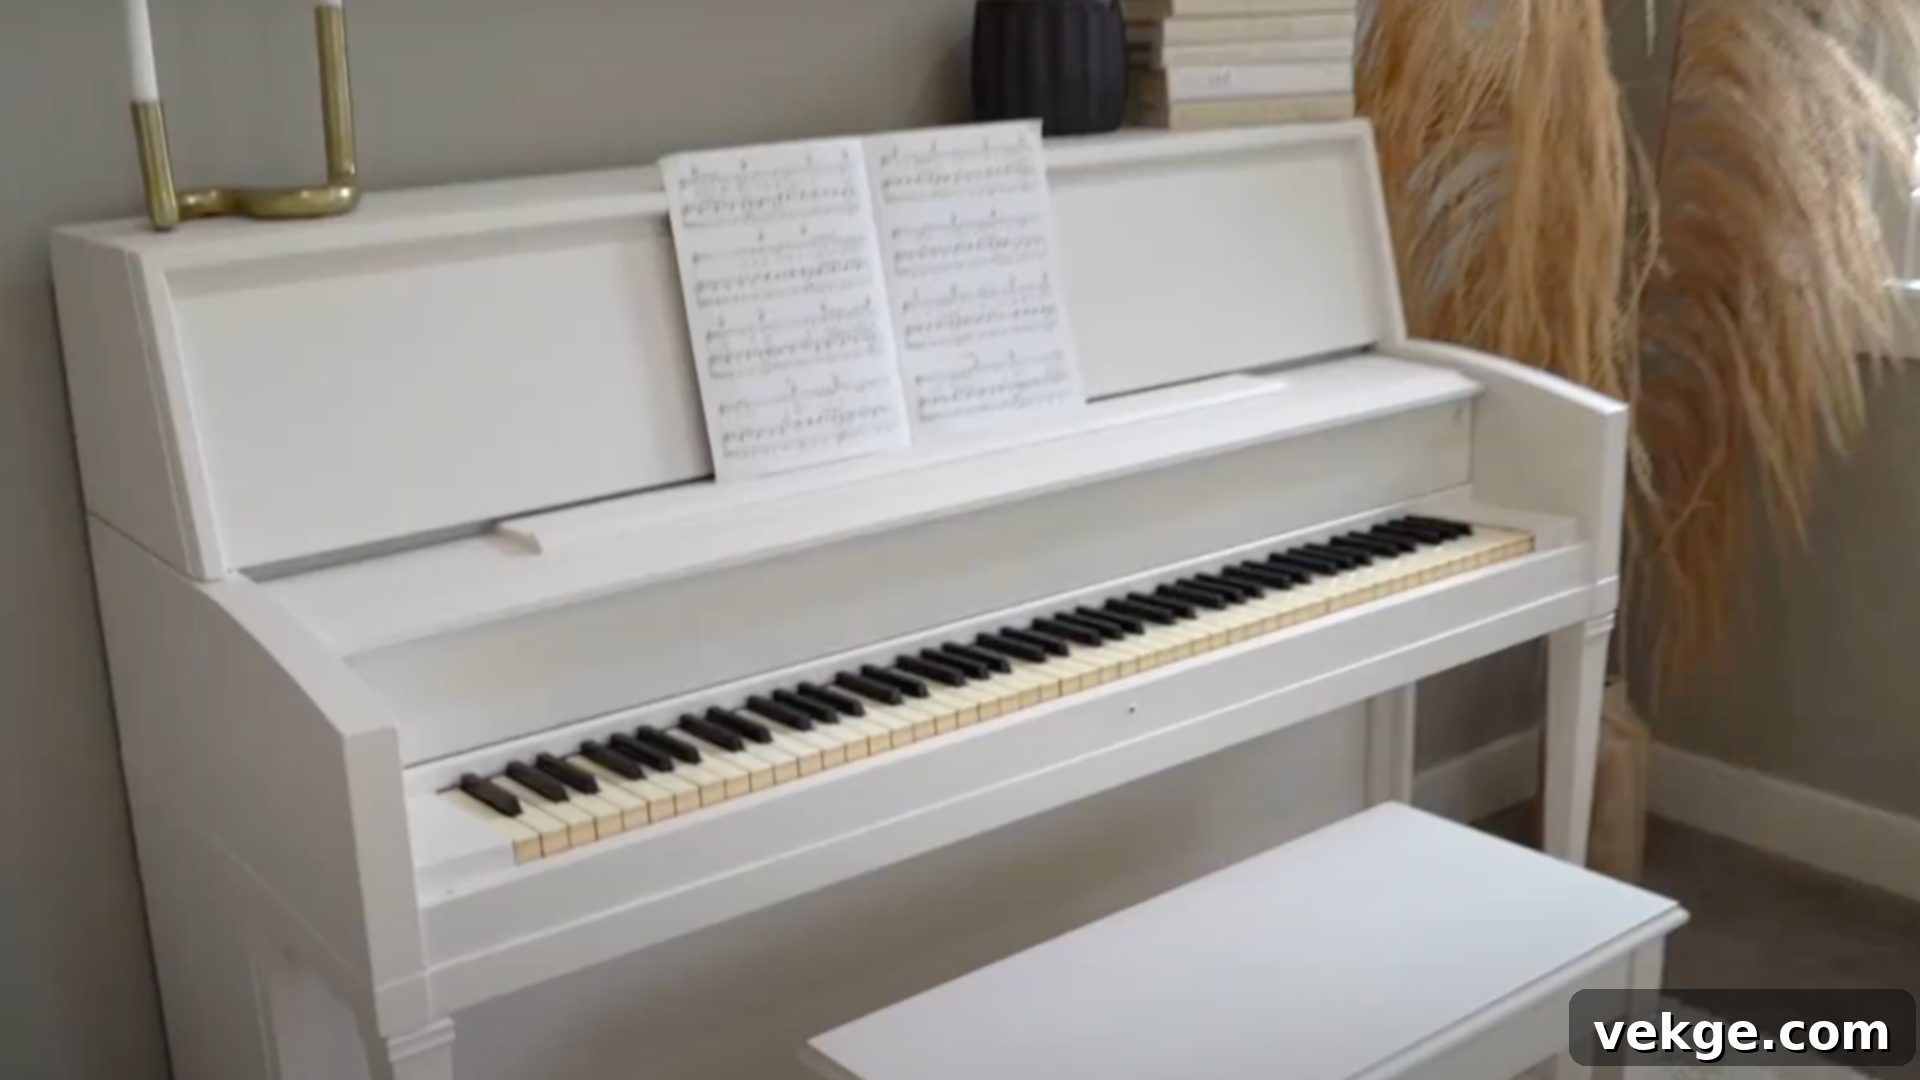
The timing of tape removal is crucial for achieving crisp lines. Wait until the paint is dry to the touch but still slightly flexible – typically within an hour or two of your final coat, or as directed by the tape manufacturer. Pull the painter’s tape off slowly and at a 45-degree angle, pulling it back onto itself. If you wait until the paint is completely hard, it might peel off with the tape, ruining your clean lines. If you notice any small paint bleeds, carefully scrape them away with a sharp utility knife or touch them up with a tiny brush.
Once the tape is removed and any final touch-ups are complete, your piano needs to dry and, more importantly, cure. While paint may feel dry to the touch within hours, it takes significantly longer for it to fully harden and reach its maximum durability. Allow the piano to dry for at least 72 hours (3 days) before gently touching it or attempting to play. For full hardness and ultimate durability, most paints require a full week or even up to 30 days to fully cure. During this time, keep windows open for good air circulation and avoid placing anything on the piano’s surface.
Protect the wet paint from dust by keeping the area clean and perhaps lightly draping a clean, old sheet over the piano, ensuring it doesn’t touch the painted surface. Once the piano is completely dry and cured, you can carefully reattach any hardware or panels you removed earlier. Take pride in your newly transformed musical masterpiece!
For a detailed visual explanation on how to paint your piano, you can watch the helpful YouTube video below.
How to Maintain Your Painted Piano: Preserving its Beauty for Years
Once you’ve put in the effort to beautifully paint your piano, proper maintenance is key to ensuring its fresh new look lasts for many years. Regular care not only preserves the paint finish but also helps protect the instrument itself. Small, consistent efforts each week can prevent bigger issues and repair jobs down the line, ensuring your painted piano remains a stunning focal point and a source of joy in your home for both players and admirers.
Here are essential tips for keeping your painted piano in top shape:
- Regular Dusting: Dust your piano weekly, or even more frequently, with a soft, clean microfiber cloth. Dust particles can be abrasive and, over time, dull the finish or even create tiny scratches. Avoid using feather dusters, which often just move dust around rather than picking it up. For fingerprints or smudges, a slightly damp (with just water) microfiber cloth works wonders, followed by a dry one.
- Protect from Environmental Extremes: Keep your painted piano away from direct sunlight, heating vents, radiators, and fireplaces. Direct sun exposure can cause paint to fade, crack, or yellow over time due to UV radiation. Extreme heat and fluctuating humidity can cause the wood to expand and contract, potentially leading to cracks in the paint finish. Ideally, position your piano on an inside wall, away from windows and external walls.
- Use Coasters and Protection: Never place drinks directly on the piano surface. Always use coasters under any items (vases, photos, decorative pieces) you put on top of the piano. This simple habit prevents unsightly water rings, scratches, and potential damage from spills that can mar your paint job. Consider a protective runner or mat for the top surface if you frequently place items there.
- Prompt Touch-Ups for Chips: Small chips or scratches are inevitable over time, but addressing them quickly is crucial. Keep a small amount of your leftover paint stored in a tightly sealed jar for quick and easy fixes. Before touching up, gently clean the chipped area to ensure good adhesion, then carefully apply a thin layer of paint with a fine brush. This prevents the damage from worsening and keeps your piano looking pristine.
- Apply Gentle Furniture Wax (Optional): For an extra layer of protection, particularly if you used chalk paint or want to enhance the sheen and depth of a matte finish, consider applying a gentle furniture wax once or twice a year. Always test the wax on an inconspicuous area first to ensure it doesn’t alter the paint color or finish. Apply with a soft, clean cloth using small, circular motions, then buff lightly to a soft sheen. Avoid harsh chemical polishes or cleaners, as they can damage the paint finish.
Common Mistakes to Avoid When Painting Your Piano
Knowing what pitfalls to steer clear of is just as critical as understanding the correct steps when embarking on a piano painting project. Many aspiring DIYers make simple yet costly errors that can lead to disappointing results, wasted time, and unnecessary expense. By familiarizing yourself with these common mistakes and how to avoid them, you can ensure your piano painting project is a success, resulting in a beautiful, durable finish that lasts for years without issues.
Here’s a breakdown of common piano painting mistakes and how to sidestep them:
- Skipping or Rushing Proper Cleaning and Preparation: This is arguably the most frequent and detrimental mistake. If the piano surface isn’t thoroughly cleaned, degreased, and lightly sanded, dirt, oils, and existing finishes will prevent the new paint from adhering properly.
Consequence: Paint will peel, chip, and show bumps or imperfections very quickly.
Avoidance: Dedicate ample time to cleaning every inch, using the appropriate cleaner, and then scuff sanding to create a bonding surface. Always wipe away all dust before painting. - Applying Paint Too Thickly or Rushing Between Coats: Impatience is the enemy of a smooth finish. Applying paint in thick layers or recoating before the previous layer is dry can cause significant problems.
Consequence: Thick coats lead to drips, sags, uneven texture, and extended drying times. Rushing between coats can cause the paint to crack, peel, or lift.
Avoidance: Always apply paint in thin, even layers. Read and strictly follow the paint manufacturer’s recommended drying times between coats. If in doubt, wait longer. - Using Low-Quality Brushes or Rollers: Skimping on application tools might save a few dollars upfront but can severely compromise the finish. Cheap brushes shed bristles, and poor rollers leave lint or uneven textures.
Consequence: Visible brush strokes, lint embedded in the paint, or an uneven, streaky finish.
Avoidance: Invest in high-quality synthetic brushes with soft bristles and good quality foam or short-nap microfiber rollers designed for smooth finishes. Clean them thoroughly after each use. - Not Masking Properly or Removing Tape Too Late/Early: Poor masking leads to messy edges, while incorrect tape removal can damage the freshly painted surface.
Consequence: Jagged paint lines, paint on unwanted areas (like keys or pedals), or paint peeling off when tape is removed.
Avoidance: Take your time to mask meticulously, pressing tape edges firmly. Remove painter’s tape when the paint is dry to the touch but still slightly flexible (typically 1-2 hours after the final coat), pulling it slowly at a 45-degree angle. - Neglecting Proper Ventilation and Lighting: Painting in a poorly lit or unventilated space is not only unsafe but also hinders the quality of your work.
Consequence: Fumes can be harmful, and poor lighting can prevent you from seeing drips, uneven spots, or missed areas, leading to an imperfect finish.
Avoidance: Always ensure adequate ventilation with open windows or fans. Use bright, direct lighting (like a work lamp) to illuminate the surface as you paint, making imperfections easy to spot.
Wrapping Up: Your Transformed Piano Awaits
Congratulations! You now possess a comprehensive understanding of how to paint a piano from start to finish. With the detailed steps and expert advice provided in this guide, you have everything you need to confidently embark on this rewarding DIY project and transform an old, perhaps neglected, piano into a stunning showpiece that you’ll be incredibly proud to display in your home.
Remember the critical steps for success: diligently pick the right type of paint, ensure meticulous cleaning and preparation before any paint touches the surface, apply paint in thin, even coats to avoid drips and ensure a smooth finish, and allow each layer to dry completely before proceeding to the next. These fundamental principles are the backbone of a professional-looking and durable result.
Once your piano has been beautifully painted and fully cured, extend its life and preserve its fresh appearance by adhering to the simple maintenance tips: regular dusting, protection from harsh environmental elements like direct sunlight and heat, and prompt attention to any minor chips. A well-maintained painted piano will continue to enhance your home’s aesthetic for many years.
Feeling inspired to start this weekend? Begin by envisioning your ideal color and gathering your essential supplies. Don’t worry if you’re new to furniture painting – just take it slow, follow each step methodically, and enjoy the creative process. Your newly painted piano is more than just a piece of furniture; it’s a statement of your style and a testament to your DIY spirit.
Happy painting, and enjoy the beautiful transformation of your cherished instrument!
