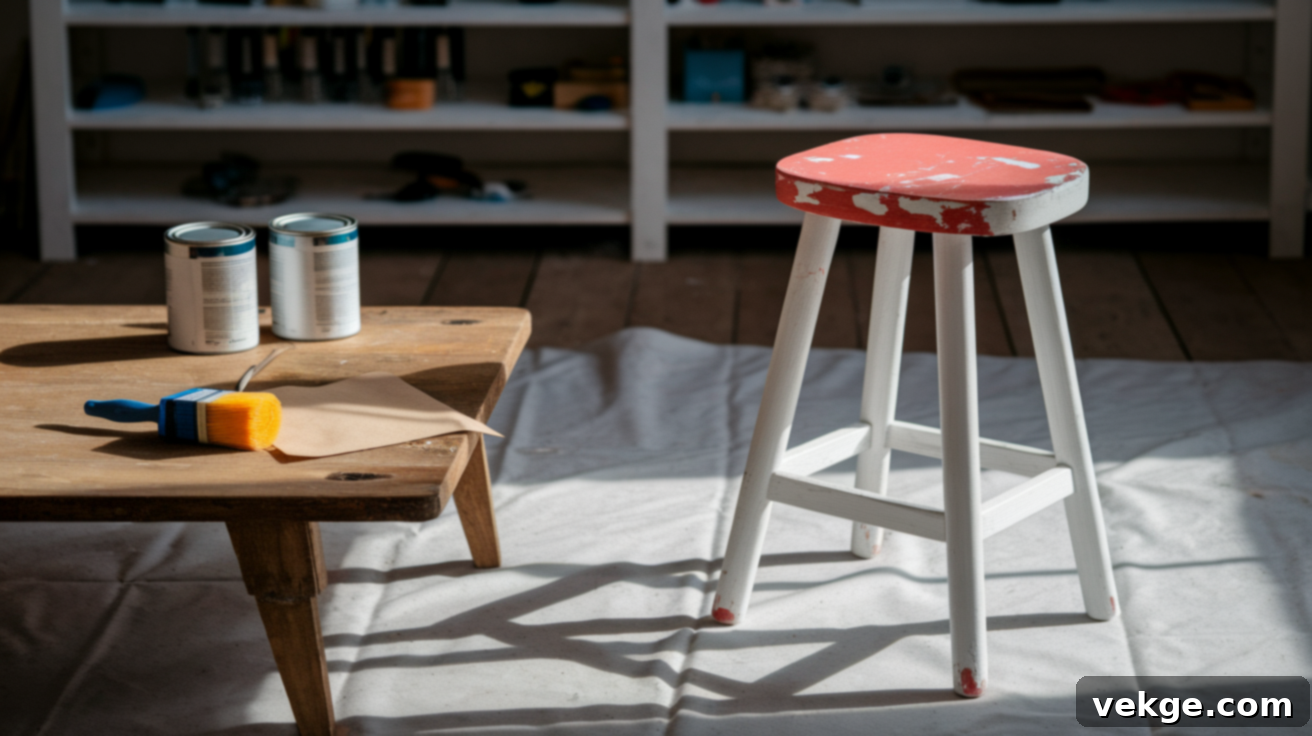
Transform Your Space: The Ultimate DIY Guide to Painting Bar Stools
Old bar stools often bear the brunt of daily use, showing wear and tear through scratches, faded finishes, or simply looking outdated and out of place in your evolving home decor. While replacing them can be a significant expense, a simple yet effective solution exists: painting them. This budget-friendly DIY project is not only manageable for anyone, regardless of their crafting experience, but also offers a powerful way to inject new life and personality into your living space.
If your current bar stools no longer align with your aesthetic or simply feel tired and neglected, a fresh coat of paint can deliver a dramatic transformation. You don’t need a workshop full of specialized tools or years of expertise. All it takes is a bit of preparation, the right choice of paint for your specific material, and a modest amount of your time and effort.
In this comprehensive guide, you’ll discover the exact steps to:
- Thoroughly clean and prepare your bar stools to ensure optimal paint adhesion and durability.
- Select the perfect type of paint tailored to your stool’s material, whether it’s wood, metal, or even upholstery.
- Master various painting techniques to achieve a professional-looking, smooth, and even finish.
- Apply protective top coats and sealers that will safeguard your newly painted stools, ensuring their beauty lasts for years to come.
Embrace this incredibly satisfying and cost-effective project that empowers you to give your existing furniture a complete facelift, customizing it to perfectly match your home’s style. Are you ready to embark on this creative journey? Let’s dive into the detailed process of how to paint bar stools the right way, from start to stunning finish.
Why Painting Bar Stools is a Rewarding DIY Project for Your Home
Choosing to paint your bar stools instead of replacing them is a smart decision for multiple reasons. It’s an exceptionally low-cost method to address common issues like scratched surfaces, faded colors, or simply updating their style to better suit your current decor. Rather than investing in brand new seating – which can be surprisingly expensive – a fresh coat of paint allows you to work with what you already own, or even give a second life to affordable secondhand finds, making it an excellent sustainable choice.
This project eliminates the need for professional help, putting you in control of the transformation. The steps are straightforward, and the required tools are basic, making it accessible even for beginners. A well-applied coat of paint can effectively conceal imperfections, dramatically change the color scheme, and make each stool look clean, modern, or vintage – whatever aesthetic you desire. Beyond the visual upgrade, painting also adds a protective layer, helping your stools withstand daily use and extending their lifespan significantly. It’s an eco-friendly approach to home decor, reducing waste by upcycling rather than discarding.
You don’t need any prior specialized skills to achieve fantastic results. The key is to approach each step patiently, follow the instructions carefully, and allow proper drying times. The satisfaction of seeing your old, tired stools transform into stylish, custom pieces will truly speak for itself, proving that a little effort can go a long way in refreshing your home’s ambiance.
Step-by-Step Guide: How to Paint Bar Stools for Lasting Beauty
This comprehensive, step-by-step guide is designed to break down the entire bar stool painting process into simple, manageable actions. From the initial preparation stages to the final protective touches, you’ll achieve professional-looking results by following each step diligently and taking the necessary time to do it right. Each stage is crucial for ensuring durability, optimal paint adhesion, and a flawless finish.
Essential Tools and Materials You’ll Need
Before you begin, gather all your supplies. Having everything ready and organized will allow you to move through each step efficiently and without interruptions. Most of these items are readily available and affordable at any local hardware, paint, or even large retail store, making this a truly accessible DIY project.
Your Supplies List:
- Sandpaper: You’ll need both medium-grit (e.g., 120-180 grit) for initial scuffing and fine-grit (e.g., 220-320 grit) for smoothing. Consider a sanding block for comfortable grip or an orbital sander for larger, flat surfaces.
- Cleaner/Degreaser: A standard household degreaser, a diluted all-purpose cleaner, or even just dish soap and warm water will work. Ensure it’s strong enough to cut through grease and grime.
- Primer: While often listed as optional, a good quality primer (appropriate for your stool’s material) is highly recommended for optimal adhesion, especially on slick, previously painted, or dark surfaces.
- Paint: Choose a paint specifically formulated for your stool’s material (wood, metal, etc.) and desired finish (latex, acrylic, enamel, chalk paint).
- Top Coat/Sealer: A clear protective top coat (polyurethane, polycrylic, or clear spray sealer) is essential for durability and scratch resistance.
- Drop Cloths/Tarps: To protect your work area from paint splatters and dust.
- Painter’s Tape: For masking off areas you don’t want to paint, such as upholstery, hardware, or two-tone sections.
- Gloves & Mask: Chemical-resistant gloves protect your hands, and a high-quality respirator mask is crucial for protecting your lungs, especially when using spray paint or working in less-ventilated areas.
- Brushes/Rollers/Spray Gun: Depending on your chosen painting method, you’ll need quality brushes (natural bristles for oil-based, synthetic for water-based), small foam rollers for smooth finishes, or a spray paint can/gun.
- Tack Cloths: Essential for picking up fine dust particles after sanding.
- Screwdriver: For removing seats or other hardware, ensuring a cleaner painting process.
Step 1: Disassemble or Protect the Seats
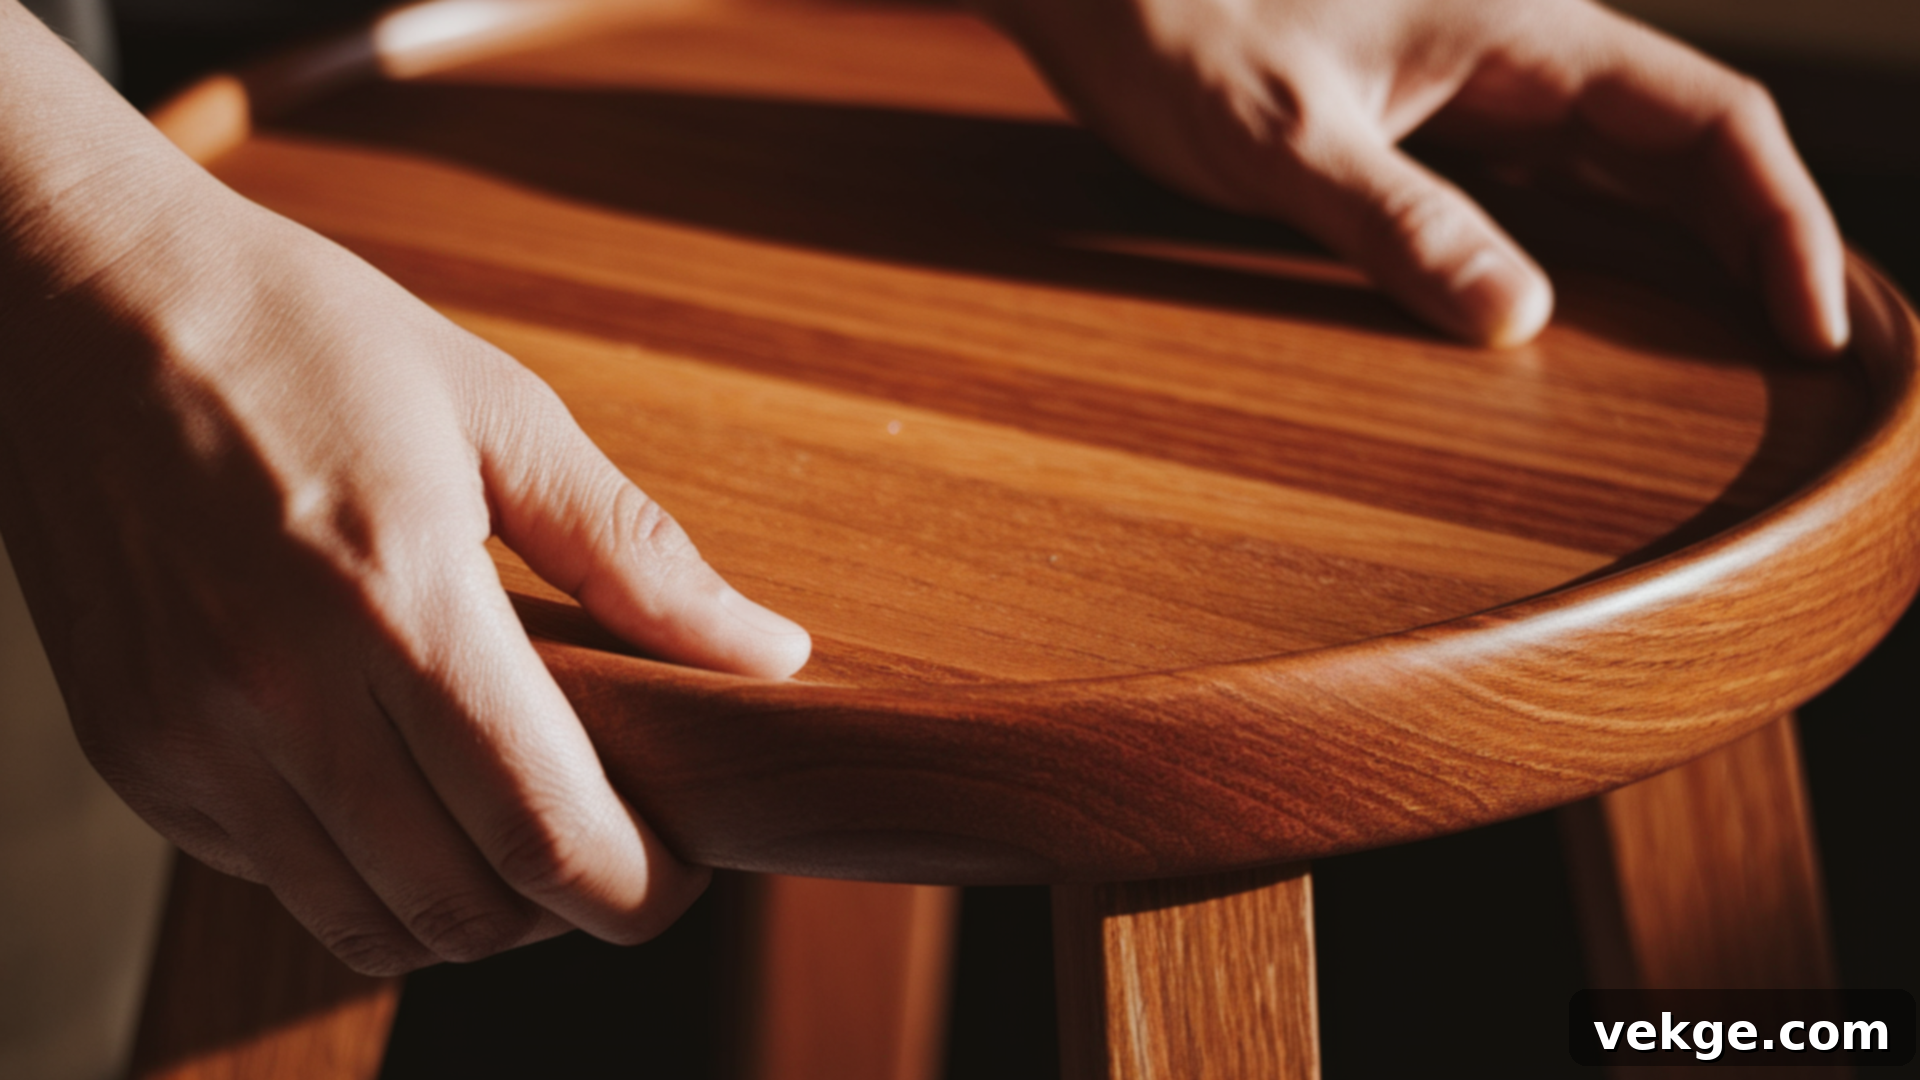
Begin your bar stool makeover by inspecting whether your stools have removable seats. Most modern and many older bar stools are designed with seats secured by screws, typically found underneath the seat frame. Use a basic screwdriver (Phillips or flathead, depending on the screw type) to carefully detach the seat from the base. Keep the screws in a safe place, perhaps a small baggie, so you don’t lose them.
Removing the seat offers several significant advantages: it grants you unobstructed access to the stool’s frame, making painting easier and more thorough, especially in tight corners. More importantly, it completely eliminates the risk of accidentally getting paint on the upholstery, wood, or fabric of the seat itself, preserving its original condition. If your seats are upholstered, removing them is a critical step to ensure a clean, professional finish.
If, however, your stool features a permanently attached seat or intricate upholstery that cannot be easily removed, don’t fret. You can still achieve a professional look with careful masking. Use high-quality painter’s tape to meticulously outline the edges where the seat meets the frame, pressing down firmly to create a crisp line. Then, cover the entire seat with plastic sheeting, an old cloth, or newspaper, securing it firmly with more painter’s tape. This protective barrier will keep the seat clean and safe from any paint overspray or drips as you work on the rest of the stool.
Step 2: Clean and Degrease Thoroughly
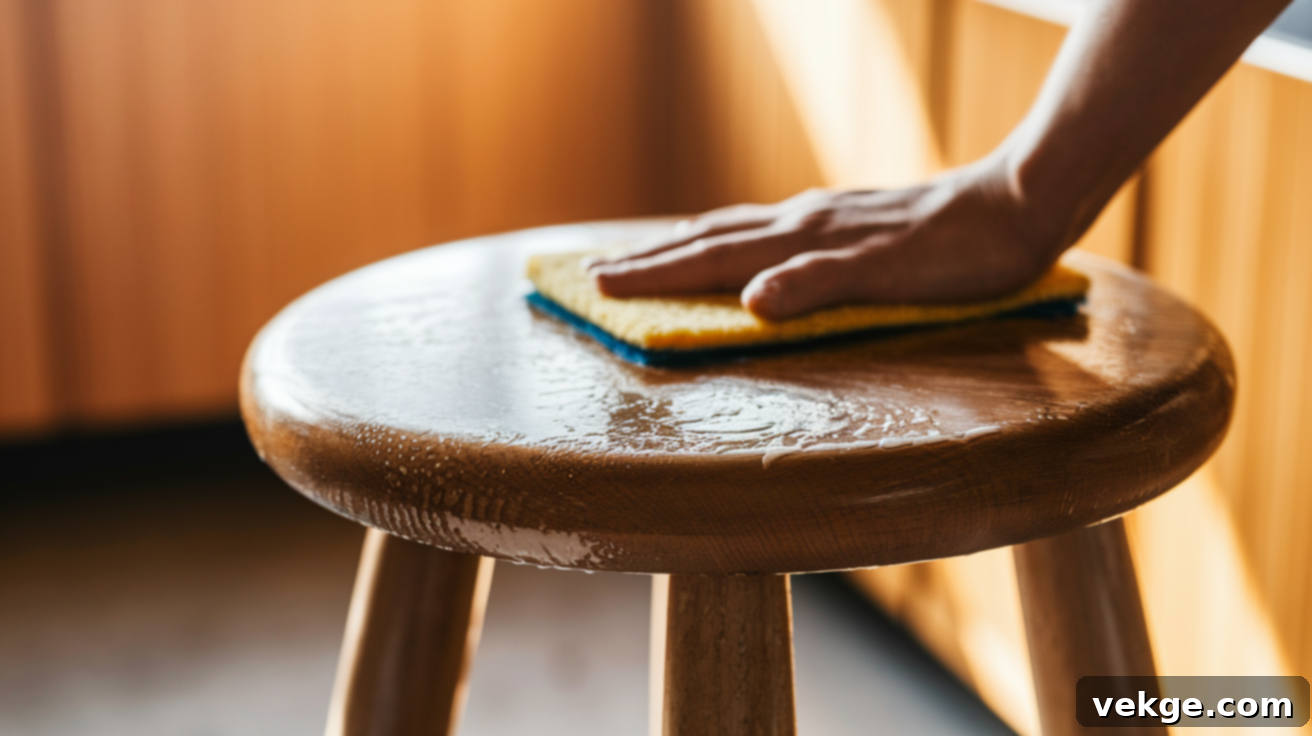
This often-underestimated step is absolutely crucial for the longevity and quality of your paint job. Before any sanding or priming, every inch of your bar stool needs a deep clean. Use a household cleaner, a dedicated degreaser (like TSP substitute), or even a simple solution of warm water and dish soap to thoroughly wipe down the entire stool. The goal is to remove all surface contaminants that could prevent paint from adhering.
Pay meticulous attention to areas that tend to accumulate grime, grease, food spills, and hand oils – especially under the seat, around the footrests, and along the legs. These are common touch points where invisible residues can severely compromise paint adhesion. Use a sponge or a sturdy rag to scrub off any built-up dirt or sticky films. For stubborn spots, a bristle brush might be necessary. After scrubbing, rinse the surface with clean water to remove all traces of the cleaner, and then dry it completely using a clean, lint-free cloth. Allow ample time for the stool to air dry, ensuring no moisture remains in crevices.
Skipping this degreasing step is a common mistake that can lead to significant problems down the line, such as paint failing to adhere properly, bubbling, or prematurely flaking and peeling. This is particularly vital for kitchen or dining bar stools that are frequently handled and exposed to spills. A perfectly clean and dry surface provides the ideal foundation, giving your new paint the best possible chance to bond strongly and last for many years.
Step 3: Sand the Surface for Optimal Adhesion
Sanding is not just about removing old finishes; it’s primarily about creating a “tooth” for your new paint to grip onto, ensuring superior adhesion and a smoother final appearance. Begin with a medium-grit sandpaper (typically 120-180 grit) to effectively scuff up any glossy areas, smooth out minor imperfections, or remove chipped and peeling old paint. If you’re working with very rough surfaces or stubborn old finishes, you might start with an even coarser grit (e.g., 80-100) before moving to medium. For intricate designs or turned legs, a flexible sanding sponge can be very useful.
Once the initial rough sanding is done, switch to a finer-grit sandpaper (around 220-320 grit). This step is crucial for smoothing out any sanding marks left by the coarser paper and creating a silky-smooth surface that will beautifully accept the paint. Ensure you sand all surfaces evenly, including edges, curves, and the often-neglected footrests. For metal stools, focus on gently sanding away any rust spots to prevent them from spreading or showing through the new paint; a wire brush or even a rotary tool with a sanding attachment can be effective for stubborn rust.
The goal is not to strip the stool down to bare wood or metal (unless the old finish is extensively damaged and peeling), but rather to dull the existing shine and slightly roughen the surface. Avoid pressing too hard, as this can create divots or uneven areas. Work in the direction of the wood grain for wood stools. Once the entire surface feels uniformly smooth and dull to the touch, you’re ready for the next critical step.
Step 4: Remove All Sanding Dust
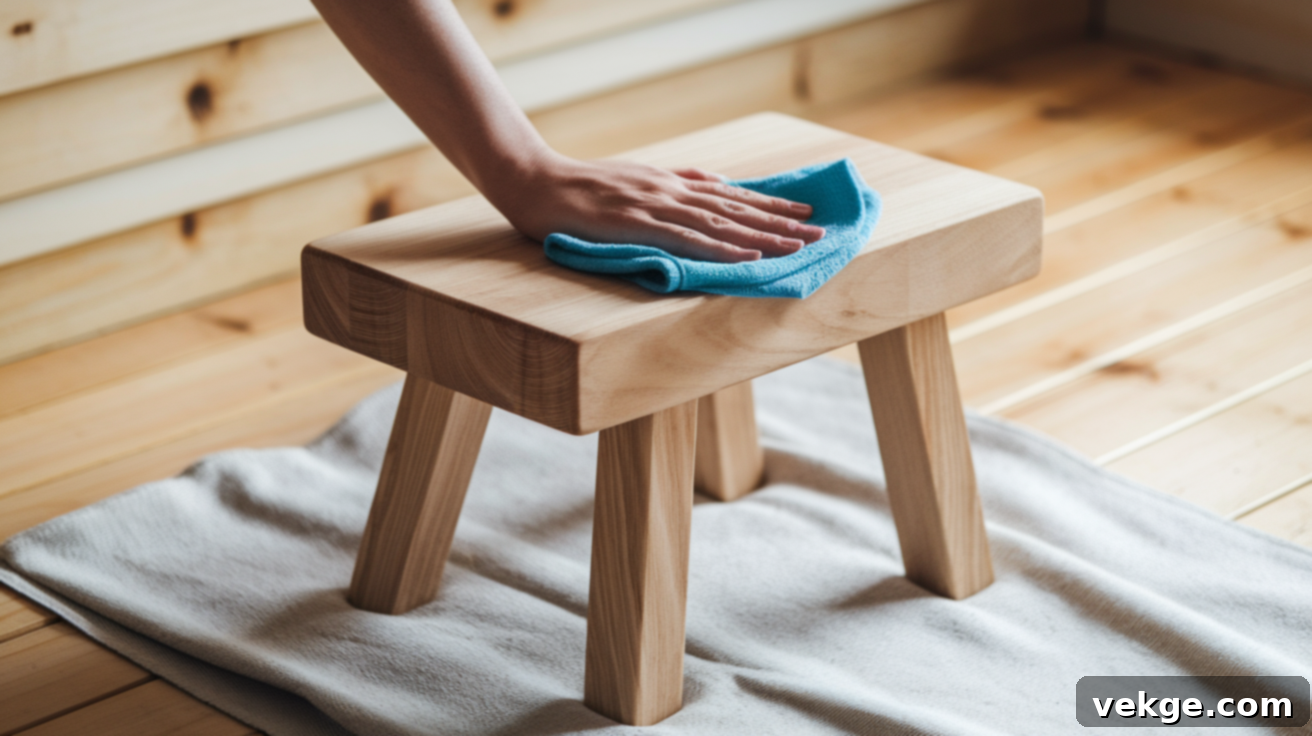
After the sanding process, your bar stool will inevitably be covered in a fine layer of dust. This dust, if left behind, is the enemy of a smooth paint finish. It can cause bumps, streaks, uneven texture, or even lead to the paint peeling prematurely once it dries. To prevent this, a thorough dust removal is absolutely essential and should not be overlooked.
Start by wiping every surface of the stool with a slightly damp, clean cloth. Ensure the cloth is barely wet – too much water can raise the wood grain or prolong drying time. Alternatively, for superior dust pickup, use a tack cloth. These specialized sticky cloths are designed to pick up even the finest dust particles without leaving any residue. Wipe gently over all areas, paying extra attention to corners, crevices, carved details, under the seat, and around screw holes – these are common dust traps where particles can hide. You might also use a shop-vac with a brush attachment for initial dust removal, followed by the damp cloth or tack cloth.
Repeat the wiping process until no visible dust remains on your cloth. Once you’re confident the stool is completely dust-free, allow it to air dry fully. Ensure there’s no residual moisture before moving on to priming or painting. A perfectly clean, dry, and smooth surface is paramount for allowing the paint to adhere beautifully and achieve a flawless, long-lasting finish.
Step 5: Apply Primer (Highly Recommended for Durability)
Although sometimes considered optional, applying a high-quality primer is a step that can significantly improve the outcome and durability of your painted bar stools. Primer acts as a bonding agent between the stool’s surface and the new paint, offering several key benefits that contribute to a professional-looking and long-lasting finish:
- Enhanced Adhesion: Primer creates an ideal surface for the topcoat paint to grip, especially on slick materials like metal, laminate, or previously painted glossy surfaces. It significantly reduces the chances of peeling or chipping.
- Improved Coverage: Primer helps the topcoat paint go on more evenly and often reduces the number of paint coats needed, especially when changing a dark color to a lighter one. It provides a uniform base color.
- Stain Blocking: It seals in any potential stains, knots (in wood), or previous colors that might bleed through your new paint, preventing unsightly discoloration.
- Increased Durability: A primed surface is more resistant to chipping and scratching, extending the life of your paint job by providing an extra protective layer.
Choose a primer appropriate for your stool’s material. For wood, an all-purpose latex or oil-based primer works well. For metal, use a rust-inhibiting or metal-specific primer (e.g., an etching primer for very smooth metals). Apply a thin, even coat of primer using a brush, roller, or spray, just as you would with paint. Ensure full coverage without drips. Follow the manufacturer’s instructions for drying time, which is typically 1-2 hours but can vary. If your stool had a very dark original color or significant stains, a second coat of primer may be beneficial. Lightly sand with fine-grit sandpaper (320 grit) after the primer dries for an even smoother base, then wipe away dust with a tack cloth before painting.
Choosing the Right Paint for Your Bar Stools
The success of your bar stool painting project hinges significantly on selecting the correct type of paint for the material you’re working with. Using the wrong paint can lead to frustrating issues such as poor adhesion, peeling, cracking, or an uneven finish that simply won’t last. By understanding the properties of different paints and matching them to your stool’s composition – be it wood, metal, or even an upholstered seat – you can ensure a beautiful and durable result that truly stands the test of time.
For Wood Bar Stools: Versatility and Durability
Wood is a forgiving material, offering several excellent paint choices. For most wood stools, latex, acrylic, or chalk-based paints are ideal. These options adhere well to properly prepared wood surfaces and provide excellent coverage. Before applying paint, ensure the wood is impeccably clean, sanded smooth, and primed if necessary (especially if changing color drastically or for added durability). For high-traffic areas like kitchen bar stools, consider a durable finish such as satin or semi-gloss, as these are typically easier to clean, more resistant to scuffs and fingerprints, and offer a subtle sheen. A good quality synthetic brush will give you smooth strokes for detailed areas, while a small foam roller can provide a very even finish on flatter surfaces. Apply thin, even coats, allowing each coat to dry completely according to the manufacturer’s instructions before applying the next. To provide additional protection against scratches, dents, and daily wear, always finish your wood stools with a clear top coat, such as a water-based polyurethane or polycrylic, which will greatly enhance their longevity.
For Metal Bar Stools: Rust-Resistance and Smooth Finish
Metal surfaces require paints specifically formulated for their smooth, often glossy, and non-porous nature. For metal stools, enamel-based or rust-resistant spray paints are highly recommended. These paints are designed to bond securely to metal, offer superior durability, and withstand the wear and tear typically associated with metal furniture. Before painting, diligently sand any rough spots or areas of rust. If rust is present, a dedicated rust-inhibiting primer should be applied first to prevent future corrosion from spreading. When using spray paint, always apply multiple thin, even coats rather than one thick layer. This technique minimizes drips and ensures a consistent finish. Allow each coat to dry fully before applying the next. While brushes can be used for metal, spray paint generally yields a much smoother, streak-free finish, which is often desired for metal furniture. Always work in a well-ventilated area, and finish with a clear protective spray designed for metal surfaces to enhance durability and prevent chipping, especially vital for outdoor or high-use kitchen stools.
For Leather or Upholstered Seats: Specialized Solutions
If your bar stool features a leather, vinyl, or fabric upholstered seat that you wish to update, traditional liquid paint is not the answer for leather or vinyl, and regular fabric paint can make fabric stiff. Instead, for flexible surfaces like leather or vinyl, use specialized acrylic leather paint. Brands like Angelus Leather Paint are popular choices, formulated to flex with the material without cracking or peeling. Begin by thoroughly cleaning the seat with rubbing alcohol to remove all oils, dirt, and conditioners. Then, use a foam brush or sponge to apply multiple thin, even layers of paint, allowing each coat to dry completely before applying the next. For fabric seats, consider using fabric spray paint. Always test the fabric paint on an inconspicuous area first to ensure you like the texture and finish, as some fabric paints can alter the softness of the material. For both leather and fabric, strictly follow the product instructions for application and curing times to achieve the best, most durable results.
Chalk Paint Options for a Farmhouse or Distressed Look
Chalk paint has become incredibly popular for its unique ability to create a soft, matte, and often “worn-in” or distressed finish, perfect for achieving a farmhouse, shabby chic, or vintage aesthetic. It works exceptionally well on wood and can even adhere to some metal surfaces without extensive priming, making it a favorite for quick makeovers. Renowned brands like Rust-Oleum Chalked Paint and Annie Sloan Chalk Paint offer a beautiful range of muted and matte colors, often requiring minimal prep. Apply chalk paint with a brush in light, even coats. One of the appealing aspects of chalk paint is its versatility; you can achieve different looks by sanding lightly between coats for a smoother feel or by strategically distressing edges and raised areas with fine-grit sandpaper after the final coat to reveal glimpses of the original material underneath. Once fully dry, you have the option to leave the finish flat and matte, or you can apply a clear wax or matte sealer specifically designed for chalk paint. This not only protects the surface but can also deepen the color and provide a subtle sheen, making chalk paint an excellent choice for adding character and aged charm to your bar stools with minimal effort.
Mastering Painting Techniques for Bar Stools
Once your bar stool is meticulously cleaned, sanded, and primed, the exciting part begins: applying the paint. The technique you choose – whether spray painting, brushing, or rolling – will depend on the stool’s material, its intricate details, and the type of finish you envision. Regardless of the method, the golden rule remains: apply multiple thin coats and allow each to dry completely. This approach minimizes drips, ensures even coverage, and builds a durable finish that will stand up to daily use.
The Spray Paint Method: For Smooth, Even Coverage
Spray paint is an excellent choice for metal stools, intricate designs, and when aiming for a factory-smooth finish without any brush marks. Before you start, ensure you’re working in a well-ventilated area, ideally outdoors or in a garage with open doors, and wear a respirator mask. Hold the spray can approximately 8-10 inches away from the surface of the stool. Use light, continuous, sweeping strokes, moving consistently from side to side. Avoid holding the nozzle in one spot for too long, as this is the primary cause of drips and pooling paint. Overlap each pass slightly to ensure full coverage. It’s always better to apply multiple very thin coats – often 2-3 are sufficient – rather than attempting to cover everything in a single heavy layer. This strategy prevents drips, promotes even drying, and builds a more durable finish. Always shake the can thoroughly for about a minute before each use and periodically during application to keep the paint well-mixed. Allow each thin coat to dry to the touch before applying the next, typically 15-30 minutes, but always refer to the specific product instructions for optimal results.
Brush or Roller Application: Precision and Control for Wood
For wood bar stools or those with larger, flat surfaces like seats and backs, using a high-quality brush or a small foam roller offers excellent control and a beautiful finish. When using a brush, dip only the tip (about one-third of the bristles) into the paint to avoid overloading it, which can lead to drips and uneven application. Apply the paint in long, smooth, even strokes, working in the direction of the wood grain for a seamless look on wooden parts. For smaller crevices or detailed areas, a smaller artist’s brush can be invaluable. Foam rollers, particularly high-density ones, are perfect for achieving a very smooth finish on larger flat sections, minimizing brush marks. Work in manageable sections, ensuring you blend your strokes together while the paint is still wet to avoid lap marks or visible transitions. As with spray paint, apply at least two thin coats, allowing the first coat to dry completely – which can take several hours depending on the paint type and humidity – before applying the second. For an exceptionally smooth finish on wood, a light sanding with super-fine grit sandpaper (320-400 grit) between coats, followed by a thorough dust wipe with a tack cloth, will help eliminate any raised grain or minor imperfections.
Pro Tips for Achieving a Flawless, Smooth Finish on Your Bar Stools
Achieving a truly professional-looking, smooth finish on your painted bar stools is not a result of rushing, but rather a combination of careful preparation and meticulous application. By paying attention to these key details, you can significantly minimize common issues like drips, streaks, dust contamination, or peeling, ensuring your final result is nothing short of stunning and long-lasting.
- Start with a Meticulously Prepped Surface: This cannot be stressed enough. A clean, degreased, sanded, and dust-free surface is the absolute foundation for any successful paint job. Any shortcuts here will compromise adhesion and the final appearance.
- Always Apply Thin Coats: Resist the temptation to apply one thick layer. Multiple thin coats (typically 2-3, sometimes more for lighter colors) are always superior. Thin coats dry faster, adhere better, and are far less prone to dripping, sagging, or creating an uneven texture.
- Respect Drying Times: This is paramount. Allow each coat to dry fully to the manufacturer’s specifications before applying the next. Rushing this step can lead to tacky surfaces, paint lifting, or an inability for subsequent coats to bond properly. Test a hidden area or use a timer.
- Follow the Wood Grain (for Brushing): When using a brush on wood, always apply paint in the direction of the grain. This technique helps the paint lay down smoothly, reduces visible brush strokes, and mimics the natural flow of the material.
- Lightly Sand Between Coats: After the first coat of paint (and primer, if used), a very light sanding with a super-fine grit sandpaper (320-400 grit) can work wonders. This removes any dust nibs, raised wood grain, or minor imperfections, creating an incredibly smooth base for the next coat. Always wipe thoroughly with a tack cloth after sanding.
- Clean Your Tools Immediately: Whether using brushes, rollers, or spray gun components, clean them thoroughly immediately after each use. Dried paint on tools will lead to streaks, uneven application, and ruined equipment.
- Address Streaks Only When Dry: If you notice a streak or drip, do NOT try to fix it while the paint is wet, as this will only smear it and make it worse. Wait until the paint is completely dry, then lightly sand the imperfection smooth and apply a fresh, thin coat over that area.
- Practice Patience: Painting is a process that rewards patience. Each layer, from primer to final top coat, contributes to the overall quality and durability of the finish. Don’t rush any step; allow ample time for each stage.
- Consider Environmental Conditions: Paint in moderate temperatures (ideally 60-80°F or 15-27°C) and avoid extremely high humidity, which can significantly prolong drying times and affect paint cure.
Ventilation and Safety Tips for Painting
Your health and safety are paramount when undertaking any painting project. Always prioritize good ventilation, especially when working indoors with paints, primers, and sealers, many of which emit volatile organic compounds (VOCs) and strong fumes.
- Maximize Airflow: If painting indoors, open all windows and doors in your workspace. Use fans to create cross-ventilation, drawing fresh air in and expelling fumes outwards. Consider setting up a fan near an open window to blow air out.
- Wear Appropriate PPE: A high-quality respirator mask (not just a dust mask) is essential when using spray paint, oil-based paints, primers, or any product with strong fumes. Gloves are crucial for protecting your hands from paint and chemicals. Safety glasses are also recommended to prevent splashes.
- Protect Your Surroundings: Lay down drop cloths or old sheets to fully protect floors, furniture, and any nearby items from paint splatters and dust. If painting outside, be mindful of wind direction to prevent overspray from landing on plants or neighboring property.
- Avoid Ignition Sources: Never paint near open flames, pilot lights, or other ignition sources, especially when using flammable solvents or aerosol cans, as fumes can be highly combustible.
- Read Product Labels: Always read and follow all safety instructions and warnings provided on the labels of your paint, primer, and sealer products. They contain specific guidance on ventilation, drying times, and proper handling unique to that product.
- Proper Disposal: Dispose of paint cans, brushes, rags, and other materials according to local hazardous waste guidelines. Never pour paint down drains, as this can harm the environment and clog plumbing.
Inspiring Style Ideas for Your Transformed Bar Stools
Once your bar stools are meticulously prepped and painted, the creative possibilities for styling them are endless. From sleek modern aesthetics to charming rustic vibes, a simple change in color and finish can dramatically alter the entire feel of your space. These inspiring ideas will help you visualize how your newly painted stools can become stunning focal points, perfectly complementing your home’s unique personality and existing decor.
1. Modern Black Matte Stools: Sleek Sophistication
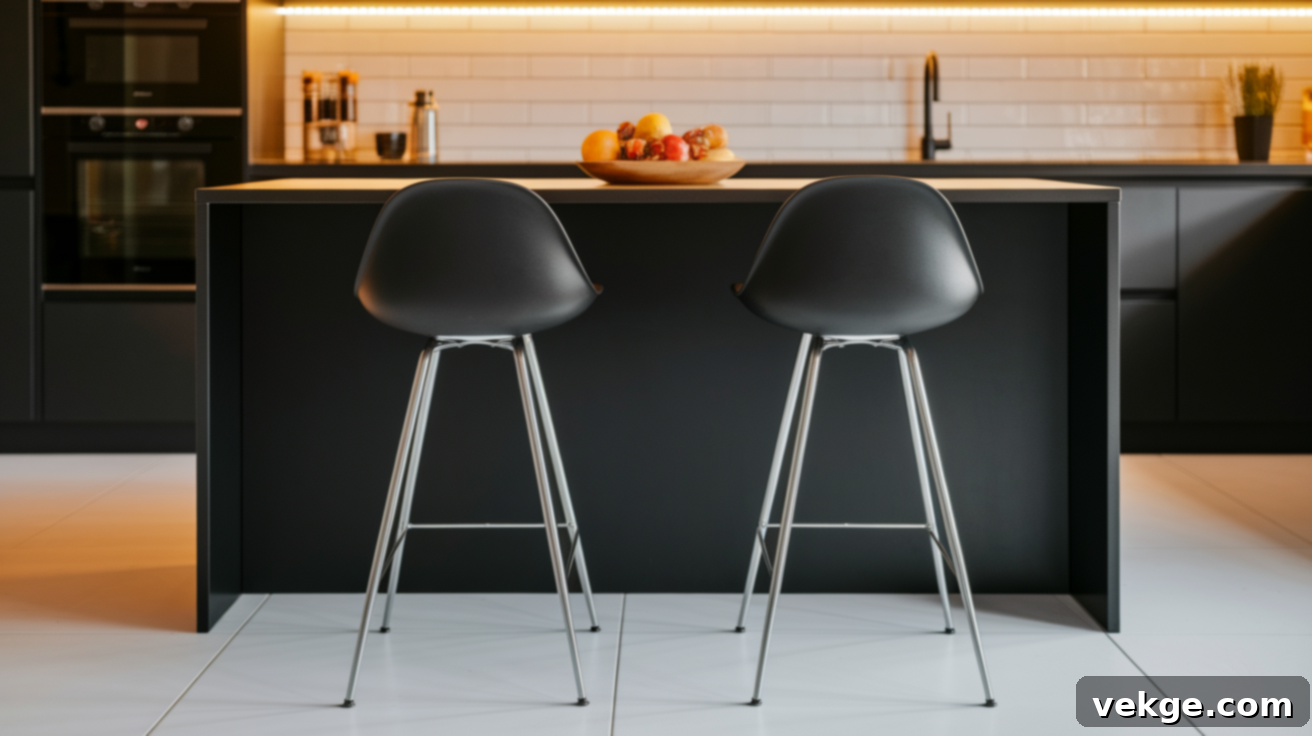
Opting for a black matte finish instantly elevates your bar stools with a clean, sharp, and undeniably modern look that seamlessly integrates into almost any contemporary interior design. Black matte paint is incredibly forgiving, effectively camouflaging minor scuffs and providing a solid, grounded feel to your kitchen or bar area. This finish works particularly well in kitchens or bar areas featuring black appliances, crisp white tile backsplashes, minimalist decor, or stainless steel accents. For the smoothest, most professional result with no visible brush lines, spray paint is the ideal application method. To further enhance durability and maintain the non-reflective aesthetic, apply a clear matte top coat. This style choice offers a timeless elegance that is both practical and chic, making your stools a sophisticated addition to your home’s modern appeal.
2. Whitewashed Farmhouse Finish: Rustic Charm
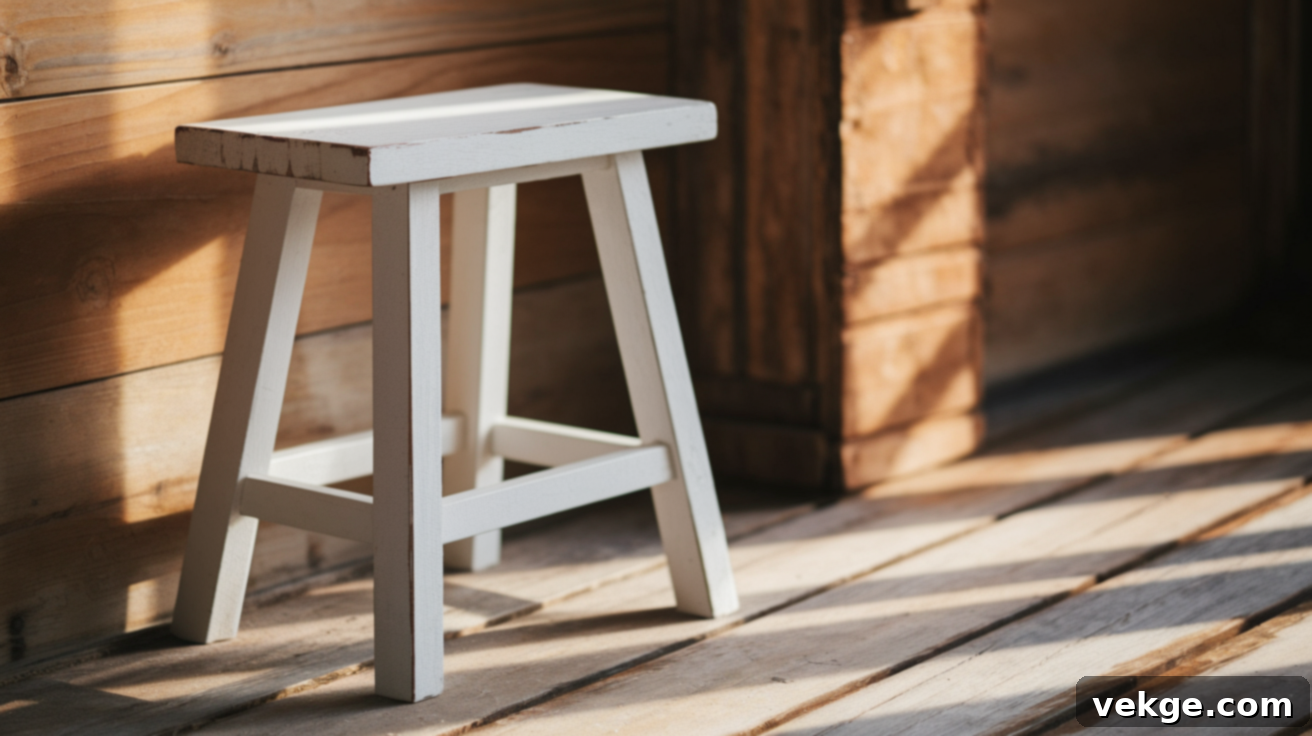
To achieve that coveted farmhouse, shabby chic, or coastal aesthetic, a whitewashed finish using chalk paint in soft whites, grays, or light creams is an excellent choice. This technique is designed to give furniture a simple, worn-in, and naturally aged appearance. After applying a thin coat of chalk paint, allow it to dry. Then, lightly sand the edges, corners, and any raised details to strategically expose a hint of the original wood underneath. This creates a beautifully distressed effect that pairs wonderfully with rustic decor, wooden tables, natural textiles, and spaces adorned with vintage-style accents. For added texture and a truly unique look, you can experiment with mixing a small amount of baking soda into your chalk paint for a thicker, more textured finish. Once dry, seal your whitewashed stools with a clear matte wax or a water-based matte top coat to protect the finish while preserving its soft, aged charm. This look is perfect for homes seeking a relaxed, inviting, and character-filled atmosphere.
3. Bold Color Pop: Energetic and Playful
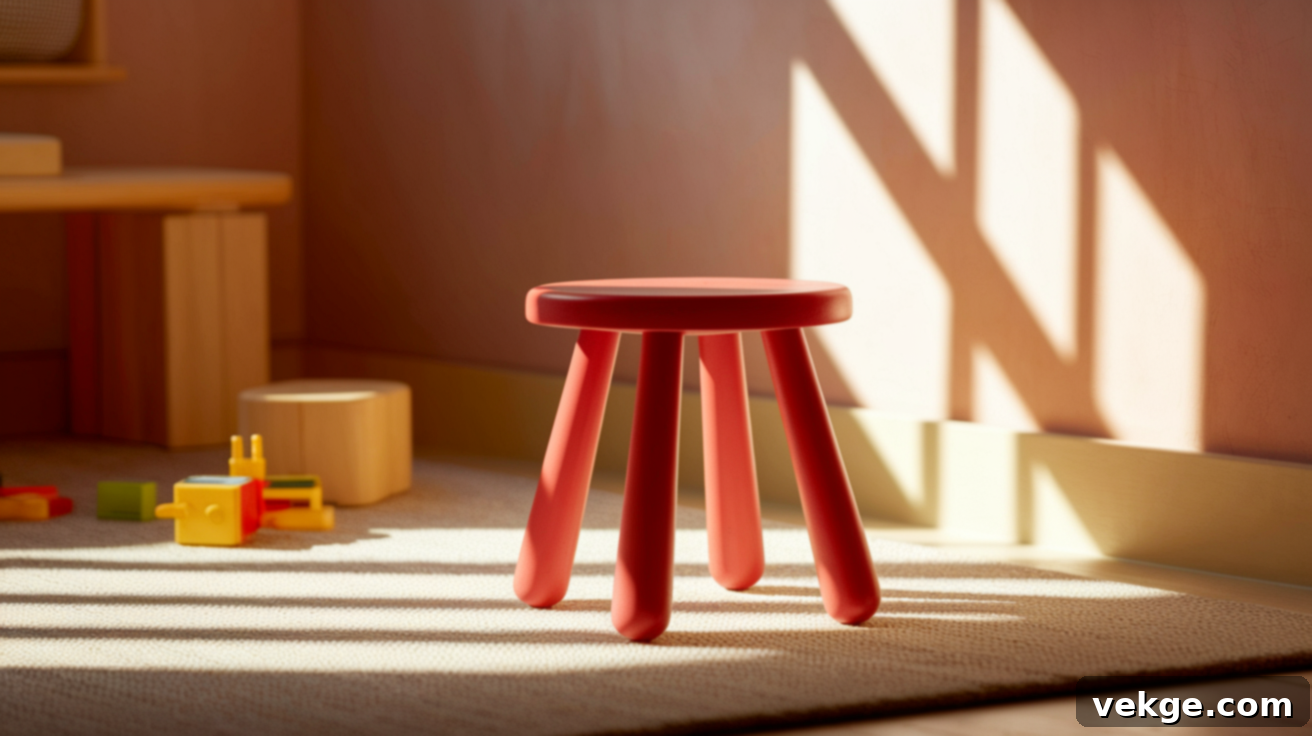
Inject a vibrant burst of energy and personality into your space with bar stools painted in a bold, eye-catching color. Shades like bright red, vivid teal, sunny mustard yellow, deep emerald green, or even a shocking fuchsia can transform ordinary stools into playful statement pieces. These spirited hues are perfect for casual dining areas, children’s playrooms, creative studio spaces, or anywhere you want to add a touch of whimsy and excitement. When choosing a bold color, it’s often best to let the stools be the star; keep the surrounding decor relatively simple to avoid an overwhelming or clashing effect. Spray paint is often preferred for achieving solid, even coverage and crisp edges with bright colors. Always follow with a clear top coat to protect the vibrant pigment and enhance its longevity. Bold colors are an incredibly effective and quick way to make plain furniture stand out, breathing new life into your space without requiring a major financial commitment. An added bonus: vibrant colors can often do a better job of hiding minor chips and marks compared to lighter, more subdued tones, making them practical for active households.
4. Two-Tone Stools: Classic Contrast and Elegance
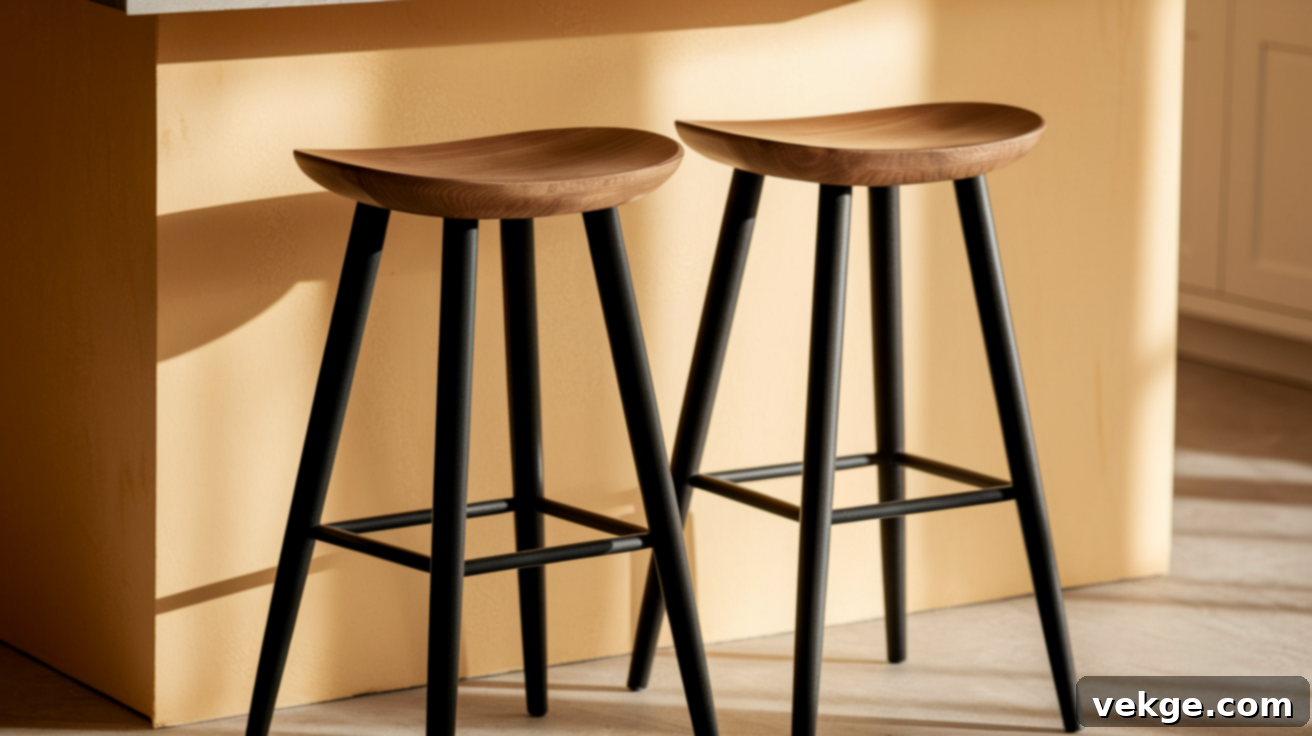
For a sophisticated yet understated look, consider a two-tone finish that combines painted frames with stained wood seats, or vice versa. This design approach creates a striking contrast that feels both modern and naturally inviting. Imagine crisp white, elegant gray, or sleek black painted legs paired with a warm, richly stained wooden seat in a tone like walnut, oak, or cherry. Alternatively, paint the seat a solid color and stain the legs. The key to achieving a clean two-tone finish is careful sequencing and meticulous masking. If your seats are to be stained and your frames painted, always apply the stain first. Once the stain is completely dry and cured according to product instructions, meticulously tape off the stained seat using high-quality painter’s tape before proceeding to paint the base or legs. Conversely, if you’re painting the seat and staining the legs, paint the seat first, then tape it off before staining the base. Allow each component (stained or painted) to dry thoroughly and cure before removing the tape to reveal sharp, clean lines. This style versatility allows it to fit seamlessly into both contemporary and rustic interiors, adding visual interest and depth without being overly bold or distracting.
Quick View: Common Mistakes to Avoid When Painting Bar Stools
Even with a straightforward DIY project like painting bar stools, certain missteps can lead to frustrating results, such as chipping paint, visible streaks, or poor coverage. By being aware of these common pitfalls and proactively avoiding them, you can ensure a cleaner, smoother, and far more durable finish that stands the test of time and truly showcases your efforts.
- Painting Without Proper Sanding: Skipping the sanding step means the new paint has nothing to grip onto, leading to poor adhesion and premature peeling, making your hard work short-lived.
- Ignoring the Need for Primer: On slick, glossy, or previously painted surfaces, or when drastically changing color, omitting primer results in weak adhesion, uneven coverage, and potential bleed-through of old colors or stains.
- Applying Thick, Heavy Coats: This is a primary cause of drips, runs, slow drying, and an uneven, clumpy finish that looks amateurish. Always opt for multiple thin layers.
- Not Respecting Drying Times: Rushing between coats or before sealing can lead to tacky paint, smudging, paint lifting, or an unstable finish that easily chips or peels.
- Leaving Sanding Dust Behind: Any dust particles left on the surface will be trapped under the paint, creating a rough, bumpy texture and seriously compromising adhesion and smoothness.
- Painting in Poorly Ventilated Areas: This is a significant health hazard due to paint fumes and can also negatively affect paint drying and curing, leading to an unpleasant finish.
- Touching Wet Surfaces: Resist the urge to touch your painted stools before they are completely dry, as this will leave fingerprints, mar the finish, and potentially lift the paint.
- Forgetting the Final Protective Top Coat: Without a clear sealer, your paint job will be vulnerable to scratches, daily wear, moisture damage, and fading, significantly shortening its lifespan.
- Using the Wrong Type of Paint: Applying wood paint to metal, or regular paint to flexible leather, will result in poor adhesion, cracking, and a failed project that won’t last.
- Rushing the Preparation Steps: The prep work (cleaning, sanding, priming, and dust removal) is the most critical phase. Skipping or rushing these steps undermines the entire project’s success, no matter how well you paint.
Conclusion: Revitalize Your Home with Beautifully Painted Bar Stools
Painting your bar stools is far more than just a quick fix; it’s a wonderfully simple, cost-effective, and deeply satisfying way to transform worn or outdated furniture into stylish, custom pieces that perfectly complement your home’s aesthetic. You don’t need to break the bank on new furniture when a little effort and the right approach can yield such impressive results, adding significant value and personalized style to your living space.
This comprehensive guide has equipped you with all the knowledge you need, from the essential steps of cleaning, sanding, and priming, to expertly choosing the right paint for various materials, and mastering application techniques for a flawless finish. You’ve also explored inspiring style ideas to ignite your creativity and learned common pitfalls to avoid, ensuring your project is a success that you’ll be proud to showcase.
With patience, attention to detail, and the commitment to follow these steps, you’ll be amazed at the professional-quality transformation you can achieve. Now that you have a complete understanding of how to paint bar stools the right way, why not pick up that paintbrush and embark on your first project? Select an old stool, give it the proper care, and witness the remarkable difference a fresh coat of paint can make in revitalizing your home.
If you found this detailed guide helpful and inspiring, we encourage you to explore our other DIY guides. We offer a wealth of easy-to-follow instructions for various home improvement projects that are both manageable and incredibly rewarding. There’s always something simple you can enhance, refresh, or personalize with just a bit of creative effort to make your house truly feel like a home!
