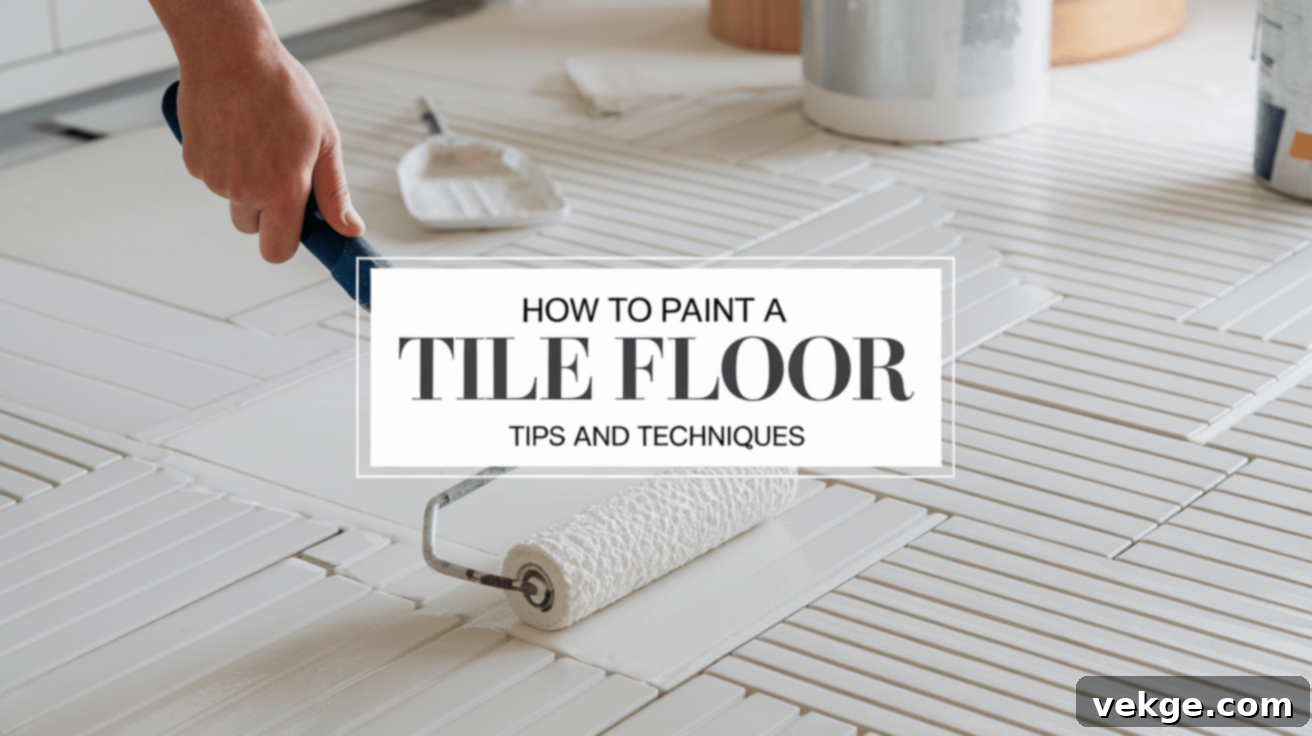
Transform Your Space: A Comprehensive DIY Guide to Painting Your Tile Floor
Are your tile floors looking tired, outdated, or just not matching your current decor? Don’t rush to rip them out! Painting a tile floor is an incredibly effective, budget-friendly, and relatively simple DIY project that can completely transform the look and feel of any room. Instead of enduring the mess, expense, and extensive labor of tile replacement, a few strategic coats of paint can breathe new life into your existing surfaces, making them appear fresh, modern, and perfectly aligned with your design vision.
This comprehensive guide will walk you through every essential step of the tile painting process, from meticulous surface preparation to the final protective topcoat. We’ll cover everything you need to know to ensure a durable, long-lasting finish that can withstand daily wear and tear. By following these detailed instructions, you’ll not only achieve a stunning floor makeover but also gain confidence in tackling home improvement projects, all without breaking the bank or dedicating weeks to a renovation.
The secret to a successful and enduring painted tile floor lies in thorough preparation and the selection of high-quality materials. Proper cleaning, strategic sanding, and the application of an appropriate bonding primer are crucial for ensuring optimal paint adhesion. Furthermore, choosing a durable floor paint specifically designed for high-traffic areas, followed by a protective sealant, will guarantee your updated floors look fantastic and perform well for years to come. Get ready to discover how easy and rewarding a tile floor transformation can be!
Why Embark on a Tile Floor Painting Project?
Painting a tile floor offers a multitude of benefits, making it an attractive option for homeowners seeking a significant change without significant investment. Here are some detailed reasons why this DIY approach is so popular and effective:
- Significant Cost Savings: Replacing old tiles involves considerable expenses, including the cost of new tiles, demolition, disposal, and professional labor. Painting, on the other hand, is a fraction of the cost, allowing you to achieve a dramatic update without the hefty price tag. You leverage your existing floor, making it a highly economical choice for a floor renovation.
- Reduced Mess and Labor: The traditional method of tile replacement is inherently messy, generating dust, debris, and requiring strenuous physical effort to remove old materials. Painting your tile floor minimizes this disruption, allowing you to revitalize your space with far less cleanup and physical strain, making it a more manageable home improvement project.
- Rapid Floor Transformation: A full tile replacement can extend over several weeks, causing prolonged disruption to your household. Painting offers a much faster solution, often completed within a few days, including drying times. Once fully cured, your newly painted tile floor is ready for use, providing a swift and satisfying update.
- Unrivaled Design and Color Flexibility: Paint unlocks a world of creative possibilities. You’re not limited to the existing tile color or pattern; you can choose any shade to perfectly match your interior design aesthetic. Moreover, you can incorporate stencils, geometric patterns, or faux effects to create a truly unique and personalized floor, adding bespoke charm to your room.
- Versatility Across Tile Types: With the right preparation and materials, painting is suitable for a wide range of tile surfaces, including ceramic, porcelain, and even some natural stone tiles. This adaptability means even the most outdated or unusual tiles can be given a clean, modern, and appealing finish, extending their lifespan and enhancing their visual appeal.
- Effective Coverage for Worn or Stained Tiles: If your current tiles are marred by stubborn stains, discoloration, minor chips, or surface wear, painting offers an excellent solution to conceal these imperfections. A fresh, even coat of paint can effectively hide blemishes, creating a uniform and pristine surface that looks brand new.
- Enhanced Durability and Easy Maintenance: Once properly prepared, painted, and sealed, tile floors become remarkably durable and resilient. The protective topcoat creates a smooth, sealed surface that is easy to clean with regular sweeping and mild detergents, standing up well to daily foot traffic and spills without extensive upkeep.
Essential Tools and Materials for Your Tile Painting Project
Having the correct tools and high-quality materials readily available is paramount for a smooth painting process and to ensure the longevity of your newly painted tile floor. Investing in quality products will pay off in the durability and appearance of your finished project.
- Sanding Materials: A selection of sandpaper grits (typically 80, 120, and 220-grit) is crucial for proper surface preparation. Rougher grits like 80-120 are used to effectively degloss shiny tiles and create a ‘tooth’ for the primer to adhere to, while finer grits like 220 can be used for light smoothing if needed. A sanding block or an orbital sander will make this task much easier and more efficient, especially for larger areas.
- Heavy-Duty Cleaning Supplies: A powerful degreaser and tile cleaner are essential for thoroughly removing all traces of dirt, grime, grease, wax, and soap scum. A truly clean surface is non-negotiable for optimal paint adhesion; any contaminants left behind can lead to peeling or bubbling. You’ll also need a stiff-bristled scrub brush or mop, and plenty of clean rags or towels.
- High-Quality Bonding Primer: This is perhaps the most critical material. A specialized bonding primer designed for non-porous or difficult-to-adhere-to surfaces (like tile) creates a strong, adhesive base. It acts as a bridge between the slick tile and the paint, preventing chipping and ensuring your paint job lasts for years. Do not substitute with regular primer.
- Durable Floor Paint: Selecting the right paint is vital. You need a floor-specific paint, such as a high-quality acrylic, epoxy, or latex floor and patio paint (e.g., Benjamin Moore Floor & Patio Paint, Rust-Oleum Floor Paint, or similar brands). These paints are formulated to withstand heavy foot traffic, abrasions, moisture, and frequent cleaning, unlike standard wall paints.
- Protective Topcoat/Sealant (Strongly Recommended): While some floor paints are self-sealing, applying a clear polyurethane sealant provides an extra layer of robust protection. It significantly enhances durability, guards against scratches, scuffs, fading, and wear, and makes the floor even easier to clean and maintain. Choose a finish (matte, satin, gloss) that complements your desired look.
- Application Tools and Other Essentials:
- Painter’s Tape: High-quality painter’s tape is necessary to protect baseboards, walls, and any adjacent areas from accidental paint splatters, ensuring crisp, clean lines.
- Mini Roller and Roller Covers: A mini roller (4-6 inches) with appropriate nap covers (usually 3/8″ or 1/4″ for smooth surfaces) is ideal for applying paint smoothly and evenly across the tile surface.
- Angled Paintbrush: A good quality angled brush is indispensable for cutting in edges, painting grout lines, and reaching tight corners that a roller cannot access.
- Caulk or Grout Repair Kit: For fixing any cracks, chips, or damaged grout lines before painting, ensuring a perfectly smooth and uniform surface.
- Gloves, Eye Protection, and Ventilation: Always prioritize safety. Wear gloves to protect your hands, eye protection from splatters, and ensure adequate ventilation (open windows, use fans) when working with paints and primers.
- Paint Trays and Stir Sticks: For easy paint management and mixing.
Gathering all these materials and tools before you begin will streamline the entire project, minimize interruptions, and contribute significantly to achieving professional-looking and long-lasting results for your painted tile floor.
Step-by-Step Guide: How to Prepare Your Tile Floor for Painting
Proper surface preparation is the cornerstone of any successful painting project, especially when tackling a high-traffic area like a tile floor. Skipping or rushing any of these crucial steps can compromise paint adhesion, leading to peeling, chipping, or an uneven finish. Follow these detailed instructions to ensure your paint job lasts for years.
Step 1 – Meticulously Clean the Tiles
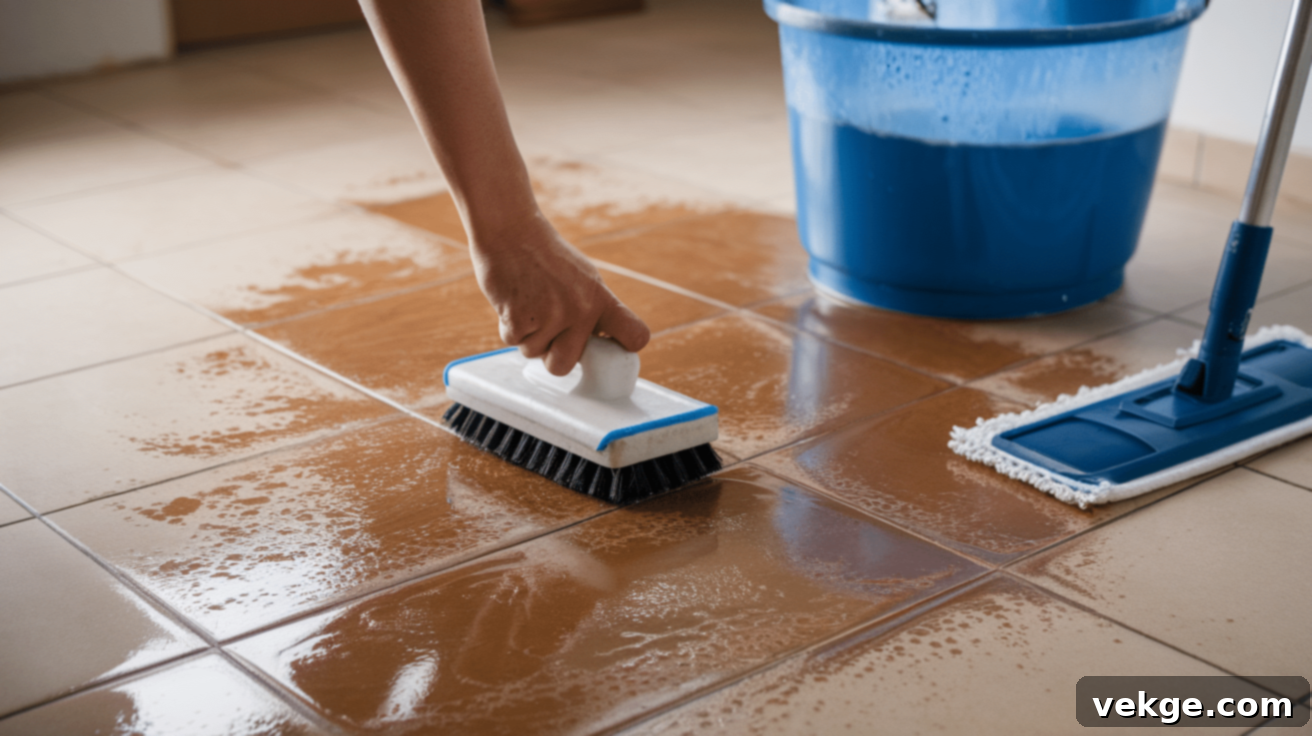
The goal here is to achieve an absolutely pristine surface, free from any contaminants. Even seemingly clean floors can harbor grease, wax, dirt, and soap residue that prevent paint from bonding properly.
- Begin by thoroughly sweeping or vacuuming the entire floor to remove loose dirt and debris.
- Apply a heavy-duty degreaser or a specialized tile cleaner. Follow the product instructions for dilution and application. For stubborn grime, allow the cleaner to sit for the recommended dwell time.
- Using a stiff-bristled scrub brush, vigorously scrub the entire tile and grout surface. Pay extra attention to high-traffic areas and corners where dirt tends to accumulate. An old toothbrush can be useful for deeply embedded grout line dirt.
- Rinse the tiles thoroughly multiple times with clean water to ensure all cleaner residue is completely removed. Any leftover cleaning agents can interfere with primer adhesion.
- Allow the tiles to dry completely. This is critical. Use fans or open windows to speed up the drying process. Even a hint of moisture can cause significant problems with adhesion and finish.
Step 2 – Thoroughly Sand the Surface
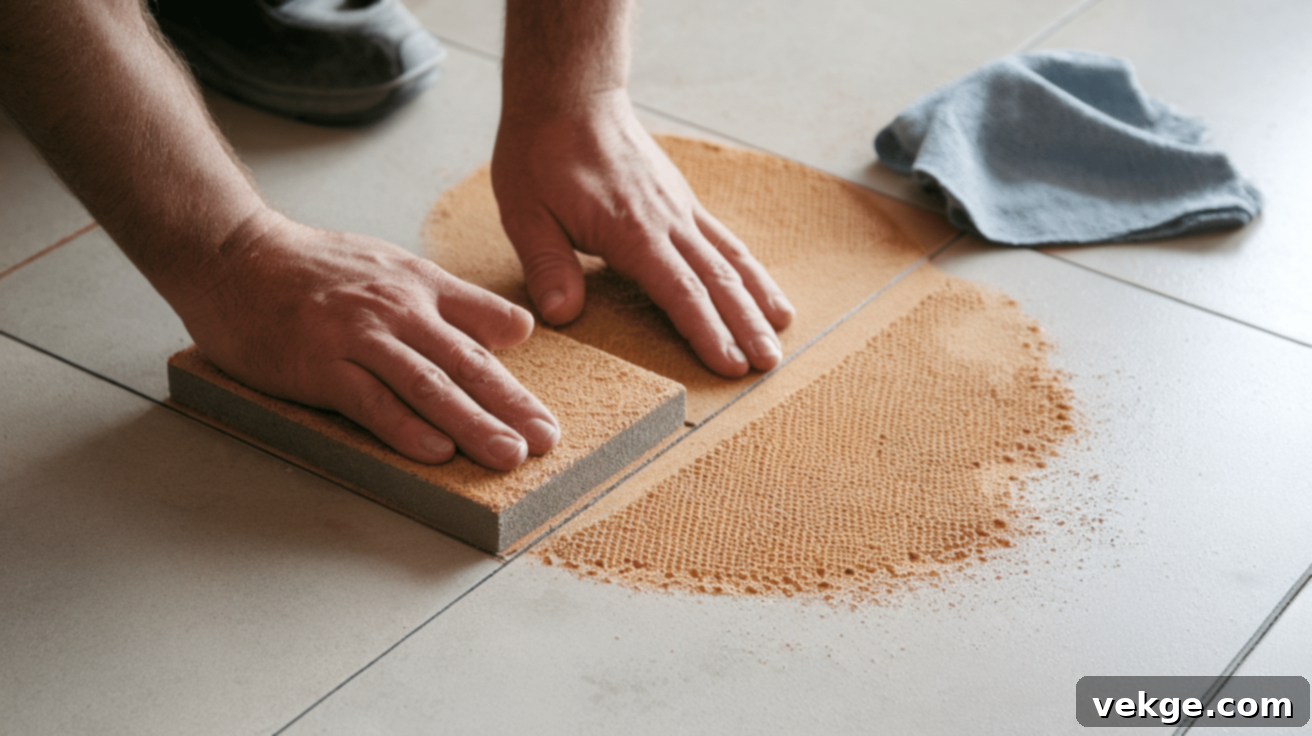
Most tiles have a smooth, often glossy, finish that paint struggles to grip. Sanding creates a ‘profile’ or ‘tooth’ on the surface, allowing the primer and paint to adhere strongly.
- Lightly sand the entire tile surface using 80-120 grit sandpaper. The aim is not to remove the tile but to scuff the glossy finish. You should see the tiles lose their shine and appear dull.
- For larger areas, an orbital sander with a fine-grit pad will significantly speed up this process and ensure an even sanding. For smaller rooms or intricate areas, a sanding block will suffice.
- After sanding, it’s crucial to remove all sanding dust. Vacuum the floor thoroughly, ideally with a brush attachment, to pick up all fine particles.
- Follow up by wiping the entire floor with a damp (not wet) cloth or a tack cloth to capture any remaining dust. Let the floor dry completely after wiping. Any dust left behind will compromise the smoothness and adhesion of your paint finish.
Step 3 – Repair Any Existing Damage
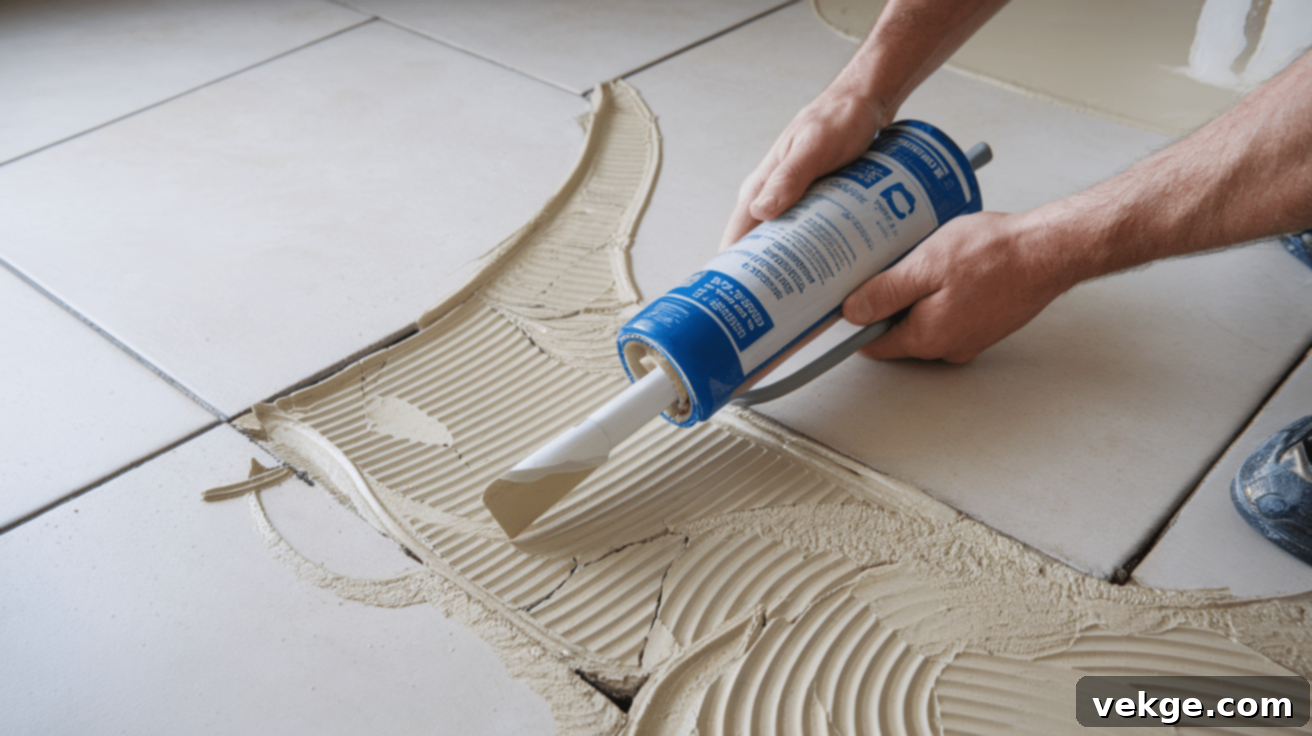
Before painting, it’s essential to address any structural imperfections to ensure a flawless and smooth final appearance. Paint will highlight, not hide, cracks and uneven surfaces.
- Carefully inspect your tile and grout for any cracks, chips, missing grout, or uneven areas.
- Fill any small cracks or missing grout sections with caulk (specifically a paintable acrylic latex caulk) or a fresh batch of grout designed for floors. For larger chips in tiles, a tile repair kit or epoxy filler can be used.
- Use a putty knife, a grout float, or even your finger (wearing a glove) to smooth the caulk or grout, ensuring it is flush with the surrounding tile and grout lines. This creates a seamless surface for painting.
- Allow all repaired areas to dry and cure completely according to the manufacturer’s instructions. This might take several hours or even overnight. Applying primer or paint over wet or soft repairs will prevent proper adhesion and lead to future cracking or peeling.
Taking the time to meticulously clean, sand, and repair your tile floor is the most critical investment in this DIY project. These preparation steps lay the foundation for a durable, beautiful, and long-lasting painted tile floor that you’ll be proud of for years to come. Remember, good preparation is 80% of a successful paint job.
How to Professionally Paint Your Tile Floor for a Lasting Finish
Once your tile floor is impeccably clean, properly sanded, and thoroughly repaired, it’s ready for the exciting transformation. Following these application steps carefully will ensure the paint adheres correctly, cures evenly, and provides a durable, beautiful finish that stands the test of time.
Step 4 – Apply the Bonding Primer
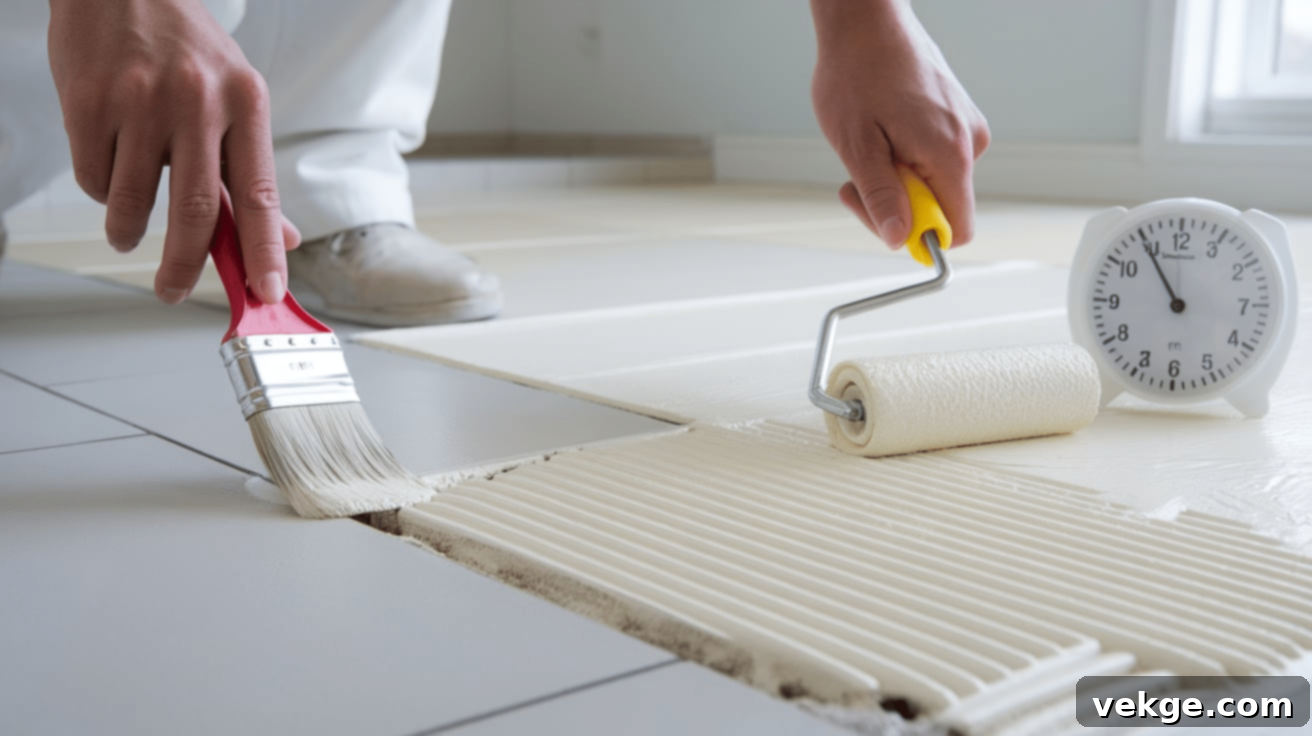
The primer step is non-negotiable for tile painting. It creates the crucial bonding layer between the smooth tile surface and the final paint coats.
- Carefully stir your chosen bonding primer. Ensure it’s specifically formulated for non-porous or difficult-to-adhere-to surfaces like ceramic or porcelain tile.
- Using an angled paintbrush, meticulously apply the primer to all grout lines and along the edges of the room where the floor meets the baseboards or walls. This ensures thorough coverage in areas a roller might miss.
- Once the edges and grout are done, use a mini-roller with a short nap (e.g., 1/4″ or 3/8″) to apply a thin, even coat of primer across the main tile surfaces. Work in small sections, maintaining a wet edge to avoid lap marks.
- Avoid applying too much primer; a thin, even coat is more effective than a thick one, which can lead to longer drying times and potential adhesion issues.
- Allow the primer to dry completely according to the manufacturer’s instructions, typically 2-4 hours. Do not rush this step. If the primer isn’t fully dry, the subsequent paint coats may not adhere properly, leading to peeling. Adequate ventilation will aid in drying.
Step 5 – Expertly Paint the Tile
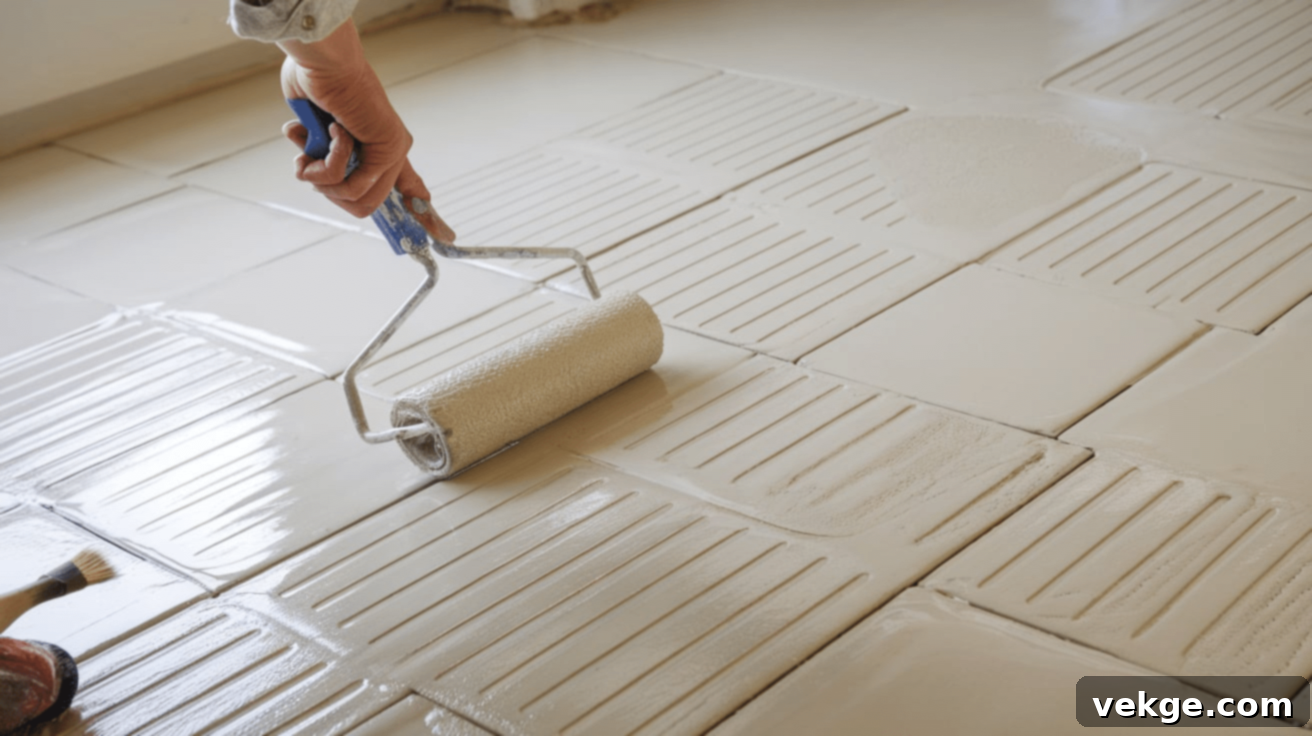
This is where your vision comes to life! Patience and thin coats are key to a professional-looking and durable painted tile floor.
- Before starting, ensure your floor paint is thoroughly stirred. If you’ve chosen a specific color, check for consistency.
- Just like with the primer, begin by using your angled paintbrush to carefully paint the edges and all grout lines. Take your time to achieve clean, crisp lines, using painter’s tape on baseboards if desired.
- Once the edges and grout are covered, switch to your mini-roller to apply the first thin, even coat of paint across the main tile surfaces. Work systematically in manageable sections, ensuring consistent coverage.
- The first coat might appear somewhat transparent or uneven; this is normal. Resist the urge to apply a thick coat to compensate. Thick coats are prone to sagging, longer drying times, and can lead to future peeling.
- Allow the first coat to dry completely as per the paint manufacturer’s guidelines, which can range from 4-8 hours or more. Proper drying between coats is essential for adhesion and a smooth finish.
- Apply a second, and if necessary, a third thin coat, following the same technique and allowing ample drying time between each. Most projects will require at least two coats for full, opaque coverage.
- Once the final coat is applied, remove any painter’s tape while the paint is still slightly wet to prevent tearing the paint film along the edges.
Step 6 – Seal for Enhanced Durability and Protection
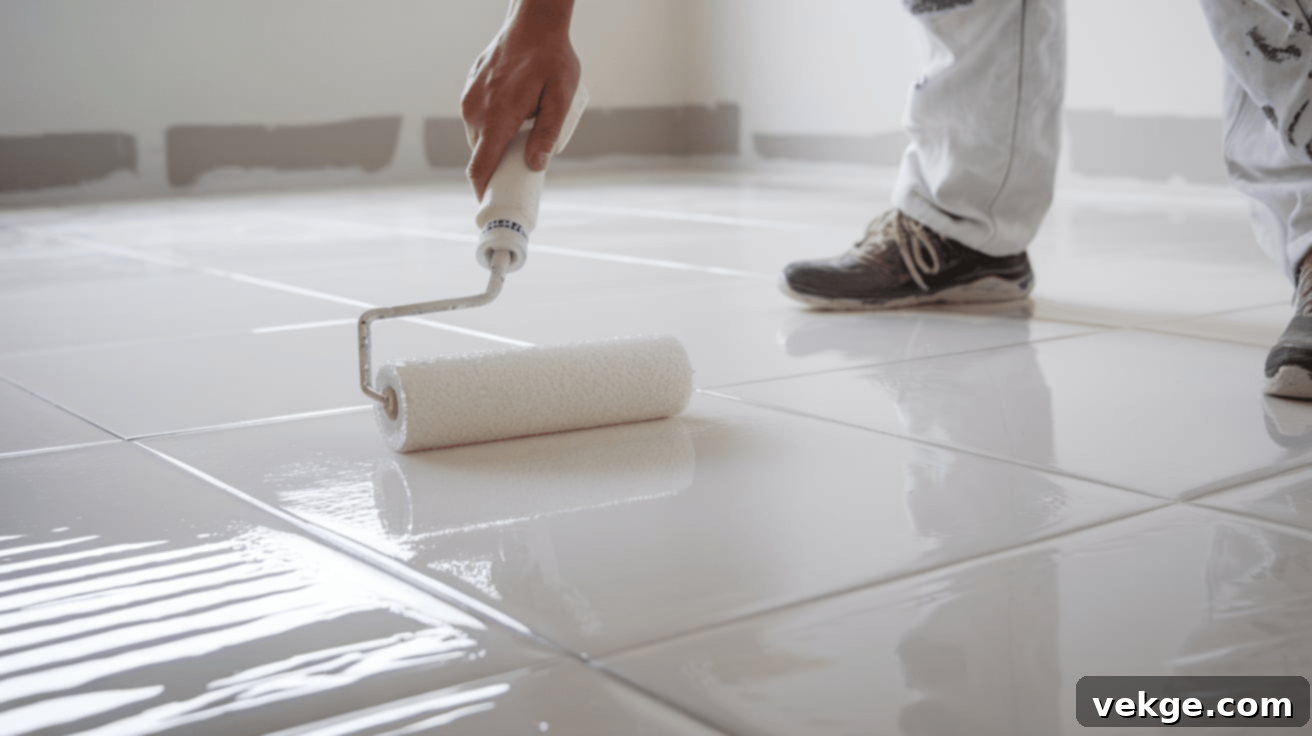
Applying a high-quality sealant is the final and crucial step to protect your painted tile floor, significantly extending its lifespan and making it incredibly resilient and easy to maintain.
- Ensure the final coat of paint is completely dry and cured according to the manufacturer’s recommendations before applying the sealant. This typically means waiting at least 24 hours, but always check the label.
- Choose a polyurethane sealant designed for floors, as these offer superior durability. Decide on your desired finish: matte for a soft, understated look; satin for a subtle sheen; or glossy for a bright, reflective surface.
- Stir the sealant gently to avoid creating air bubbles. Apply the sealant using a clean roller (preferably a new one) or a foam applicator. Work in thin, even coats to prevent pooling or streaking.
- Apply a minimum of two coats of sealant, allowing each coat to dry fully as per the product instructions before applying the next. This multi-layered protection is key to long-term durability.
- Ensure adequate ventilation during and after application. Let the sealant dry and cure completely before allowing any foot traffic or placing furniture back on the floor. This curing period is vital for maximum hardness and protection.
By diligently following each of these steps, from thorough priming to multiple coats of paint and a protective sealant, you will achieve a professional-grade, resilient, and beautifully transformed tile floor that will stand up to daily life and continue to impress for many years.
Caring for Your Newly Painted Tile Floor: Maintenance Tips for Longevity
After all your hard work in painting your tile floor, proper care and maintenance are essential to ensure its beauty and durability last for years. Adhering to specific drying, cleaning, and touch-up guidelines will protect your investment and keep your floor looking fresh and vibrant.
Critical Drying & Curing Time
Patience is paramount immediately after painting and sealing. These periods are crucial for the paint and sealant to achieve their maximum hardness and adhesion.
- Initial Drying (Light Foot Traffic): Avoid walking on your newly painted floor for at least 24-48 hours after the final coat of sealant. Stepping on it too soon, especially with shoes, can lead to smudges, scuffs, or even peeling as the layers are still vulnerable.
- Full Curing (Heavy Traffic & Furniture): The paint and sealant need a full 7-10 days, or sometimes longer depending on humidity and product type, to fully cure and reach their maximum hardness. During this curing period, avoid placing heavy furniture, rugs, or exposing the floor to heavy impact. Moving items onto the surface too early can cause permanent indentations, scratches, or compromise the finish. Consider using felt pads under furniture legs once cured.
Effective Cleaning & Routine Maintenance
Maintaining the cleanliness of your painted tile floor is straightforward, but it requires using the right products and techniques to avoid damaging the finish.
- Gentle Cleaning Agents: Always use a mild, pH-neutral cleaner specifically designed for painted surfaces or general floor cleaning. A solution of warm water and a small amount of gentle dish soap often works best. Avoid harsh chemicals, abrasive cleaners, ammonia-based products, or acidic cleaners (like vinegar), as these can degrade the sealant and wear down the paint over time, leading to dullness or premature peeling.
- Soft Mops and Cloths: Use a soft mop (like a microfiber mop) or a soft cloth for cleaning. Avoid stiff-bristled brushes or abrasive scrubbing pads, which can scratch or dull the painted surface.
- Prompt Spill Cleanup: Clean up any spills immediately. While the sealant provides protection, standing water or highly pigmented liquids can eventually penetrate the finish if left for extended periods, potentially causing stains or weakening the seal.
- Regular Sweeping/Vacuuming: Routinely sweep or vacuum your floor to remove loose dirt, dust, and grit. These small particles can act like sandpaper underfoot, gradually abrading the painted surface over time.
Strategic Touch-Ups & Repainting
Even with the best care, painted floors in high-traffic areas may eventually show signs of wear. Knowing how to touch up or repaint ensures your floor always looks its best.
- Assess High-Traffic Areas: For areas that experience heavy use (e.g., entryways, kitchen work zones), you might consider repainting or touching up these sections every few years. Regular foot traffic, pet activity, and moving furniture can lead to scuff marks, fading, or minor chips over time.
- Light Sanding for Touch-Ups: Before applying touch-up paint or an entirely new coat to a worn area, lightly sand the surface with a fine-grit sandpaper (e.g., 220-grit). This provides a fresh ‘tooth’ for the new paint to adhere to, helping it blend seamlessly with the existing finish and ensuring maximum adhesion. Clean thoroughly after sanding.
- Keep Leftover Paint/Sealant: Always save a small amount of your original paint and sealant. This will be invaluable for quick touch-ups of minor scuffs or chips, ensuring a perfect color match.
Caring for a painted tile floor is a simple routine that yields long-lasting results. By respecting the curing times, cleaning with gentle products, and addressing wear with occasional touch-ups, your transformed tile floor will remain a beautiful and durable feature of your home for many years to come.
Common Mistakes When Painting Tile Floors & How to Avoid Them
Painting a tile floor is a rewarding DIY project, but certain missteps can lead to disappointing results or premature failure of the finish. Being aware of these common mistakes and understanding how to avoid them is key to achieving a durable and beautiful floor transformation.
-
Skipping Crucial Surface Preparation (Cleaning, Sanding, Repairing): This is the most frequent and detrimental mistake. Dirt, grease, wax, and a slick, unsanded surface are enemies of paint adhesion. If the surface isn’t properly cleaned, degreased, and scuffed, the paint will not bond effectively, leading to peeling, chipping, and a short-lived finish.
How to Avoid: Always dedicate ample time to thorough cleaning, degreasing, and light sanding. This ensures the primer has a clean, prepared surface to bond to. Do not underestimate the importance of filling cracks and repairing grout beforehand either. -
Failing to Use a Specialized Bonding Primer: Many DIYers think any primer will do, or that they can skip primer altogether. Regular primers or no primer on non-porous surfaces like tile will almost guarantee paint failure, as the paint won’t have anything to grip onto.
How to Avoid: Invest in a high-quality, specialized bonding primer specifically designed for challenging, non-porous surfaces. This type of primer creates a strong adhesive layer that is essential for the paint to stick and last. -
Applying Paint in Thick Coats: The temptation to apply thick coats to achieve faster coverage or hide imperfections is strong, but it’s a common pitfall. Thick layers of paint dry unevenly, take much longer to cure, and are more prone to cracking, bubbling, and peeling over time.
How to Avoid: Always apply multiple thin, even coats of paint and sealant. Allow each coat to dry completely according to the manufacturer’s instructions before applying the next. Patience here will yield a smoother, more durable, and professional-looking finish. -
Using the Wrong Type of Paint: Standard wall paint or general-purpose paints are not formulated to withstand the rigors of floor traffic, abrasion, and frequent cleaning. Using such paints on a tile floor will result in rapid wear, scuffing, and an unsatisfactory finish.
How to Avoid: Always select a durable, high-quality floor paint specifically designed for high-traffic areas and suitable for tile surfaces. These paints are engineered for resilience and longevity under demanding conditions, ensuring your painted floor holds up. -
Ignoring Drying and Curing Times: Rushing to use the floor or place furniture back before the paint and sealant have fully dried and cured can lead to permanent damage, including scratches, indentations, and compromised adhesion.
How to Avoid: Strictly adhere to the drying and curing times specified by the paint and sealant manufacturers. While the surface may feel dry to the touch quickly, the layers underneath need more time to harden fully. Plan your project to allow for adequate curing time.
By diligently avoiding these common mistakes and committing to proper preparation and application techniques, you will significantly increase the success and longevity of your painted tile floor project. Taking the time to do it right the first time will save you frustration and effort in the long run.
Conclusion: Revitalize Your Home with a Painted Tile Floor
Painting a tile floor stands out as a remarkably easy, cost-effective, and impactful method to refresh and transform any living space. Rather than undertaking the costly and disruptive process of removing and replacing old, worn, or outdated tiles, a few carefully applied coats of specialized paint can effortlessly make them look brand new, aligning perfectly with modern aesthetics or a personalized design vision.
The secret to a durable and long-lasting painted tile floor lies in meticulous surface preparation. Dedicating time to thoroughly clean, sand, and prime the existing tiles is paramount for ensuring optimal paint adhesion and preventing future issues like peeling or chipping. Coupled with the selection of a high-quality, durable floor paint and a protective sealant, your refreshed floors will be capable of withstanding the demands of daily life, even in high-traffic areas.
Moreover, with simple, regular care, your painted tile floors can maintain their pristine condition for many years. This involves cleaning with mild, pH-neutral products, diligently avoiding harsh chemicals or abrasive tools, and performing occasional touch-ups as needed. Such practices will preserve the integrity and beauty of your finish, ensuring your investment continues to enhance your home’s appeal.
For those seeking an extra layer of personalization, integrating stencils or decorative patterns can add unique flair and character to your floor design, making it truly one-of-a-kind. Ultimately, painting a tile floor offers an accessible and fulfilling DIY pathway to update a room, injecting fresh style and personality while staying well within budget and minimizing renovation hassles. It’s a smart choice for a stunning home makeover.
Frequently Asked Questions About Painting Tile Floors
Can I paint over any type of tile?
Yes, most common tile types can be painted, but preparation is key. Ceramic, porcelain, and natural stone tiles typically hold paint well when properly prepared with cleaning, sanding, and a bonding primer. However, it’s generally advisable to avoid painting tiles in areas subject to constant water exposure, such as inside shower stalls, as paint may not hold up reliably under such extreme conditions for extended periods. Floor tiles in bathrooms, kitchens, and living areas are usually excellent candidates.
Is sanding the tile before painting truly necessary?
Absolutely, sanding is a critical step that should not be skipped. Most tiles have a smooth, glossy finish that paint struggles to adhere to. Lightly sanding the surface with 80-120 grit sandpaper creates a ‘profile’ or ‘tooth,’ allowing the primer and subsequent paint layers to bond much more effectively. Skipping this essential step significantly increases the risk of premature peeling, chipping, and a short-lived finish.
What kind of paint should I use for tile floors to ensure durability?
It is imperative to use a specialized floor paint designed for high-traffic areas. These paints, often acrylic or epoxy-based, are formulated to be exceptionally durable, resistant to abrasion, moisture, and frequent cleaning. Regular wall paint or general-purpose paints are simply not robust enough to withstand the demands of foot traffic and daily use, and will quickly wear down, scuff, and peel.
How long does a painted tile floor take to dry and cure?
While the surface of the paint may feel dry to the touch within a few hours, the entire system (primer, paint, and sealant) requires a longer period to fully dry and cure. You should avoid light foot traffic for at least 24-48 hours after the final coat. More importantly, the paint needs 7-10 days (and sometimes up to 30 days, depending on product and conditions) to fully cure and achieve its maximum hardness. It is crucial to wait this full curing period before placing heavy furniture, rugs, or resuming normal activity to prevent damage to the finish.
Do I really need a topcoat or sealant after painting?
While some floor paints are marketed as self-sealing, applying a separate polyurethane topcoat or sealant is strongly recommended for maximum durability and protection. This additional clear layer acts as a sacrificial barrier, making the surface significantly more resistant to scratches, scuffs, moisture, and daily wear and tear. It also typically makes the floor easier to clean and maintain, vastly extending the lifespan of your painted tile floor.
How do I clean a painted tile floor without damaging it?
Cleaning a painted tile floor is straightforward. Use a mild, pH-neutral cleaner (like warm water with a small amount of gentle dish soap) and a soft mop or cloth. Avoid harsh chemical cleaners, abrasive scrubbers, or any products containing ammonia or strong acids, as these can degrade the paint and sealant over time, leading to dullness or damage. Promptly clean up spills to prevent potential staining or compromise of the finish.
Can I repaint the floor if the paint starts to wear off in certain areas?
Yes, absolutely! One of the advantages of painting your tile floor is the ease of touch-ups and repainting. If specific high-traffic areas start to show wear, you can lightly sand those spots with fine-grit sandpaper, clean thoroughly, and then apply fresh coats of paint and sealant to blend with the existing finish. This helps to maintain a consistently fresh look for your floor over many years.
Painting a tile floor is a straightforward and highly effective method to update a room without the expense and hassle of tile removal. With the right steps, quality materials, and consistent care, your painted tile floor can provide a beautiful, durable, and budget-friendly solution for years to come.
